Whether you’re just starting your journey into the fascinating world of dollhouses and miniatures or looking to hone your skills, this page is your ultimate guide to mastering the miniatures basics.
Below, you’ll find answers to common beginner questions, optional tools, and essential tutorials to help you get started, and you might bookmark it for further reference.
Here’s a few topics to which you will always come back to on your journey from miniatures for beginners to experts! 🙂
As an Amazon, Etsy and Anavrin associate, I earn a small commission from your purchase, with no extra charges for you.
1. Understanding Scales
What are the different dollhouse scales, and which one should I choose?
Dollhouse scales determine the size of your miniatures relative to real-life objects. Beginners often find it confusing, but understanding scales is key to choosing compatible furniture and accessories.
How do I choose the right dollhouse kit as a beginner?
Choosing your first dollhouse kit can feel overwhelming with so many options available. Factors like complexity, size, style, and assembly method play a big role.
Also, you need to be aware that not all ‘brands’ on the market or actual brands, there are a lot of retailers, like ‘Flever‘ or ‘Anavrin‘.
To help you get started, here are a few considerations:
Size and Scale: Match the kit’s scale to the accessories you want to use. So if you already had a large collection of 1:12 miniatures, for example, I would look for 1:12 scale dollhouse kits.
Style: Pick a design that excites you, whether it’s Victorian, modern, or whimsical. The kits from Greenleaf, for example, have more that Victorian/Gothic look. While these wooden dollhouse kits I bought to create my fairy houses, are a lot more fantasy-based.
I’ve explored and assembled several DIY kits myself. For a detailed review of six top kits, including pros, cons, and assembly tips, check out my article: The Best DIY Miniature Dollhouse Kits: An Oversight
Quick Tip:
If you’re unsure, start with a smaller kit to build your confidence and skills.
Start with affordable tools and materials, and gradually invest in higher-quality items as your skills improve. Like for example my table saw that I love and have been using for years, or my mini drill from Dremel.
4. Painting and Finishing
Should I paint my dollhouse before or after assembly?
Painting your dollhouse is one of the most enjoyable parts of the process. It allows you to bring your vision to life and make the dollhouse uniquely yours. Some tips include:
Painting Before Assembly: Ideal for intricate areas that are harder to reach after assembly.
Choosing Paints: Use acrylic paints for versatility, and don’t forget to prime surfaces for better adhesion.
Exterior vs. Interior: Explore different styles for the exterior (e.g., brick, stone, wood) and interior (e.g., wallpapers, painted walls).
Always test your lighting system before final assembly to avoid difficult fixes later.
Did you know you can easily create miniature lights from papercraft? Check out my Youtube tutorial! ( You can glue tiny , battery operated LED lights in these )
6. Decorating and Furnishing
How do I furnish and decorate my dollhouse?
Decorating and furnishing a dollhouse is an exciting process that allows you to add personality and charm. Here are some tips:
DIY Furniture: Create your own pieces with materials like cardstock, wood, or fabric scraps, or even cardboard or popsicle sticks.
Sourcing Accessories: Find ready-made furniture or laser-cut kits and accessories online or at craft stores.
Personal Touches: Add handmade details like miniature rugs, pillows, or curtains.
Use dollhouse printables to create your own dollhouse floors, wallpaper, wall art, and even furniture and printable plants, and more.
For detailed ideas and tutorials, explore these articles:
Be an active member by commenting, sharing tips, and encouraging others to grow your network within the miniature world.
9. Optional but Useful Tools and Tipsfor Dollhouse Miniatures.
What additional tools and tips can help beginners with miniatures and dollhouses?
While the basics that I mentioned are enough to get started, optional tools can make the process smoother and more enjoyable. Consider these additional items:
Self-Healing Cutting Mat: Protects your workspace and makes cutting easier.
Rotary Cutter or Precision Blades: Ideal for detailed cutting tasks.
Mini Clamps: Hold parts in place while glue dries.
Dremel or Mini Rotary Tool: Perfect for sanding or fine adjustments.
A laser cutter machine: perfect tools to design and print your own DIY laser-cut dollhouse kits or even furniture
A Cricut machine: a very easy-to-use little machine to cut fabrics, patterns, and even light wood like balsa wood.
Although it focuses on DIY kits, the insights are just as useful for general dollhouse and miniature crafting!
Quick Tip:
Invest in optional tools gradually based on the projects you plan to tackle. They can enhance the precision and quality of your work.
10. Glue Varieties for Miniatures
Which glue should I use for my dollhouse or miniatures?
Choosing the right glue is crucial for creating durable and clean miniatures. Here are some popular options and their best uses:
Grab Fast Tacky Glue: A versatile choice for paper, fabric, and lightweight wood. This glue is my personal most used glue!
Wood Glue: Perfect for strong bonds between wooden pieces.
Super Glue: Best for small, intricate parts or quick fixes. Works great on plastic and metal.
Mod Podge: Doubles as a glue and sealer, ideal for finishing and decorative details. Or for a ‘shiny’ finish, like giving dollhouse tiles a glossy look.
How much does it cost to get started with dollhouses and miniatures?
Starting a miniature or dollhouse hobby can be tailored to almost any budget. Here’s a breakdown to help you estimate costs:
Basic Tools: Budget-friendly tools like craft knives and rulers typically cost $10–$30.
DIY Dollhouse Kits: dollhouse kits can range from $20–$150 depending on size and quality and if they are handcrafted or not.
Materials and Accessories: Supplies like glue, paint, and decorative items often range from $10–$100 for a small project.
Optional Investments: Premium tools, additional miniatures, and advanced kits can cost $100 or more. Machines like laser cutters and 3D printers to create miniatures can cost hundreds or even thousands of Dollars/Euros.
For those on a tighter budget, many tools and materials can be found in local craft stores or repurposed from household items. Starting small and gradually building your collection is a great way to manage costs.
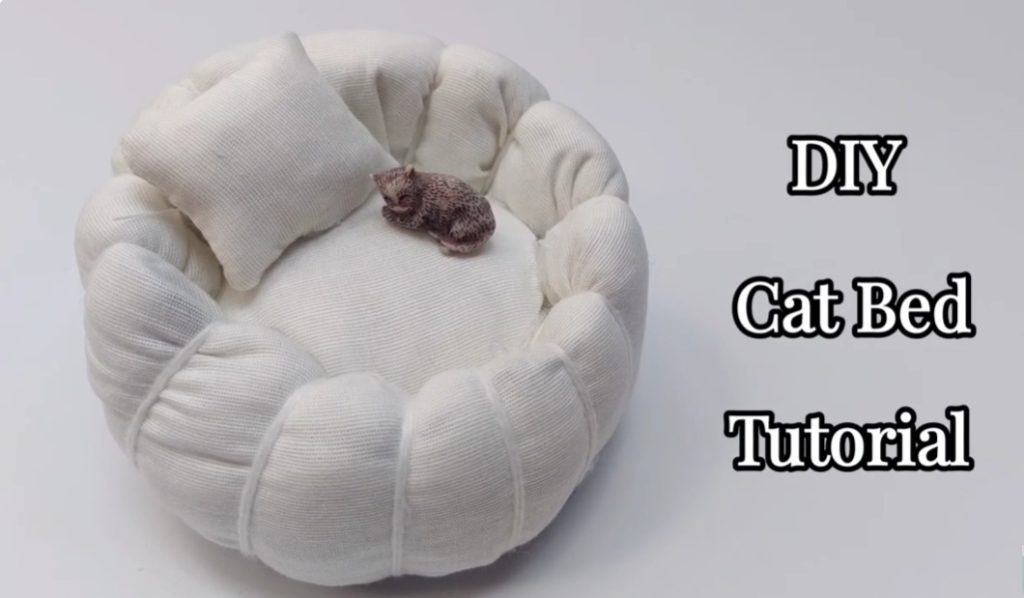
Click on the picture below, for example, to take you to my YouTube tutorial on how to create this miniature pet’s bed from scraps.
Quick Tip:
Plan your budget in advance to avoid overspending. Remember, creativity matters more than expensive supplies!
In my video below, you can see how I created a tiny notebook with a small working pencil from scraps and waste materials, so things don’t always need to be expensive!
Conclusion: Your miniature journey begins here!
This page is your go-to resource for starting your miniature and dollhouse journey. Whether you’re learning the basics, finding inspiration, or troubleshooting, it’s all here to guide you or take you further down my ohter blog posts to find out more!
Bookmark this page and revisit it whenever you need tips, tutorials, or a spark of creativity.