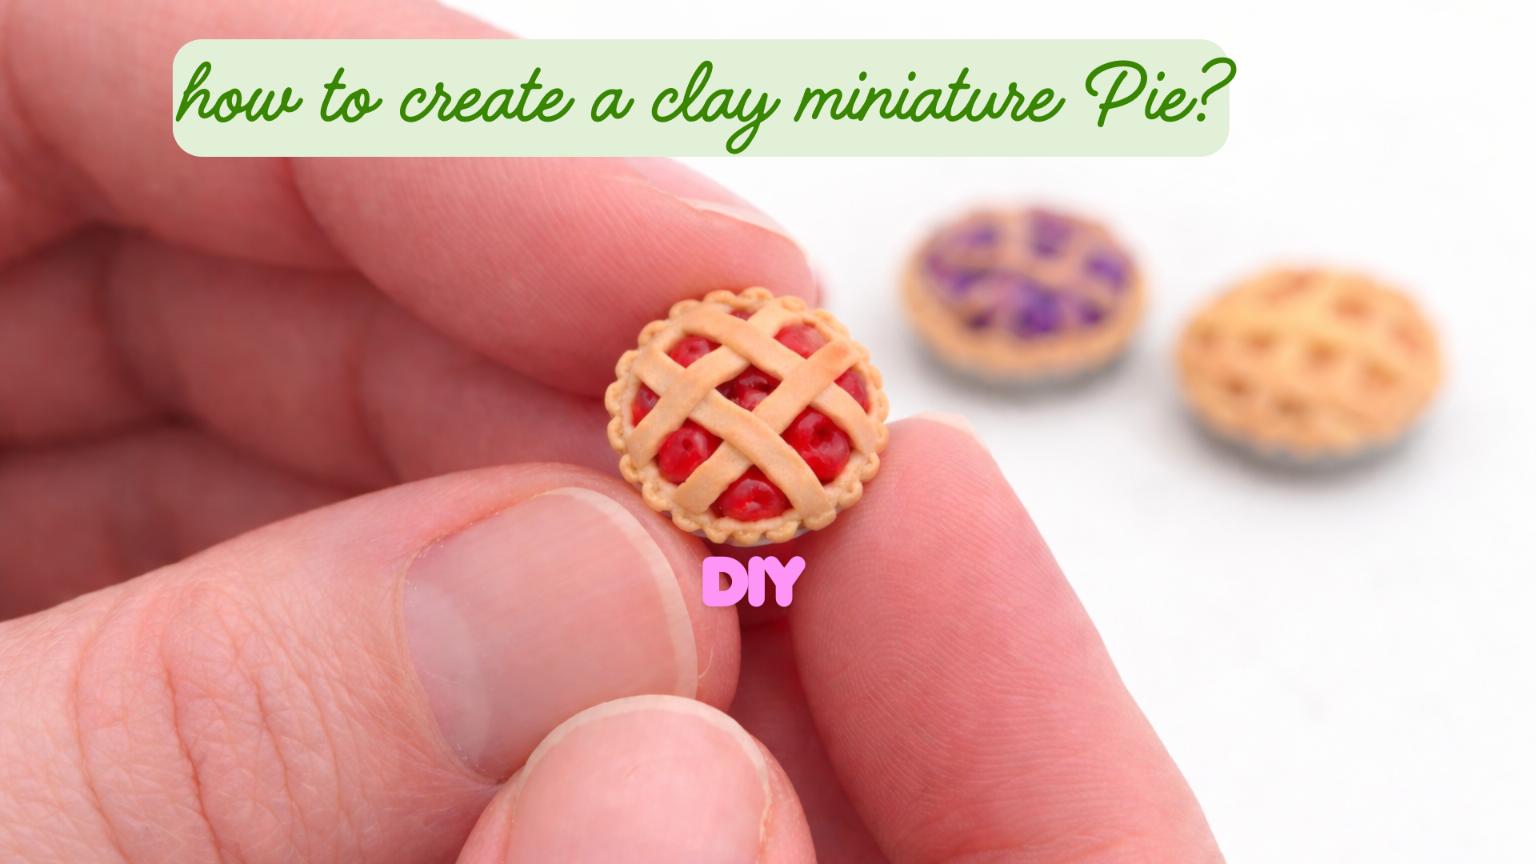
Another tutorial, Lizzy? Really? I’d say: why not! 😉 Let’s talk about how to make a miniature clay pie and dive straight into things! I will show you five simple steps to create a tiny dessert that looks good enough to eat.
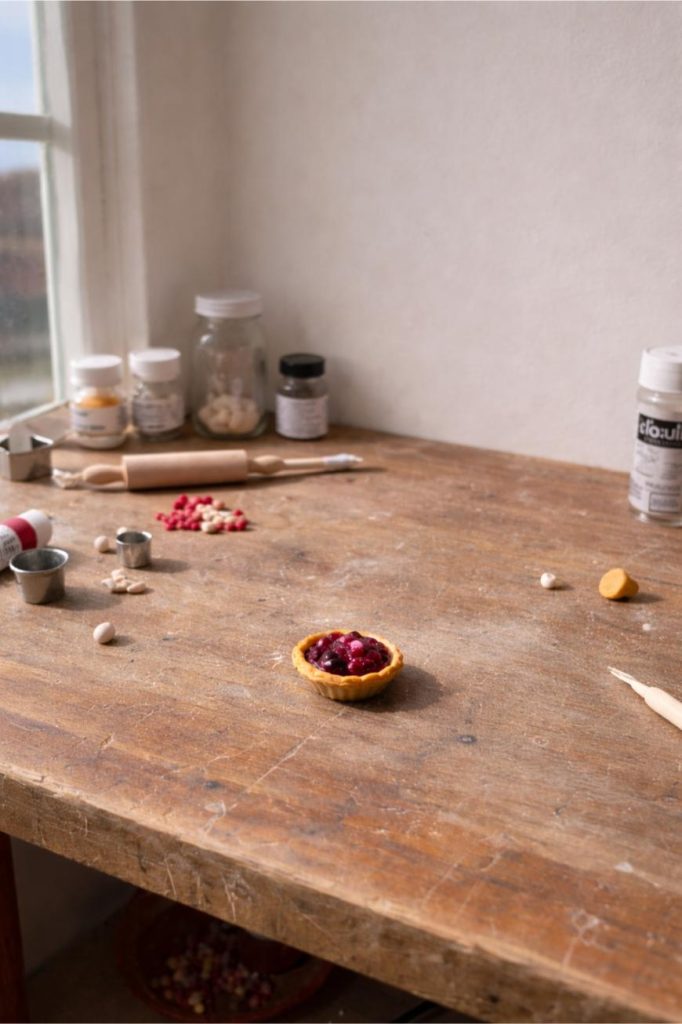
Before anything else, you need a good base to work on for the miniature pie.
This part doesn’t look like much yet, but it decides the overall shape of your pie. If this feels off, you’ll notice it later, especially once everything is assembled.
Option 1: Full clay crust
Roll your clay out thin. And I mean thinner than you think.
The first time I made one, I kept it too thick, and it looked more like a biscuit than a pie.
Press it into a shallow round shape and gently push up the sides. Don’t aim for perfection here: just get the general shape right.
You can trim the edge neatly, or leave it slightly uneven. Real pies aren’t perfectly symmetrical either.
Option 2: Bottle cap trick (my go-to)
This one is simple, but very effective.
Take a bottle cap and press a thin layer of clay inside it. That immediately gives you a clean pie shape without having to build it from scratch.
I use this when I want a quick, neat base without spending too much time adjusting the edges.
This is where the pie starts to look like actual food.
If you’re making a fruit pie, translucent clay makes a noticeable difference. It lets a bit of light pass through after baking, which gives that cooked-fruit look instead of something flat and solid.
Mix a small amount of colored clay into the translucent base. You don’t need much, just enough to tint it.
Shape your filling depending on the type of pie:
small balls for berries
uneven chunks for apple pie
a smoother layer for something like pumpkin pie
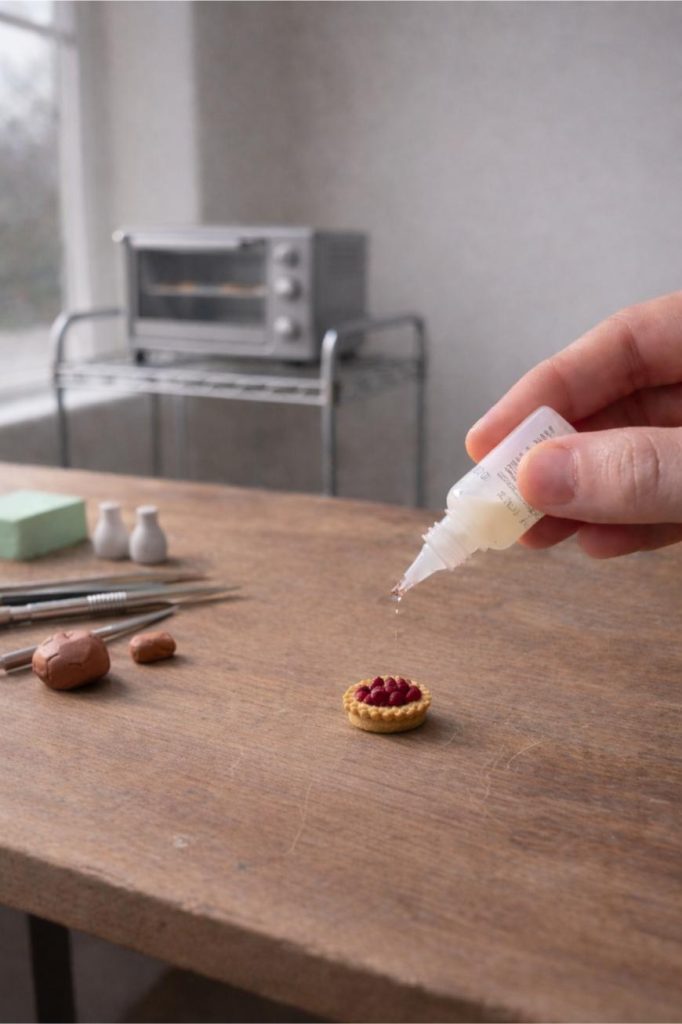
If you want a slightly wetter look, mix in a tiny bit of liquid clay. It helps everything settle together and gives a subtle shine after baking.
Fill the base until it’s just level with the edge.
Keep the filling slightly uneven and let some pieces overlap. Leave a few slightly out of place, because real fillings aren’t perfectly arranged either.
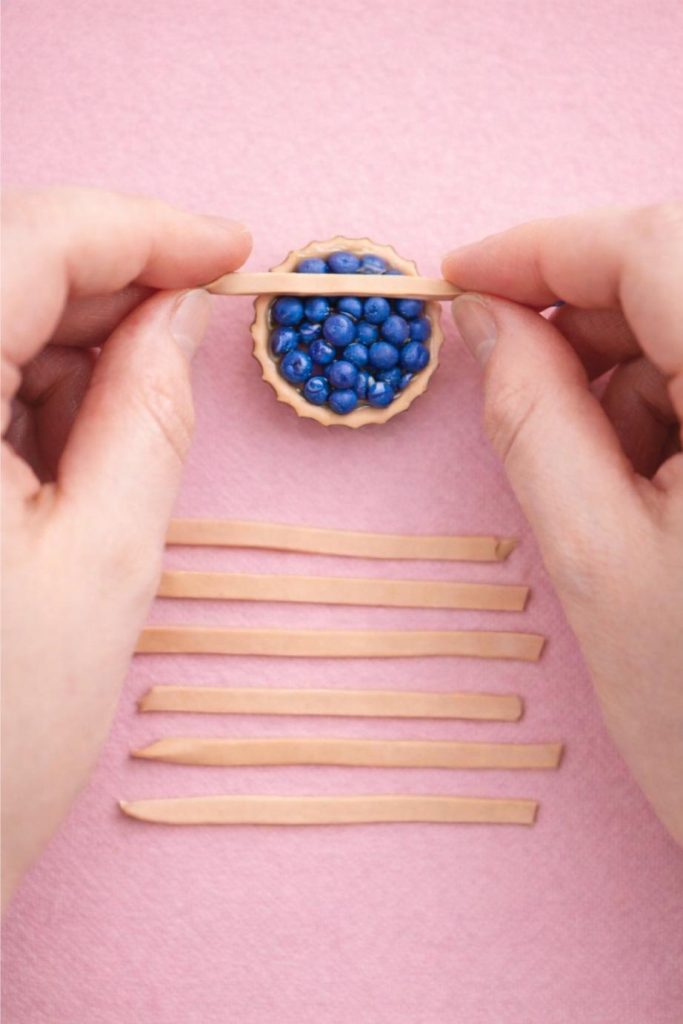
Step 3: Add the Lattice Crust
Roll out more clay and cut thin strips in a color that looks like deliciously baked crust.
Keep them narrow: thick strips can quickly make the pie look oversized.
Lay a few strips across the pie in one direction, then weave the others over and under. It doesn’t have to be perfectly even.
Press the ends lightly into the edges so they stay in place, then trim any excess.
If the surface looks too smooth, you can gently press it with a toothbrush or sponge to add a bit of texture.
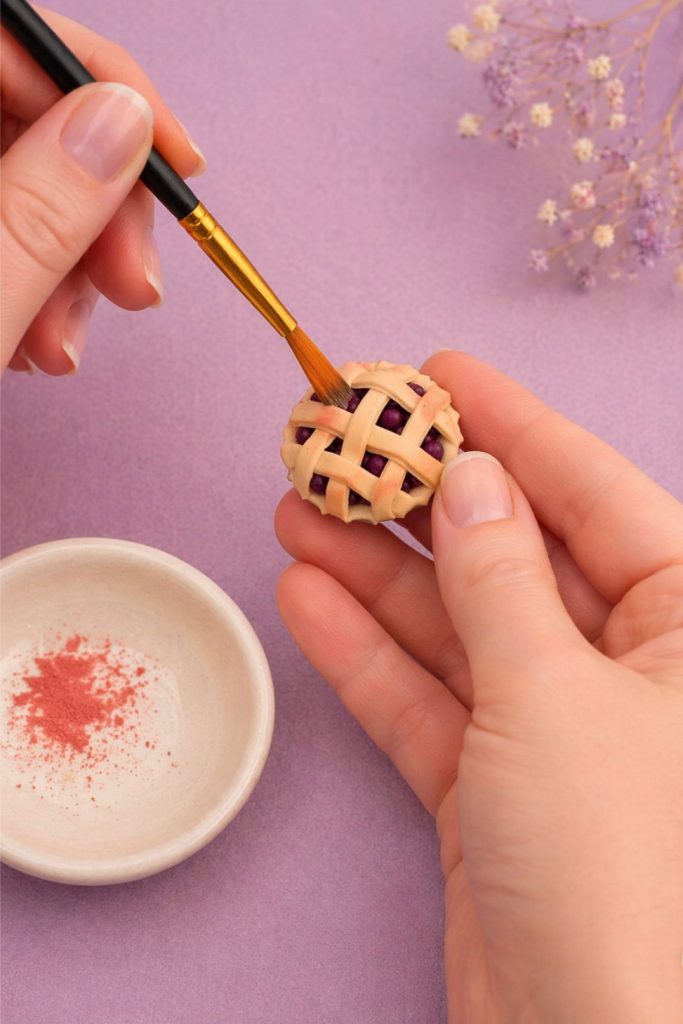
Step 4: Add Color to the Crust
At this point, the pie still looks like raw clay.
So scrape a bit of chalk, pastel, or eyeshadow into powder: light brown and a bit of yellow usually works well.
Use a soft brush to apply it lightly to the crust:
a thin layer on top
slightly more along the edges
a bit darker on raised areas
Build the color slowly. It’s much easier to add more than to fix it if it gets too dark.
Step 5: Bake the Pie!
Bake the pie according to the instructions on your clay packaging.
Once it cools down, everything will firm up, and the colors will settle into a more natural look.
A Few Things That Make a Difference
These are small details, but they really help:
thinner crust looks more realistic
a bit of translucent clay improves fruit fillings
liquid clay adds a subtle “moist” look
slight imperfections make the pie look more natural
6 thoughts on “5 Essential Steps to Make a Clay Miniature Pie”
I thought that image was of a real chicken and it was making me hungry. lol I now see that it is a miniature and I have to say, it’s flawless. I’m assuming it isn’t one of the real miniature edible foods you mentioned in your article, as unlike a hamburger, you can’t form a small chicken out of chicken. I did find it so interesting that people actually create working miniature kitchens and cook miniature foods.
Haha, I know,right? I was amazed by her work,it looks so real! True though, you can’t form a mini chicken out of a real chicken,think that would be impossible. But who knows who can create wonders out there in the mini world!
When I first saw the title of this post, I thought “no way"! I thought it was real at first! Then found out that it was! How intriguing. I have seen some pretty realistic looking food used as props in a theatre setting, but these miniature artists take it to another level. Especially considering that you are meant to view the foodstuffs and settings up close, the fact that they were able to capture so much convincing detail is stunning and highly amusing.
There sure are some amazing miniature food makers out there, aren’t they? It surprises me every time how good they are at their work, it is Art with a big A ! 🙂
When I saw the header photo, I thought it was a real chicken! Miniaturists never cease to amaze me! Sometimes I think they have shrinking machines! I’m learning how to make miniature food from tutorials from Rina Vellichor on YouTube too. But, I’m afraid I’ll never be able to repeat this chicken! Thanks for the great collection of tutorials and tips!
Hi Batty!
I totally agree, these miniaturists are wizards haha! I’m nothing when I compare my Youtube channel with theirs, but I’m learning 🙂
You are welcome!
Lizzy


I thought that image was of a real chicken and it was making me hungry. lol I now see that it is a miniature and I have to say, it’s flawless. I’m assuming it isn’t one of the real miniature edible foods you mentioned in your article, as unlike a hamburger, you can’t form a small chicken out of chicken. I did find it so interesting that people actually create working miniature kitchens and cook miniature foods.
Haha, I know,right? I was amazed by her work,it looks so real! True though, you can’t form a mini chicken out of a real chicken,think that would be impossible. But who knows who can create wonders out there in the mini world!
When I first saw the title of this post, I thought “no way"! I thought it was real at first! Then found out that it was! How intriguing. I have seen some pretty realistic looking food used as props in a theatre setting, but these miniature artists take it to another level. Especially considering that you are meant to view the foodstuffs and settings up close, the fact that they were able to capture so much convincing detail is stunning and highly amusing.
Hi Dbrae,
There sure are some amazing miniature food makers out there, aren’t they? It surprises me every time how good they are at their work, it is Art with a big A ! 🙂
I wish you happy crafting and amusement 🙂
Best regards,
Lizzy
When I saw the header photo, I thought it was a real chicken! Miniaturists never cease to amaze me! Sometimes I think they have shrinking machines! I’m learning how to make miniature food from tutorials from Rina Vellichor on YouTube too. But, I’m afraid I’ll never be able to repeat this chicken! Thanks for the great collection of tutorials and tips!
Hi Batty!
I totally agree, these miniaturists are wizards haha! I’m nothing when I compare my Youtube channel with theirs, but I’m learning 🙂
You are welcome!
Lizzy