
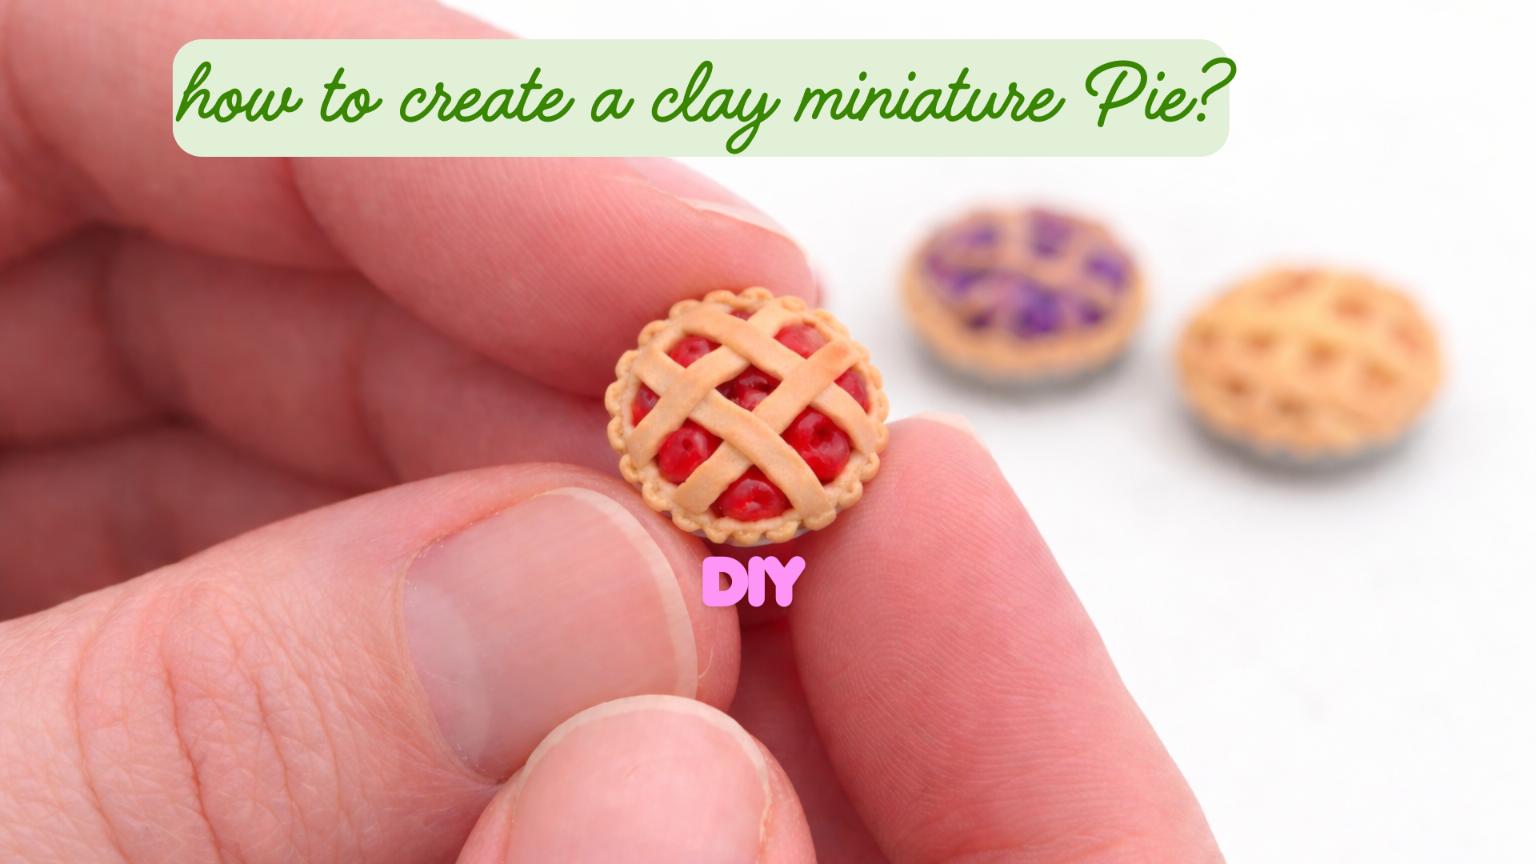
Another tutorial, Lizzy? Really? I'd say: why not! 😉 Let's talk about how to make a miniature clay pie and dive straight into things! I will show you five simple steps to create a tiny dessert that looks good enough to eat.
updated 15/04/2026
What materials to use
Nothing complicated, just the basics:
- polymer clay (for crust + filling). For the colors of the fruit on one hand, and a tan color on the other hand for the base and crust.
- a bit of translucent clay (optional, but worth it)
- liquid clay (just a tiny bit)
- chalk pastel, eyeshadow, or soft pastel
- craft knife or blade
- needle tool / toothpick
- soft brush
- optional: a bottle cap
Start With the Pie Base (2 Options)
Before anything else, you need a good base to work on for the miniature pie.
This part doesn’t look like much yet, but it decides the overall shape of your pie. If this feels off, you’ll notice it later, especially once everything is assembled.
Option 1: Full clay crust
Roll your clay out thin. And I mean thinner than you think.
The first time I made one, I kept it too thick, and it looked more like a biscuit than a pie.
Press it into a shallow round shape and gently push up the sides. Don’t aim for perfection here: just get the general shape right.
You can trim the edge neatly, or leave it slightly uneven. Real pies aren’t perfectly symmetrical either.
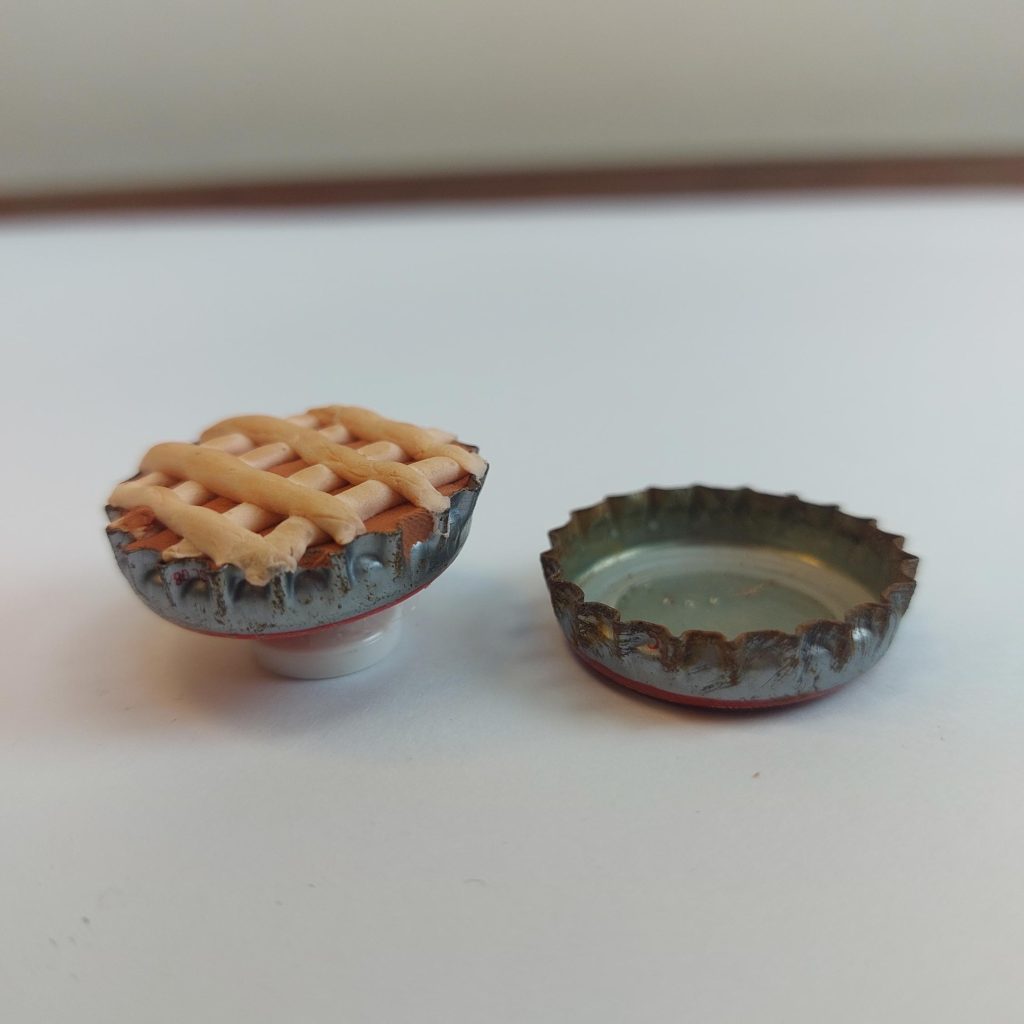
Option 2: Bottle cap trick (my go-to)
This one is simple, but very effective.
Take a bottle cap and press a thin layer of clay inside it. That immediately gives you a clean pie shape without having to build it from scratch.
I use this when I want a quick, neat base without spending too much time adjusting the edges.
I've created a small tutorial before on this method.
Step 2: Prepare the Filling
This is where the pie starts to look like actual food.
If you’re making a fruit pie, translucent clay makes a noticeable difference. It lets a bit of light pass through after baking, which gives that cooked-fruit look instead of something flat and solid.
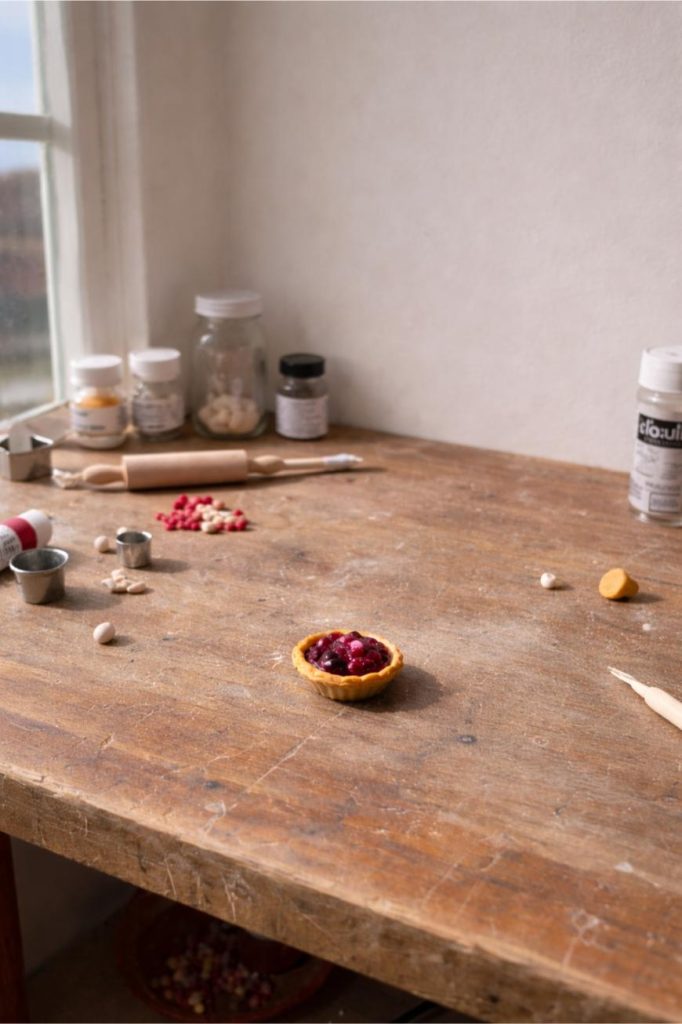
Mix a small amount of colored clay into the translucent base. You don’t need much, just enough to tint it.
Shape your filling depending on the type of pie:
- small balls for berries
- uneven chunks for apple pie
- a smoother layer for something like pumpkin pie
If you want a slightly wetter look, mix in a tiny bit of liquid clay. It helps everything settle together and gives a subtle shine after baking.
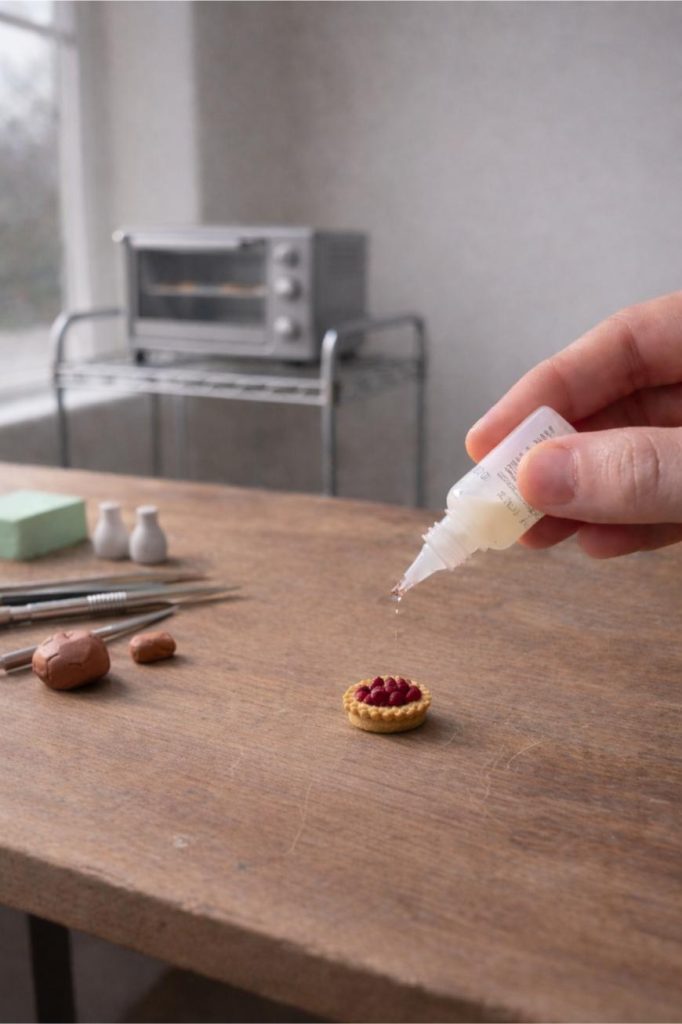
Fill the base until it’s just level with the edge.
Keep the filling slightly uneven and let some pieces overlap. Leave a few slightly out of place, because real fillings aren’t perfectly arranged either.
Step 3: Add the Lattice Crust
Roll out more clay and cut thin strips in a color that looks like deliciously baked crust.
Keep them narrow: thick strips can quickly make the pie look oversized.