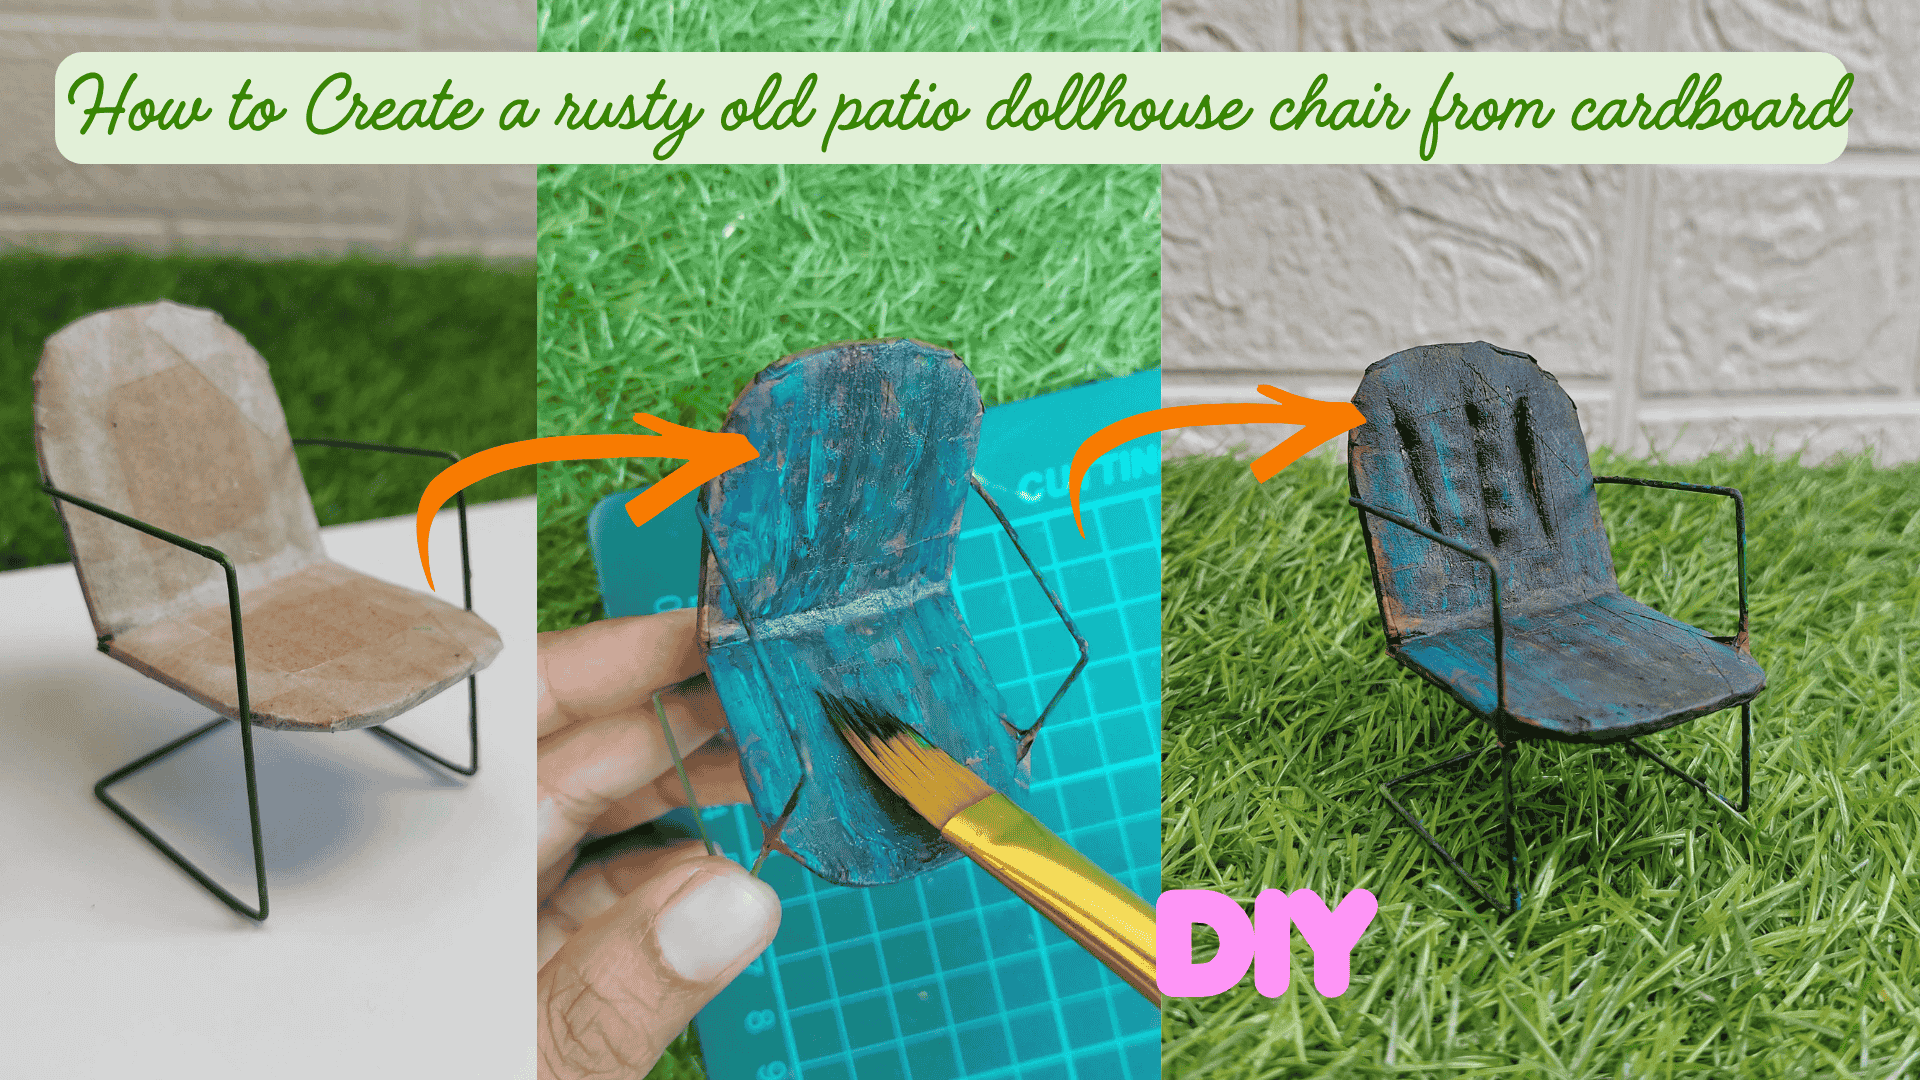
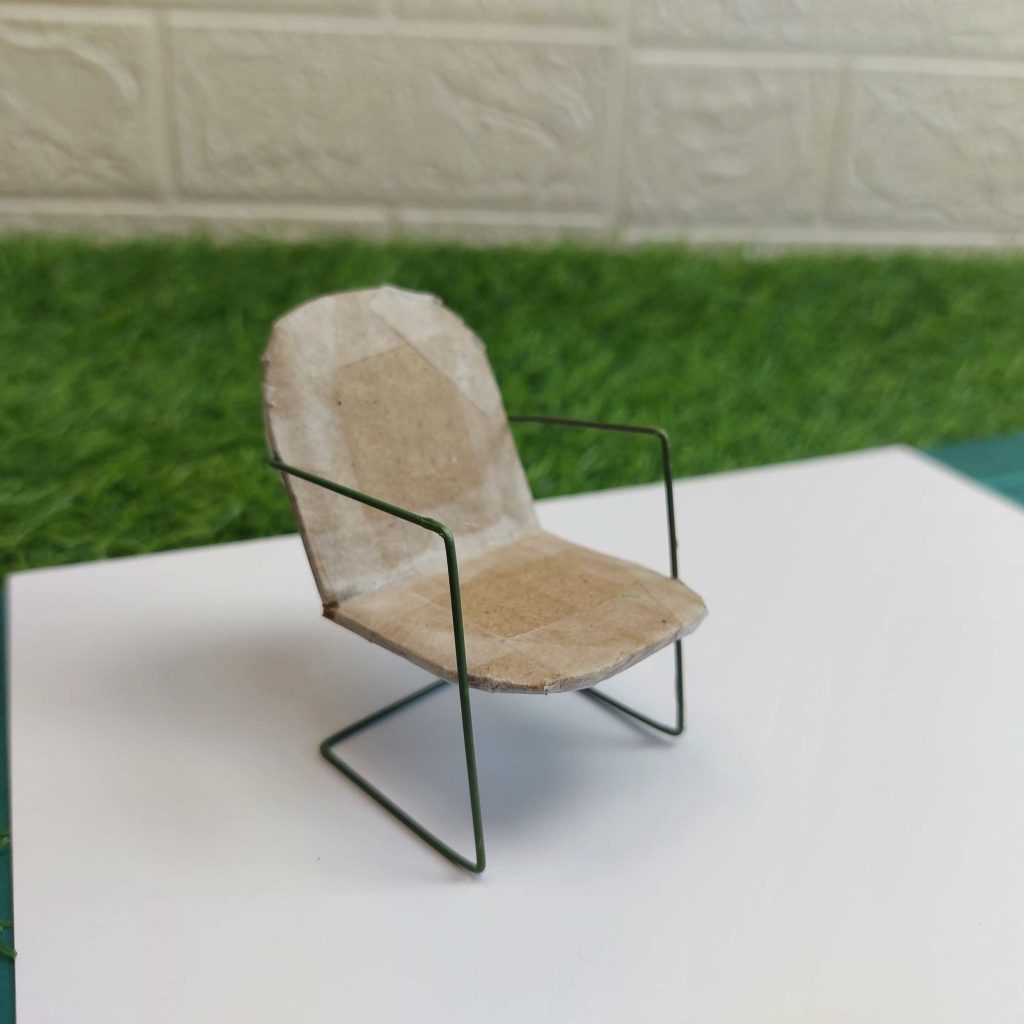
I made this little garden chair using just cardboard and some metal wire, and honestly, it turned out better than I expected. The structure is super simple, but once you add the paint layers, it really starts to look like an old, slightly rusty miniature dollhouse outdoor chair.
It’s a nice, quick project if you want to add something a bit more “lived-in” to your dollhouse garden or patio.
Materials to use
- Cardboard (for seat and back) ( 4x 4 cm)
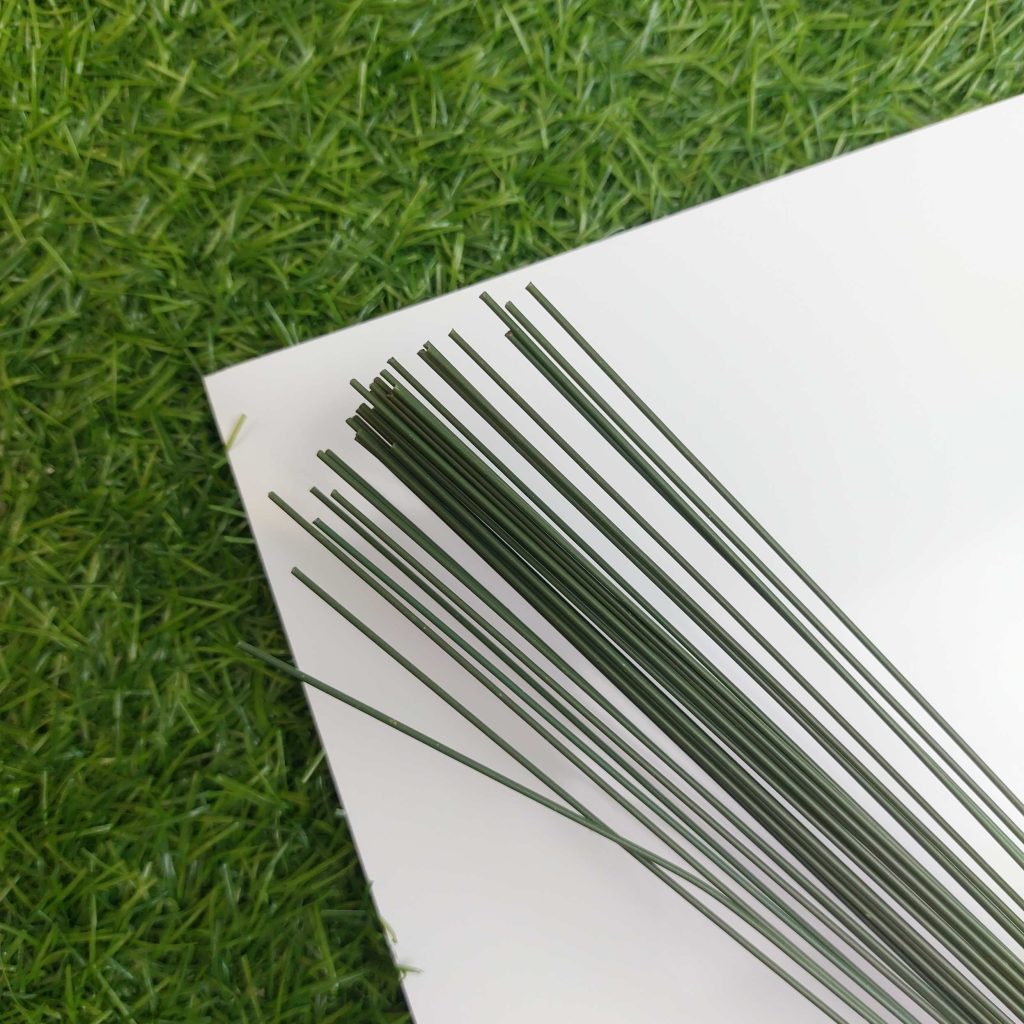
- Strong green metal wire (stiff enough to hold shape)
- Strong glue (hot glue works well)
- Masking tape
- Craft knife
- Pliers
- Acrylic paint:
- Red
- Green
- Yellow (to mix brown)
- Blue
- Black
Step-by-Step Tutorial
🎥 Watch this Short on YouTube
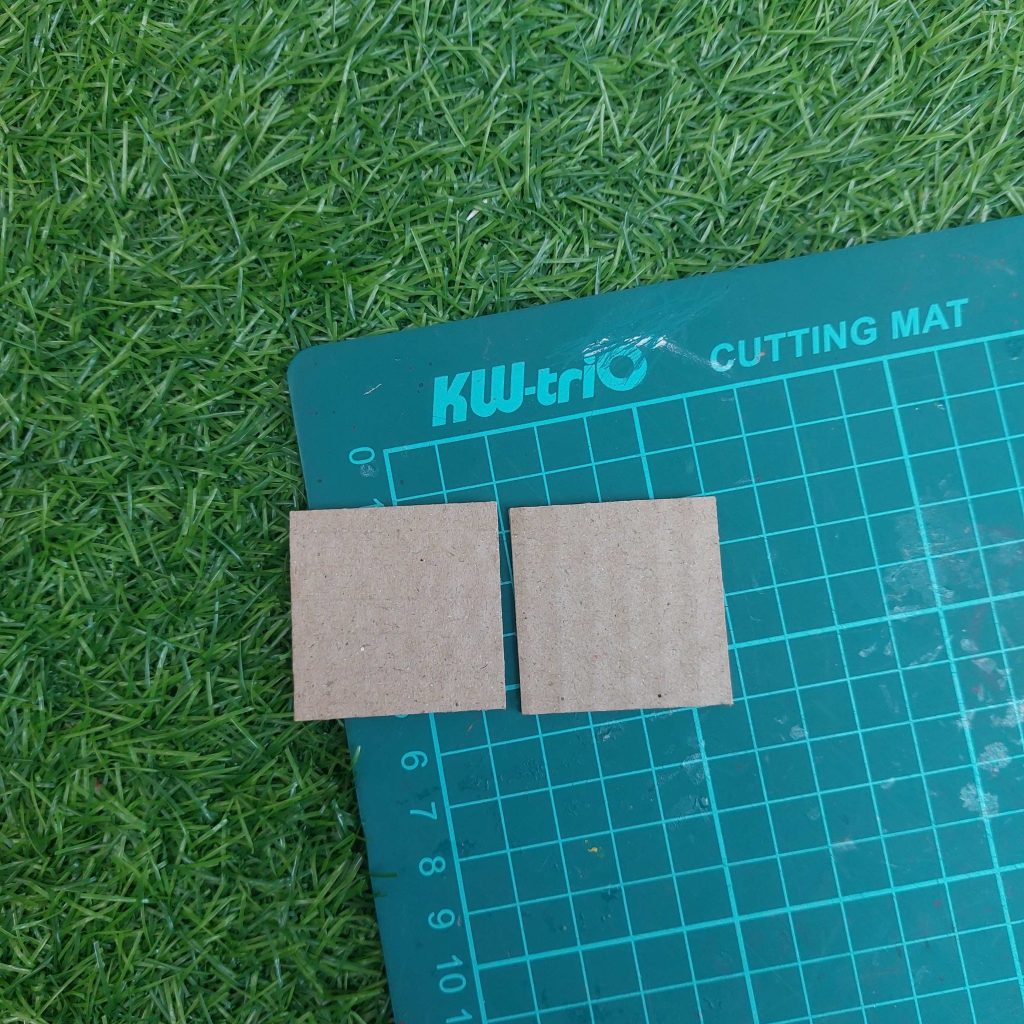
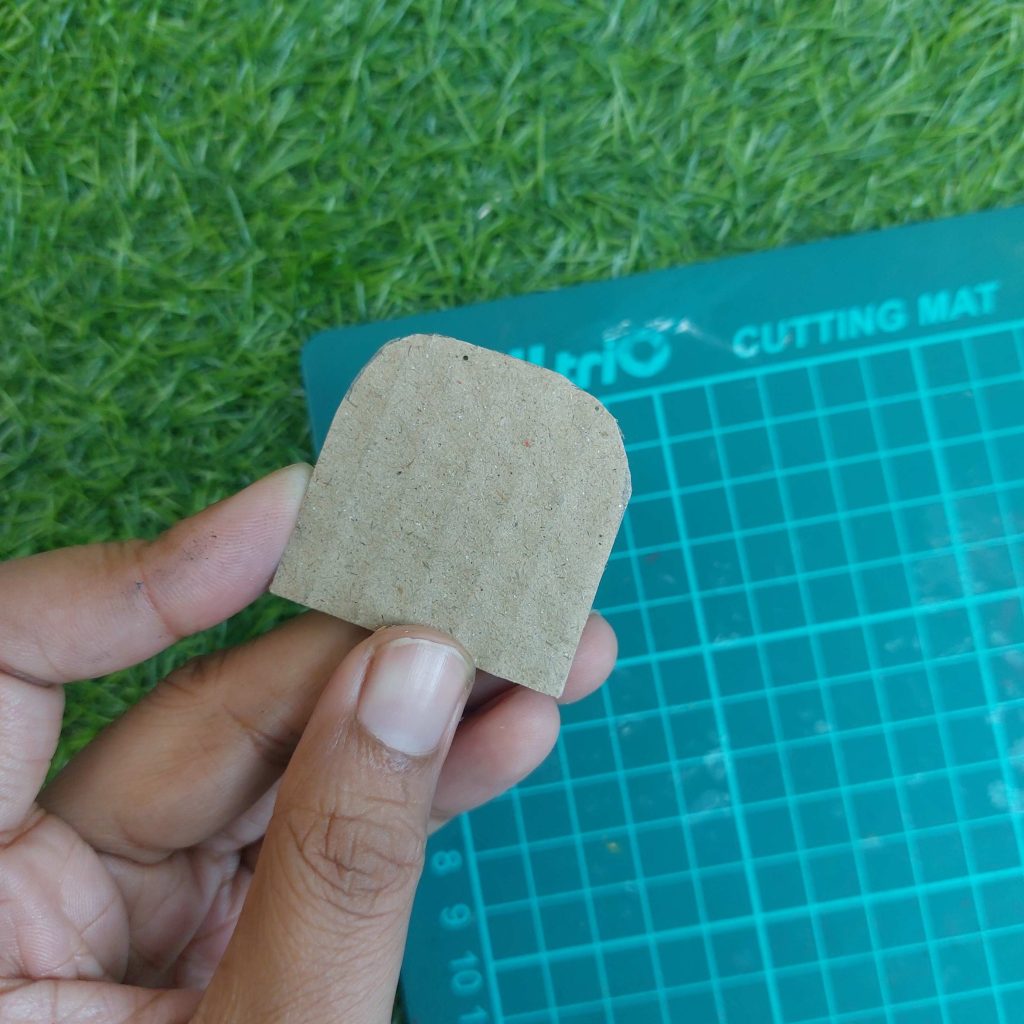
Step 1: Cut the seat and back
Cut 2 squares of 4 × 4 cm from cardboard.
Round off the top corners of both pieces to give them a softer, more realistic chair shape.

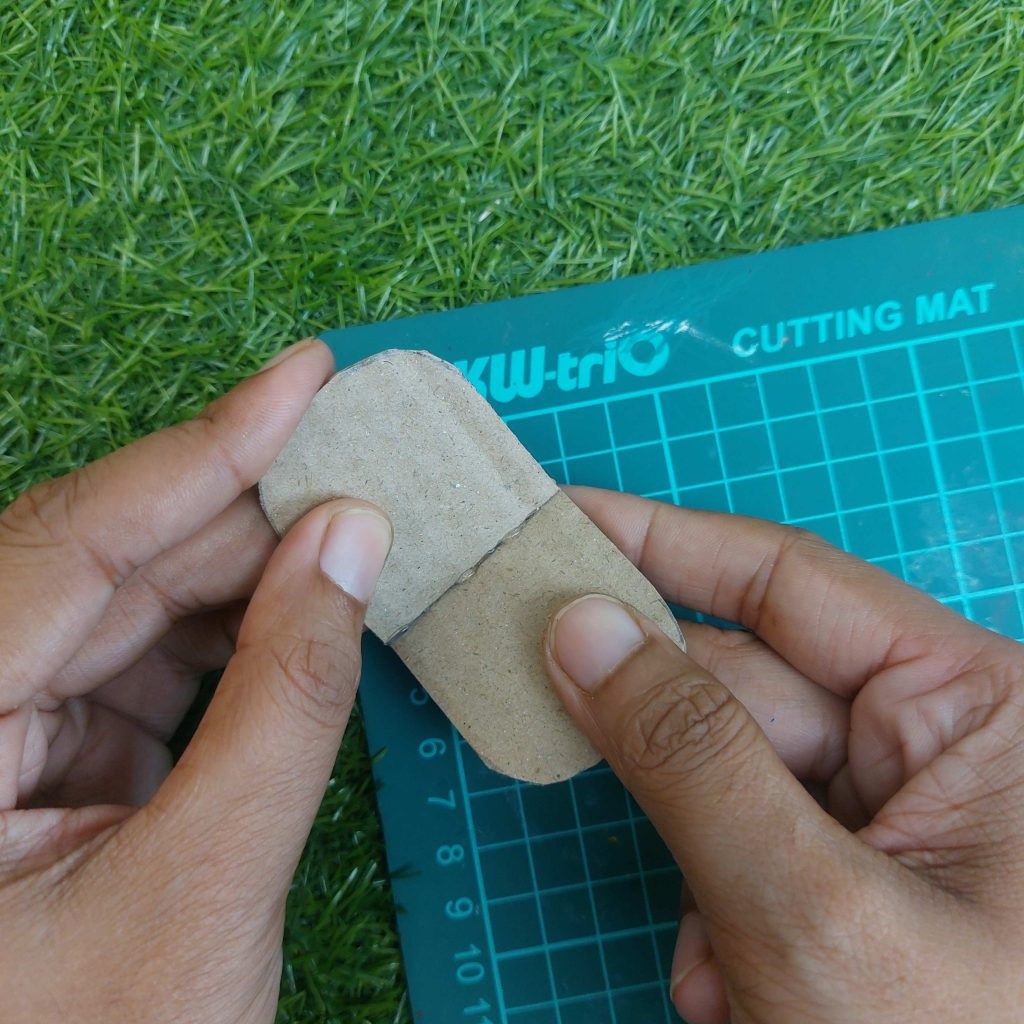
Step 2: Assemble the basic chair shape
Glue the two pieces together at around 100° angle to form the seat and backrest.
Hold it in place for a moment so it sets properly.
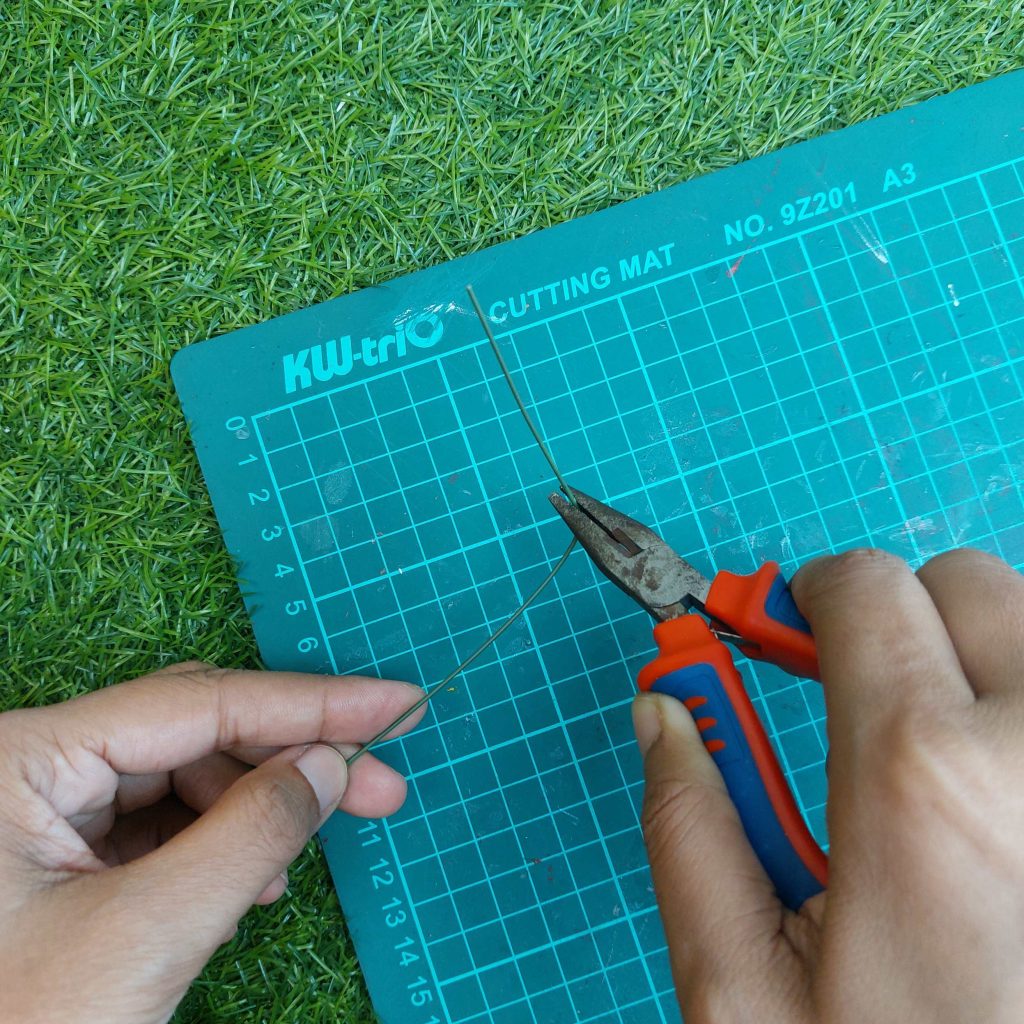
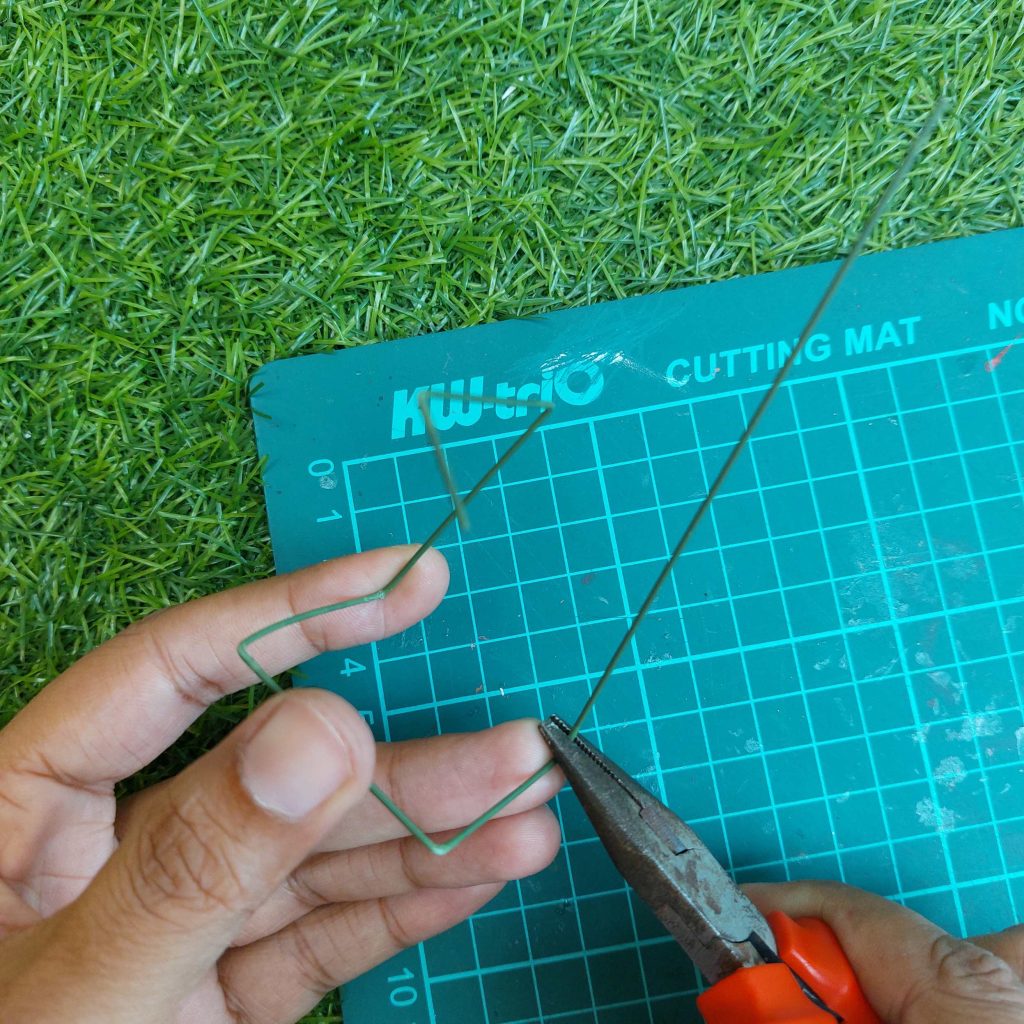
Step 3: Bend the wire frame
Cut your metal wire and use pliers to bend it into shape.
Each side should form:
- A front leg
- A bottom support
- A back support (slightly angled)
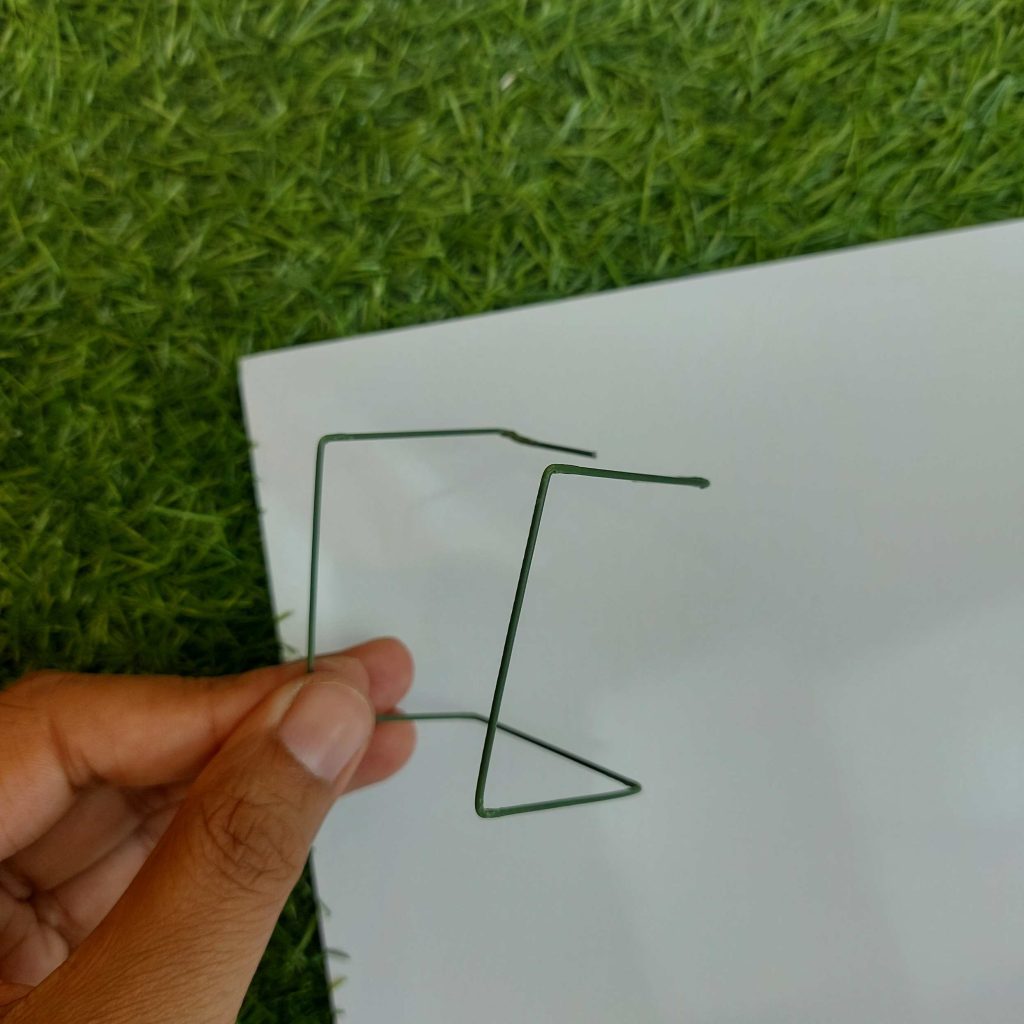
Make two identical pieces, one for each side of the chair.
Follow the shapes!
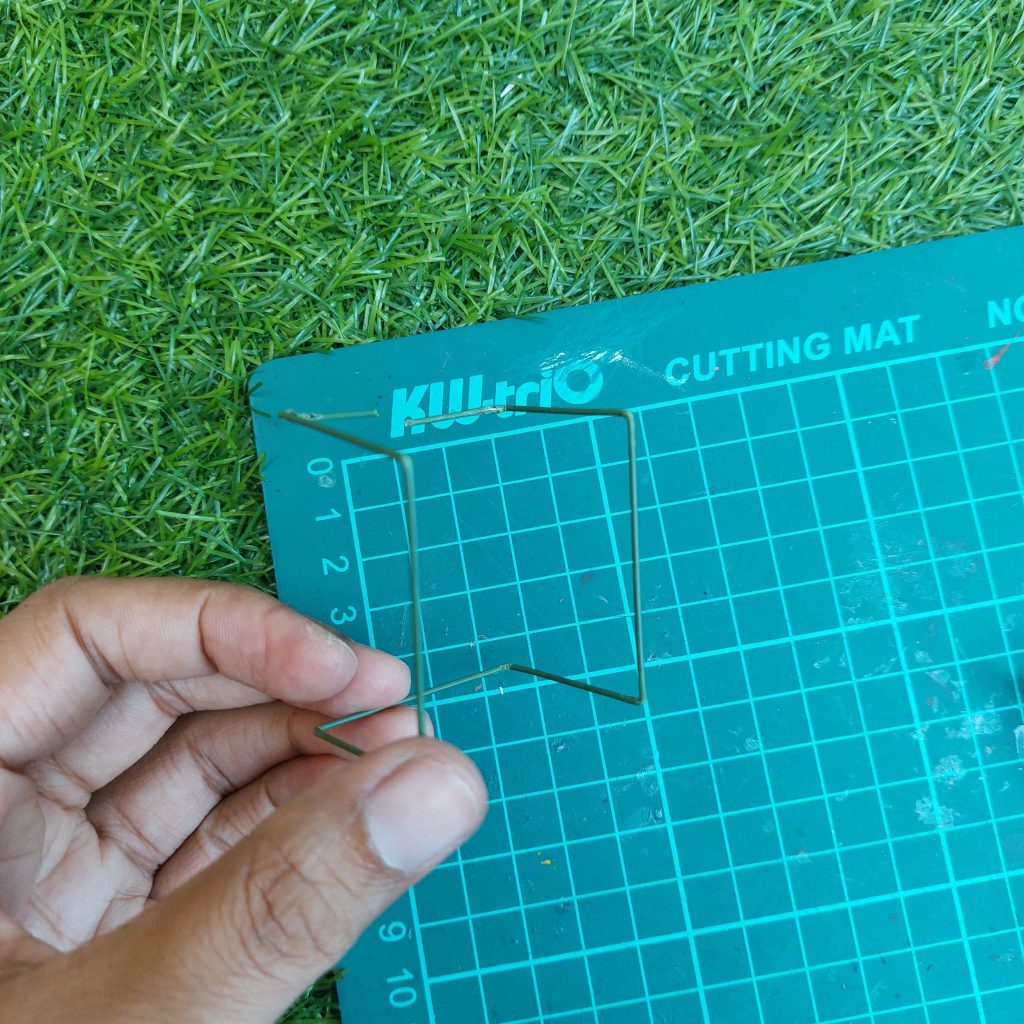
Untill you get this shape:
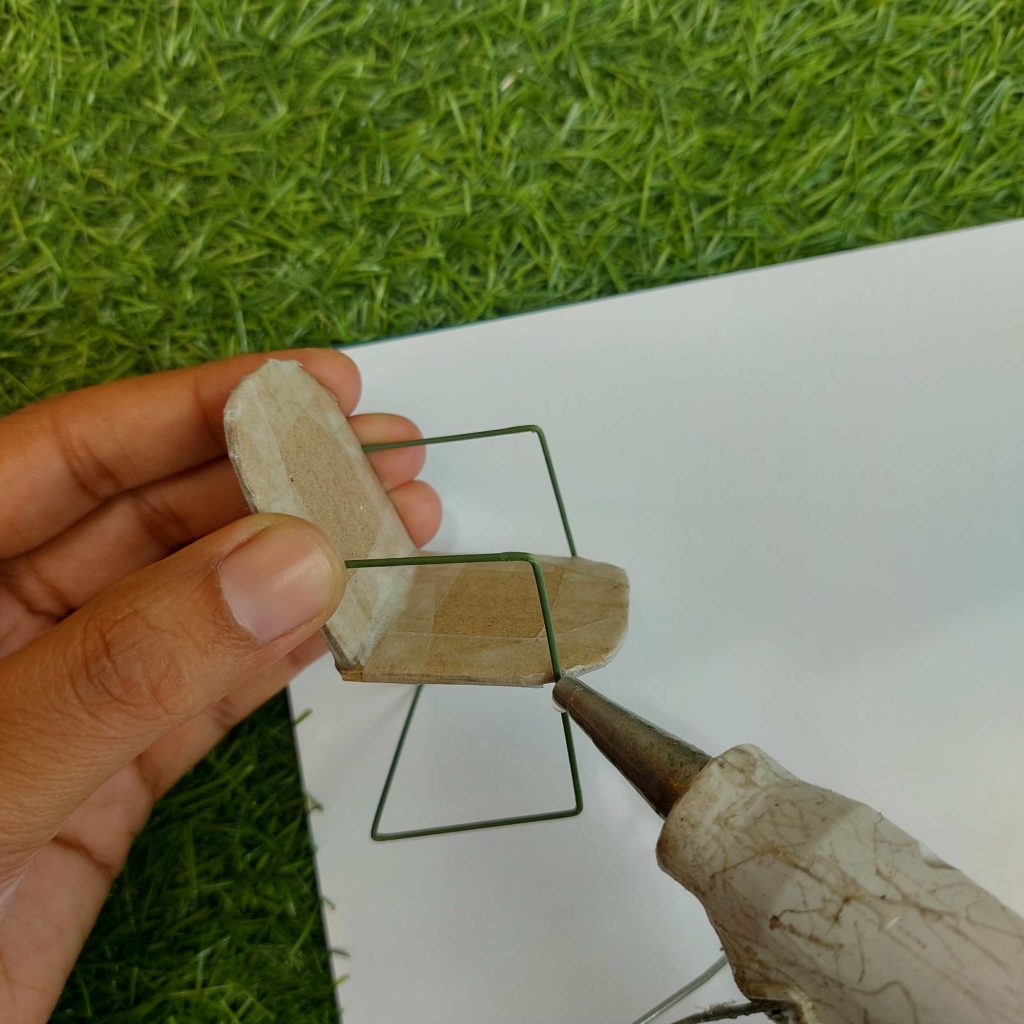
Step 4: add masking tape and attach the wire to the seat
Cover the cardboard parts with masking tape.
This helps:
- Strengthen the structure
- Create a slightly uneven texture that works really well for an old look
Glue the wire frames onto both sides of the chair.
Try to keep everything aligned so the chair stands evenly and doesn’t wobble.

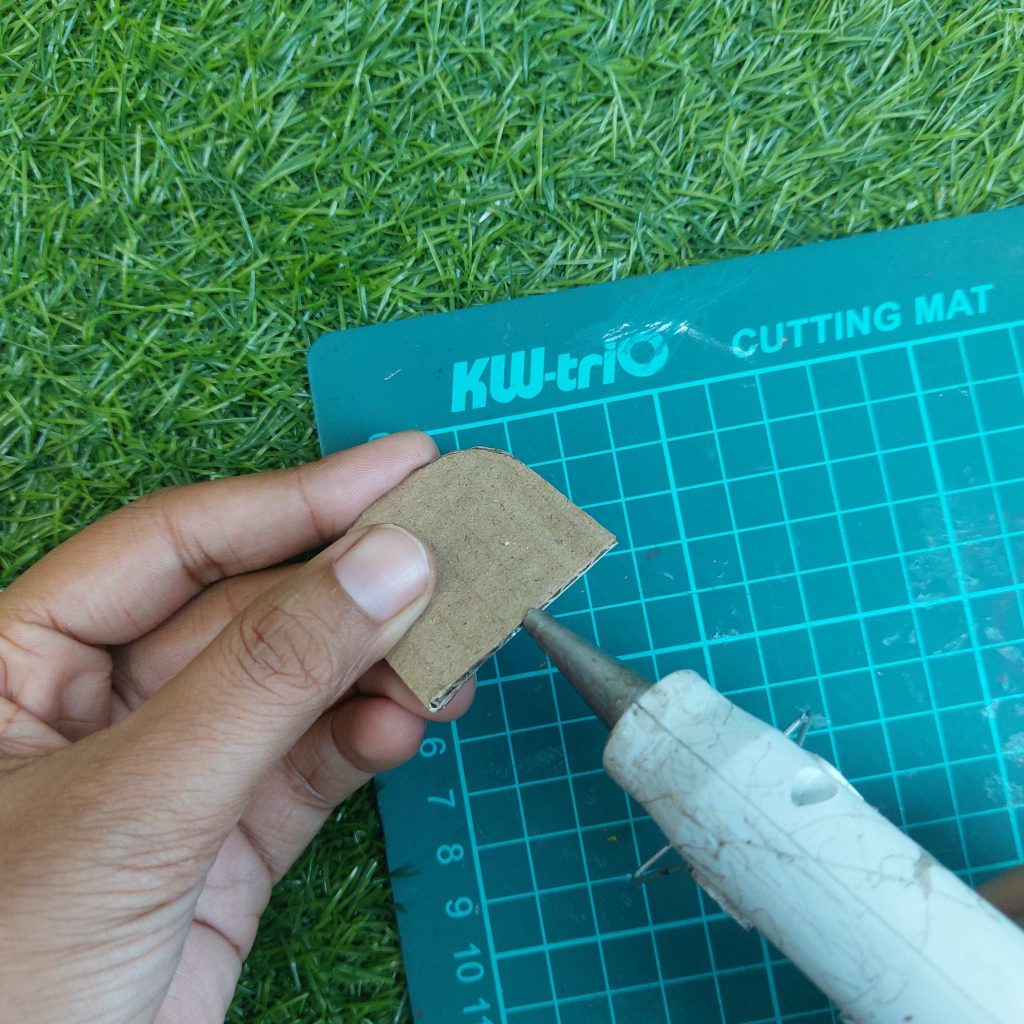
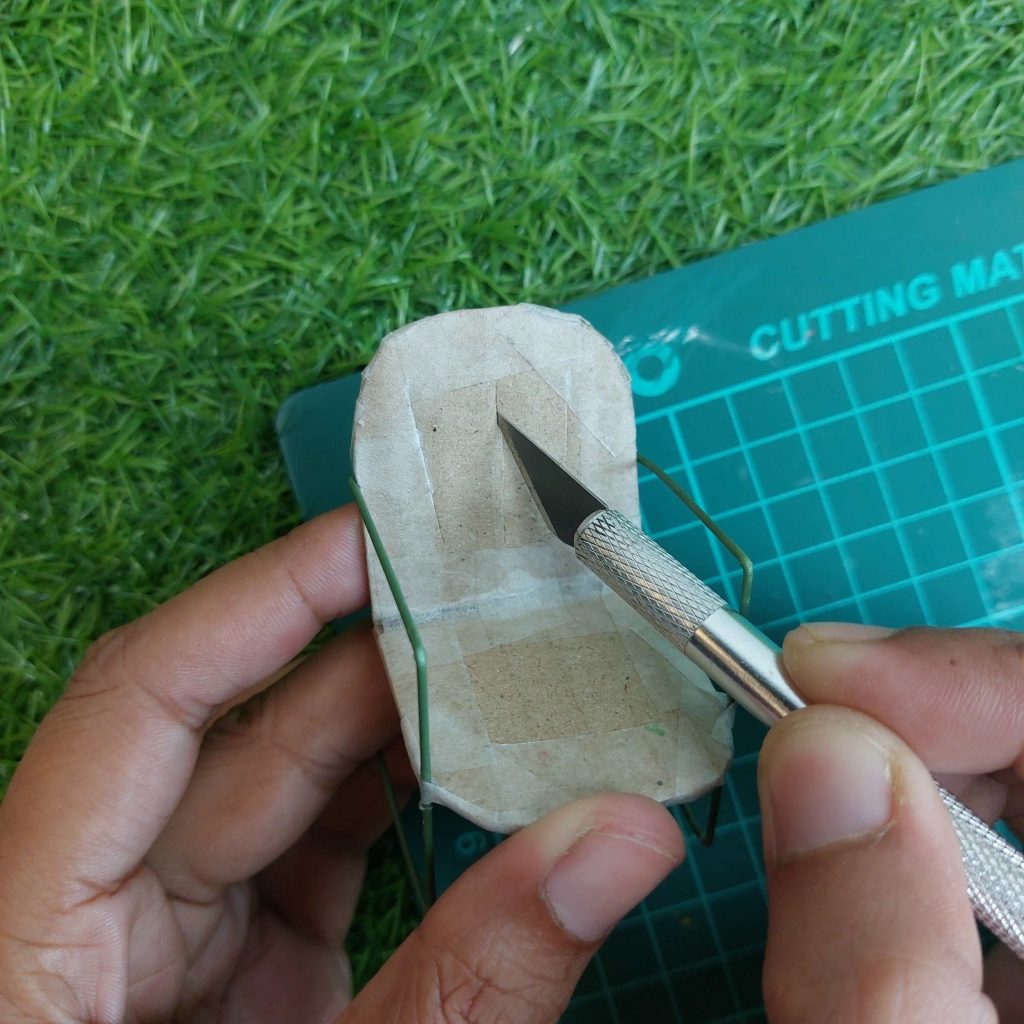
Step 5: Add worn details
Use a craft knife to lightly carve lines and small dents into the backrest and seat.
Don’t overthink this—just a few imperfections already make a big difference.
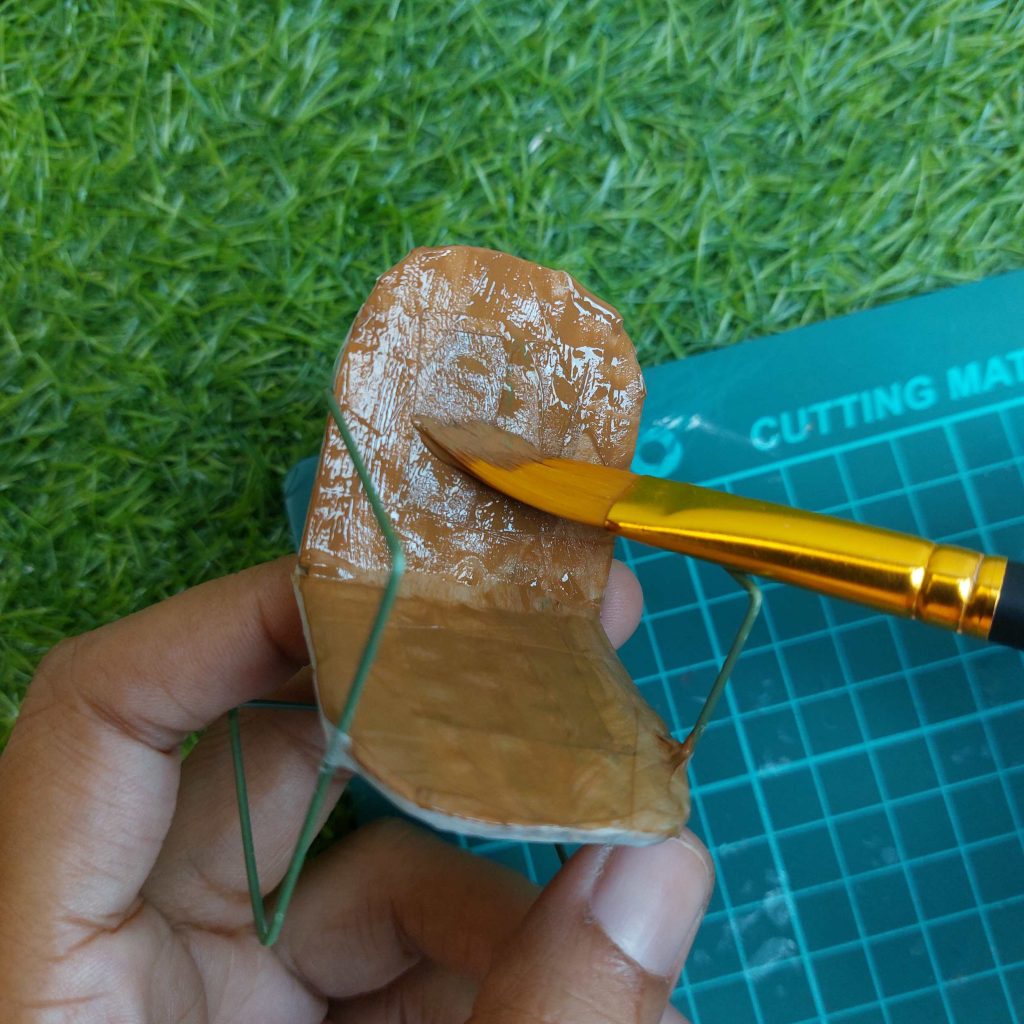
Step 6: Base coat (homemade brown)
Mix your own brown using acrylic paint:
- Red
- Green
- Yellow
Apply this as your first coat, let it dry, then add a second coat for better coverage.
Step 7: Build the vintage effect
Now start layering your colors to get that aged look.
Apply:
- Blue
- Black
- A small touch of green
Work one by one, lightly building up the layers instead of covering everything evenly.
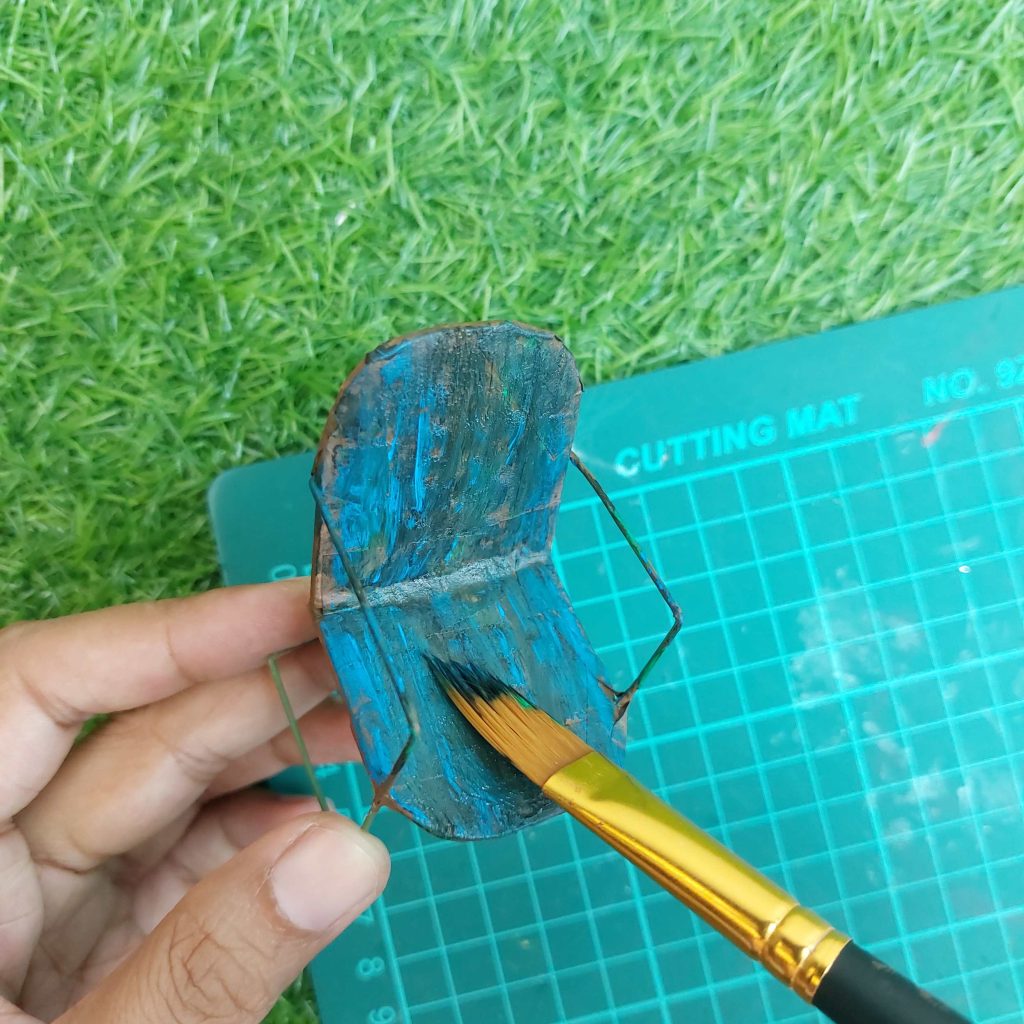
Let some of the brown show through in places—this helps create that worn, slightly rusty effect.
Related article: How to create a Boho hanging chair from metal rings and jute.
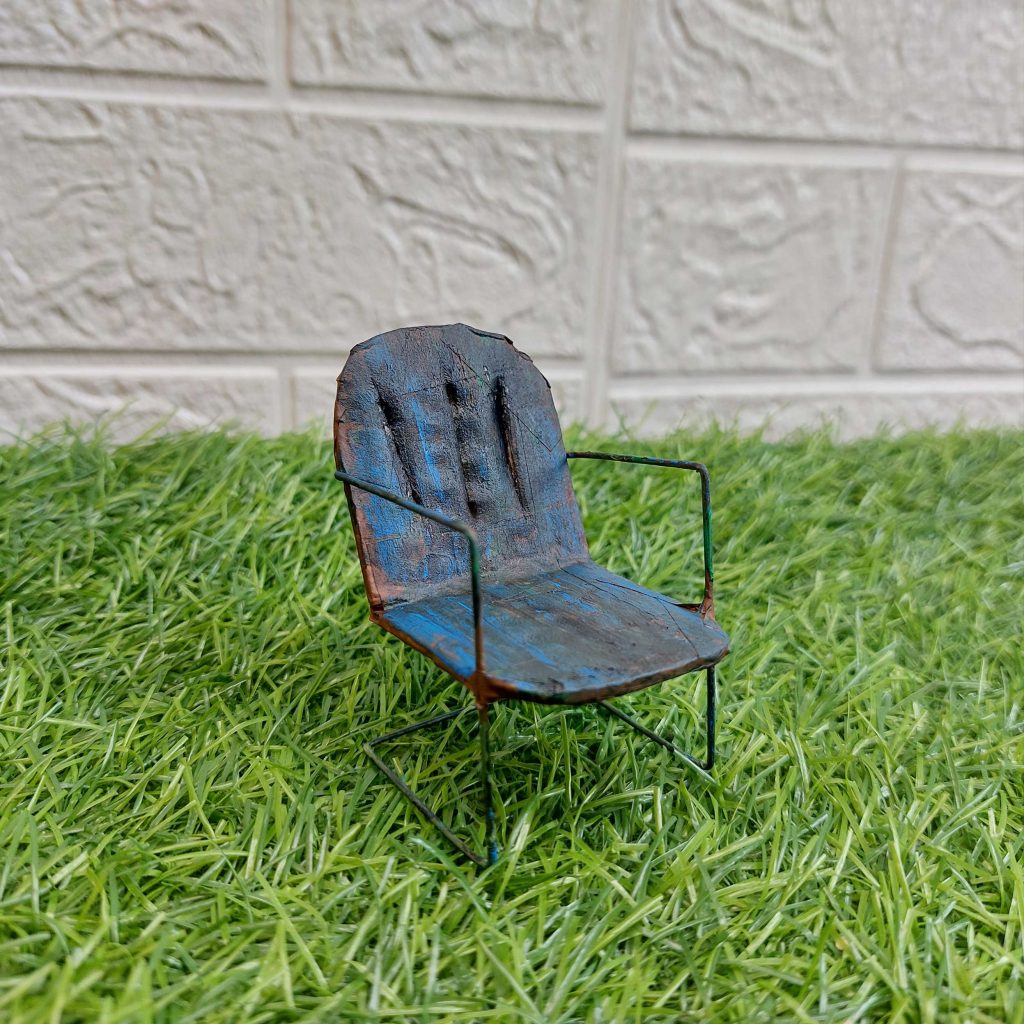
Final Result

You should now have a small garden chair that looks a bit old, slightly rusty, and full of character. Perfect for an outdoor dollhouse scene.
If you have any questions about this tutorial, feel free to share it in the comments section below, or share your results on my Facebook group!
I wish you happy crafting!
Kind regards,
Lizzy

Hi everyone!
My name is Lizzy, and I am an amateur miniaturist obsessed with everything in the dollhouse and miniature world, ever since I was a teenager.
So far, I have created 2 dollhouse projects, a backyard shed and a miniature treehouse, tons of DIY dollhouse kits, and “hacked” some.
I also created a fairy garden, and lots of small and simple miniature projects on my YouTube channel. (mostly made from trash or everyday items).
I love to write as well about all things happening in the miniature world, hence the reason why I created this blog!
I wish you happy reading and crafting!
Lizzy
Related Posts:


