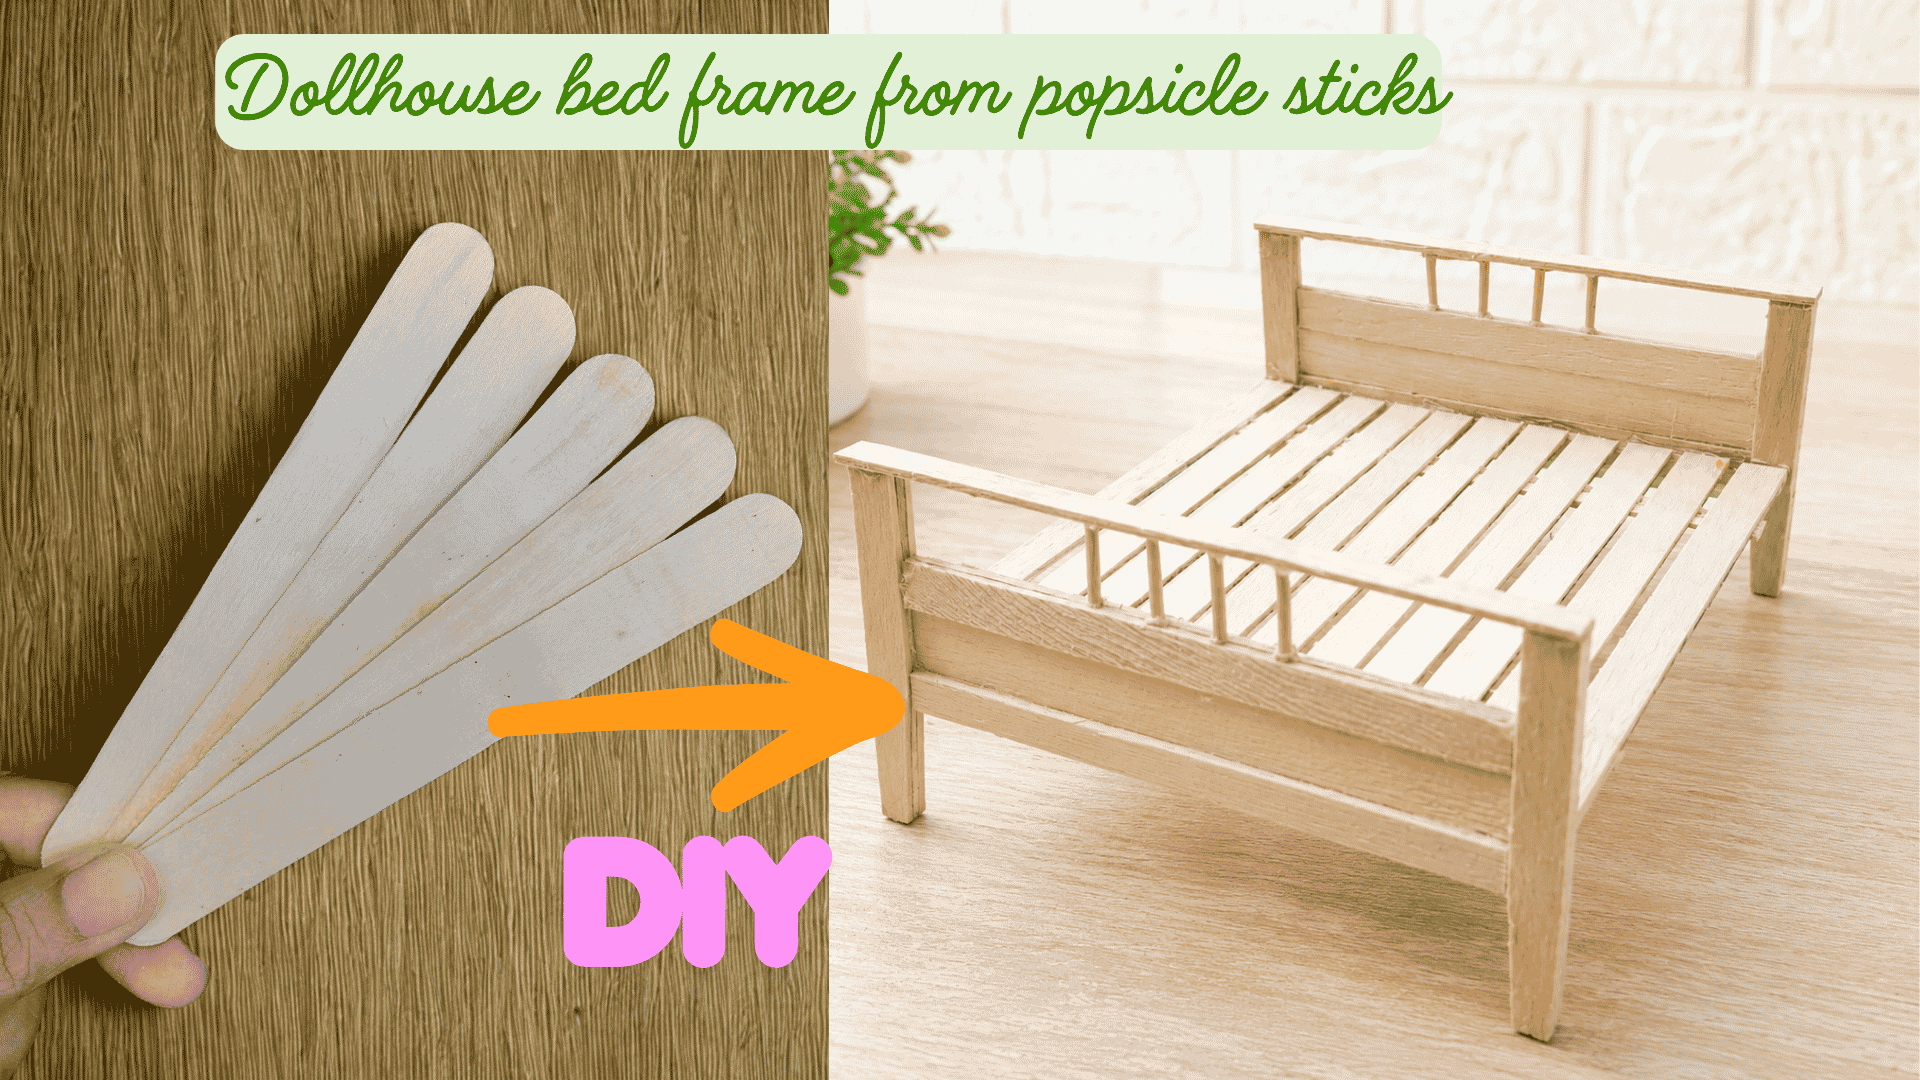
If you’re looking for an easy way to add a bed to your dollhouse without buying a kit, this is a great place to start, because this is one of those projects where you don’t need anything complicated to get a really nice result. Let’s go!
THIS TUTORIAL IS BEST WATCHED ON A DESKTOP COMPUTER INSTEAD OF A MOBILE DEVICE, FOR A BETTER OVERVIEW
PS, next week, we will create the bed linen and sheets for this bed, so keep posted!
As an Amazon, Etsy and Anavrin associate, I earn a small commission from your purchase, with no extra charges for you.
Materials I Used
For the bed:
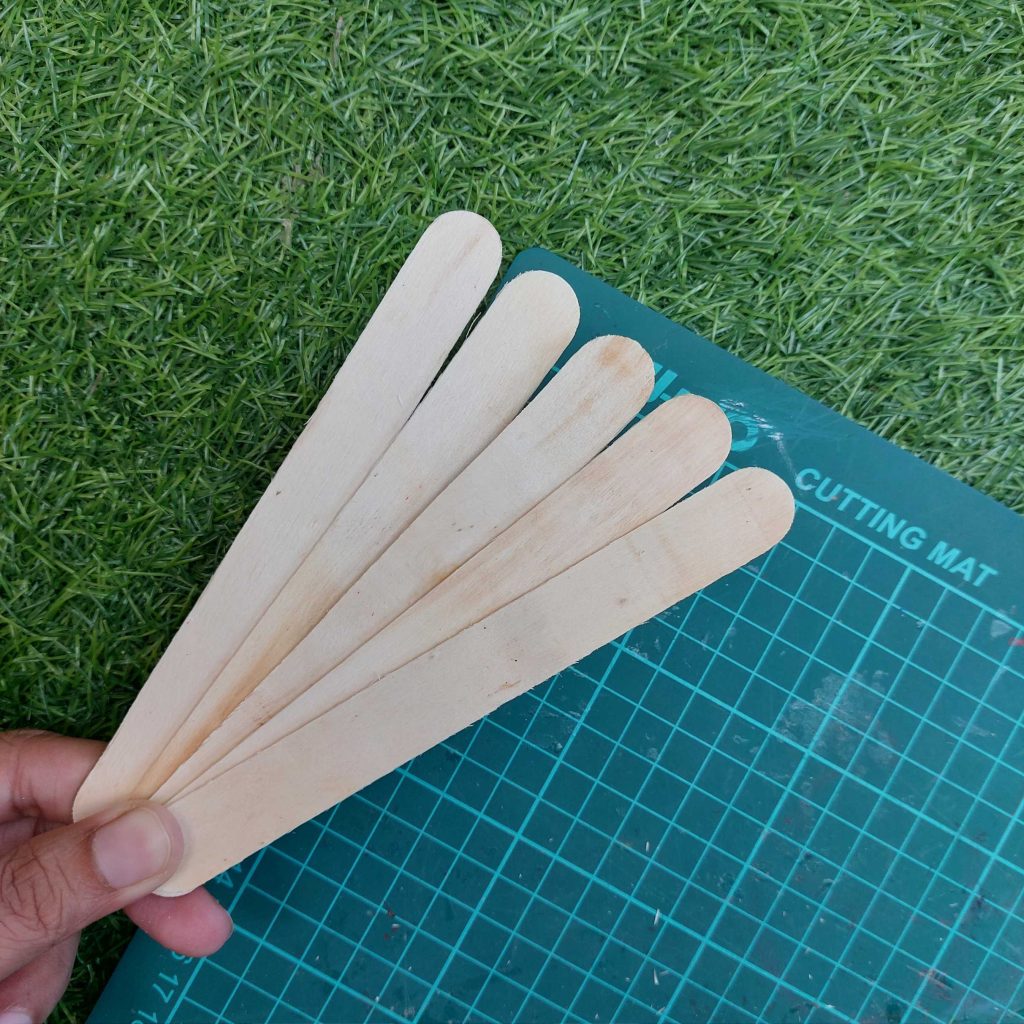
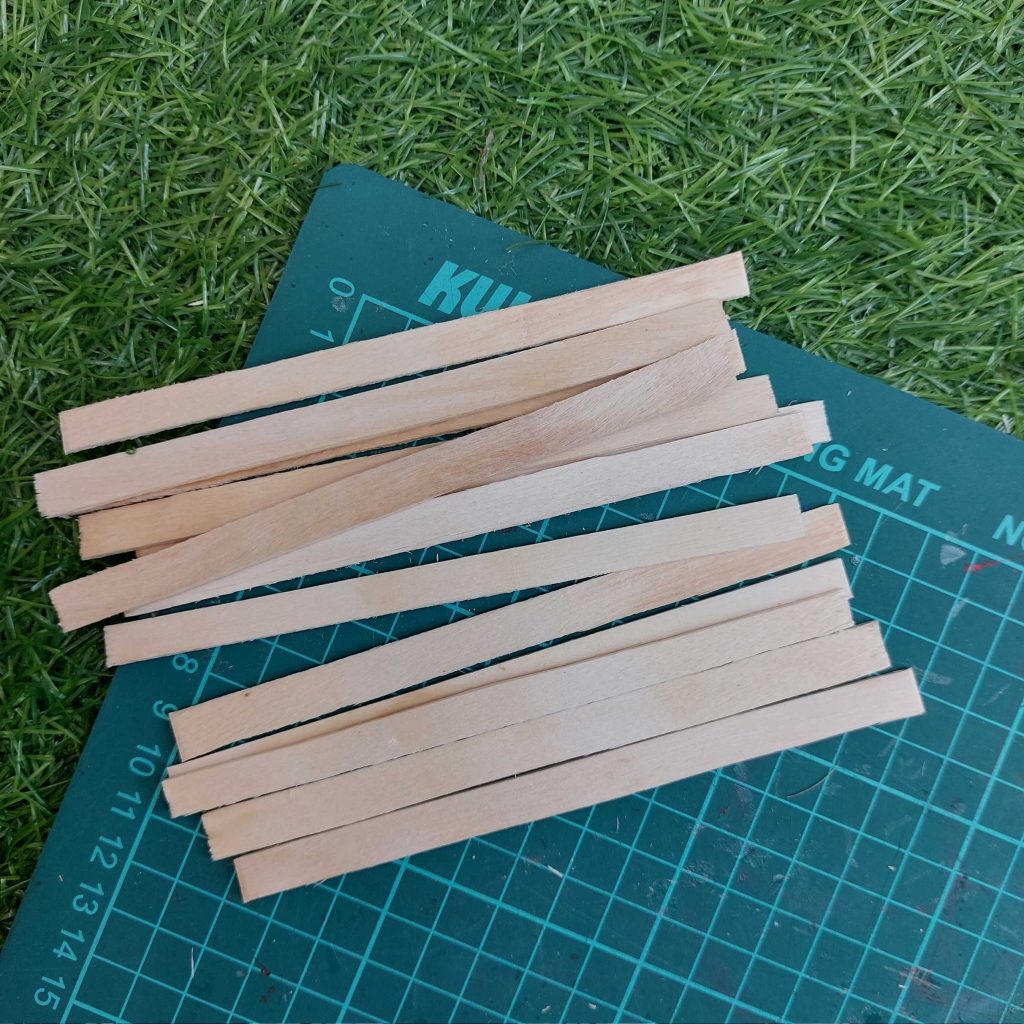
Popsicle sticks (you’ll need quite a few). Thin wooden strips will all be cut from 5 sticks.
Toothpicks (for the vertical bars)
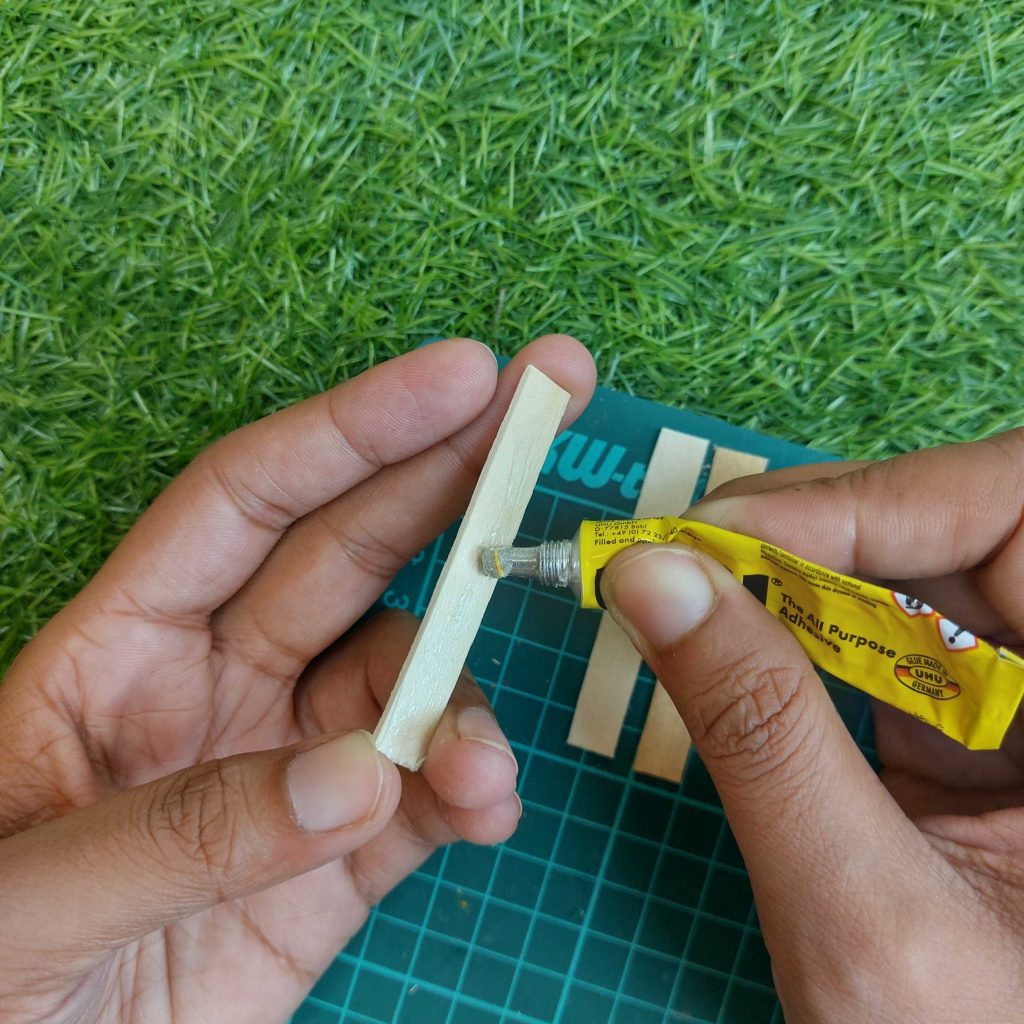
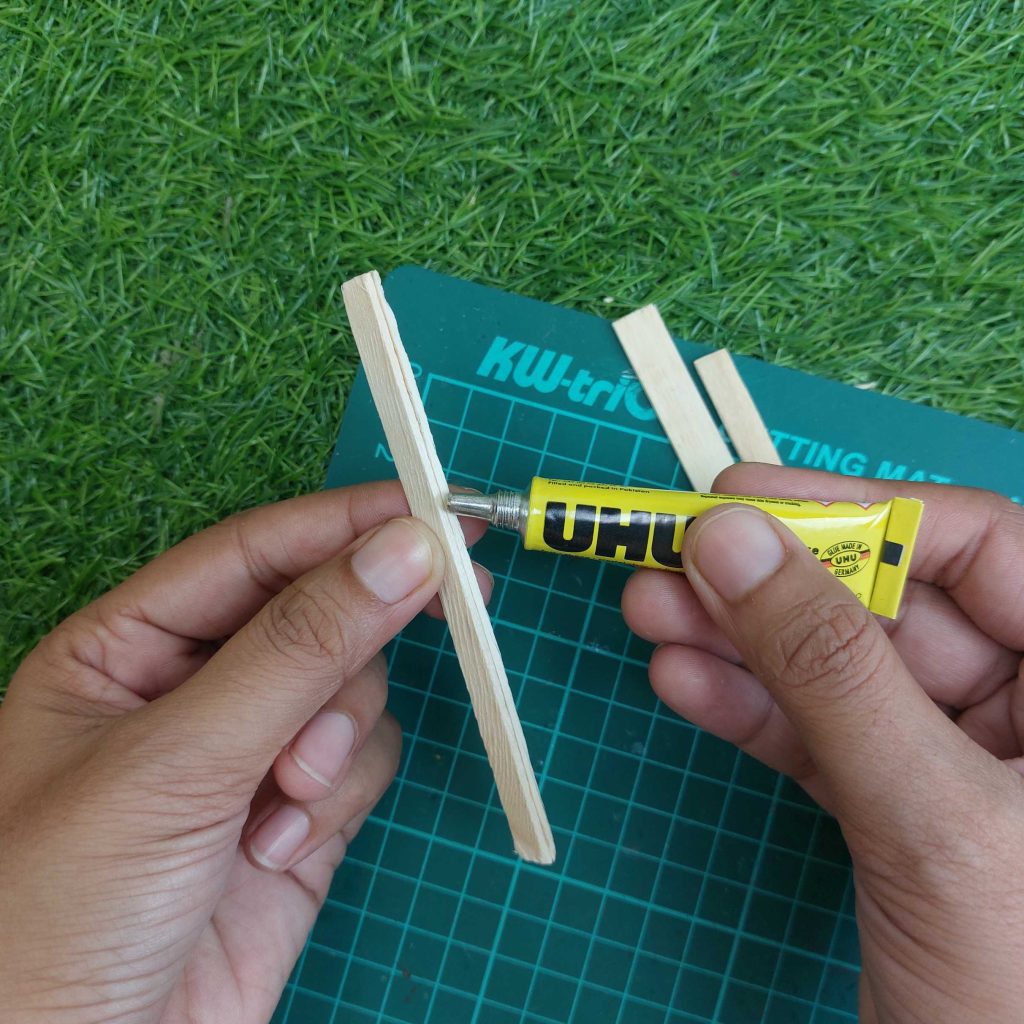
Glue (strong craft glue (I used UHU glue) or wood glue)
Here are the measurements I used for this miniature bed frame. You can adjust them slightly depending on your scale, but this gives a solid reference.
Main Structure
Base slats: 1 piece = 14 cm long
Base support (underneath): 1 piece = 13 cm long
Frame Pieces
Side rails: 2 pieces – 11.3 cm x 0.5 cm
Front and back lower panels (headboard + footboard): 2 pieces – 11.3 cm x 1 cm
Top rails (headboard + footboard): 2 pieces – 13.5 cm x 0.5 cm
Legs
Legs: 4 pieces – 7 cm long
Decorative Details
Vertical bars (toothpicks): Cut into pieces of 1.5 cm
👉 These are used for the headboard and footboard detail.
Step-by-step tutorial for the bed
This is a long one with many pictures, so grab your cup of coffee!
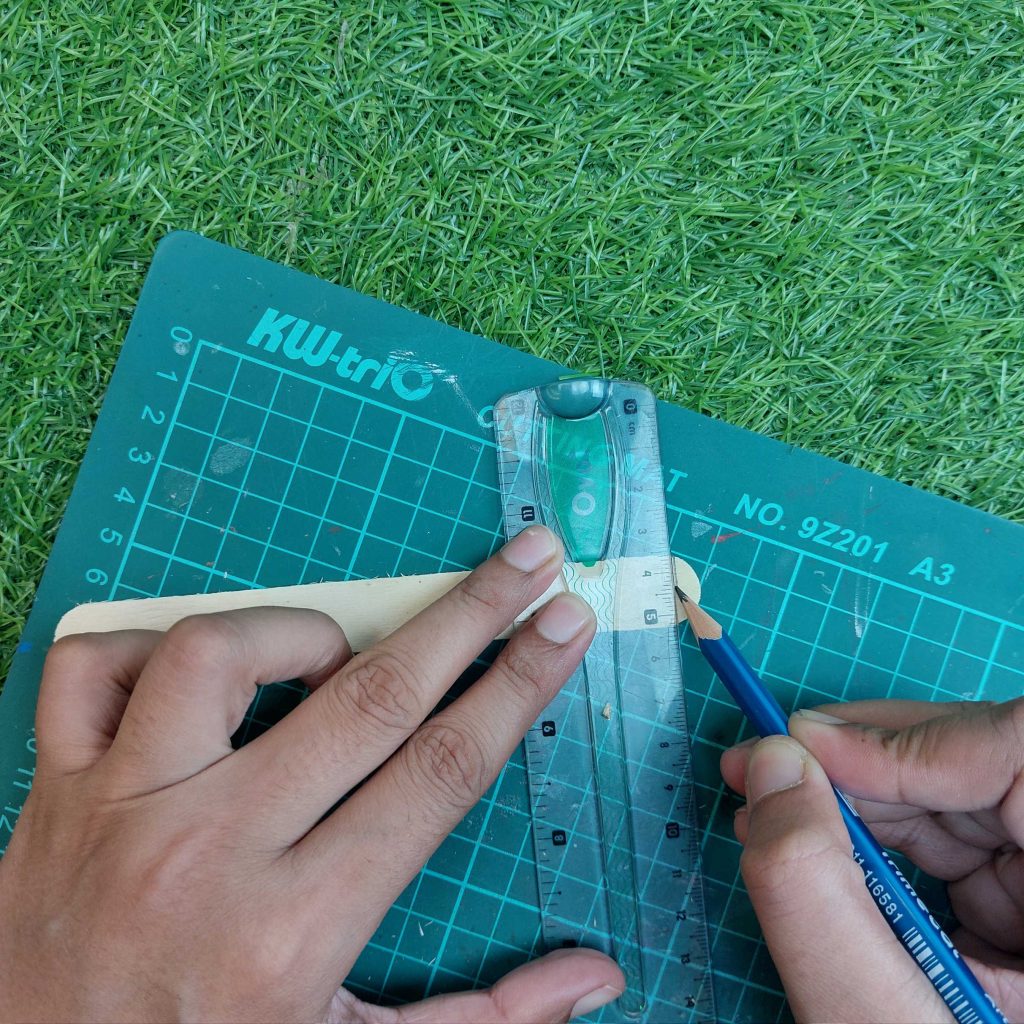
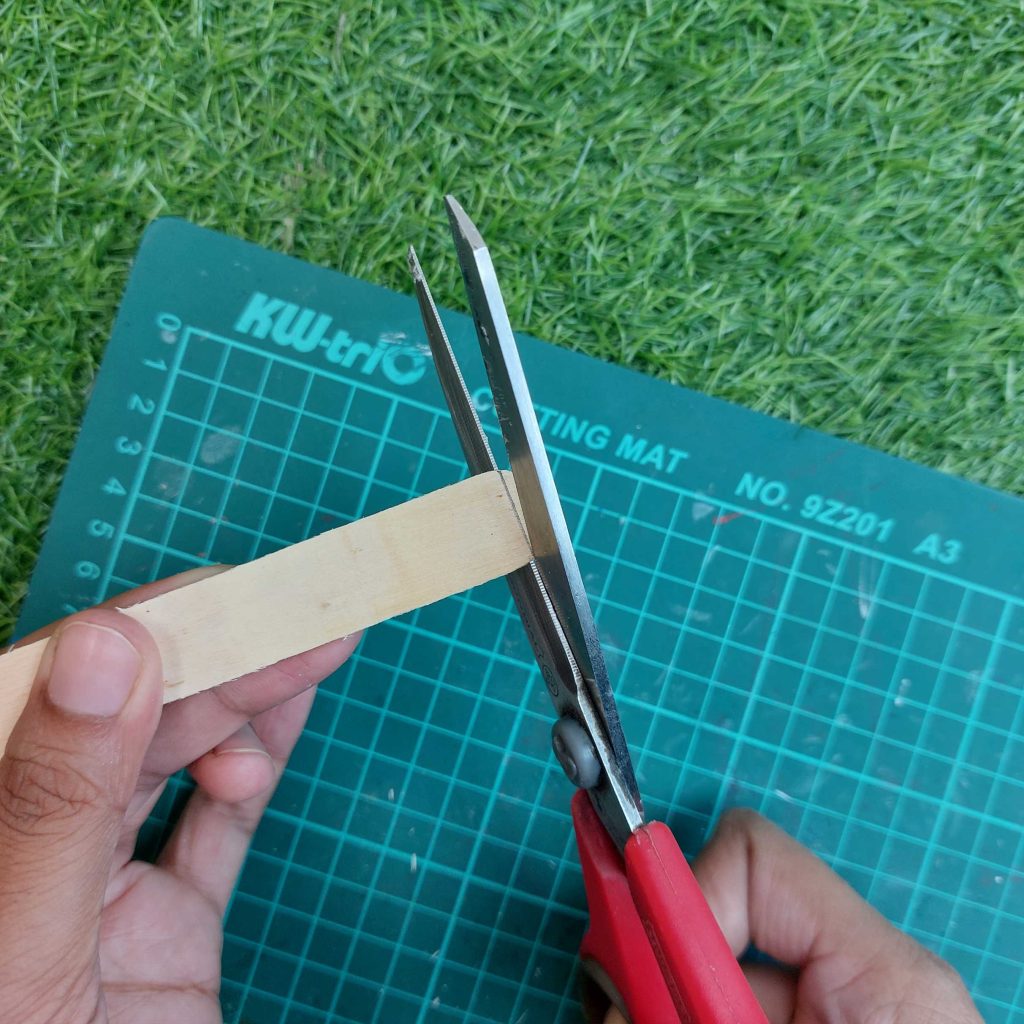
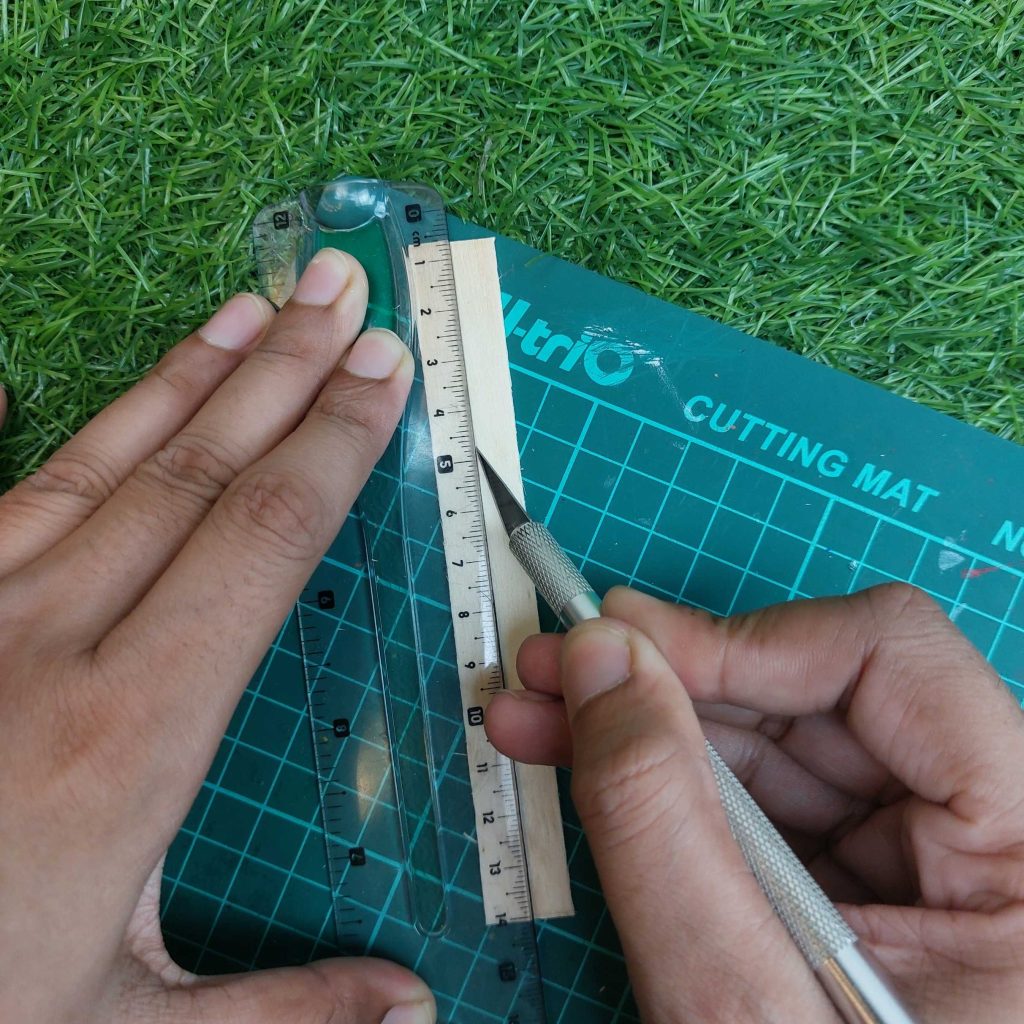
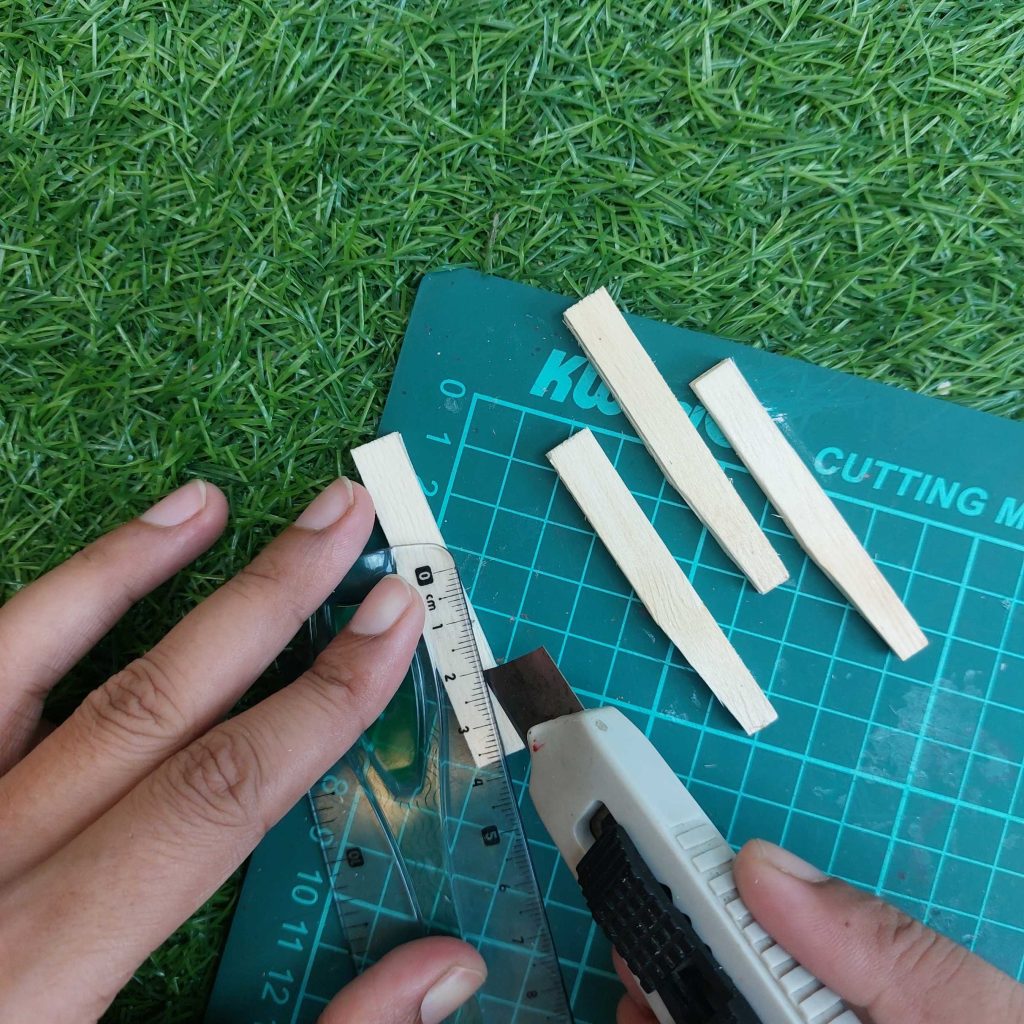
Step 1: Cut all your pieces first
I always start by cutting everything up front—it makes the rest of the build much smoother.
Here’s what I used:
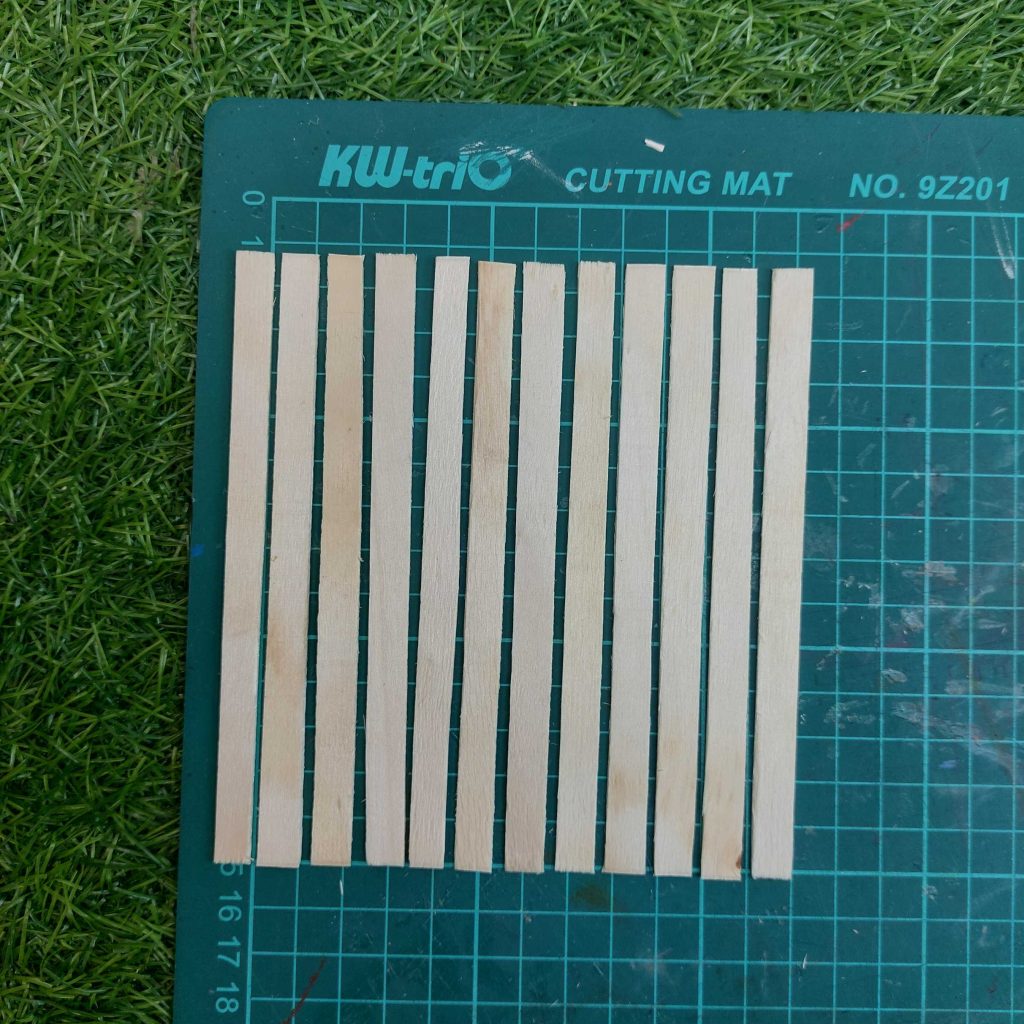
11 Base slats: popsicle sticks cut to 14 cm,
Base support: 13 cm
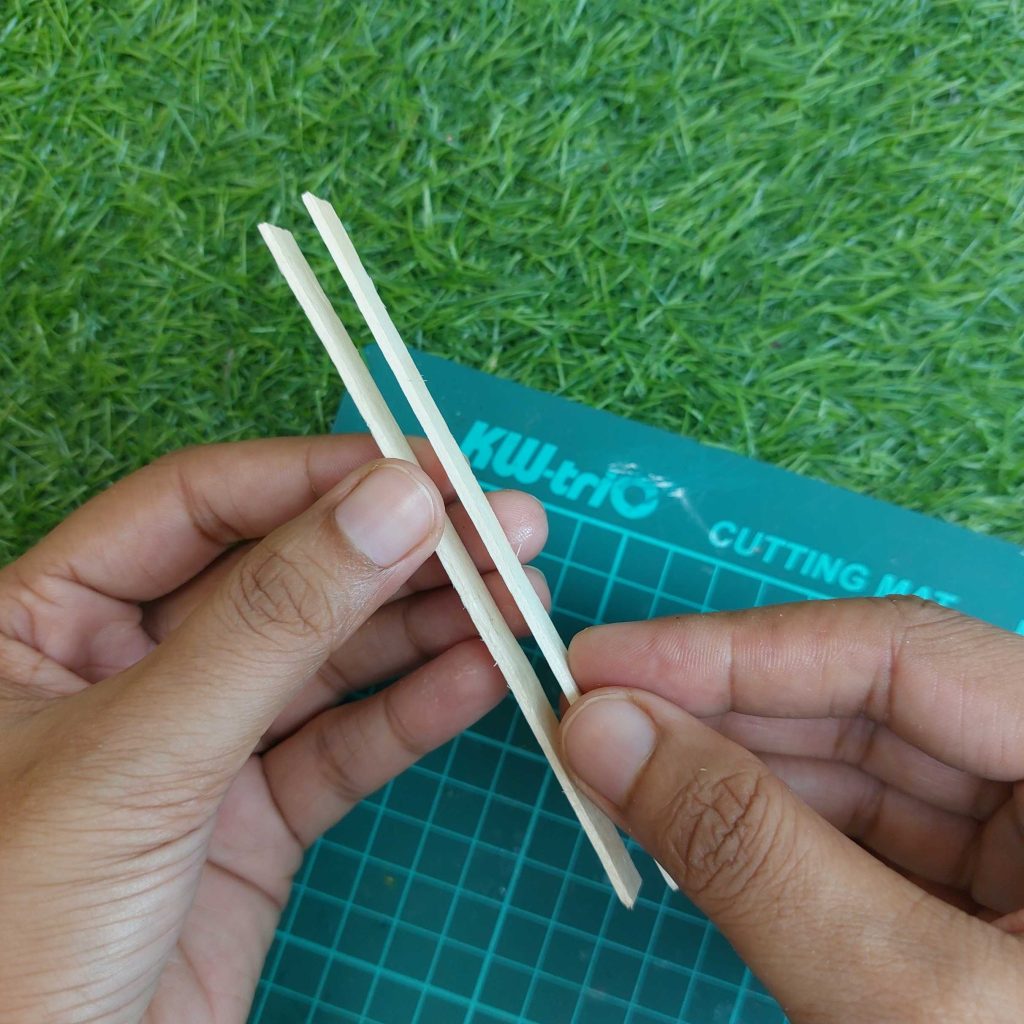
Side rails: 11.3 cm x 0.5 cm (2 pieces)
Front and back panels: 11.3 cm x 1 cm (2 pieces)
Top rails: 13.5 cm x 0.5 cm (2 pieces)
Legs: 7 cm (4 pieces)
Toothpicks: cut into 1.5 cm pieces
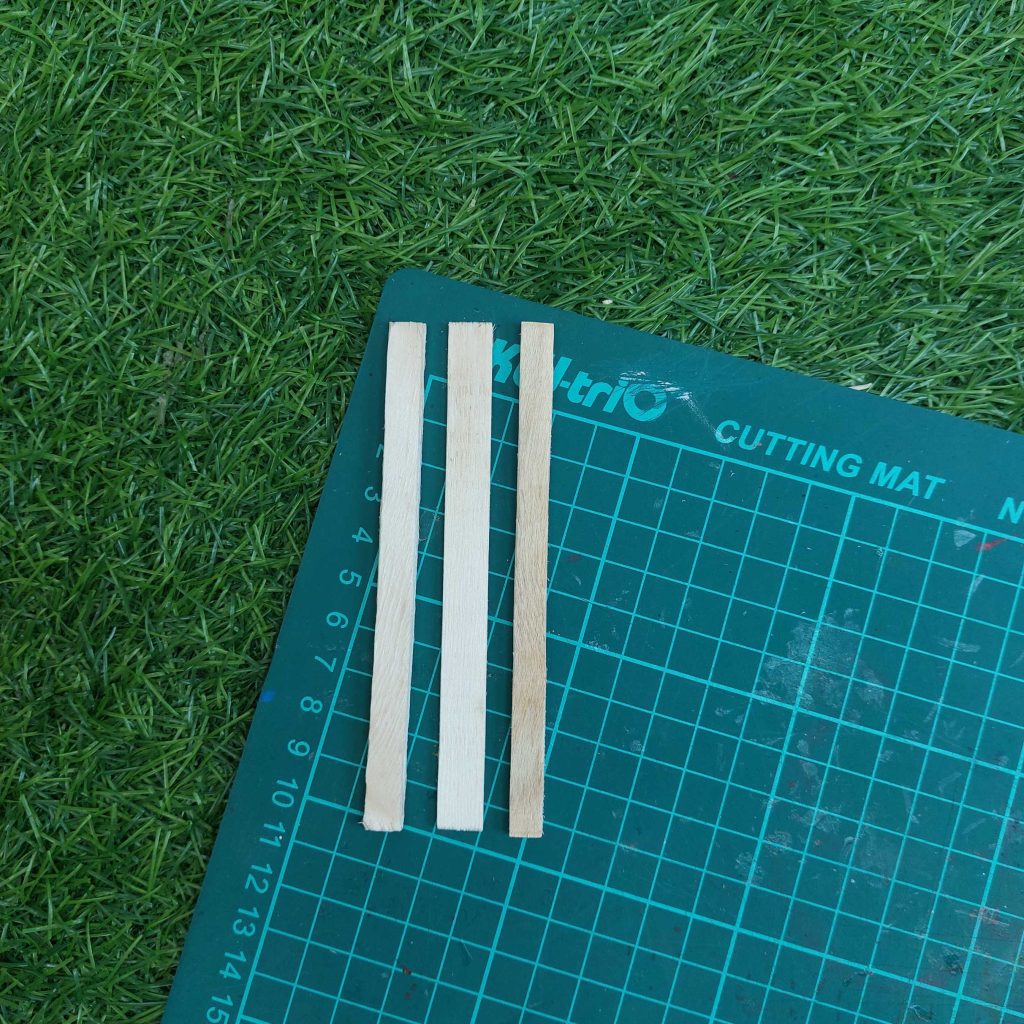
Take a bit of time here to keep your cuts straight—this really helps later when assembling. And go through the step-by-step pictures to understand better what I mean:
starting with the base of the bed:
==> you know have 11 slats for the base
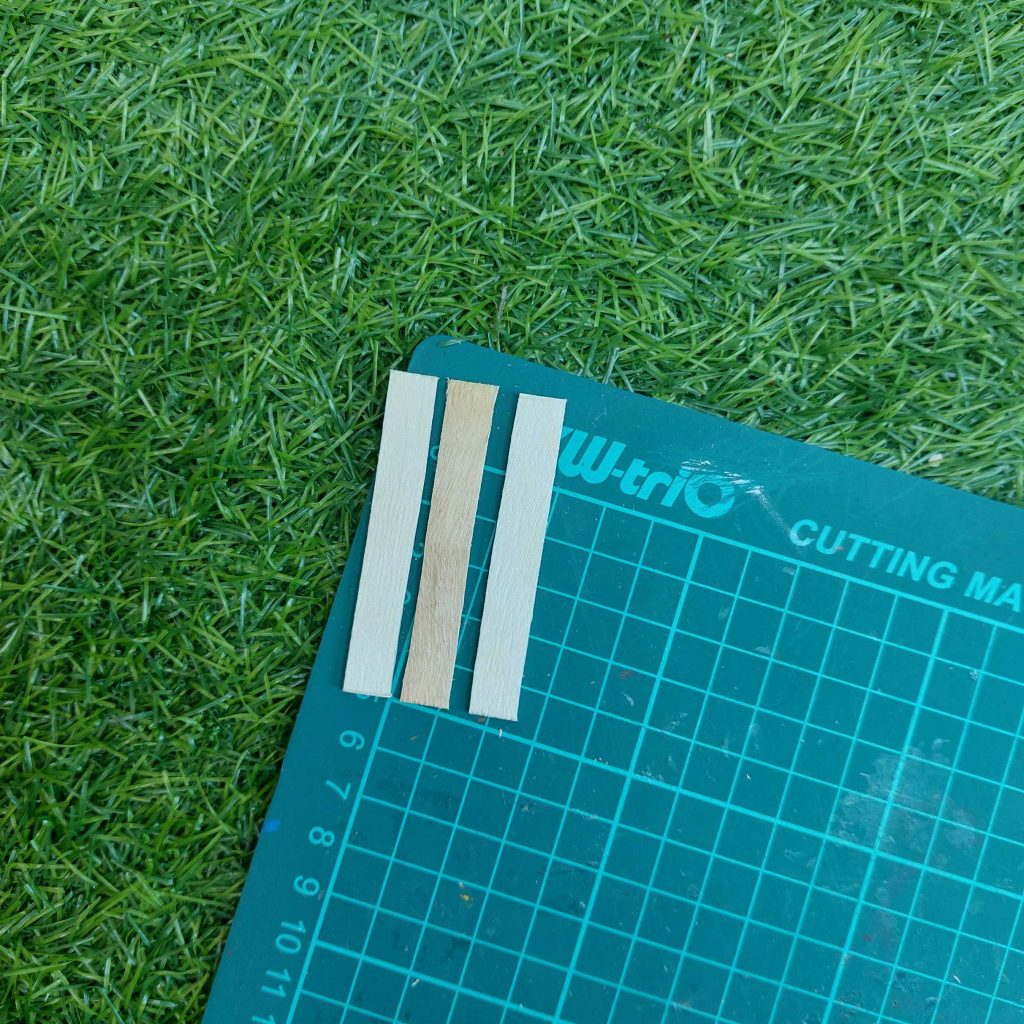
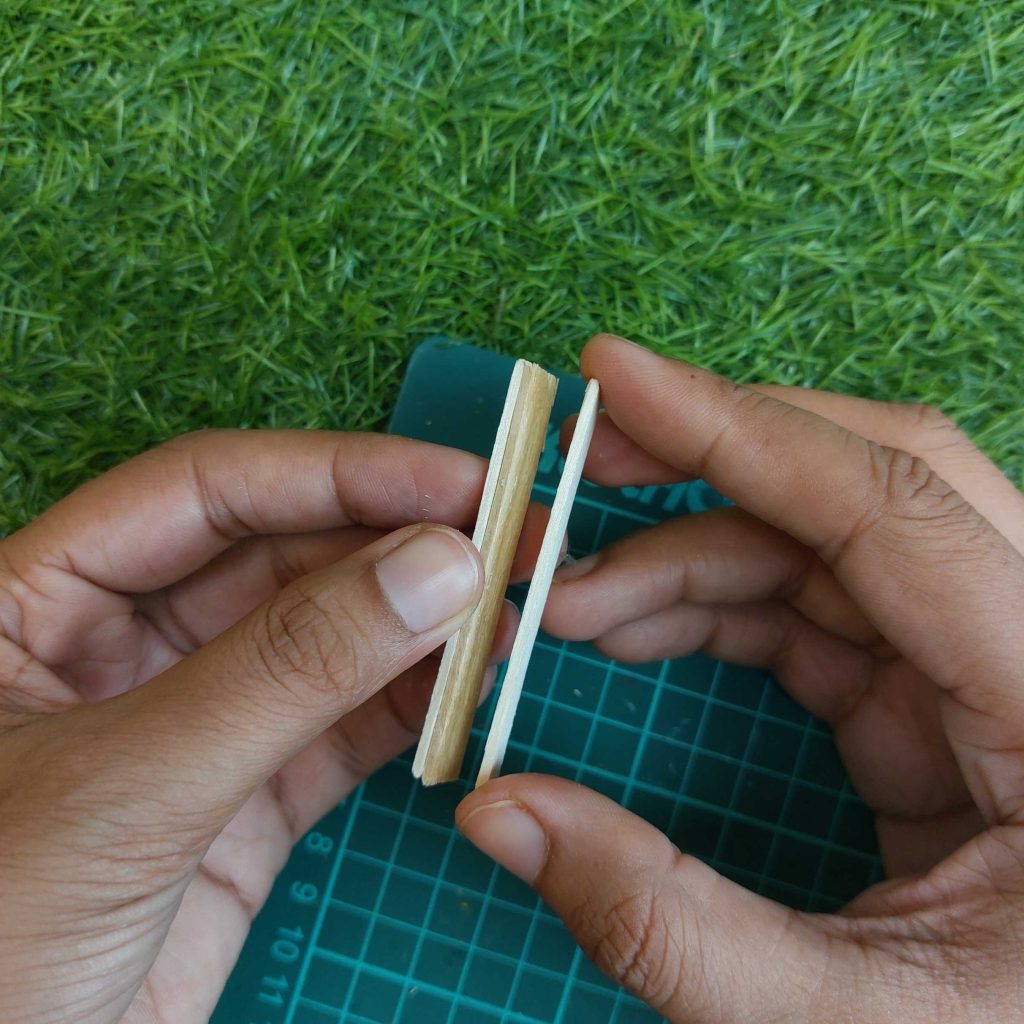
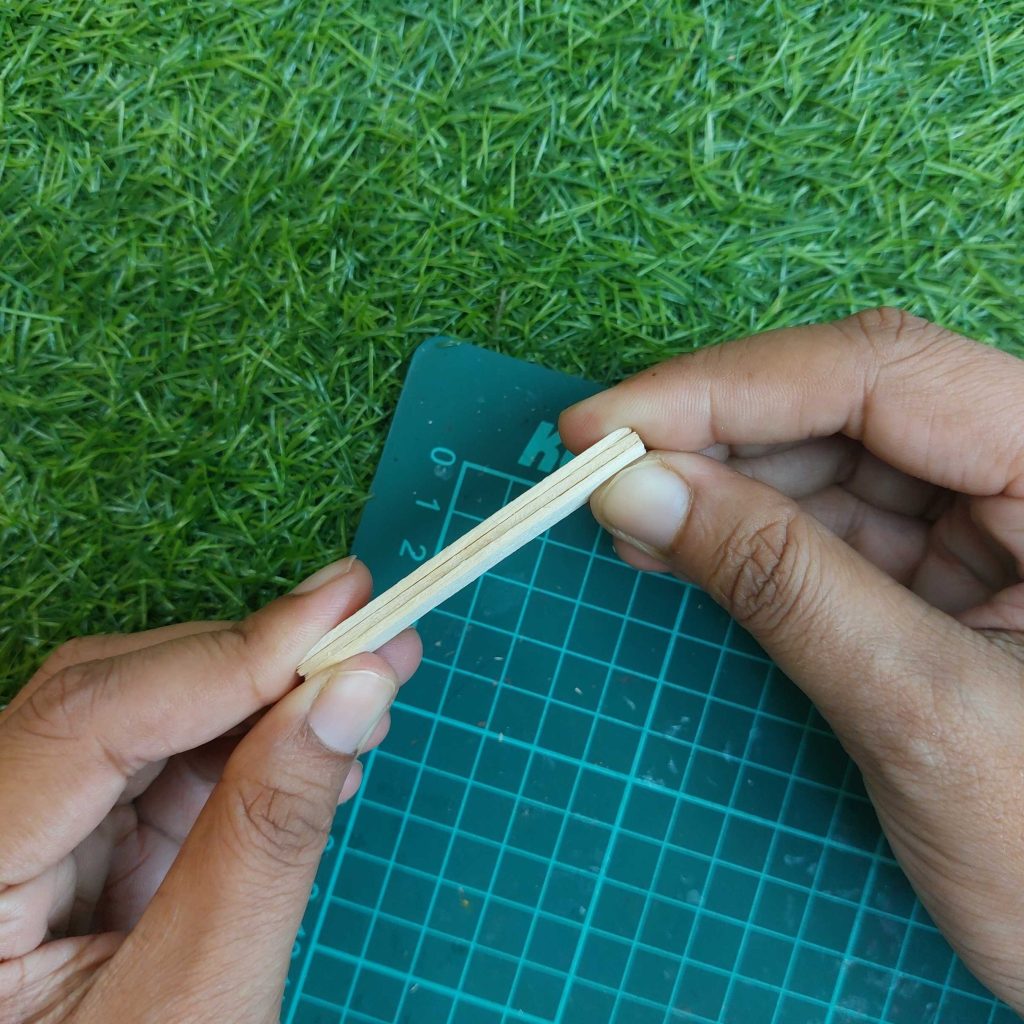
This is how we create sturdy legs for the bed:
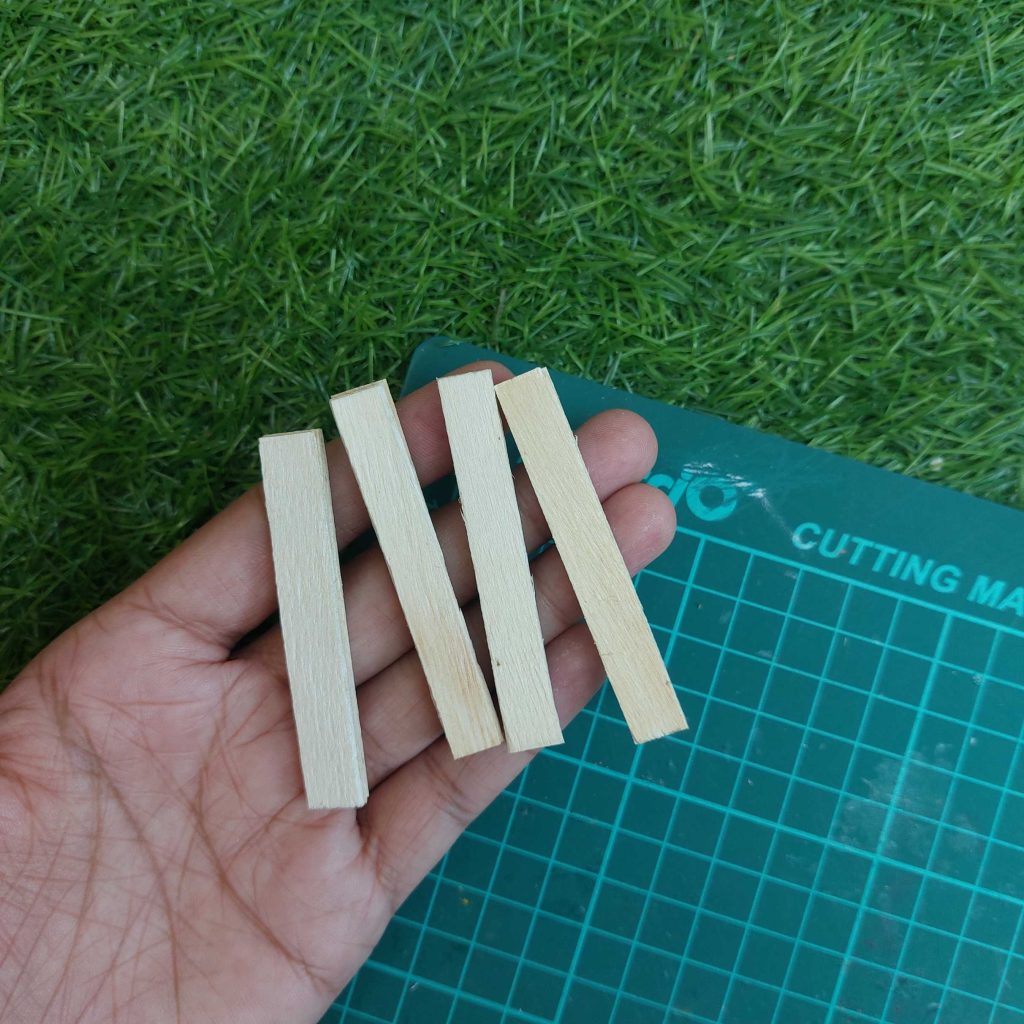
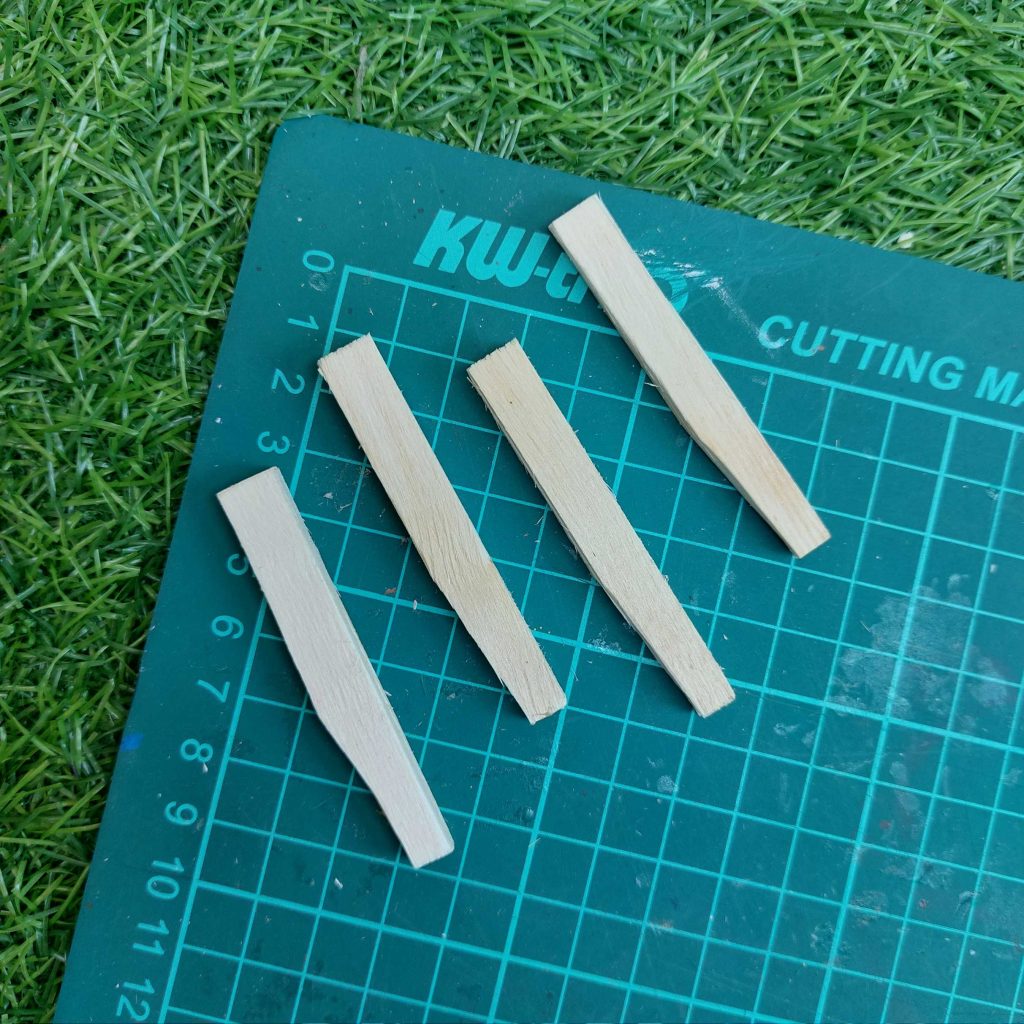
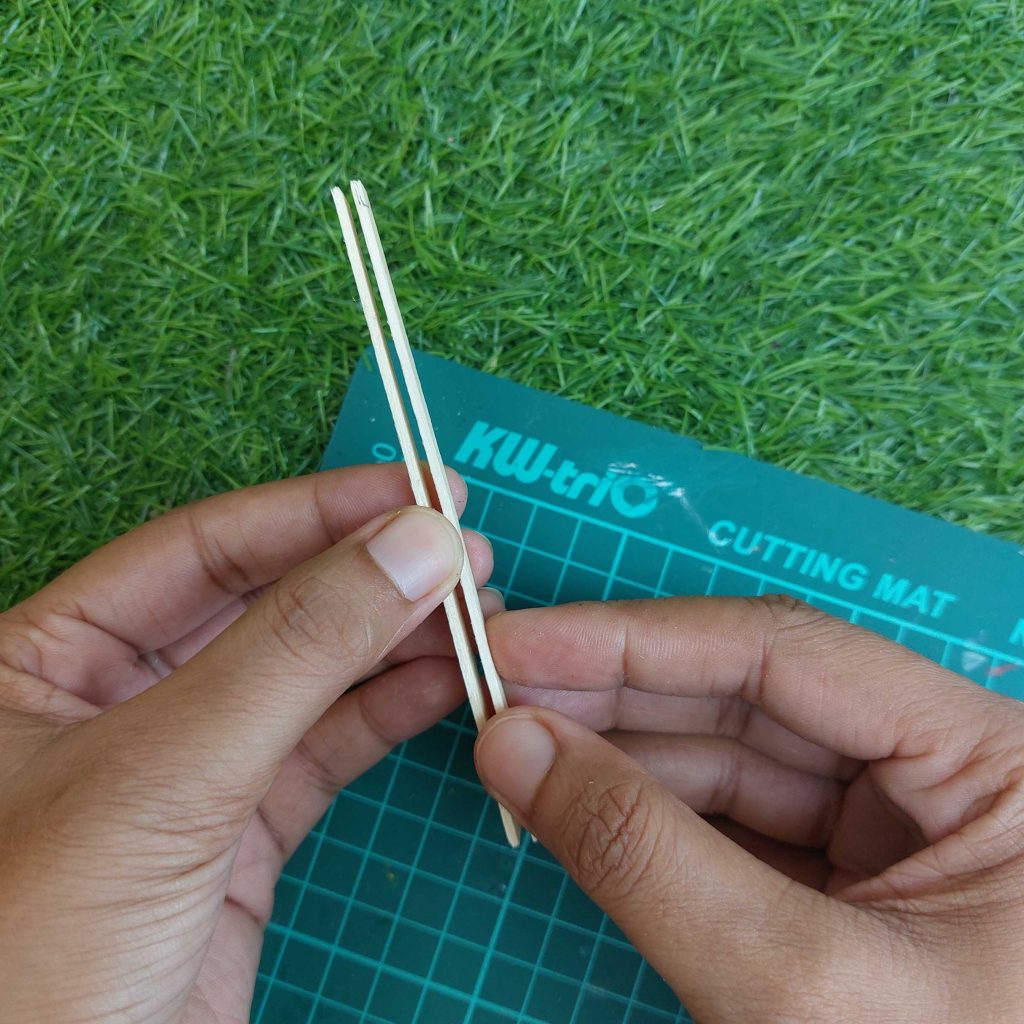
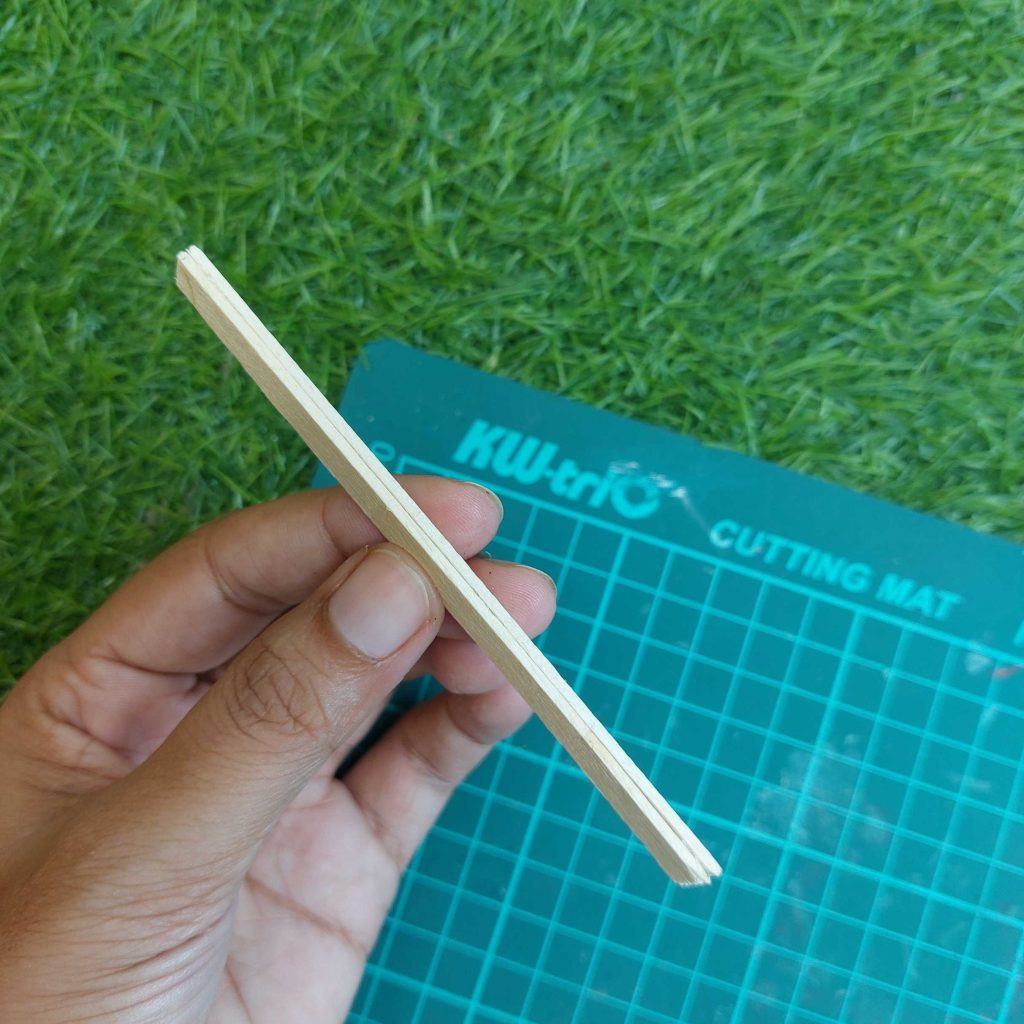
Cut out 8- 7 cm high popsicle sticks, and glue 2 of each together to make them more sturdy.
After that, you can refine the legs by cutting off one end of the bottom with a box cutter; this makes it more realistic.
(maybe it is better to watch the pictures further down below to see exactly what I mean)
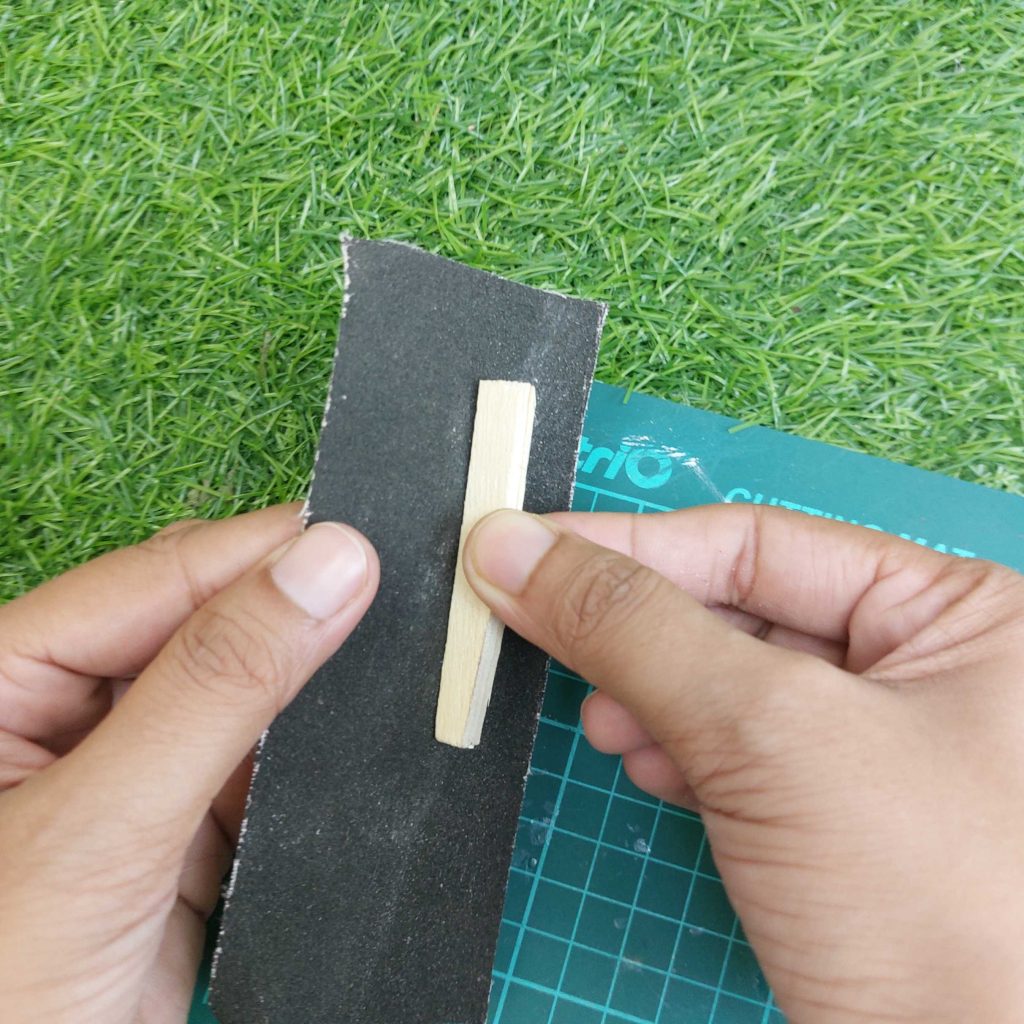
Make everything clean with sandpaper
Step 2: Creating the front and back panels
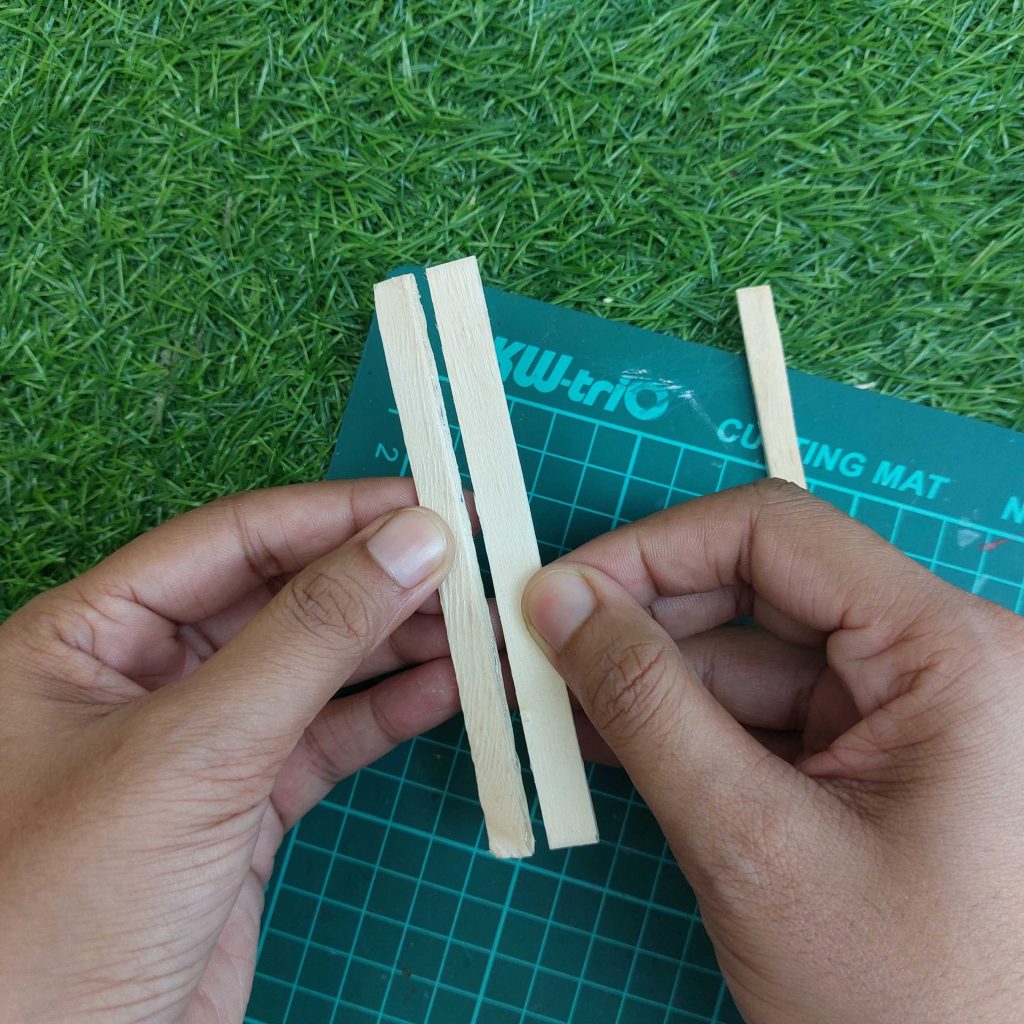
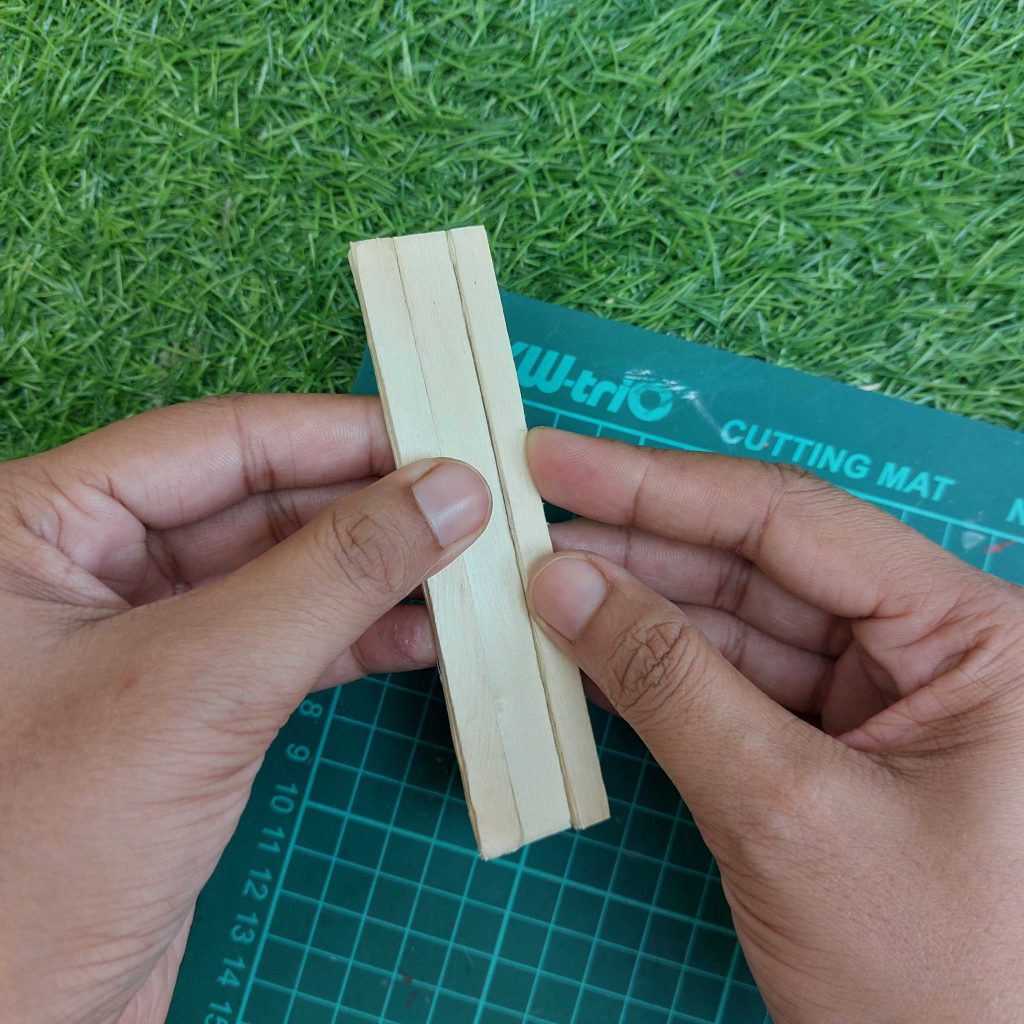
The 11.3 cm x 1 cm slats are cut out and glued together for sturdiness
But only do the doubles ones 2 times! (see the reason why below)
glue the sturdy (double) slats together like this, but leave the middle one a single slate, so they ‘pop’ out on both sides
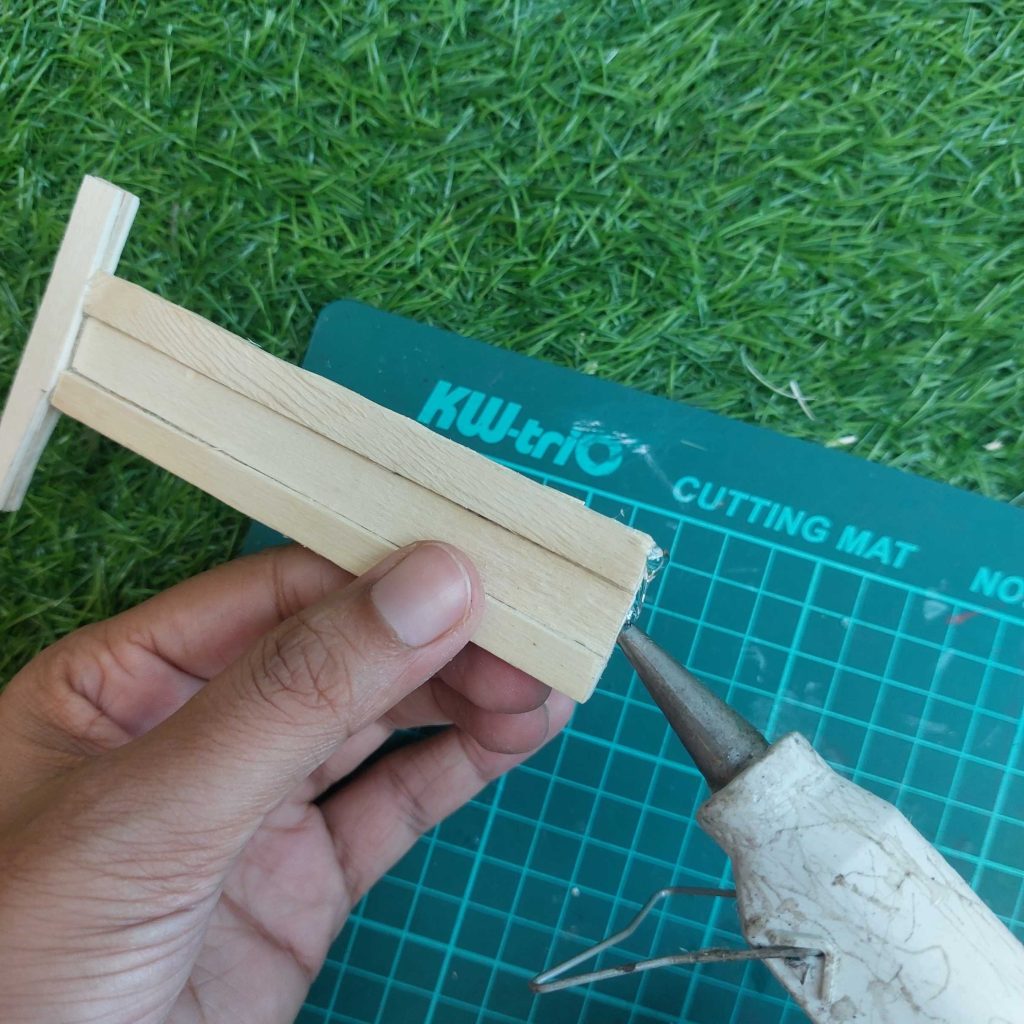
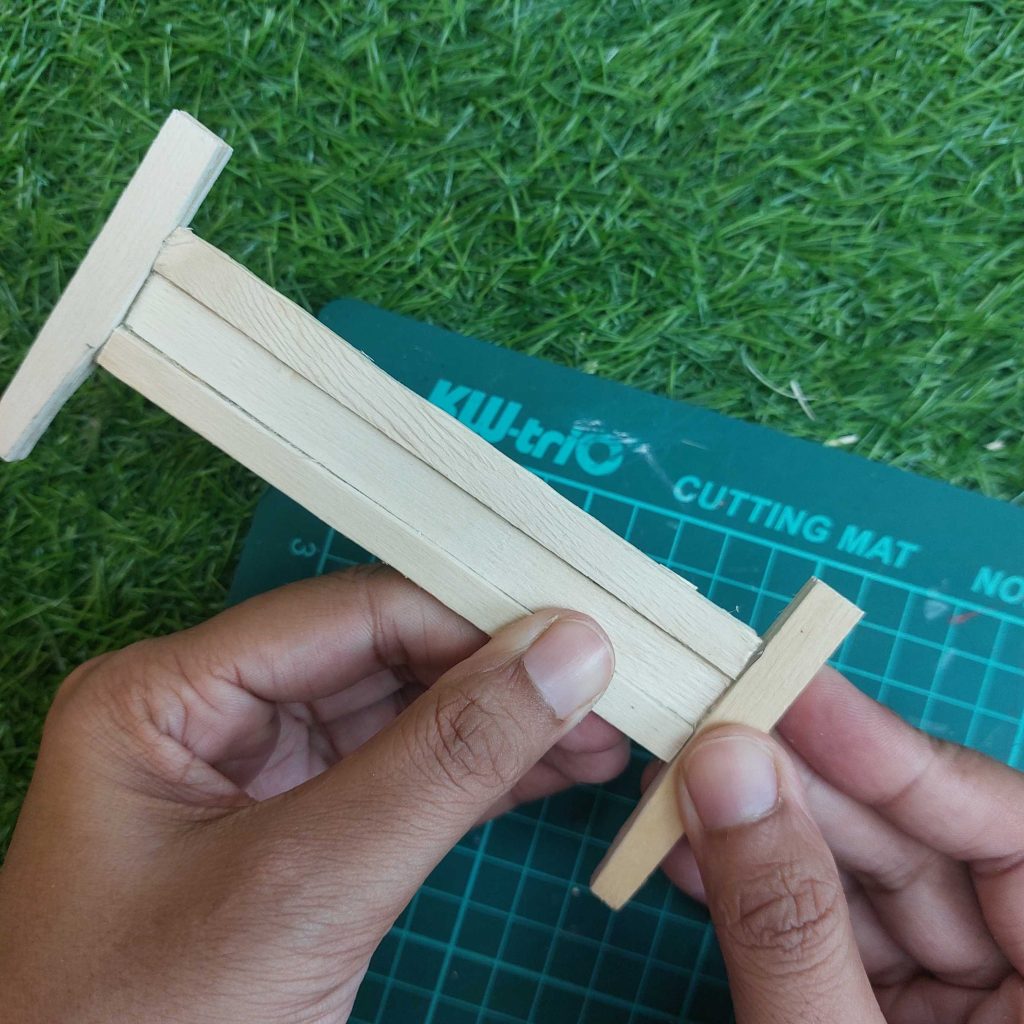
glue the legs on both sides of the slats, leaving out the single on in the middle.
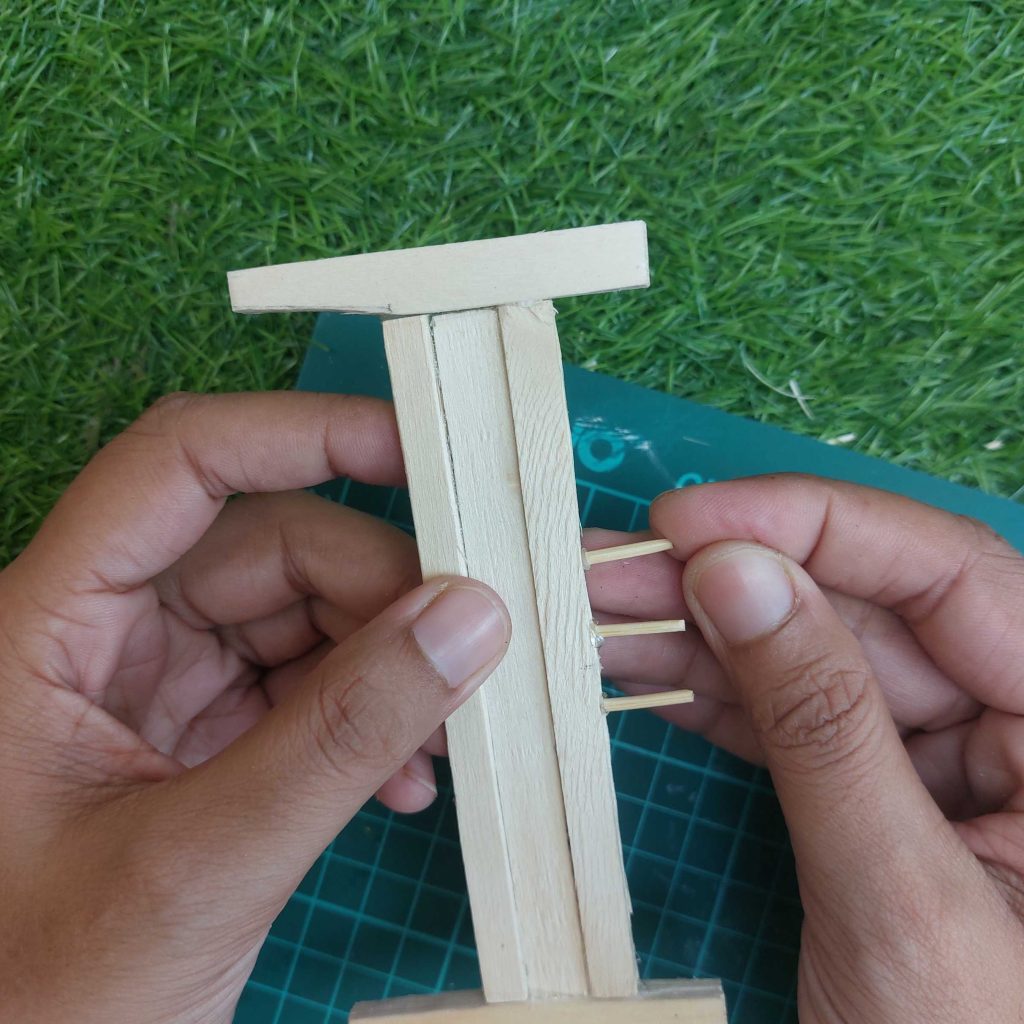
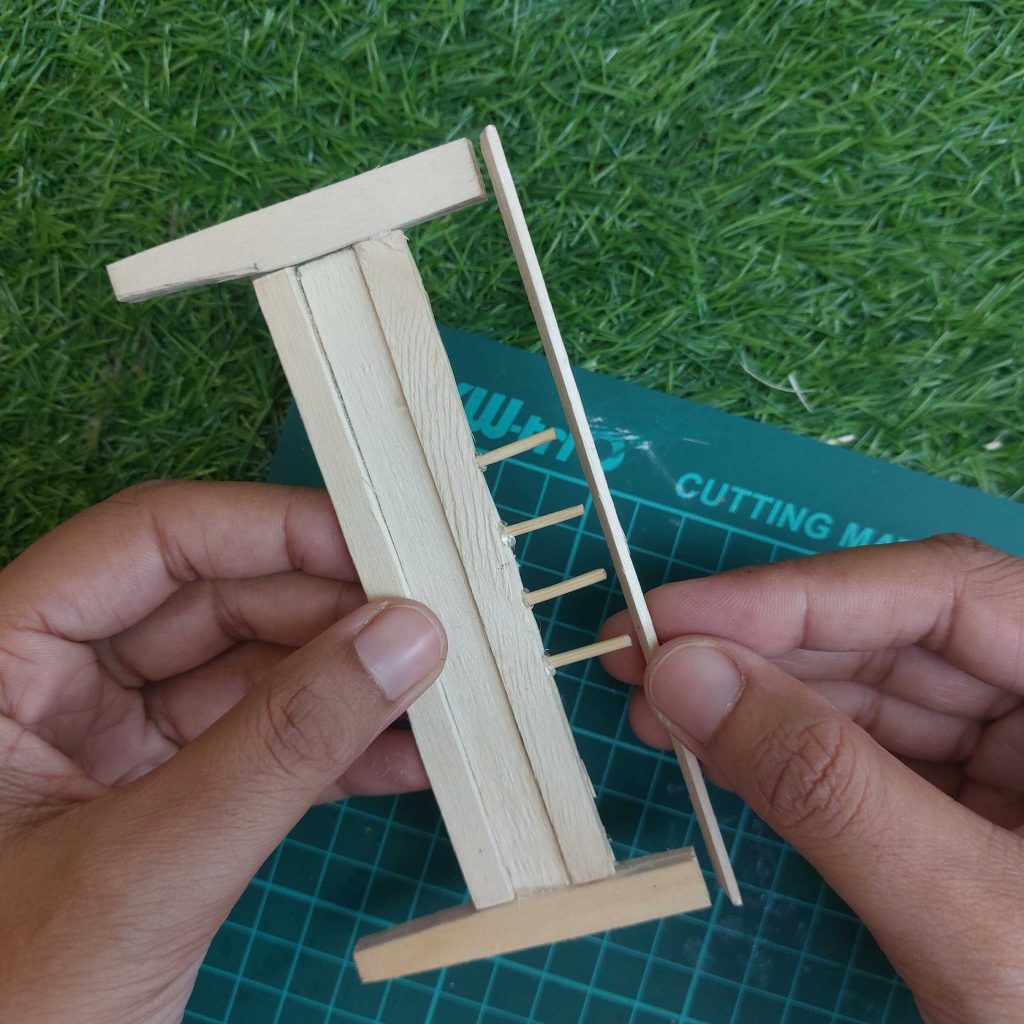
glue the 1.5 cm toothpics in the centre, start with the middle ones, so you can measure it out well. It is up to you if you use only three or 4 pieces here. I have chosen to use 4 of them.
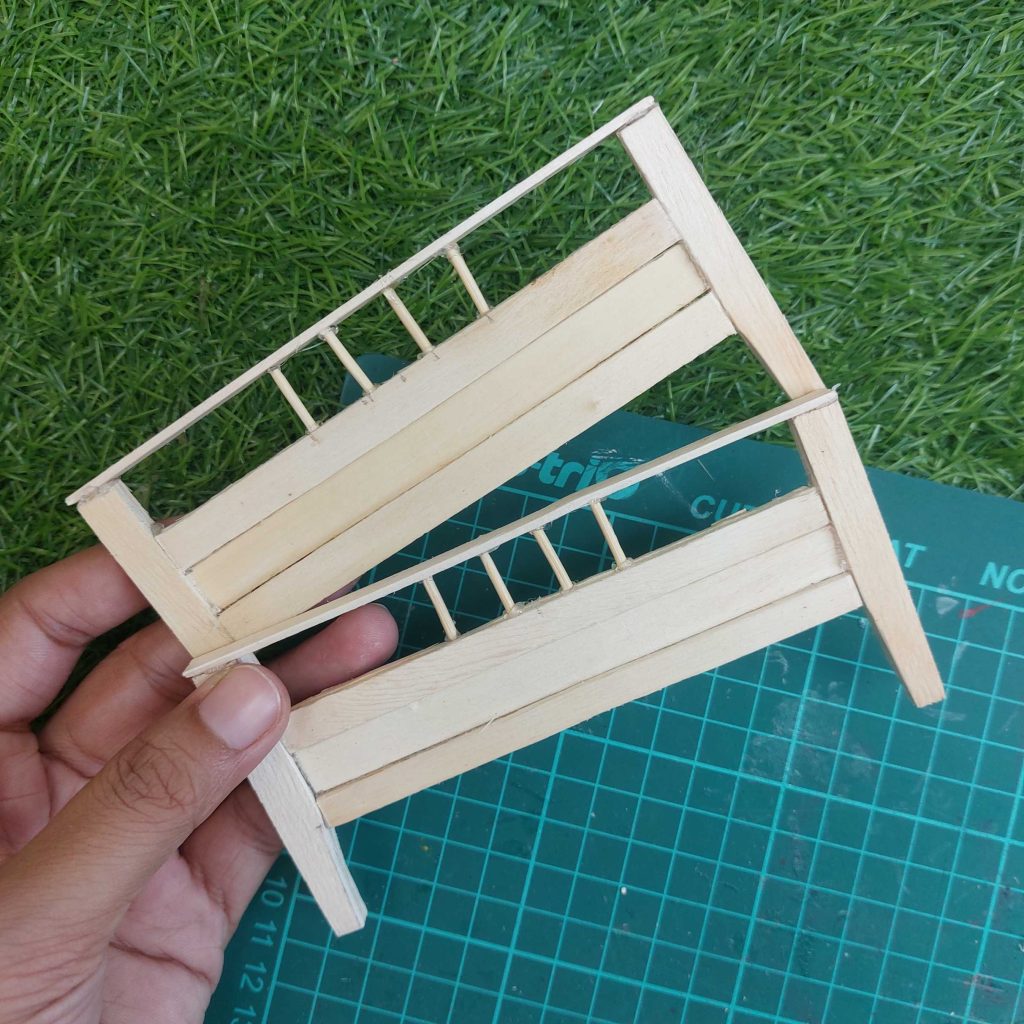
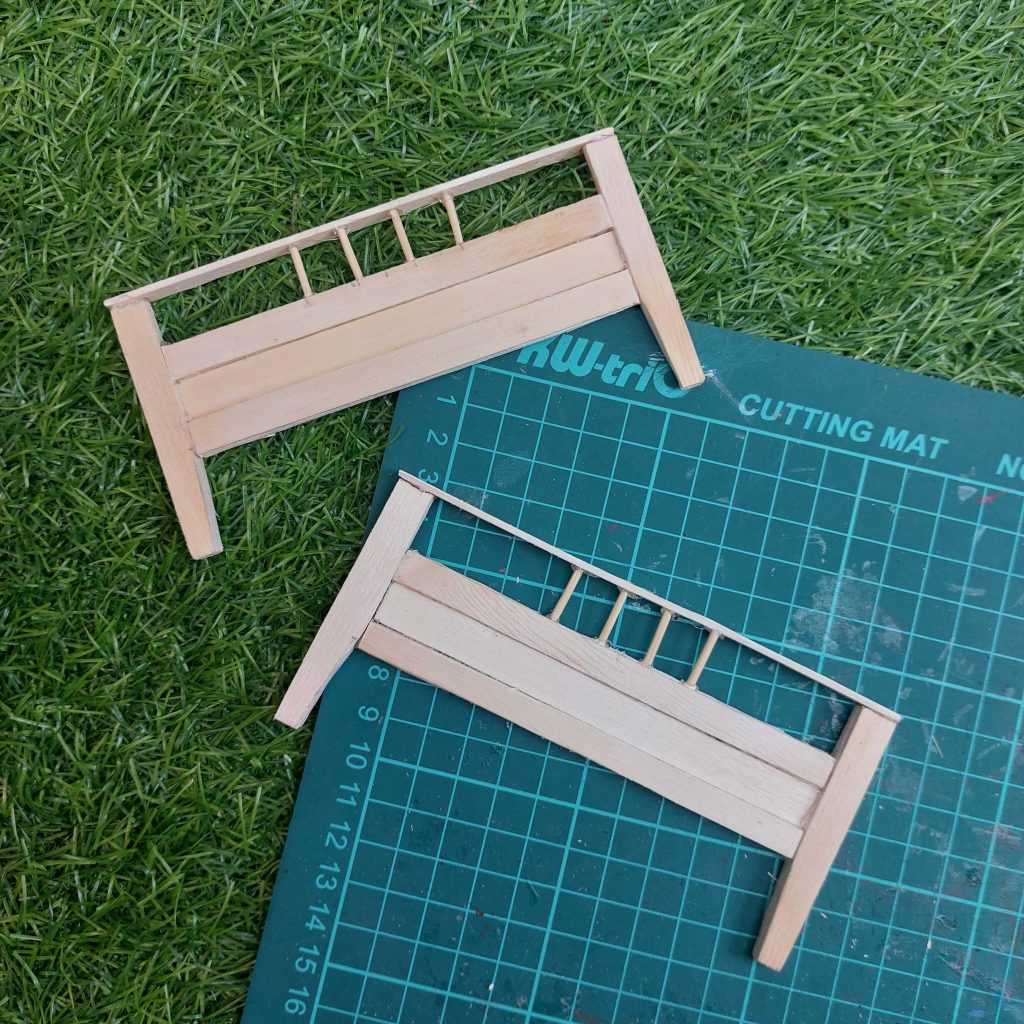
Finish the board with a slate on top ( Top rails: 13.5 cm x 0.5 cm )
create 2 of these
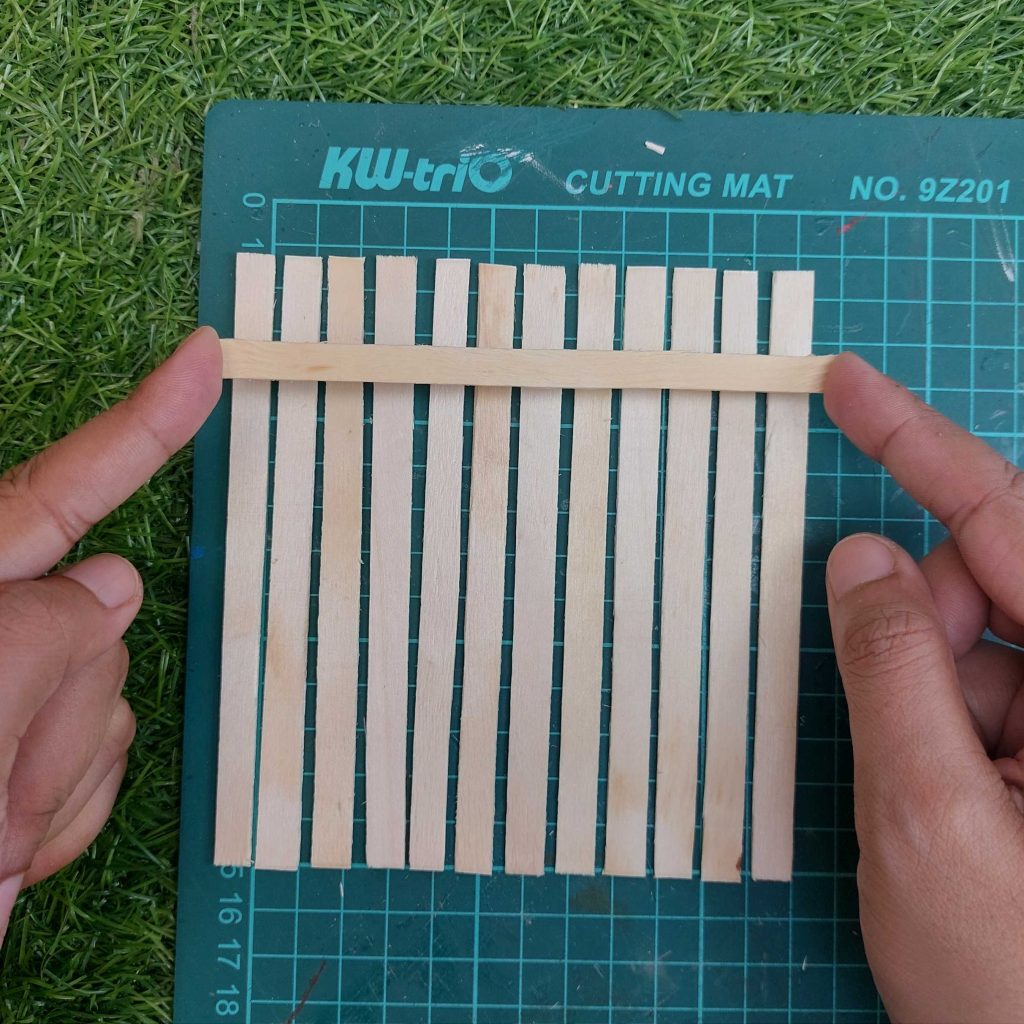
Step 3: Create the base of the bed
Use your cutting mat to place the baseboards slats neatly in a row, just apart, wide enough so the reinforcement slate covers it.
Nearly there.
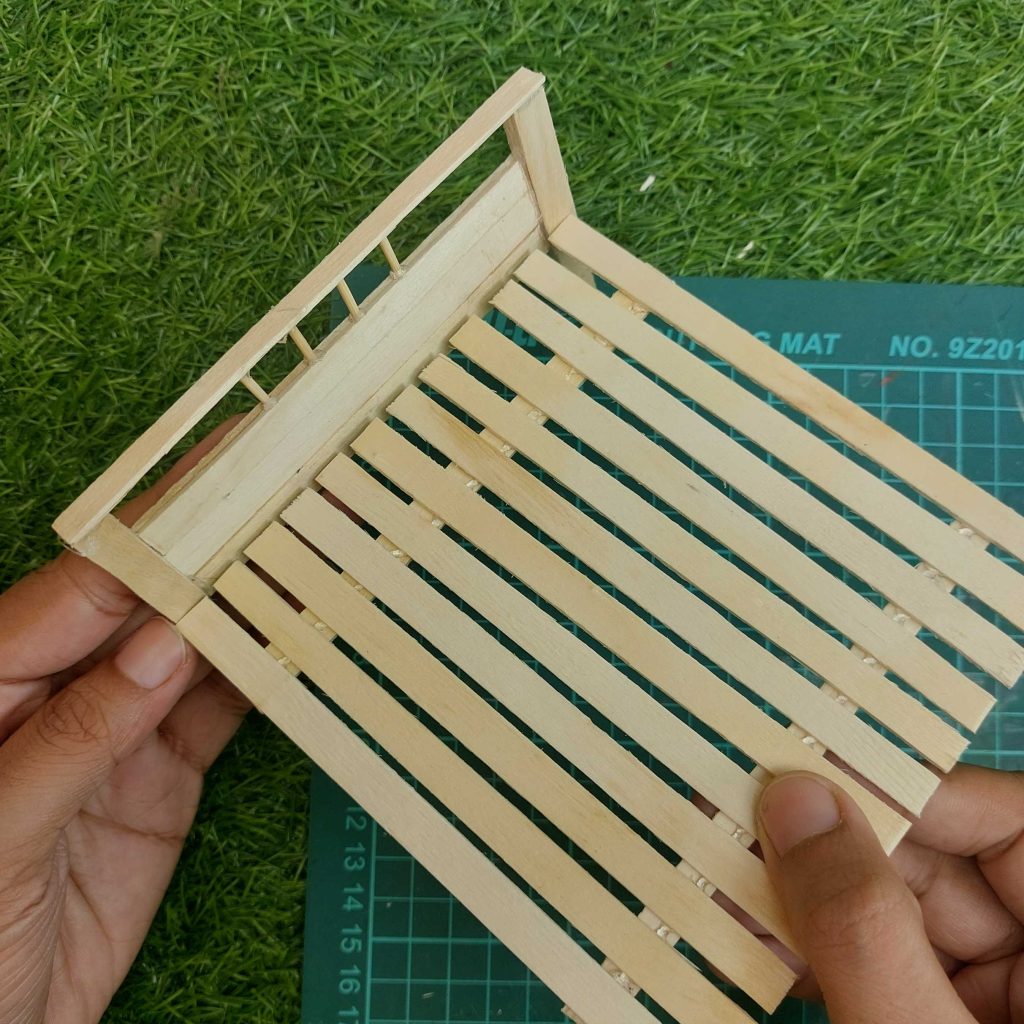
Step 4: Final Assembly
With all parts ready, I connected the headboard and footboard to the side frames. (the base is turned upside down!)
Before the glue fully set, I checked the alignment from different angles and adjusted where needed. This step is worth taking slowly to keep everything square.
Et voila
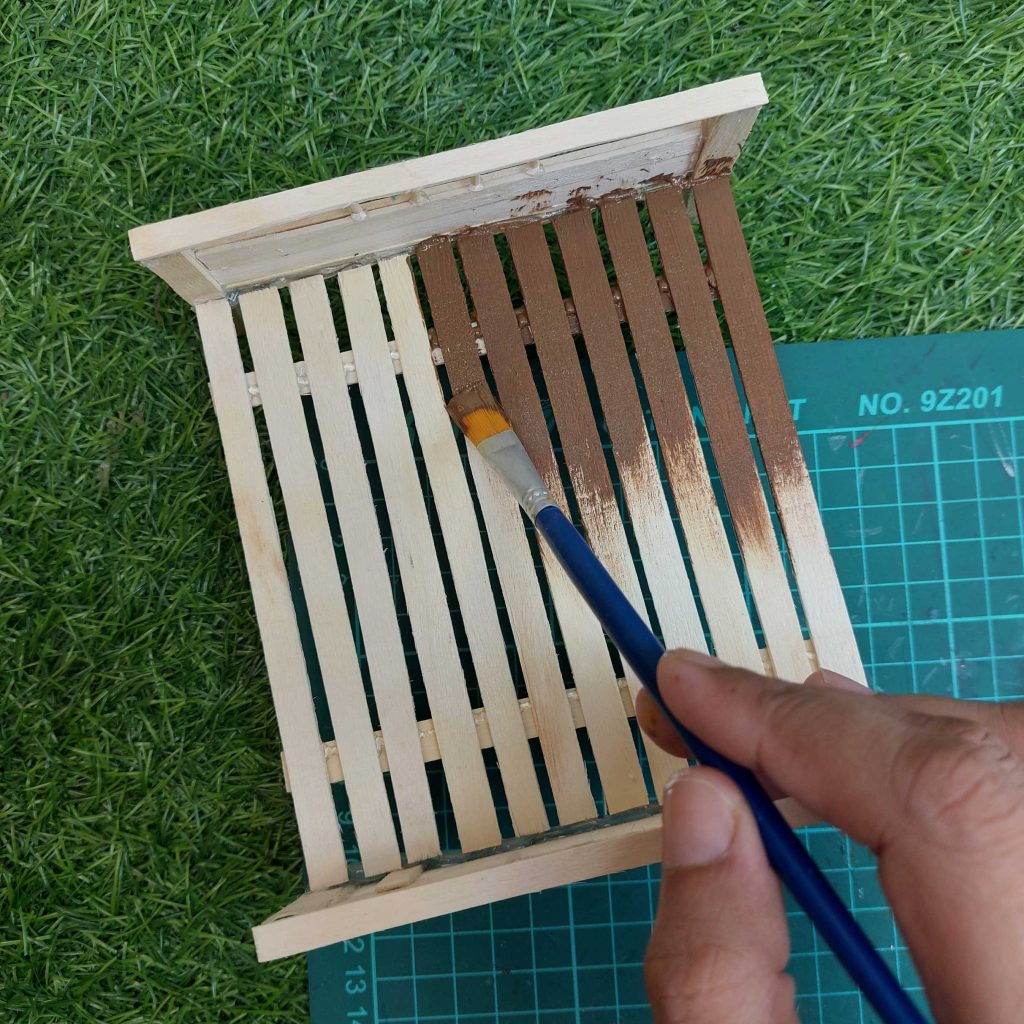
Step 5: Sanding and/or painting
I lightly sanded the edges and joints to smooth things out.
It’s not strictly necessary, but it helps if you’re planning to paint or stain the wood.
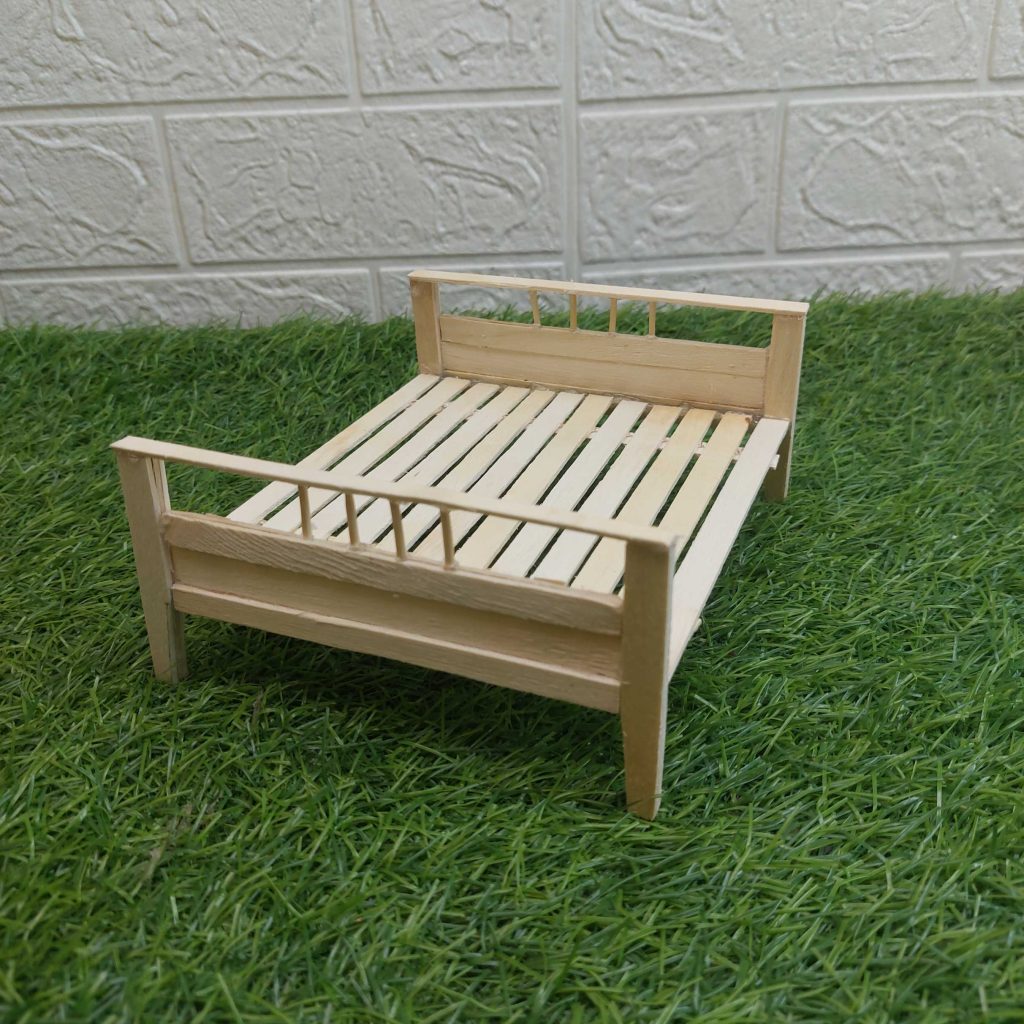
You can leave the wood natural, or finish it depending on your style.
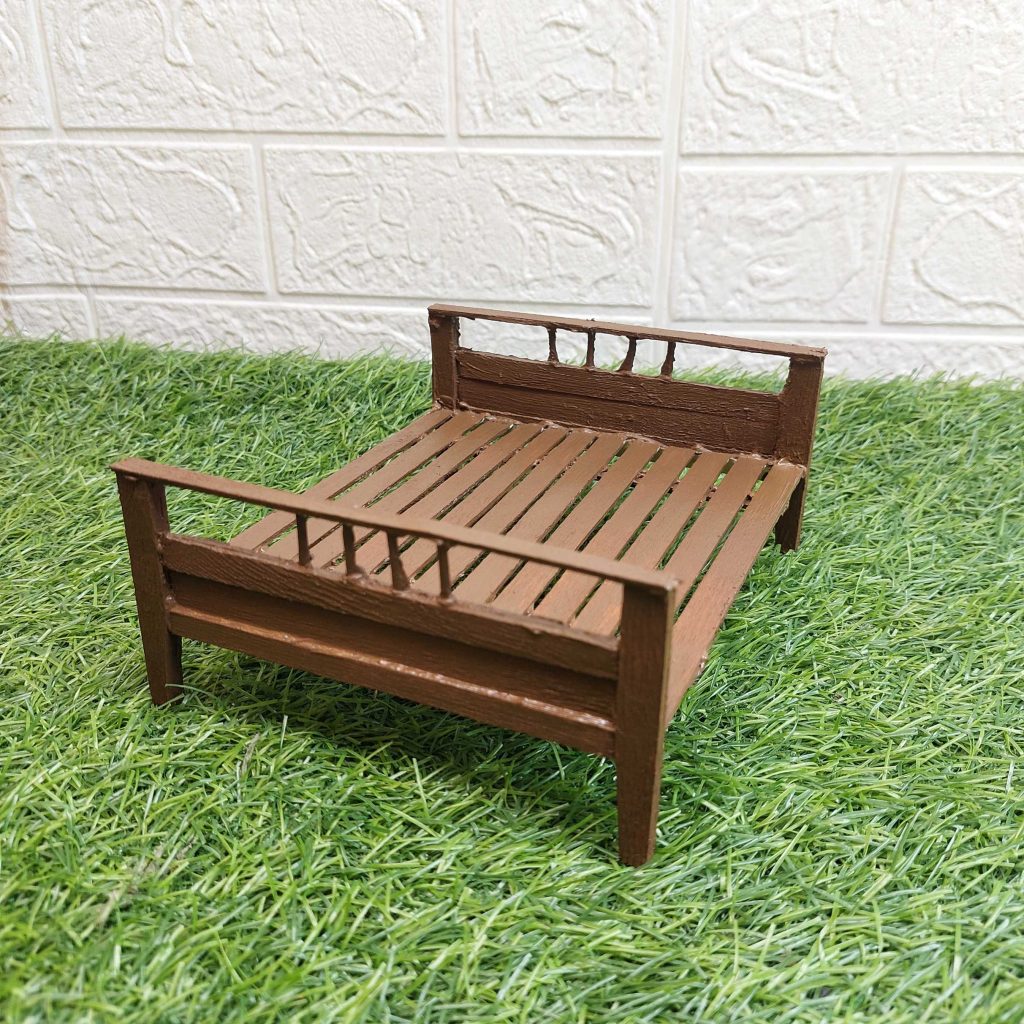
I tested a darker brown finish to give it a more classic wooden look.
But I actually like the non-painted look, how about you? You could just give it a coat of varnish!
That is part 1 for now, this post will be expanded by adding linen to the bed next week, hang on there! (and probably will need to correct some info)
I hope you like this tutorial on how to create this dollhouse bed frame from popsicle sticks, and please do leave a comment down below if you have any questions!
2 thoughts on “How I Made a Dollhouse Bed Frame from Popsicle Sticks (Step-by-Step)”
hi Lizzy: I really like this bed. I need one for the house I’m doing but not a fancy and not just plain. This will be perfect! Def gonna do this. Thankyou for the tut. 🙂
Hi Lizzy,
thank you very much for the details on the bed. I think that it turned out nice! I think that I like it better without without being painted or stained. I think that I am going to make one today.
again thank you very much


")
hi Lizzy: I really like this bed. I need one for the house I’m doing but not a fancy and not just plain. This will be perfect! Def gonna do this. Thankyou for the tut. 🙂
Hi Lizzy,
thank you very much for the details on the bed. I think that it turned out nice! I think that I like it better without without being painted or stained. I think that I am going to make one today.
again thank you very much
Lisa