
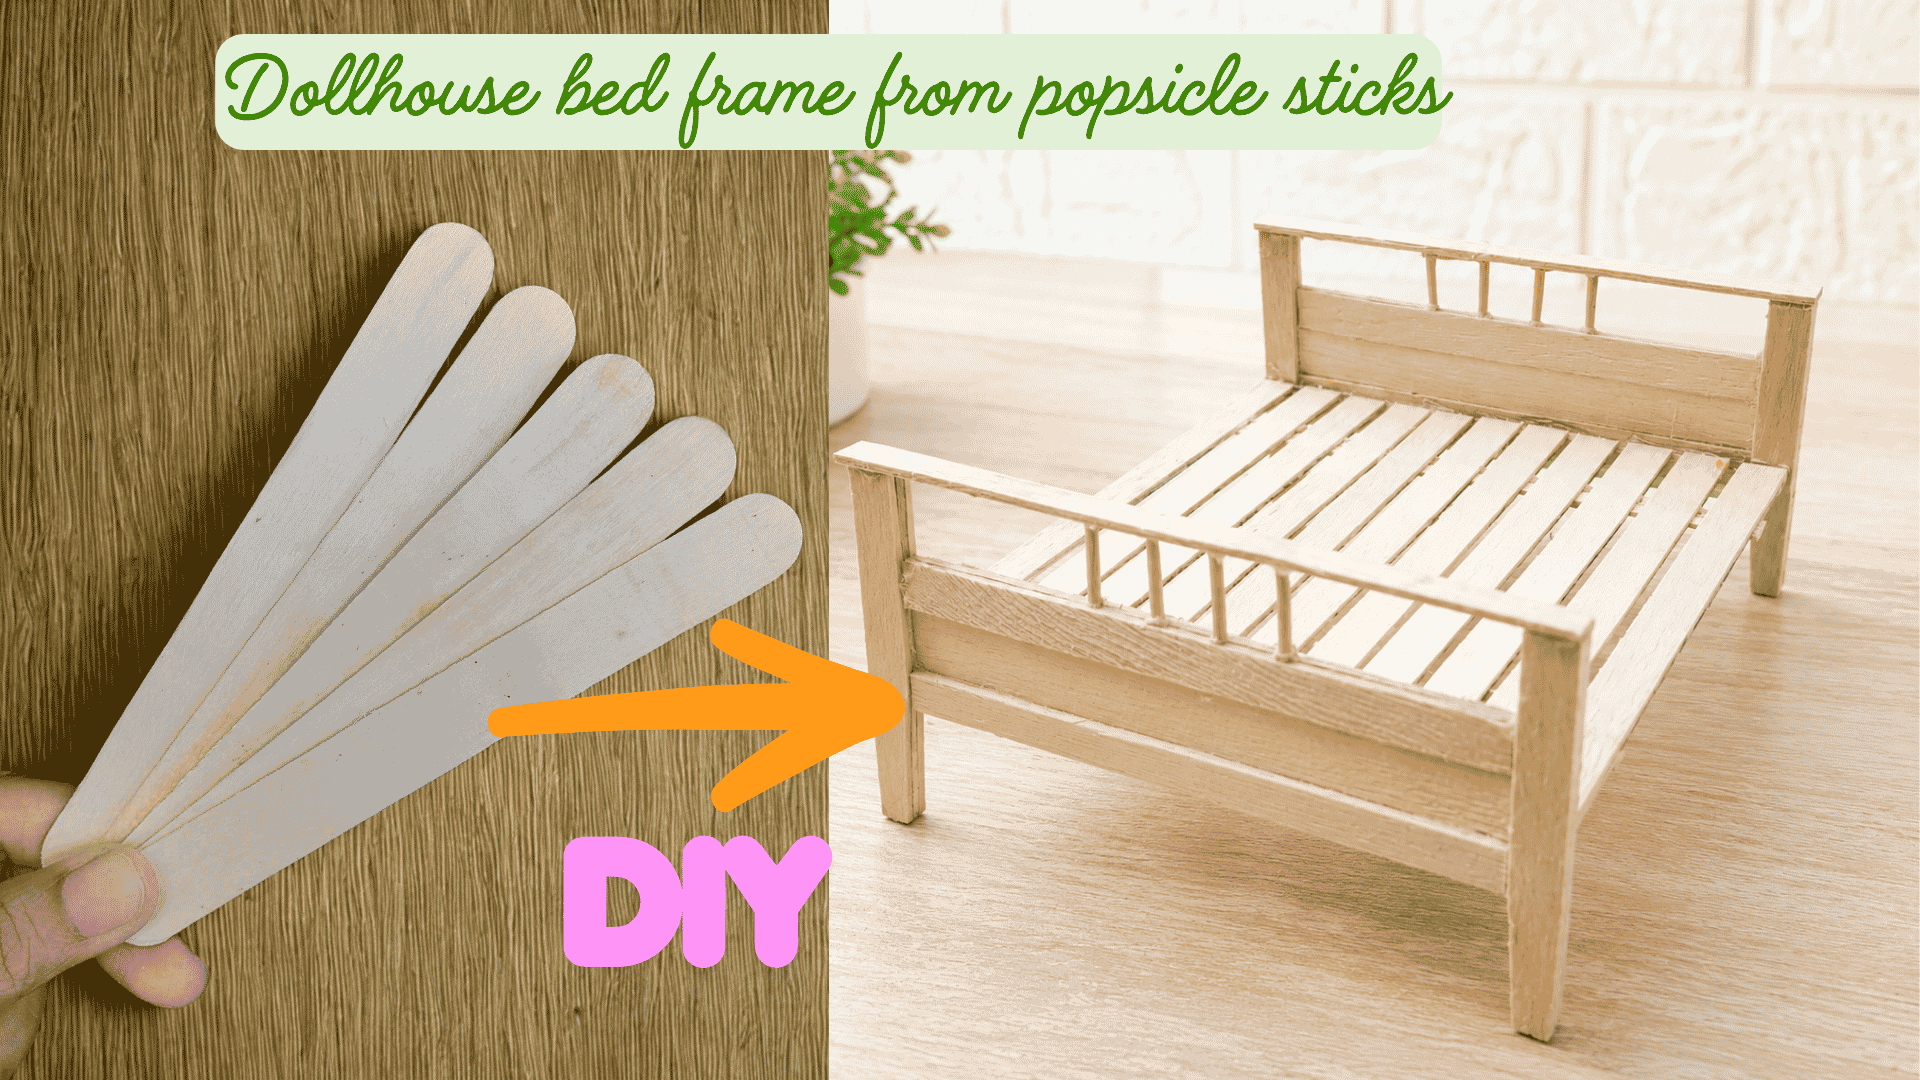
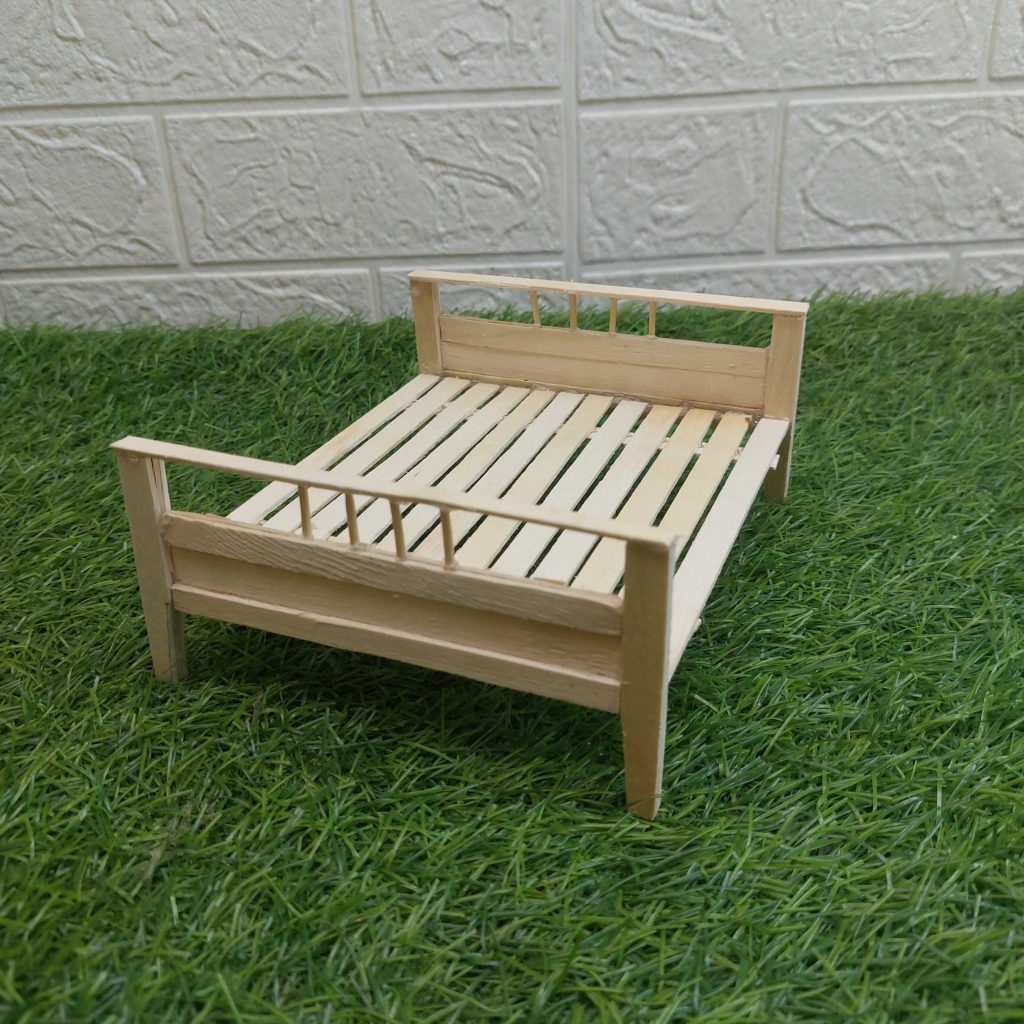
I made this miniature bed frame using mostly popsicle sticks and a few basic materials, and it turned out surprisingly sturdy and realistic.
If you’re looking for an easy way to add a bed to your dollhouse without buying a kit, this is a great place to start, because this is one of those projects where you don’t need anything complicated to get a really nice result. Let's go!
THIS TUTORIAL IS BEST WATCHED ON A DESKTOP COMPUTER INSTEAD OF A MOBILE DEVICE, FOR A BETTER OVERVIEW
PS, next week, we will create the bed linen and sheets for this bed, so keep posted!
Materials I Used
For the bed:
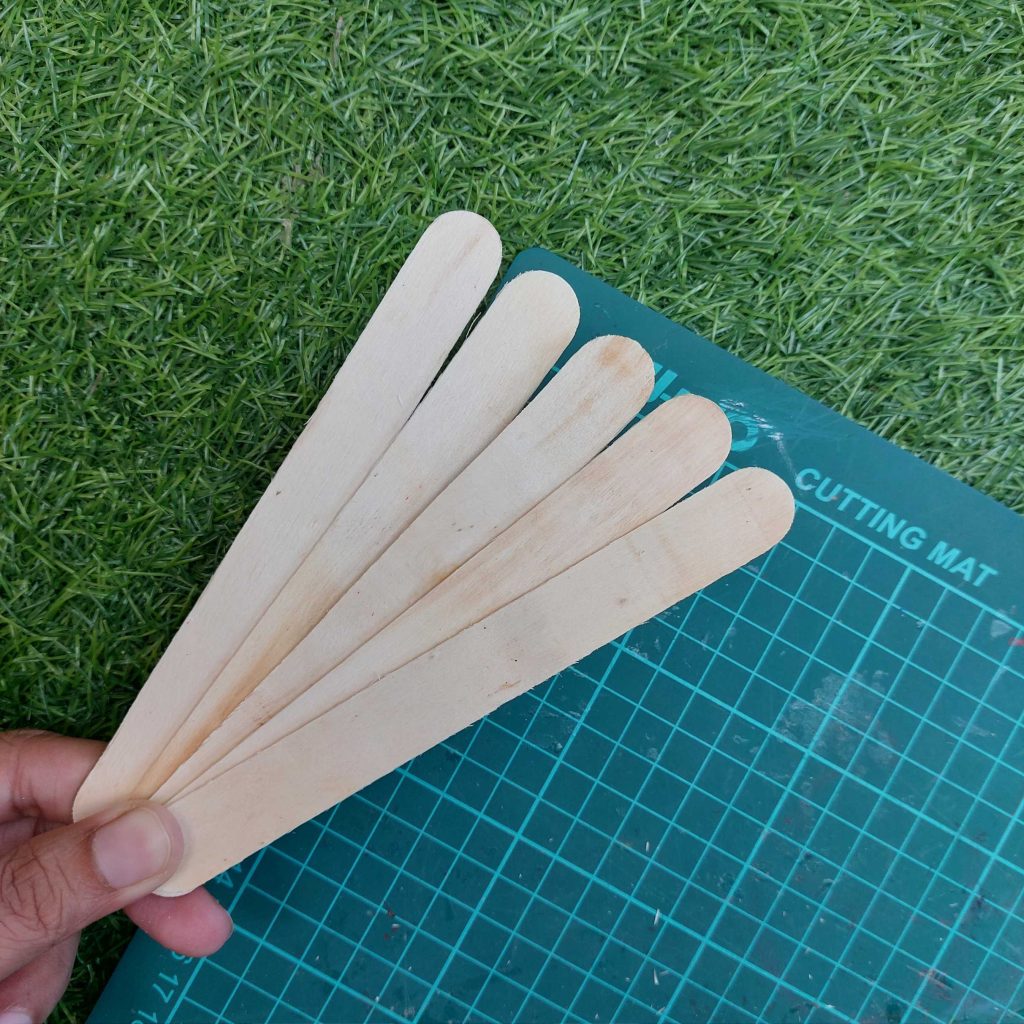
- Popsicle sticks (you’ll need quite a few). Thin wooden strips will all be cut from 5 sticks.
- Toothpicks (for the vertical bars)
- Glue (strong craft glue (I used UHU glue) or wood glue)
- Sandpaper
- Paint or wood stain (optional)
Measurements
Here are the measurements I used for this miniature bed frame. You can adjust them slightly depending on your scale, but this gives a solid reference.
Main Structure
- Base slats:
1 piece = 14 cm long - Base support (underneath):
1 piece = 13 cm long
Frame Pieces
- Side rails:
2 pieces – 11.3 cm x 0.5 cm - Front and back lower panels (headboard + footboard):
2 pieces – 11.3 cm x 1 cm - Top rails (headboard + footboard):
2 pieces – 13.5 cm x 0.5 cm
Legs
- Legs:
4 pieces – 7 cm long
Decorative Details
- Vertical bars (toothpicks):
Cut into pieces of 1.5 cm
👉 These are used for the headboard and footboard detail.
Step-by-step tutorial for the bed
This is a long one with many pictures, so grab your cup of coffee!
Step 1: Cut all your pieces first
I always start by cutting everything up front—it makes the rest of the build much smoother.
Here’s what I used:
- 11 Base slats: popsicle sticks cut to 14 cm,
- Base support: 13 cm
- Side rails: 11.3 cm x 0.5 cm (2 pieces)
- Front and back panels: 11.3 cm x 1 cm (2 pieces)
- Top rails: 13.5 cm x 0.5 cm (2 pieces)
- Legs: 7 cm (4 pieces)
- Toothpicks: cut into 1.5 cm pieces
Take a bit of time here to keep your cuts straight—this really helps later when assembling. And go through the step-by-step pictures to understand better what I mean:
- starting with the base of the bed: