Fortunately, there are several ways to make your fairy house more weatherproof and ensure it lasts through rain, wind, and even winter.
(although for most of my fairy houses, I admit I take them inside during the winter)
But taking a few precautions while building or maintaining your fairy house can help extend its life, so here we go with tons of tips!
As an Amazon, Etsy and Anavrin associate, I earn a small commission from your purchase, with no extra charges for you.
Updated 14/06/26
Essential Steps for Weatherproofing a Fairy House
Again, I must admit that I haven’t always used every single one of these tips and tricks below, but for my next fairy house, I surely will.
Because I like to keep my fairy houses as long as possible outside, to be admired by visitors, it makes me feel so darn proud haha!
1. Seal the Seams for Extra Protection
One of the simplest ways to prevent water damage is by sealing all seams and joints with a silicone sealer. This step ensures that moisture does not seep into cracks and weaken the structure over time.
I would be careful to use it though when your fairy house is very small and detailed, because then you’ll notice the sealer too much.
In the video below, at about 1 minute into the video, you can see my first fairy house.
This house was made from half a plastic bucket, covered with flat stones. The little door and windows were made from wood and sealed with silicone sealer. It has survived all seasons, and lots of years, including harsh winters!
But for this house: you wouldn’t notice that a thick silicone seam is used, because of its structure and materials used.
2. Reinforce or Replace Cardboard Components
If your fairy house has cardboard elements, they will not hold up well in wet weather.
Consider replacing them with wood, which is far more durable. Or if you REALLY want to place a cardboard dollhouse outside, like under a porch, you should definitely make it sturdier and stronger first.
Alternatively, you can strengthen delicate materials by creating shingles and soaking them in acrylic resin, for example, allowing them to harden before attaching them to the house. Then at the least, your roof is more weatherproof.
This technique not only improves durability but also adds a lovely textured effect to the roof!
3. Use Protective Coatings for Long-Term Durability
A reliable way to add a layer of protection is by applying multiple coats of acrylic sealer (yeah, here we have that product again lol).
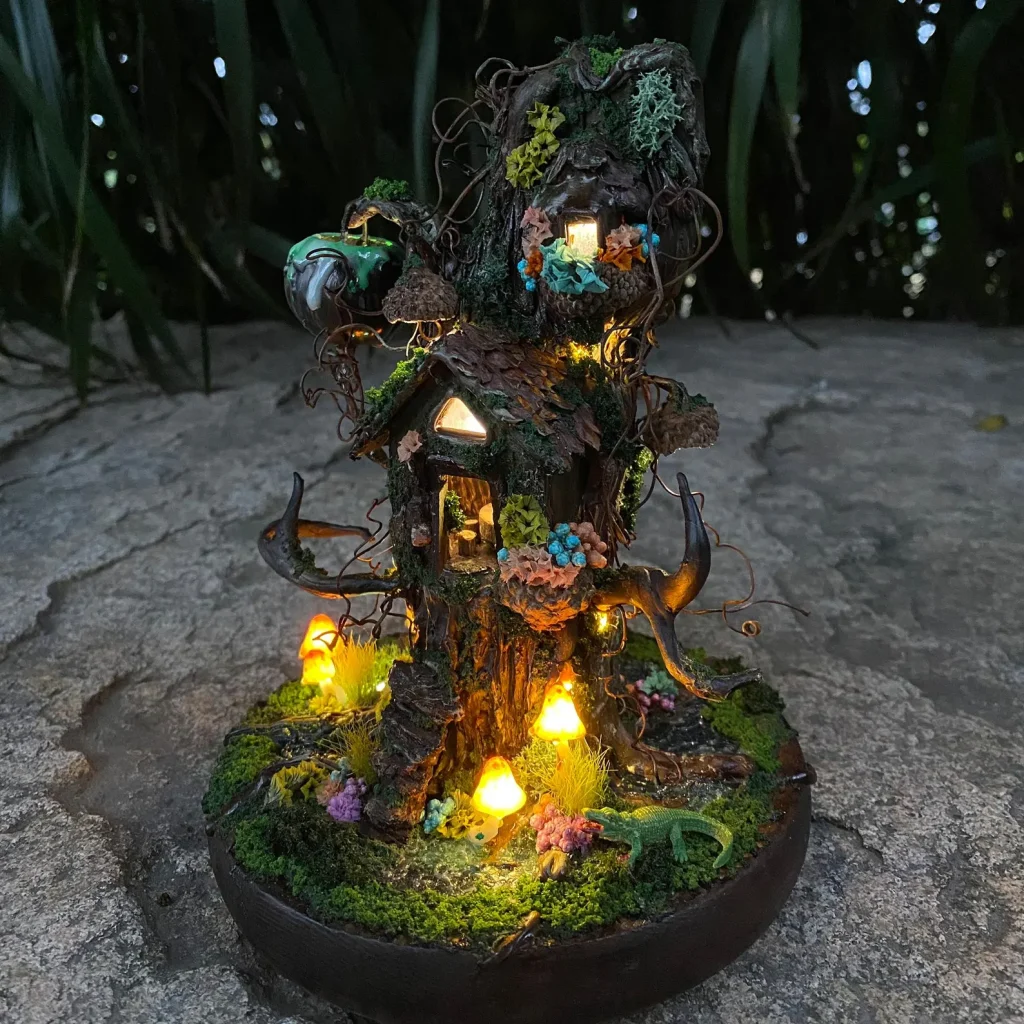
Bark Fairy House by @Weeworldconstruction
Be sure to coat both the interior and exterior of your fairy house. Allow each layer to dry completely before adding the next to build up a protective shield.
A thickness of 1-2mm can significantly enhance water resistance and prevent swelling or warping.
4. Raise the House Off the Ground to Avoid Moisture Damage
This tip might seem obvious, but moisture from rain or morning dew can accumulate around the base of your fairy house, causing deterioration.
Placing your fairy house on a waterproof base, such as a stone slab or treated wooden platform, will help prevent it from sitting in standing water and keep it in good shape for longer.
I place my fairy houses on a large flat stone outside. (thanks hubby for that tip lol )
5. Apply Heat Treatment for a More Resistant Surface
To help seal acrylic coatings more effectively, try using a heat gun over the surface once the final coat is applied.
This process makes the surface glossier and more resistant to water penetration, strengthening the layers and increasing durability.
6. Fill Hollow Spaces to Prevent Water Buildup
If your fairy house is hollow, like one created from a tree stump, filling the interior with expanding foam can prevent moisture from collecting inside.
This step adds structural support and makes the house more resistant to the elements.
What NOT to Do When Building an outdoor Fairy House
While there are many ways to improve the durability of your fairy house, there are also some common mistakes to avoid:
Avoid Using Hot Glue – While hot glue is a convenient option for quick assembly, it does not hold up well in outdoor conditions.
Do Not Use Unsealed Paper or Cardboard – These materials absorb water quickly and will deteriorate within days of exposure to moisture.
Avoid Using Regular Paints Without Sealing Them – Acrylic and latex paints will chip and fade if they are not sealed with a weatherproof coating.
Do Not Leave Gaps in Construction – Small gaps and cracks can allow water to seep in, leading to rot and mold.
Avoid Using Softwood Without Treatment – Untreated softwoods like pine will absorb moisture and rot quickly. If using wood, opt for naturally weather-resistant types like cedar.
My Experience with Fairy Houses
I have built four fairy houses for my fairy garden so far, experimenting with different materials and methods. Here’s where you can check them out:
My First Fairy House: Featured in my YouTube video above in this article (around the 1-minute mark) here.
My Second Fairy House: Read about it here. (The article refers to it as my first, but it was my second one really)
My Third Fairy House: See it here. This one was a fun project with some new design elements.
My Fourth Fairy House: Find out how I made it. This build was the most refined yet, incorporating many of the techniques I had learned along the way.
I am currently planning my fifth fairy house, which I hope to complete before summer. This time, I will be decorating it with tree bark for a natural, woodland look, similar to my outdoor fairy garden toilet.
I’ll be documenting the entire process in a new blog post, so be sure to bookmark my site and check back soon!
If you’re looking for even more ideas and inspiration, you may enjoy reading this guide with 30 useful tips. It covers everything from construction methods to creative decorative touches.
Do You Weatherproof Your Fairy Houses?
Have you tried weatherproofing a fairy house before? What materials and techniques have worked best for you? I’d love to hear about your experiences—feel free to share your thoughts in the comments!
Good question Sheila!
I have used stringlights before in one of my fairy houses , one that works with a little solar panel, so without a battery, and it is meant to place outside. You just need a small hole to get the string through and seal it if you want it to be completely closed off. I do bring this one inside though when it rains. The elements always have an influence on your outside stuff in the end, unless it’s made from resin or so.
All the best,
Lizzy


")


Because everything needs to be sealed, how do you add internal lights?
Good question Sheila!
I have used stringlights before in one of my fairy houses , one that works with a little solar panel, so without a battery, and it is meant to place outside. You just need a small hole to get the string through and seal it if you want it to be completely closed off. I do bring this one inside though when it rains. The elements always have an influence on your outside stuff in the end, unless it’s made from resin or so.
All the best,
Lizzy
love your stuff, thanks for sharing