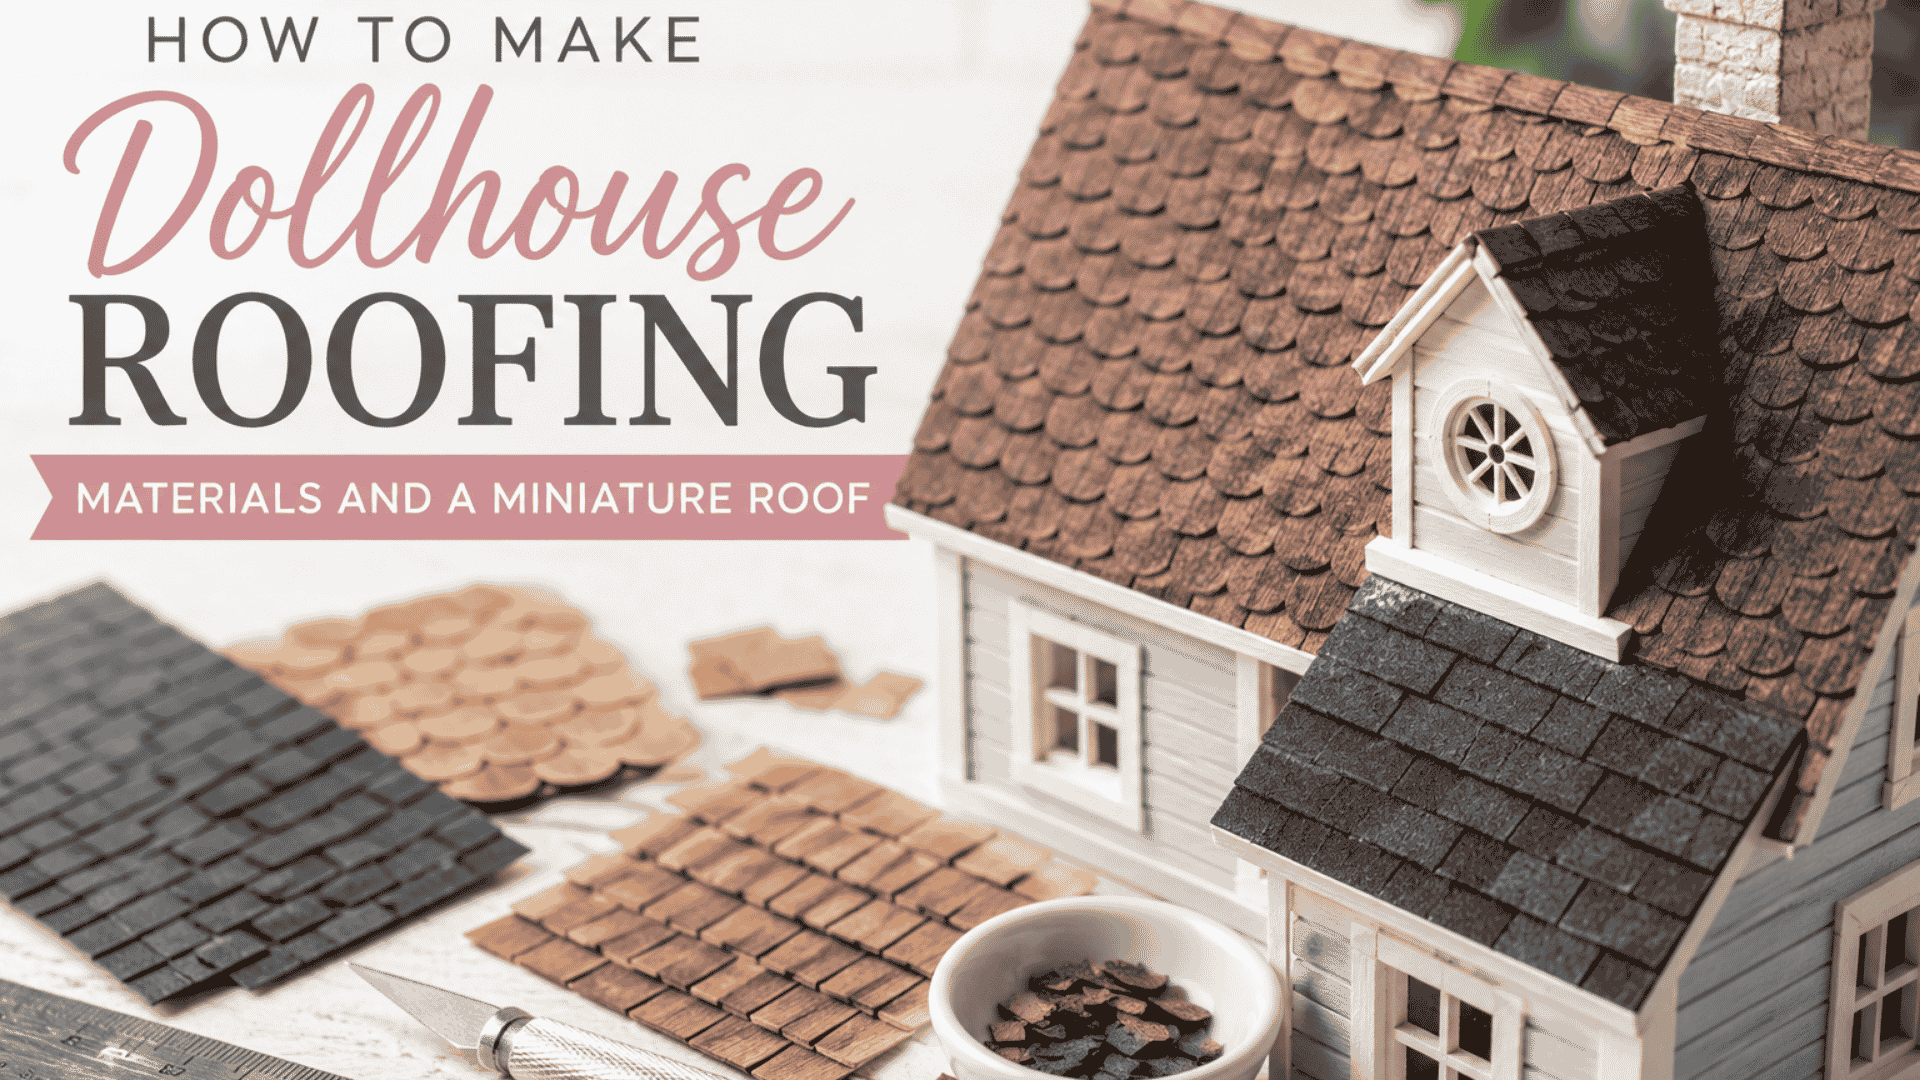
We already covered how to create miniature walls, miniature water, and miniature floors. So guess what we are going to talk about today? Right: how to make miniature roofs and some great insights for dollhouse roof ideas!
As usual, there are several ways to do this, from buying shingles (which is the easy way, but not the DIY way), to making them from different kinds of materials, let’s try to get oversight and dive right into things!
Updated 15/07/26
1. How to make dollhouse shinglesDIY using Balsa wood.
This is how I made my first project: my backyard shed, I just cut out shingles with balsa wood. This is pretty easy with just a crafting knife, you don’t need a mini table saw for this. And then painted with gray acrylic paint.
If you wonder why it is still wrapped up in cardboard: it is covered against my predator-cats, until I get a final and safe place for it 😉
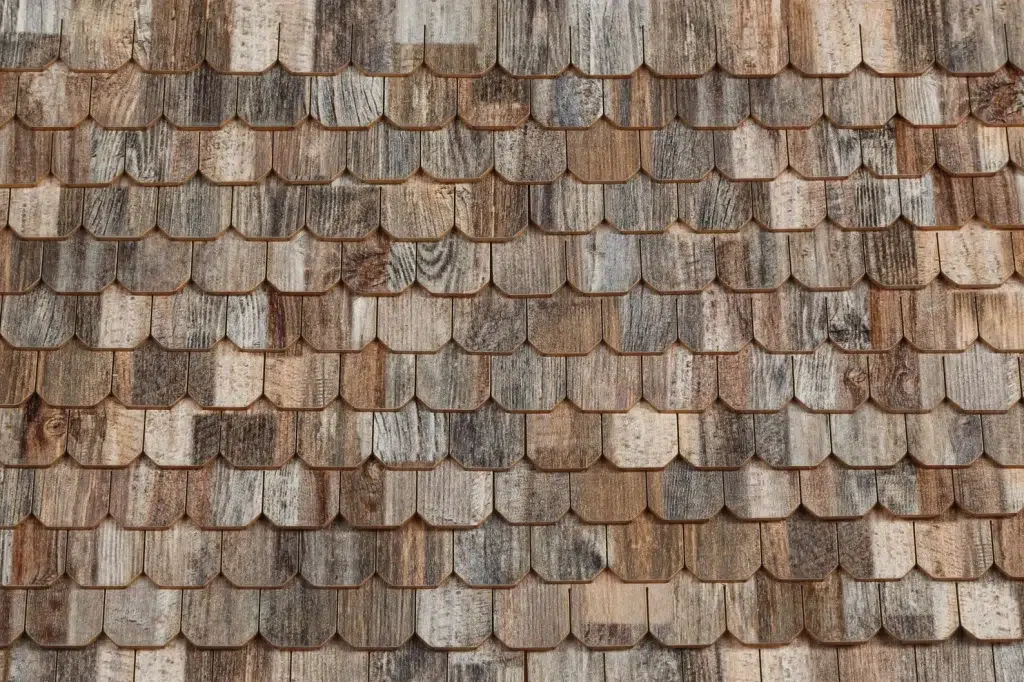
Would I do it differently now? No, I don’t think so, I would still use balsa wood, although I would paint it very differently now to make it look more ‘real’ and weathered.
I would now use a mix of colors, like the way people paint their miniature walls, plus make it look more ‘ messy ‘. Because after all, it is a roof. But hey, you learn as time goes on, right?
The roof of my treehouse, however, is made from leftover veneer wood that I kept in my backyard shed. Look at what can be ‘upcycled‘ ).
But that was the easy part. Have you seen what I did with it after this?
Something unique: covered the roof with pencil scrapes, yes!
Find out on my YouTube how I have been working on this:
Or even use sandpaper to make dollhouse shingles, here’s how to do this!
2. Another doll house roof idea: Make a thatched roof.
I just love this method, and I didn’t think about it before when doing research for this article. It is usually used for modeling, so on a smaller scale, but I think you can apply it to a 1:12 scale dollhouse for sure.
Materials needed :
– cardboard
– ruler, pencil, a drawing compass, and a crafting knife
– twine ( Jute )
– a comb and a brush
– balsa wood beams
– some foam board
– an empty ballpoint pen
– tinfoil
– coffee stirrers
A walkthrough:
– Draw and cut triangles on cardboard to make a structure to hold the roof
– If your cardboard isn’t thick enough, but you do want thick triangles for a sturdier structure, glue pieces of cardboard together with a glue gun.
– Cut out a structure again from cardboard for the roof itself. Slightly cut it in the middle, but not all the way through. Glue on the triangles for support.
– have a large strap of cardboard, glue the twine on it, and wrap it all around the cardboard. Secure the end again with the glue gun.
– make sure that every piece of wrapped twine is glued on top, on both sides of the cardboard (but not on the edges Then, at the bottom, you can cut the twine in half. And separate it as well on top.
– comb and brush the twine so that it looks like thatch.
– cut out some beams and attach them to the structure and then cut out foam board for the triangles and attach them as well
– For a while, he talks about how to engrave the bricks in the triangles; you can find out about that in my miniature wall tutorial.
– add some beams on the roof (as in the video), made from coffee stirrers, and hang them over the roof, so that the thatched roof will hang over the edges as well
– glue on the straps of thatch to the roof (make sure to use enough glue, because the strings aren’t very flexible)
– trim the thatch roof and DONE!
Have a look at the video:
Another way that I have found on Facebook is this thatched roof, where pieces of a newspaper were rolled up and just glued together. I prefer the previous way, but you might think this is easier. Have a look at the picture below.
3. Make miniature roof tiles from clay with the help of a soda can!
Now, this is a fun (and very cheap!) way to make those dollhouse roofing materials: out of clay!
Materials needed:
– a soda can
– a rolling pin
– a pencil
– air-dry clay
– brown acrylic paint
A walkthrough :
– make a clay cutter from a soda can.
– role out the clay with a rolling pin and cut out your tiles (about 2 mm thick)
– give them the right shape with a pencil
– glue them to the roof (from the bottom and overlap them as you move further up) and paint them with brown acrylic paint
– and done!
This video tells a bit more about the same project :
4. Miniature roofing iron.
This is probably the cheapest and easiest way to make a roof 😉 You basically don’t need anything other than cardboard as a way to craft dollhouse roofing materials.
Materials needed:
– ribbed cardboard (you can buy some or you can use some from packages that you removed)
– buy suitable ribbed cardboard or remove the paper from ribbed cardboard packages by slightly wetting it with a sponge
– cut the ribbed cardboard to the size you want it for your dollhouse and glue it onto your roof
– if you are going to make layers of cardboard, you will notice some paper underneath, and that doesn’t look good. So what you do then is make the piece of paper a little bit wet with a paintbrush, then let it sit for a bit, and do it a second time.
– Remove the paper very carefully with a craft knife and trim it off with scissors. You can now carefully glue the layers on the roof
I hope you like my little tutorial on dollhouse roof ideas. If you have any other methods that you want to share with me or have any questions, please leave a comment below!
4 thoughts on “5 Best DIY Dollhouse Roof Ideas – Another Tutorial”
Very complete tutorial! We are seeing him as my daughter since we are just looking for different materials to be able to make her dollhouse. (Although at this point it is actually “our" dollhouse haha). Well, we have come here and we love the use of clay!
Since my daughter likes to use this technique, we are going to do it that way! There we are watching the tutorial and we really liked it.
One question: is there a technique that we can use to make the clay more resistant? some way to “cook" it maybe?
Thank you very much for the tutorial, we will continue to see the other parts! My daughter is sure not going to leave this unfinished haha Thank you Jason
Have fun with crafting with your daughter. Now about your question: there are all sorts of different clays on the market. As a matter of fact, I will write another article about that soon.
There is clay that is self-hardening and then there is clay that you can form the way you want it and then let it harden in the oven. Keep an eye on my site to learn about that soon !
Hi Mark,
Thank you for your kind words!
I think that little LED lights are the better choice. Do your lamposts have room for batteries?
You might want to check Amazon or Etsy.
thanks!
Kind regards,
Lizzy


Very complete tutorial!
We are seeing him as my daughter since we are just looking for different materials to be able to make her dollhouse. (Although at this point it is actually “our" dollhouse haha). Well, we have come here and we love the use of clay!
Since my daughter likes to use this technique, we are going to do it that way! There we are watching the tutorial and we really liked it.
One question: is there a technique that we can use to make the clay more resistant? some way to “cook" it maybe?
Thank you very much for the tutorial, we will continue to see the other parts! My daughter is sure not going to leave this unfinished haha
Thank you
Jason
Hello Jason , thank you for the compliments!
Have fun with crafting with your daughter. Now about your question: there are all sorts of different clays on the market. As a matter of fact, I will write another article about that soon.
There is clay that is self-hardening and then there is clay that you can form the way you want it and then let it harden in the oven. Keep an eye on my site to learn about that soon !
happy crafting
Lizzy
Hi Lizzy, Brilliant video’s i have christmas village lamposts and i want to put lights in them where do you get the lights from? Thanks Mark
Hi Mark,
Thank you for your kind words!
I think that little LED lights are the better choice. Do your lamposts have room for batteries?
You might want to check Amazon or Etsy.
thanks!
Kind regards,
Lizzy