I love finding ways to turn everyday materials into miniatures, and cardboard packaging is one of my favorite supplies. It’s free, easy to cut, and perfect for a rainy day in summer, together with your (grand)kids.
As a matter of fact, I am writing this in the middle of a thunderstorm during a heatwave 🙂
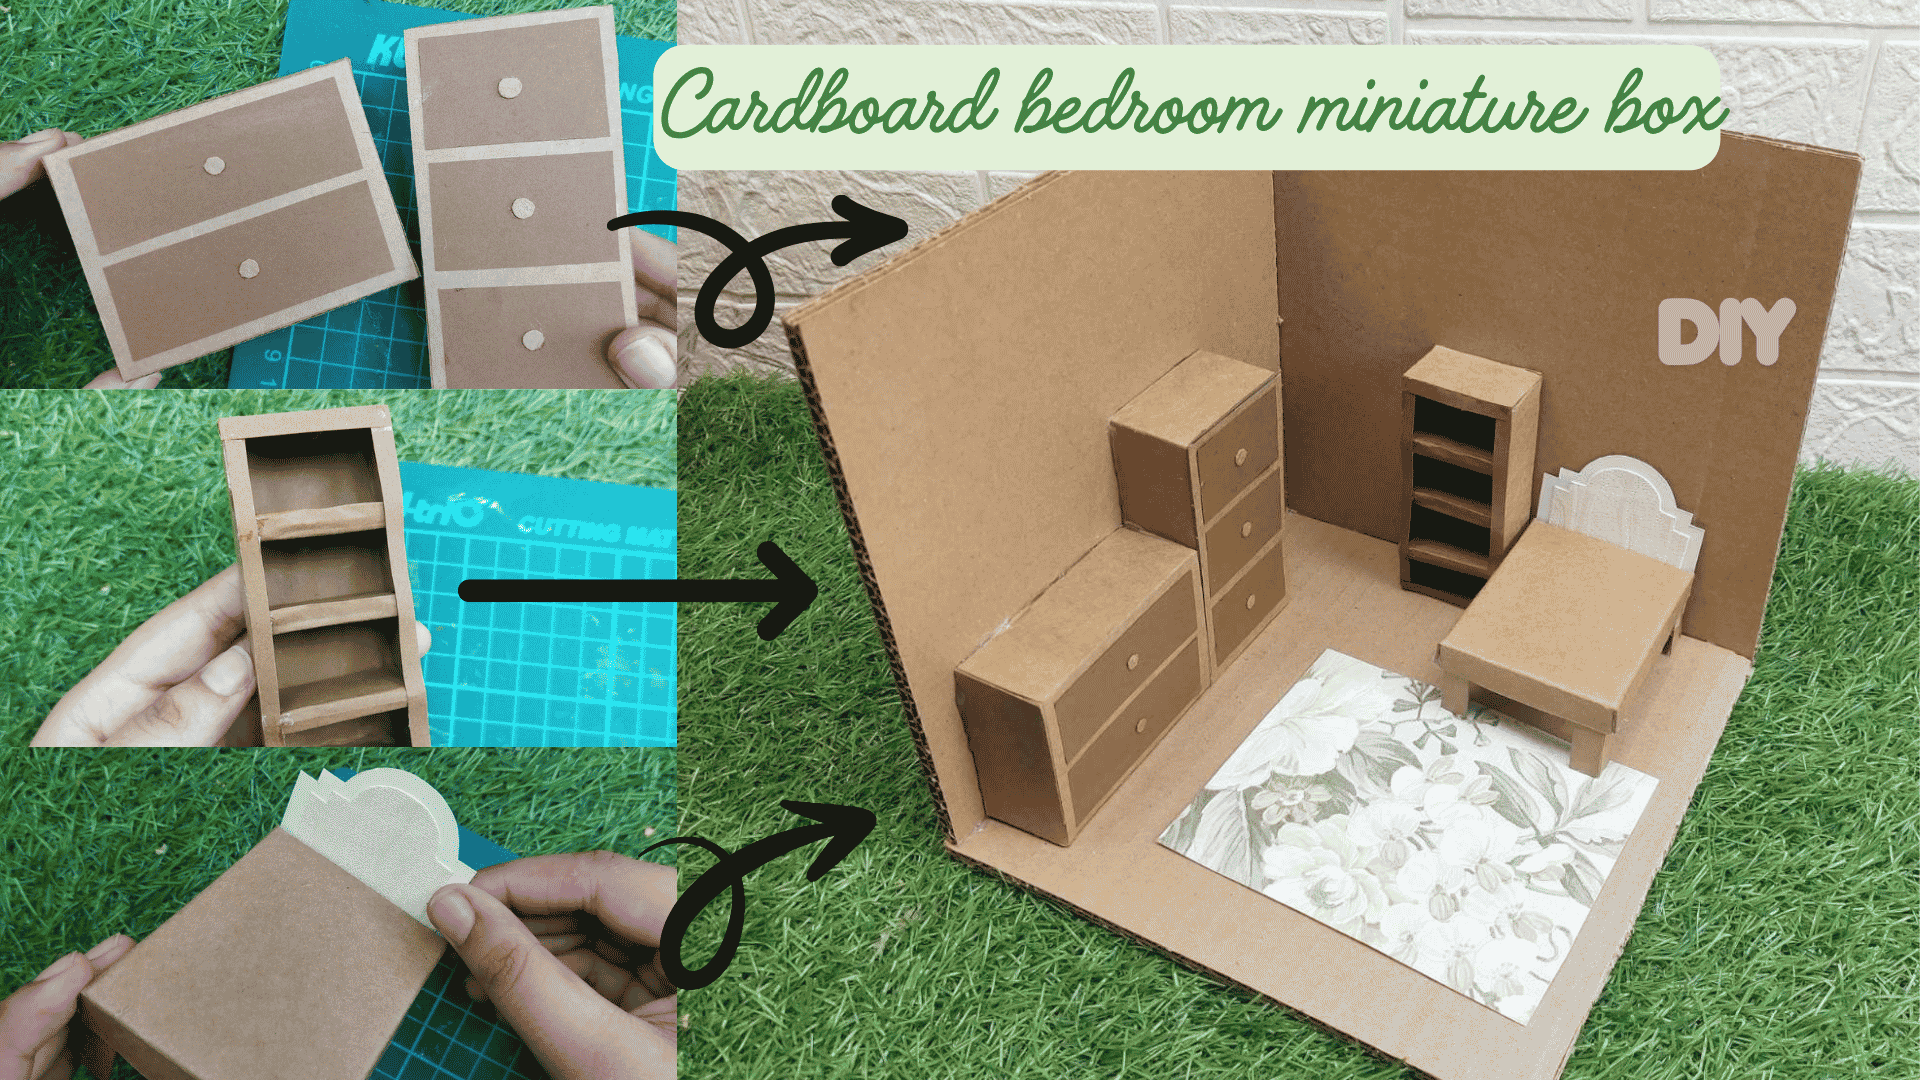
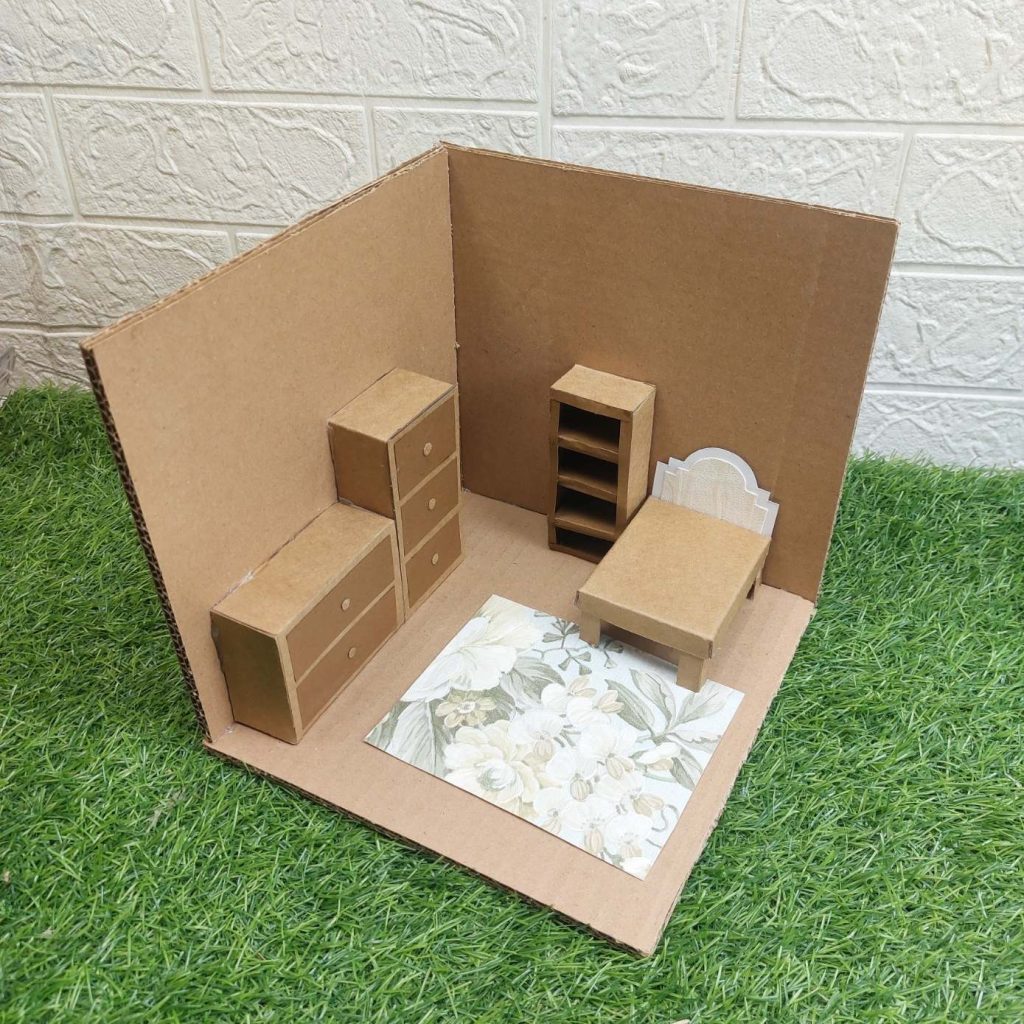
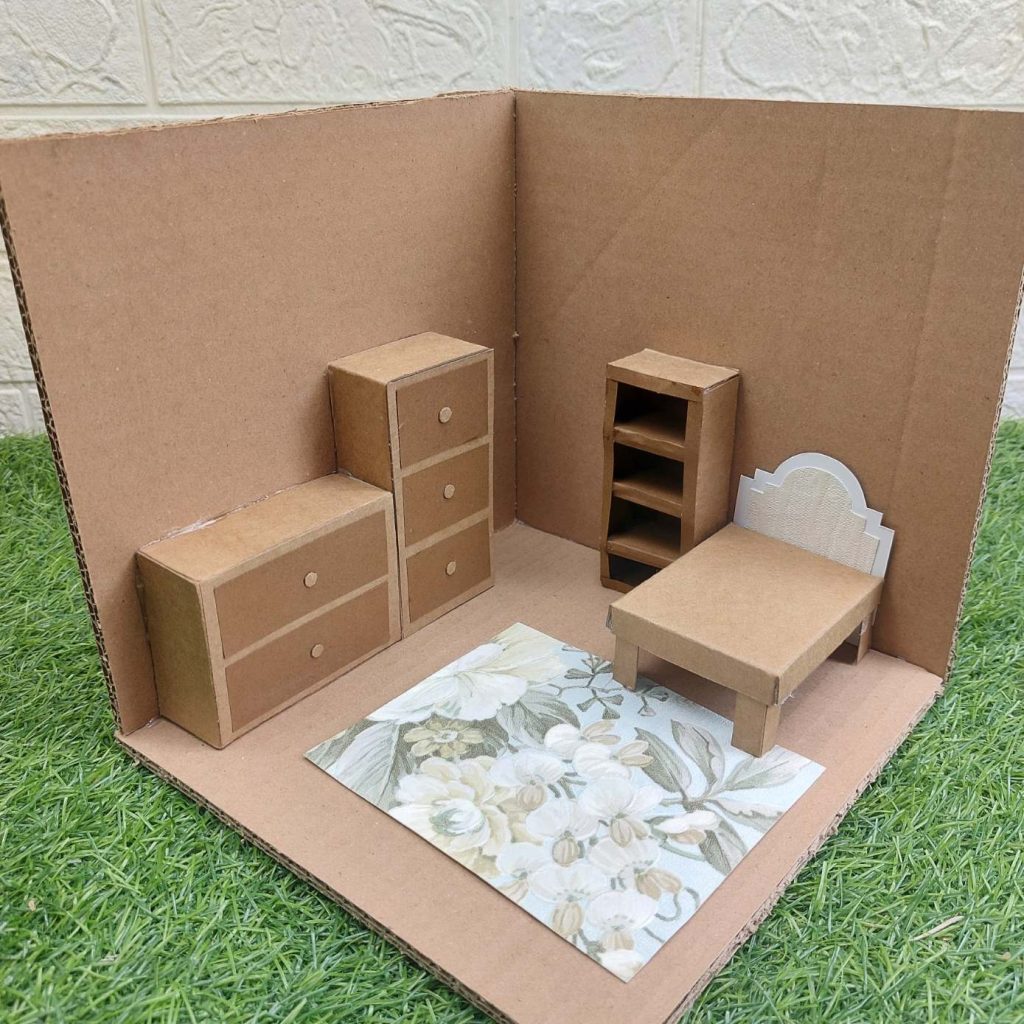
For this project, I built an entire miniature bedroom using recycled cardboard from packaging that would normally end up in the recycling bin. The room includes a bed, dresser, storage cabinet, shelving unit, and even a small decorative rug.
As an Amazon, Etsy and Anavrin associate, I earn a small commission from your purchase, with no extra charges for you.
This tutorial will take you through an afternoon full of crafting fun. You might even want to add this miniature straw hat to the scene, after you build this room, so let’s go!
Step 1: Build the Room Structure
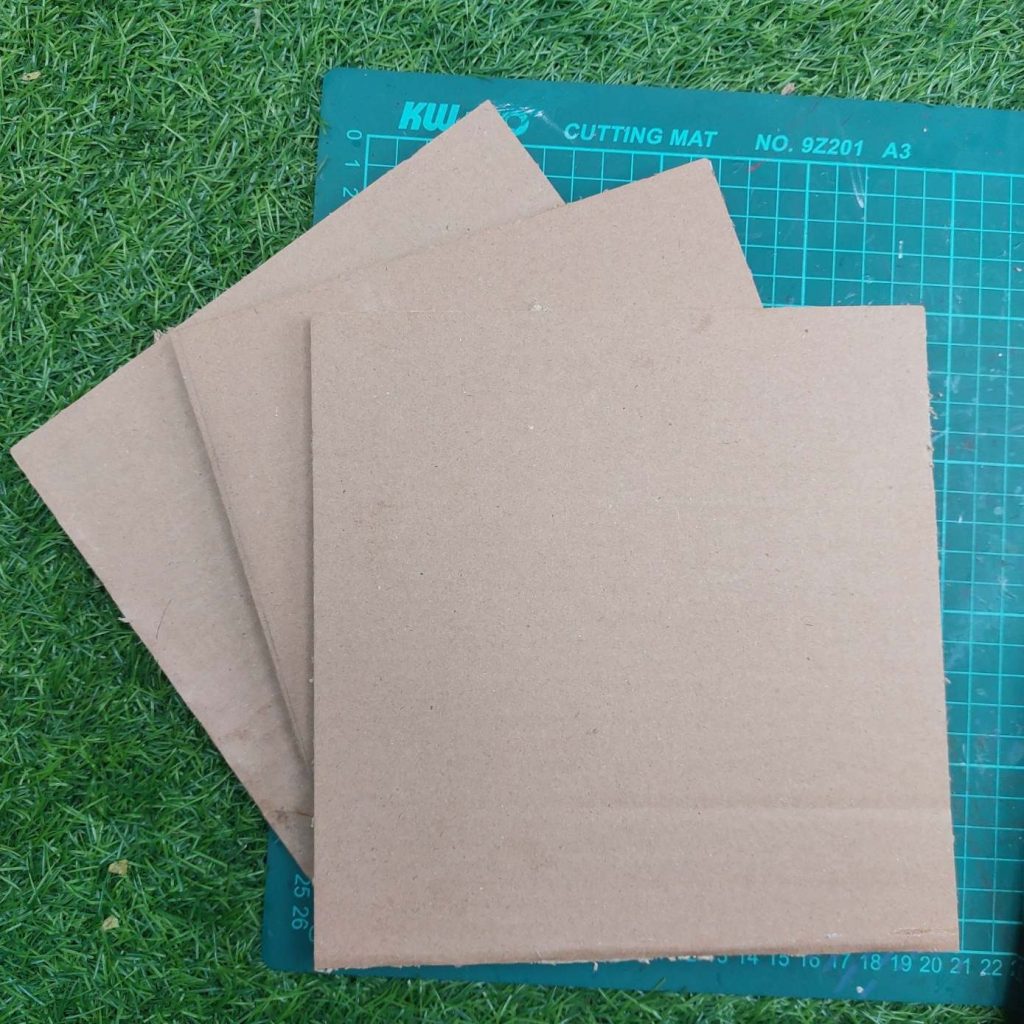
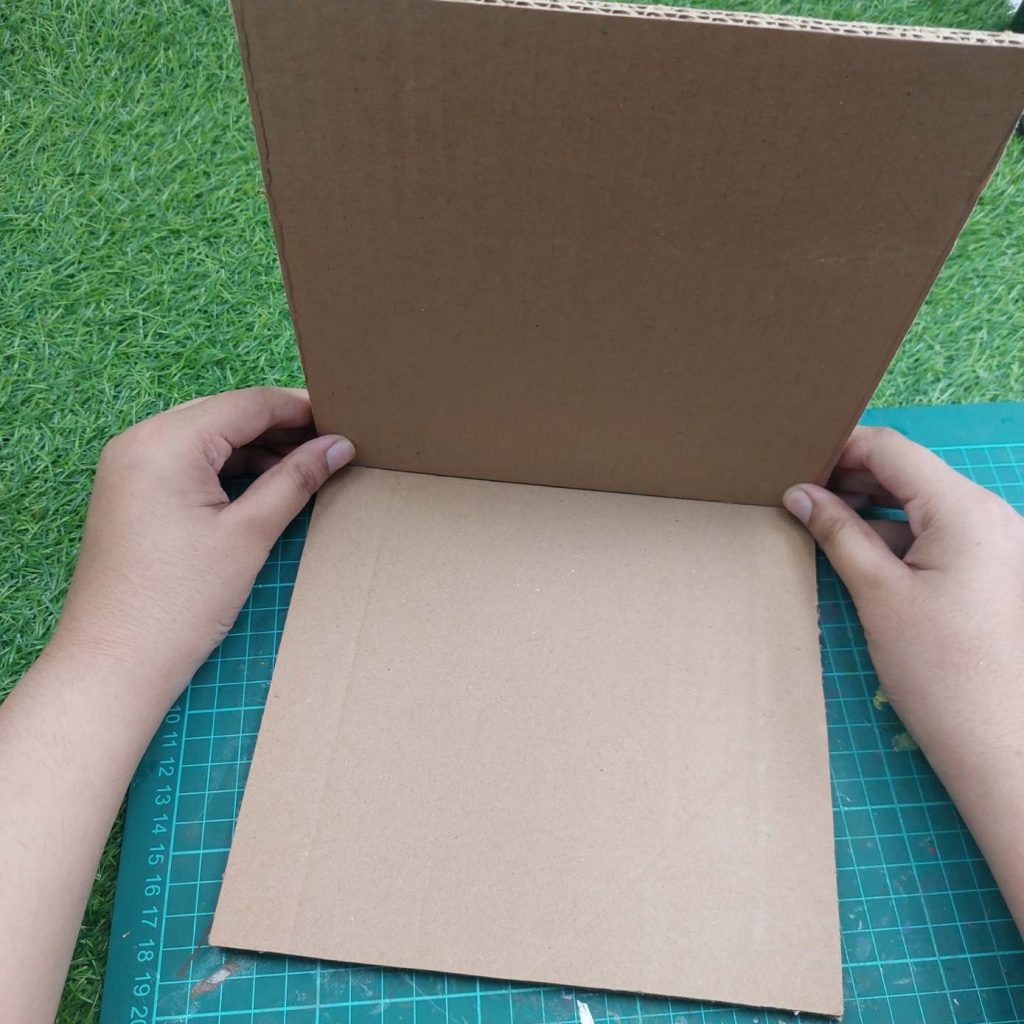
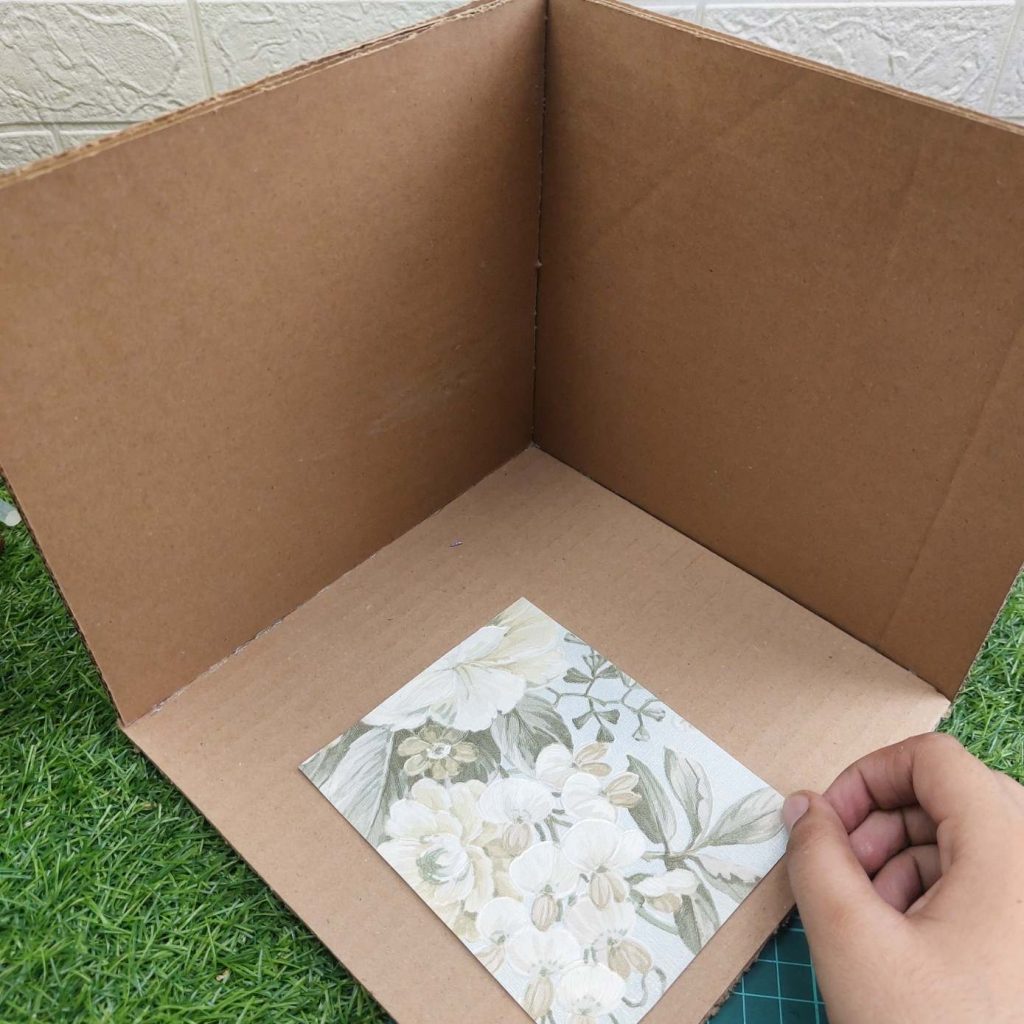
Begin by cutting three large pieces of corrugated cardboard.
One piece becomes the floor, while the other two form the walls.
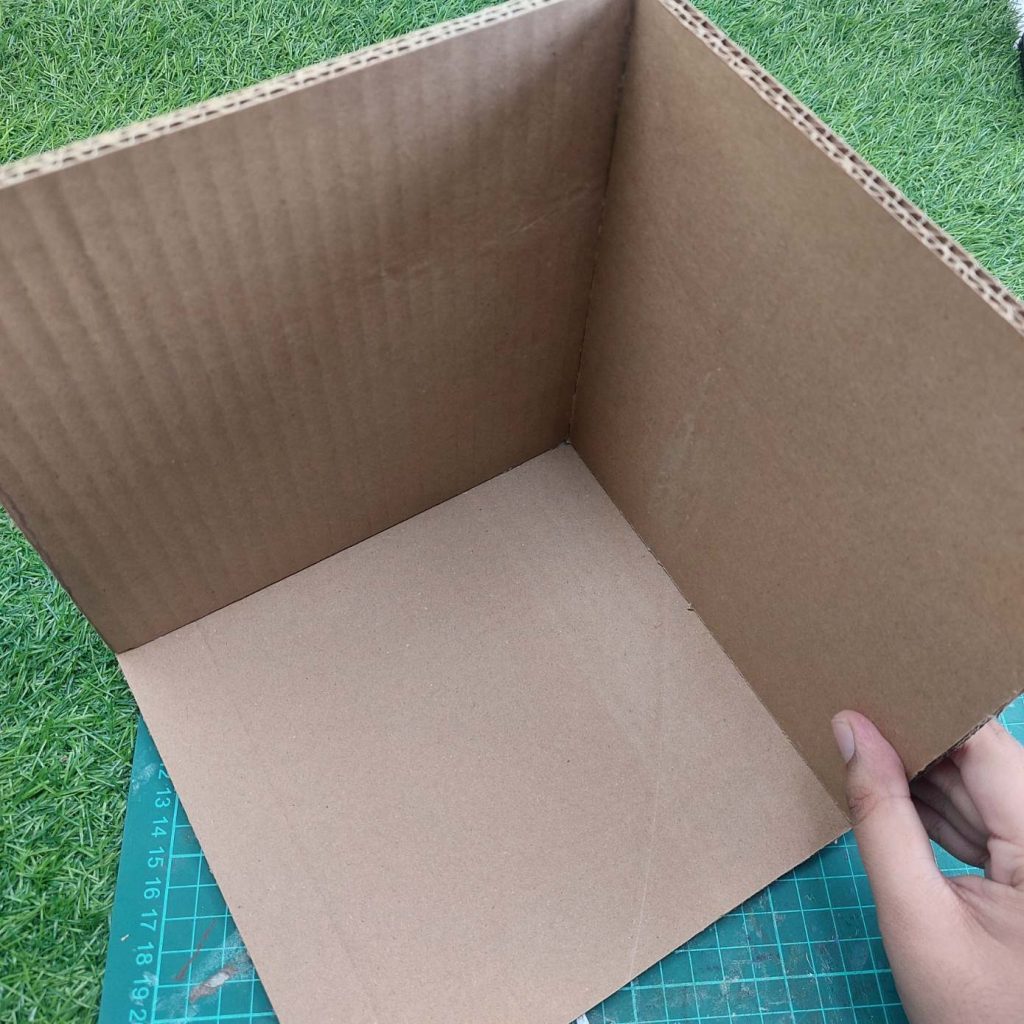
Glue the walls to the floor at a right angle to create a corner room. Hold everything in place until the glue begins to set.
This simple structure provides the base for the entire bedroom scene.
Step 2: Make the Bed
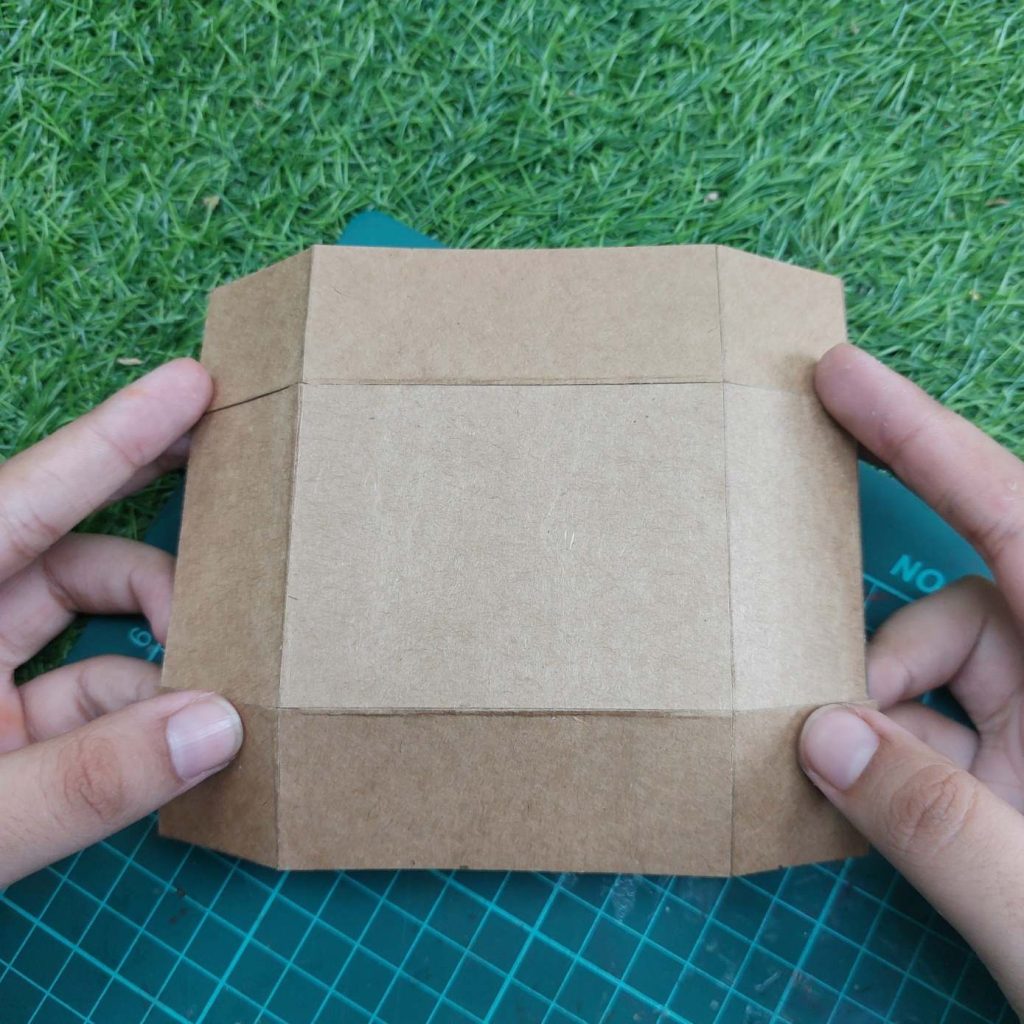
For the bed base, cut a rectangle measuring 8 x 6 cm.
Add borders around all four sides and fold them upward to create depth. Cut small slits at the corners so the sides can fold neatly.
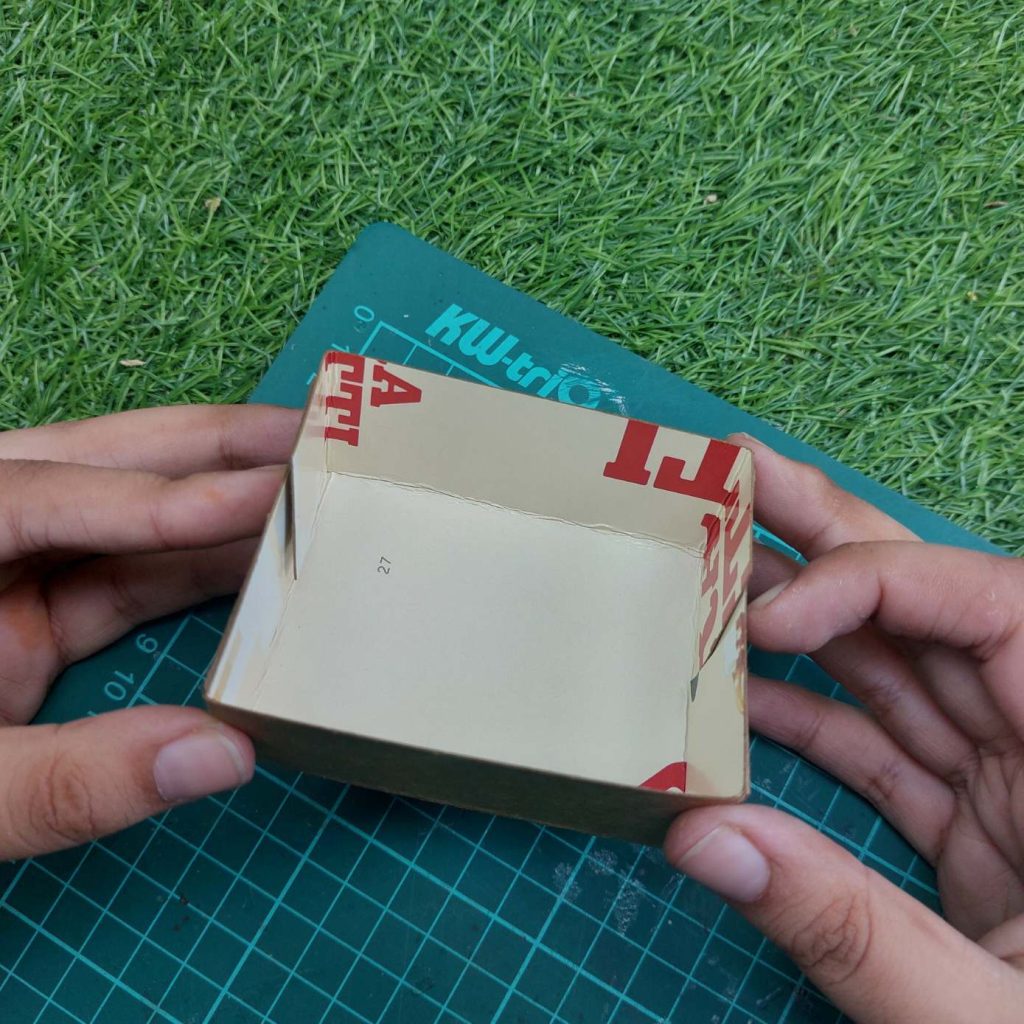
Glue the tabs underneath to form a sturdy box.
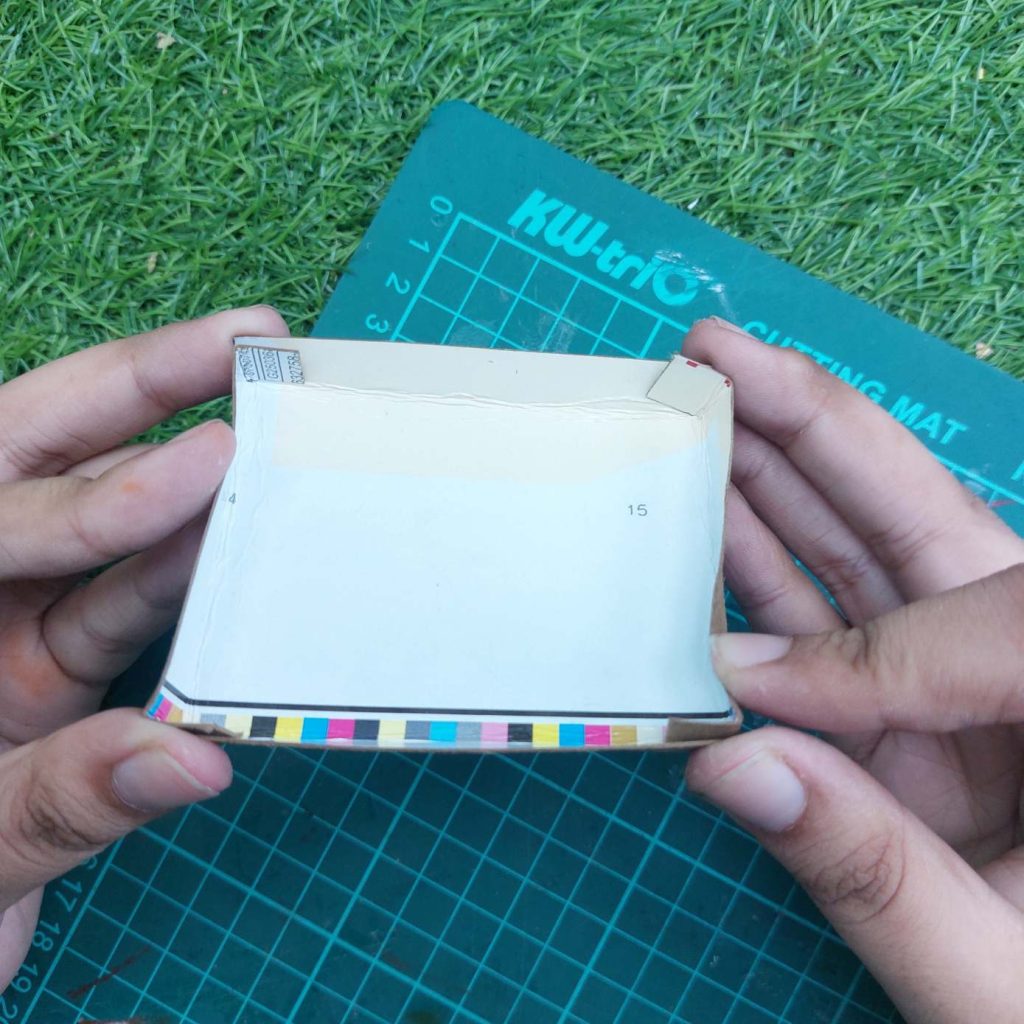
Decorate the bed underneath with a colorful cardstock paper print.
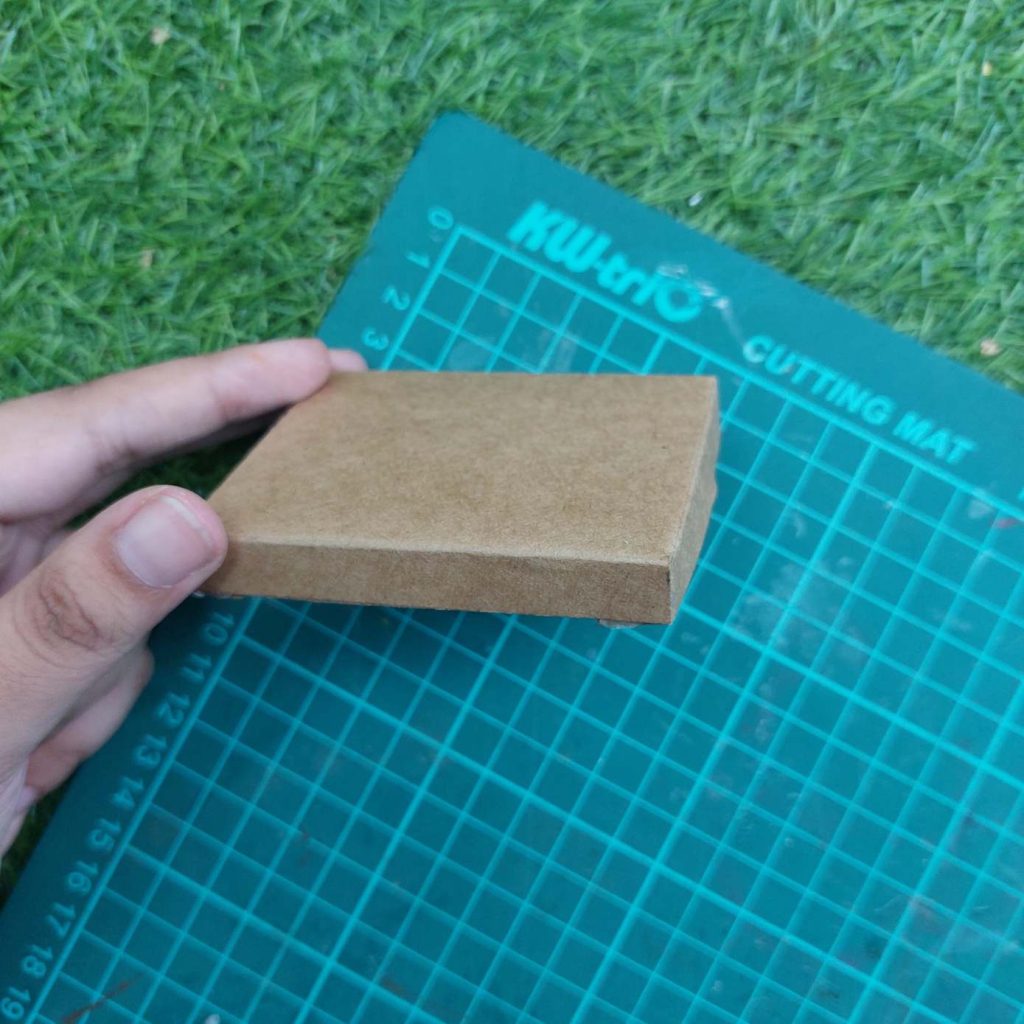
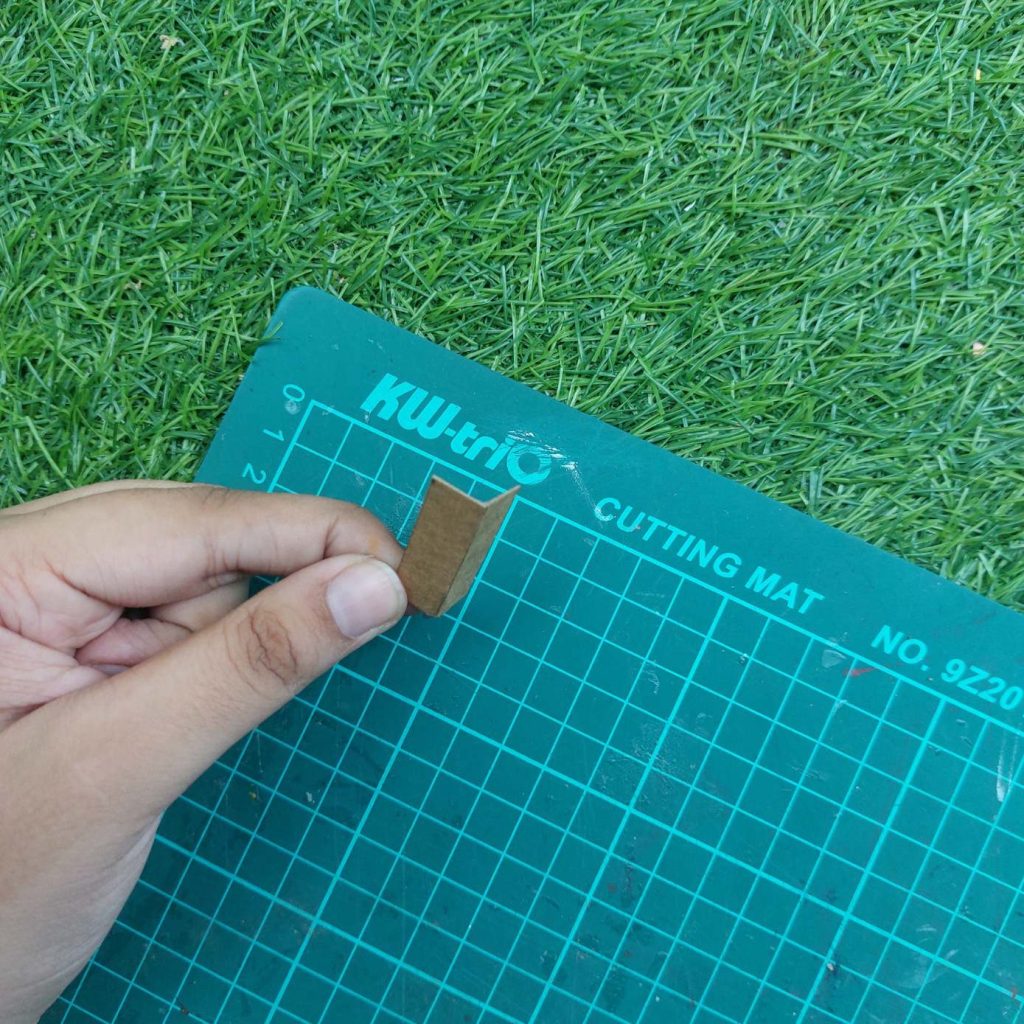
For the legs, cut four pieces measuring approximately 2 x 3 cm, fold them into simple supports, and glue them underneath the bed.
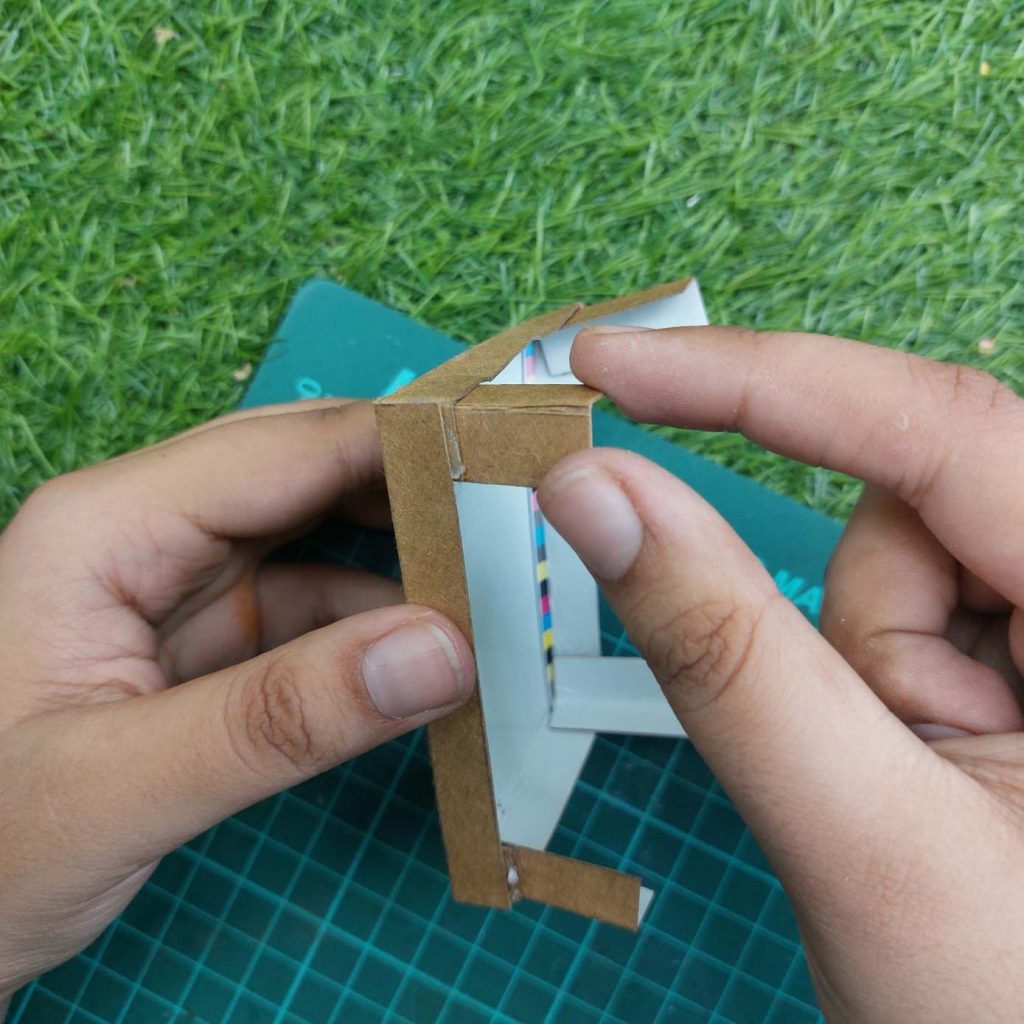
Create a decorative headboard from thin cardboard and glue it to one end of the bed.
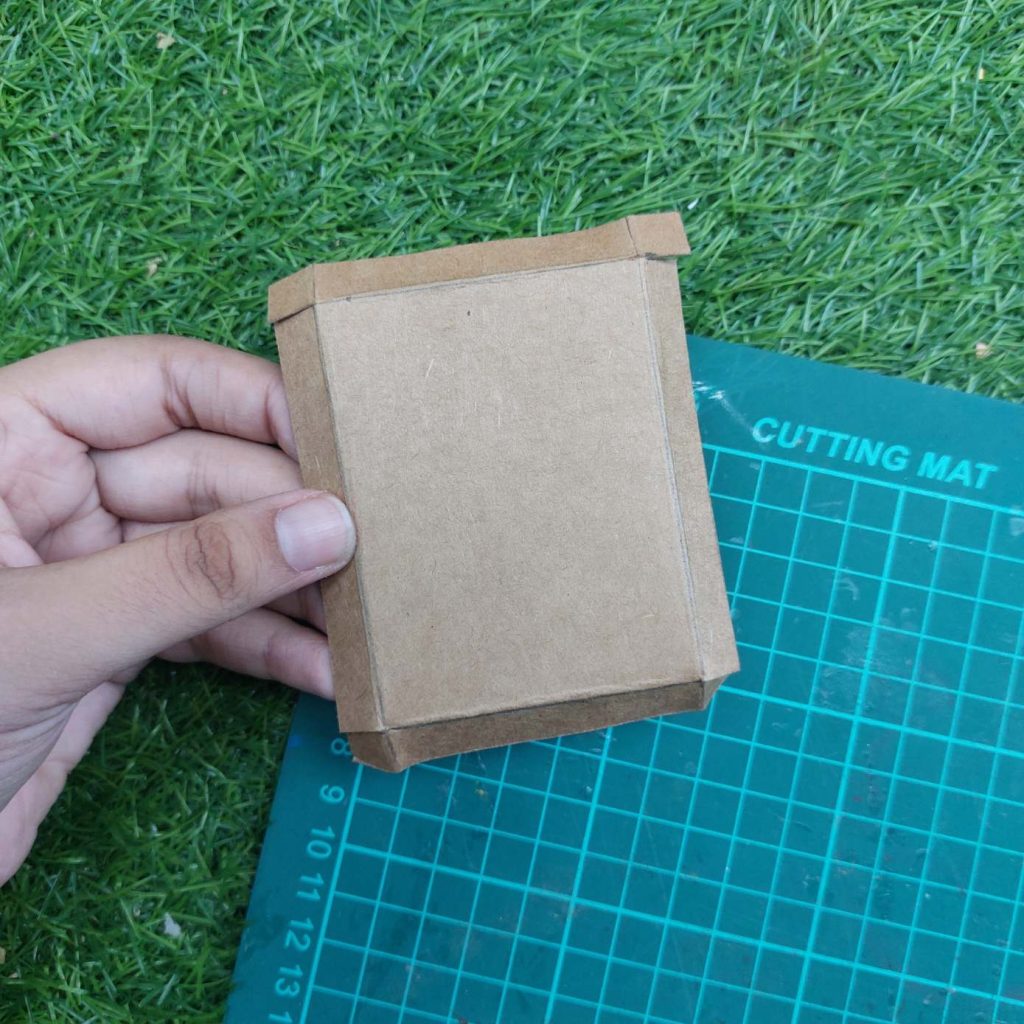
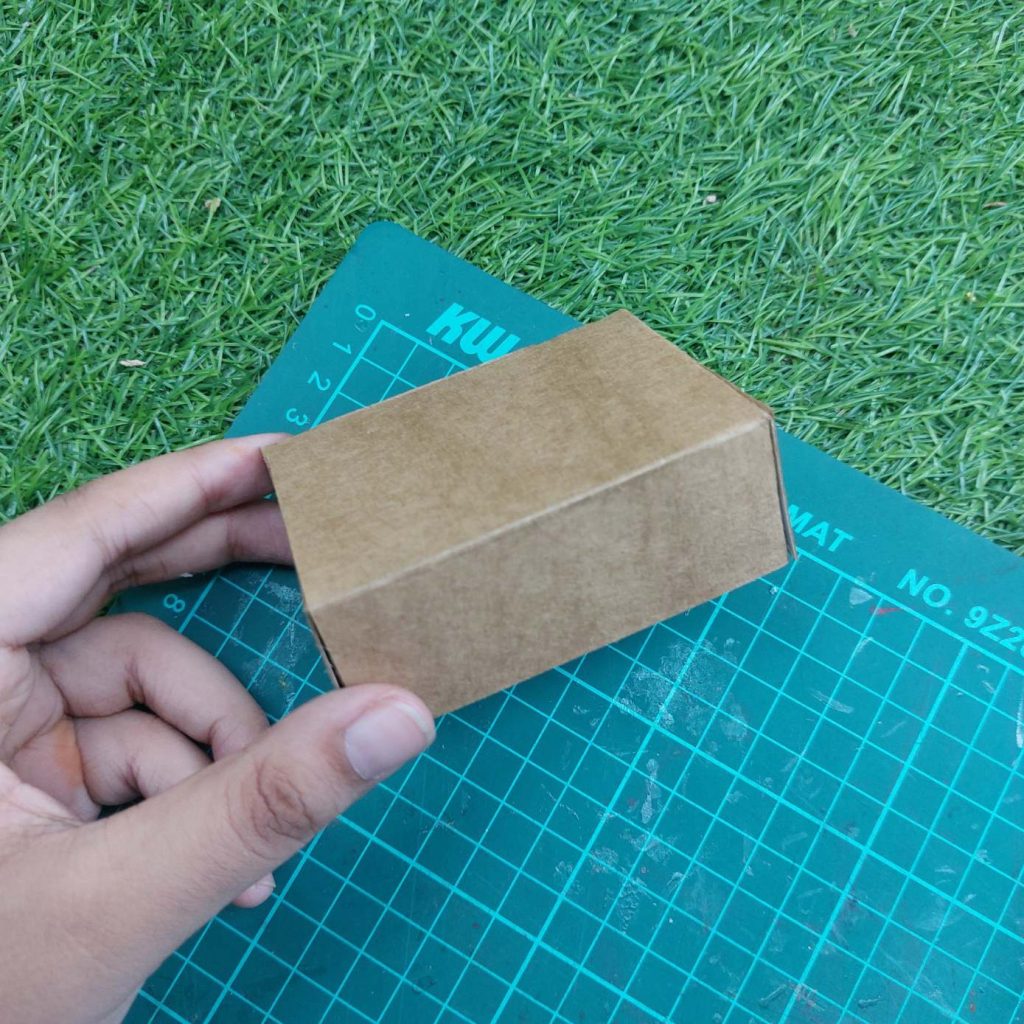
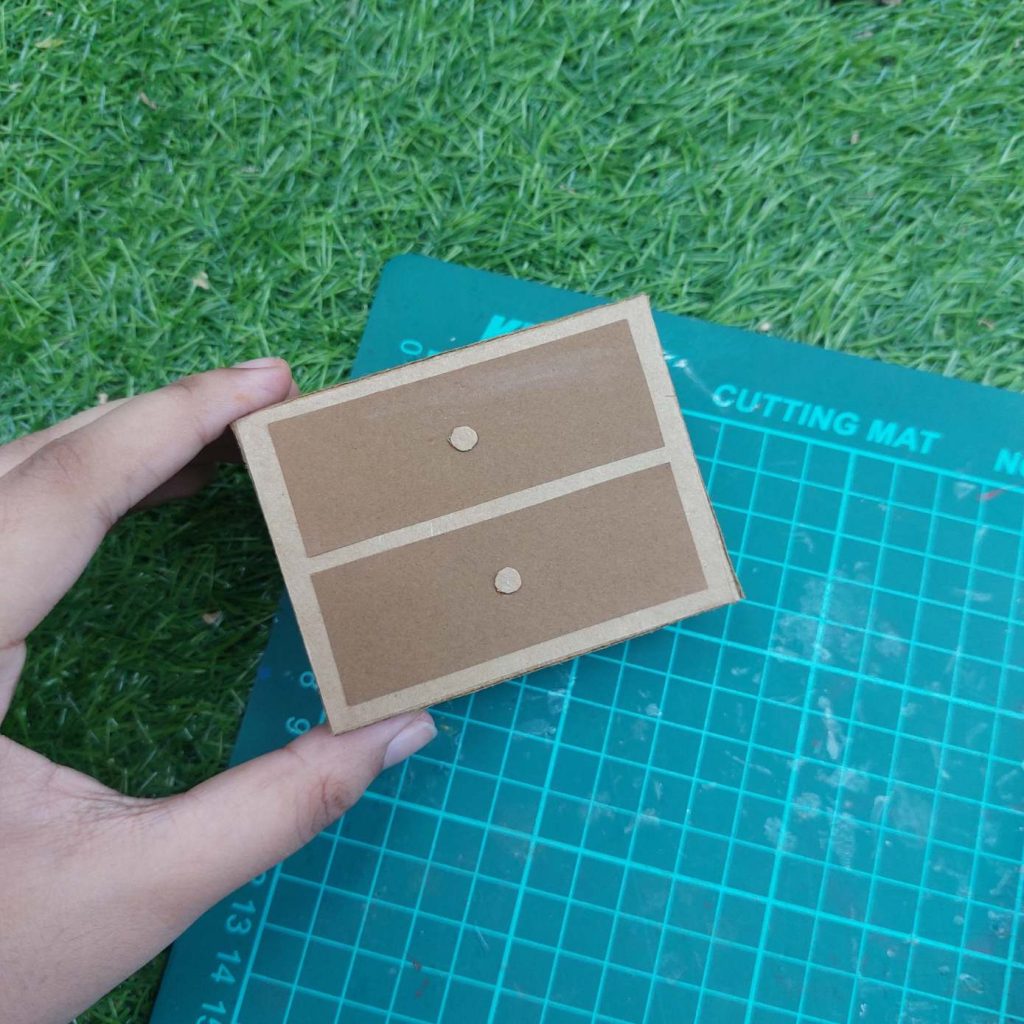
Step 3: Make the Dresser
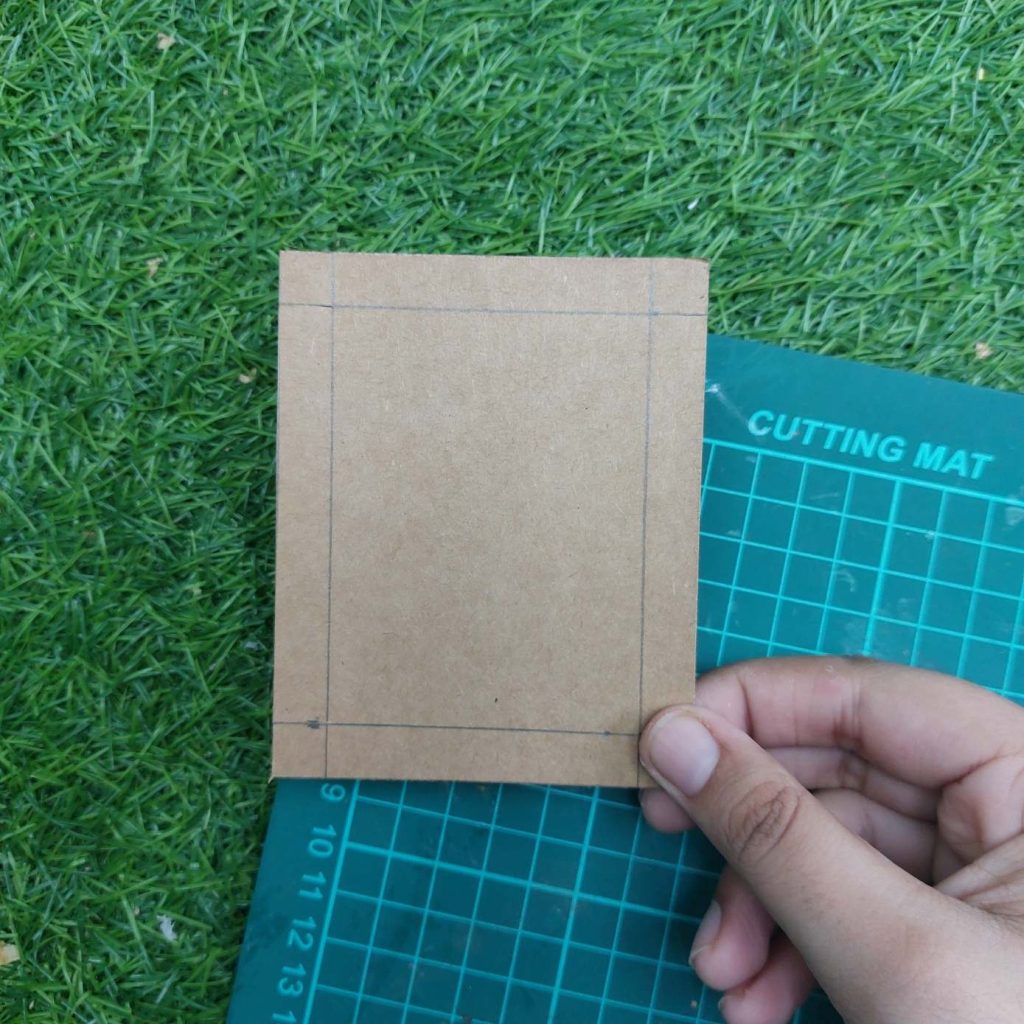
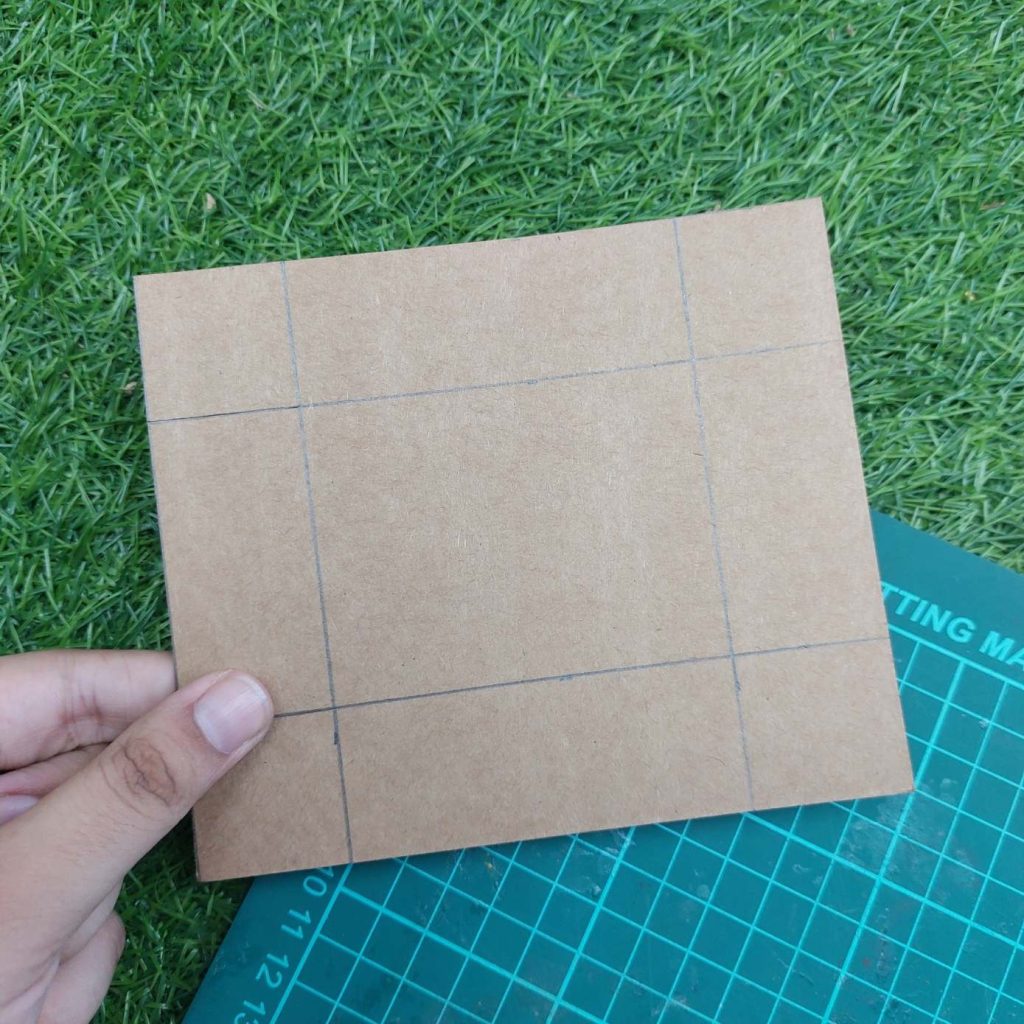
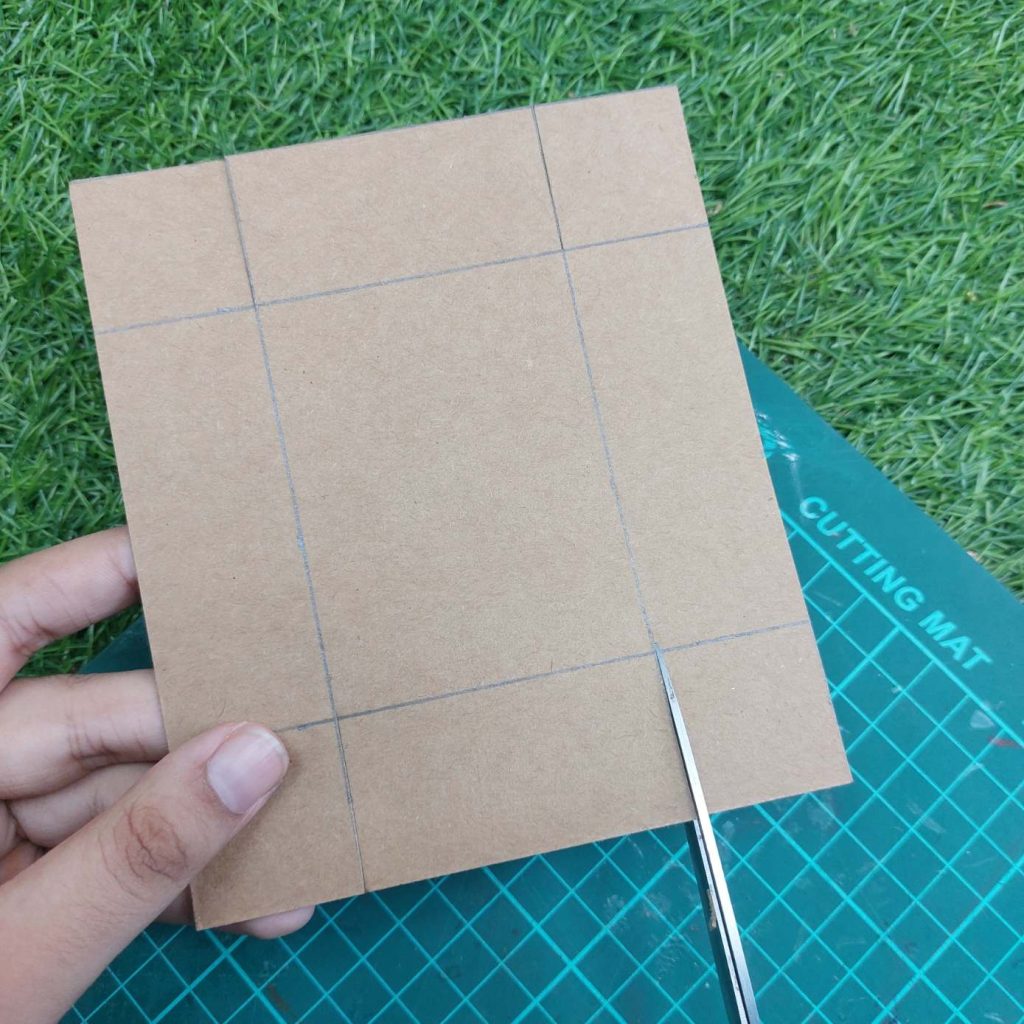
Cut a rectangle measuring 6 x 8 cm.
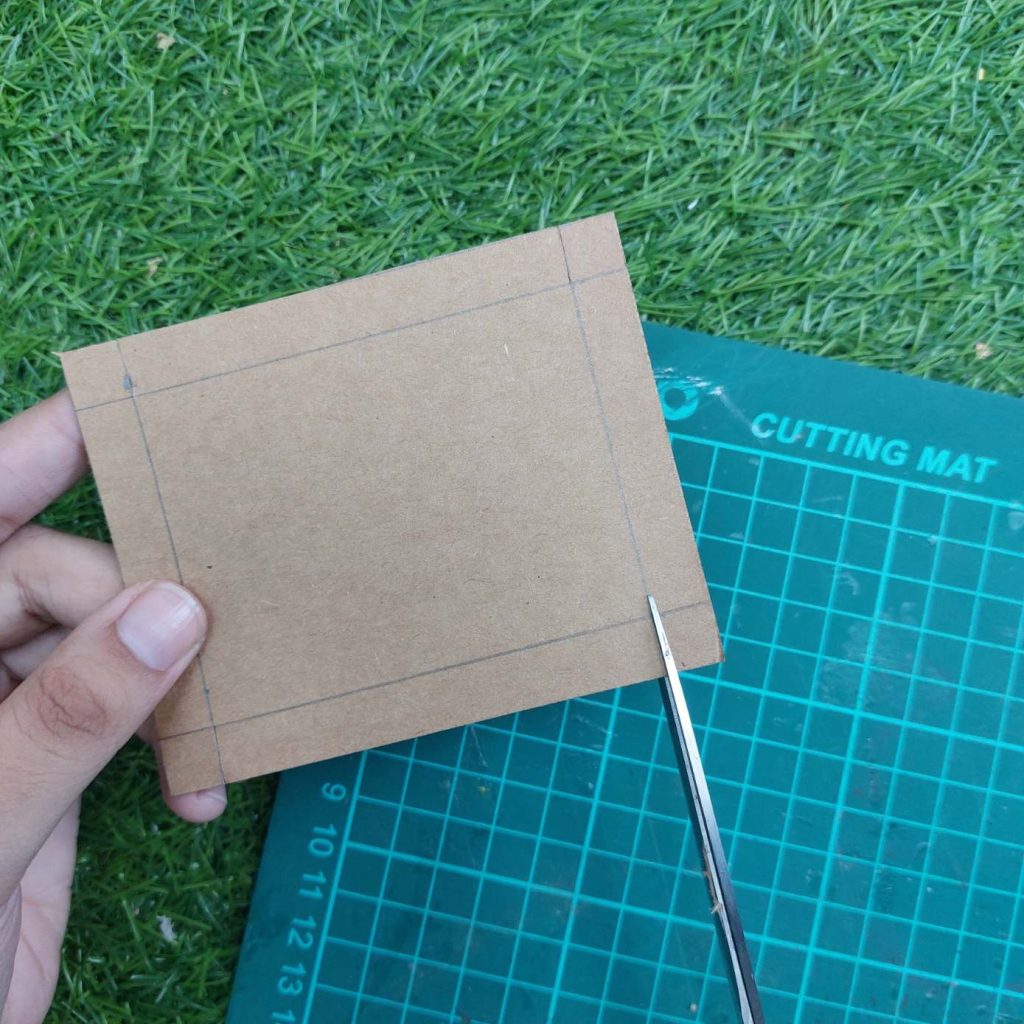
Add borders measuring 3 cm on all four sides.
Cut the corner slits, fold the borders inward, and glue the tabs to create a box.
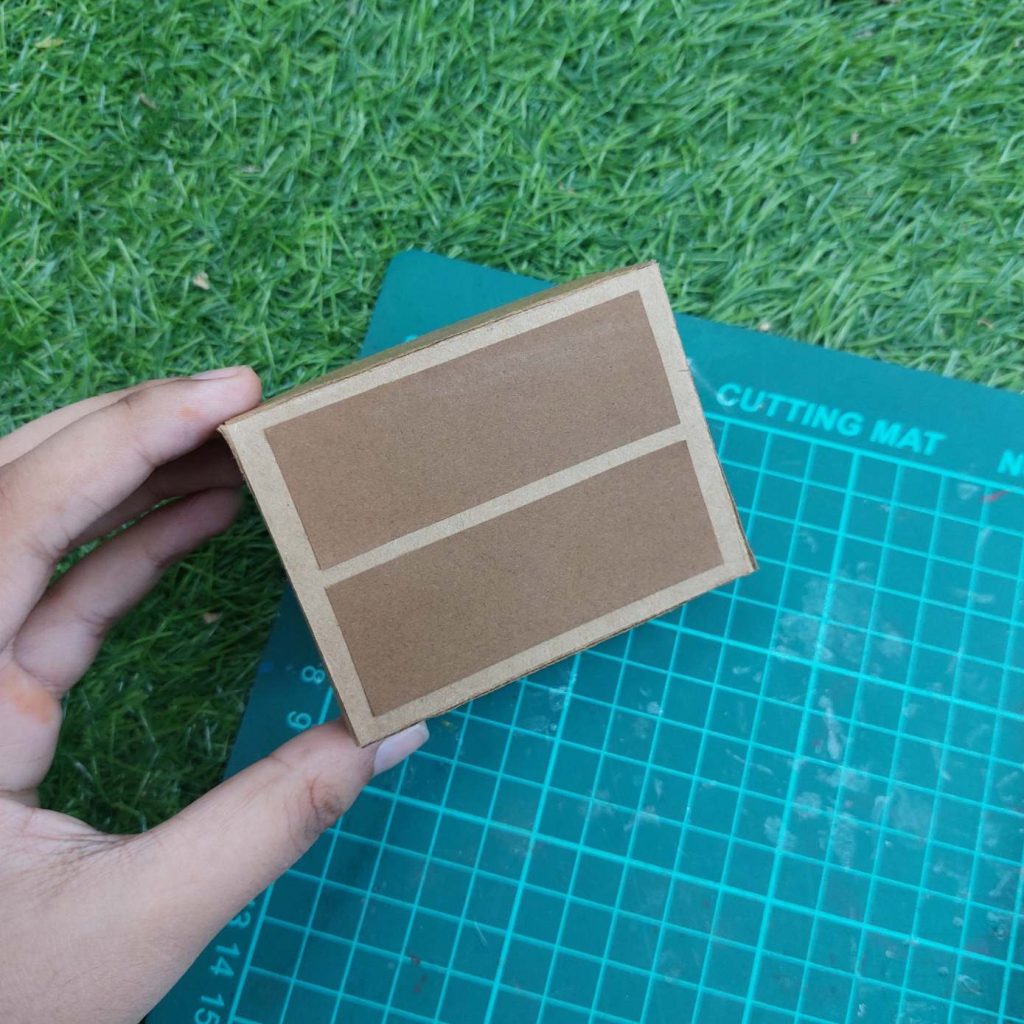
Once dry, glue two thin cardboard rectangles onto the front to create drawer fronts.
Finish by adding small cardboard circles as drawer knobs.
You can create multiple ones with different measurements:
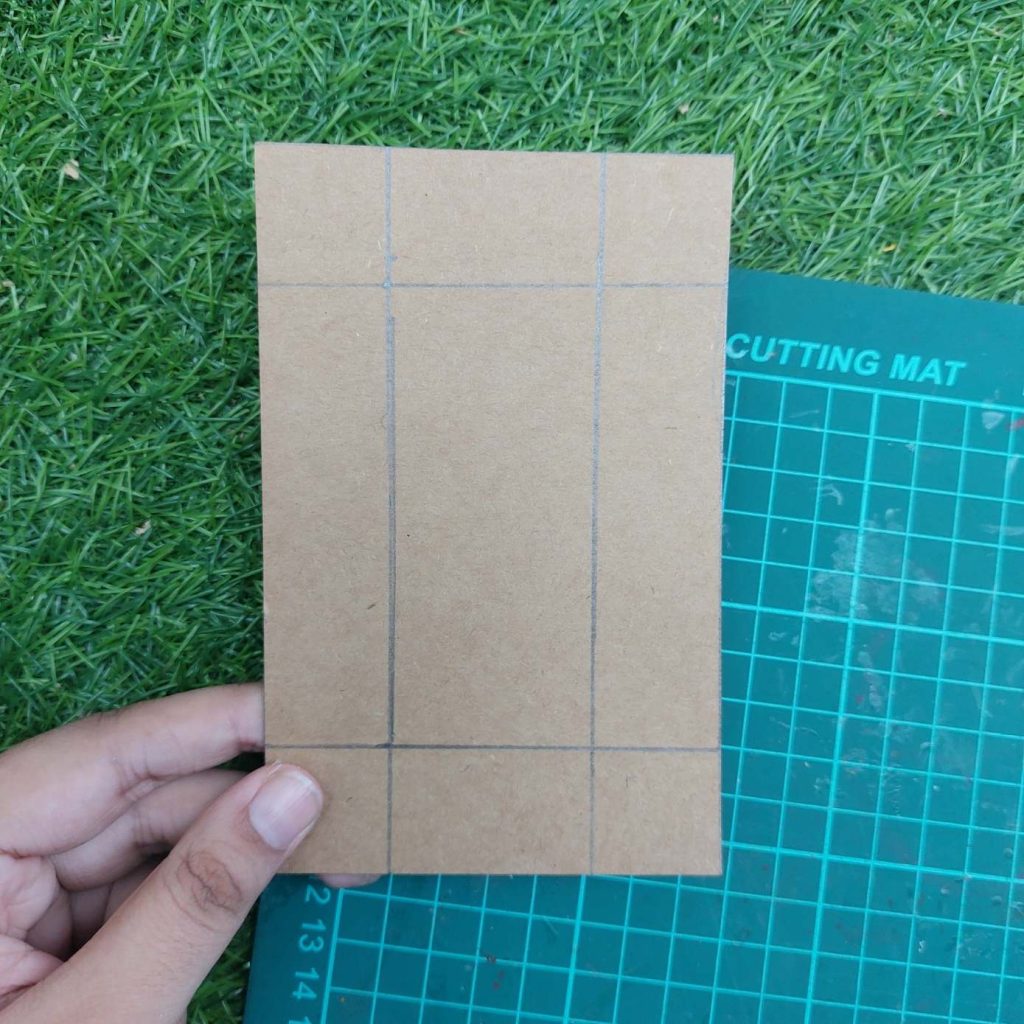
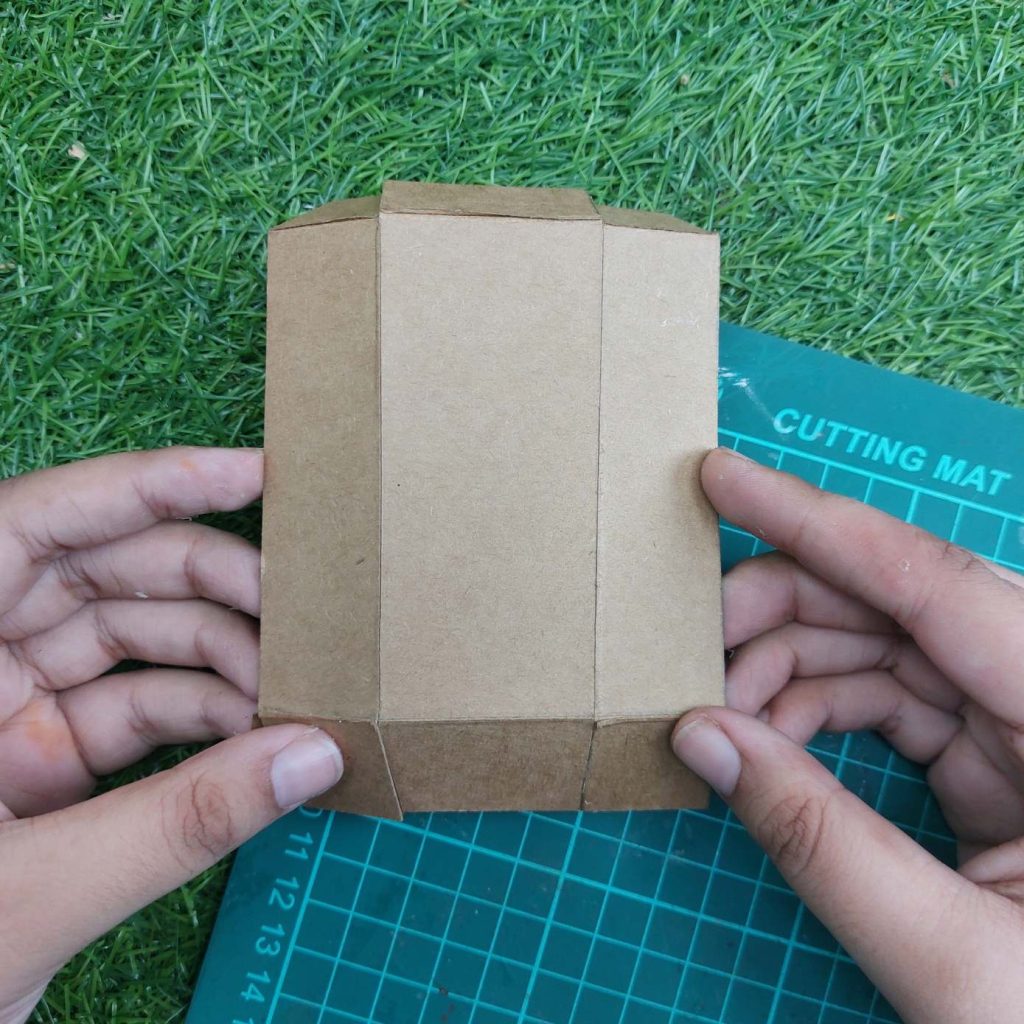
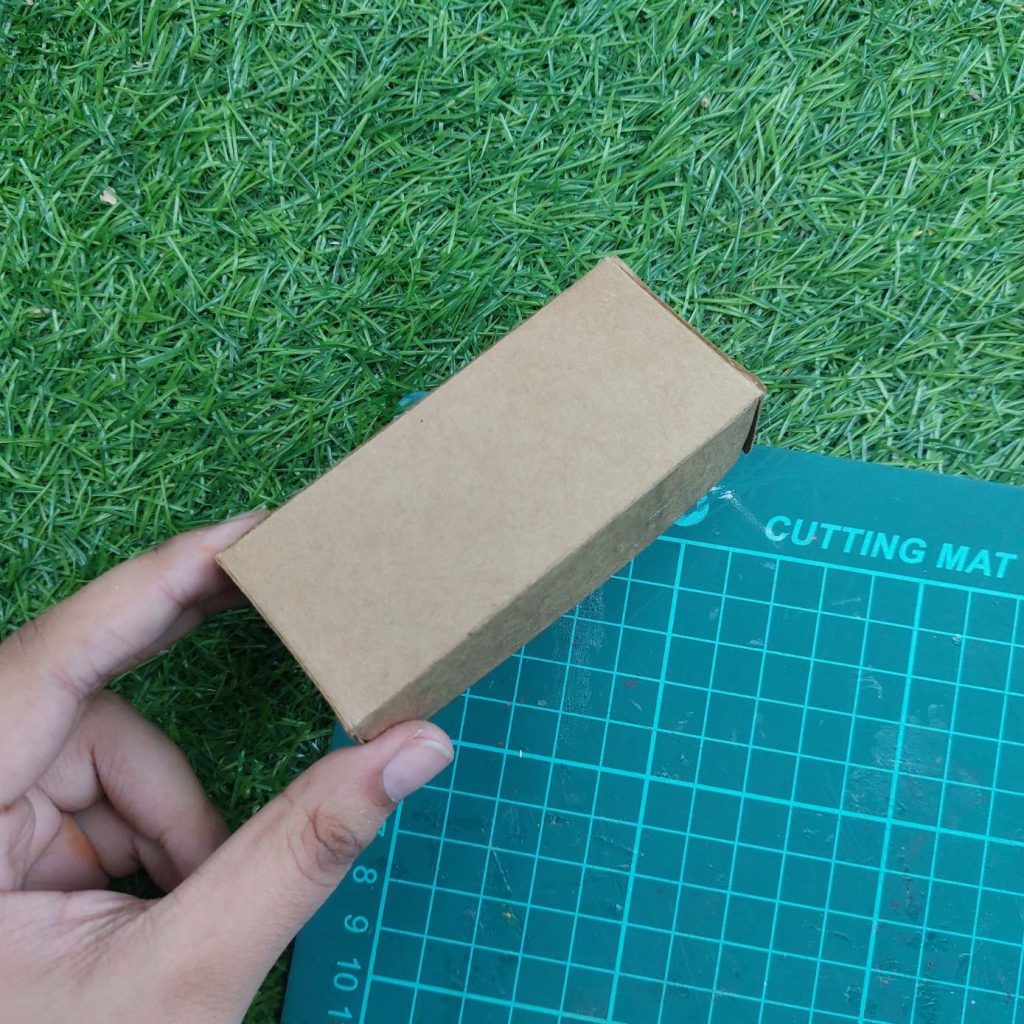
Step 4: Make the Tall Drawer Unit
Cut a rectangle measuring 4 x 12 cm.
Add borders measuring 3 cm around all four sides.
Fold and glue the cardboard in exactly the same way as the dresser.
Once assembled, add three drawer fronts made from thin cardboard and, again, glue a small cardboard circle onto each drawer.
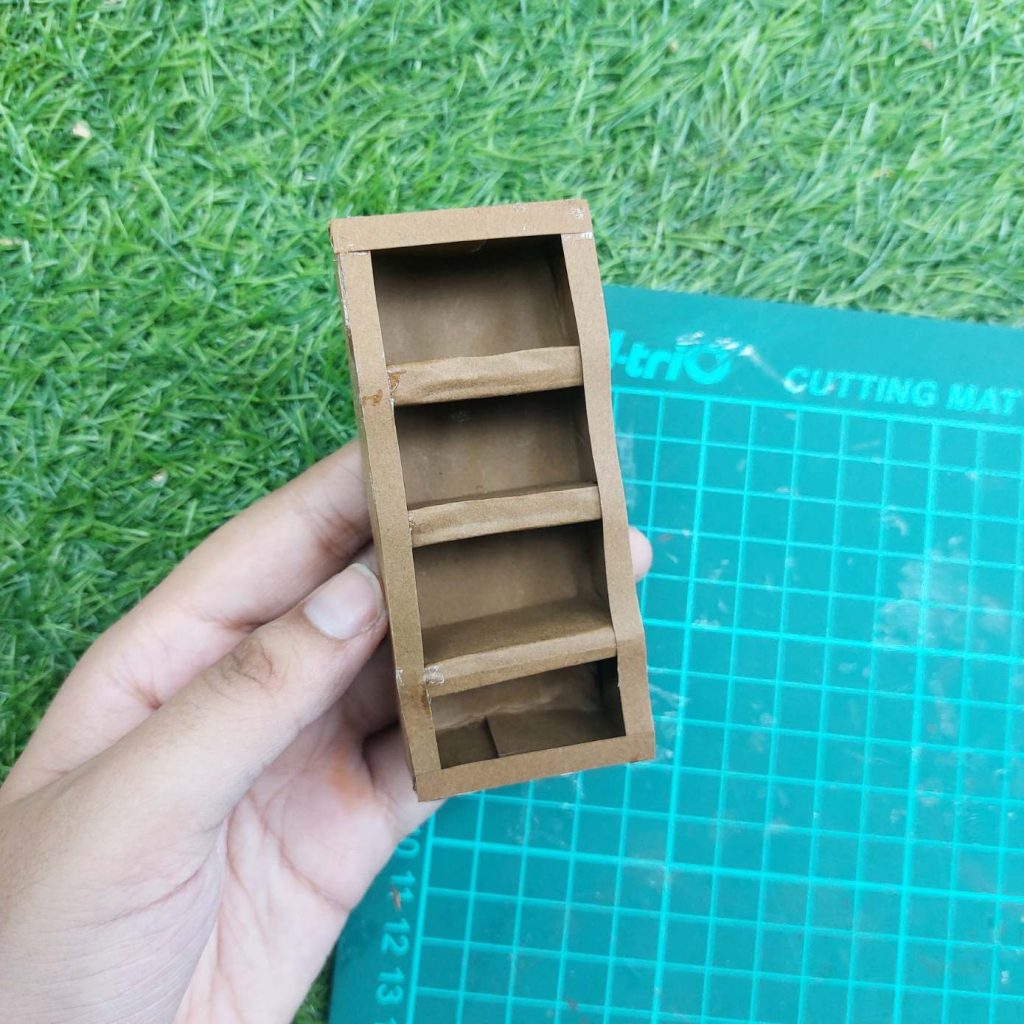
Step 5: Make the Bookshelf
Cut a rectangle measuring 4 x 10 cm.
Add borders measuring 2.5 cm around all four sides.
Cut the corner tabs, fold the sides upward, and glue the box together.
To create shelves, cut three narrow strips of cardboard and glue them horizontally inside the unit.
You can decorate everything with wood-colored cardstock paper.
The shelves don’t need exact measurements. Simply trim them until they fit snugly between the side walls.
Step 6: Add a Rug
Cut a square from decorative scrapbook paper and place it on the floor.
I chose a floral pattern to add a little color to the room, but any scrapbook paper or printed design will work.
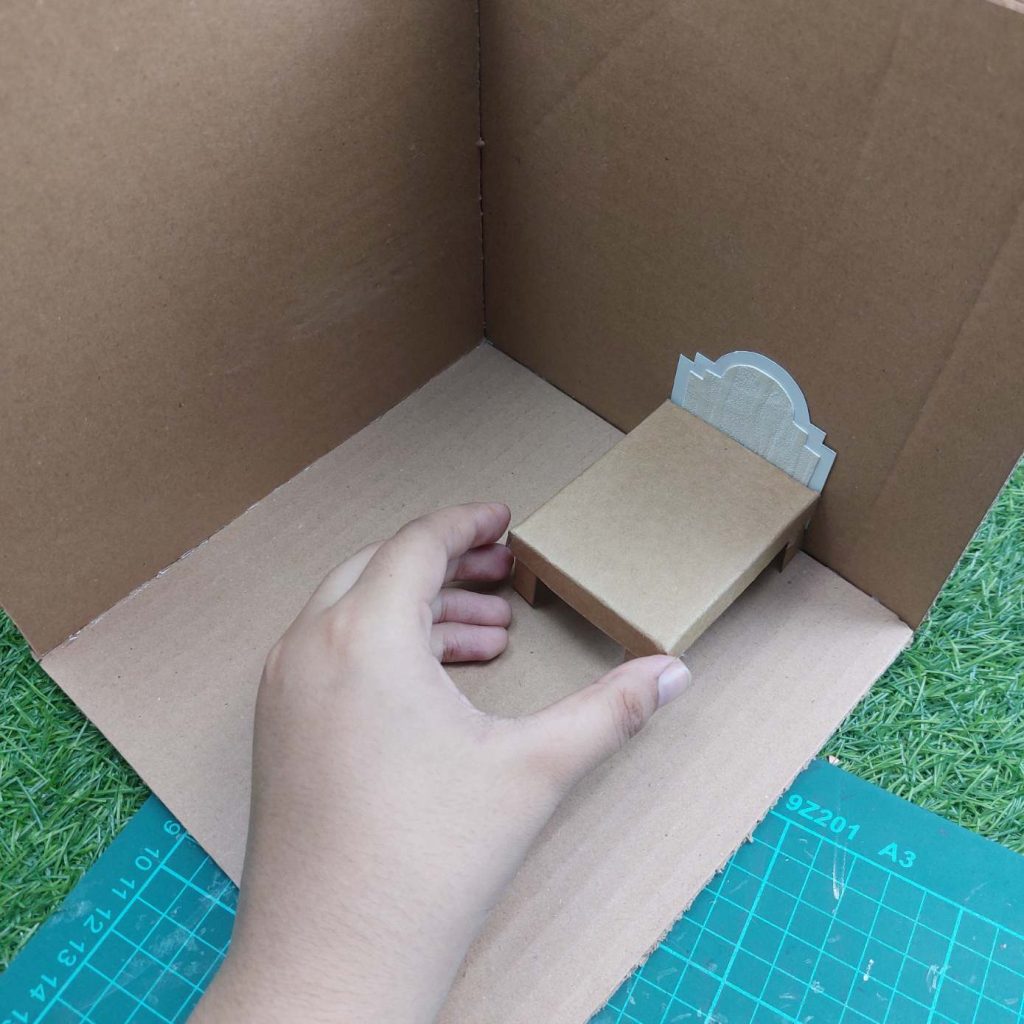
Place the bed, dresser, drawer unit, and bookshelf inside the room.
Move the pieces around until you’re happy with the layout.
At this stage, the room is still plain cardboard, but the basic furniture is complete and ready for painting, wallpaper, bedding, books, and other miniature accessories.
Let me know in the comments below if you want me to build some more things for this bedroom or/and if you want me to build another type of cardboard room, like a little cardboard kitchen!
1 thought on “How I Made a Miniature Bedroom from Recycled Cardboard – A perfect project for Kids.”
Since all my grandkids are grown and don’t do miniatures anymore, I don’t have anyone to make these things for, although I’m full of ideas. Combined boxes can become dollhouses, which I’ve done in the past. You can cut windows and doors easily, and they’re lightweight. If they get shopworn or “modified" by little kids, it’s not as heartbreaking. And the cardboard furniture is perfect for them.


Since all my grandkids are grown and don’t do miniatures anymore, I don’t have anyone to make these things for, although I’m full of ideas. Combined boxes can become dollhouses, which I’ve done in the past. You can cut windows and doors easily, and they’re lightweight. If they get shopworn or “modified" by little kids, it’s not as heartbreaking. And the cardboard furniture is perfect for them.