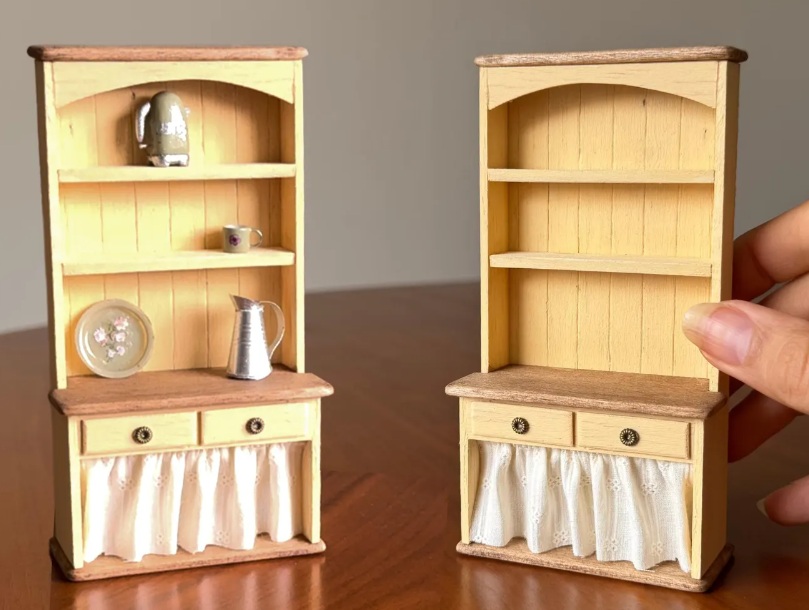
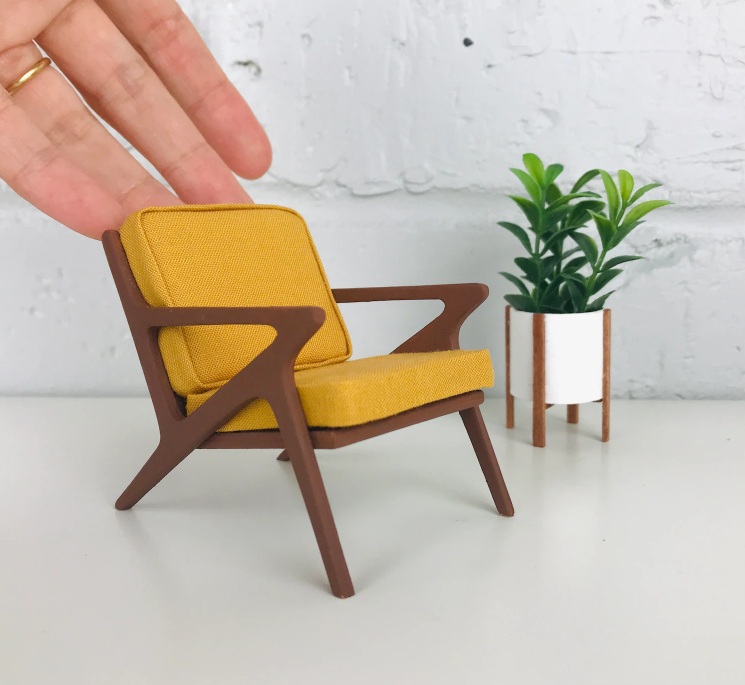
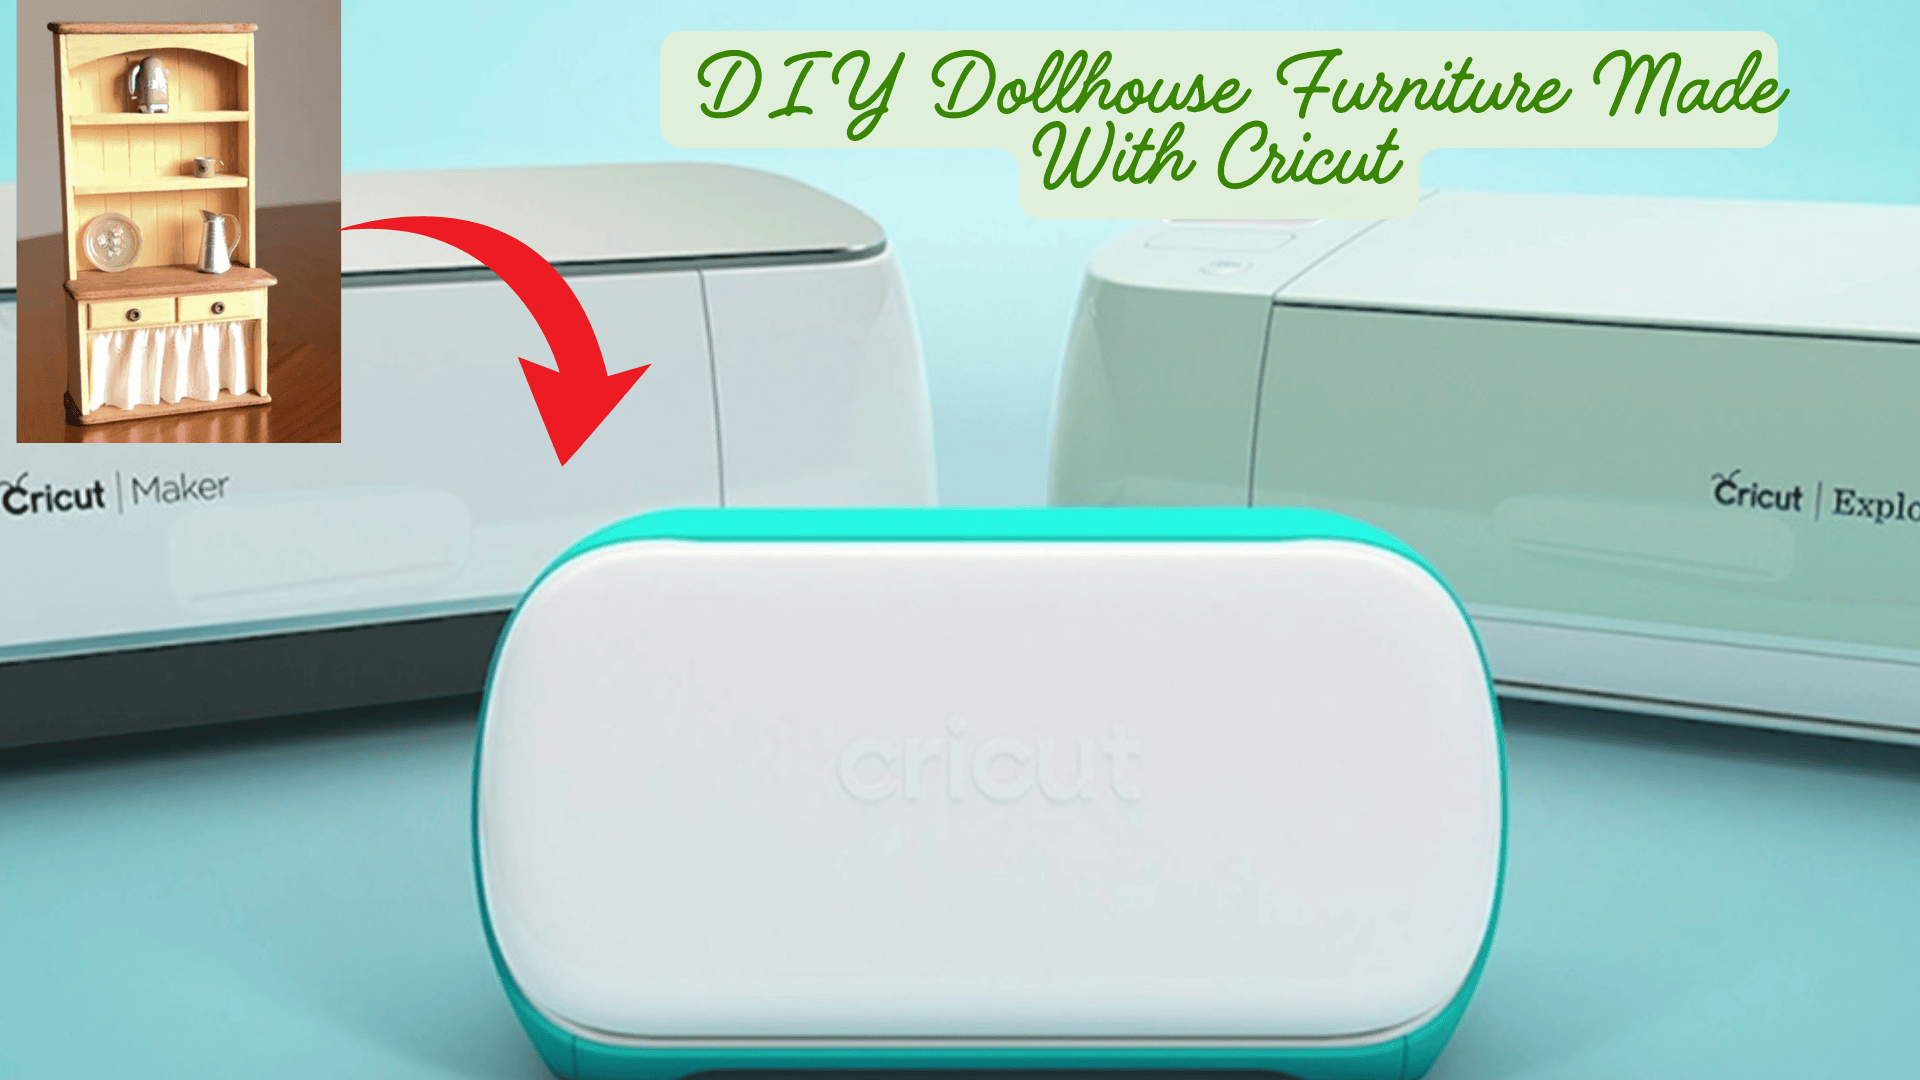
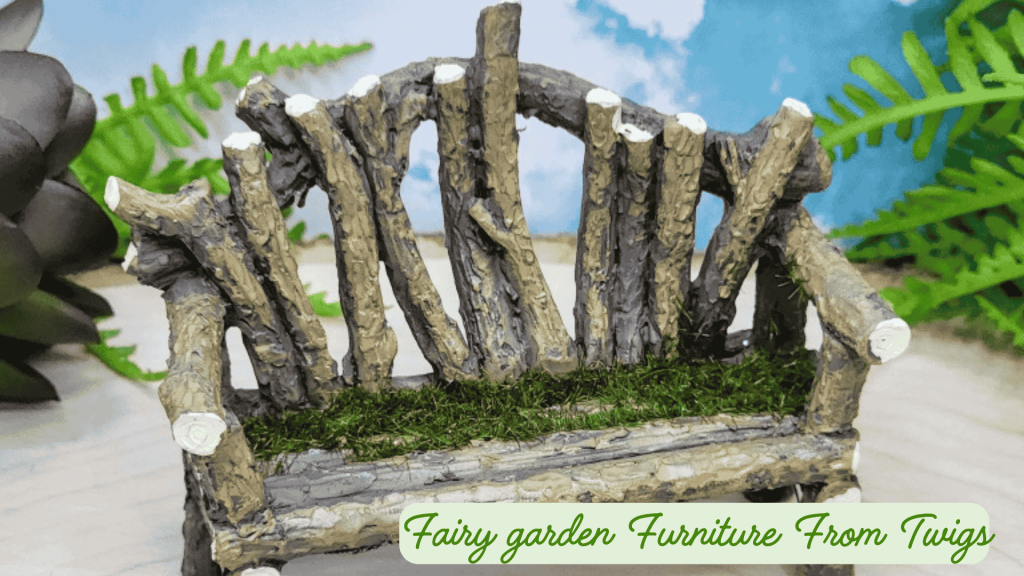
So, can you make dollhouse furniture with a Cricut machine? Short answer: yes. But of course, I’m not stopping the article there: you know me!
These machines are everywhere in the crafting world, and for good reason. They can really change the way we work on tiny things: from cutting clean edges on delicate pieces to helping with repeat shapes that would take forever by hand.
In this post, I’ll walk you through how Cricut machines can be used for dollhouse furniture, what works well (and what doesn’t), and whether it’s worth getting one if you’re serious about miniatures.

As an Amazon, Etsy and Anavrin associate, I earn a small commission from your purchase, with no extra charges for you.
Choosing the Right Cricut Maker for Your Miniature Projects
If you’re thinking about using a Cricut to make dollhouse furniture, choosing the right model makes a big difference.
I’ve already done a full review of the different Cricut machines for miniatures, but here are a few key things to consider as well:
Think about what materials you’ll be cutting, how much power you need, and how user-friendly the machine is.
Some require extra tools or apps to get going, while others are a bit more plug-and-play.
Also, don’t forget your budget: some machines can get pricey once you add tools and mats.
Bottom line? The “best” Cricut is the one that fits your style, your projects, and your workspace. Don’t stress about finding the perfect one; just go with what makes sense for how you like to work.

Designing Your First Piece of Dollhouse Furniture with Cricut
So, you’ve unpacked your Cricut Maker: now what?
I totally get how intimidating it can feel to dive into new software. I remember when I first started designing dollhouse printables for my Etsy store: staring at a blank screen, wondering where to even begin. Cricut Design Space felt just as unfamiliar at first.
But once you open Cricut Design Space, you’ll see it’s not as scary as it looks. The software is actually very beginner-friendly, especially with all the ready-made templates. You can use these as-is or customize them until you get more confident.

My advice? Start simple. A tiny table or a basic chair is more than enough for your first go. It helps you get used to scaling things down to 1:12 or 1:24, without stressing over complex cuts.
If you’re feeling creative, you can add little decorative elements or adjust the design to fit your dollhouse style.
Just be careful not to go too tiny or detailed right away: Cricut machines are great, but they do have their limits with intricate cuts.
But you learn fast, and tweaking designs becomes second nature after a while.
Once you’ve got a design you like, we’ll move on to picking the right materials and actually cutting it!
In the meantime, take a look at this fantastic video where a miniature Cricut machine is made from using the real-size machine. Isn’t that cute?
Materials and Tools You’ll Actually Need for Miniatures with Cricut
Let’s keep it real: you don’t need a massive list of fancy tools to get started. I’ll tell you what I personally use when I make mini furniture with my Cricut.
For materials, thin wood sheets like balsa or basswood are my go-tos. They cut surprisingly well on a Cricut (if you have the knife blade), and they give that real-wood look that makes a big difference in tiny furniture.

But if you’re just testing things out or don’t feel like buying wood yet, heavy cardstock or printable paper works great too. I’ve made plenty of cardboard pieces that turned out pretty solid, especially for lighter furniture like chairs or shelves.
And if you want to add a pop of color or a shiny detail? Vinyl can do that; it sticks well to wood and paper and can be cut into cute patterns or faux metal trims.
As for tools, you’ll definitely want:
- A strong grip mat so your materials don’t budge
- A precision knife (for trimming edges or cleaning up cuts)
- And tweezers, trust me, your fingers will thank you when you’re placing teeny-tiny pieces!
That’s really all you need to get going!
Cutting Time: Let Your Cricut Do the Work
Design’s ready? Let’s make it real.
First, pick the right cut settings for your material. Cricut Design Space usually suggests the correct settings, but if you’re using something like balsa wood, double-check you’ve selected the right material and blade (like the knife blade).
Stick your material onto the cutting mat; strong grip for wood, standard for cardstock or paper. Make sure everything is firmly pressed down so nothing shifts while cutting.
When you hit that “Go” button, watch the first few passes, especially with thicker materials. Sometimes the blade snags or shifts, and it’s better to pause than to start over.
Once it’s done, you’ll weed out the leftover bits (the parts you don’t need). I use tweezers or a weeding tool, especially when the details are tiny.
Now on to assembly: the fun (and sometimes fiddly) part. Depending on your design, you’ll need glue, maybe clamps, or just a steady hand. Don’t rush it. The tiniest pieces can bring the whole thing together beautifully.
Ready for the final step? Let’s add the finishing touches: paint, fabric, or tiny hardware that makes your mini really stand out.
Looking for an in-depth tutorial, check this video!
Finishing Touches That Make a Difference
Once your miniature’s built, the magic is in the details.
A bit of paint or texture (like faux wood grain or fabric effects) can add realism. I sometimes use fine-tip markers or dry brushing for small highlights.
Want a vintage look? Try light sanding or a dab of stain for that worn, Shabby Chic vibe.
And don’t forget to seal it with a clear coat, especially if you want it to last or handle wear.

Shabby Chic dollhouse furniture by Around the block Mini’
FAQs on making dollhouse furniture or a dollhouse with Cricut.
Can you make a large dollhouse with a Cricut machine?
While you can surely create a small dollhouse with the Cricut maker, I would not use it to make larger dollhouses, as wood like balsa or basswood is way too fragile and I would switch back to the basics of making a dollhouse from scratch.
Most people just stick to creating dollhouse furniture or accessories with the Cricut.
Where to find dollhouse furniture patterns for the Cricut maker?
If you type in on Pinterest ‘dollhouse furniture patterns for the Cricut maker”, I am pretty sure that you will find lots of SVG files for the Cricut maker!
Related article: Handmade dollhouses complete with dollhouse furniture.
My Final Conclusion
In my opinion, the world of creating dollhouse furniture with Cricut is vast and allows for endless creativity.
If you have any more questions about this topic, please feel free to ask them down below in the comment section or join me on my social media channels below.
I wish you happy crafting!
Kind regards,
Lizzy

Hi everyone!
My name is Lizzy, and I am an amateur miniaturist obsessed with everything in the dollhouse and miniature world, ever since I was a teenager.
So far, I have created 2 dollhouse projects, a backyard shed and a miniature treehouse, tons of DIY dollhouse kits, and “hacked” some.
I also created a fairy garden, and lots of small and simple miniature projects on my YouTube channel. (mostly made from trash or everyday items).
I love to write as well about all things happening in the miniature world, hence the reason why I created this blog!
I wish you happy reading and crafting!
Lizzy


Hi Lizzy,
Thank you for sharing this article.
My niece is going to love this and I am going to encourage her Mum and Dad to look into this cricut machine for her.
If they have any questions then I will tell them to get in touch, otherwise they are going to love this too.
Thank you again for sharing and I hope my niece can provide her dolls some of the nicest furniture in their houses 🙂
All the best,
Tom
Hi Tom!
Your nice sure can have the nicest dollhouse furniture for her dollhouse with the Cricut machine and a lot easier to do it yourself, I hope she has fun and of course she can always get in touch, thanks!
All the best,
Lizzy
Lizzy, your guide on using a Cricut machine for dollhouse furniture is a game-changer! The breakdown from choosing the right Cricut Maker to executing the cut is thorough and beginner-friendly. The emphasis on design principles, including using Cricut Design Space and scaling for dollhouse dimensions, is a great starting point. The materials and tools section is comprehensive, covering various options from wood sheets to vinyl. Excited to see more crafters dive into the world of Cricut-made miniatures!
Hey Thabo!
Thanks so much for your positive comment and see you soon!
Kind regards,
Lizzy
Hi Lizzie,
Very interesting, Absolutely fascinated by the idea of using Cricut machines for crafting dollhouse furniture! The evolution from painstaking handmade miniatures to the precision and versatility offered by Cricut makers is truly remarkable. It’s exciting to see how technology is transforming traditional crafts and providing new avenues for creativity. Can’t wait to explore this fusion of innovation and craftsmanship in my own miniature projects!
Best regards
Alex
What does it cost for a complete set up
That’s a great question! The cost of a complete Cricut setup really depends on what you want to make and which machine you choose.
For a basic setup, you’ll need:
– A Cricut machine (prices range from around $150 for the Cricut Joy to $400+ for the Cricut Maker 3)
– Cutting mats (usually around $10-$20 each, but some machines come with them)
– Blades & tools (a replacement blade is about $10-$15, and a basic tool set is around $20)
– Materials (cardstock, basswood, chipboard, vinyl—prices vary depending on what you plan to cut)
If you want to cut thicker materials like basswood for sturdier dollhouse furniture, you’ll need the Cricut Maker or Maker 3, which also requires a knife blade ($40) and strong grip cutting mats.
Also, Cricut has a subscription (Cricut Access) for design files, but you don’t need it—there are free SVG files available online!
So, all in all, you could start with a few hundred dollars for a basic setup, but if you want all the extras, it can add up to $500+. It really depends on what you already have and what you want to make! 😊
Hope that helps! Let me know if you have any other questions.
Lizzy
As i have seen on video that system needs e few maps for sticking a bit as i can understood the video. For instance; as you cut wood you have to by the green one or as you cut vinyl i have to by the bleu one? Is this correct. So that’s a bit inconvenient i presume?
And at the video it shows also more cutting devices, wich not is included and i chould by them seperatly i gess. How costs the whole packet included the other knives or cutting devises? Let me know what the total cost is and also the 4 maps if necessary for wood or paper and perhaps platics cut. Thanks for letting me knowing that be forehand.
Hi! 😊 Yes, that’s right — Cricut uses different mats depending on the material:
Blue (LightGrip) for paper or vinyl
Green (StandardGrip) for cardstock
Purple (StrongGrip) for thicker materials like balsa wood
If you plan to cut wood or plastic, you’ll also need an extra blade (like the Knife Blade).
The machine usually comes with one mat and one basic blade, so the rest you buy separately.
👉 Estimated total cost:
Cricut Maker: about €400–€500 / $430–$540
Extra mats and blades: around €60–€100 / $65–$110
So in total, you’re looking at roughly €500–€600 / $540–$650 for a complete setup that can handle paper, vinyl, and thin wood for dollhouse furniture.
Happy crafting,
Lizzy