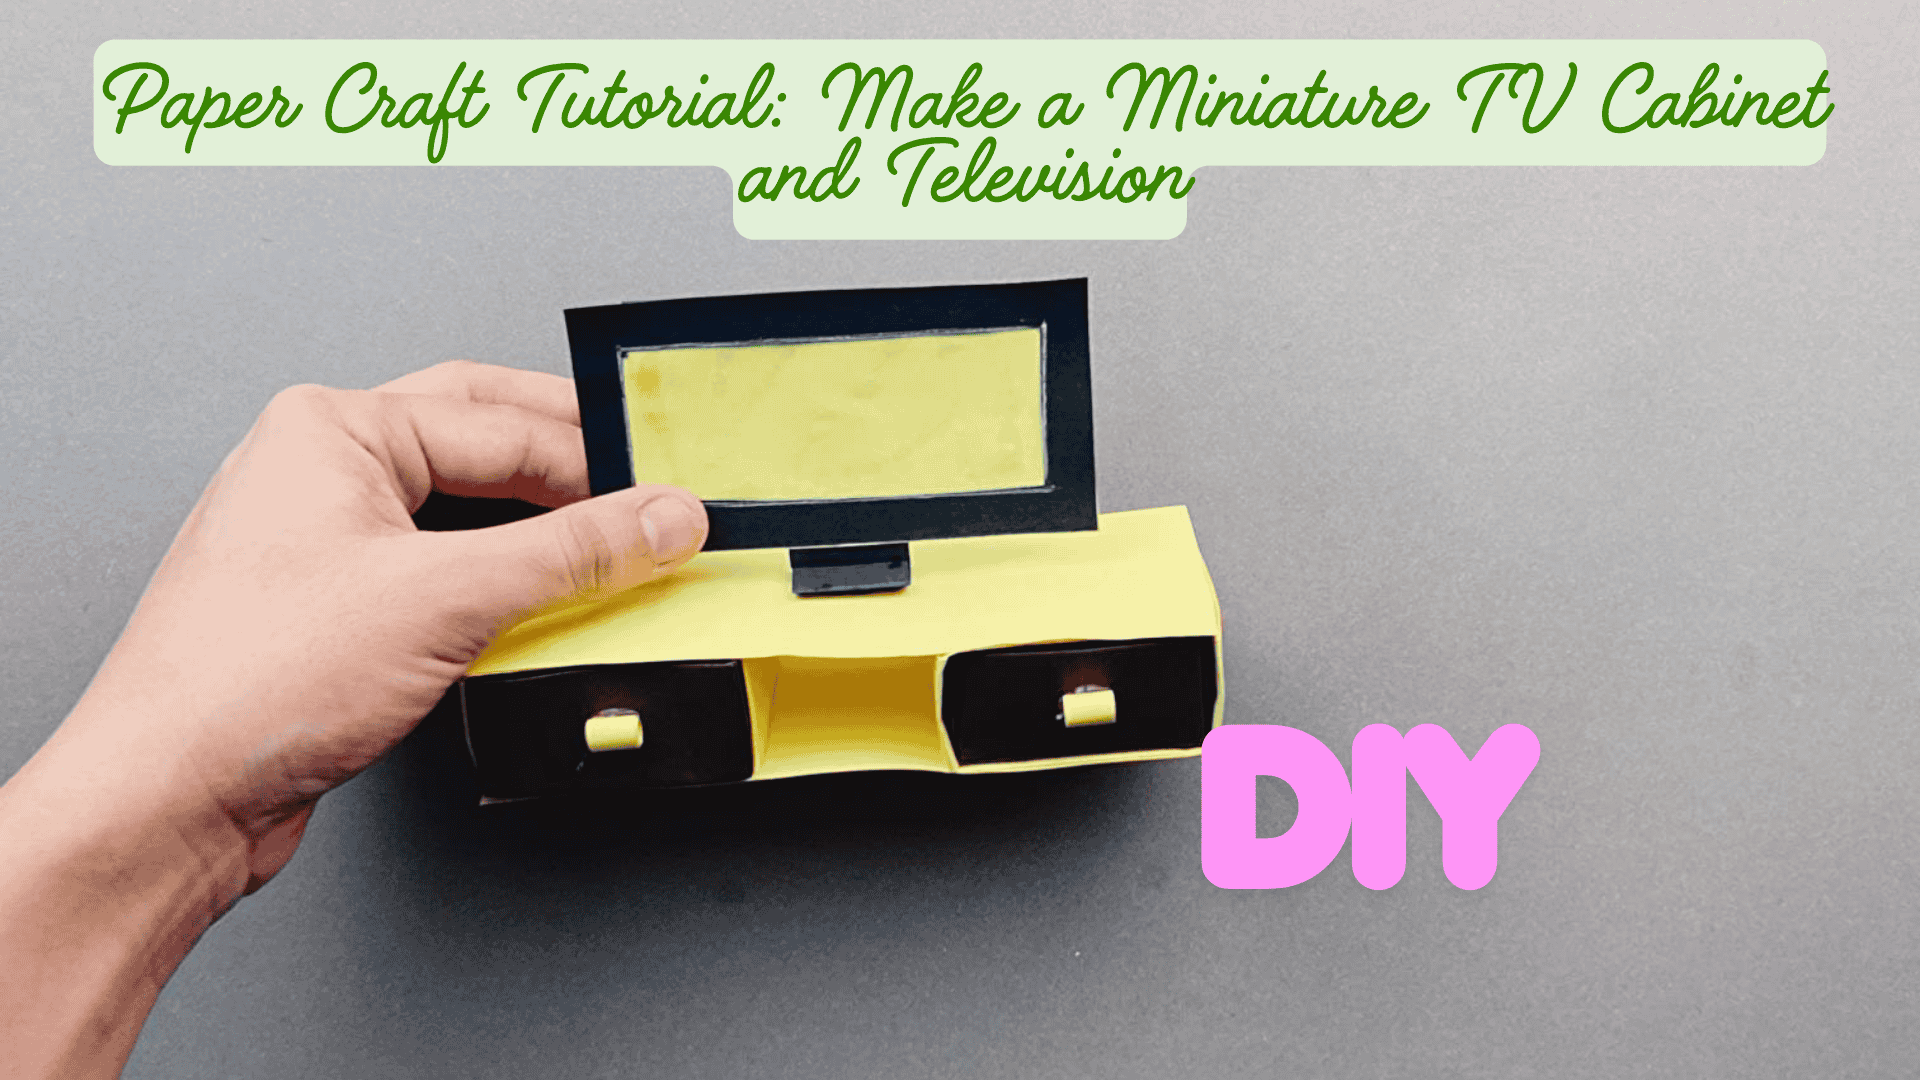
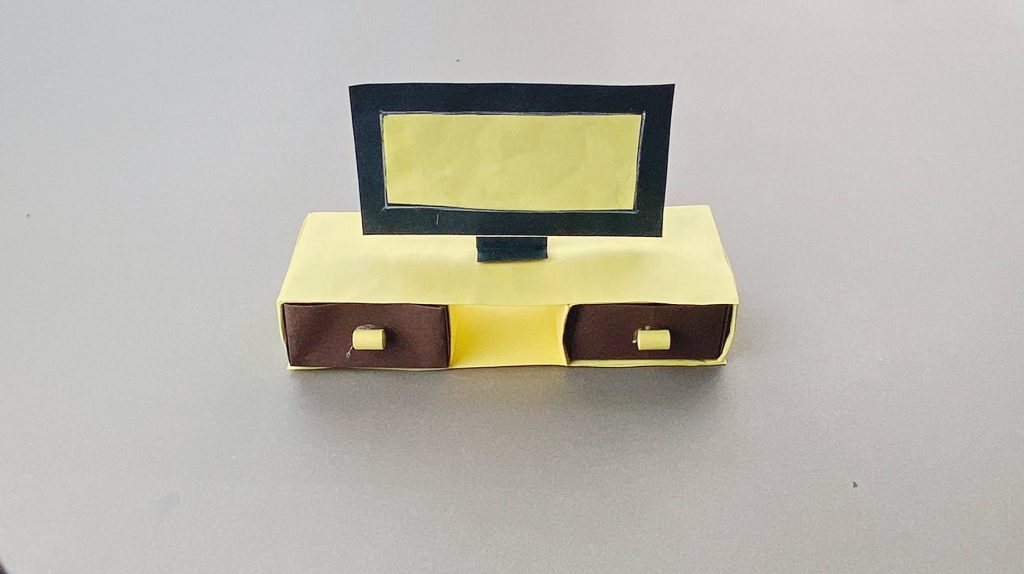
If you love quick and simple paper projects for your dollhouse (mostly origami, actually), this one is a fun little build. In this tutorial, I’ll show you how to make a miniature TV cabinet with working drawers, plus a little TV to place on top.
Everything is made from regular colored paper, so it’s very beginner-friendly. The final size works well for Barbie-scale dollhouses, but you can scale the measurements down if you want it for 1:12.
This tutorial is BEST WATCHED ON YOUR DESKTOP, and not on a phone or laptop, as there are a lot of pictures in it, sorry!
Also, the tutorial should be clear from the pictures alone, without me having to write a lot of textual context. If you do have questions, though, please just ask in the comment section below!
Materials You’ll Need
Colored paper (yellow, brown, black, or any colors you like)
Craft glue or school glue
Scissors
Pencil & ruler
And a lot of patience, because these do have a lot of steps!
Making the structures with origami- step by step.
Step 1 – Start Making the Drawer Boxes
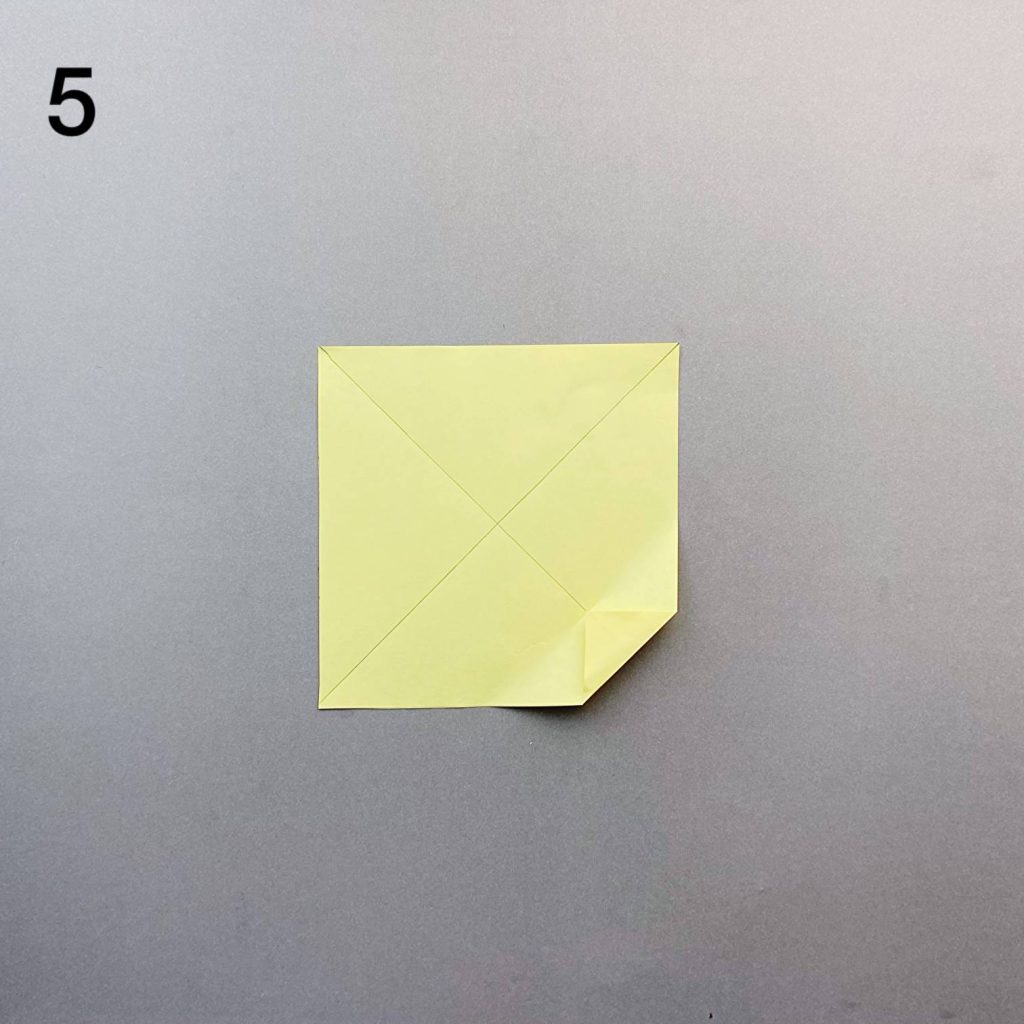
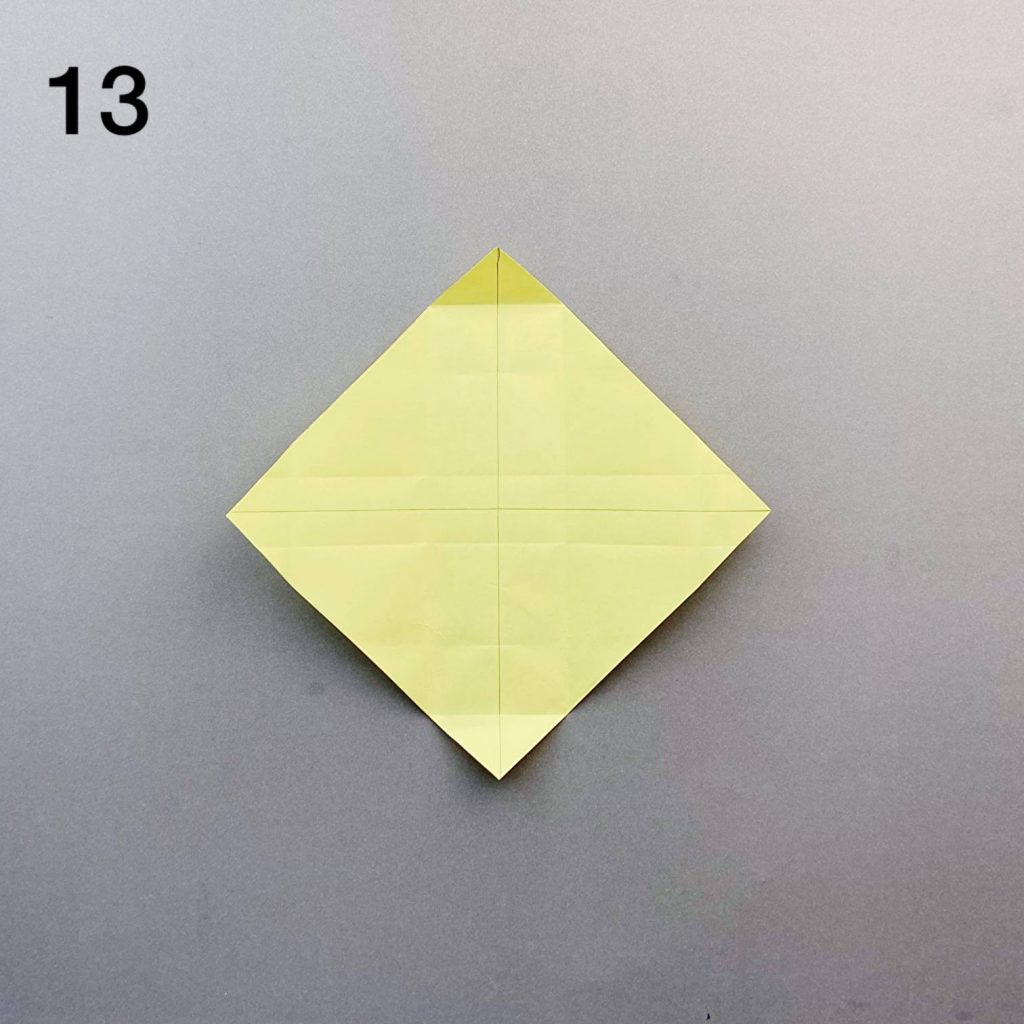
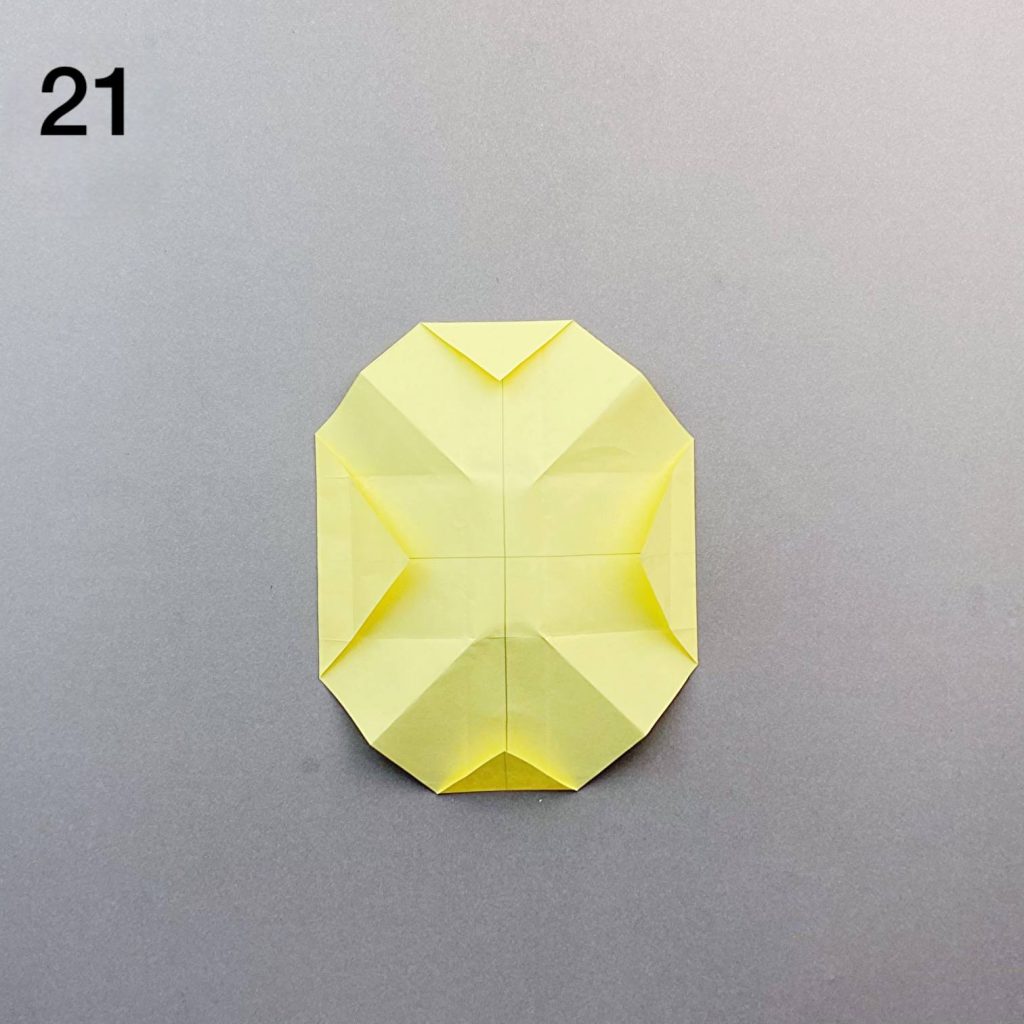
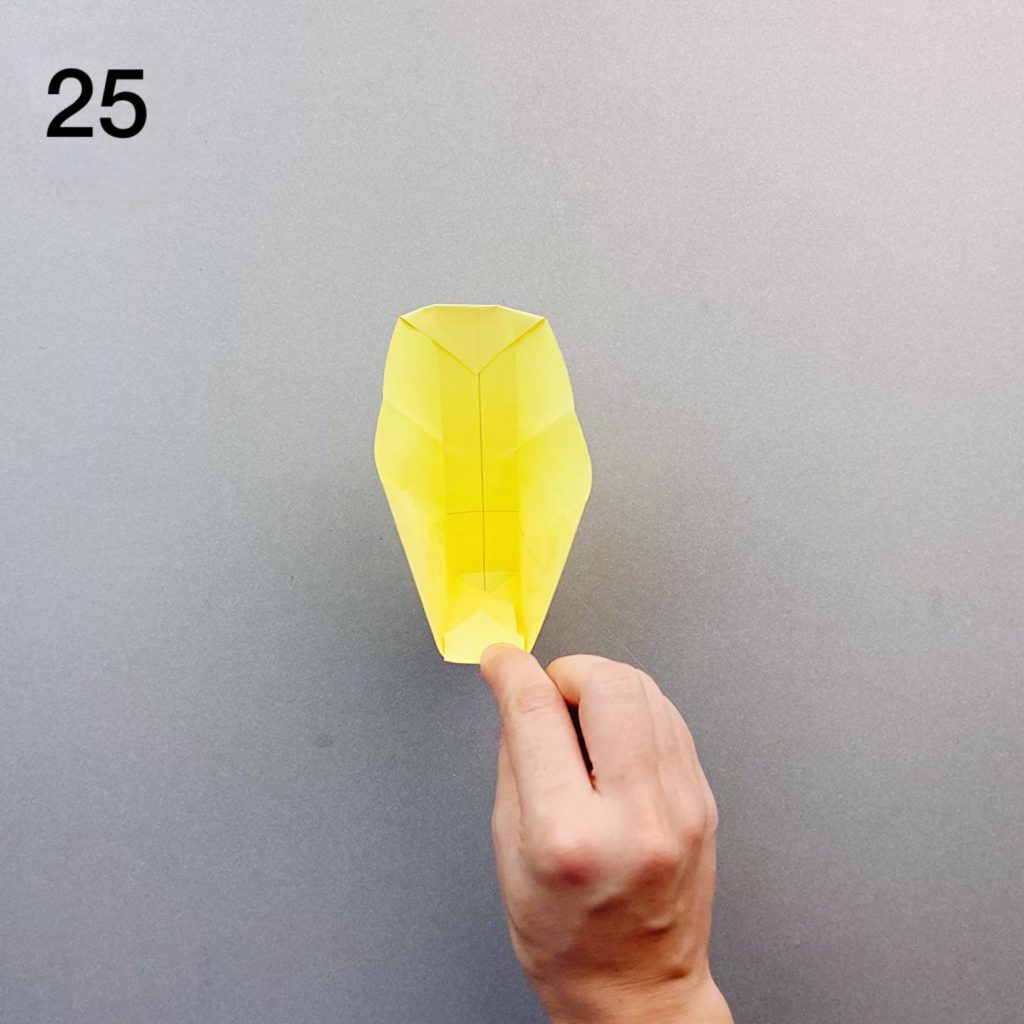
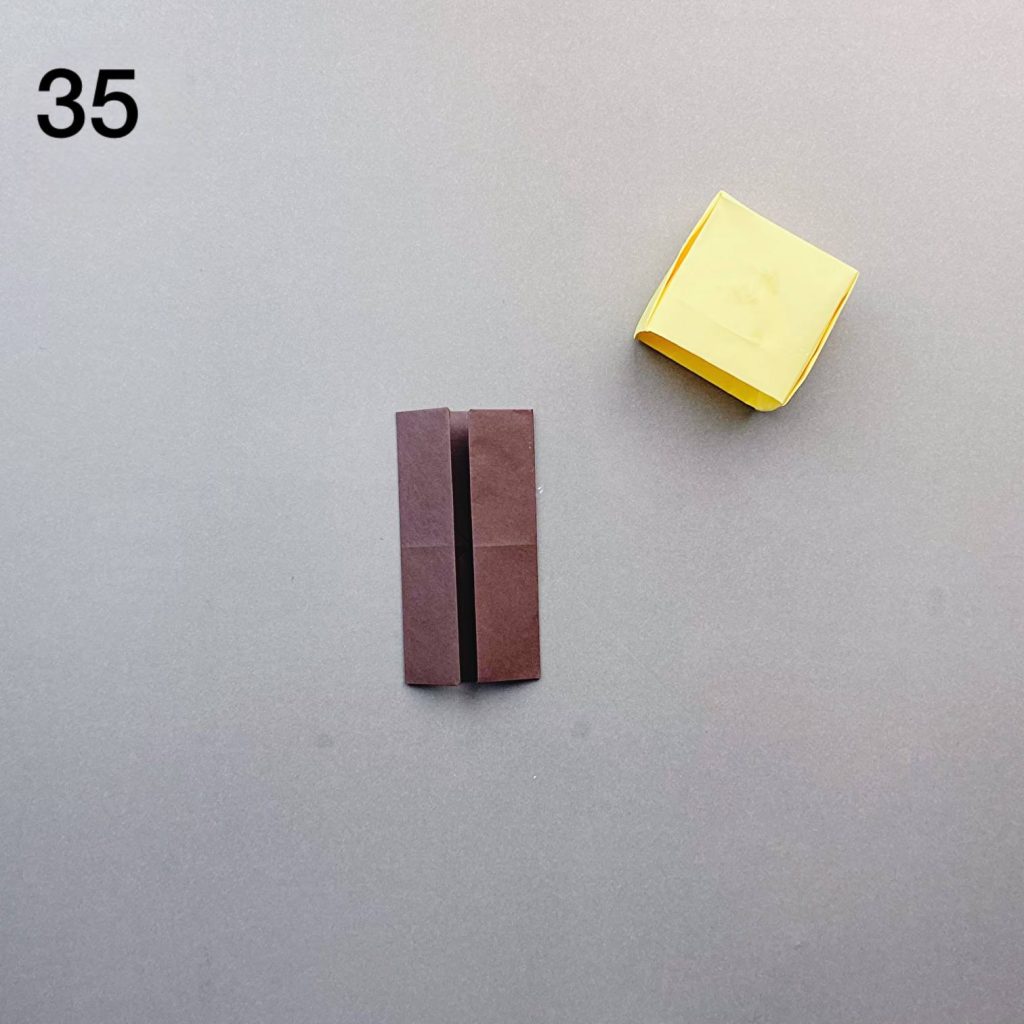
Start by folding a square sheet of paper into a small open box shape. The first folds form the structure, and the next folds bring the sides upward to create the walls. It’s essentially the classic origami “box base.” After shaping it, crease the sides well so the drawer keeps its form.
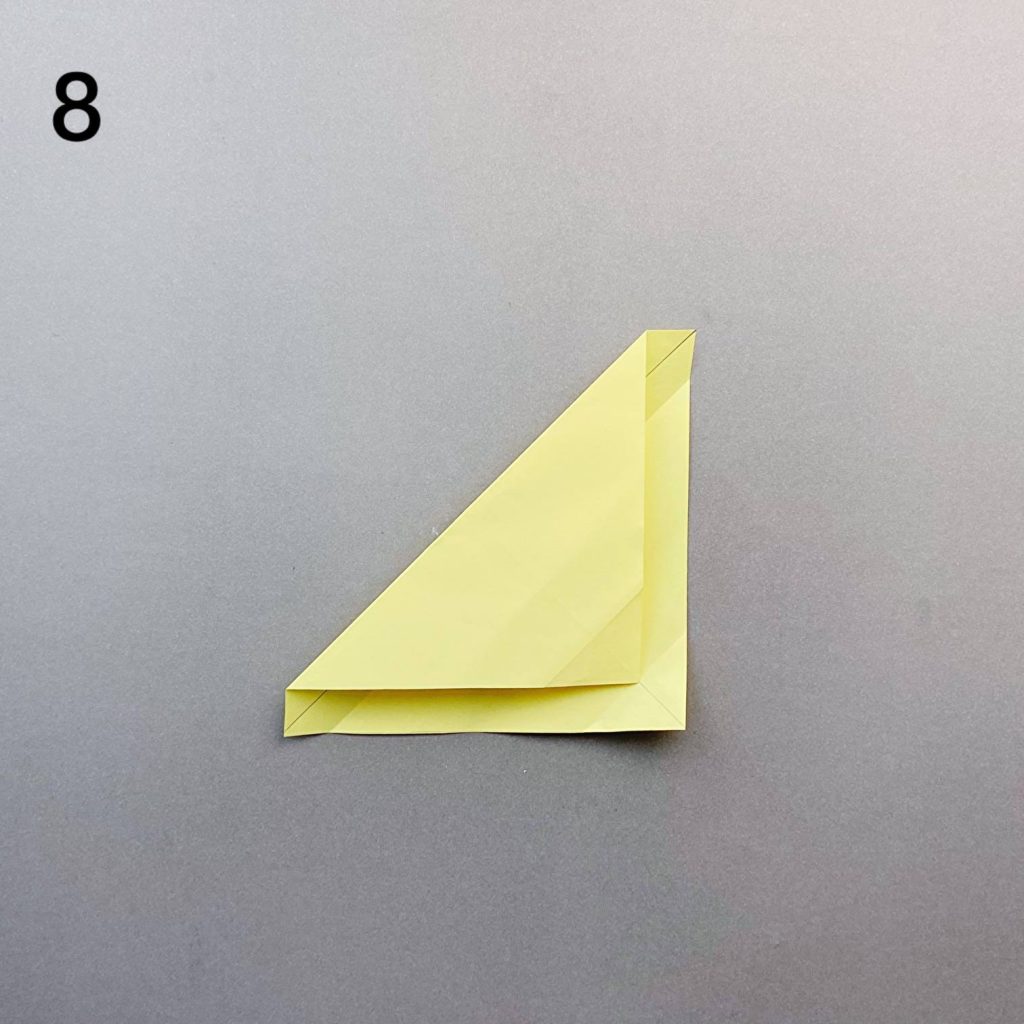
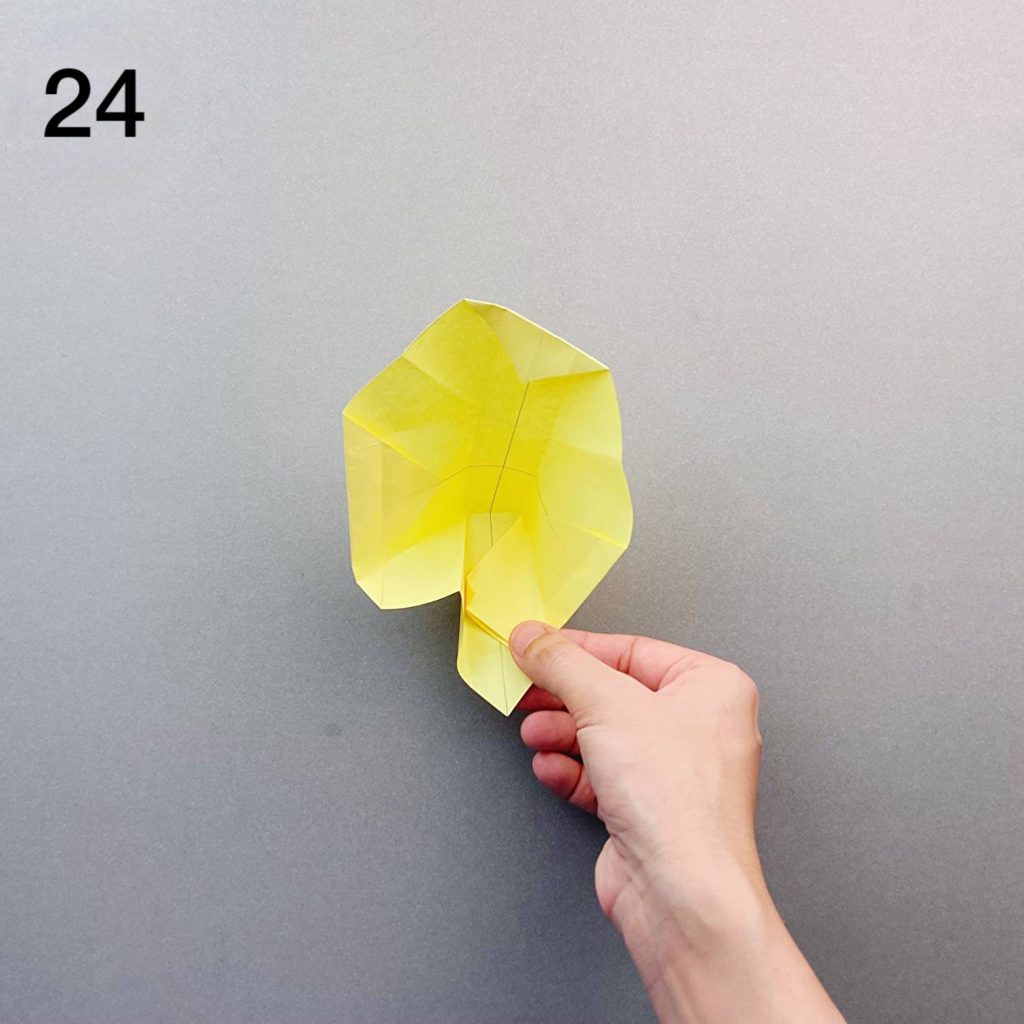
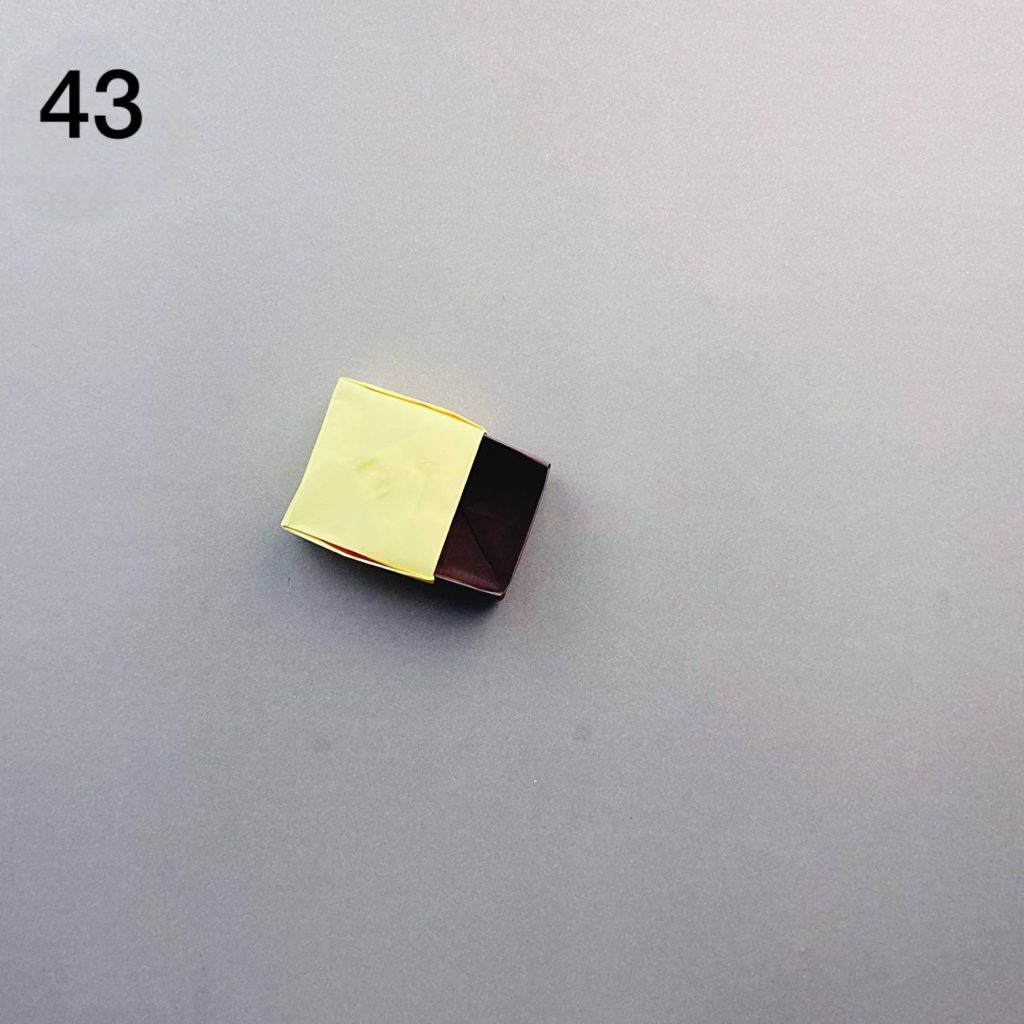
Step 2 – Shaping the Drawer
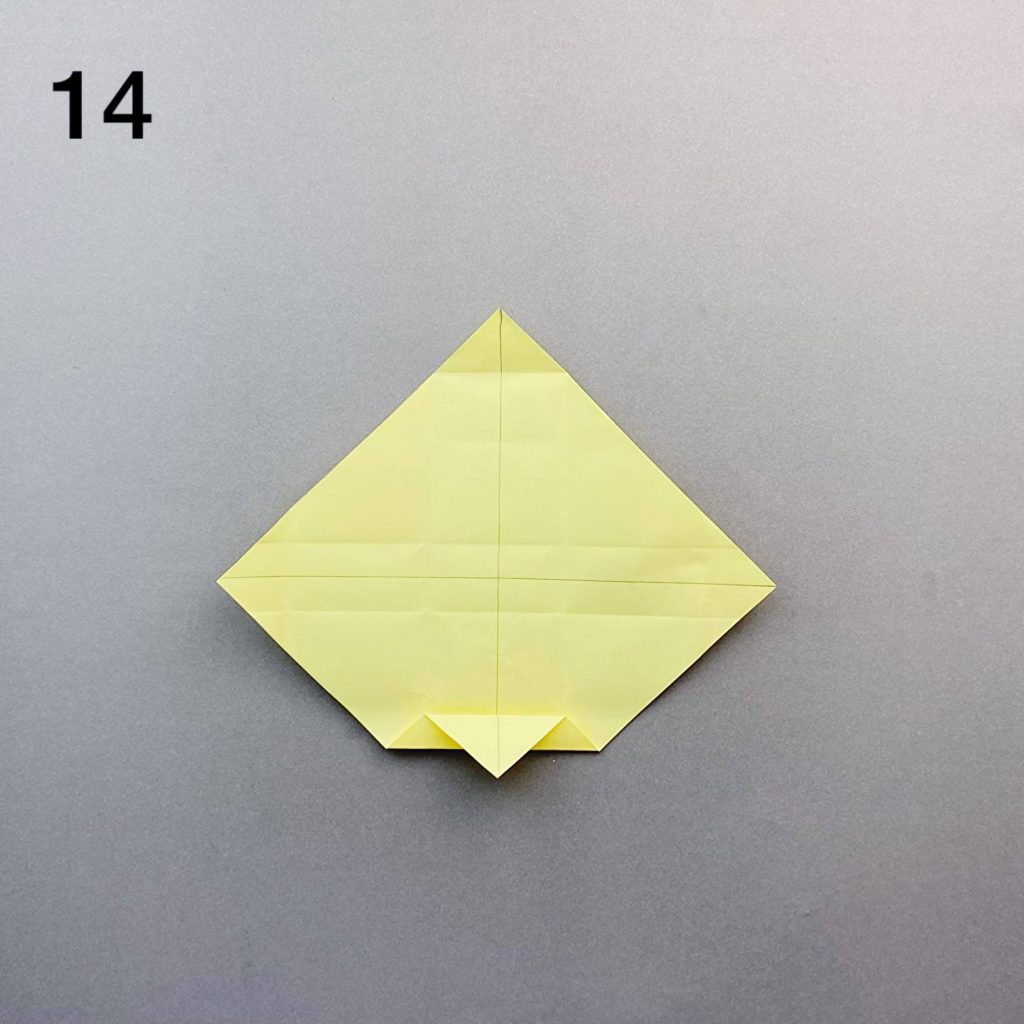
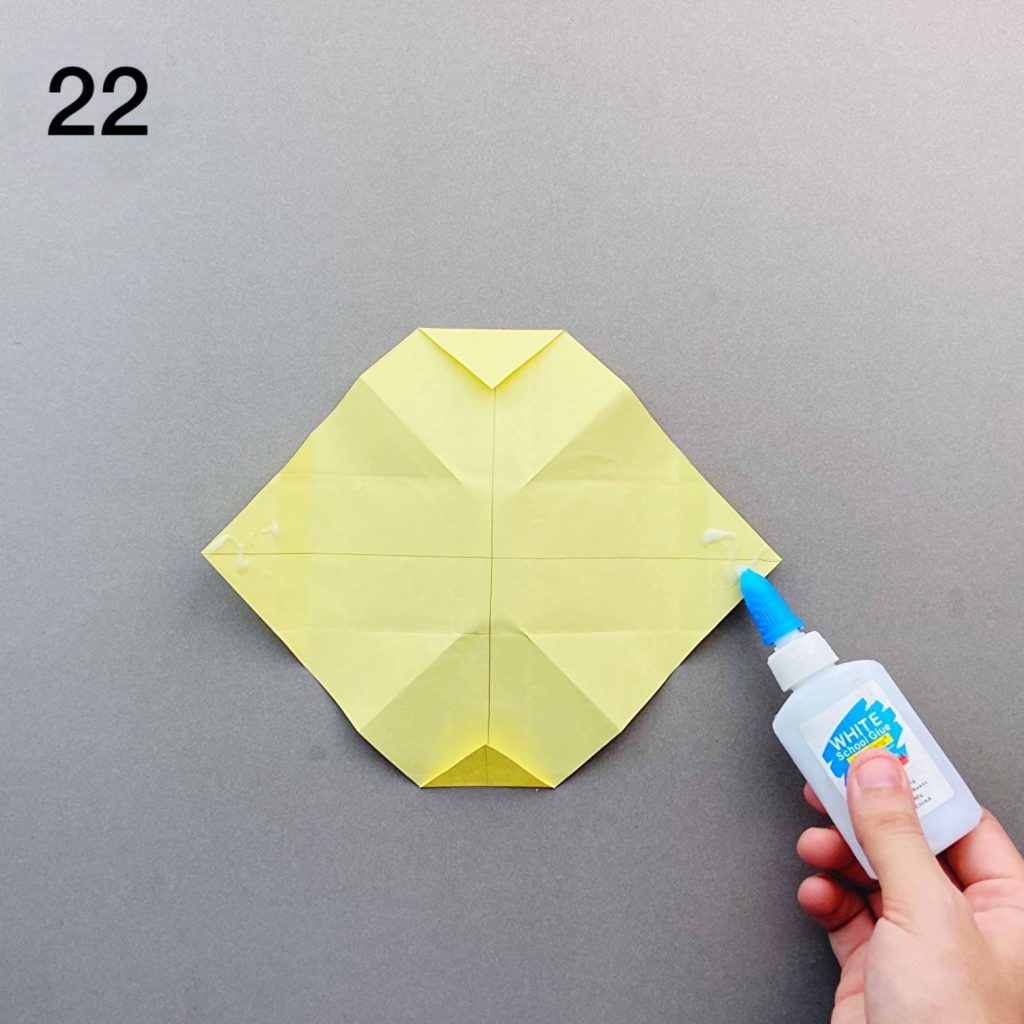
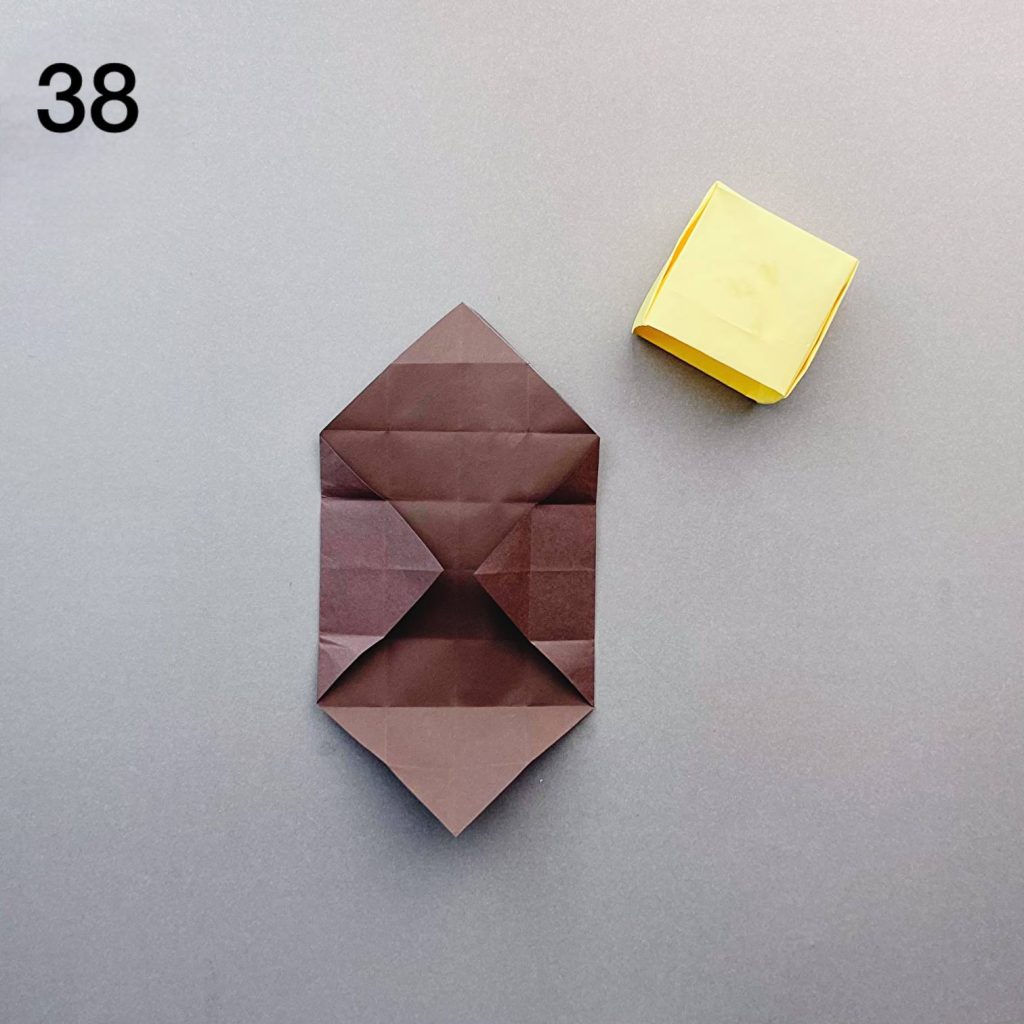
Continue refining the folds so the sides line up neatly and create the square drawer bottom. You’ll see the box taking shape as you push the corners in and reinforce the edges.
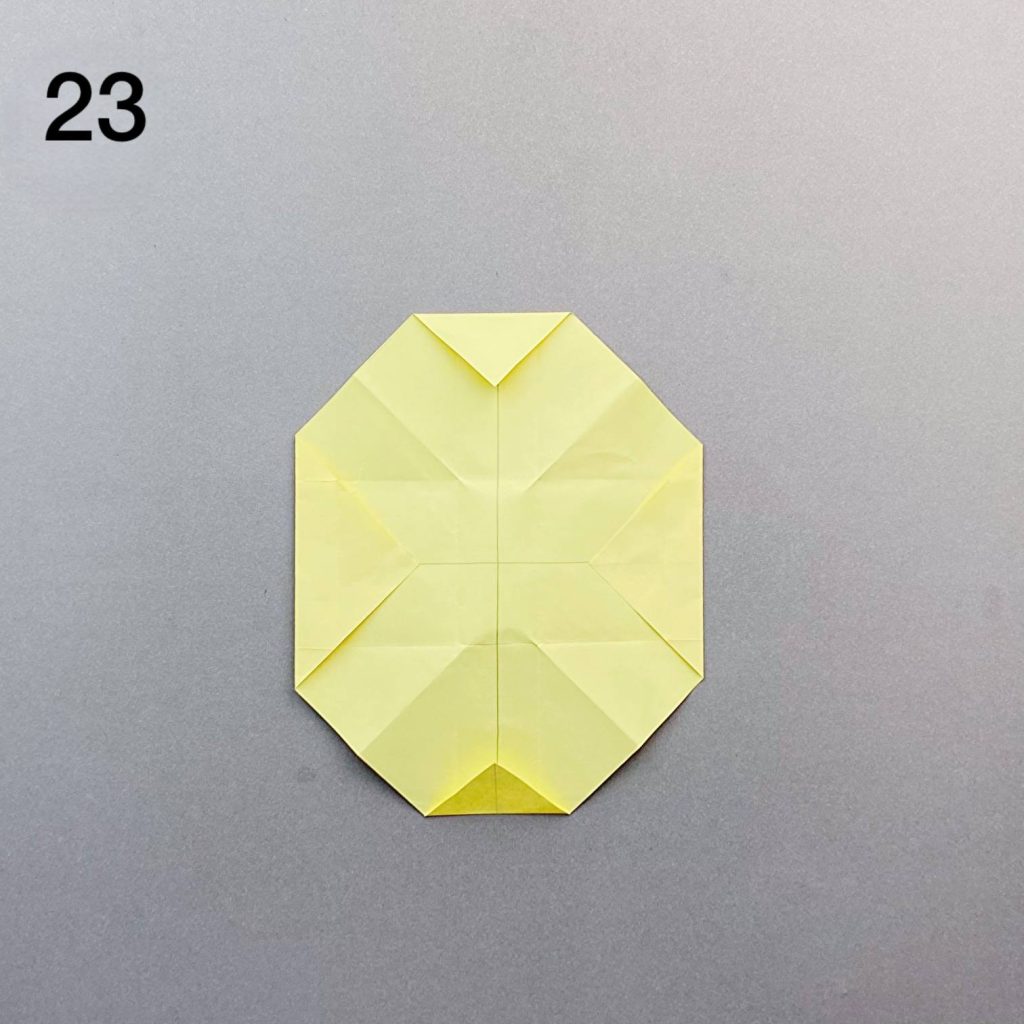
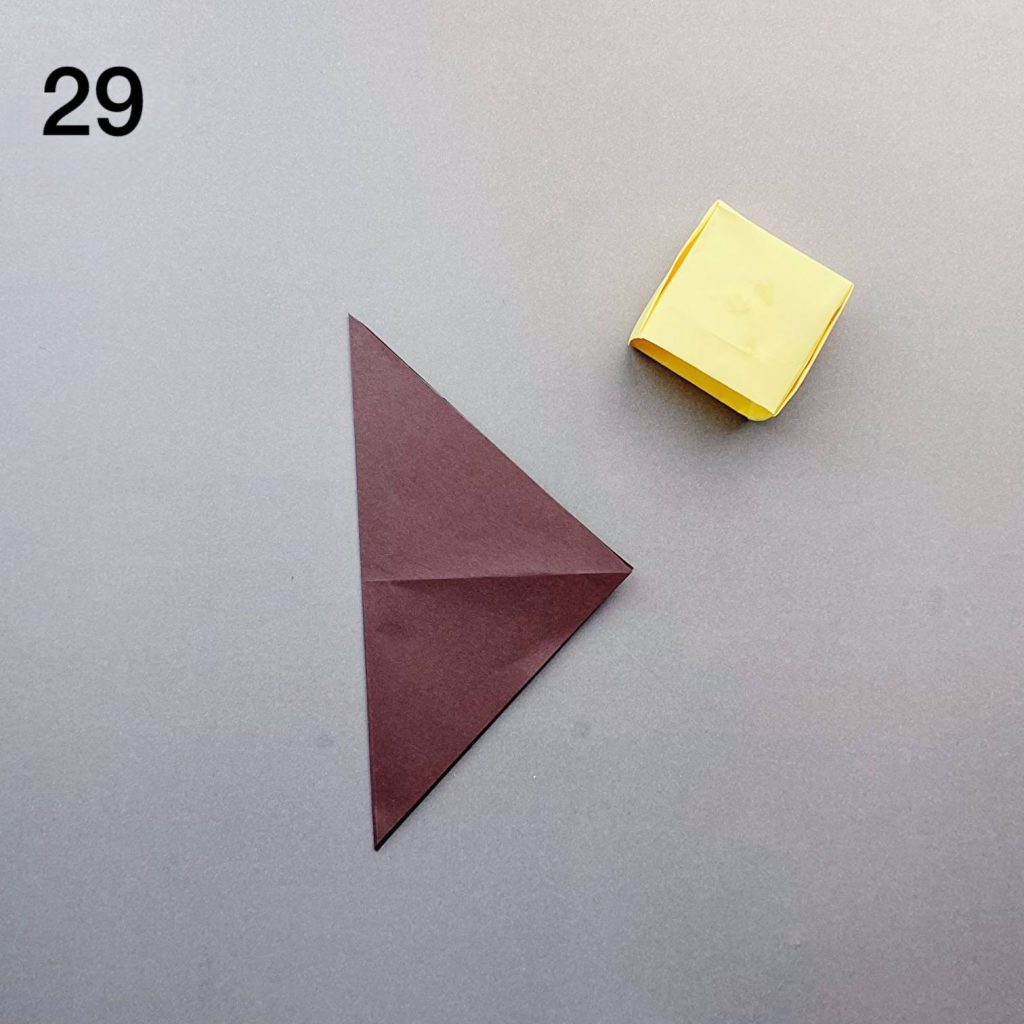
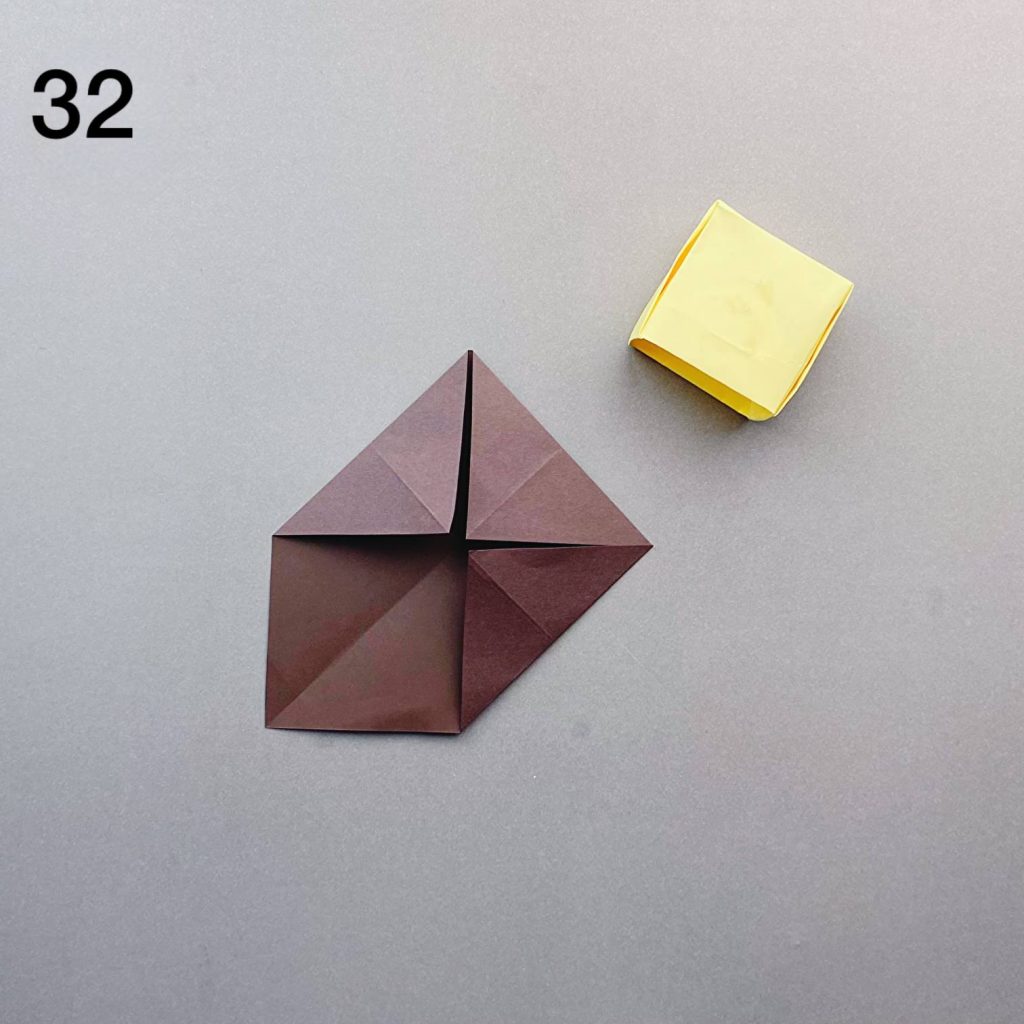
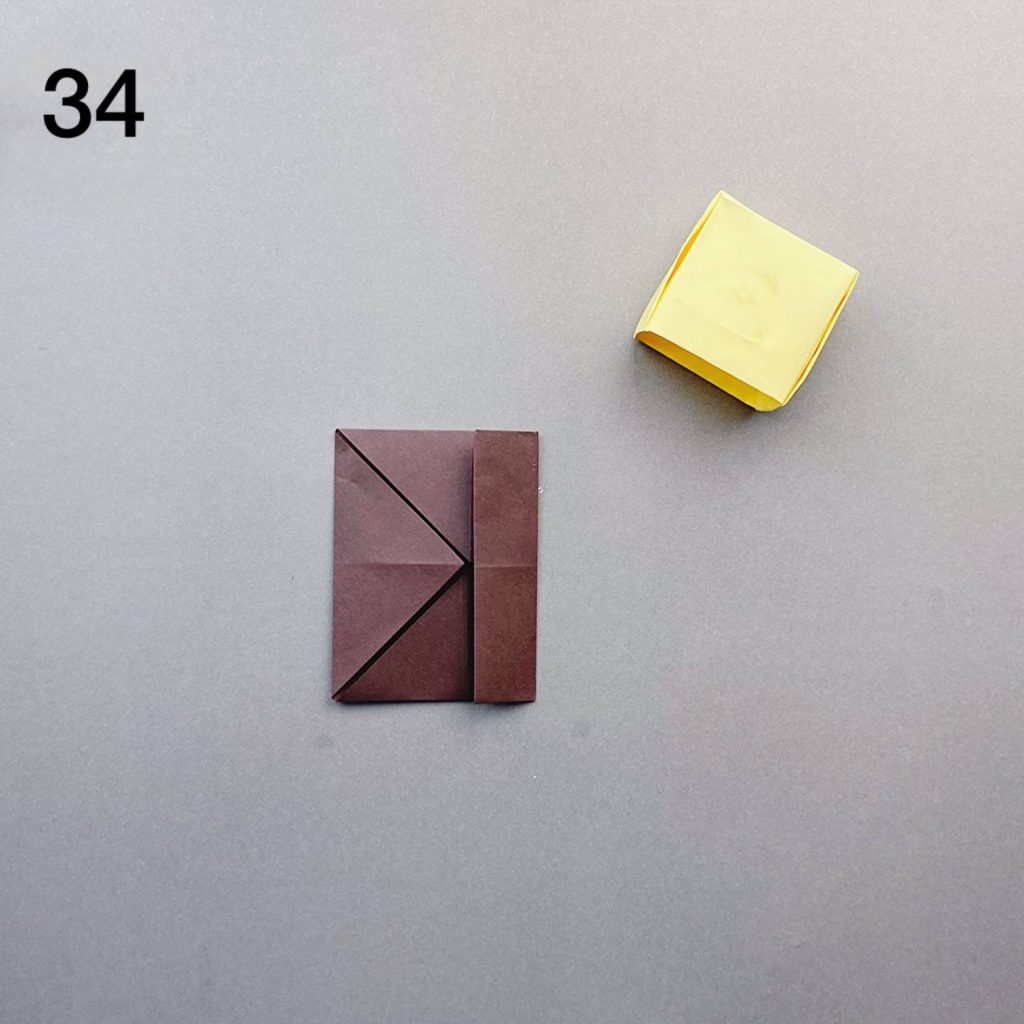
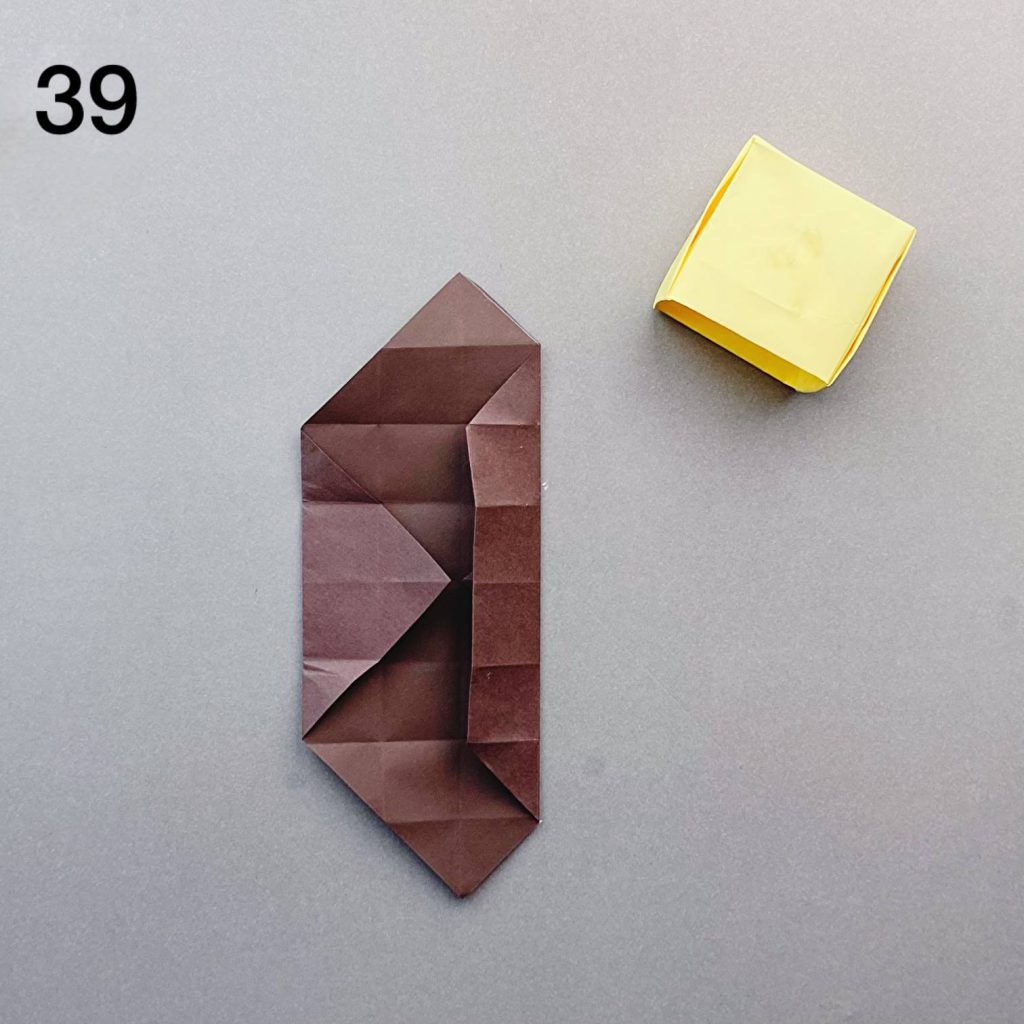
Step 3 – Continue preparing the structure
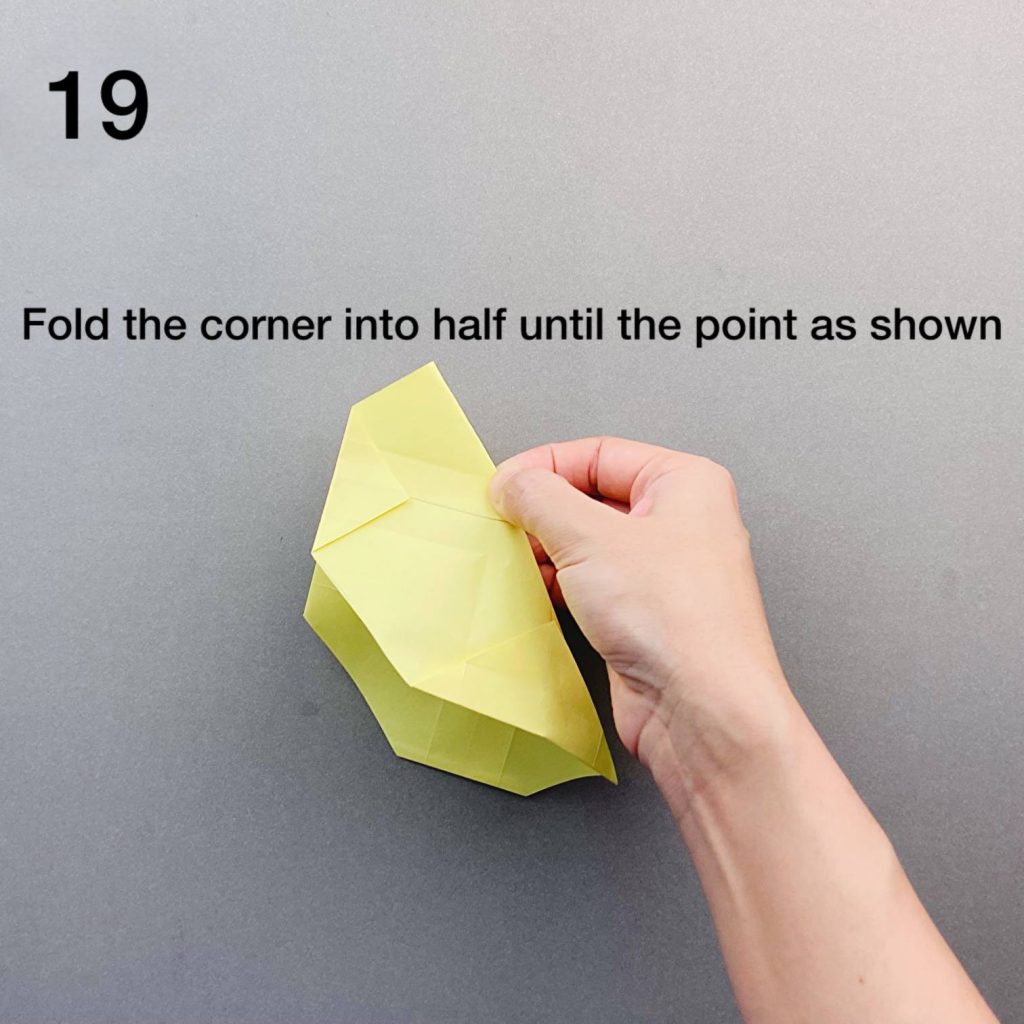
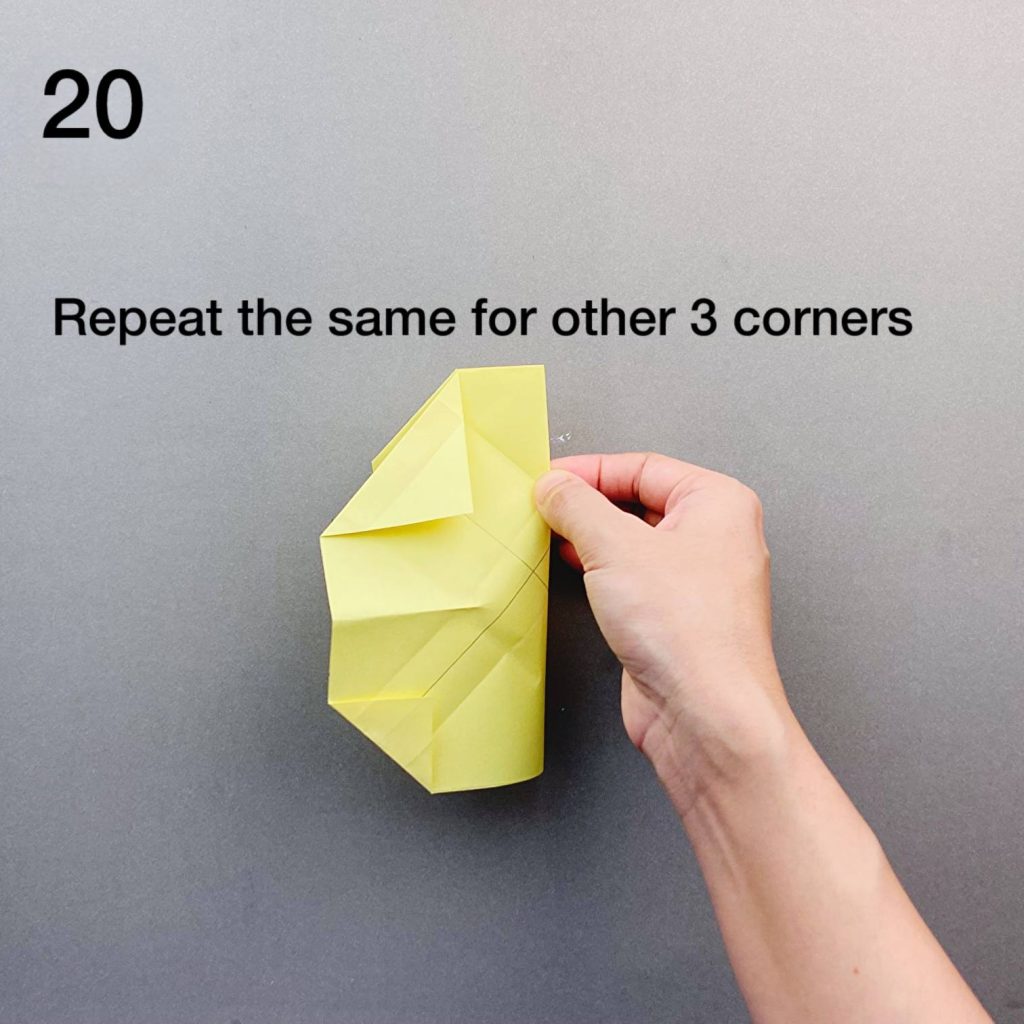
This makes the structure stronger and gives it a more polished look. Repeat these steps to create two identical drawers.
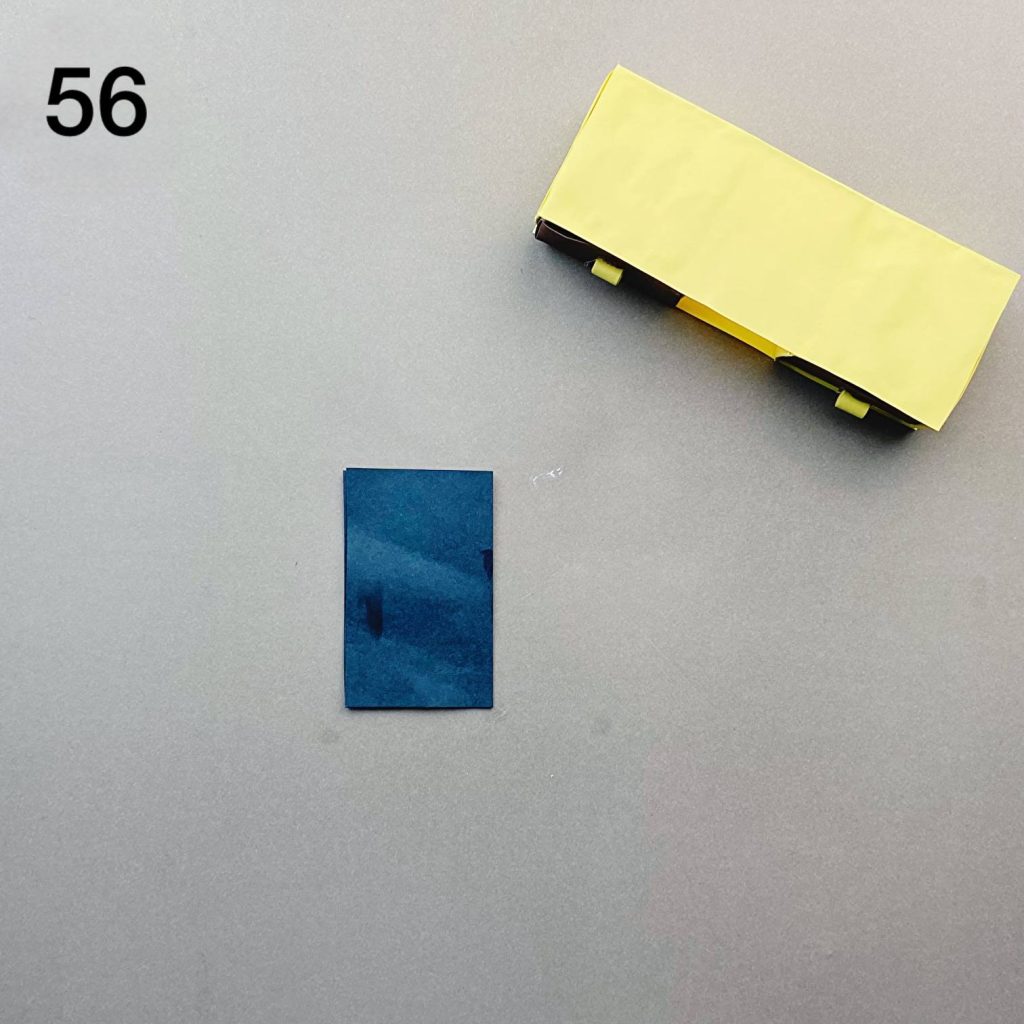
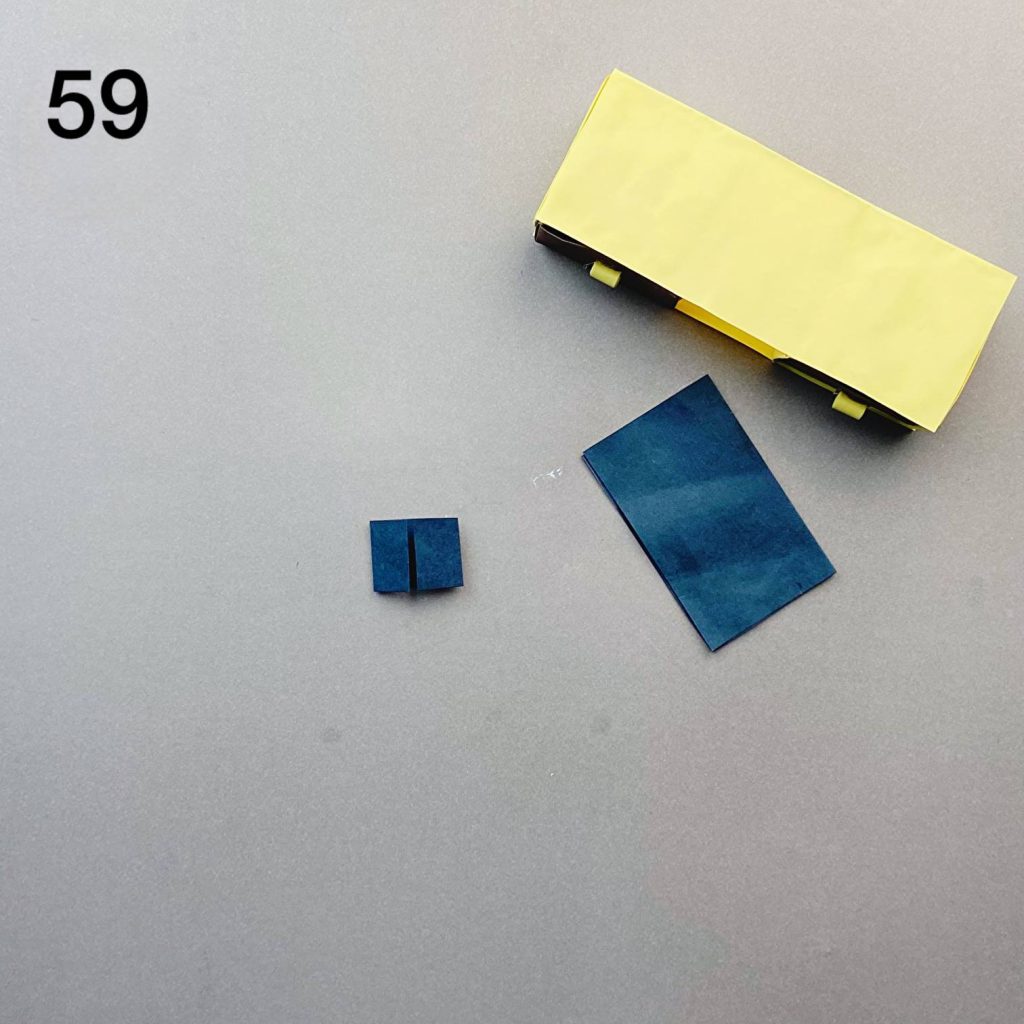
Step 4 – Adding the TV Back Panel
Cut a medium-sized rectangle of dark paper (blue or black) and glue a folded strip to the bottom — this will later slot into the cabinet top. This is basically the back support of the TV.
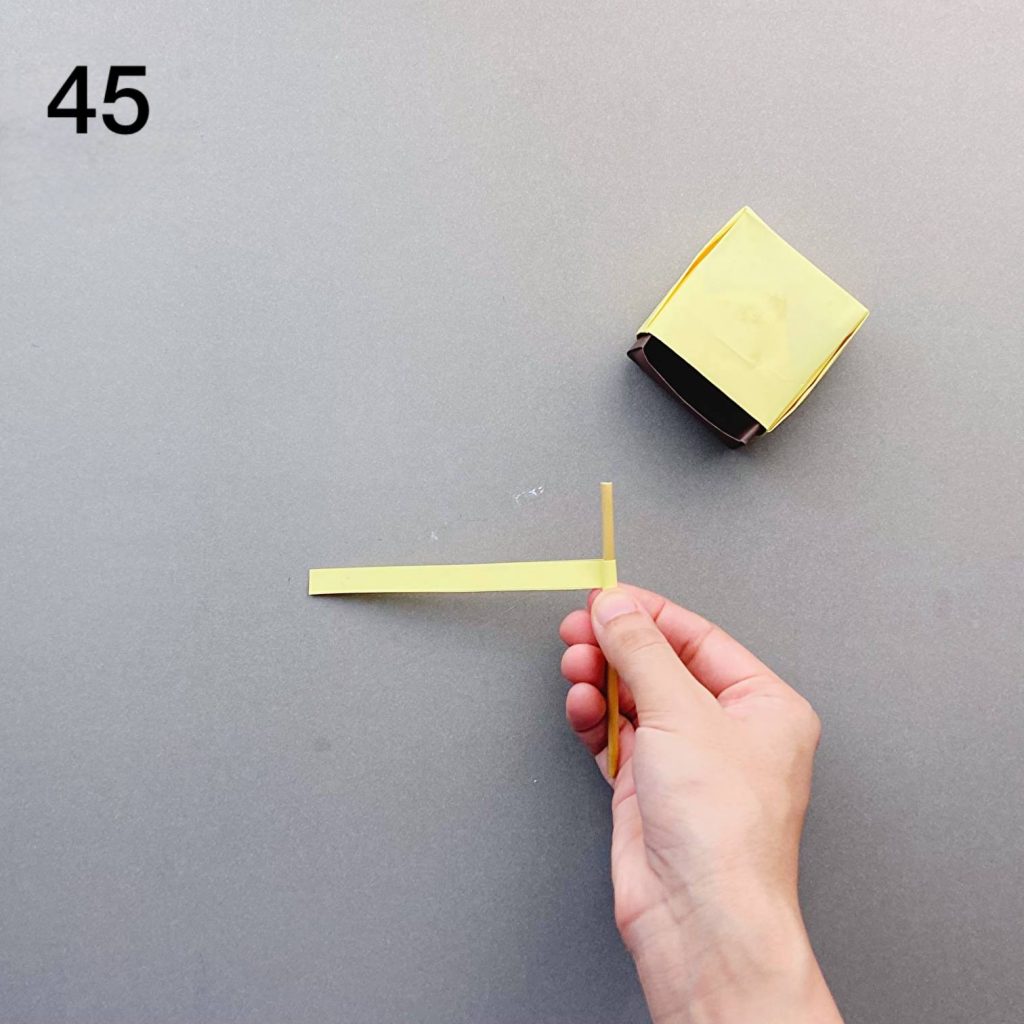
Step 5 – Making the Drawer Knobs
Cut a thin strip of paper and roll or fold it into a tiny tab that can act as a drawer handle. Glue it onto the front of each drawer. They don’t need to be perfect — once everything is assembled, they look adorable.
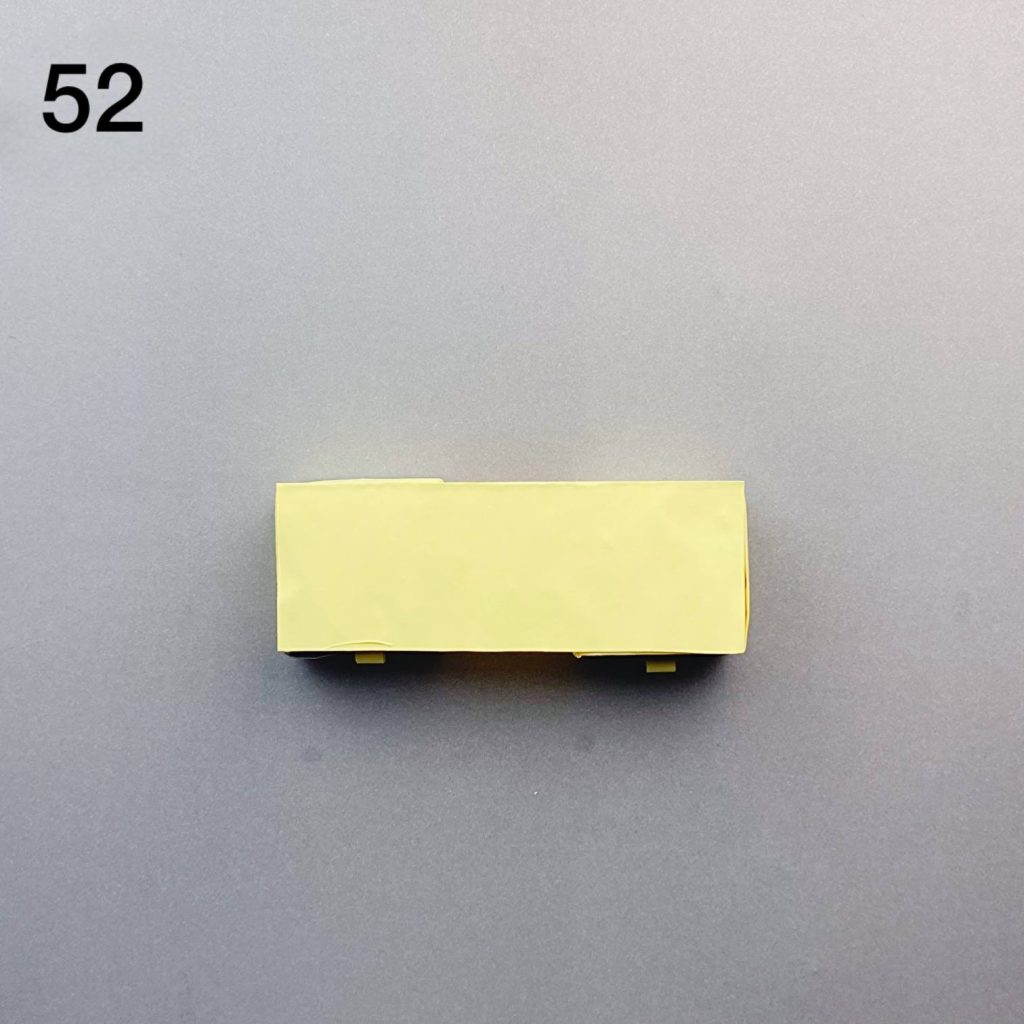
Step 6 – Connecting Both Drawers
Cut a rectangular strip of paper and glue it to the back of each drawer. This connects the two drawers together so they sit evenly. Let this dry before moving on to the cabinet shell.
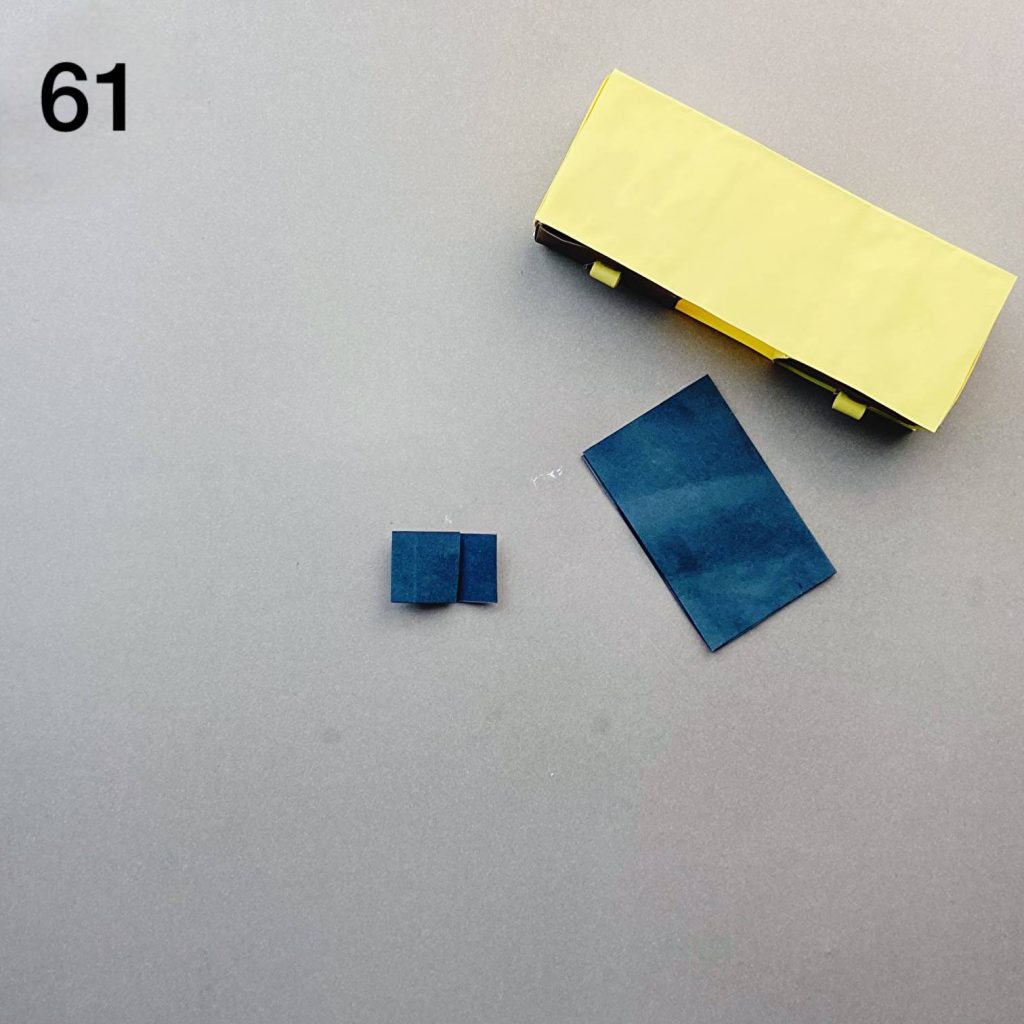
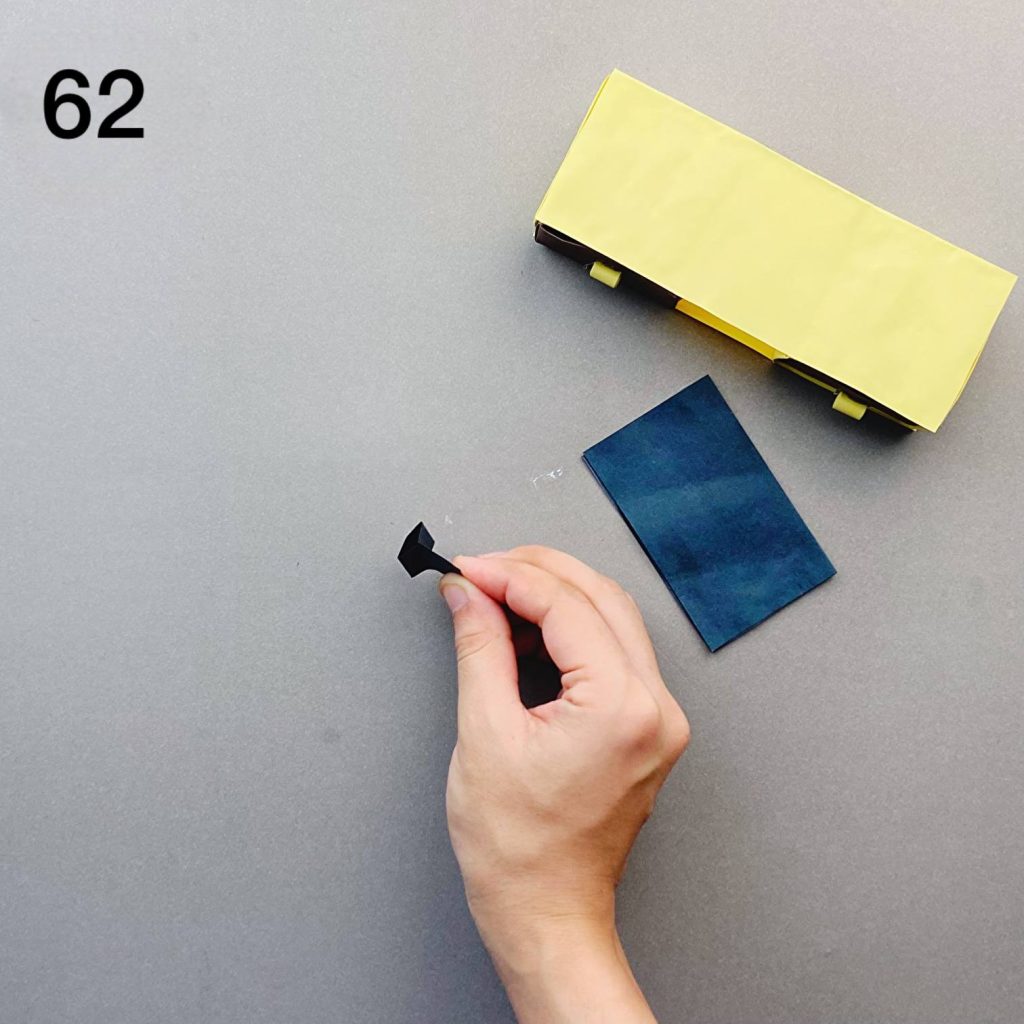
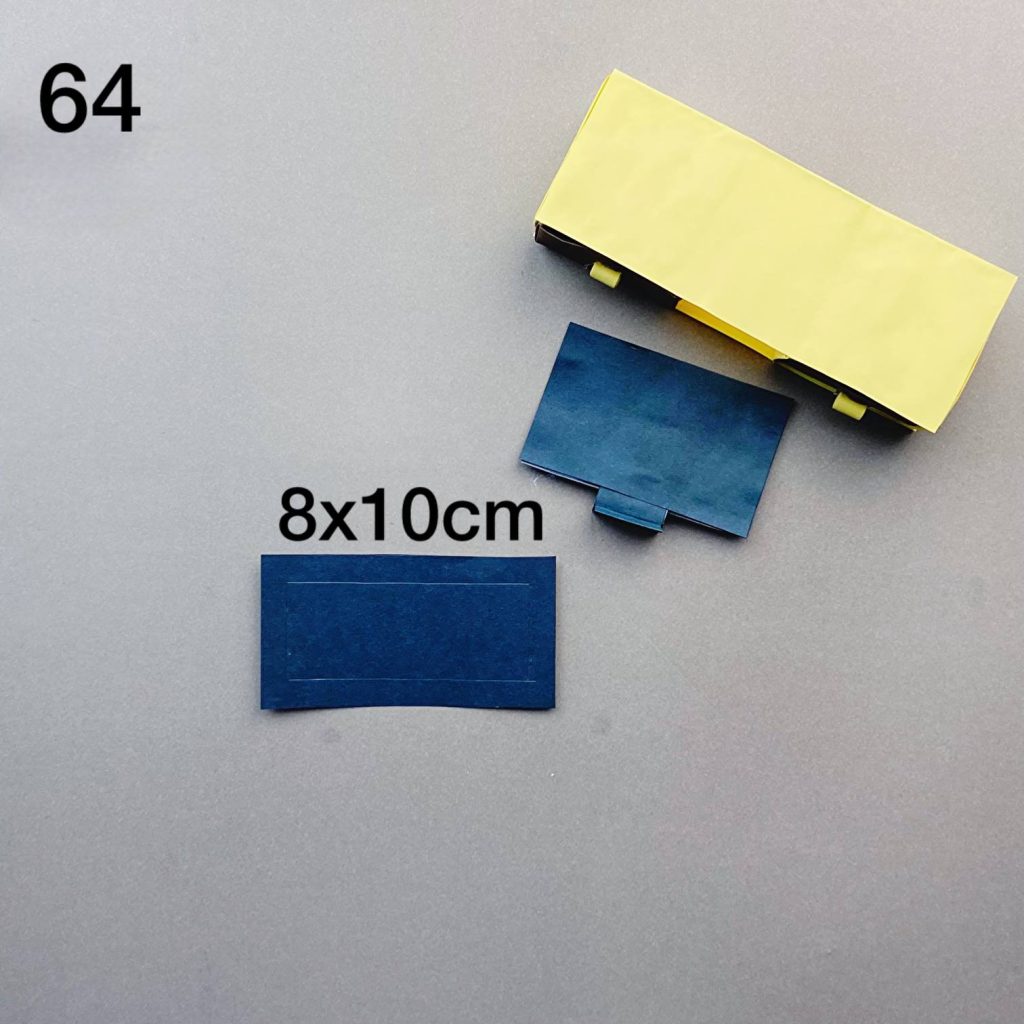
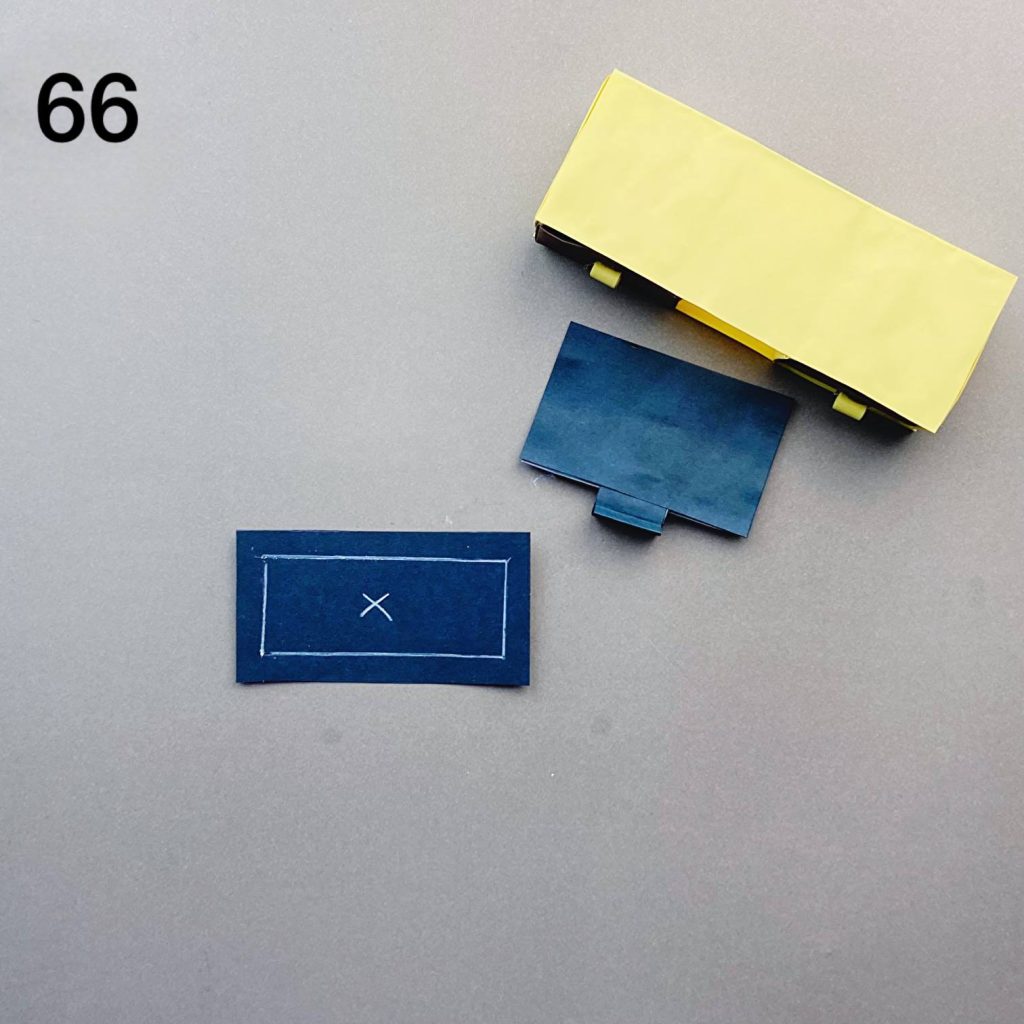
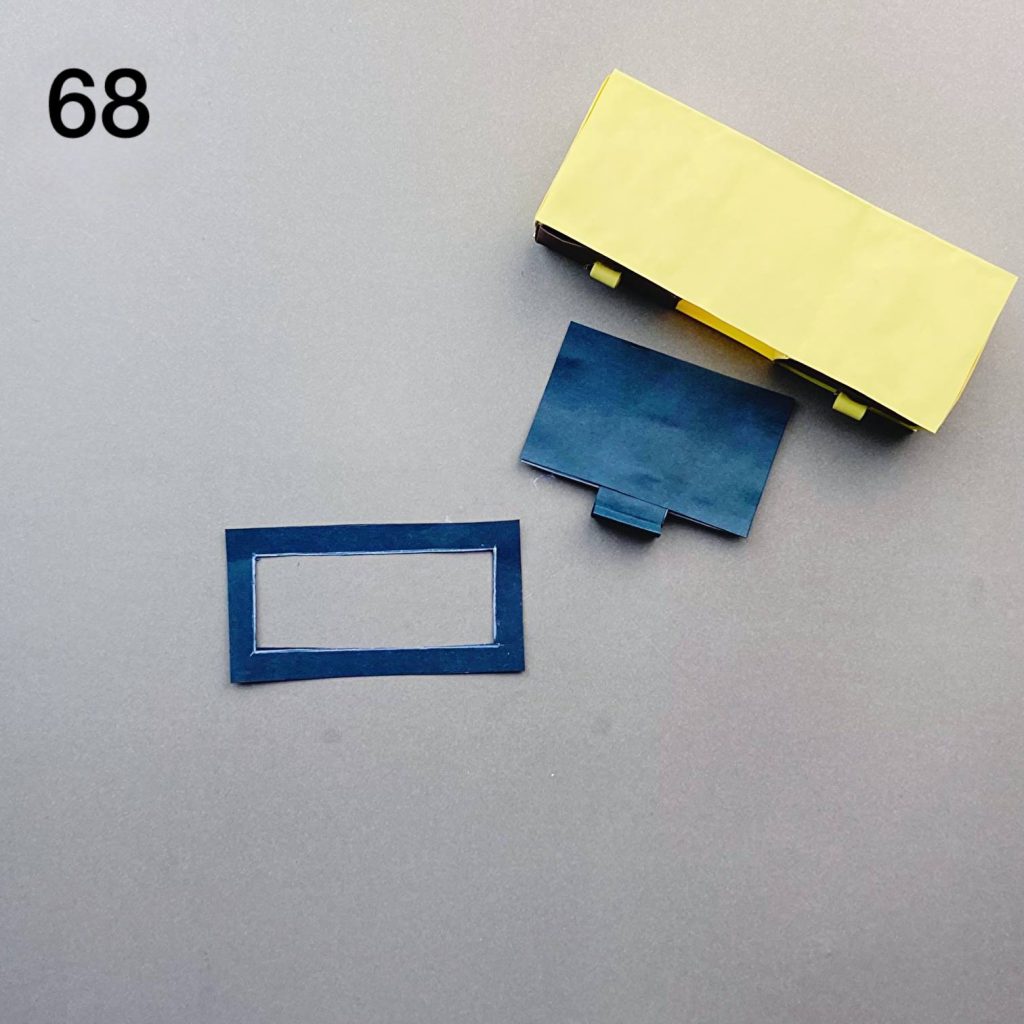
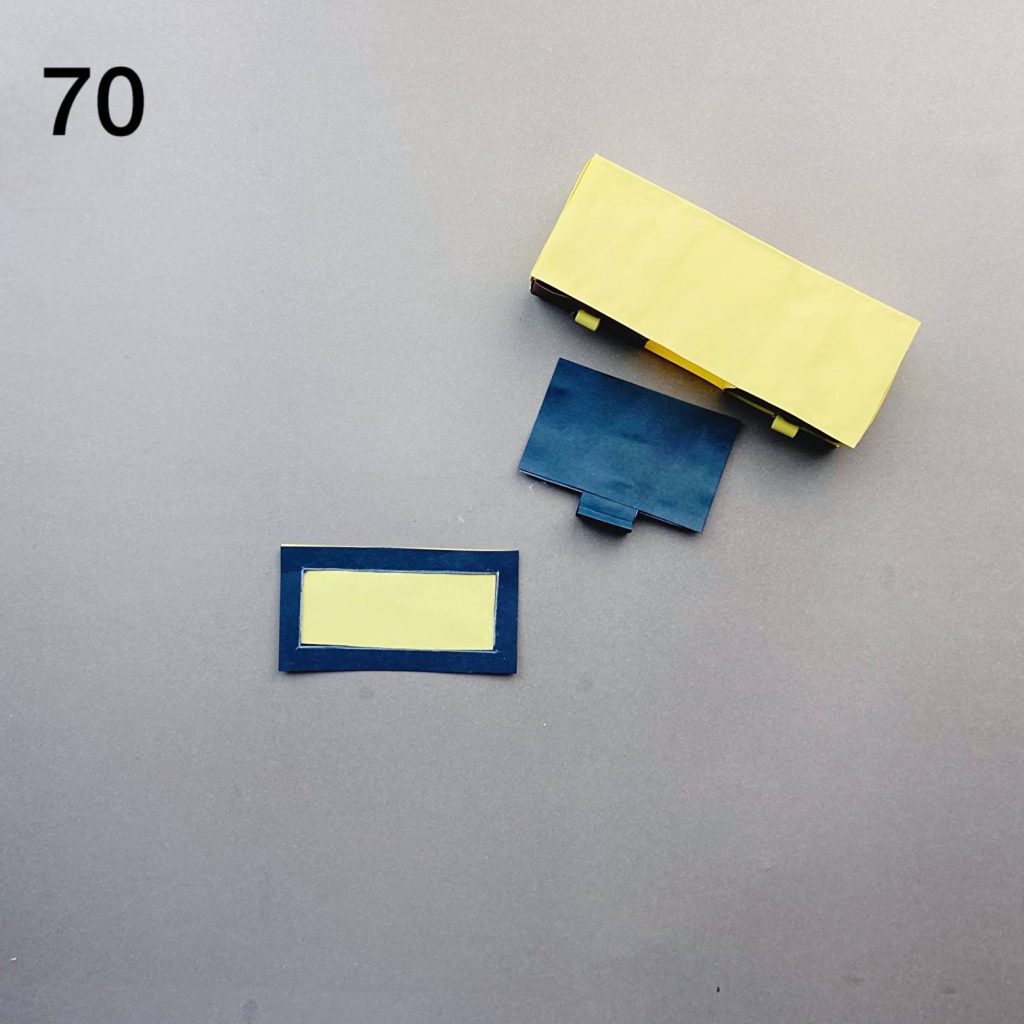
Step 7: create the blue TV screen.
I will just let the pictures do the explanation 🙂
My Final Conclusion
And that’s it: a miniature TV cabinet and a TV made entirely from paper! These kinds of projects are great if you want fast results without needing wood or tools. If you give this one a try, feel free to share your version or ideas in the comments. I’d love to hear what colors or styles you used.