Every year when the holidays come around, I feel the urge to add a few extra tiny projects to my dollhouse scenes. This miniature Christmas tree, Christmas packages and mini cards are one of those easy-but-charming crafts you can finish in an afternoon.
It only takes a bit of paper, glue, and a wooden stick, and suddenly you have a festive little tree ready for your winter displays.
Materials You Will Need
🎥 Watch this Short on YouTube
- Green crepe paper
- Red cardstock (for the pot)
- Wooden skewer or cocktail stick
- Scissors (small, sharp ones work best)
- Craft UHU glue or grab fast tacky glue
- White acrylic paint
- A dry brush (a fan brush works beautifully)
- Air-dry clay or polymer clay (for the tiny ornaments)
- Optional: tweezers for placing small decorations
A step by step tutorial
Step 1: Preparing the Paper Strip
Start with a long strip of green crepe paper.
Before cutting, fold the strip a few times—this will save you a lot of time later.


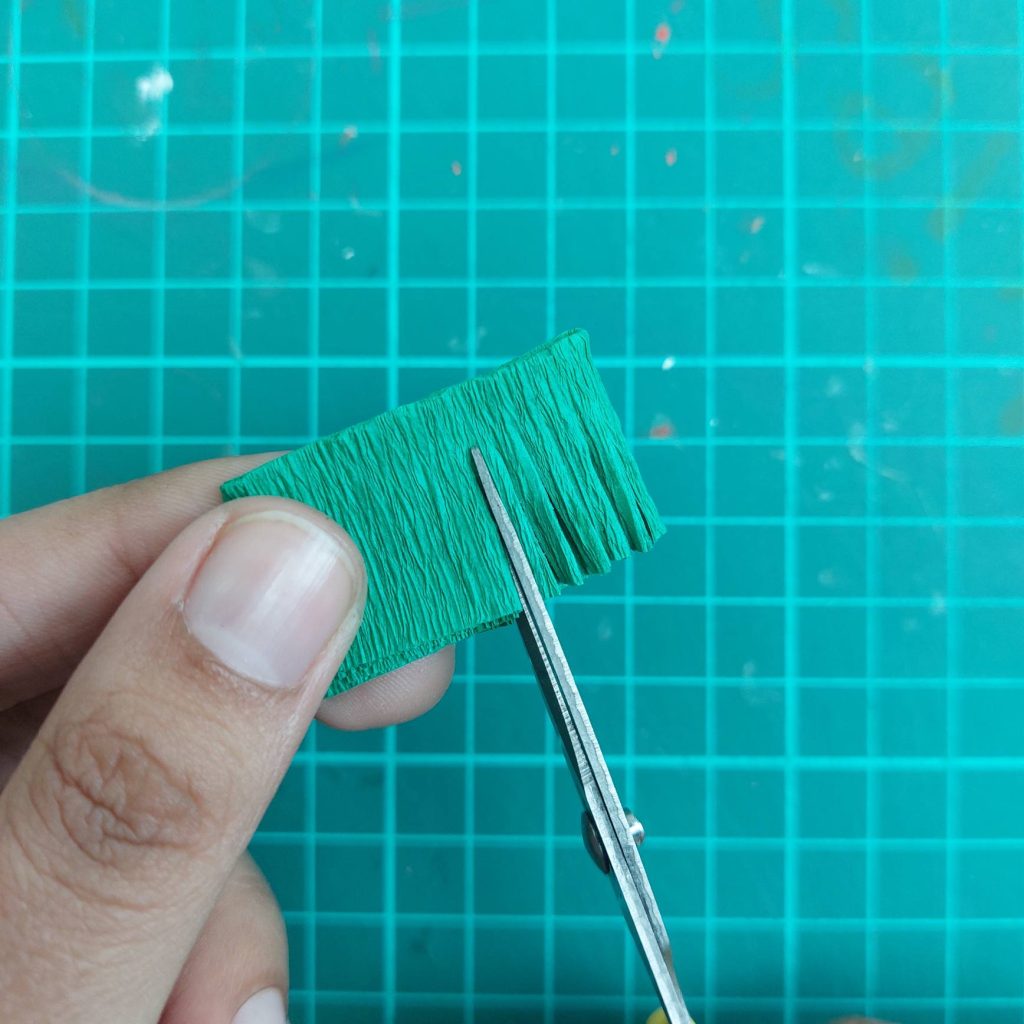
Step 2: Cutting the Fringe
Cut tiny slits along one long side of the folded strip, stopping about halfway down the width.
Because the paper is folded, you create several layers of fringe at once.
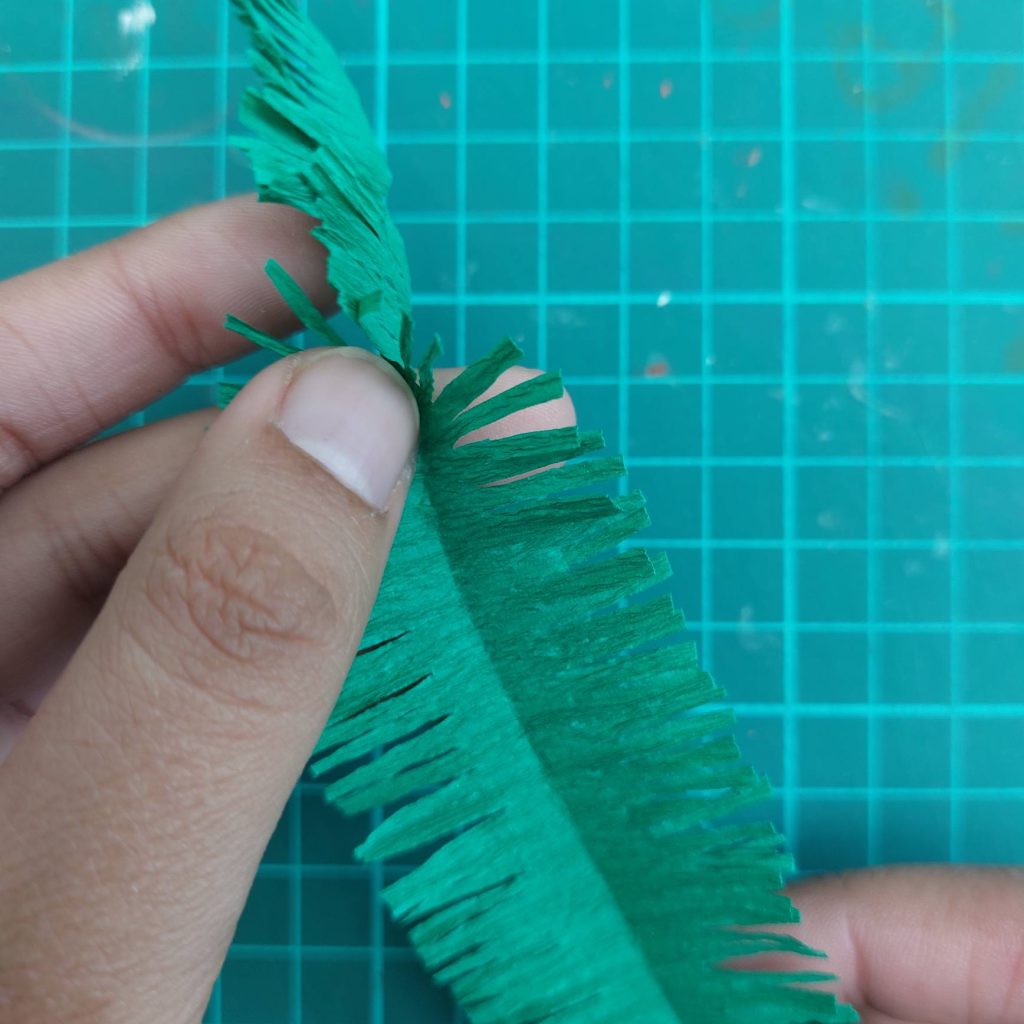
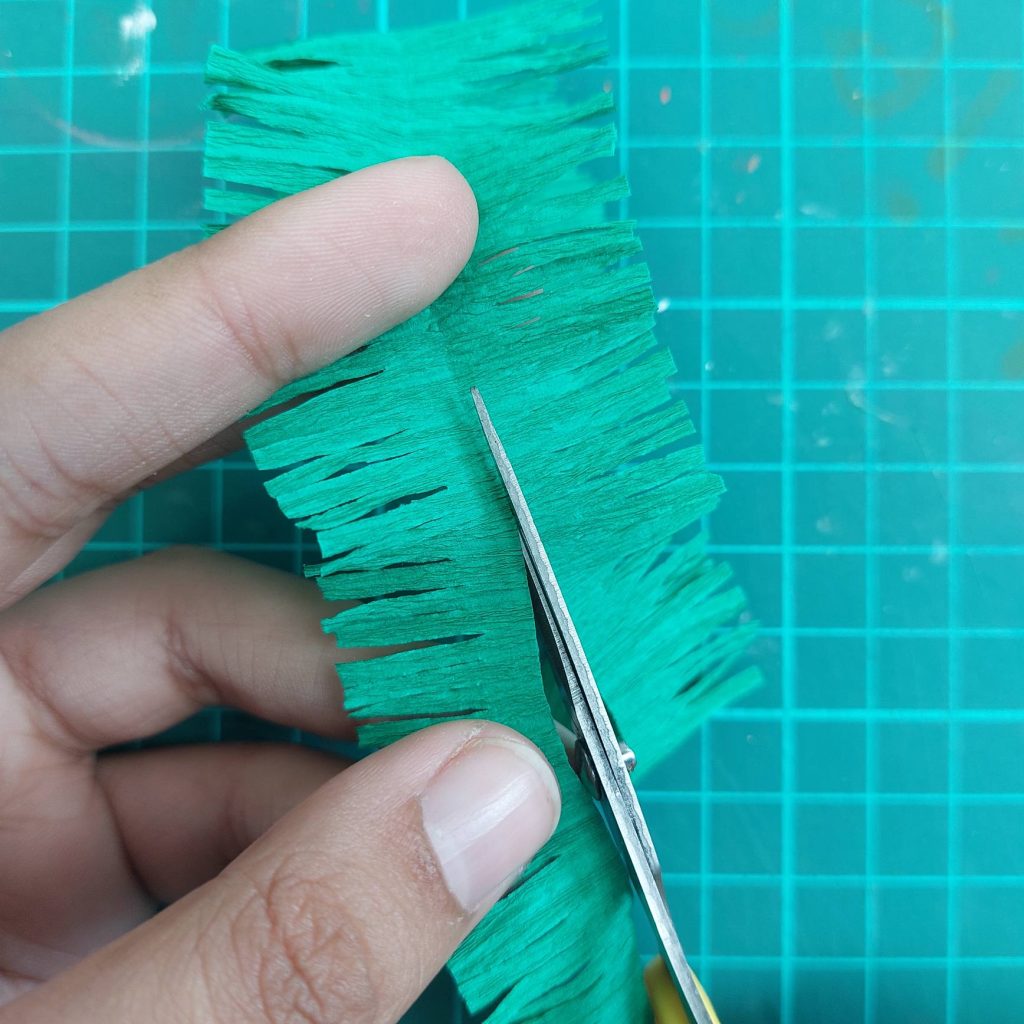
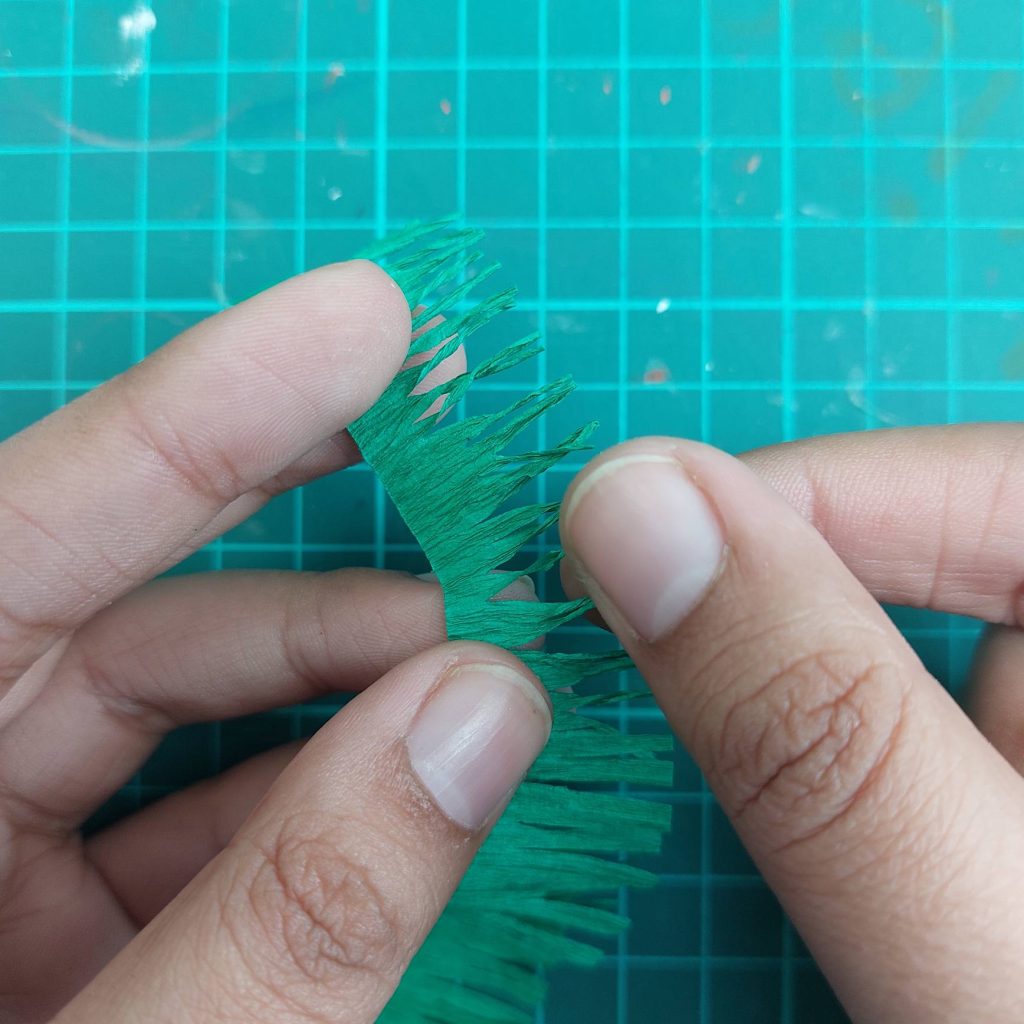
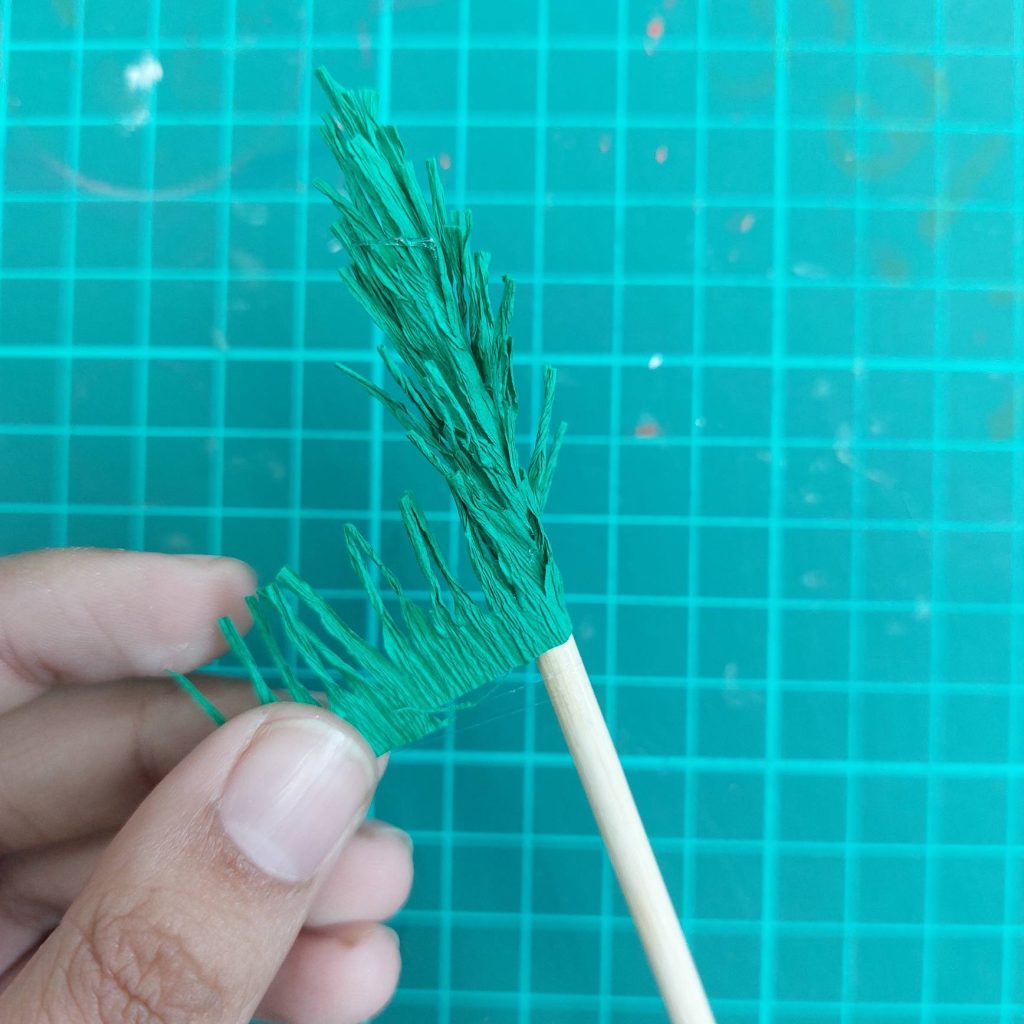
Step 3: Refining the Needles
To make the tree look more natural, go back and trim some of the fringe into thinner or pointier shapes.
This gives the finished tree a softer, more realistic look. Then cut them in the middle.
Step 4: Preparing the Tree Trunk
Take a wooden skewer or cocktail stick—this will act as the tree trunk and also help you anchor the tree into a little pot later.

Step 5: Building the Tree
Now the fun part: wrap the fringed strip around the stick!
Start at the bottom and slowly work your way up, adding a little glue as you go.
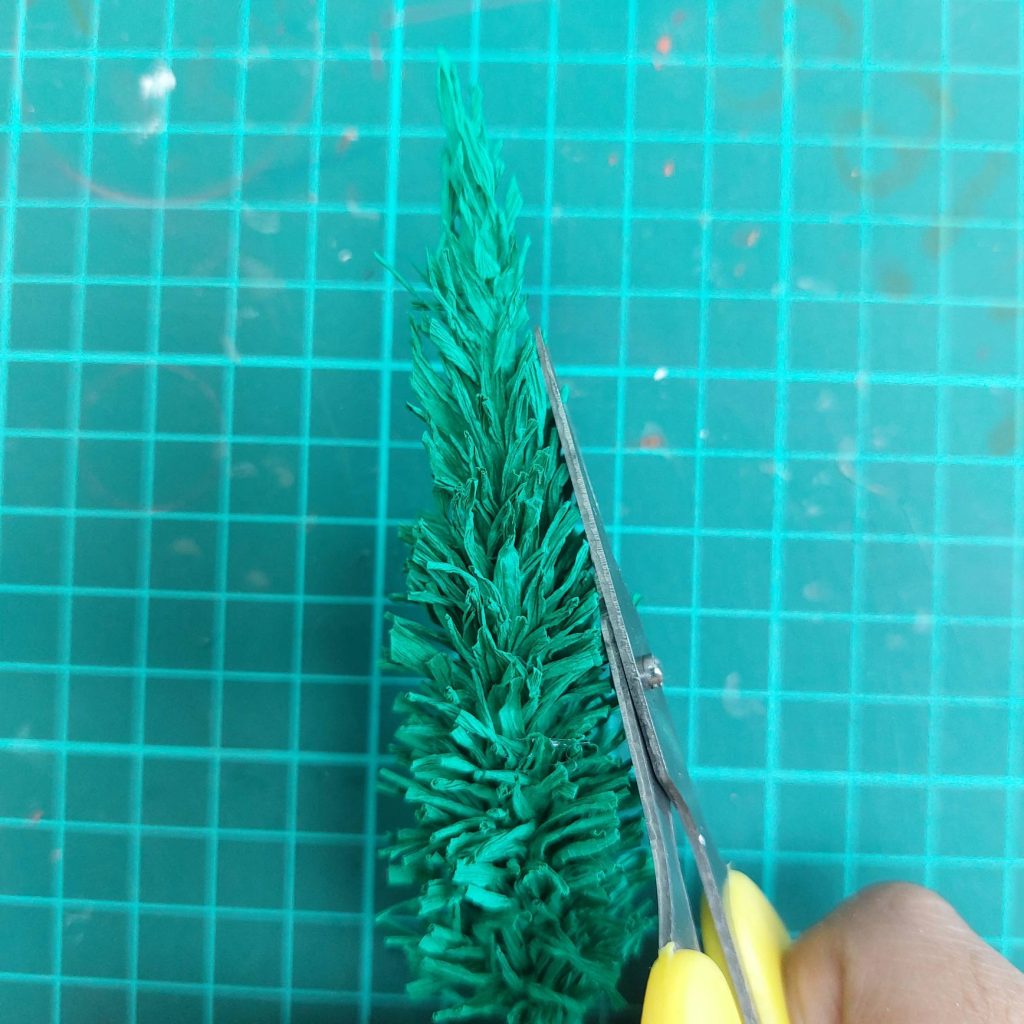
Step 6: Shaping the Tree
Once wrapped, gently trim the tree into a cone shape.
This gives your tree the classic Christmas-tree silhouette.
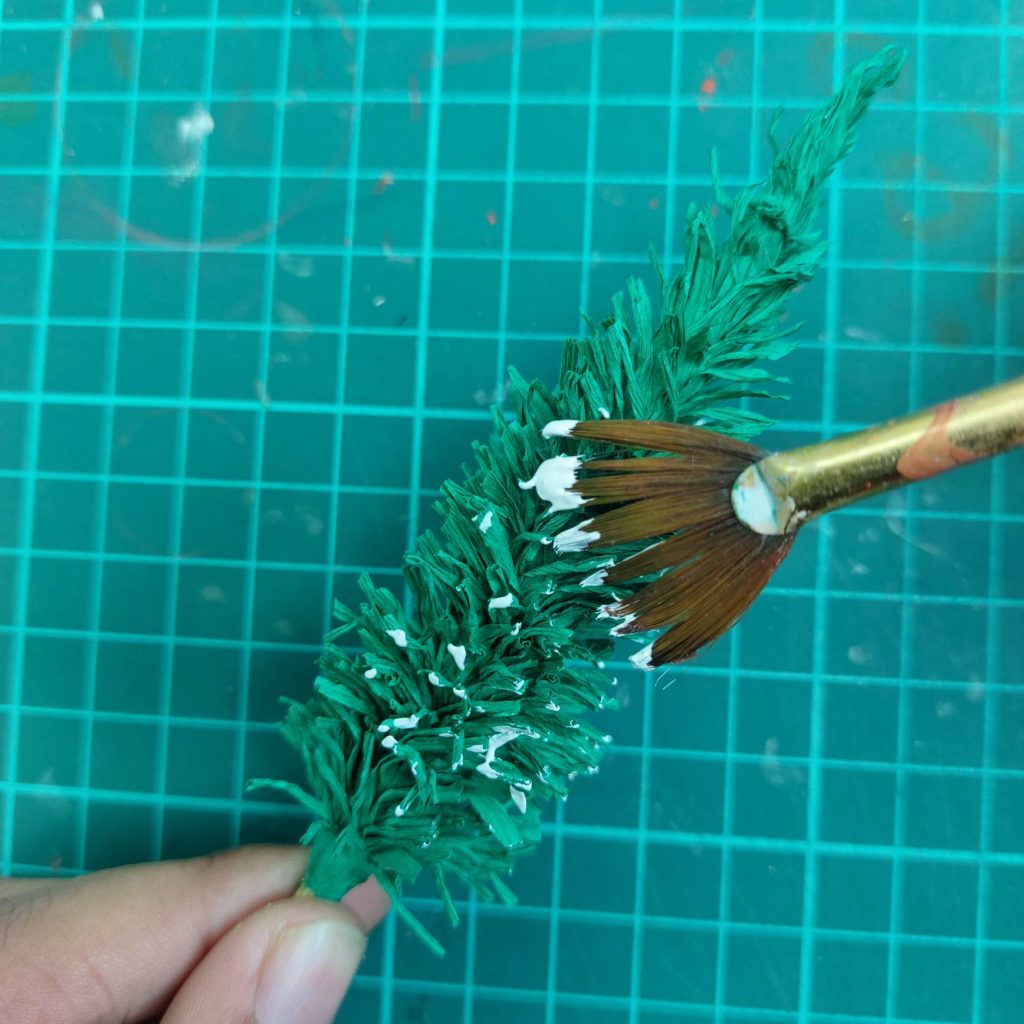
Step 7: Adding Snow
Use a dry brush and dab a little white paint onto the tips of the needles.
It gives just the right amount of snowy texture without covering the whole tree.
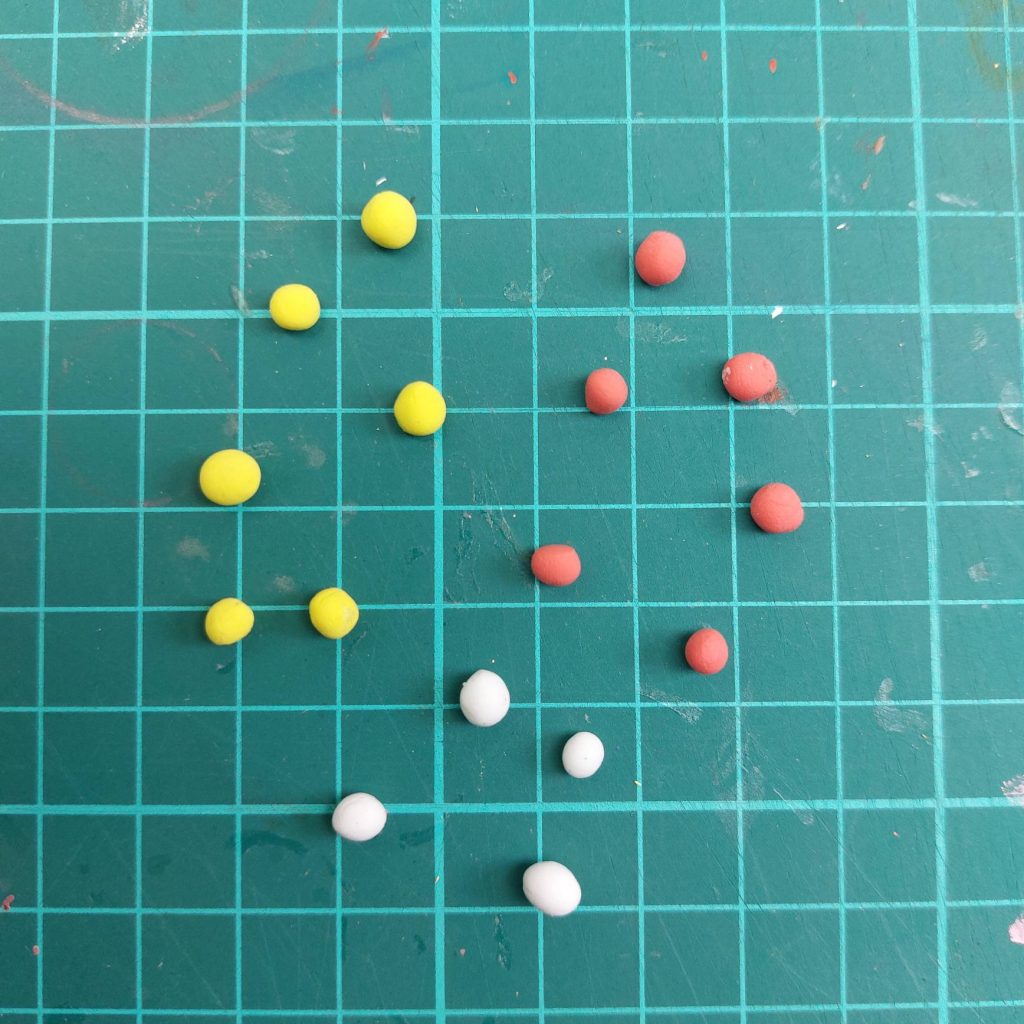
Step 8: Making Mini Ornaments
Roll tiny balls out of air-dry clay, polymer clay, or even small paper bits.
I used a mix of red, yellow, and white because they stand out nicely against the green.
Step 9: Decorating the Tree
Glue the ornaments onto the branches wherever you like.
They don’t have to be symmetrical—real trees aren’t either.
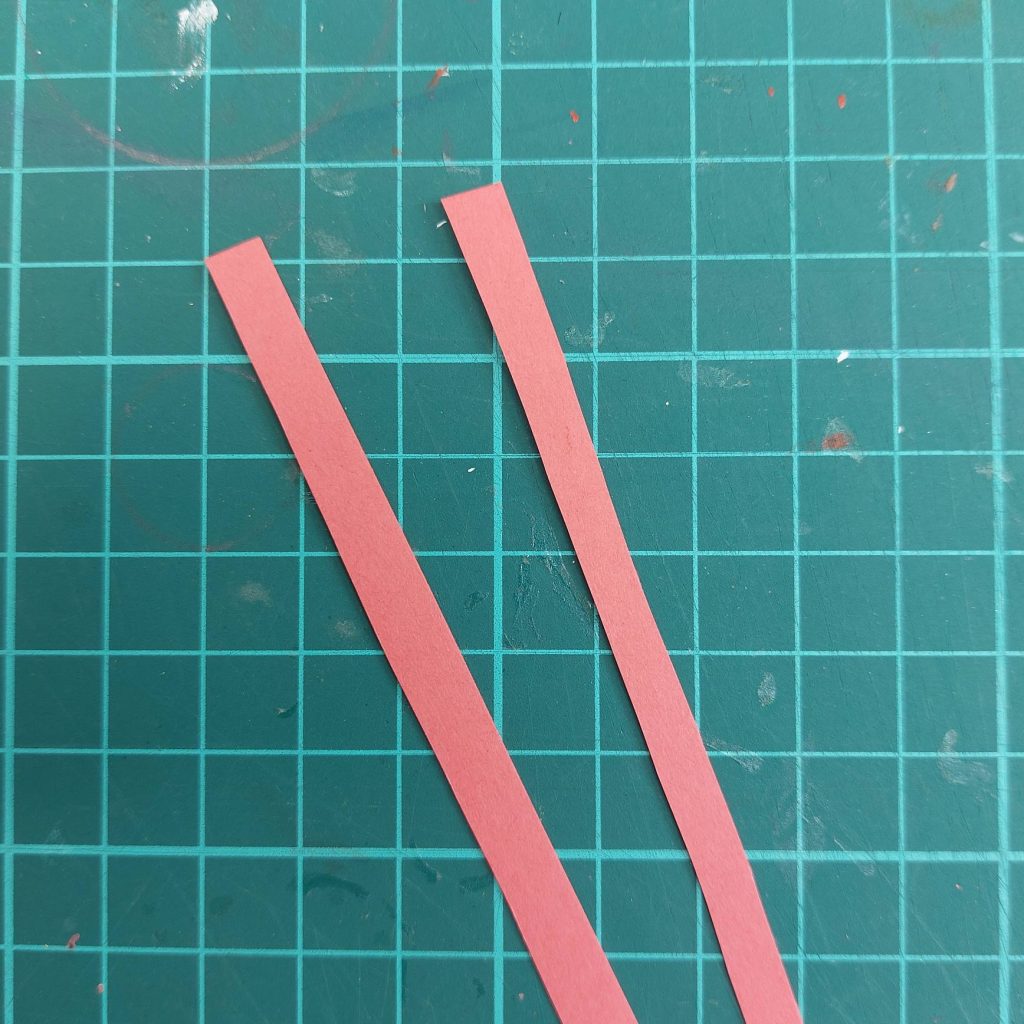
Step 10: Creating a Simple Pot
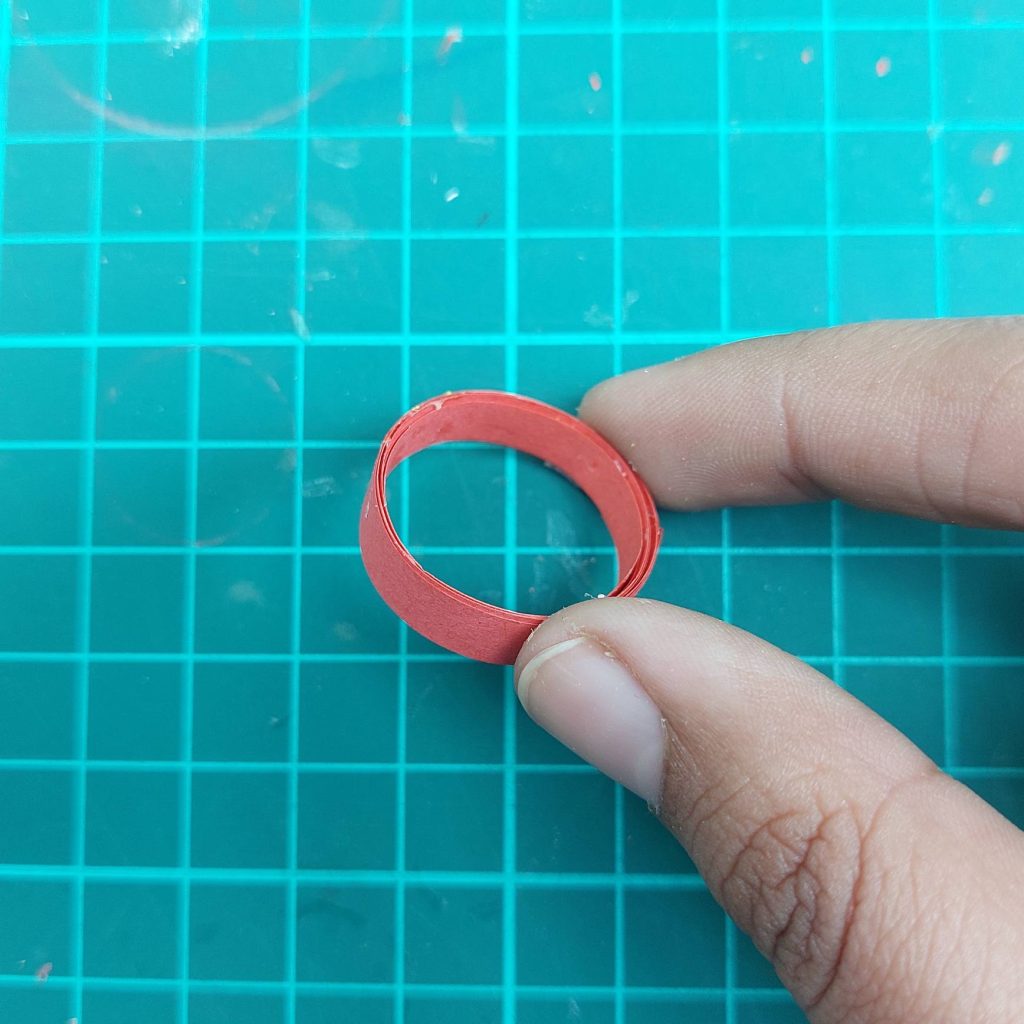
Cut a thin strip of red cardstock and roll it into a small ring.
Glue the ends together, and you have a perfectly simple pot for your tree.
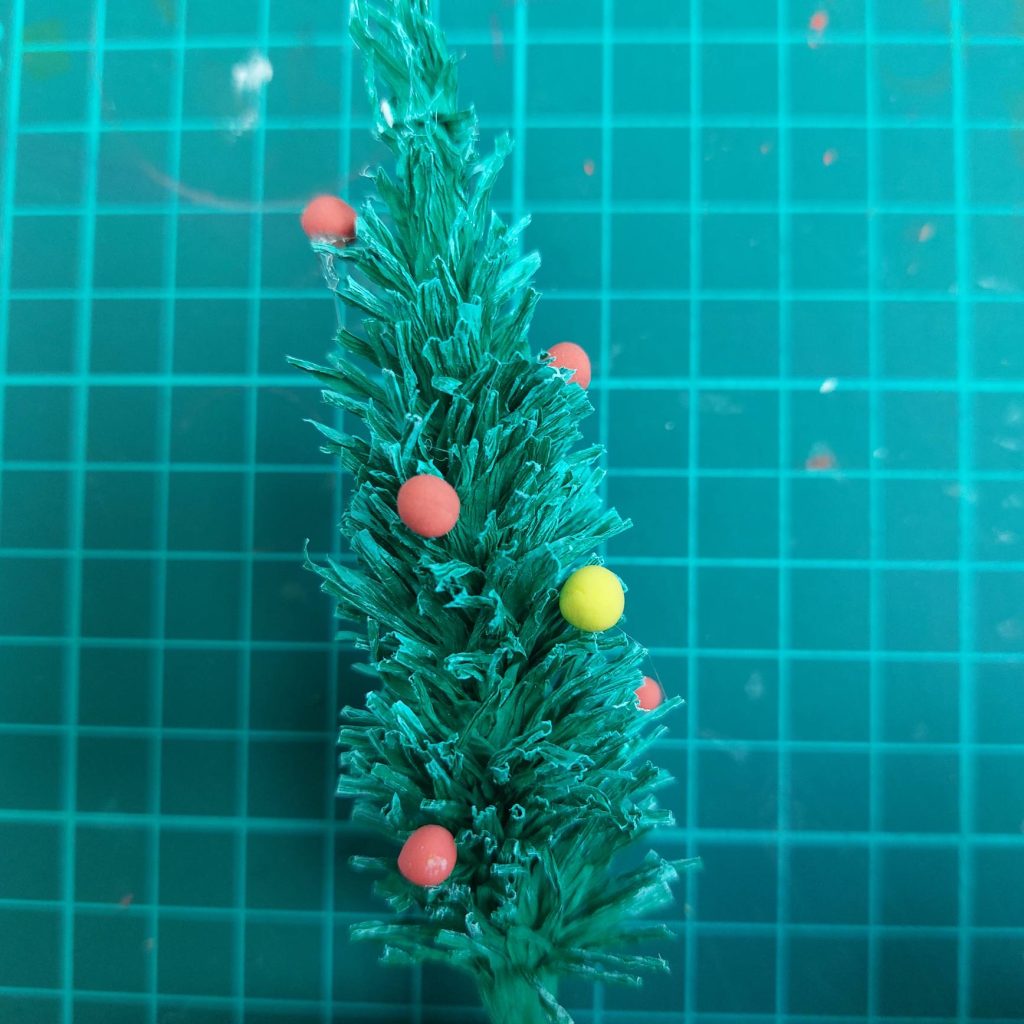
The Finished Mini Christmas Tree
And that’s it! You just need to stick the tree in some red polymer clay (or you can fill it up with fake ‘dirt’).
A tiny Christmas tree ready for your dollhouse, winter diorama, or festive miniature shelf.

Here’s the finished tree!
🎥 Watch this Short on YouTube
But of course, it doesn’t need to end there!
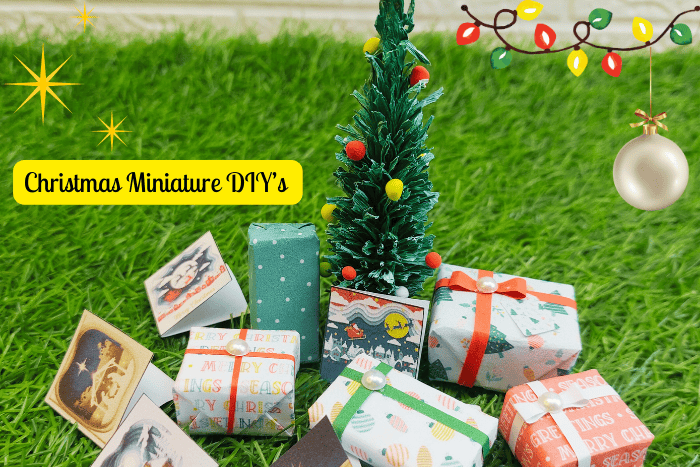
Adding some Christmas packages.
Of course, a Christmas tree looks even better with a few tiny gifts around it.
I wrapped mine using my own miniature Christmas wrapping paper, which I designed especially for dollhouse projects.
The prints are small enough to look realistic at 1:12 scale, and each sheet comes with matching tiny gift tags: perfect for scenes like this.

If you want to use the same designs, you can find them here:
https://www.etsy.com/listing/4387500333/mini-christmas-wrapping-paper-gift-tags
I simply cut small blocks of cardstock (or you can use cardboard), wrapped them like regular gifts, and added a ribbon on top. A couple of presents placed around the tree instantly make the whole scene feel more festive.
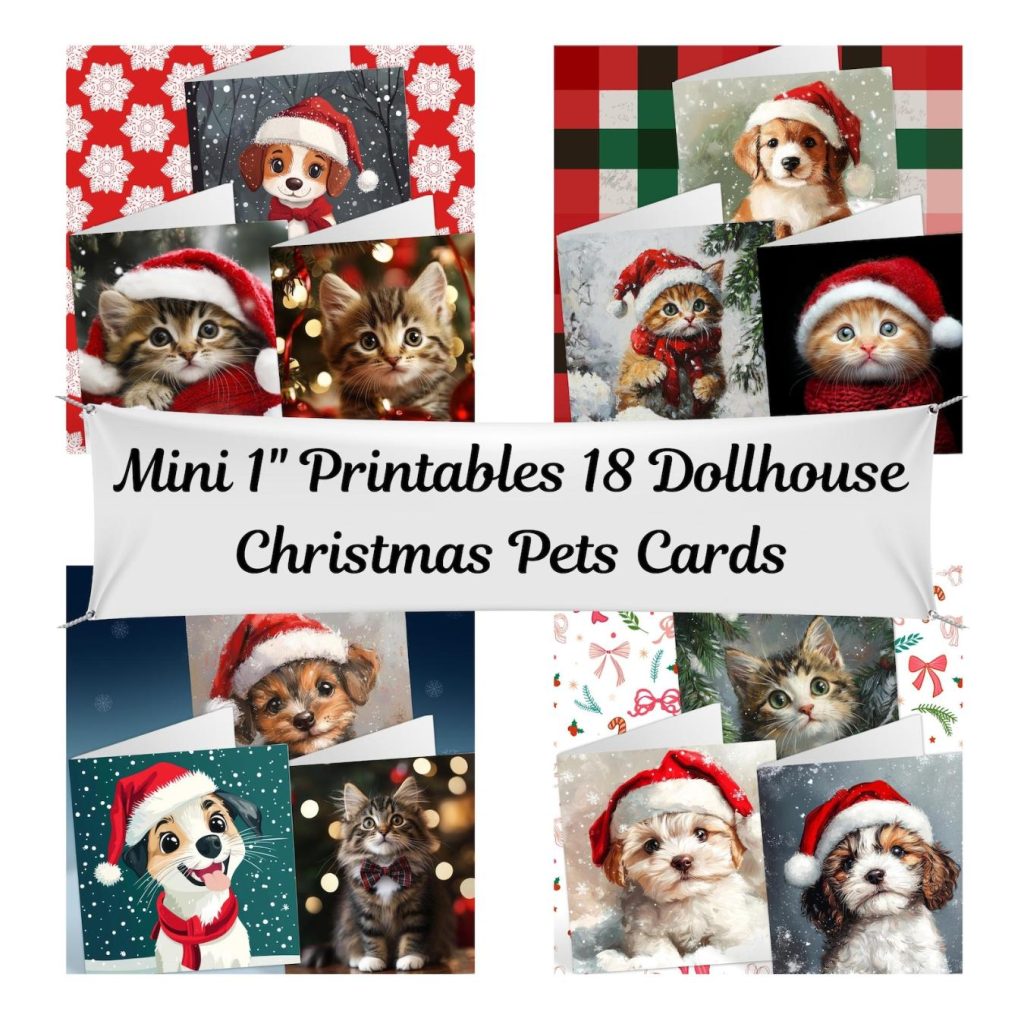
And if you finally would like to add some Christmas cards to the scene, check out my printable cards as well!
More ways to create dollhouse Christmas trees and accesories
So, this is not the only way that I have created Christmas minis and trees over the years. Let’s summarise the other projects 🙂
5 different Christmas projects
This video from my YouTube channel was a bit more popular, because it shows different projects at once.
- a Christmas wreath
- Christmas socks
- a tiny silver Christmas tree
- a Christmas lollipop
- How to make an actual Christmas package
Another Christmas tree with green crepe paper
For this tutorial, this time not step-by-step pictures, but with a video where you can slowly follow the process, you only need: cardstock paper for the cone, crepe paper again like before, and quick-drying glue!
As you can see, I didn’t have many views for these types of videos, which is why I decided to ask my community in my newsletter which method they preferred. Hence why I now usually do blog posts like this one, with pictures.
(which was surprising to hear, but here we are hahaha )
Just remember that I do have a lot of these videos on my channel, so subscribing to it definitely helps me still, thank you!
A popsicle Christmas tree as an alternative to a ‘real’ tree.
Just like in the real world, some people create an ‘alternative’ Christmas tree for their homes, instead of a real living tree. You can do the same for your dollhouse and create this tree from popsicle sticks, and just decorate your walls with it.
Good or bad idea?
A quick and origami mini Christmas tree!
This one will go very quickly and easily; you can’t have it easier than this one hahaha. You could also create a number of these, and just hang them in your real-size Christmas tree, in all kinds of colours!
That’s it for today, I won’t bother you longer with my old videos hahaha!
My Final Conclusion
I am wishing you a Merry Christmas and a happy New Crafting year, all the best to you!
Kind regards,
Lizzy

Hi everyone!
My name is Lizzy, and I am an amateur miniaturist obsessed with everything in the dollhouse and miniature world, ever since I was a teenager.
So far, I have created 2 dollhouse projects, a backyard shed and a miniature treehouse, tons of DIY dollhouse kits, and “hacked” some.
I also created a fairy garden, and lots of small and simple miniature projects on my YouTube channel. (mostly made from trash or everyday items).
I love to write as well about all things happening in the miniature world, hence the reason why I created this blog!
I wish you happy reading and crafting!
Lizzy


