

Hello, my fellow crafting-challenged friends! Let's talk again some more about homemade dollhouse furniture today!
I have written before about the topic of creating your own dollhouse furniture, but today again we will be diving a bit deeper into things.
Because with a little bit of patience, creativity, and possibly a magnifying glass, you too can become a DIY dollhouse furniture extraordinaire!
Updated 30/04/26

Where to start, designing and planning your handmade dollhouse furniture
You might wonder where to start on your journey to furniture making. Let's try to take you through the process step by step:
- 1. Think about the style you want. Do you want a modern look with sleek lines, or something more historical, like the Tudor style or Victorian style, etc?
Deciding about the latter is a bit more complicated, though, keep that in mind!
You can look for inspiration in dollhouse magazines or anywhere online.

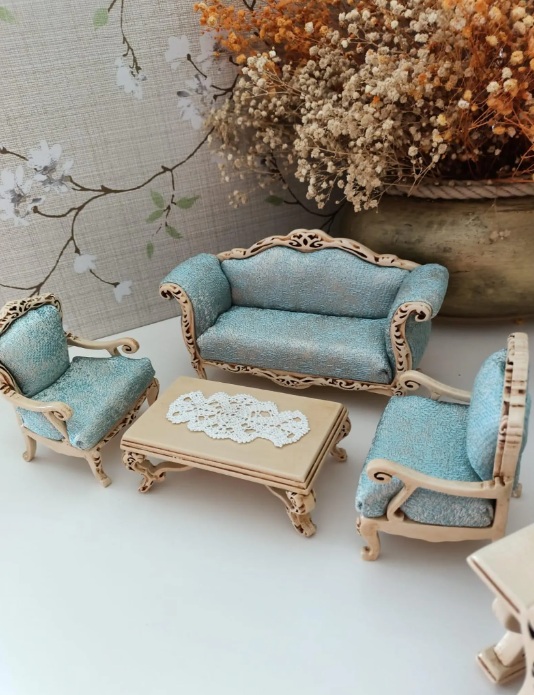
- 2. Choose the materials that you want to work with.
Now, choosing what kind of materials you want to work with is not an easy choice.
Further down this article, we will get into more detail on all the possible materials to use, like popsicle sticks, balsa wood, cardboard, polymer clay, and even matchsticks!
Decide beforehand which materials will work best for you and your budget.
Take a look at my YouTube channel below, where I create a miniature swing from matches!
- 3. Create a rough sketch.
Now that you have a general idea of the looks of your homemade dollhouse furniture, you will need to create a rough sketch of each piece, including the measurements.
This will help you determine the scale and shape of the piece and any details you would like to include.
This sketch doesn't need to be an architectural wonder, I know mine aren't haha!
