
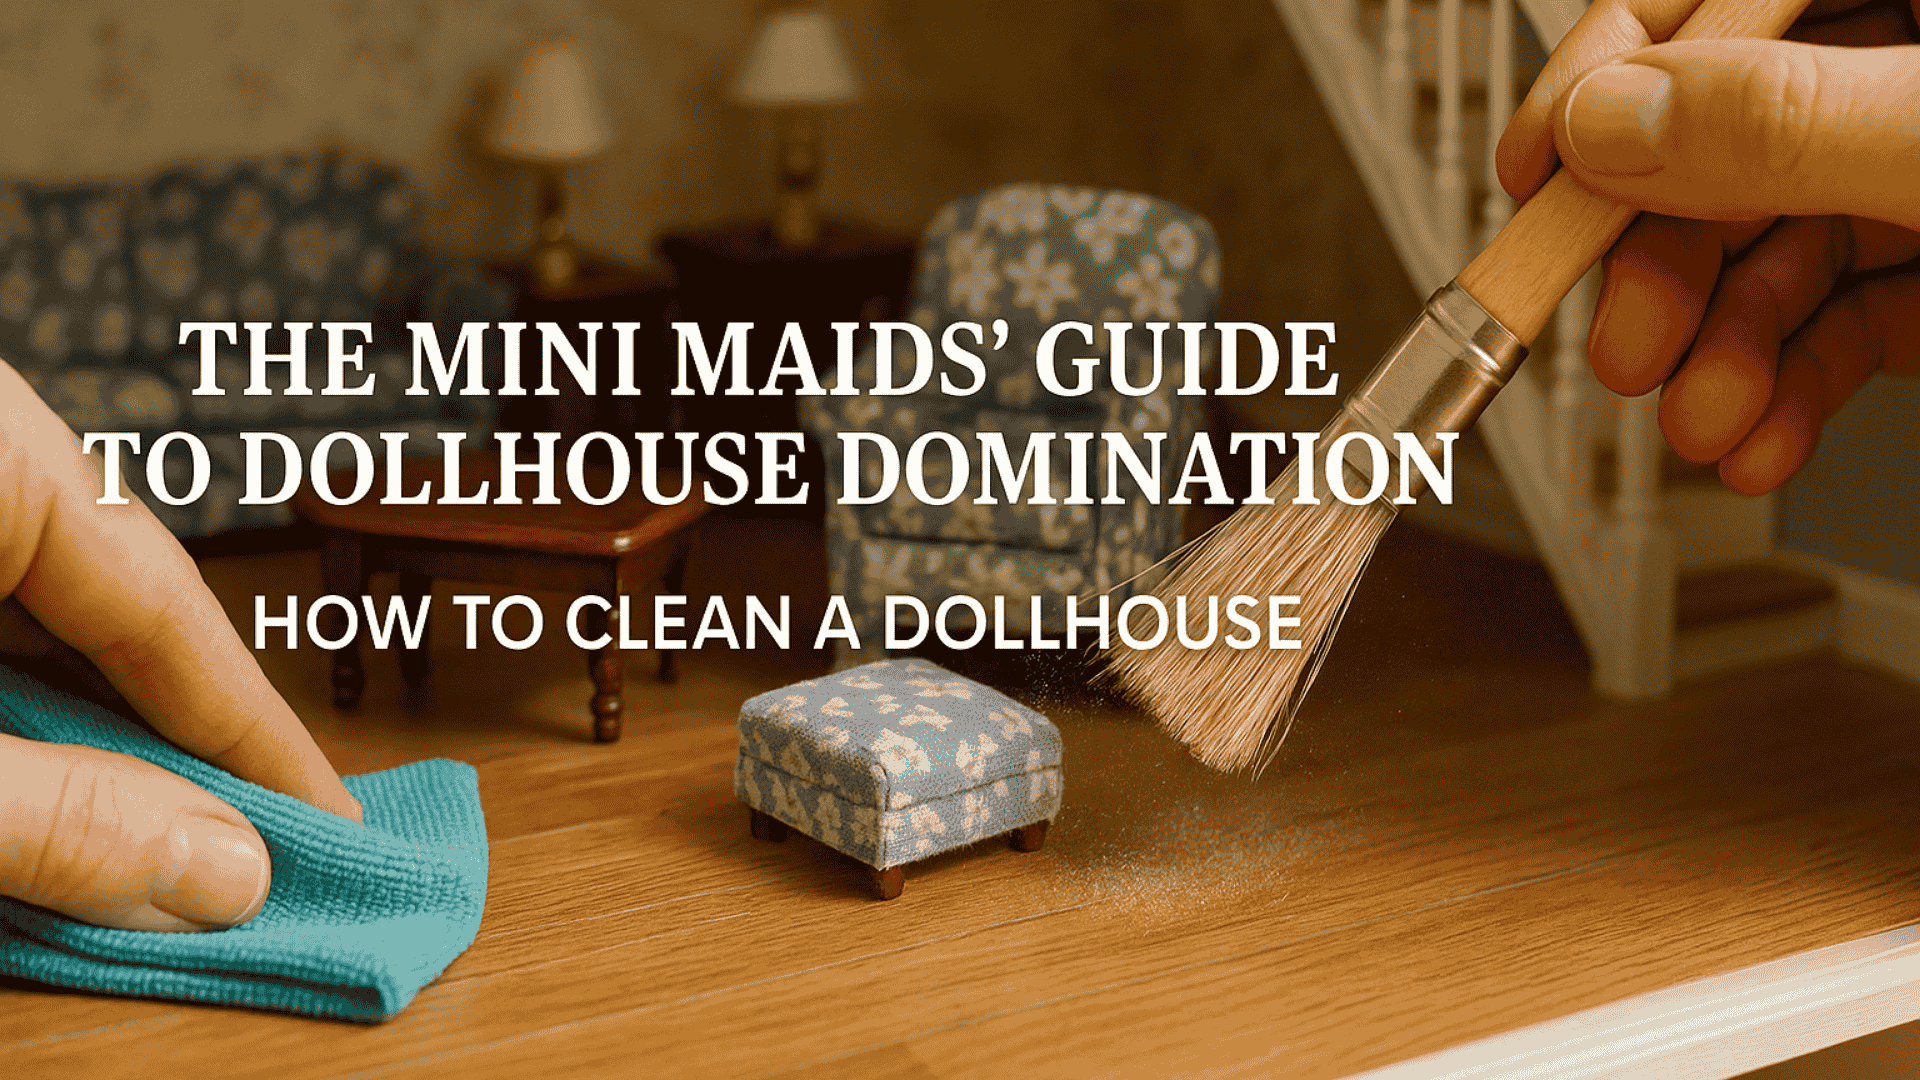
Are you ready to tackle the tiny messes that can creep into your miniature wonderland? Well, grab your little vacuum (or maybe a magnifying glass) because we're about to take you on a journey on how to clean a dollhouse and make it shine brighter than a lighthouse on a foggy night.
Let's dive straight into things!
How to clean a dollhouse: some preventive measures
To avoid having to clean your dollhouses or dollhouse kits too often, you can do some preventive stuff, like for example:

- Do some Routine Dusting:
You're working on something, but need a few minutes before you go on, have a soft and non-used paintbrush always there by your side, and gently remove some dust from the exterior of your dollhouse or touch up your ceilings, etc..
Doing this here and there once in a while, avoids you the biggest chores.
- Checking for Loose Parts:
Regularly inspect the dollhouse for any loose or broken parts, such as doors, windows, or miniature accessories. Glue or repair any damaged components to maintain the structural integrity of the dollhouse straight away and don't leave it like that for too long.
- Preventing Fading:
Over time, direct sunlight can cause colors to fade. If your dollhouse is displayed in a sunny area, consider using UV-protective window film or curtains to shield it from excessive sunlight.
- Monitoring Humidity Levels:
Fluctuations in humidity can affect the materials in your dollhouse. Use a hygrometer to monitor humidity levels and, if necessary, place a small humidity control device within the display area to maintain stable conditions.
- Addressing Stains and Spills:
Accidental spills or stains need to be addressed promptly with miniature-sized cleaning tools, such as tiny brushes, sponges, and mild soap. Be gentle to avoid damaging the miniatures.
- Rotating Miniatures:
If your dollhouse features movable miniatures or scenes, consider changing the arrangements periodically to prevent excessive wear and tear on specific areas.
- Documentation and Inventory:
If you have a very expensive dollhouse, a large collection, or a vintage piece to take care of; a detailed inventory (including pictures) of your dollhouse miniatures and accessories is an absolute necessity. This can help you keep track of items and ensure that nothing goes missing.
- A small and finished miniature kit can be kept behind glass in a display case behind glass, or why not just store in it your bookcase, but cover it with a thin, see-through plastic sheet, attached to the bookcase with velcro if you don't want to use glass?
In this case, no dust can come through in the first place.

By incorporating these regular maintenance practices into your dollhouse care routine, you can keep your miniature masterpiece in top condition and enjoy it for years to come.
How to clean a dollhouse: explanation for the different scales and materials.
We are splitting up the different scales for dollhouses and miniatures and how to clean them because this can have other things to consider.
1: Cleaning 1:6 and 1:12 Scale Dollhouses
Cleaning 1:6 scale dollhouses and 1:12 scale can vary slightly, depending on the materials used to build them. (wooden, plastic, cardboard, etc..).
But some basics are quite the same, my way:
- Step 1: Remove dust or even cobwebs from the exterior walls and rooftops.
I don't know if this is the correct first step to take, but it is what I do myself.
If shingles are very dusty, I tend to not rub on them hard with a cloth, but rather a dry paintbrush and brush off the dust gently.
Microfiber cleaning cloths work very well as well to remove dust but tend to not reach corners that very well, so a very soft paintbrush it is.
- Step 2: Take All Furniture and accessories Out of the House and clean them.
I take out the furniture one by one and tend to clean them at the same time. Others take everything out and then clean all one by one. I don't think the one method is better than the order, it is just a matter of preference.
For wooden pieces, I dust off with a soft cloth or in combination with a soft paintbrush, for plastic pieces, you could even use wet wipes for babies or glass lens- cleaners.
If your house is very elaborate with miniature furniture and you wouldn't know anymore where everything goes after you cleaned all of it, you can take pictures beforehand, so you can visually see where everything was.
Now is the time for any cleaning of rugs, tablecloths, curtains, and fabrics attached to dollhouse furniture, like upholstery, etc.

I tend to not use soap, just plain water to get rid of the dust, but only if by doing this you don't damage the fabrics!
Cleaning upholstery can be slightly done with a light wet soft cloth, but not to wet or drown the fabric in it, it will start to deform, shrink, or even get moldy. It needs to be able to dry out easily!
- Step 3: clean the interior roof and walls.
Now, depending on the materials used, this part can get a bit tricky. If it is totally wooden or plastic, you can easily just wipe it off with a damp cloth or brush it down.
If however there is wallpaper, I wouldn't use anything wet at all, as you might wipe off pieces of the wallpaper. If getting in corners seems too hard with a cloth, or using a paintbrush takes too long, you could try using a very soft toothbrush to brush off the walls, so you can reach those corners more easily.
- step 4: Remove any hard to dust lighting
If removing the dust from miniature lights like chandeliers, is hard to do like that, because it moves too much, for example, it is time to remove it, if you still can, and clean it with a paintbrush step by step.
Now is the time to also dust off any other hard-to-reach spots in the dollhouse.
- Step 5: Clean the floors.
If you would have cleaned the floors first, and only the the ceilings, any dust or debris might get back on the floors, so keep those latter for the last step, this includes any staircases in the dollhouse.
- 6. Place everything back in the dollhouse!
Here's the fun part, just put everything back and who knows, you might find out that the way you place your furniture and decorations back, looks much better than before!