So, I had this idea stuck in my head the other day: could I actually make a miniature umbrella from household scraps? Spoiler: yes, you can, and it’s way easier (and cuter) than you’d think.
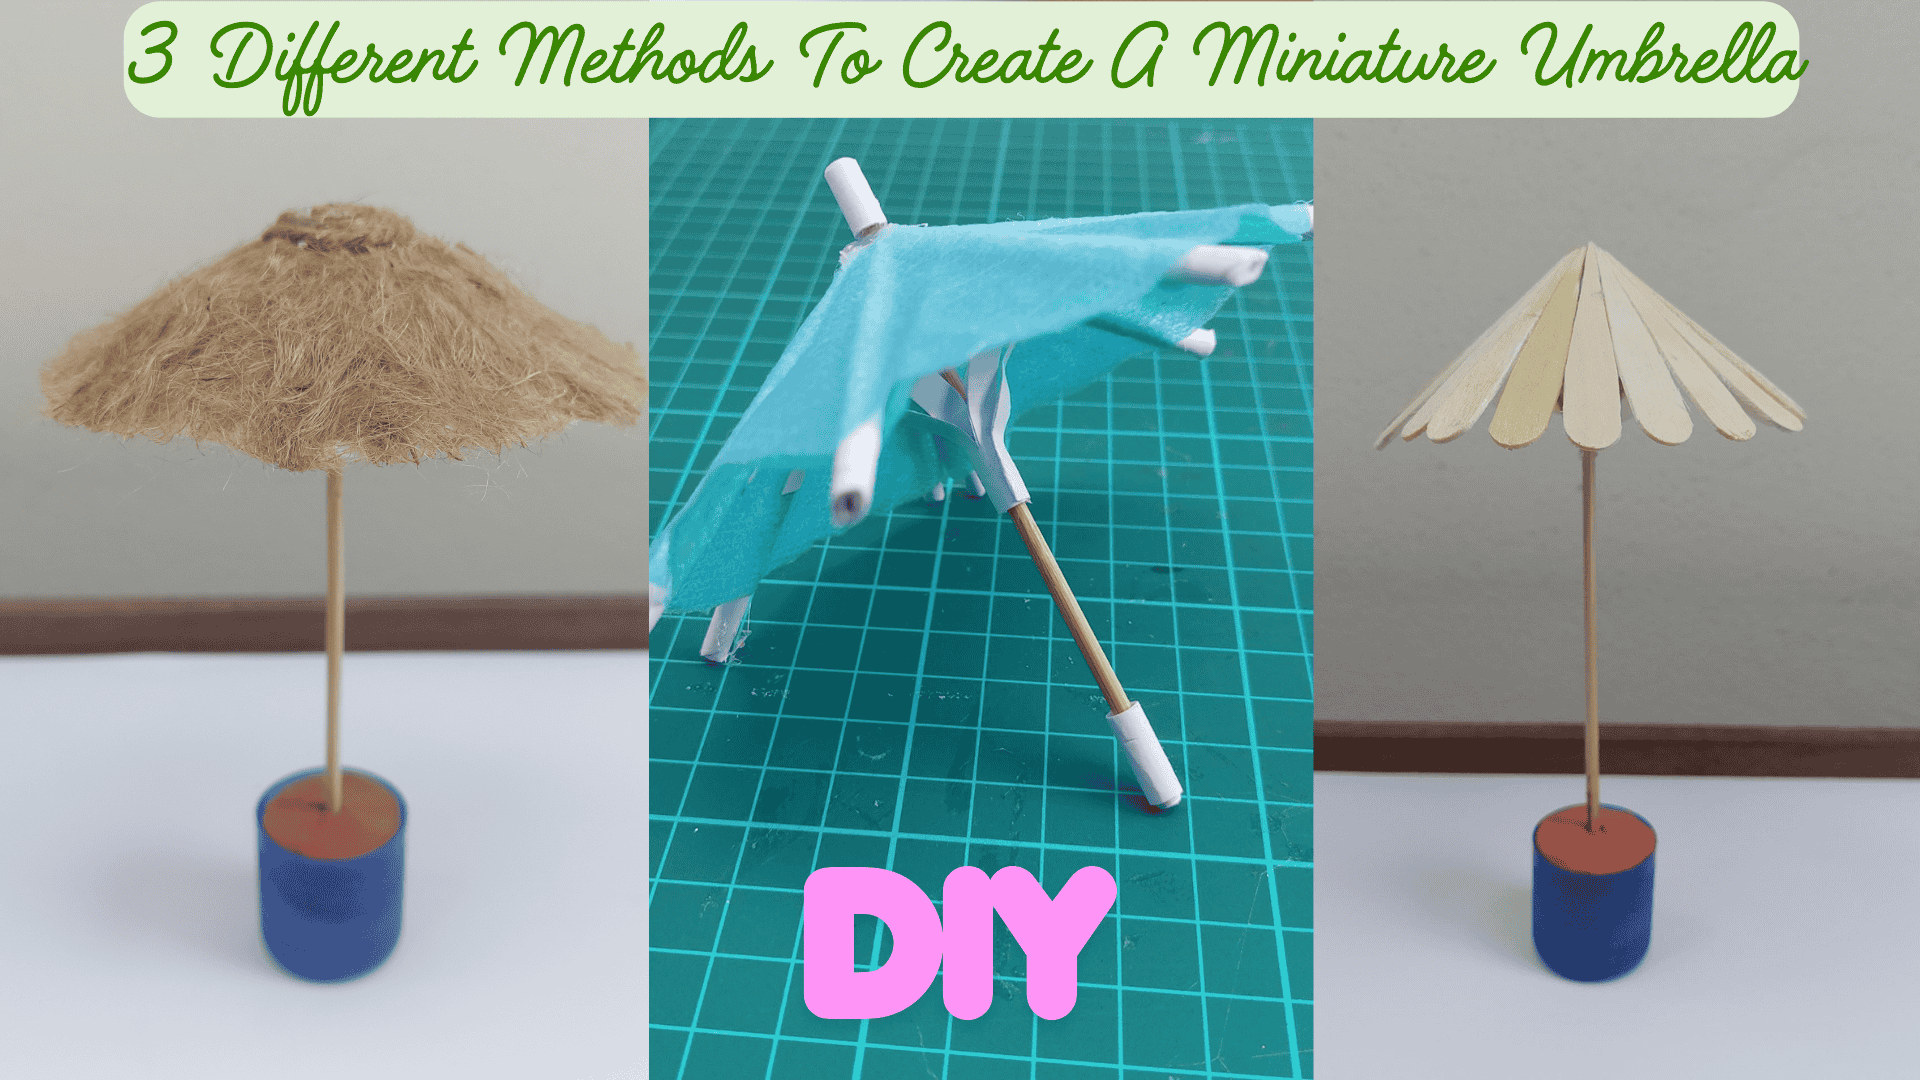
In this post, I’ll show you how to make a miniature umbrella with everyday materials, using different methods so you can pick the one you like best.
Miniature Umbrella with Popsicle Sticks
This is a fun and sturdy little project if you want your dollhouse garden, patio, or even a summer beach scene to look extra lively.
Instead of fabric, we’ll use popsicle sticks to create a solid umbrella canopy. It’s a bit different than the usual paper parasols and works beautifully as an outdoor piece of dollhouse furniture.

Materials You’ll Need:
- Pencil and ruler
- Popsicle sticks
- A small piece of cardstock (for the base circle)
- A wooden skewer (umbrella pole)
- Glue (wood glue or Grab-fast tacky glue)
- Scissors or a craft knife
Step-by-Step Instructions
- Shape the canopy pieces
Take a popsicle stick and sketch out a long teardrop shape. Cut it out carefully, then use it as a template to trace and cut more pieces. You’ll need around 12–15 of them to form a full canopy.

- Prepare the circle base
Cut a circle from cardstock, then snip out a small wedge to help fold it into a shallow cone. This will give your umbrella a slight curve.
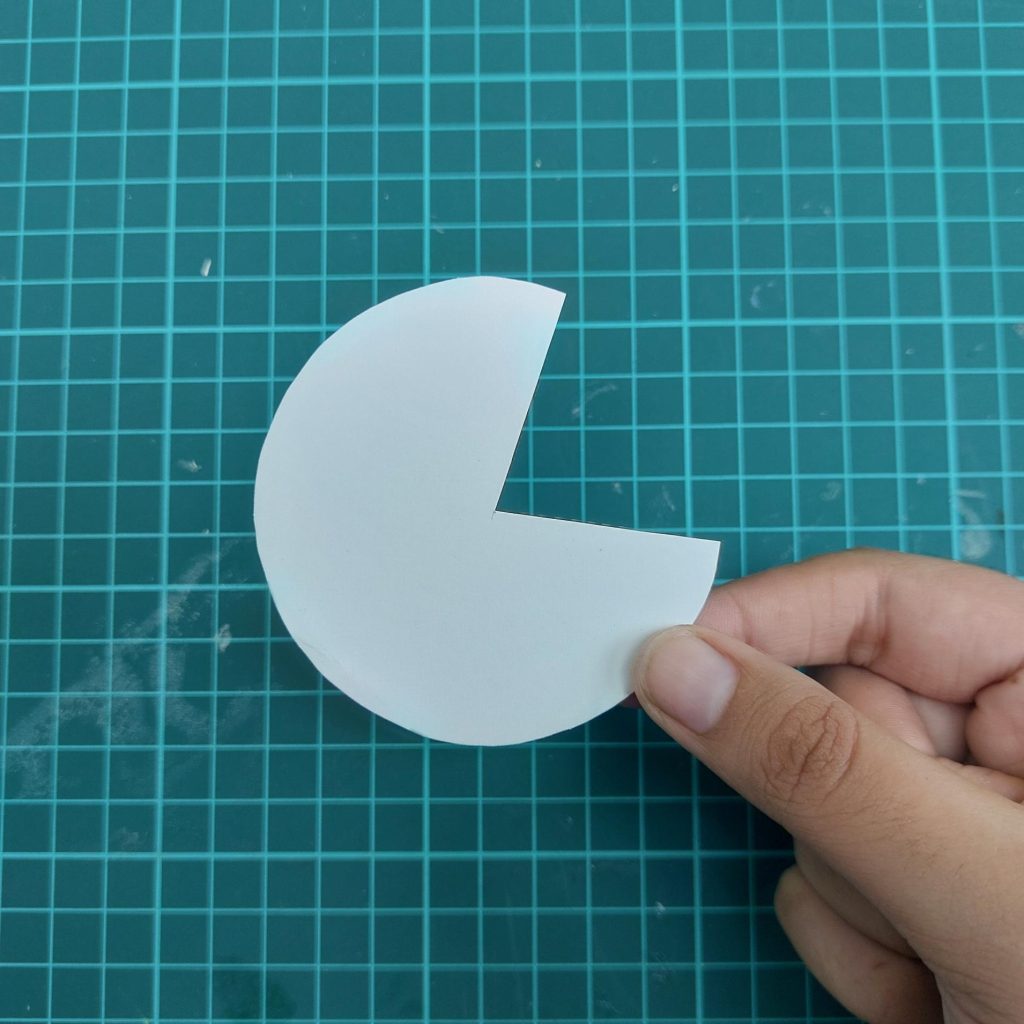
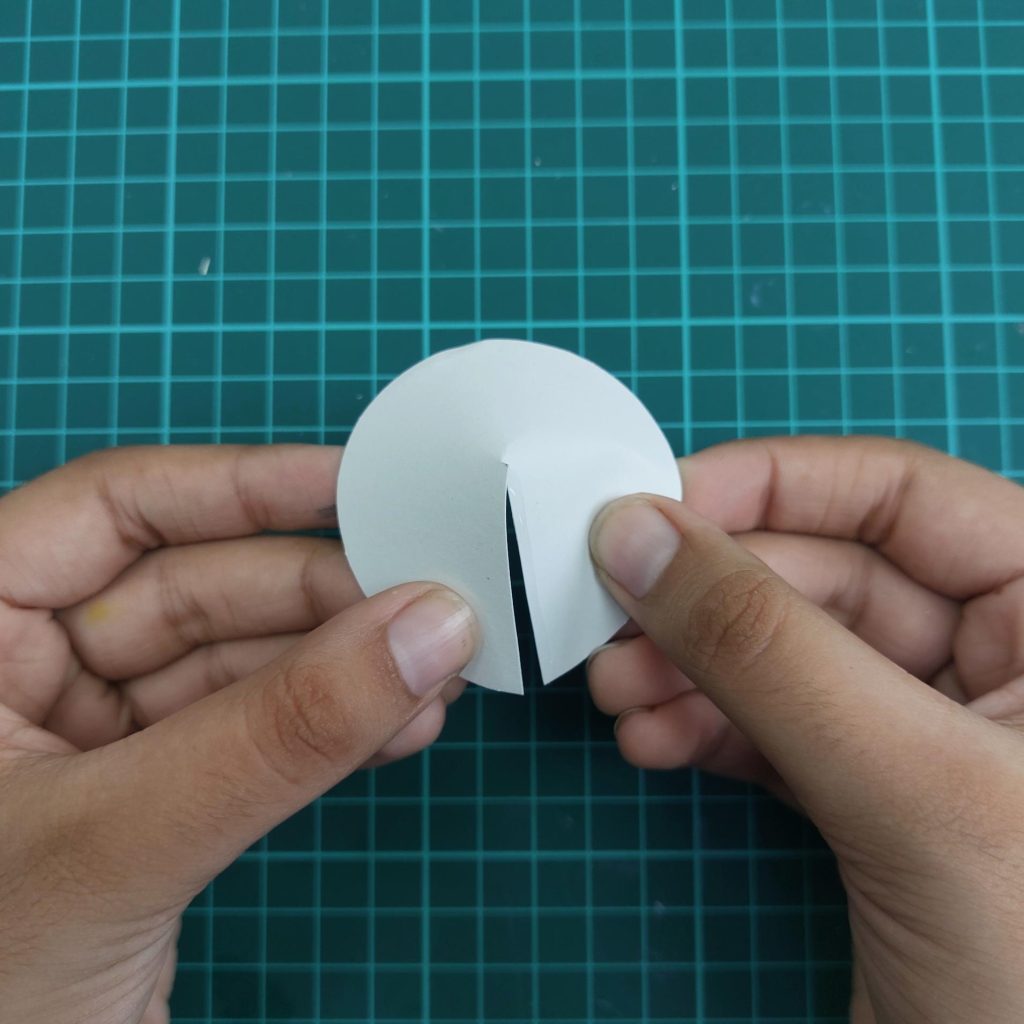
Fold the circle slightly and glue it in place so it forms a shallow cone. This is what the popsicle stick panels will attach to.
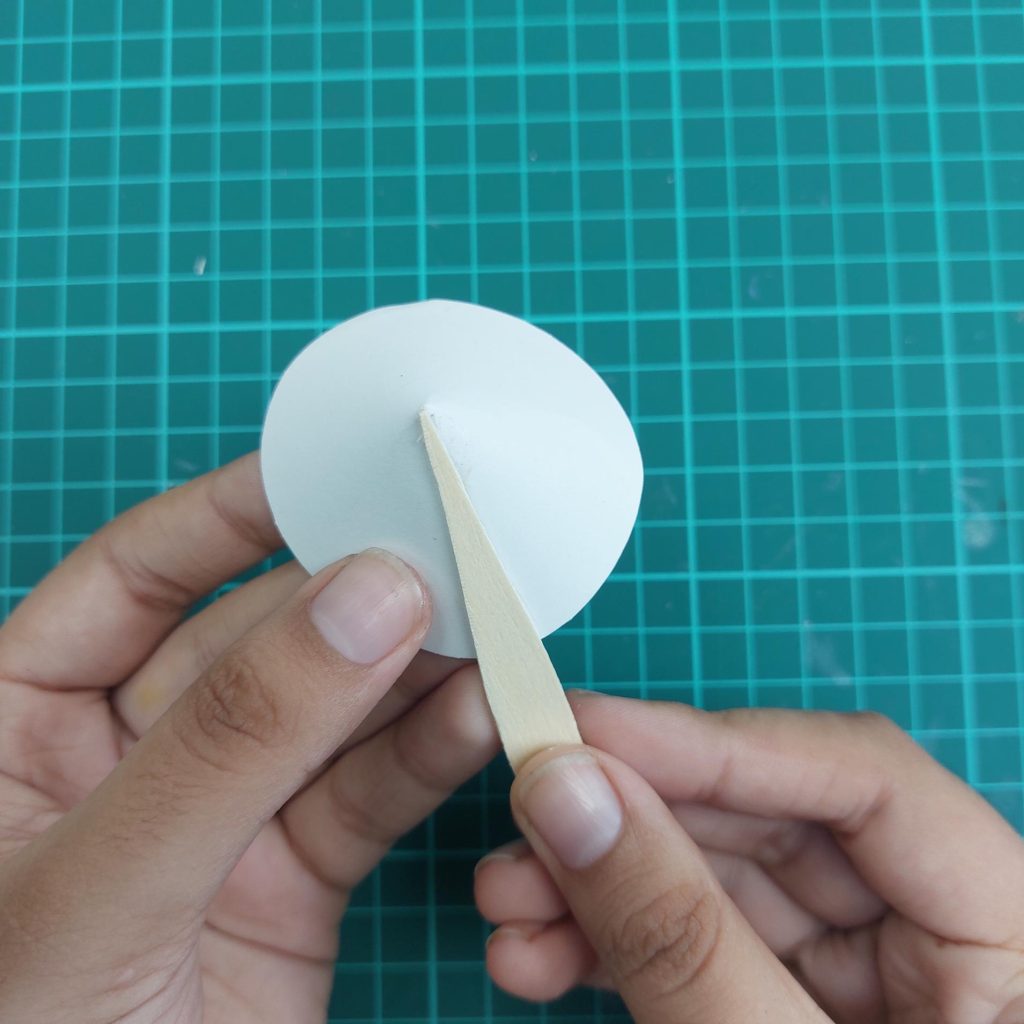
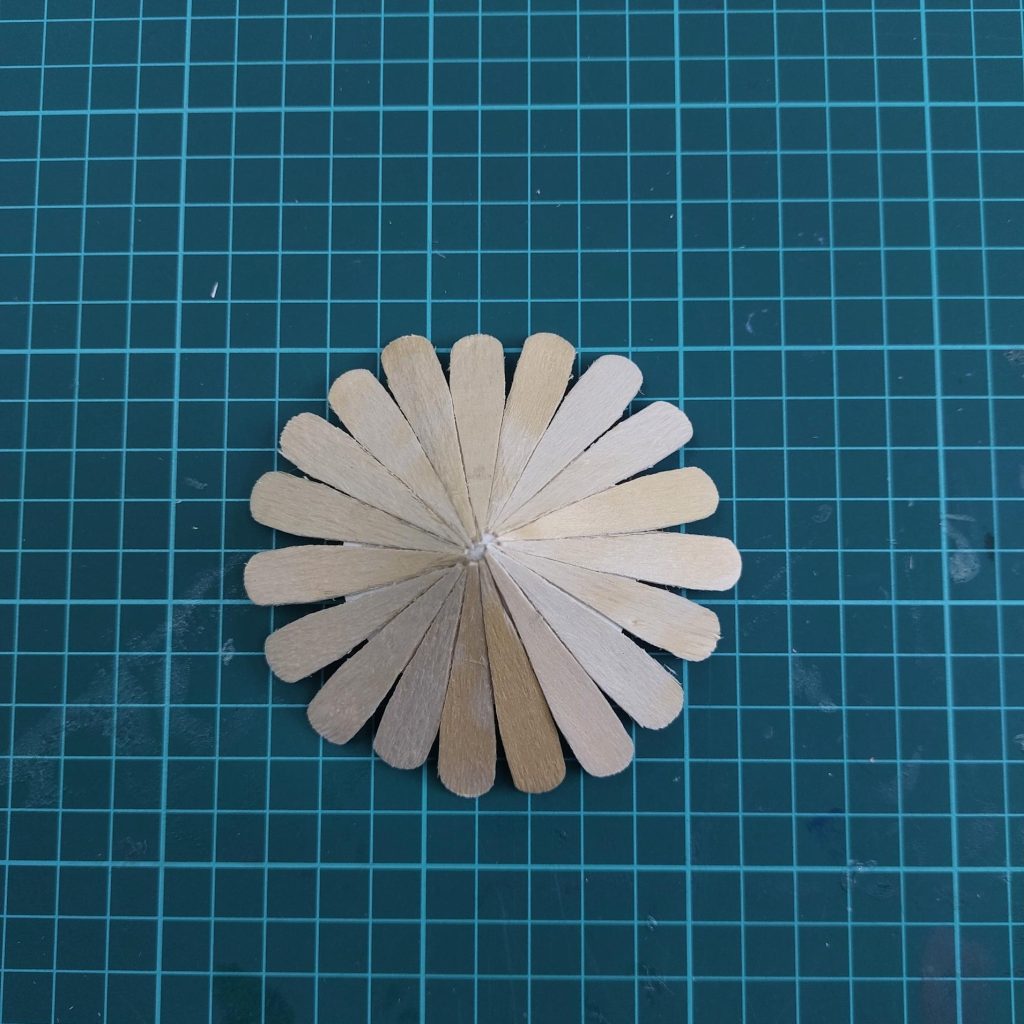
- Attach the canopy panels
Start gluing the popsicle stick pieces around the circle base. Overlap them slightly to cover the entire edge. Keep going until you’ve formed a complete umbrella top.
- Add the umbrella pole
Flip the umbrella over and glue a wooden skewer into the center underside. Let it dry before moving on.

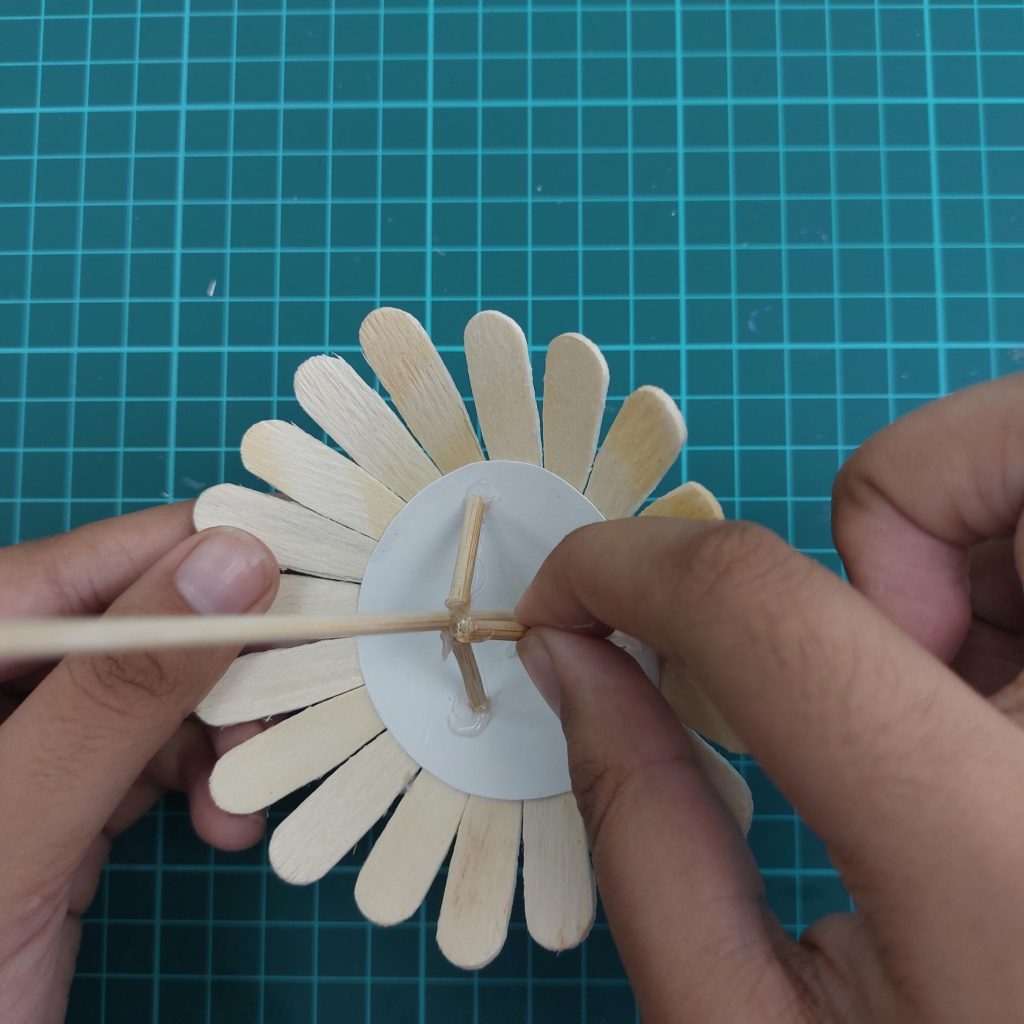
- Reinforce with crossbars
To make it sturdier, add a couple of small sticks or skewers across the underside as support. This will keep the pole in place and stop the umbrella from wobbling.
- Final look
Once the glue has dried, your popsicle-stick umbrella is ready! You can leave it natural for a rustic look or paint it to match your dollhouse furniture.

Throwback time: I had already created a similar umbrella in one of my Youtube video’s!
DIY Miniature Umbrella from Paper Rolls and Scrap Fabric
I’ve made quite a few miniature umbrellas, but this one might be my favorite: it’s lightweight, made mostly from paper scraps, and actually looks like a real little sun umbrella! If you’ve got some paper, skewers, and even an old face mask (yes, really!), you’re all set.
Materials You’ll Need
- A bit of cardstock or thicker paper
- White paper (to roll into sticks)
- A skewer or toothpick (for the umbrella pole)
- Scrap fabric, mesh, or even a disposable face mask
- Scissors
- Glue (UHU or tacky glue works best)
Step-by-Step Tutorial
Step 1: Roll the paper sticks
Take white cardstock paper, cut it into strips, and roll each one tightly into a thin stick. Glue down the edge so it holds. You’ll need around 8 sticks for the umbrella ribs.
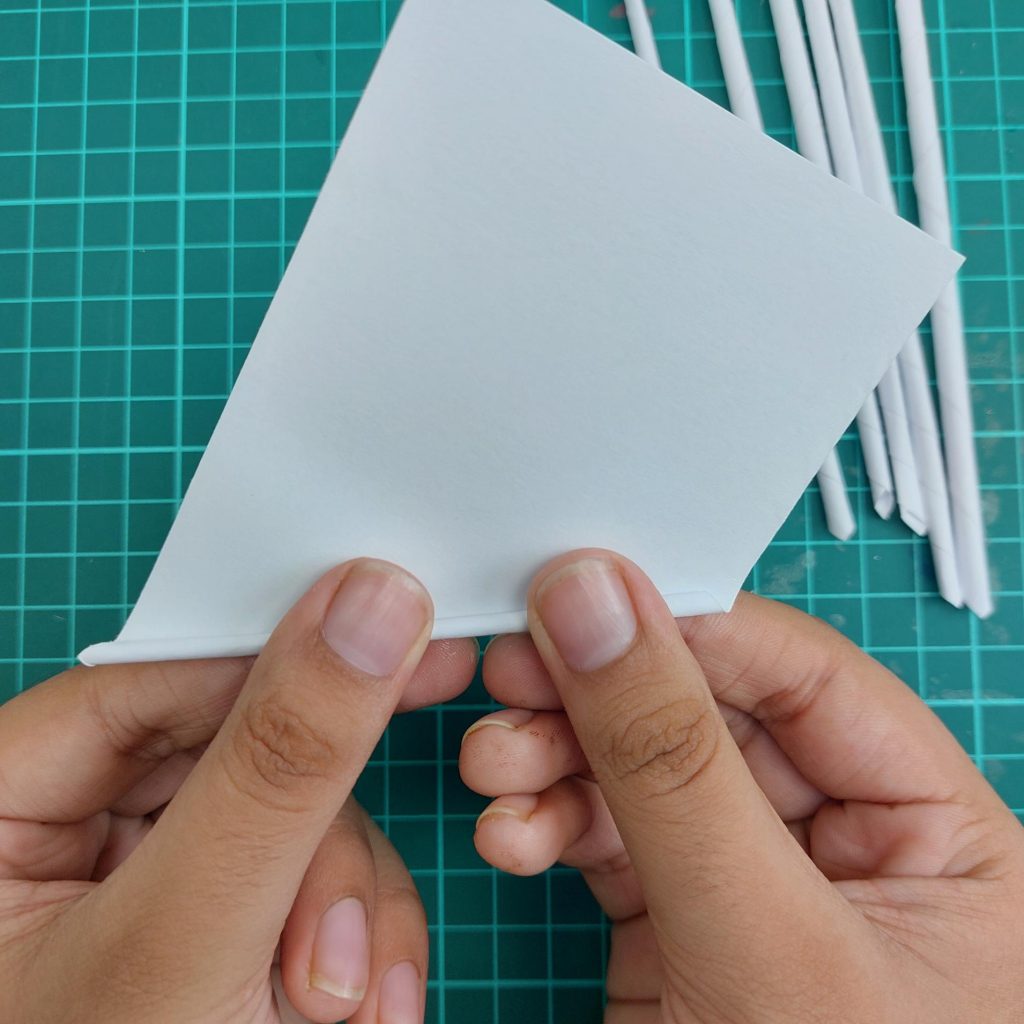

Step 2: Cut the umbrella fabric
If you’re using a disposable face mask, cut away the sides and elastic until you’re left with a flat piece. Then cut out a neat circle shape; this will be your umbrella canopy.

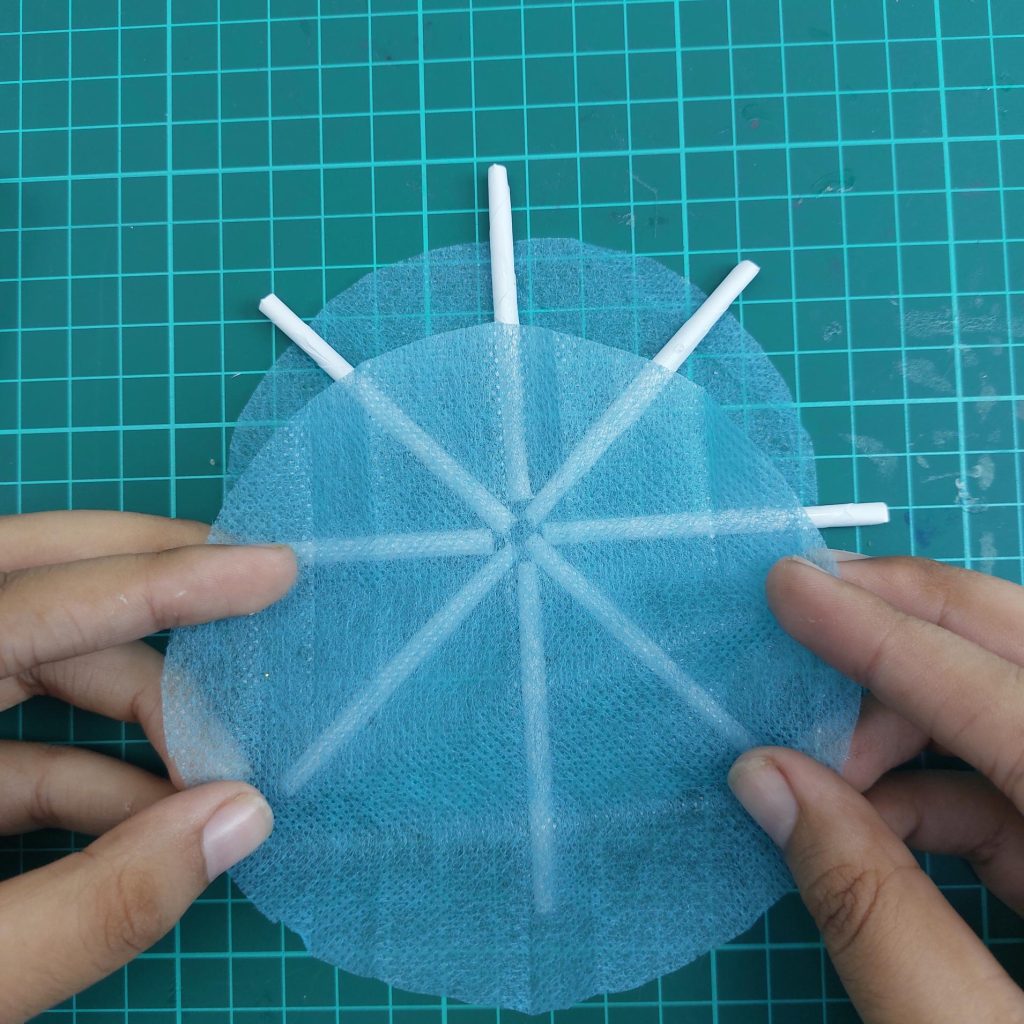
Step 3: Attach the ribs
Lay the circle flat, place the paper sticks evenly like the spokes of a wheel, and glue them down. This creates the umbrella frame.

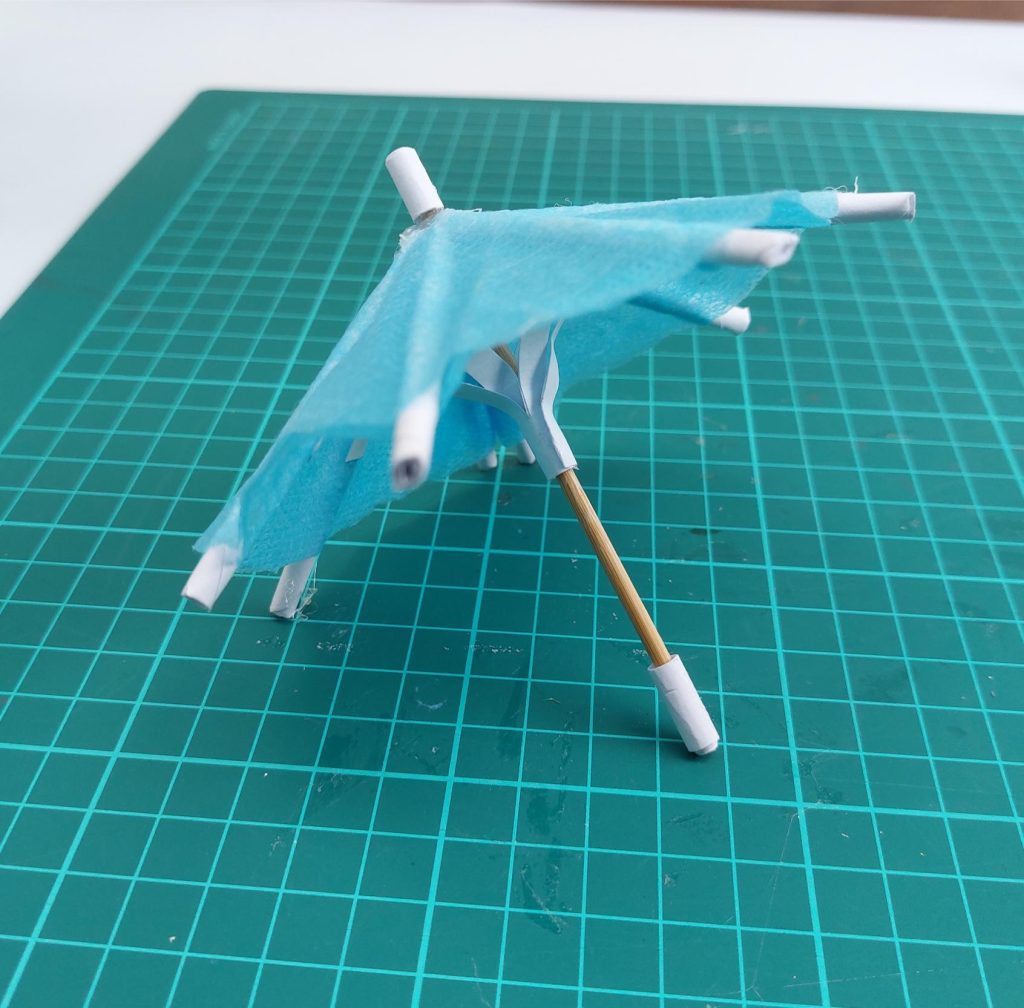
Step 4: Add a second fabric layer
Glue another fabric circle over the top so the paper sticks are sandwiched neatly inside. This gives the umbrella a smooth finish and more strength.
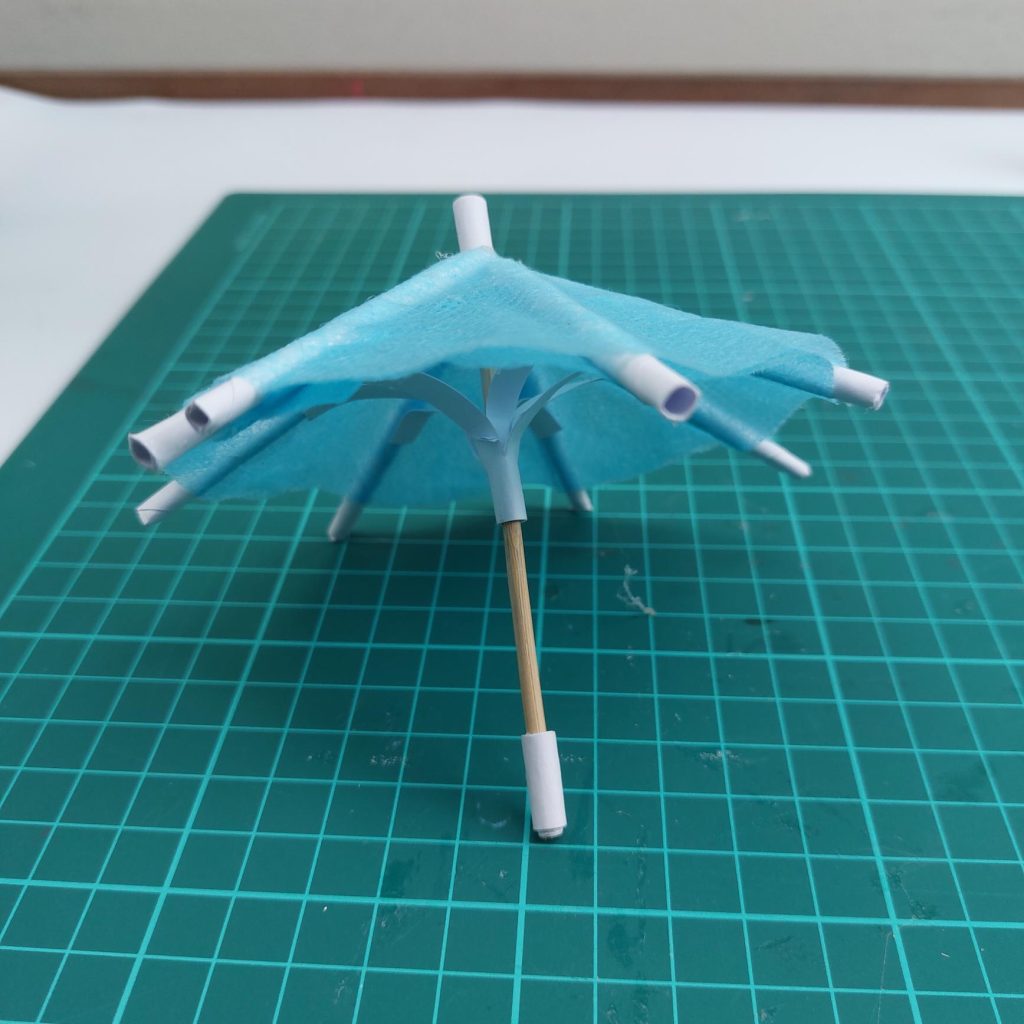
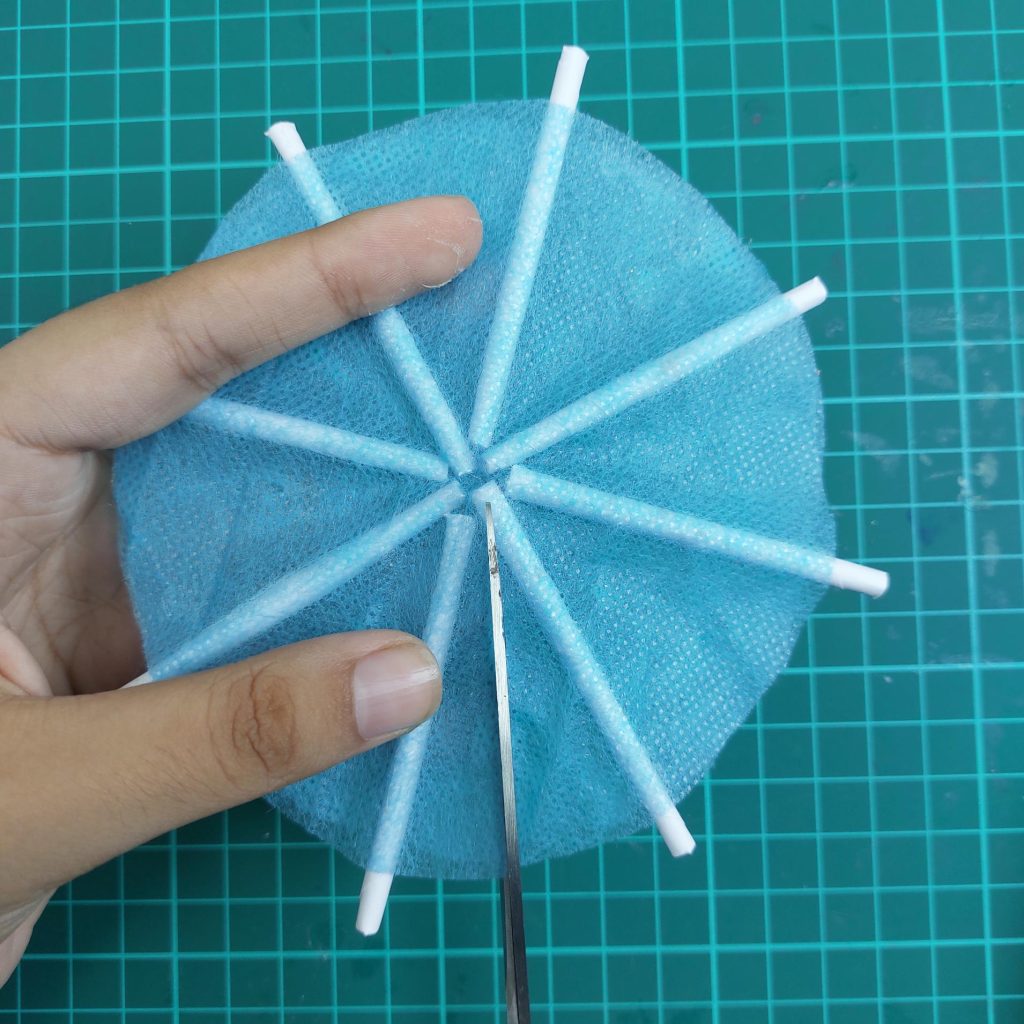
Step 5: Shape the canopy
Make small cuts between each rib near the center, then gently fold the fabric upward. This creates that classic umbrella shape.

Step 6: Add the pole
Glue a skewer into the center underside of the umbrella. You can reinforce it by wrapping a bit of paper around the joint.

Step 7: Decorate the top
Roll a tiny strip of paper into a little cylinder and glue it to the very top for a finished look.

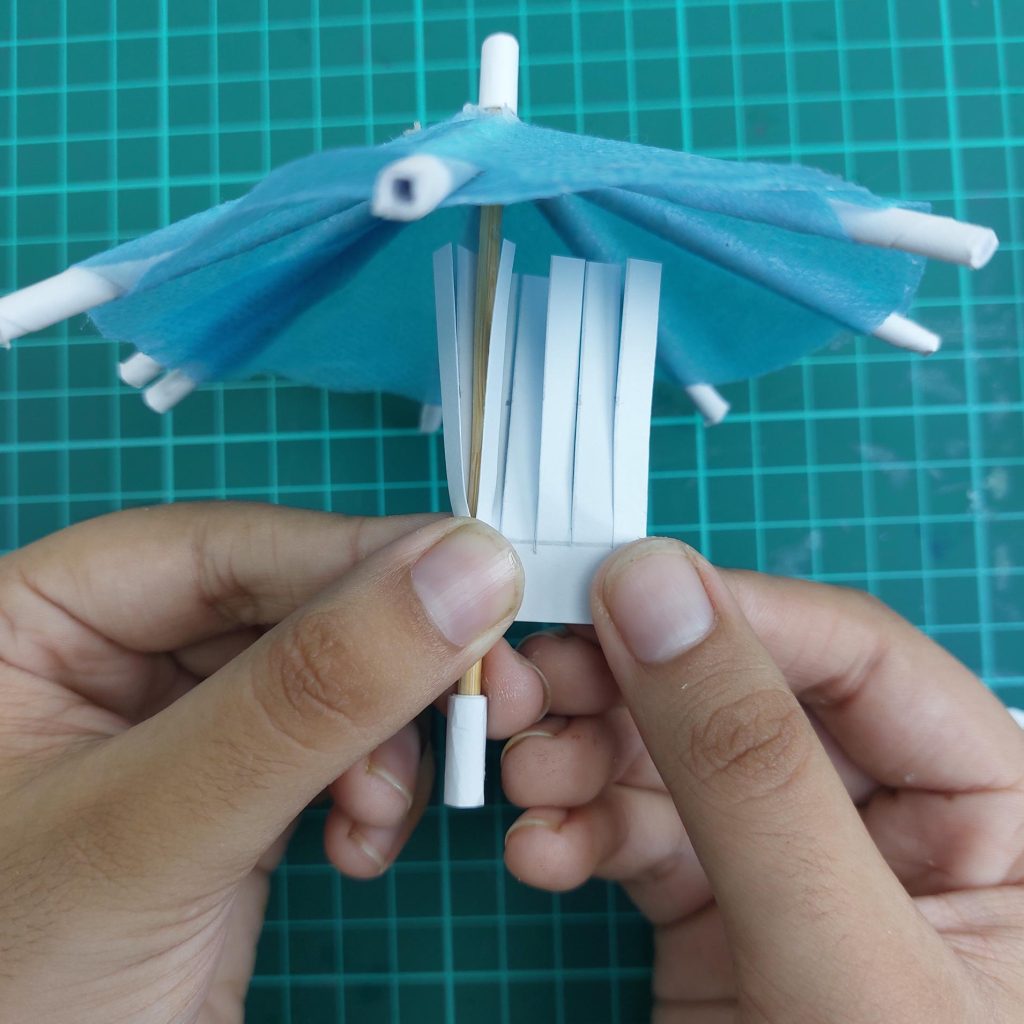
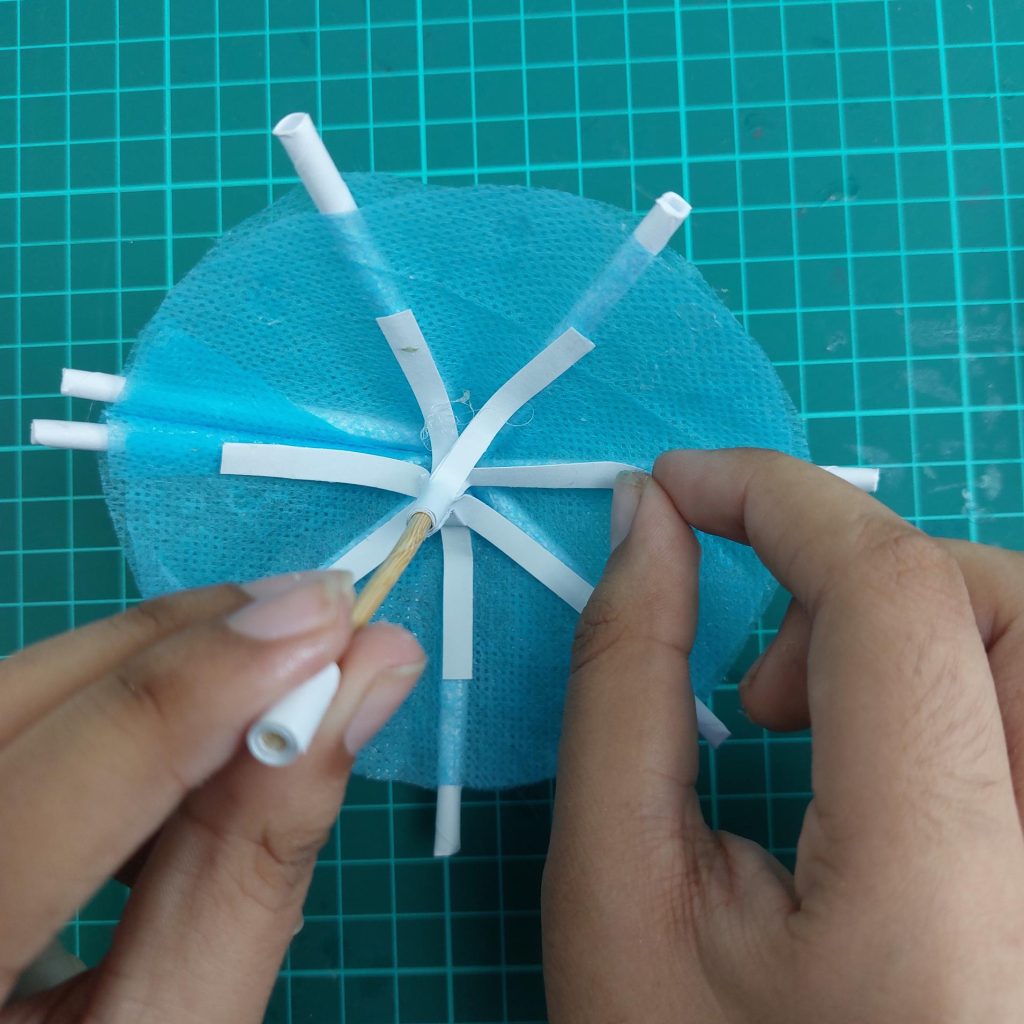
Step 8: Add details
Cut a strip of white paper into small pieces and glue it on the bottom for decoration and to have it look like a real umbrella from underneath. You can also add a bit of rolled paper around the handle and base of the skewer for extra detail.


And there it is: finished !
Up to tutorial number 3!
Miniature Umbrella Project 3: The Tiki-Style Version
Okay, let’s go tropical for this one! We’re making a cute little thatched umbrella for your dollhouse garden, patio, or beach scene. And the best part? We’re using simple jute twine to get that realistic straw-roof look. Think of it as bringing a mini summer holiday into your dollhouse!

Materials You’ll Need
- Jute twine (or any natural fiber string)
- A comb (to brush out the twine fibers)
- Cardstock or thick paper
- Pencil & scissors
- Wooden skewer (for the umbrella pole)
- Glue (UHU, tacky glue, or hot glue)
Step-by-Step Tutorial
- Step 1: Prepare the Twine
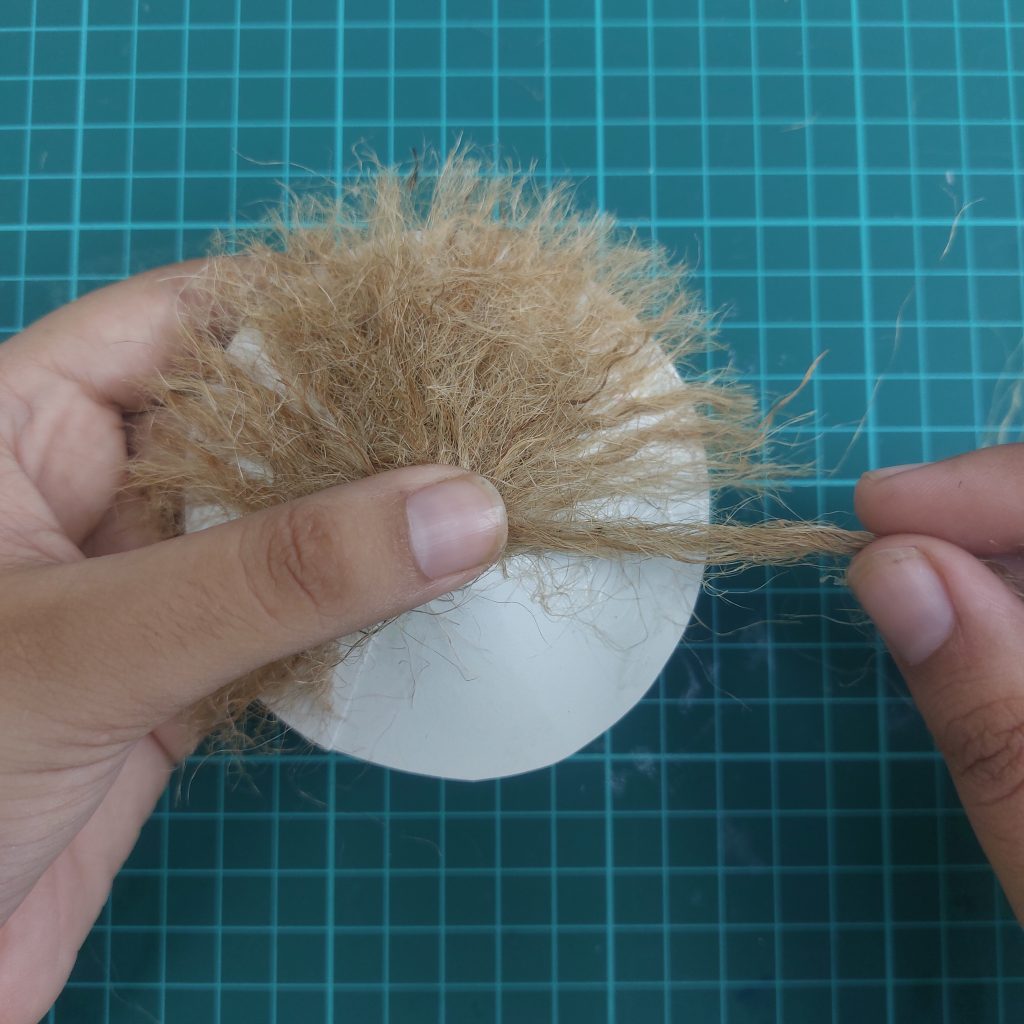
Start by brushing out the jute twine with a comb until it looks nice and fluffy. This will make it resemble straw or thatch later on.

- Step 2: Cut the Umbrella Base
Draw a circle on cardstock using something round (like a roll of tape) as your guide. Cut it out, then snip one line from the edge to the center. This will let you fold it into a shallow cone shape. Glue it in place.


- Step 3: Attach the Thatch
Now comes the fun part. Start gluing the fluffy jute fibers onto the cardboard cone, working your way around. Keep layering until the base is fully covered, just like a real thatched umbrella roof.
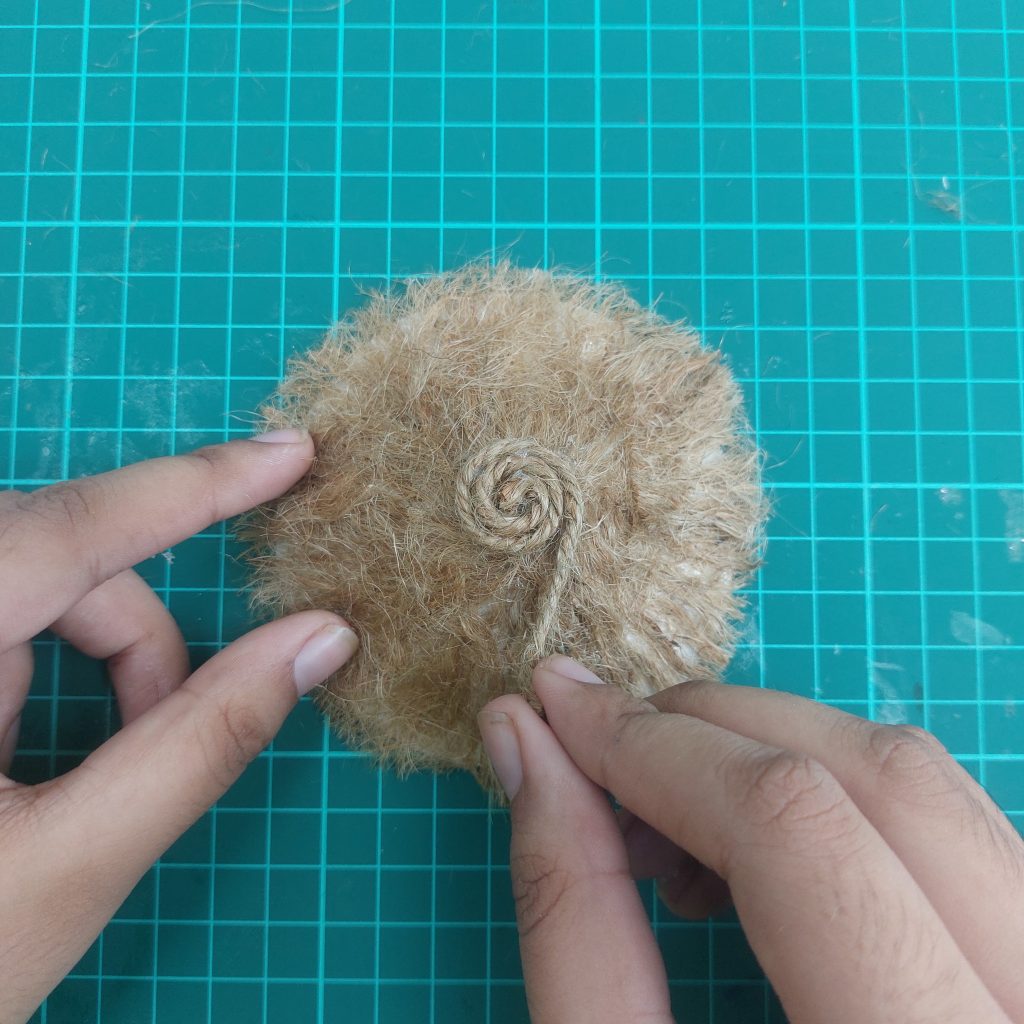
- Step 4: Finish the Top
Once the whole circle is covered, roll a small piece of twine into a spiral and glue it to the very top. This hides any messy bits and gives a neat finish.
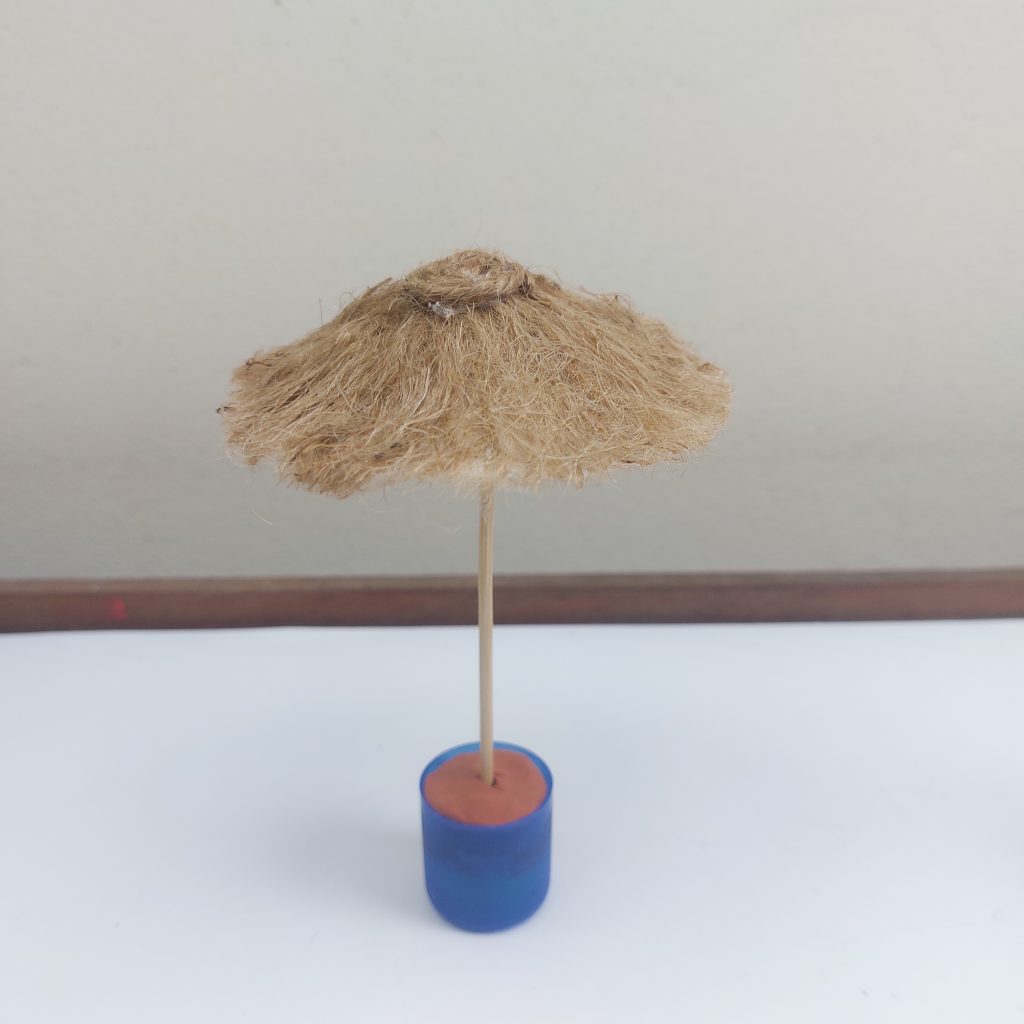
- Step 5: Add the Pole
Flip the umbrella over and poke a small hole in the center. Insert the wooden skewer, secure it with glue, and let it dry.

And that’s it! You now have a mini tiki-style umbrella, perfect for a dollhouse backyard or a beachside café scene. Pop it into a clay or bottle-cap base, and you’ve got instant summer vibes.
My Final Conclusion
And there you have it: three totally different ways to make miniature umbrellas! Whether you go with popsicle sticks for a sturdy wooden look, paper and fabric scraps for something light and playful, or the jute twine version for a tropical tiki vibe, each one brings its own charm to a dollhouse or diorama scene.
Now I’d love to hear from you: which umbrella style is your favorite, or do you have another method you’ve tried yourself? Drop a comment below this post and let’s swap ideas!
I wish you happy crafting!
Kind regards,
Lizzy

Hi everyone!
My name is Lizzy, and I am an amateur miniaturist obsessed with everything in the dollhouse and miniature world, ever since I was a teenager.
So far, I have created 2 dollhouse projects, a backyard shed and a miniature treehouse, tons of DIY dollhouse kits, and “hacked” some.
I also created a fairy garden, and lots of small and simple miniature projects on my YouTube channel. (mostly made from trash or everyday items).
I love to write as well about all things happening in the miniature world, hence the reason why I created this blog!
I wish you happy reading and crafting!
Lizzy


I can’t wait to try these. They are so cute. Thank You for sharing your little world with me.
You are welcome Kathryn and I wish you happy crafting!
Lizzy