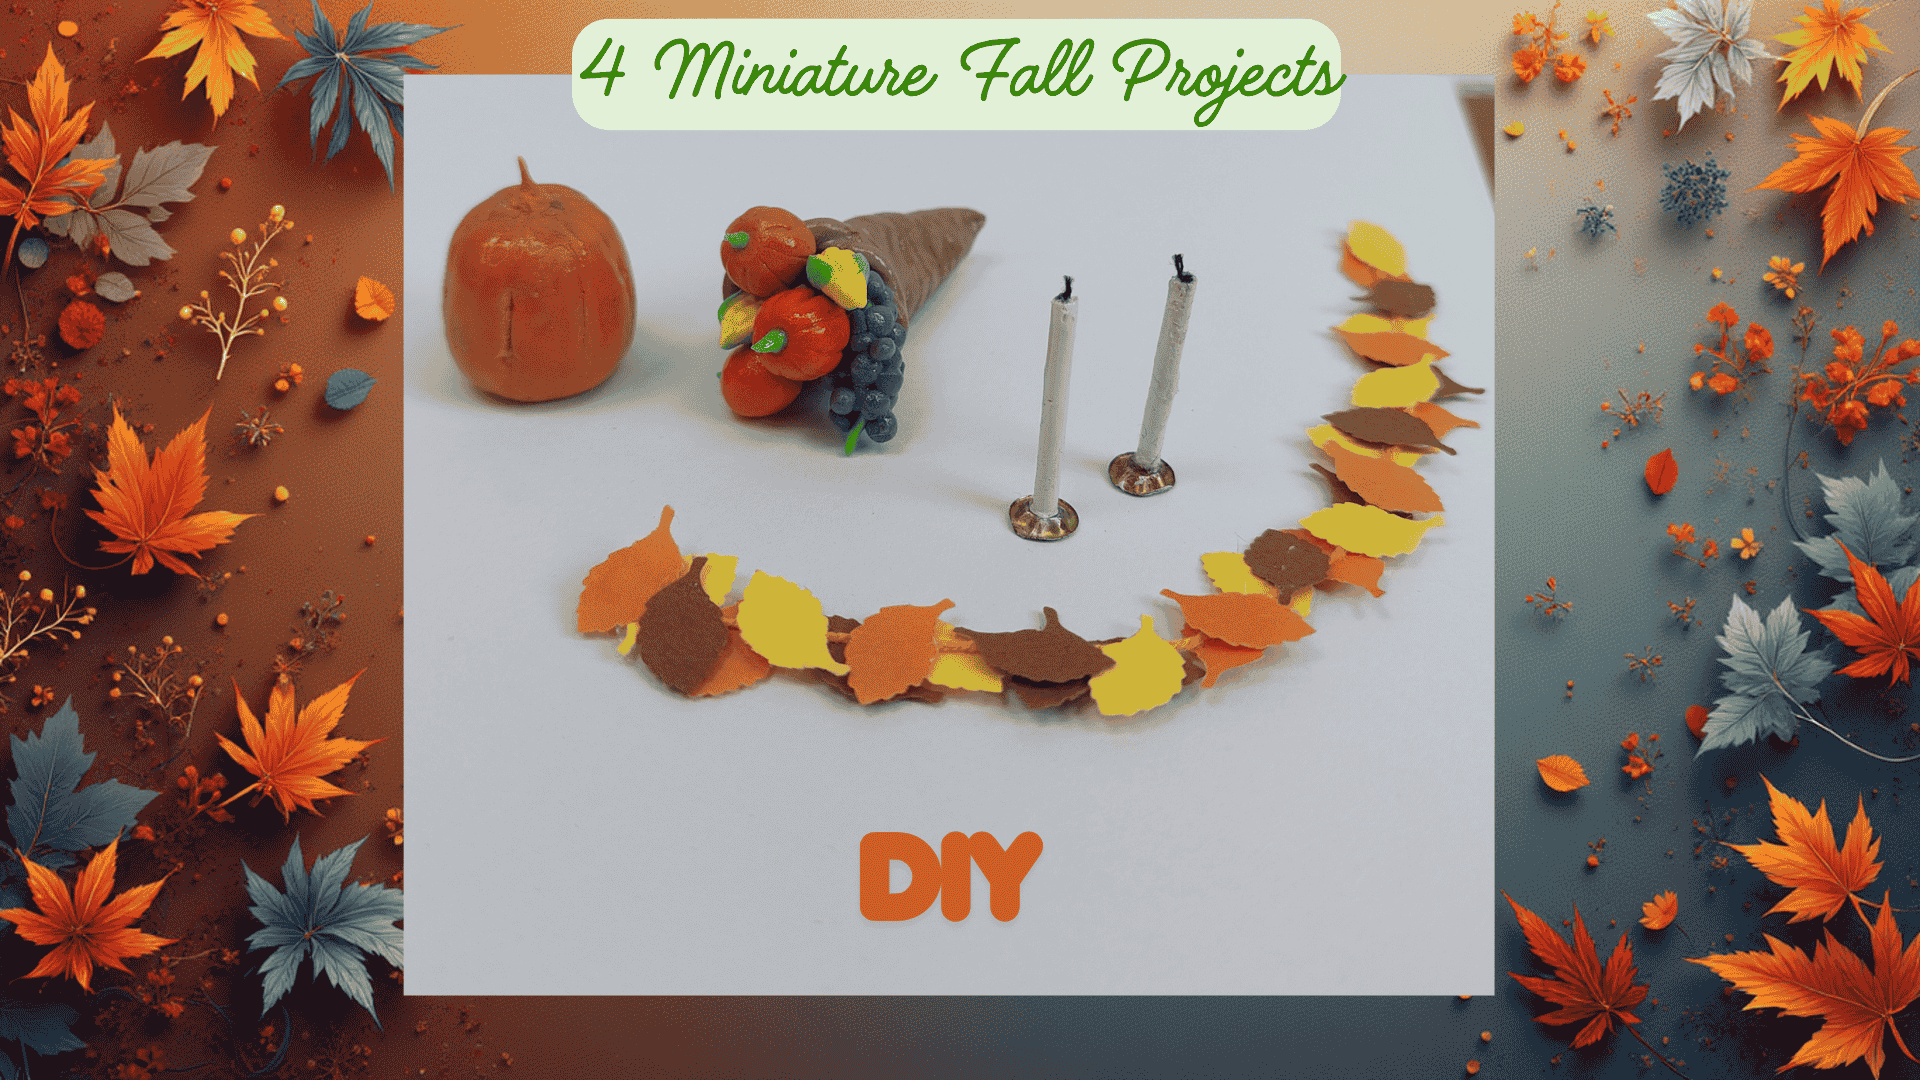
Okay, I’ll admit it: I might be a little late with this one, haha! 🍂 Winter is just around the corner, but I couldn’t resist squeezing in a few cozy fall miniature projects before the season officially changes.
There’s just something about the warm colors of autumn that instantly make any dollhouse feel more inviting.
In this post, I’ve gathered a few easy, budget-friendly miniature ideas that capture the charm of fall: from tiny paper leaf garlands to rustic accessories.
Most of them use materials you probably already have at home, so it’s the perfect weekend project list if you want to bring a touch of autumn to your dollhouse before the winter décor takes over!
As an Amazon, Etsy and Anavrin associate, I earn a small commission from your purchase, with no extra charges for you.
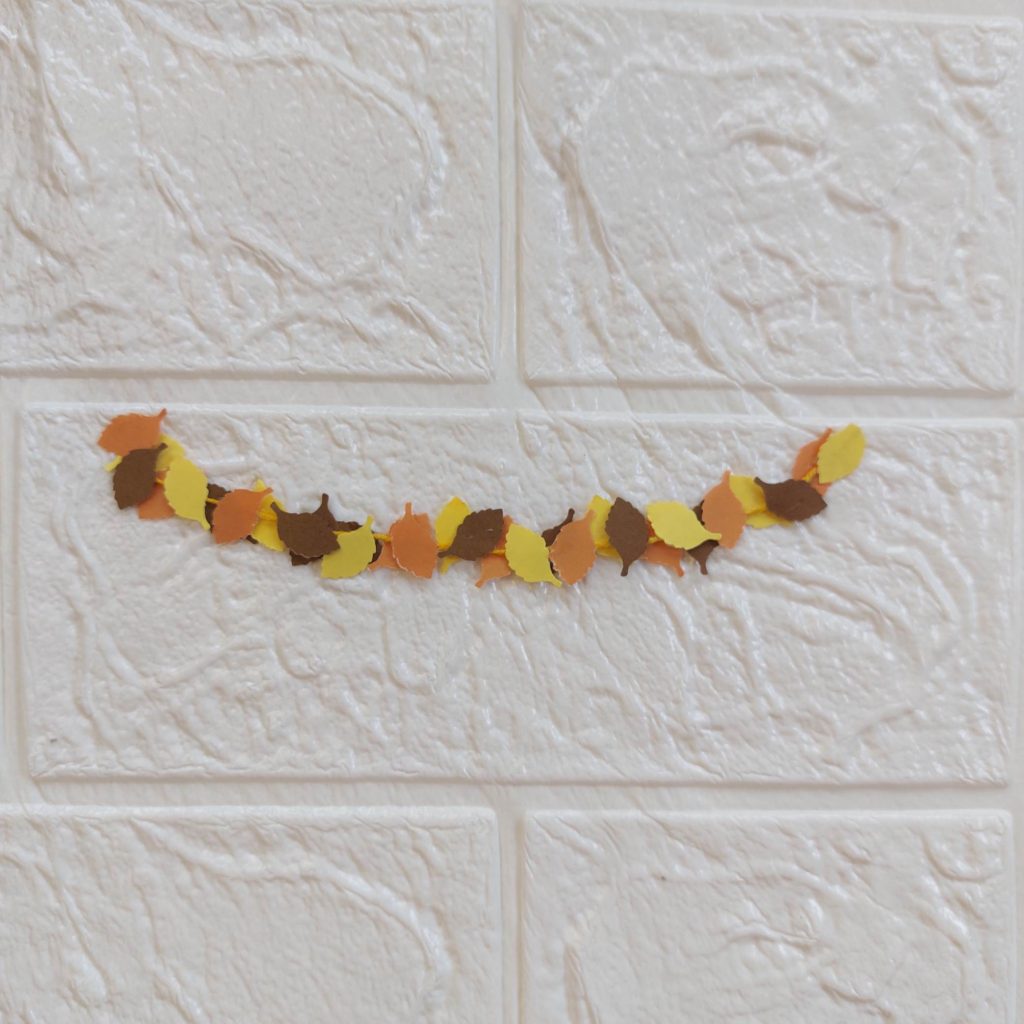
DIY Miniature Fall Leaf Garland
You only need colored paper and a leaf-shaped punch for this cozy garland. It’s an easy way to bring warm fall tones into your scenery, whether you hang the garland across a wall, over a fireplace, or above a dollhouse door.

Materials You’ll Need
- Colored paper (yellow, orange, and brown)
- Small leaf paper punch
- Thin string or thread
- Glue
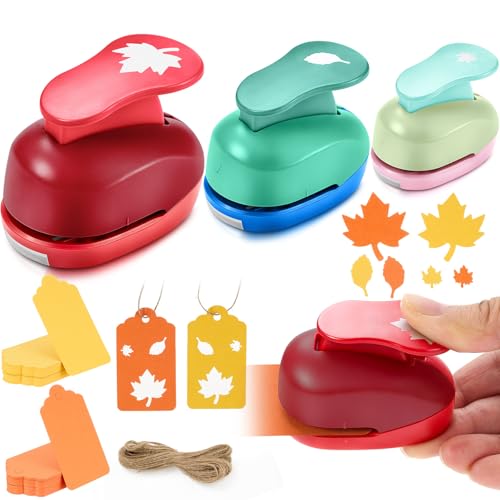
53 Pcs Maple Leaf Paper Punch Set Include 3 Pcs Leaf Hole Punch
Buy Now →Step-by-Step Tutorial
- Choose your paper colors.
Pick autumn shades such as yellow, orange, and brown for a realistic fall look.

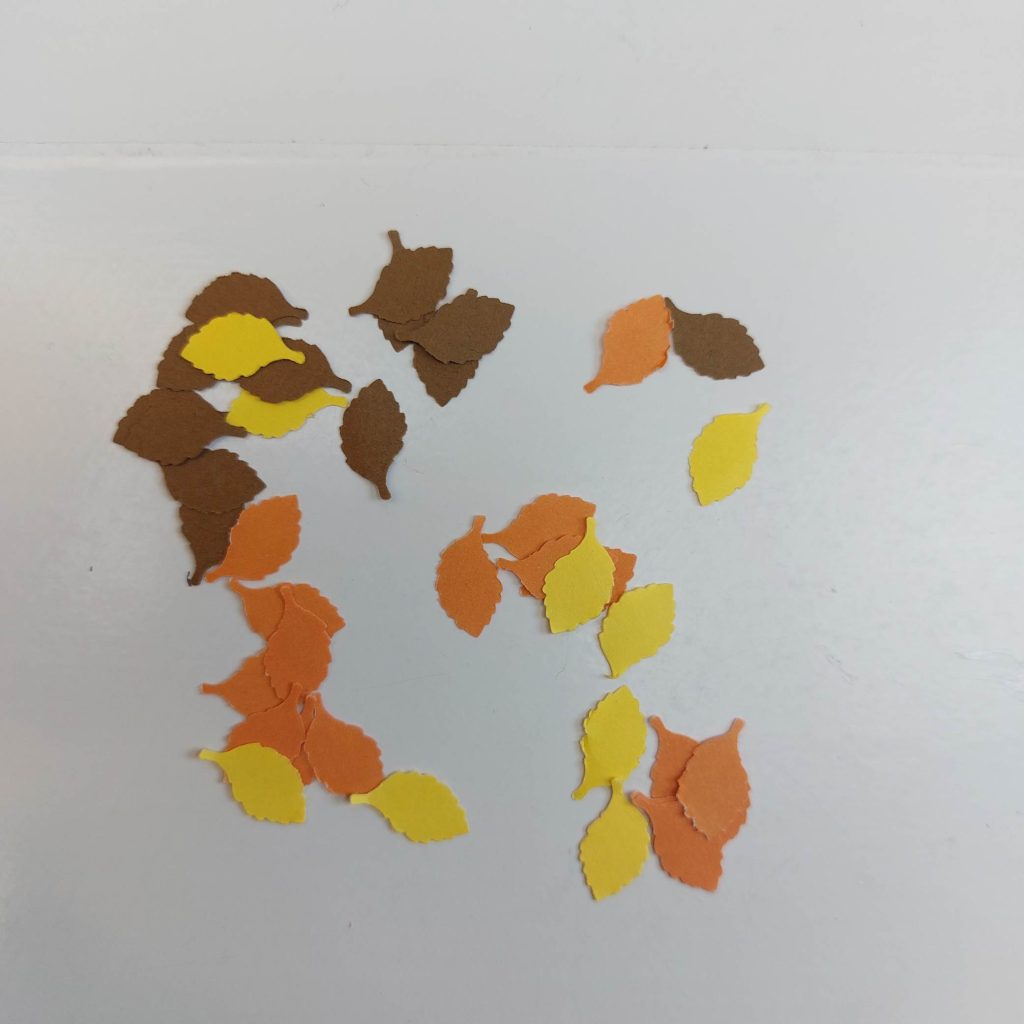
- Punch out your leaves.
Use a leaf punch to create several tiny leaves from each color. You’ll need around 20–30 leaves, depending on how long you want the garland.

- Prepare your string.
Cut a piece of thin string or thread — slightly longer than your desired garland length, since some extra space helps with gluing and hanging later.
- Start gluing the leaves.
Apply a small dot of glue along the string and attach the leaves one by one, alternating colors to make it look natural.

- Layer for fullness.
Add a second layer of leaves on top of the first row to make the garland look fuller and more textured.
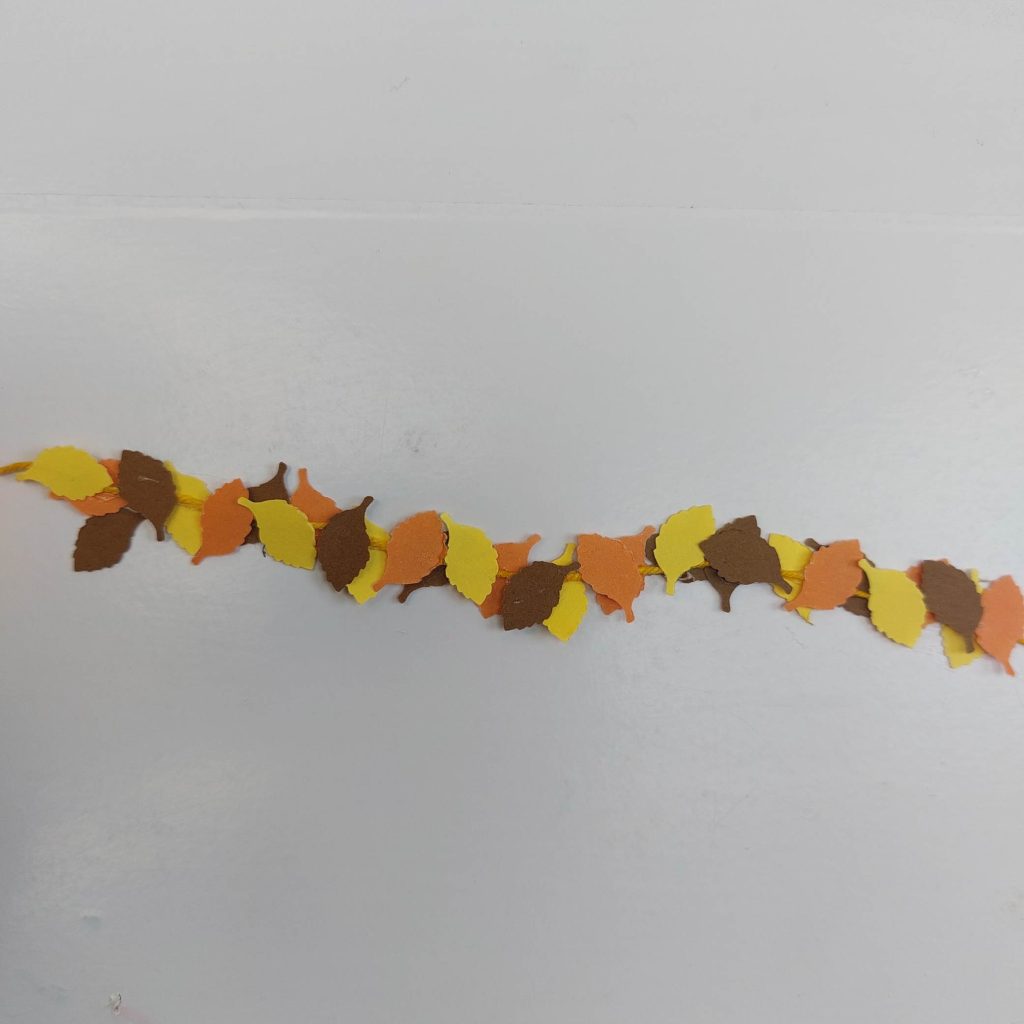
- Let it dry.
Wait for the glue to set completely before hanging it.
You can attach it to a wall, shelf, or miniature fireplace; it instantly gives your dollhouse a cozy autumn vibe.
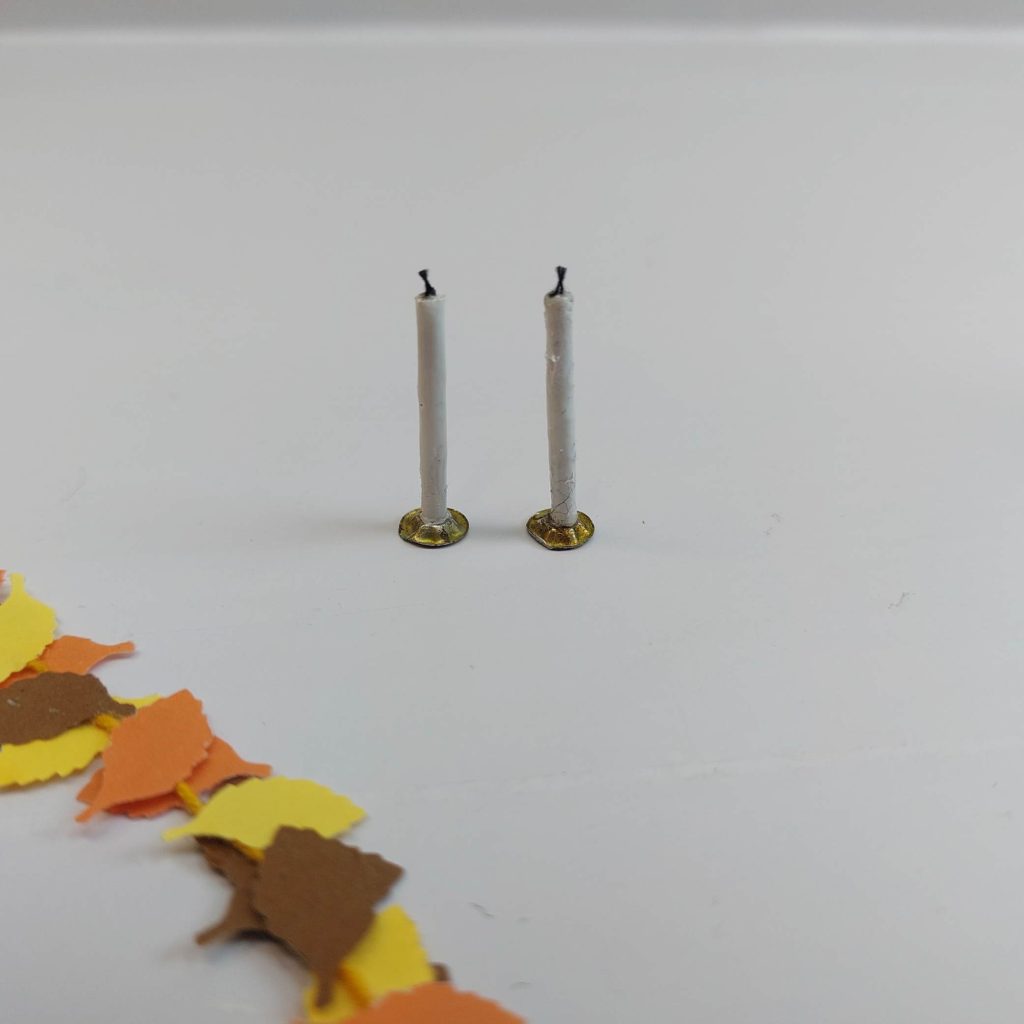
DIY Miniature Candles from Everyday Materials
These little candles are one of those deceptively simple projects that can completely change the look of your dollhouse scene, a few of them can add just the right warm touch.
What’s fun about this one is that it uses materials you probably already have lying around: a cotton swab, a bit of thread, and a touch of paint. That’s it!
Materials You’ll Need
- Cotton swabs (Q-tips)
- Small metal bead caps or flat buttons (for candle holders)
- Black thread or thin string (for the wick)
- Scissors
- Glue
- White acrylic paint
- Small brush
Step-by-Step Tutorial
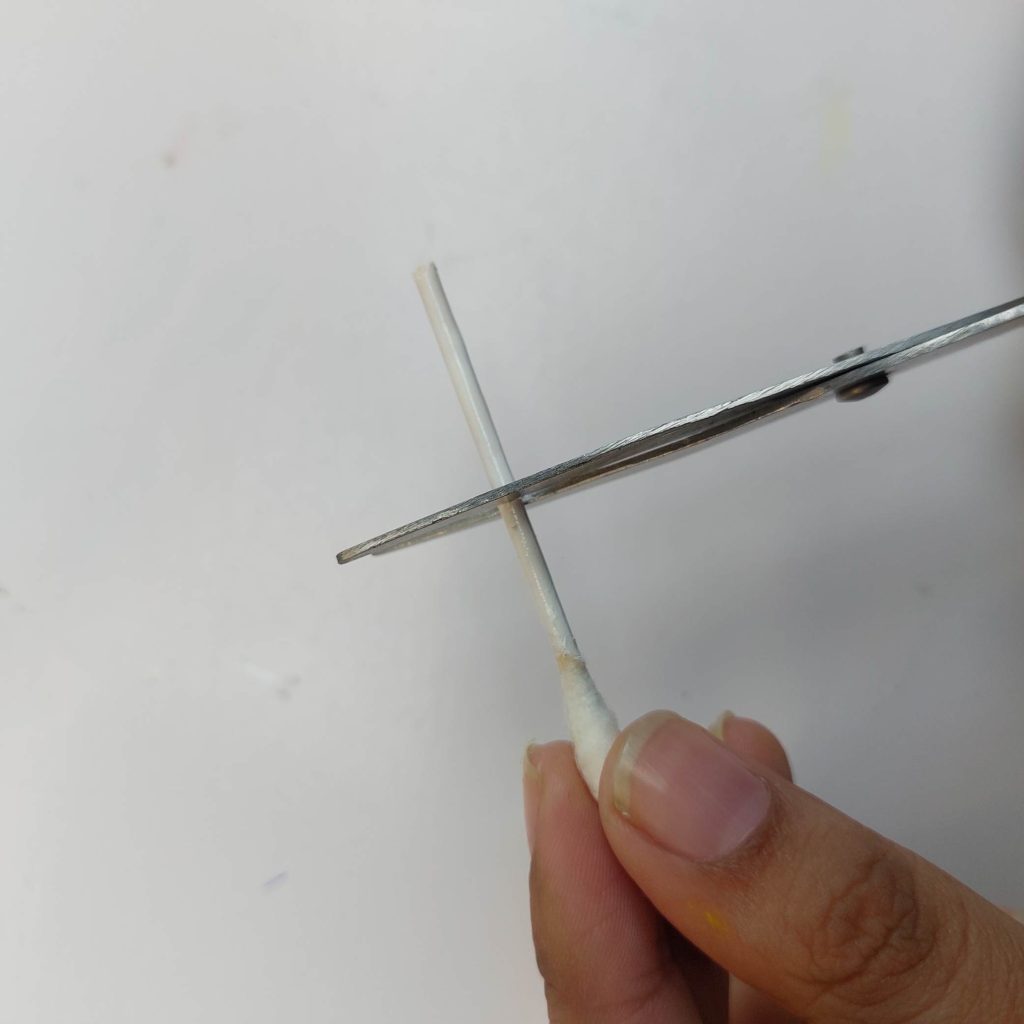
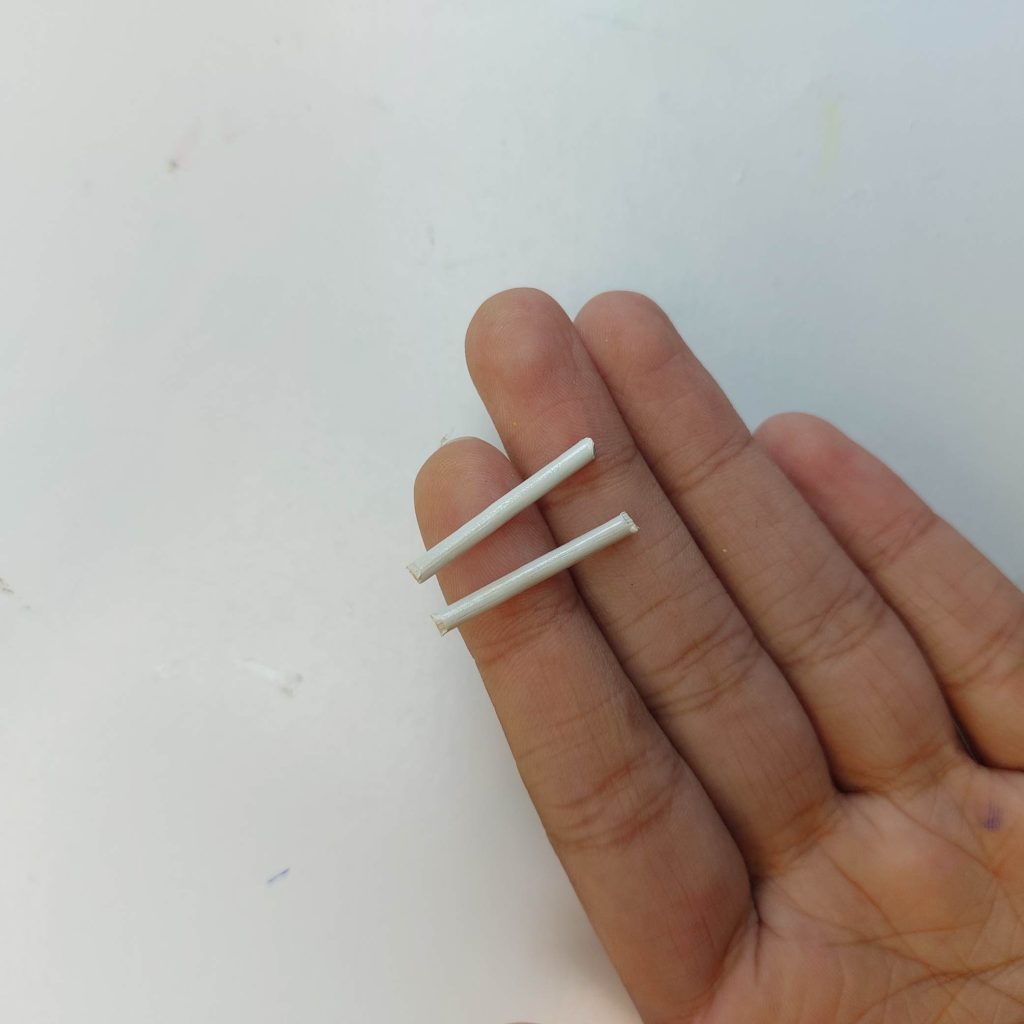
- 1. Cut the cotton swab.
Trim the ends of a cotton swab to the height you want your candles to be. Two or three different heights can look more realistic when displayed together.
- 2. Prepare the candle base. Attach the candle.
Use a small metal bead cap, button, or any rounded piece as the candle holder. Add a small drop of glue in the center.
Glue the cut end of your cotton swab firmly onto the base and let it dry.
- 3. Add the wick.
Cut a short piece of black thread and glue it carefully into the center of the candle. Once dry, trim the thread to your preferred wick length.

- 4. Paint and finish.
You could paint the candle white for an extra candle wax effect (or any color you like). If you don’t have a golden base, you can also add a tiny touch of gold or silver paint around the base for a polished look.

If you want them to look like used candles, lightly dab a bit of black paint on the wick and top edge for a burnt effect.
DIY Miniature Pumpkin from Air-Dry Clay
What’s a fall setup without a pumpkin or two? This little air-dry clay pumpkin is an easy and fun project that fits perfectly with your other seasonal miniatures. It’s small, colorful, and adds that cozy autumn touch to any dollhouse or diorama scene.

Materials You’ll Need
- Orange air-dry clay (or white clay and orange paint)
- Toothpick or sculpting tool
- Brown or gold acrylic paint
- Small brush
- Optional: brown chalk or eyeshadow for shading
- Clear nail polish or gloss varnish
Step-by-Step Tutorial
1. Shape the clay.
Roll a small ball of orange clay and slightly flatten the bottom so it stands upright.
2. Create the stem hole.
Use a small tool (like a brush handle or toothpick) to make a tiny hole at the top where the stem will go later.

3. Add pumpkin grooves.
With a toothpick or wooden skewer, gently press vertical lines from top to bottom around the pumpkin. This gives it that natural pumpkin shape.

4. Add shading.
Brush on a little brown chalk, eyeshadow, or diluted paint to highlight the grooves and give the pumpkin more depth.
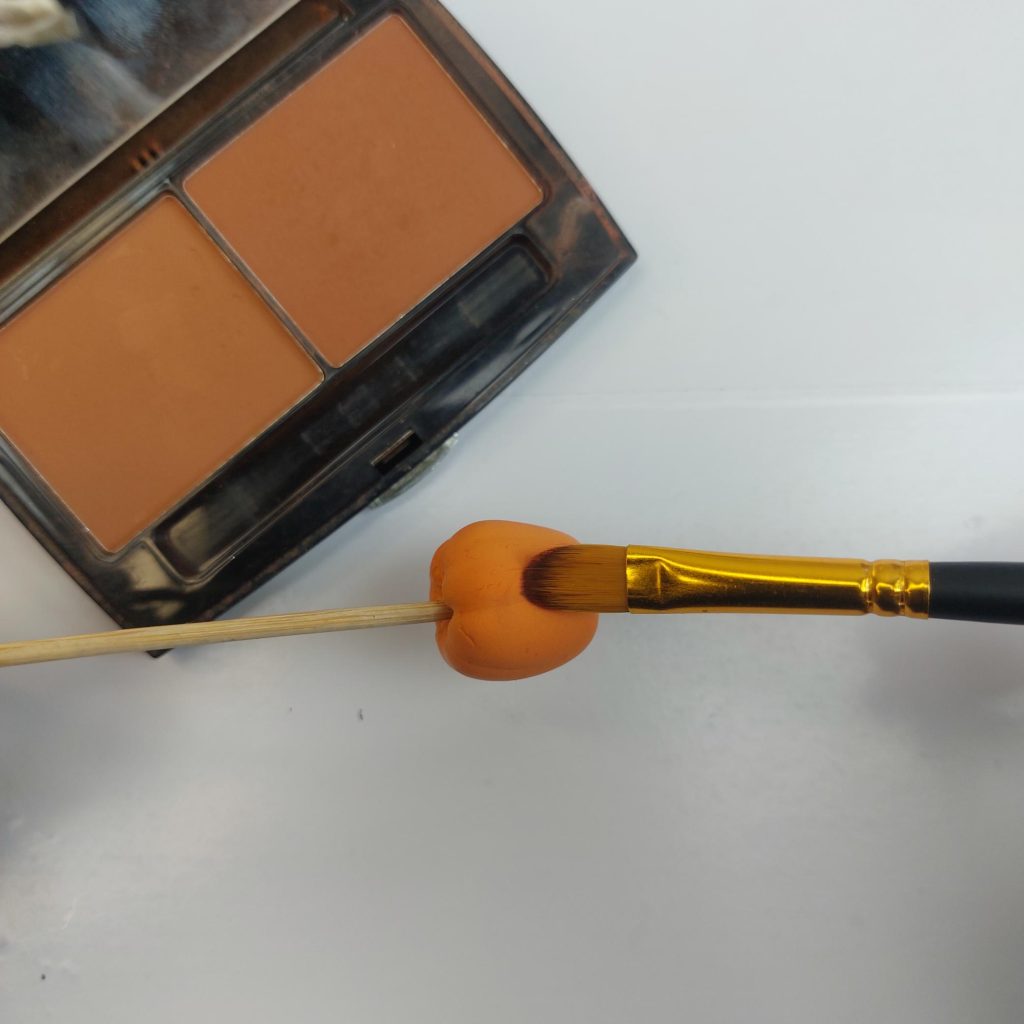
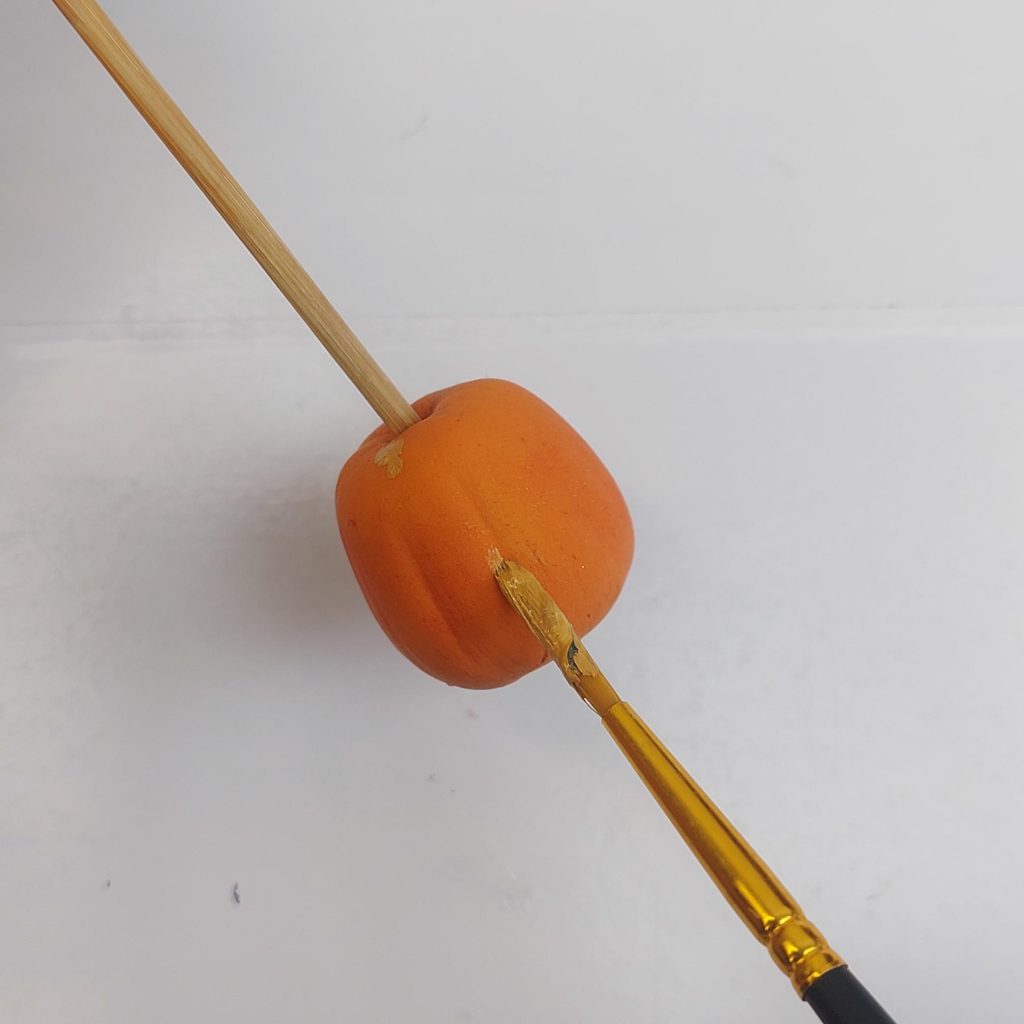
5. Paint the stem.
Once your pumpkin is dry, paint the top with a bit of brown or gold paint to create the stem.
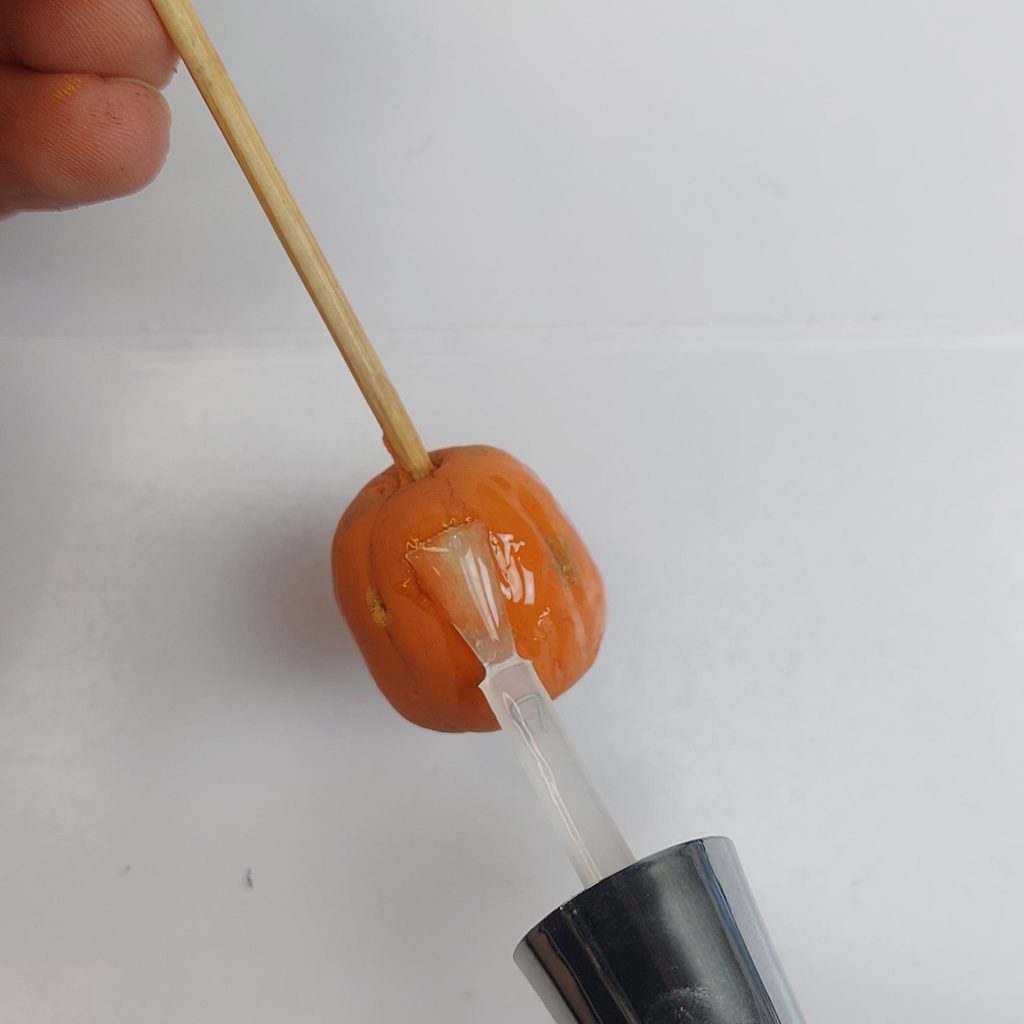
6. Add shine.
To finish, brush on a coat of clear nail polish or gloss varnish to give your pumpkin a smooth, realistic finish.
Let it dry completely, then place it beside your miniature candles or leaf garland for the perfect fall scene.

Miniature Cornucopia (Horn of Plenty)
A cornucopia is such a classic fall symbol, and this tiny version is perfect for dollhouse Thanksgiving scenes, harvest displays, or cozy autumn décor. It’s surprisingly simple once you get the hang of shaping the horn, so you can fill it with mini fruit and veggies.

Materials
- Brown air-dry clay
- Colored clay (for fruits and veggies)
- Toothpick or sculpting tool
- A cone-shaped object (pencil wrapped in paper, piping tip, etc.)
- Clear varnish or clear nail polish
Step-by-Step Instructions
Step 1 — Roll the clay
Roll a long, even snake of brown clay. This will form the spiral shape of your cornucopia.

Step 2 — Create the horn shape
Wrap the clay snake around a cone shape (I made one from paper), starting at the tip and spiraling downward. Try to keep the coils close together.
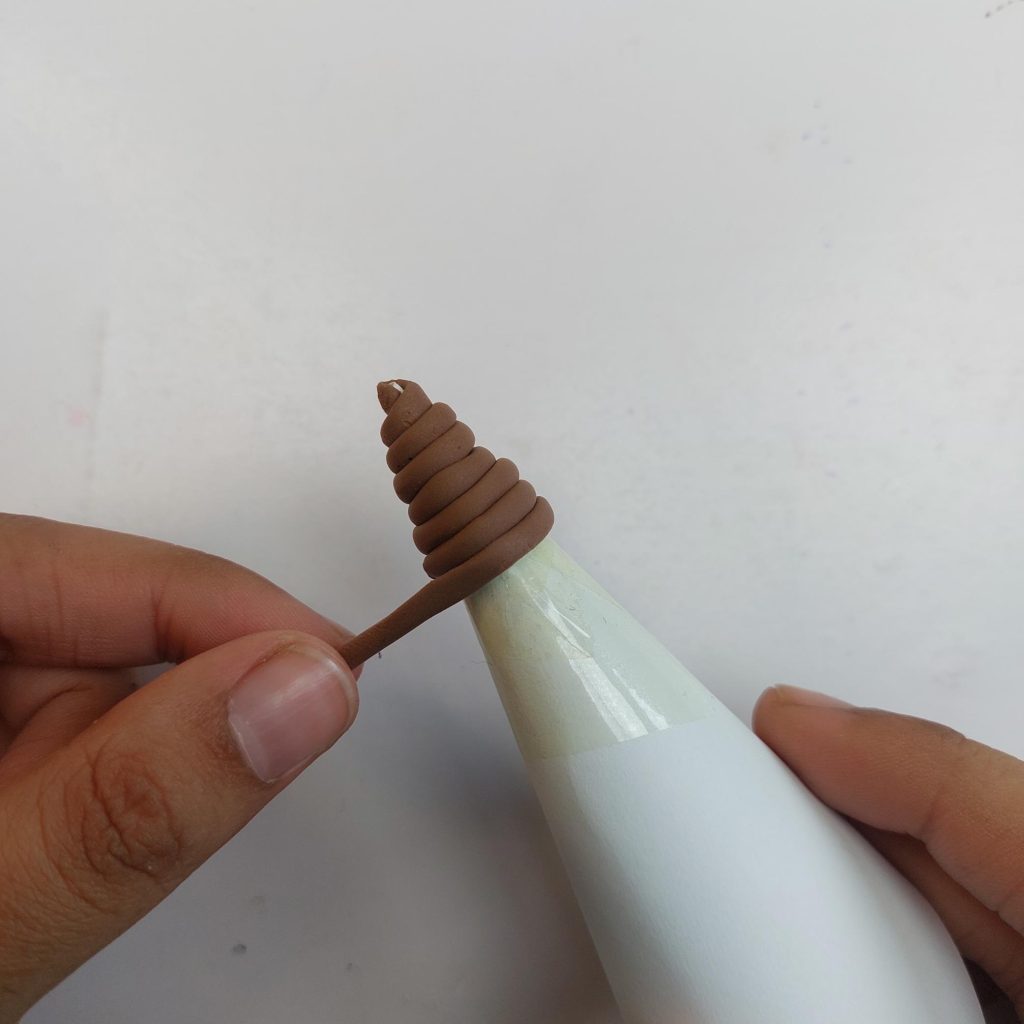
Step 3 — Smooth and twist
Gently twist the wrapped clay a bit to give it that classic woven-basket look.

Step 4 — Form the opening
Build up the clay around the bottom of the cone to form the wider opening of the cornucopia.

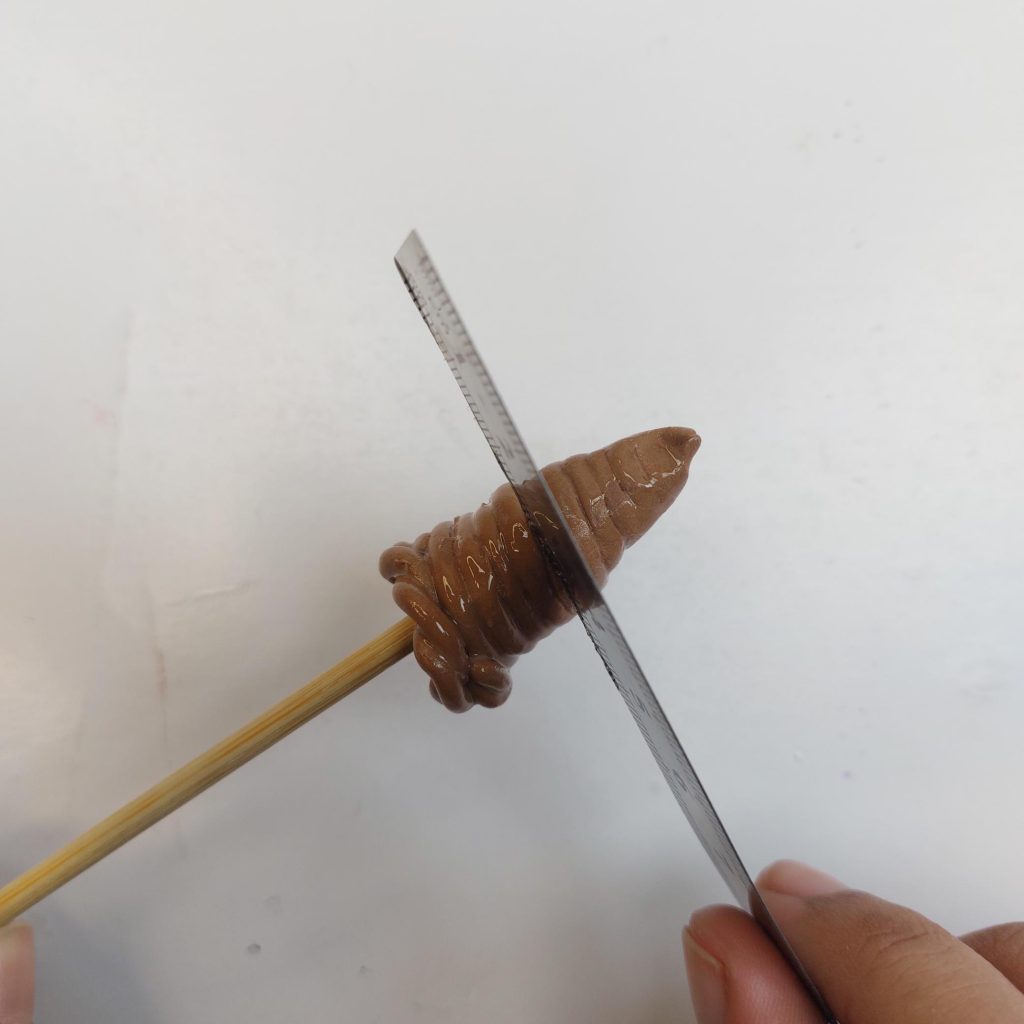
Step 5 — Add texture
Use a toothpick or a ruler to add little ridges or details to make it look more like a woven horn.
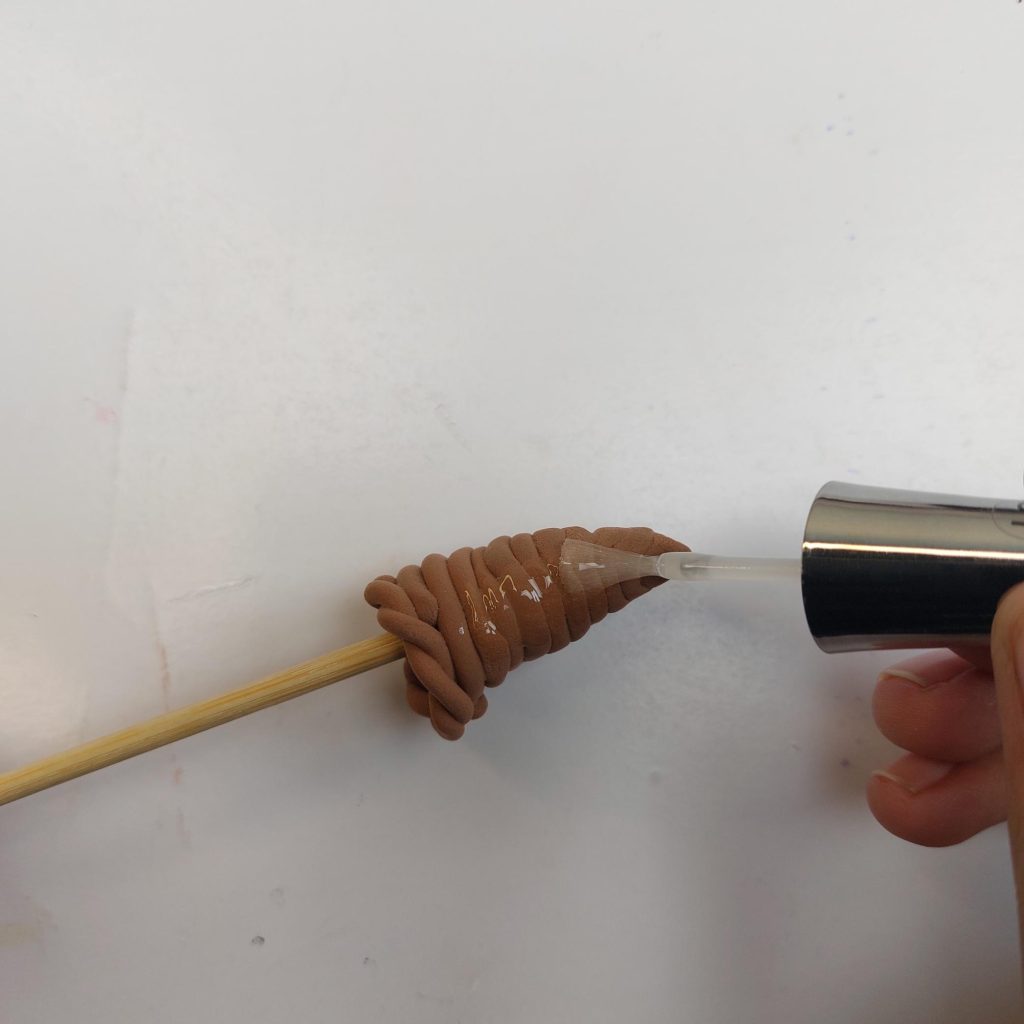
Step 6 — Harden and seal
Let the horn dry slightly, then brush on a coat of clear varnish or clear nail polish to give it a polished, finished look.
Step 7 — Make the fruits and vegetables
Use small bits of colored clay to shape pumpkins, corn, apples, grapes, or any other tiny harvest foods you like.
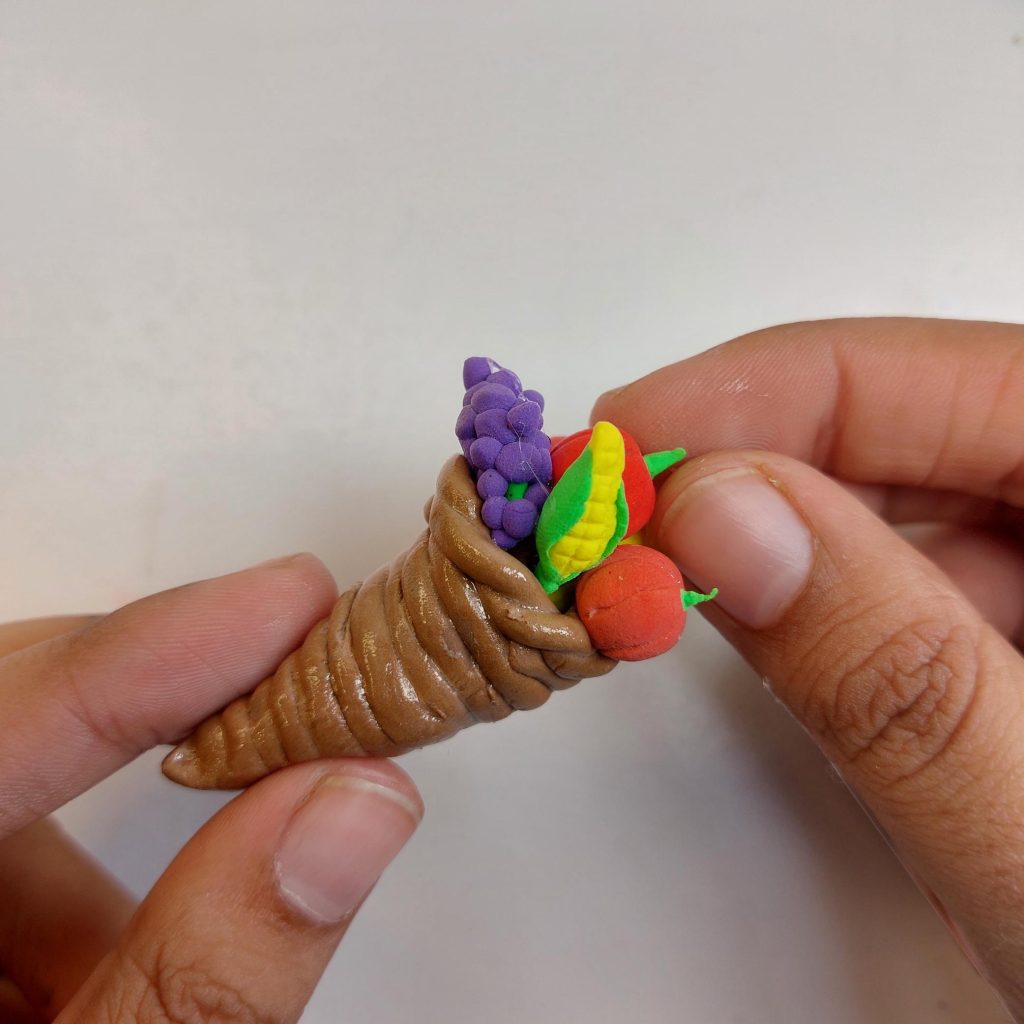
Arrange the mini fruits and vegetables inside the cornucopia and press gently so they hold their shape.
Step 8 — Add a final coat
Seal the fruits and veggies with clear nail polish so the whole piece looks vibrant and shiny.


Conclusion
And that’s it — a few simple, cozy fall ideas you can make right at home with just scraps and everyday materials. Even though winter’s already knocking on the door, it’s never too late to add a warm touch to your dollhouse.
I’ll be adding a few more autumn-inspired miniatures soon, so stay tuned if you love this season’s cozy colors as much as I do.
And if you’ve made any of these projects yourself, I’d love to see them. Feel free to share your results in the comments below or on my socials! 🍁
I wish you happy crafting!
Kind regards,
Lizzy

Hi everyone!
My name is Lizzy, and I am an amateur miniaturist obsessed with everything in the dollhouse and miniature world, ever since I was a teenager.
So far, I have created 2 dollhouse projects, a backyard shed and a miniature treehouse, tons of DIY dollhouse kits, and “hacked” some.
I also created a fairy garden, and lots of small and simple miniature projects on my YouTube channel. (mostly made from trash or everyday items).
I love to write as well about all things happening in the miniature world, hence the reason why I created this blog!
I wish you happy reading and crafting!
Lizzy


")


