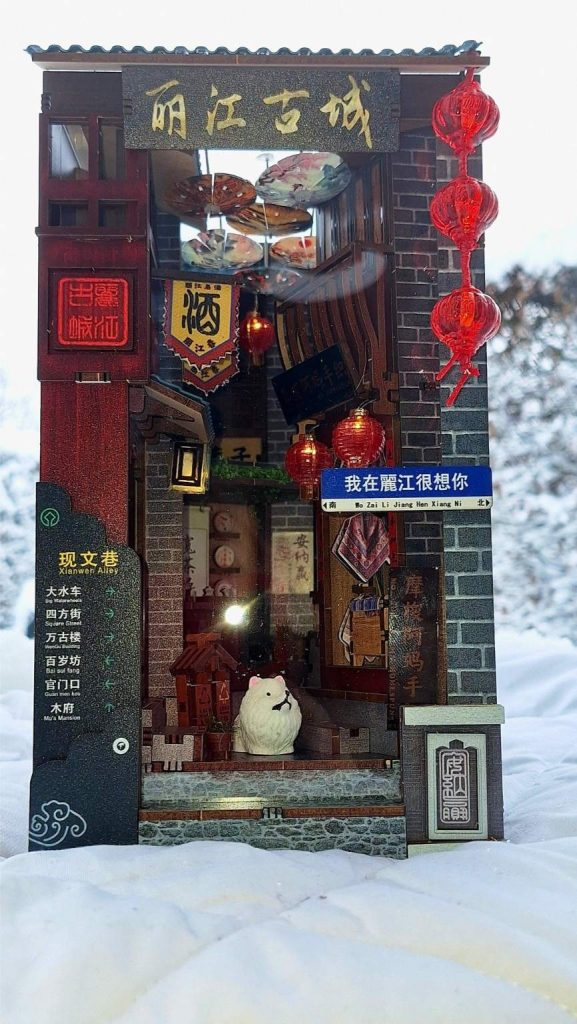
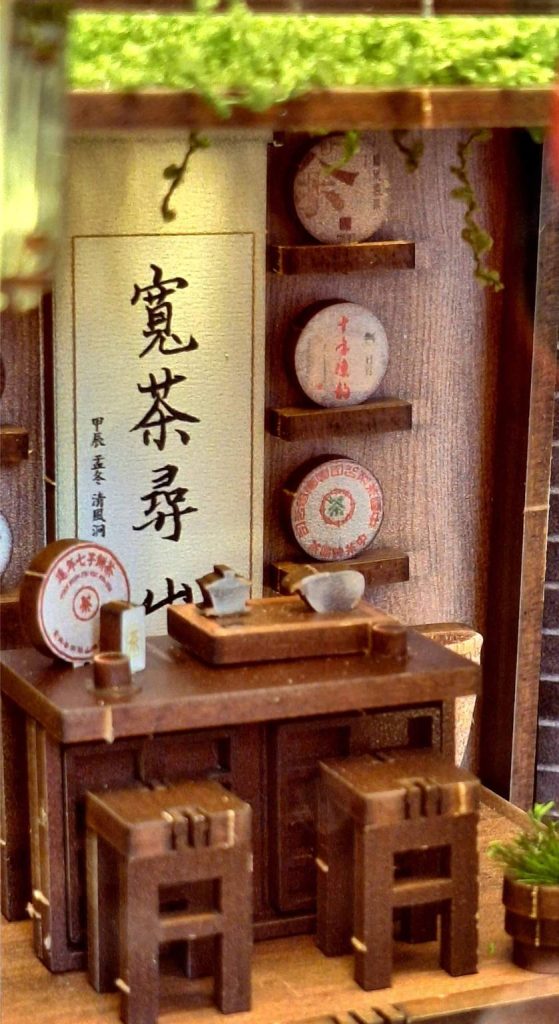
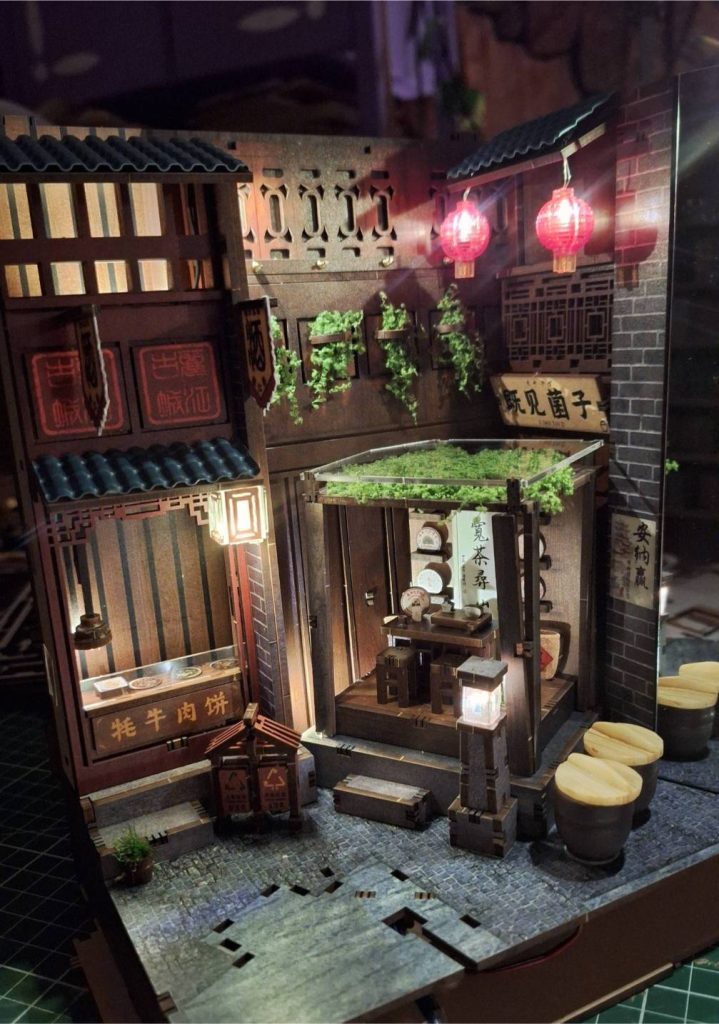
This was one of those DIY kits where, after the first hour, you already know you are in for a long but satisfying ride. The Lijiang Ancient Town Book Nook is a dense, layered build with a lot going on: a tiny street, bridges, tiny umbrellas, shop fronts, lanterns, and depth everywhere you look.
The box says 10+ hours, and in this case, that is not marketing fluff. You genuinely need that time if you want to enjoy the process instead of rushing through it.
( All pictures and videos are my own, no AI is used. You are free to use them, but please link back to this blog post if you do, thanks!)
For transparency: I received this kit from Anavrin to build, but I am not being paid to write this article, and all opinions are my own. However, this post does contain affiliate links by Anavrinand Amazon, and I can earn a small commission, with no extra charges for you!
Anavrin DIY kit: What’s in the box?
The Lijiang Ancient Town book nook comes as a fairly heavy, well-packed kit with everything neatly sorted and protected. This is what you get:
The box itself lists the build time as 10+ hours, which already gives a good idea of the scale and complexity of this kit before you even open it.
The build processof this book nook
Let me take you on a long ride through the assembly process!
First impressions when opening the box
When I first opened the box, everything looked sturdy, well-made, and surprisingly not too overwhelming.
Compared to my Ikseon-dong bakery kit, this one didn’t look that much more complicated at first glance, but that turned out to be a little misleading.
I quickly realised that this build is in a completely different league. The 8+ to 10 hours printed on the box are very real, and you absolutely need that time if you want to get through it without rushing or breaking things.
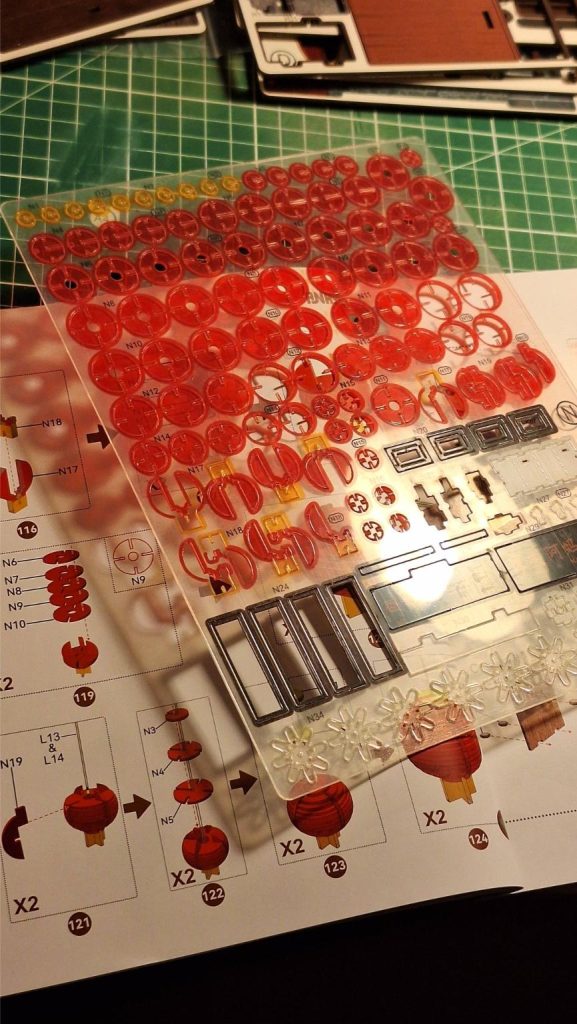
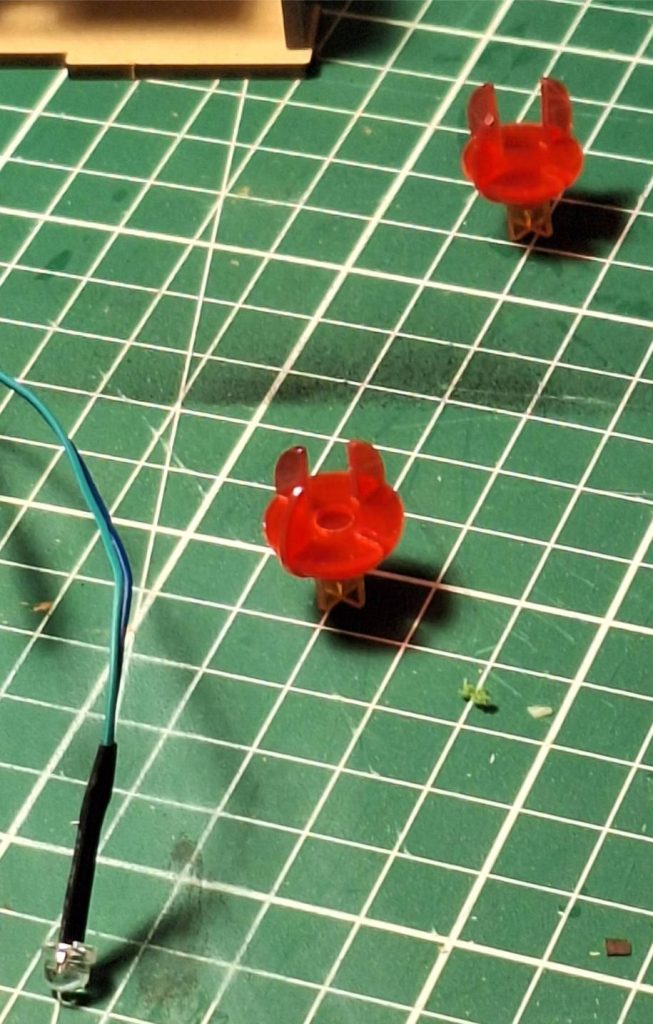
The first moment where I had to really slow down was with the little red lanterns. They are built in layers stacked on top of each other, and they are tiny.
assembling the little red lamps
This is where things stop being “relaxing” and start being precise. And honestly, my husband had so much more patience for this then me hahaha ==>
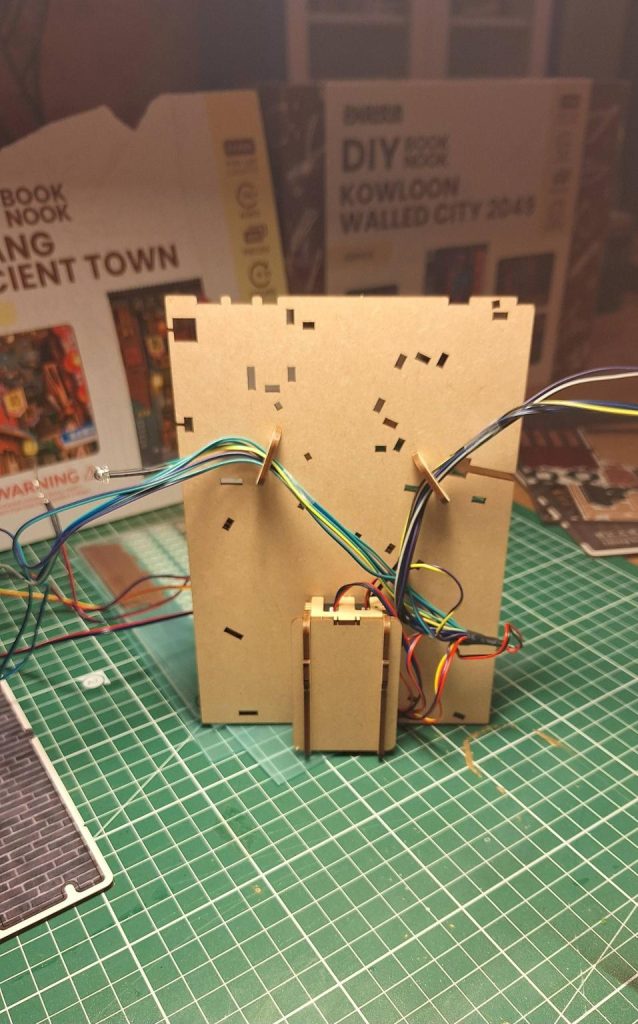
The good news is that the electrical wiring itself is very easy. The LED system comes pre-wired, and most of it is plug-and-play, so you don’t have to deal with loose cables.
In the picture below, you can see the ‘layers’ of the red lamp.
Almost everything in this kit is fragile and fiddly, I must admit. Thin wood, tiny decorative layers, narrow bridges, delicate umbrella pieces…
I was honestly very happy that Anavrin includes spare pieces, because yes: I did break a few parts along the way.
halfway at night. The white lights you see here are a little nightmare, but we did it!
Just when I thought I had survived the lantern phase, there were these 2 larger, more complicated white lamps (see picture above), and those were even more fiddly than the small red ones. More layers, more tiny alignments, and more perseverance needed!
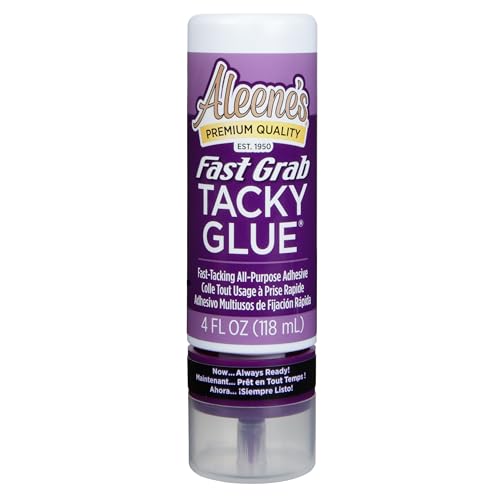
This is also where Grab Fast Tacky Glue was absolutely essential for me. I use it for almost all my miniature builds, and it worked perfectly here as well.
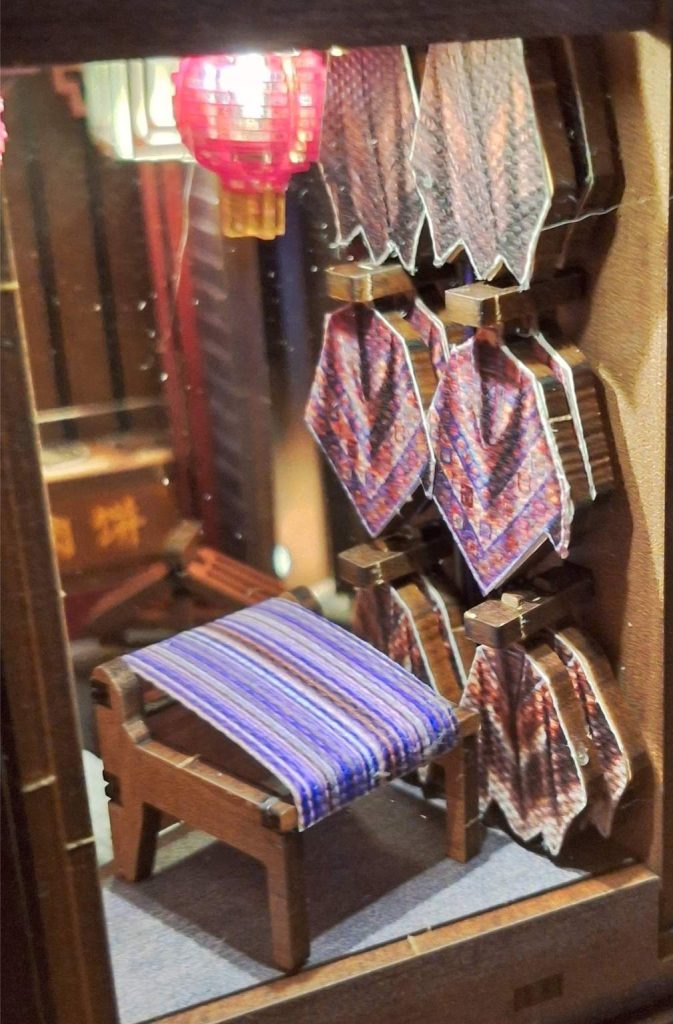
A little food stall in the small old town
You need something that grabs fast but still gives you a few seconds to adjust tiny parts before they set.
The plastic film issue
Another thing I really wanted to mention:
A lot of pieces have a protective plastic film on them, especially the clear and shiny parts.
The manual mentions this once at the beginning, but after a few hours of building it is very easy to forget.
Some pieces look cloudy or dull until you realise there is still film on them.
It would honestly help if the manual reminded you of this again on the pages where it actually matters.
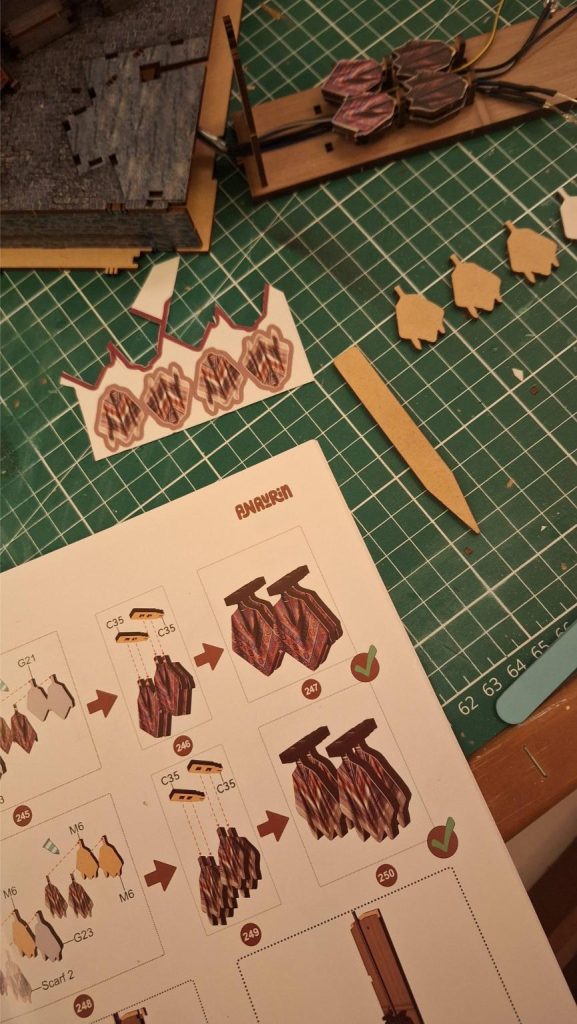
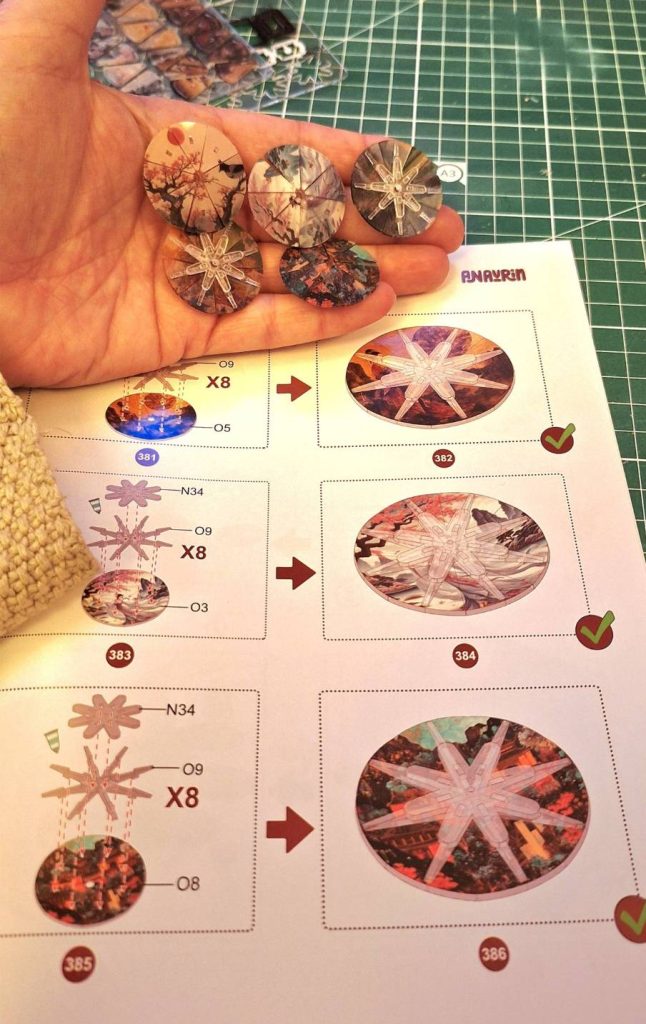
Umbrella’s seen from above
The umbrellas… nothing prepared me for that
Nothing in this kit prepared me for the umbrellas. Just when I thought I was almost finished, these tiny umbrellas showed up and well, wow!
I don’t know if you can clearly see it, but these aren’t straight up glued together, but have several pieces that need to be assembled. It was harder than it looks!
They are delicate, awkward to assemble, and require the ultimate patience.
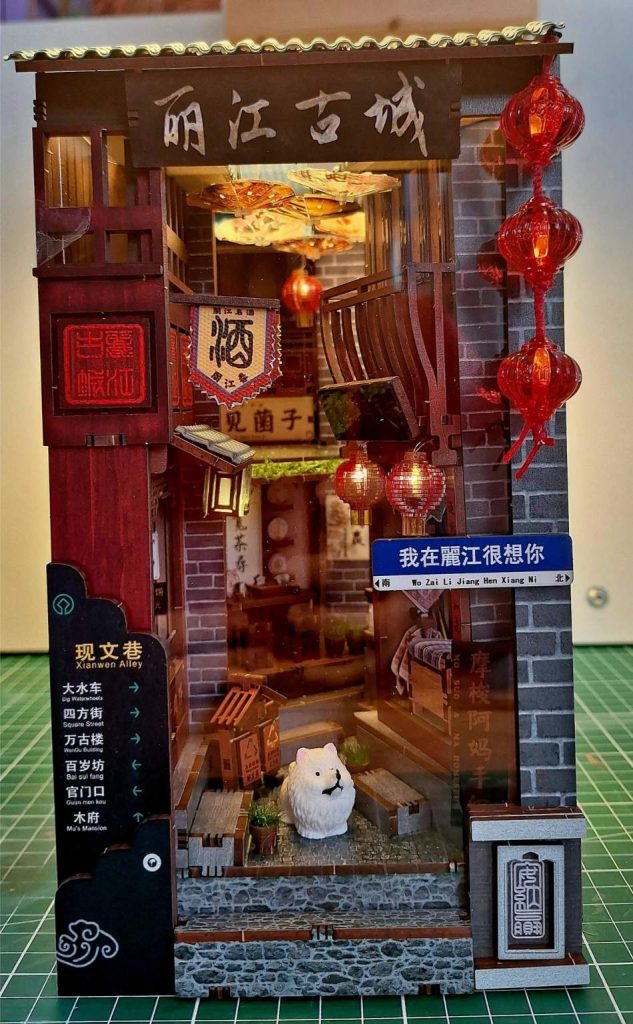
But once they were finally in place and I turned on the lights, something magical happened. When you look up at them from underneath with the lights glowing through, the effect is genuinely beautiful.
That moment made all the frustration worth it.
Just one more observation: assembling at the end.
Putting together the final walls, they don’t just click together and hold. You will have to glue them together before they do, and if you use tacky glue for this, you will have to put a temporary tape on them to have them stick together (forever lol).
But after all this, I am just happy that the lights still work hahaha!
Check out a few stages in my final video on my YouTube channel:
My reviews of DIY kits will always remain honest, so here we go:
Pros
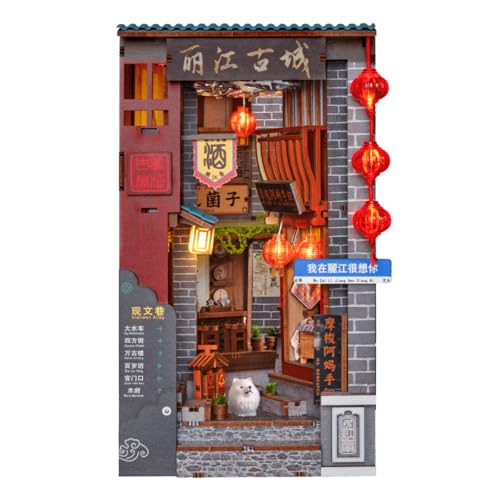
Stunning design : once the lights are on, the scene looks deep, warm, and full of atmosphere. I especially like the umbrellas!
Excellent lighting system: pre-wired LED lights, easy to install, and very effective in the final display
Pre-colored pieces: no painting needed, everything already looks finished
Very immersive build: this is the kind of kit you get lost in for hours. But this can be a ‘con’ for you, it’s just so personal 🙂
Spare parts included: extremely helpful given how fragile some pieces are
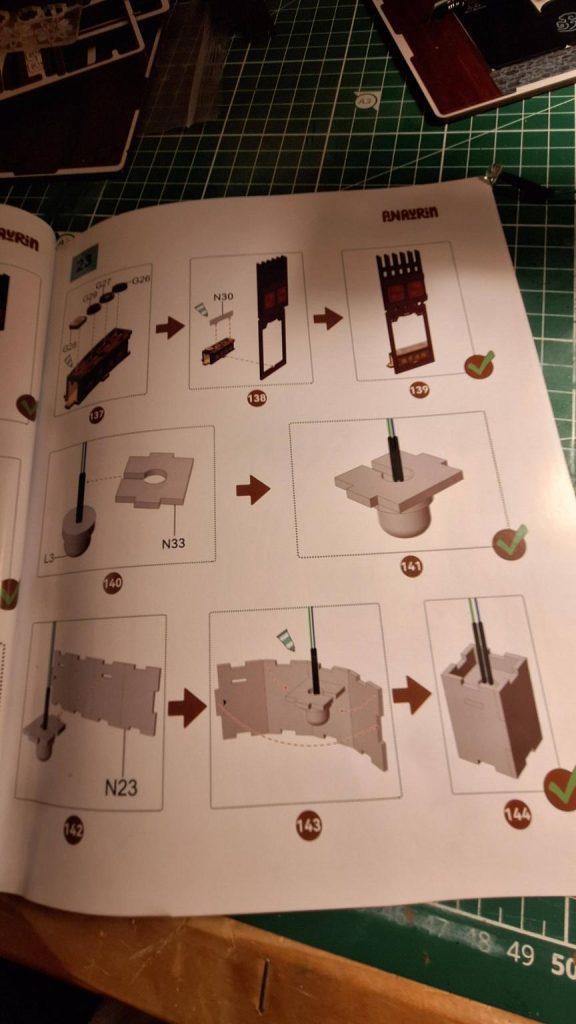
Easy-to-follow manual: the manual is in English and easy to understand
Cons
Time commitment: the 10+ hours is real; this is not a quick or casual project. But as I said above, this can be a positive thing for you!
High price: This is definitely one of the more expensive book nook kits on the market
Not beginner-friendly: the small, layered parts and fragile pieces require experience and patience, and are a very fiddly build, especially the lanterns and umbrellas. Looking for an easier one? Try Anavrins’ bakery!
Easy to break pieces: even with care, things can snap. Don’t push some pieces too hard!
Plastic film is easy to miss. And not always clearly indicated in the instructions
Overall experience of this Anavrin book nook
This is a fantastic design, but it is not for impatient builders. I had to take regular breaks, and at some point, my husband even stepped in to help. It made him calm and focused… for me, it was more “controlled chaos” – lol.
If you enjoy slow, detailed builds and watching a complex scene slowly come to life, this kit is incredibly rewarding.
Have any comments? Be welcome to share them in the comment section below or share your experiences in my small Facebook group!