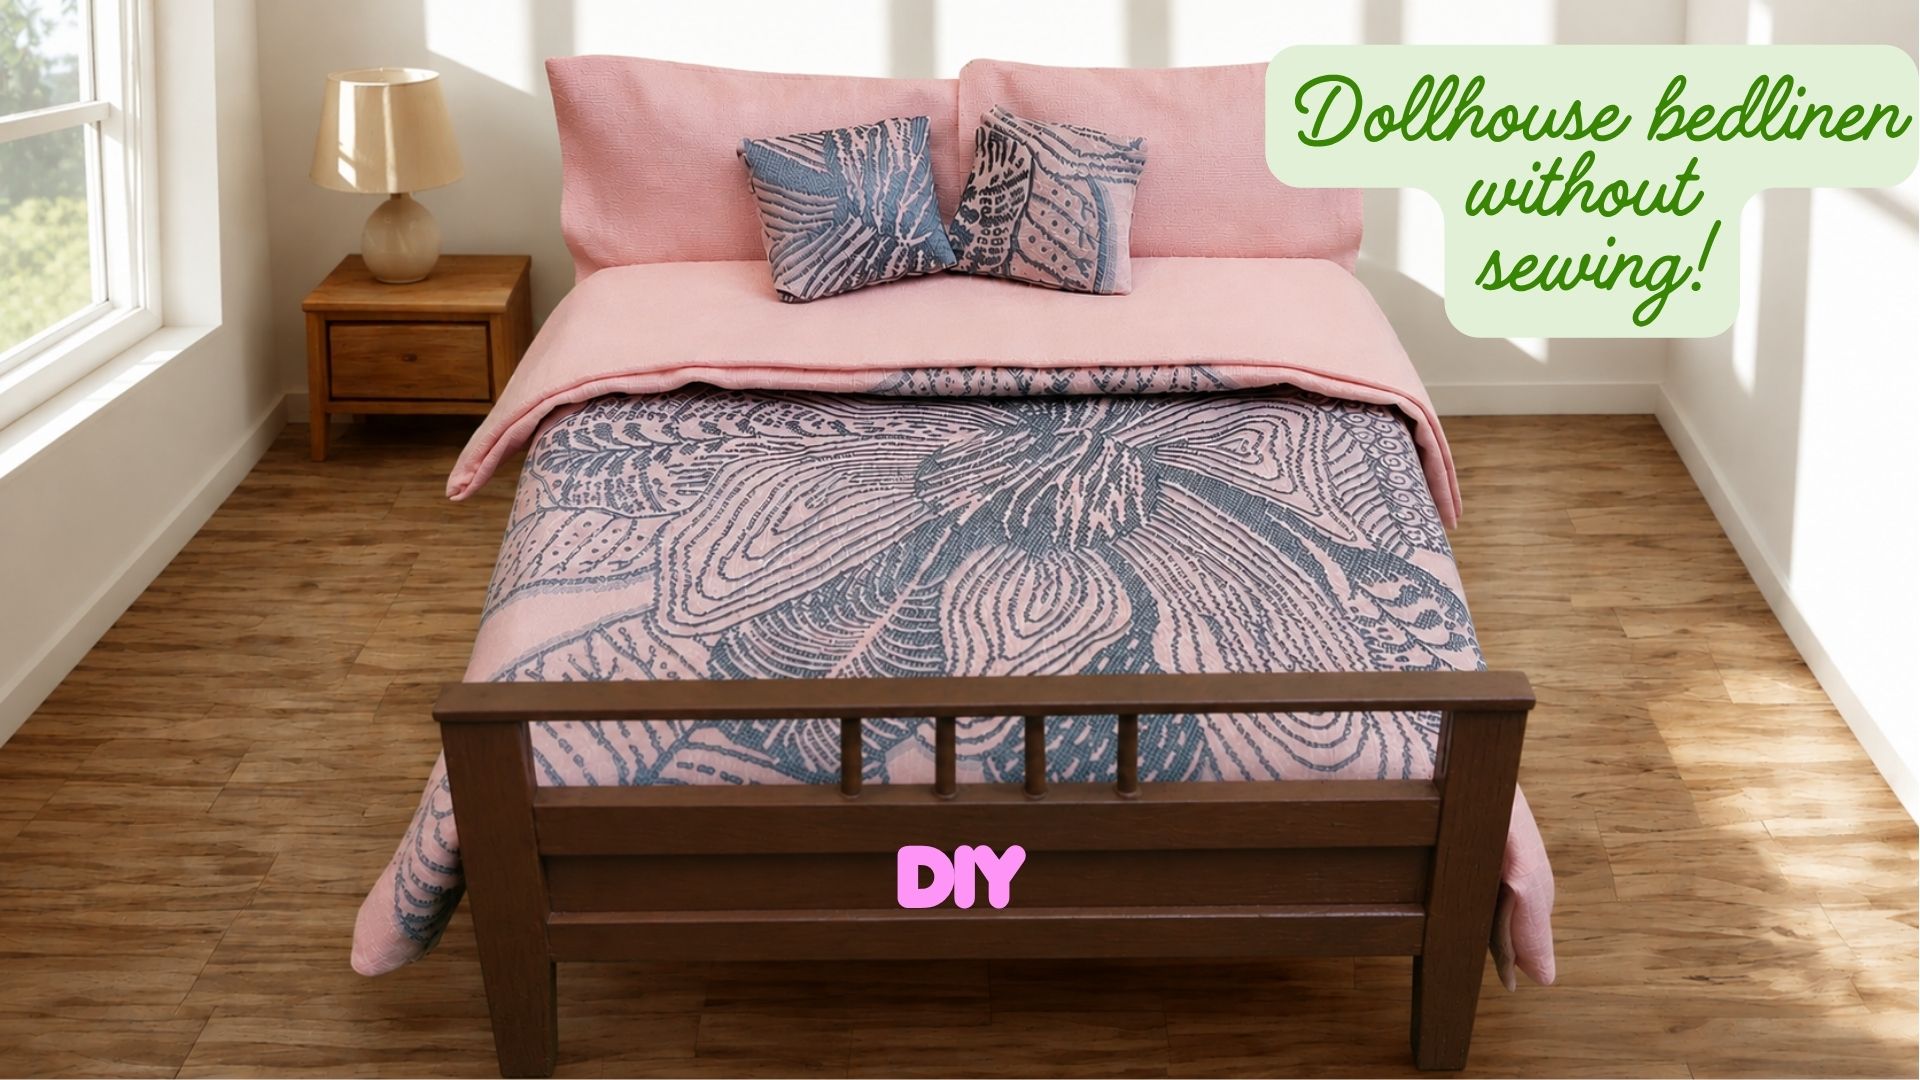
After finishing my popsicle stick dollhouse bed frame, I wanted to make simple bedding to match it. I didn’t use a sewing machine for this project. Instead, I used thin fabric, hemming tape, an iron, aluminum foil, and paper towels to create a miniature blanket that looks soft and realistic in a dollhouse bedroom.
This method is beginner-friendly and works well if you want neat miniature bedding without stitching tiny seams by hand.
Materials I Used
- Thin cotton fabric
- Printed fabric for the decorative side
- Iron-on hemming tape
- Mini iron
- Aluminum foil
- Paper towels
- Scissors
- Iron
Step-by-step tutorial
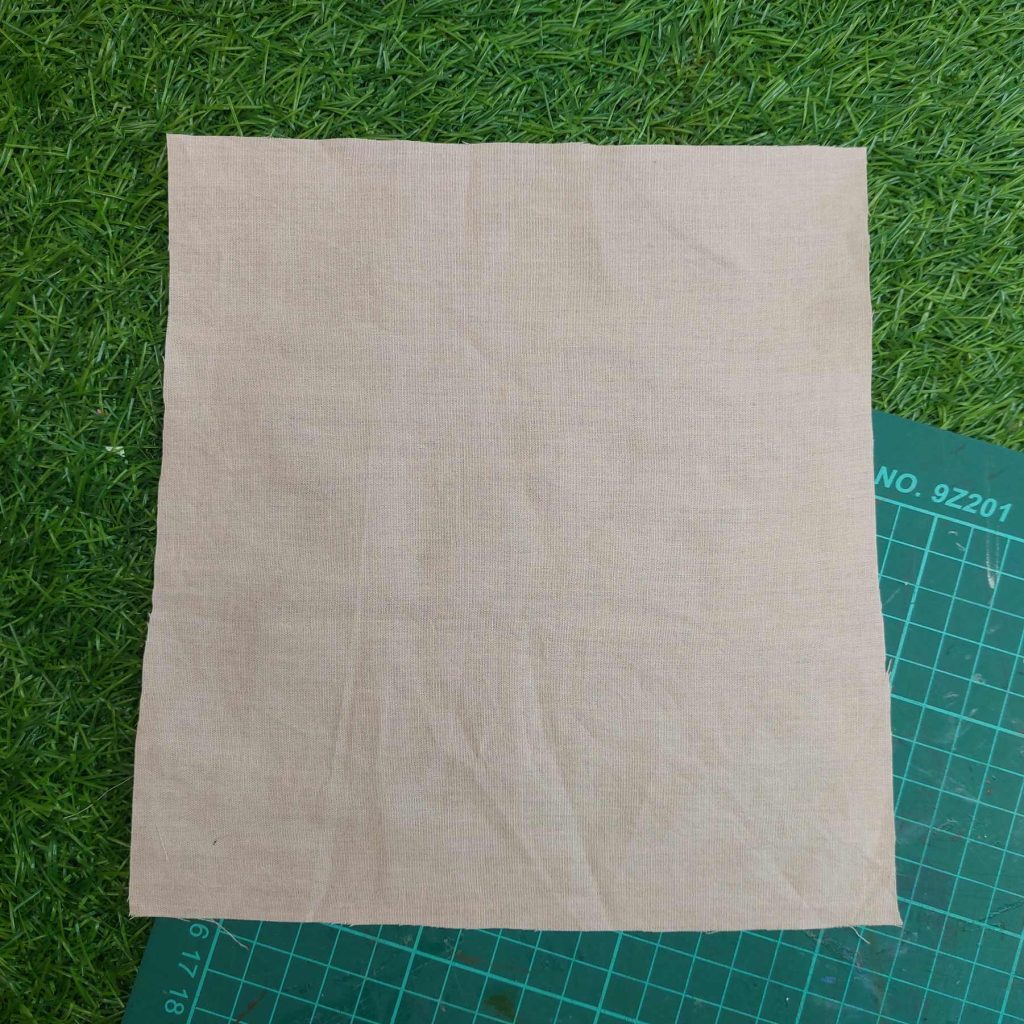
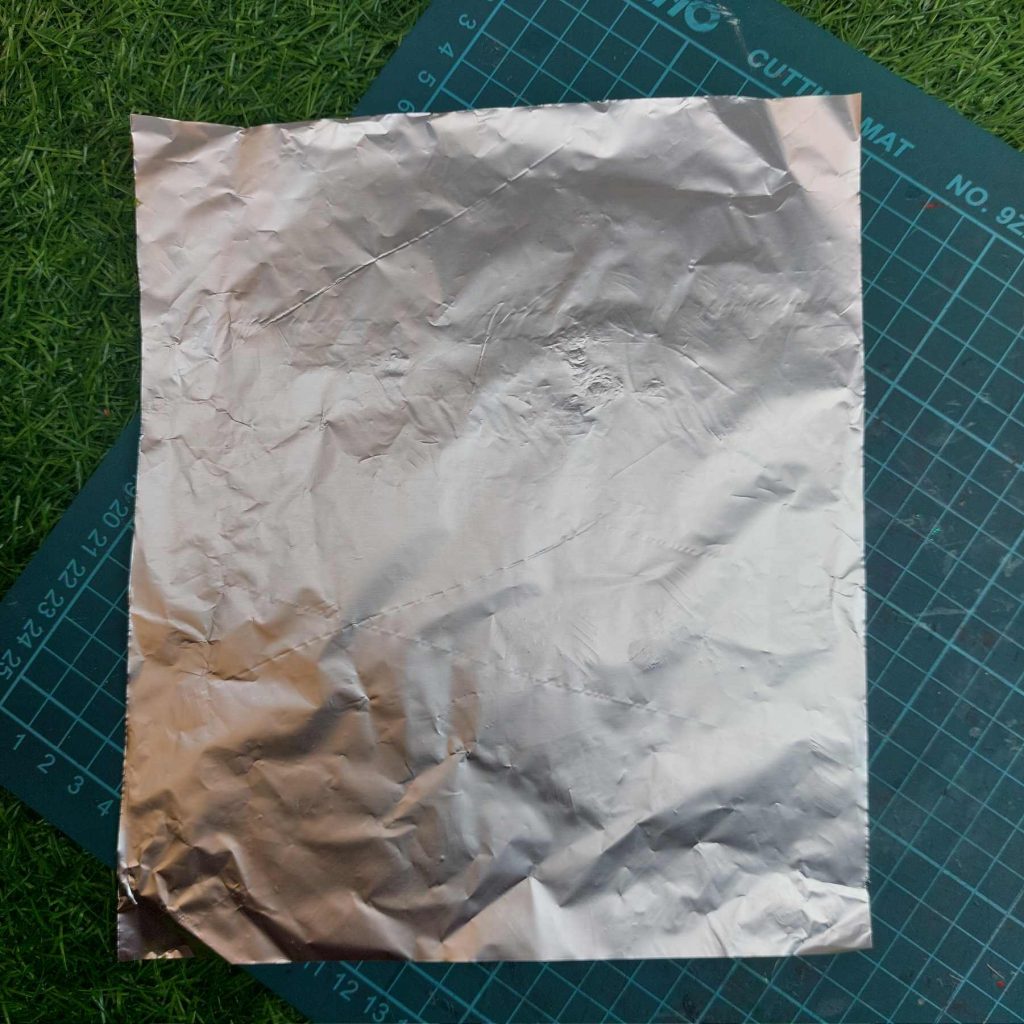
Step 1: Preparing the Fabric Layers
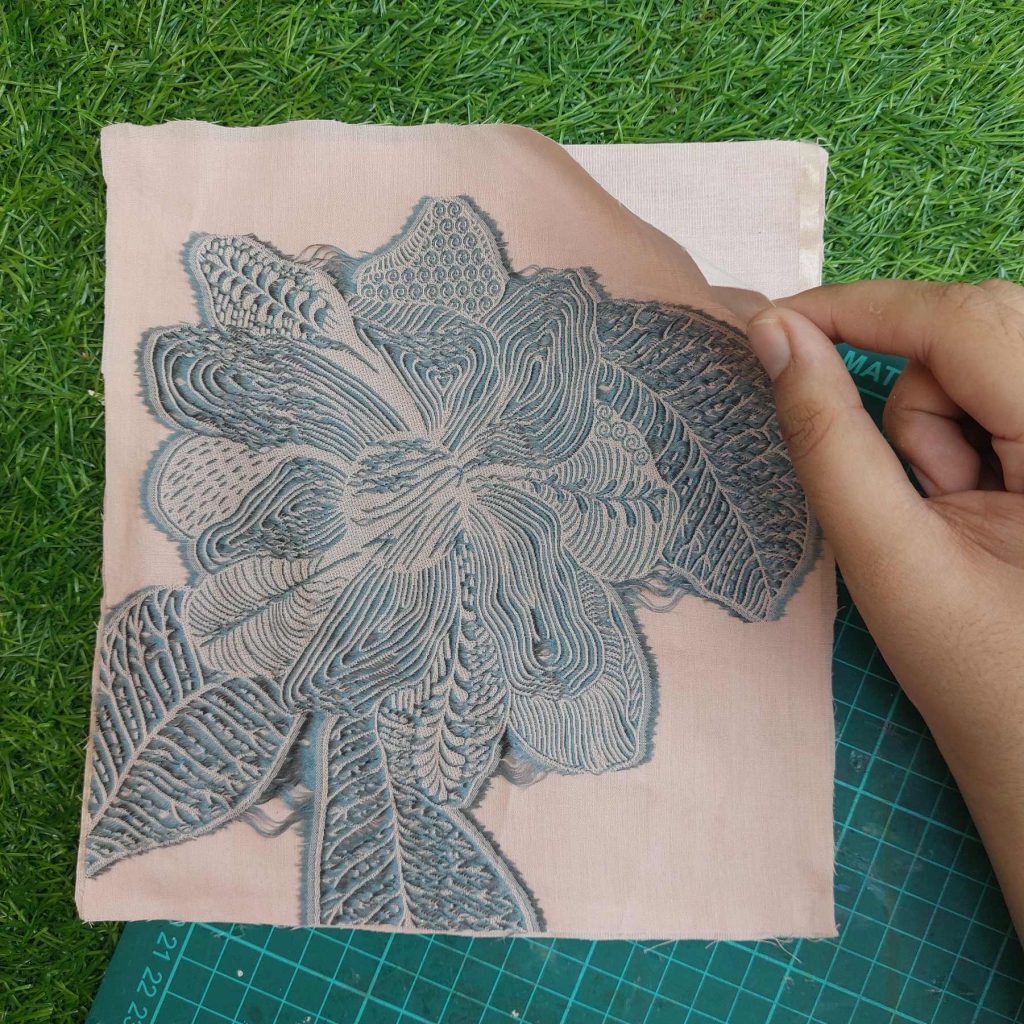
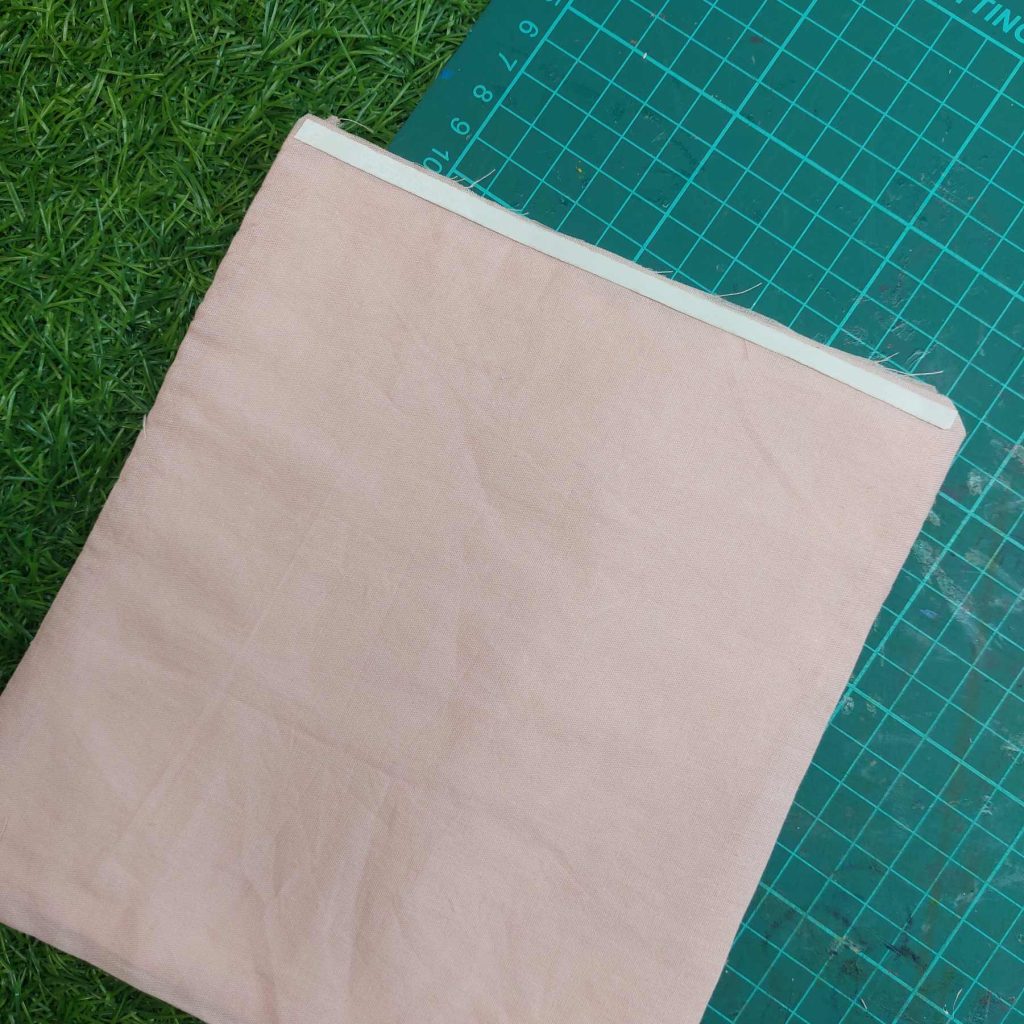
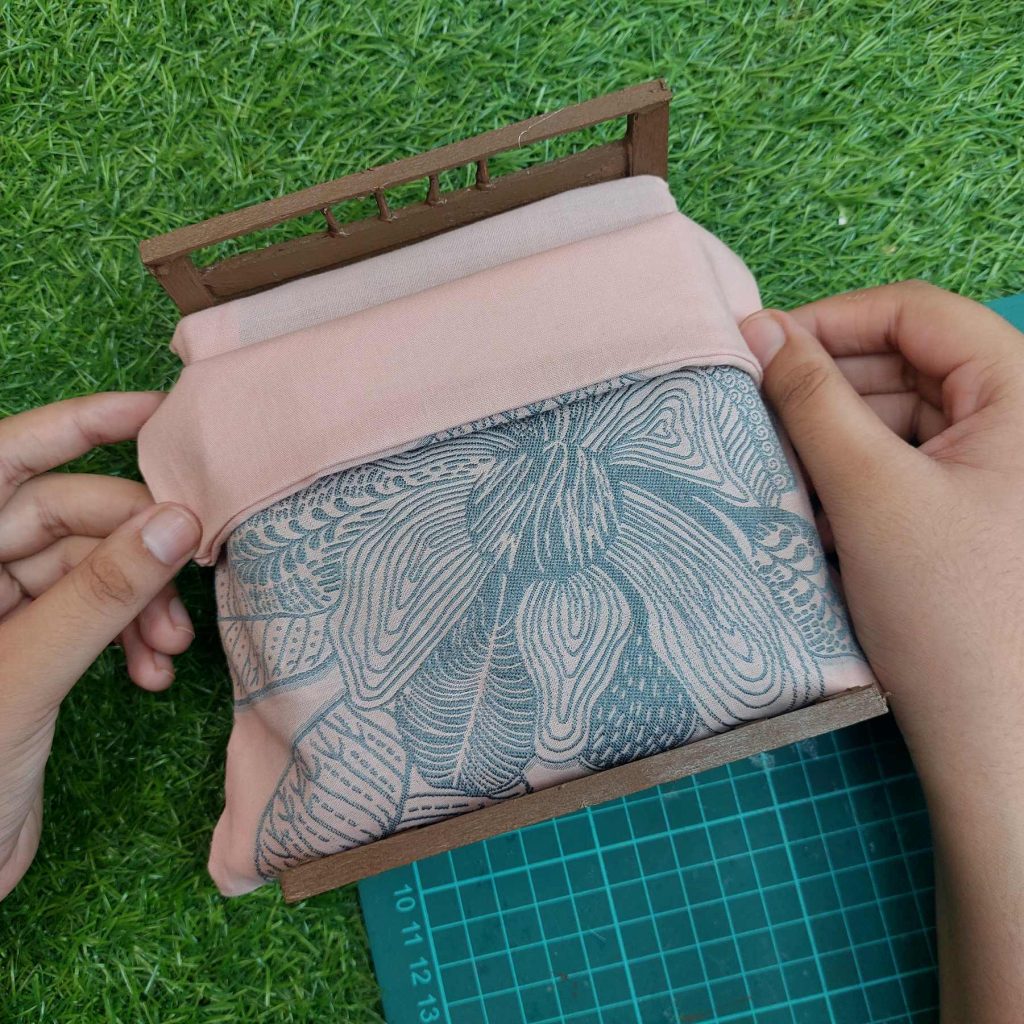
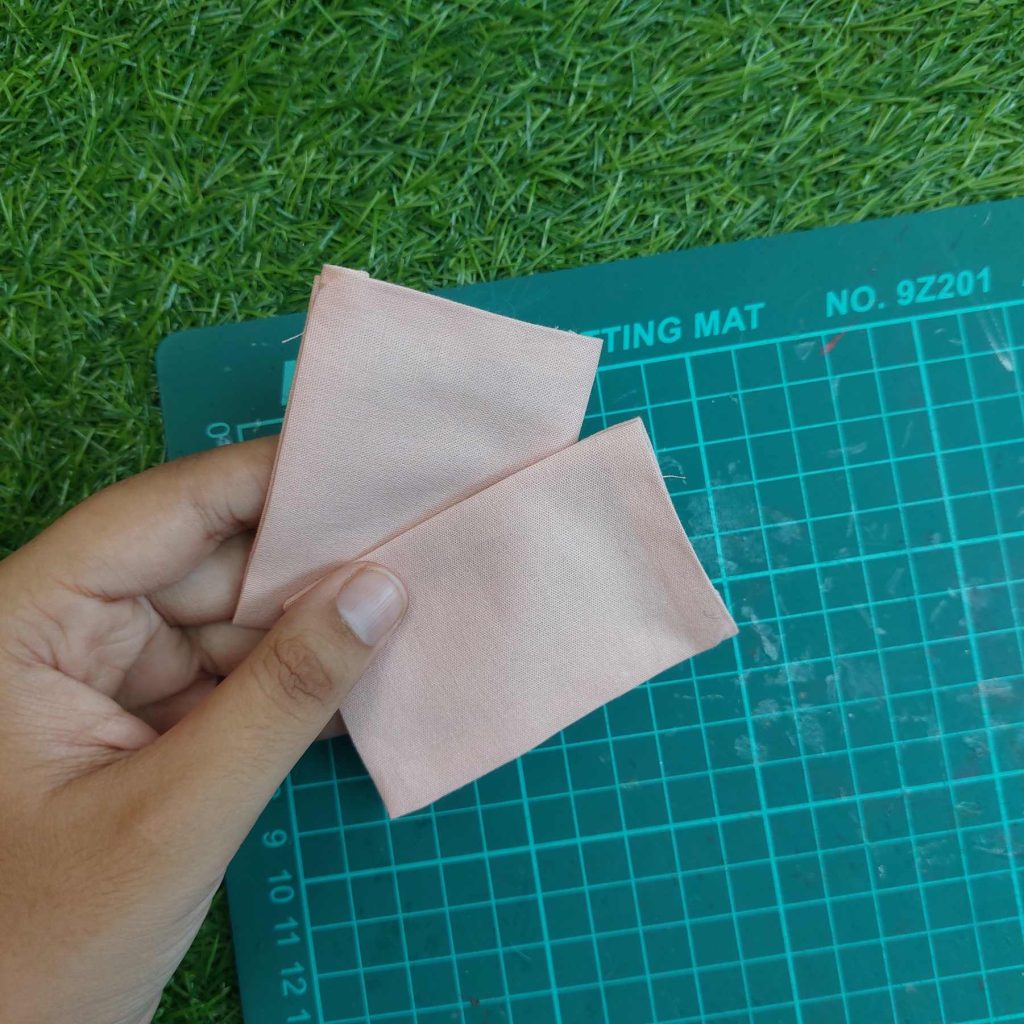
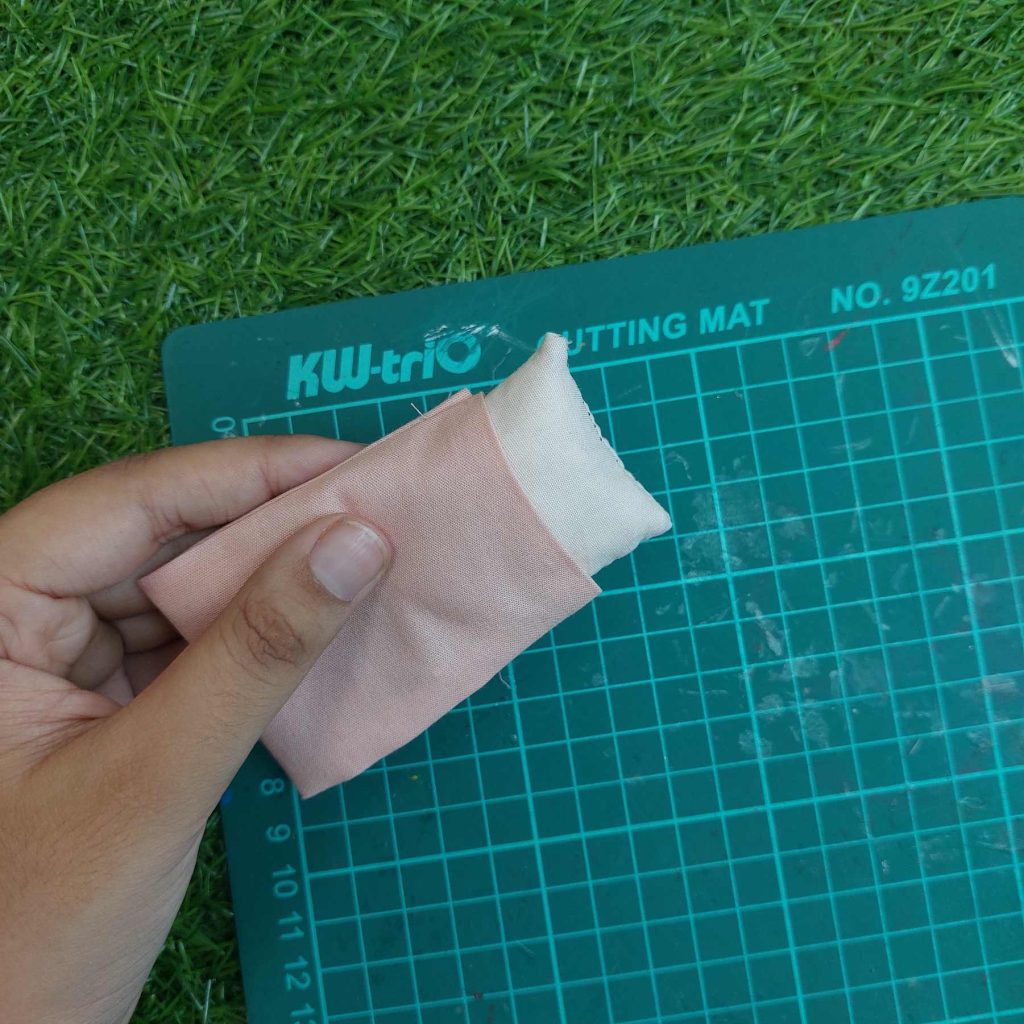
For this miniature blanket, I started with two square pieces of thin cotton fabric. I used a lightweight fabric because thicker materials can look bulky in a dollhouse bed.
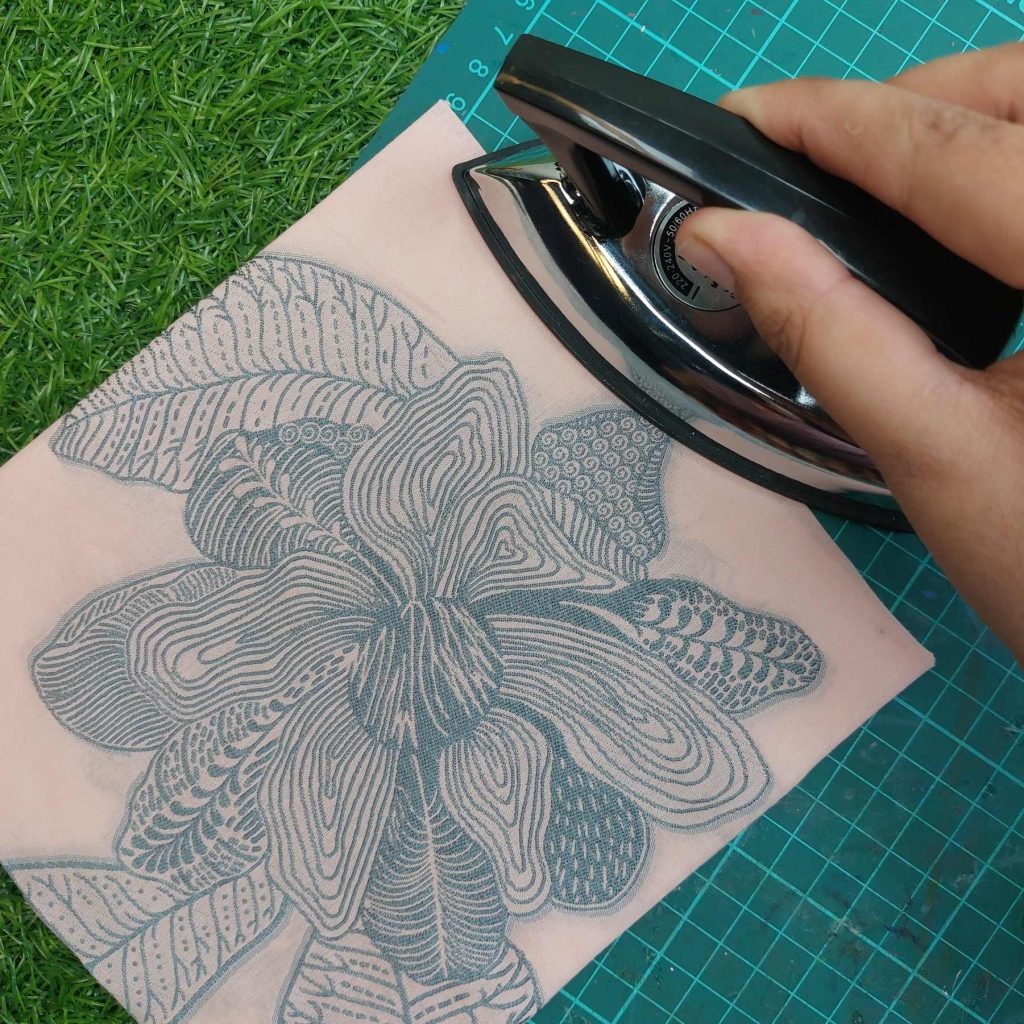
One side of the blanket has an even color, and the other side has a print.
To bond the two fabric pieces together without sewing, I used iron-on hemming tape (also called fusible bonding tape). This tape becomes adhesive when heat is applied with an iron.
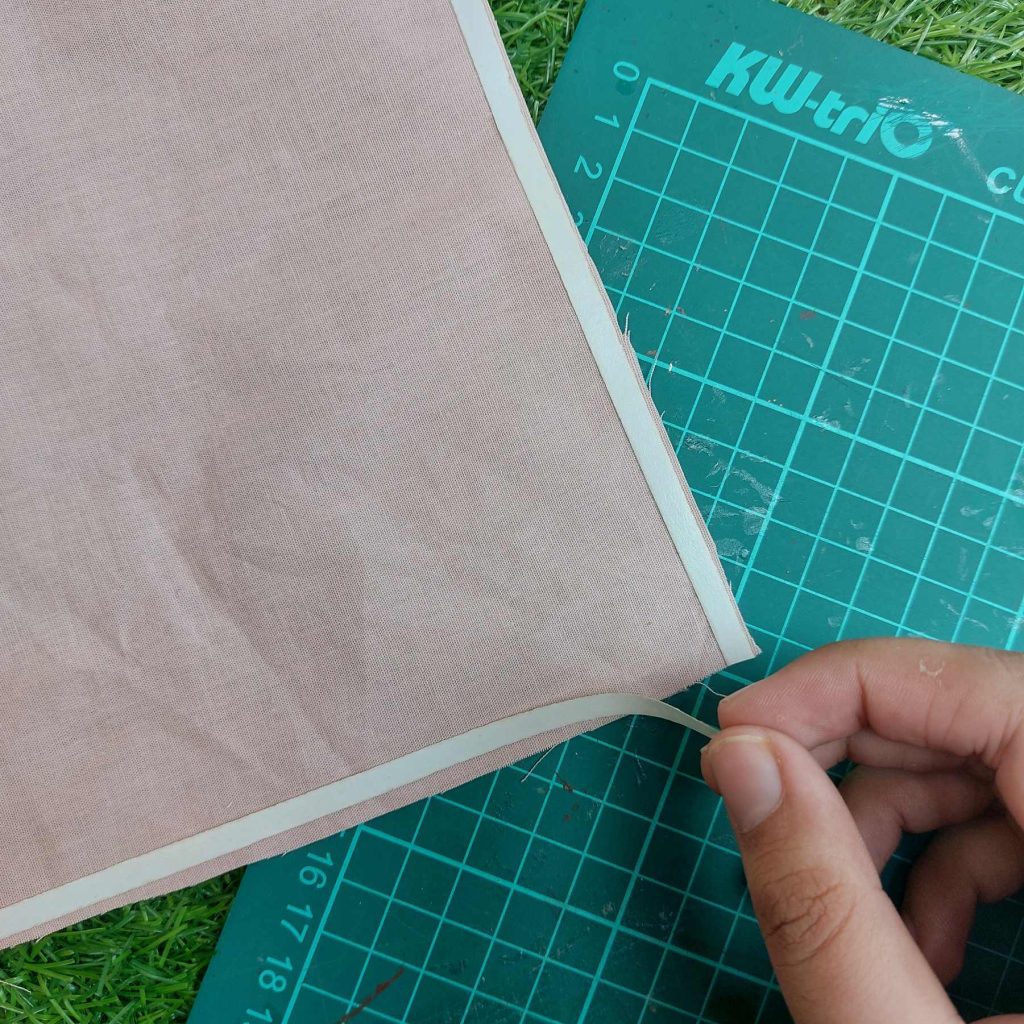
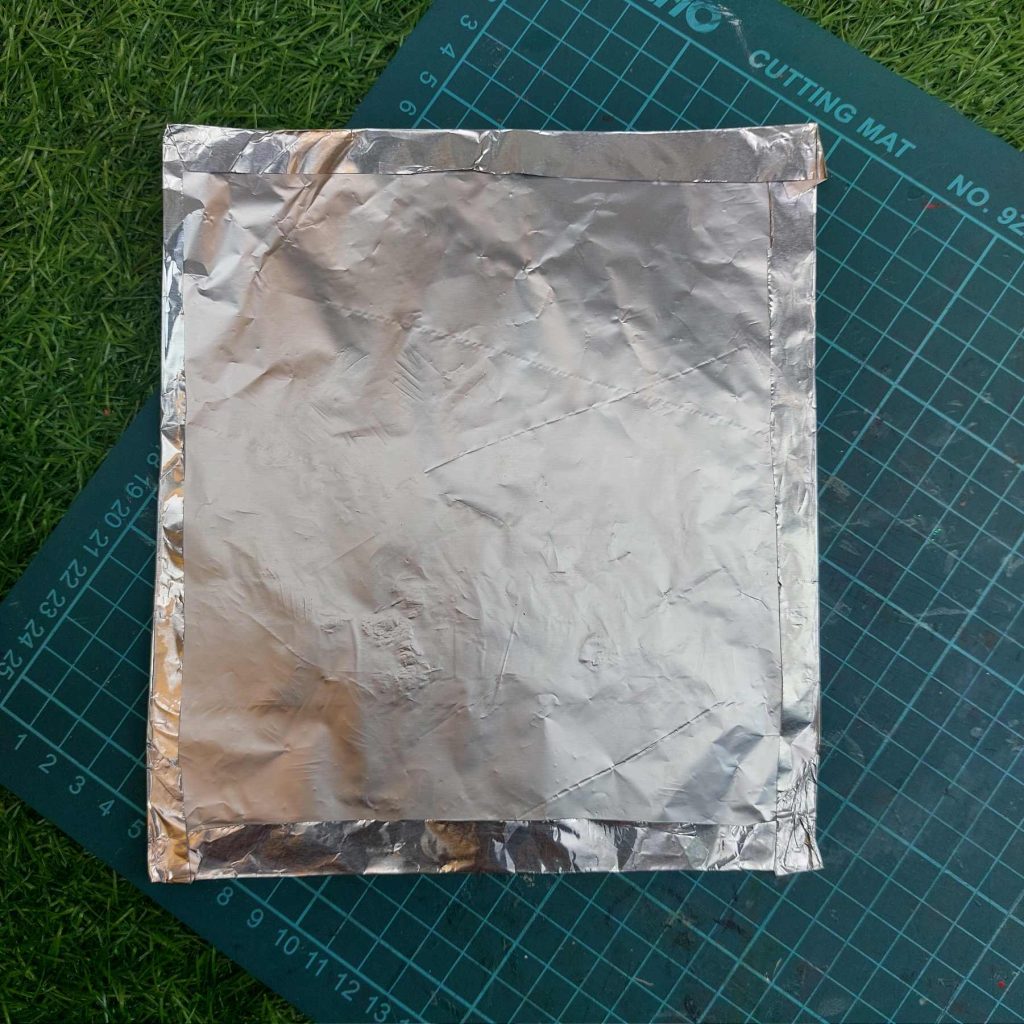
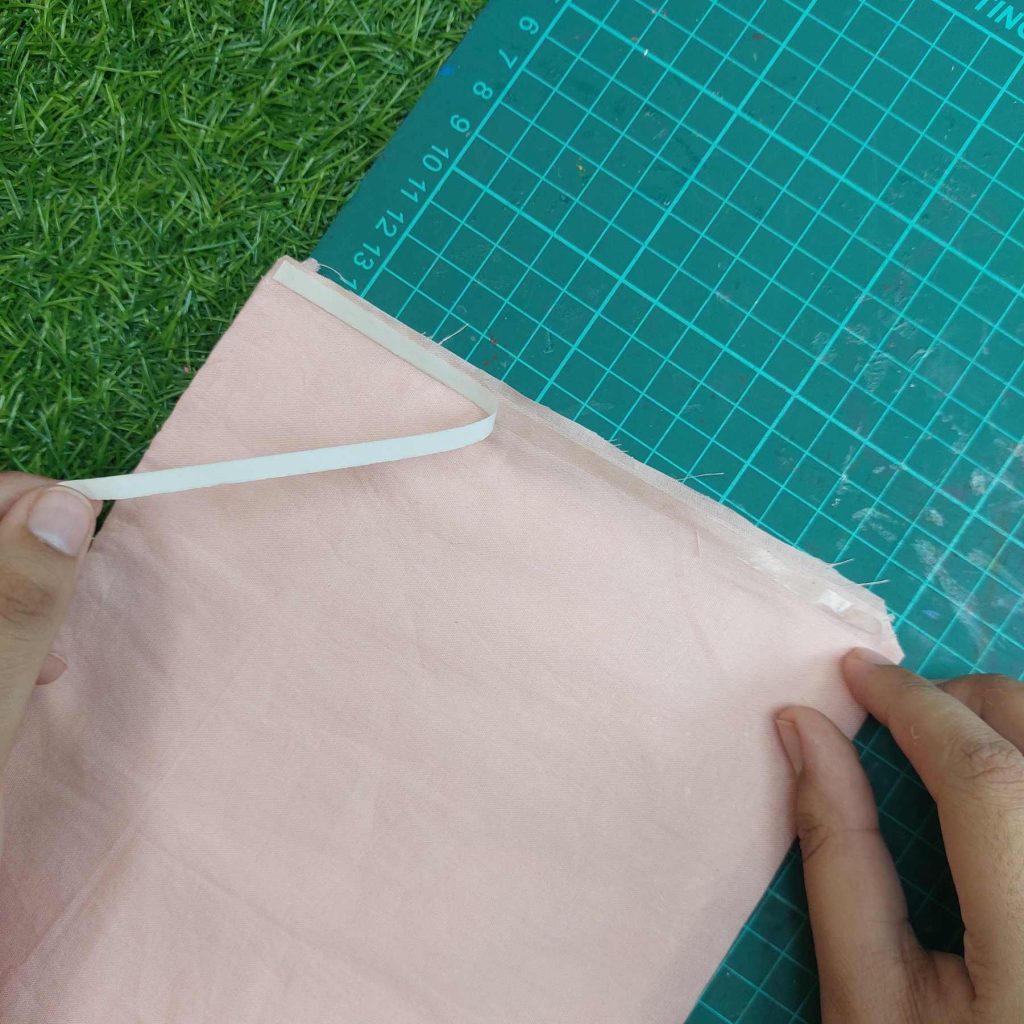
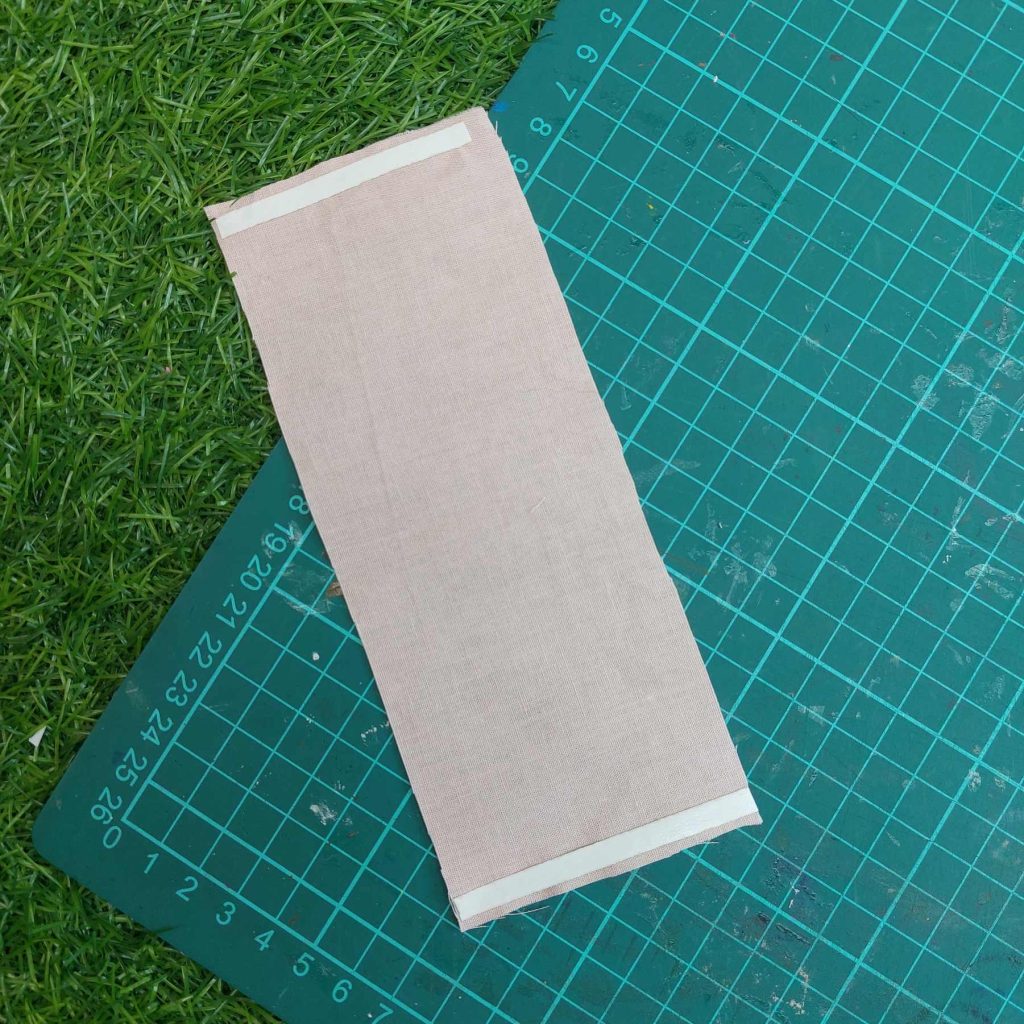
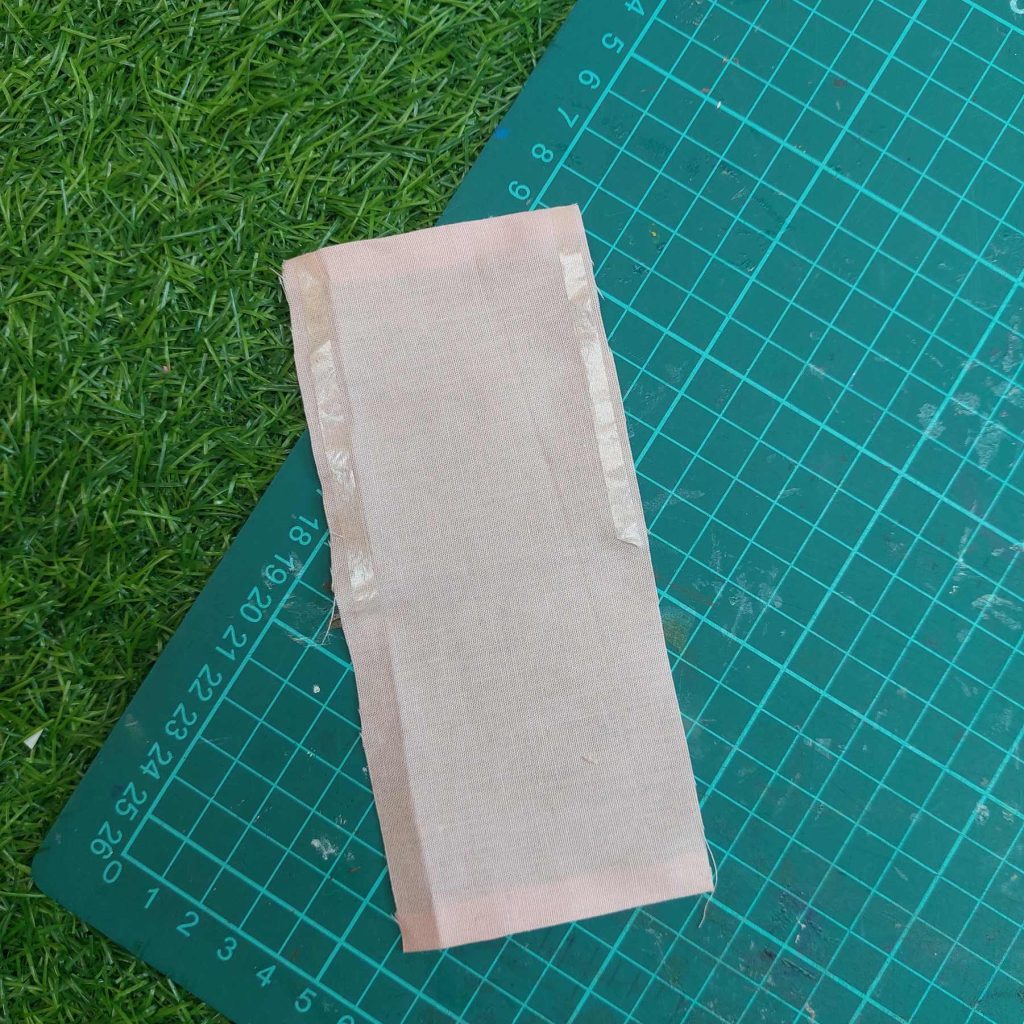
First, I placed strips of the hemming tape along three edges of the fabric, leaving one side open. I positioned the tape between the two fabric layers, making sure the good sides of the fabric were facing outward.
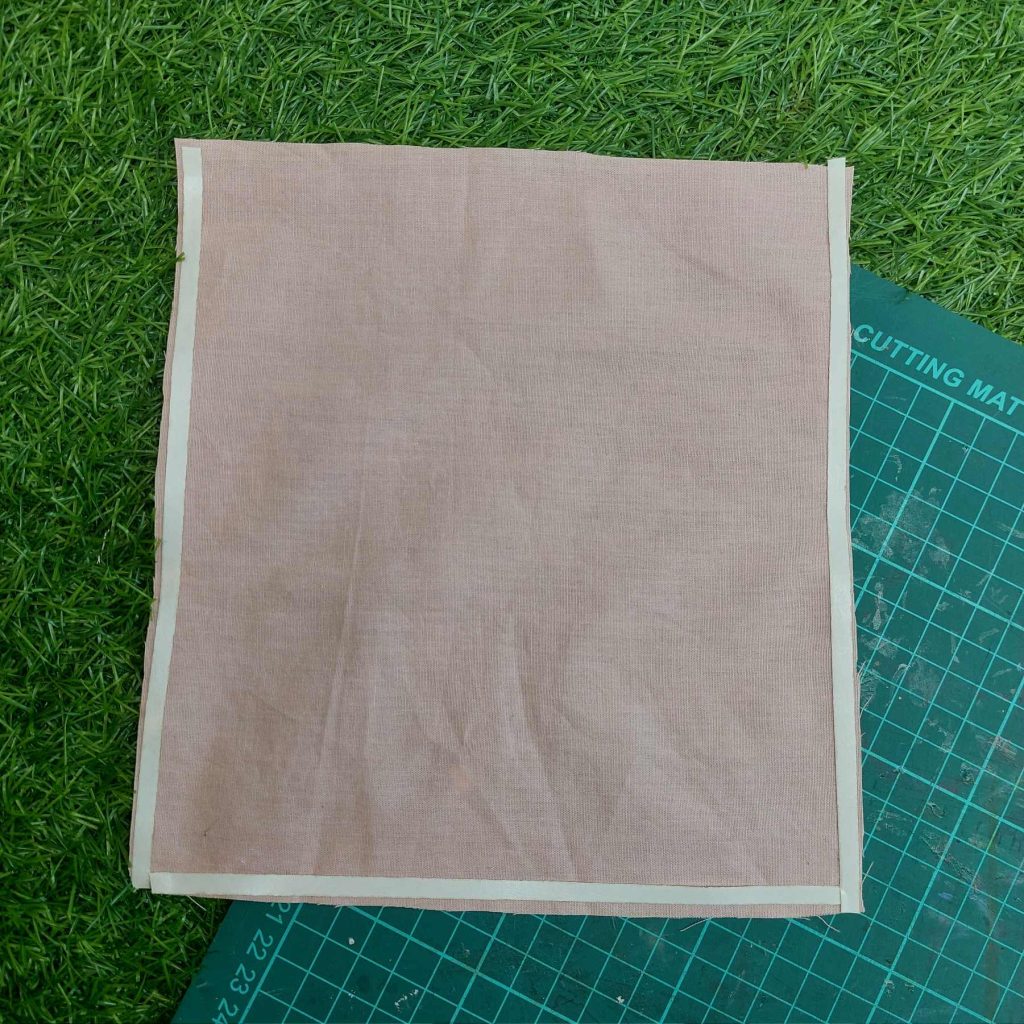
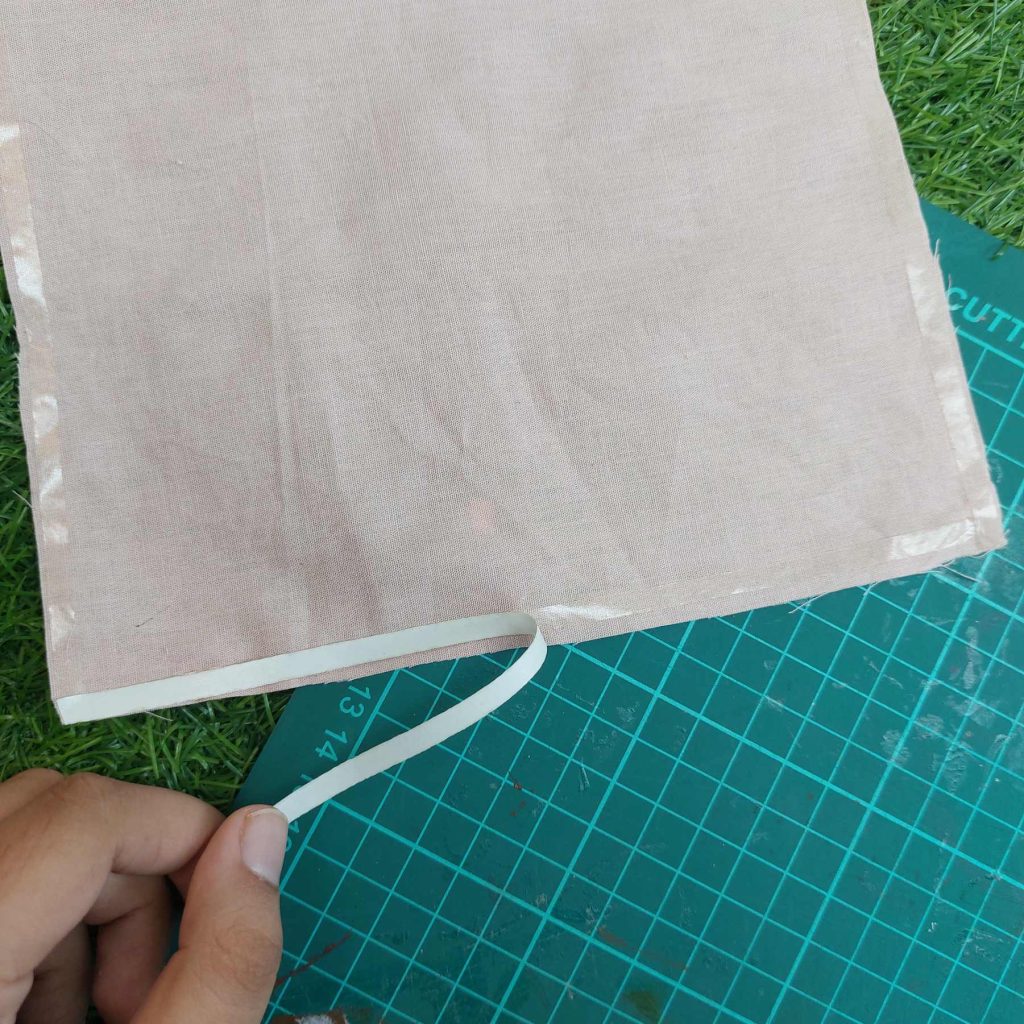
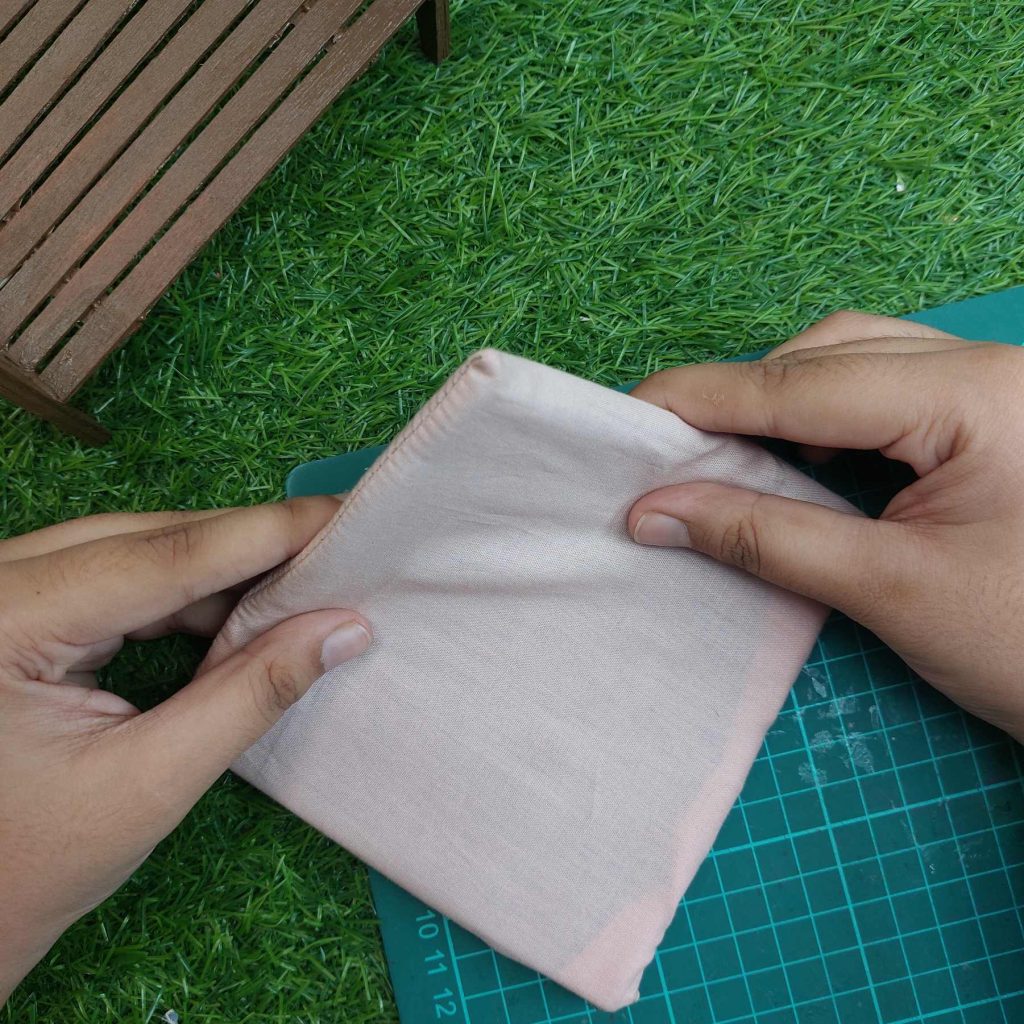
After that, I carefully ironed over the edges to activate the tape and permanently seal the fabric together.
This creates a clean miniature seam without visible stitching and keeps the blanket soft and flexible.
Step 2: folding aluminium and adding paper towel
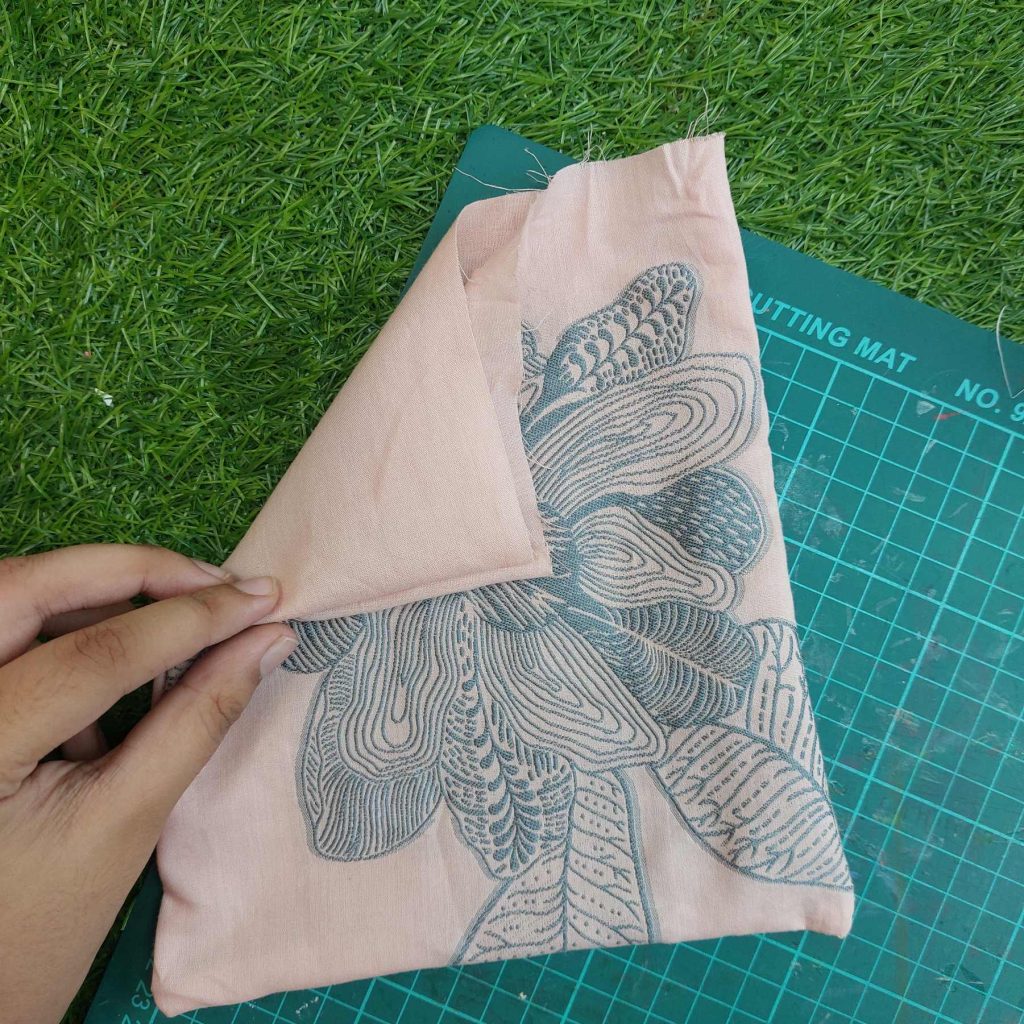
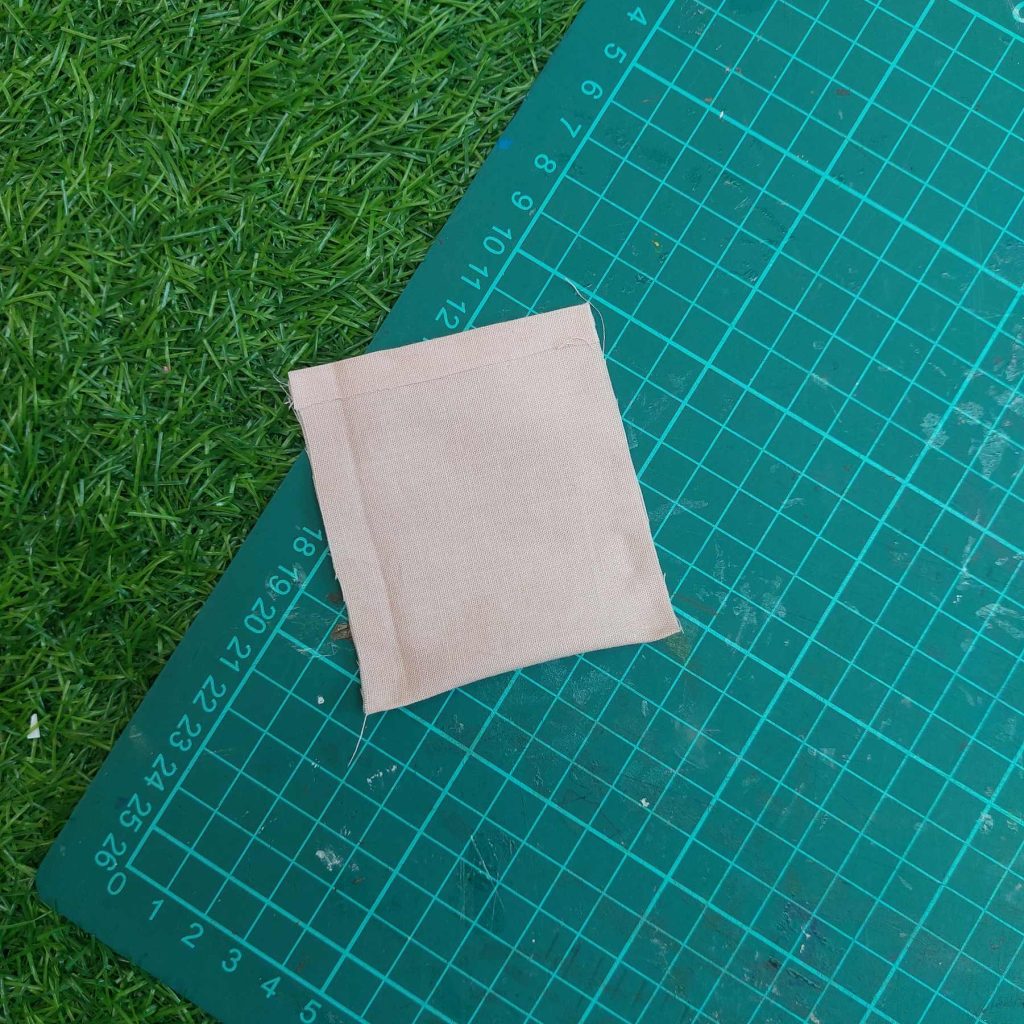
I now had something like a little fabric pocket. One side stayed open, so I could still fill it.
To help keep the shape while filling it, I used a piece of aluminium foil. I folded the foil edges inward so it became a flat rectangle that would fit inside the fabric pocket.
Then I placed a few pieces of kitchen paper on top of the foil. This gives the bedding a bit of soft volume, without making it look too bulky for a dollhouse bed.
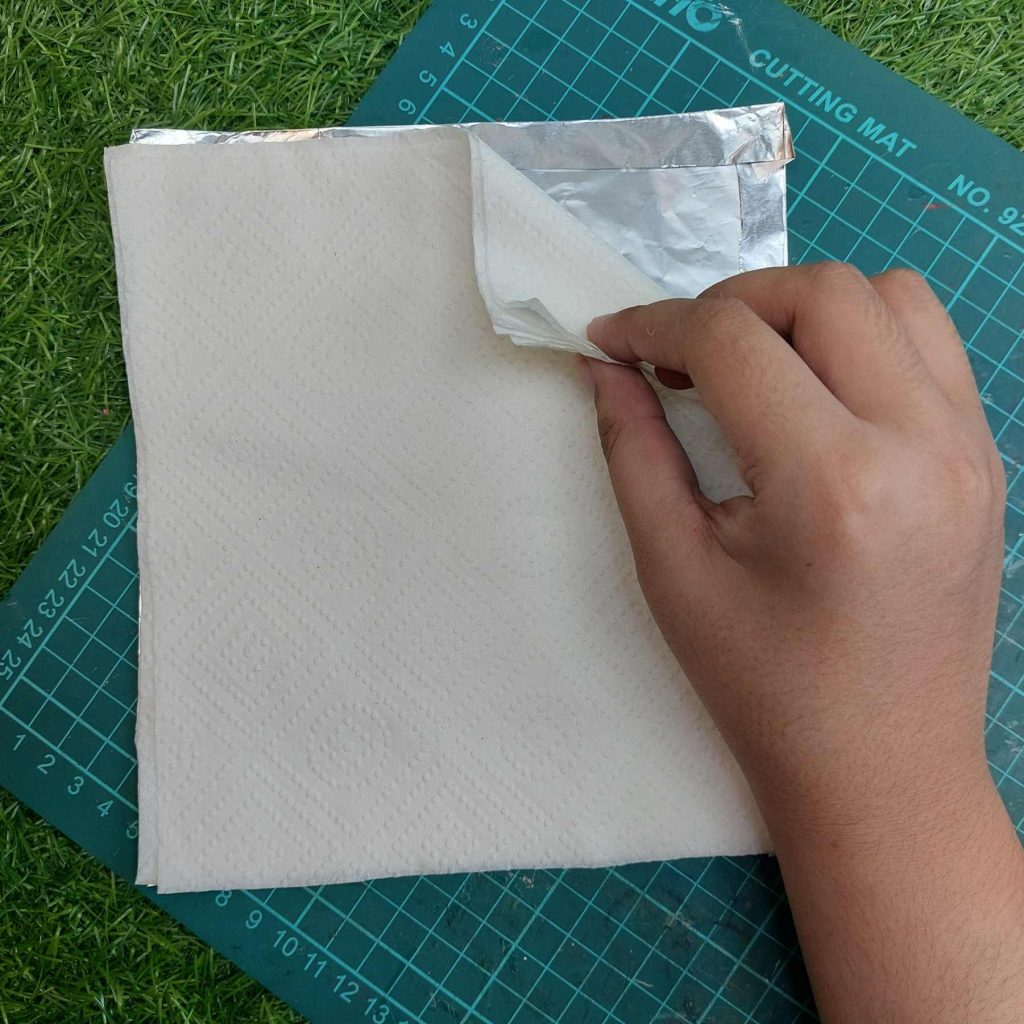
After that, I slid the foil and kitchen paper inside the fabric pocket. This way, the blanket keeps its shape better, but it still looks soft and fabric-like on the outside
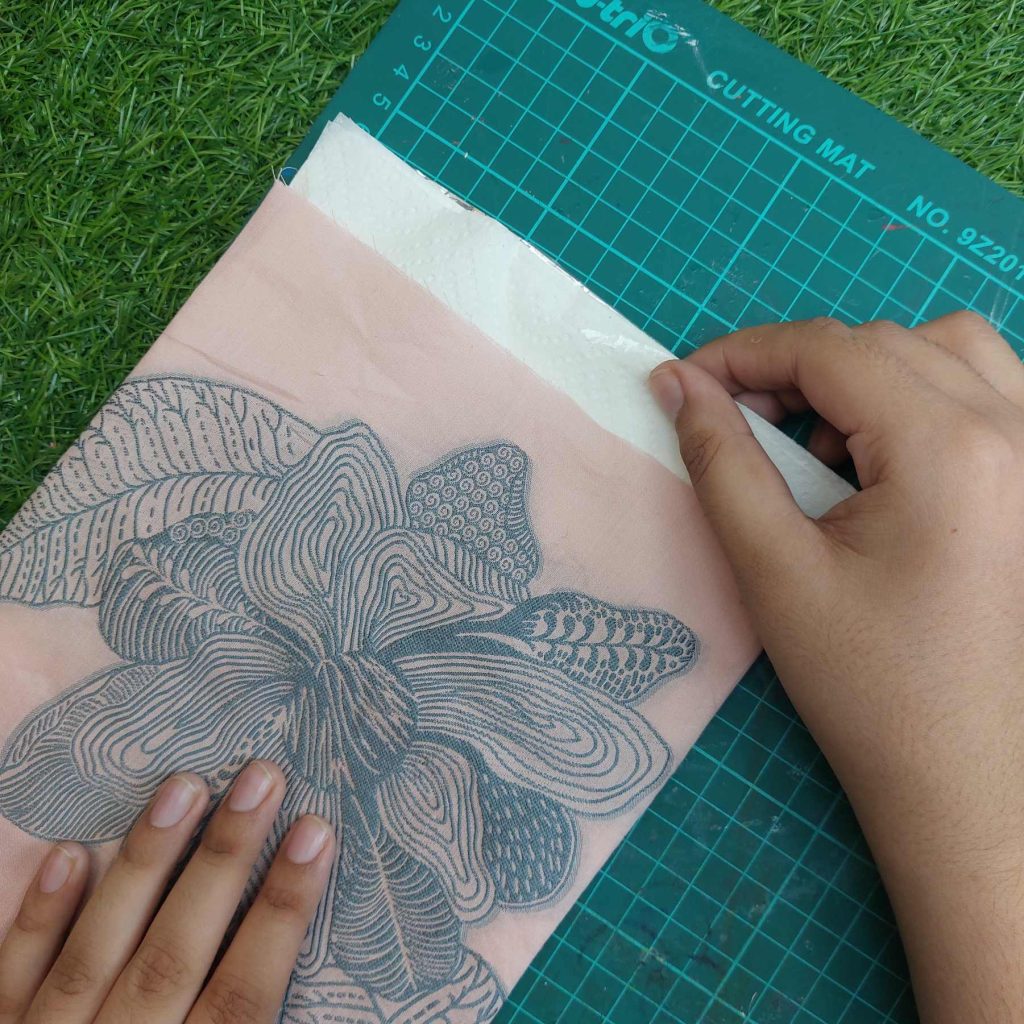
Step 3: Close the Open Side of the Bedding
Once the aluminium foil and kitchen paper were slid inside the fabric pocket, only one side was still open.
I placed another strip of iron-on hemming tape inside that open edge, between the two fabric layers.
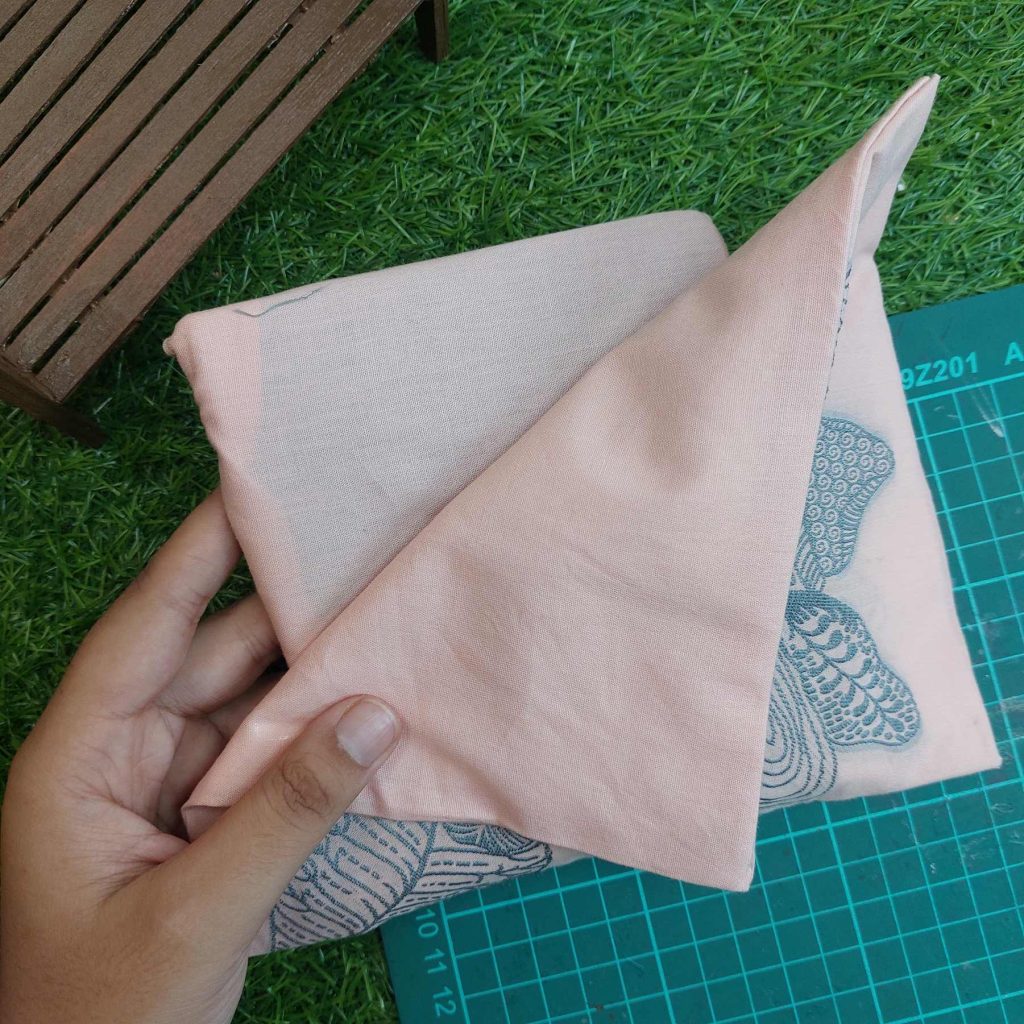
Next, I folded the fabric edges inward slightly so the raw edges were hidden inside. This gives the bedding a much cleaner finish.
I carefully pressed the folded edge together with my fingers to keep everything aligned before ironing.
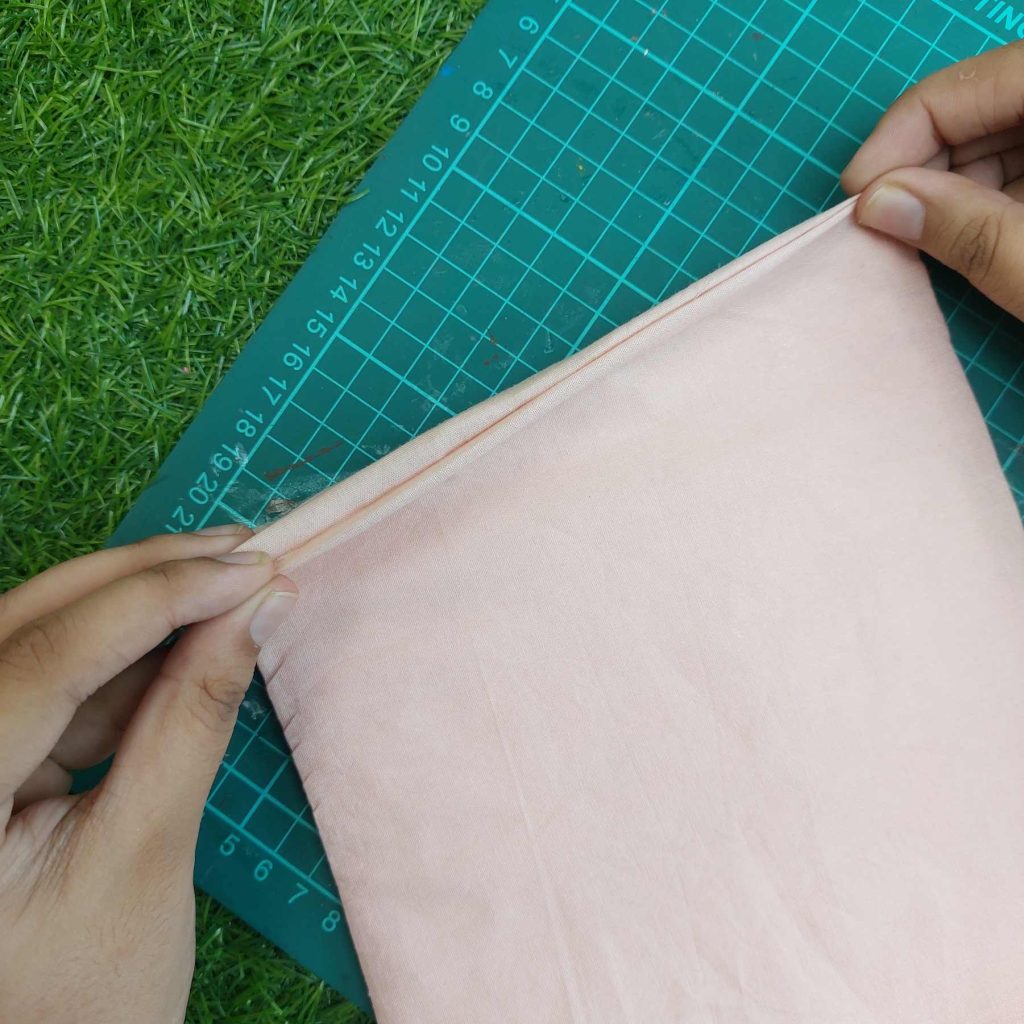
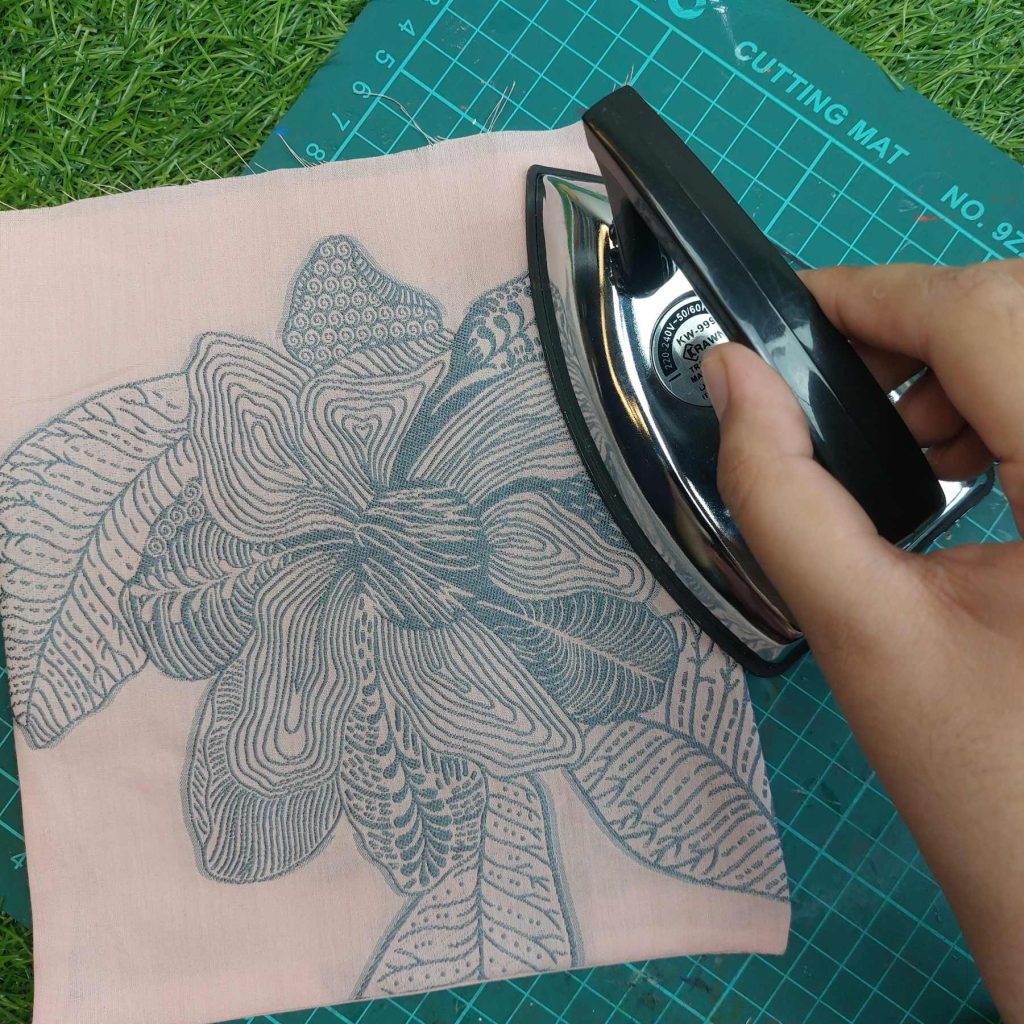
Then I used a small iron to heat the hemming tape and permanently seal the final side closed.
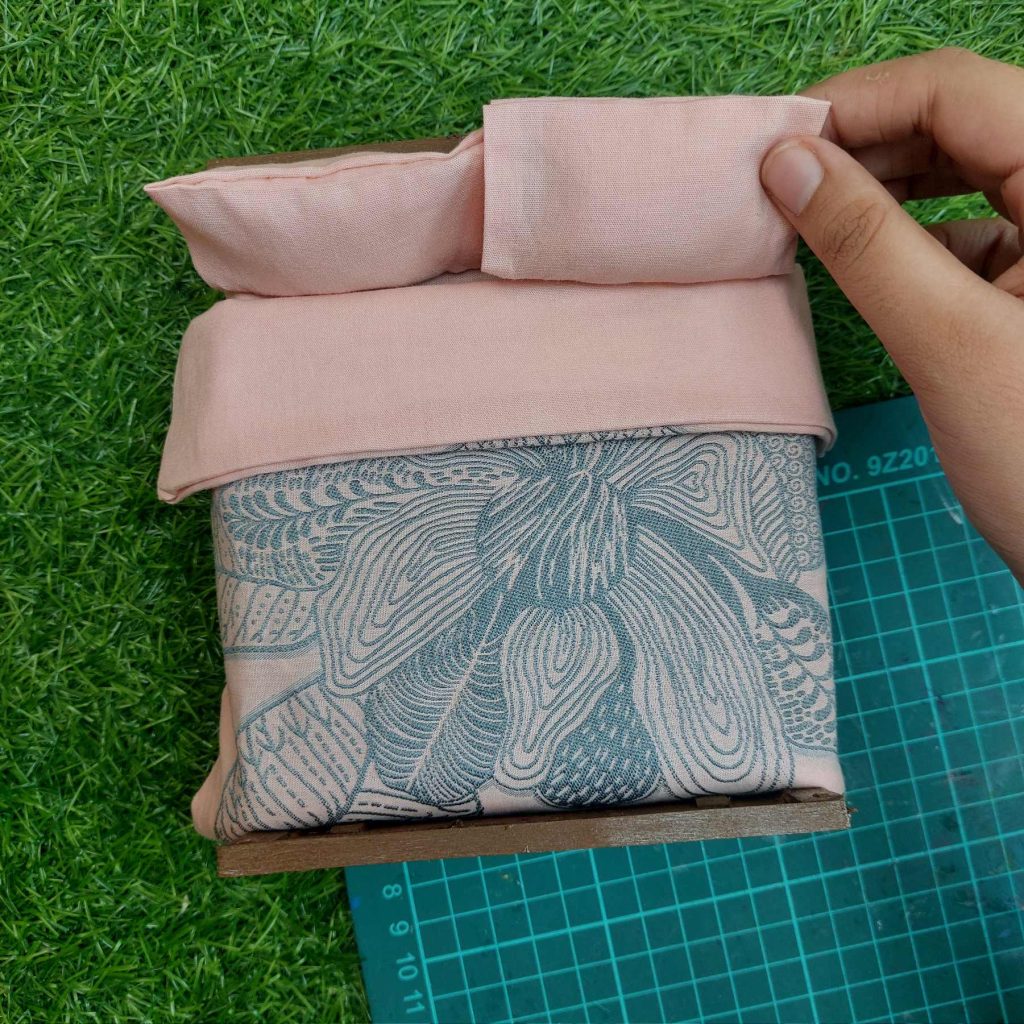
At this point, the miniature bedsheet or blanket was fully finished and lightly padded on the inside, while still remaining flexible enough to shape naturally on a dollhouse bed.
Step 4: Making the Miniature Mattress and Fitted Sheet
For the mattress, a thin piece of foam or soft sponge material was wrapped in the same plain pink fabric used for the bedding. The fabric was folded neatly around the foam to give the mattress a smooth upholstered look.
Next, I made a simple fitted sheet using another piece of the same fabric. The edges were folded inward and secured with iron-on hemming tape to create clean seams and prevent fraying. Or you could sew these ones together with a very fine thread, cause this part won't be visible when you put the blanket on it.
Step 5: Making the Bed Pillows
To make the larger bed pillows, small rectangular fabric pieces were folded around tiny stuffed pillow inserts. The inserts are filled with soft stuffing or cotton to keep them fluffy but still in scale.
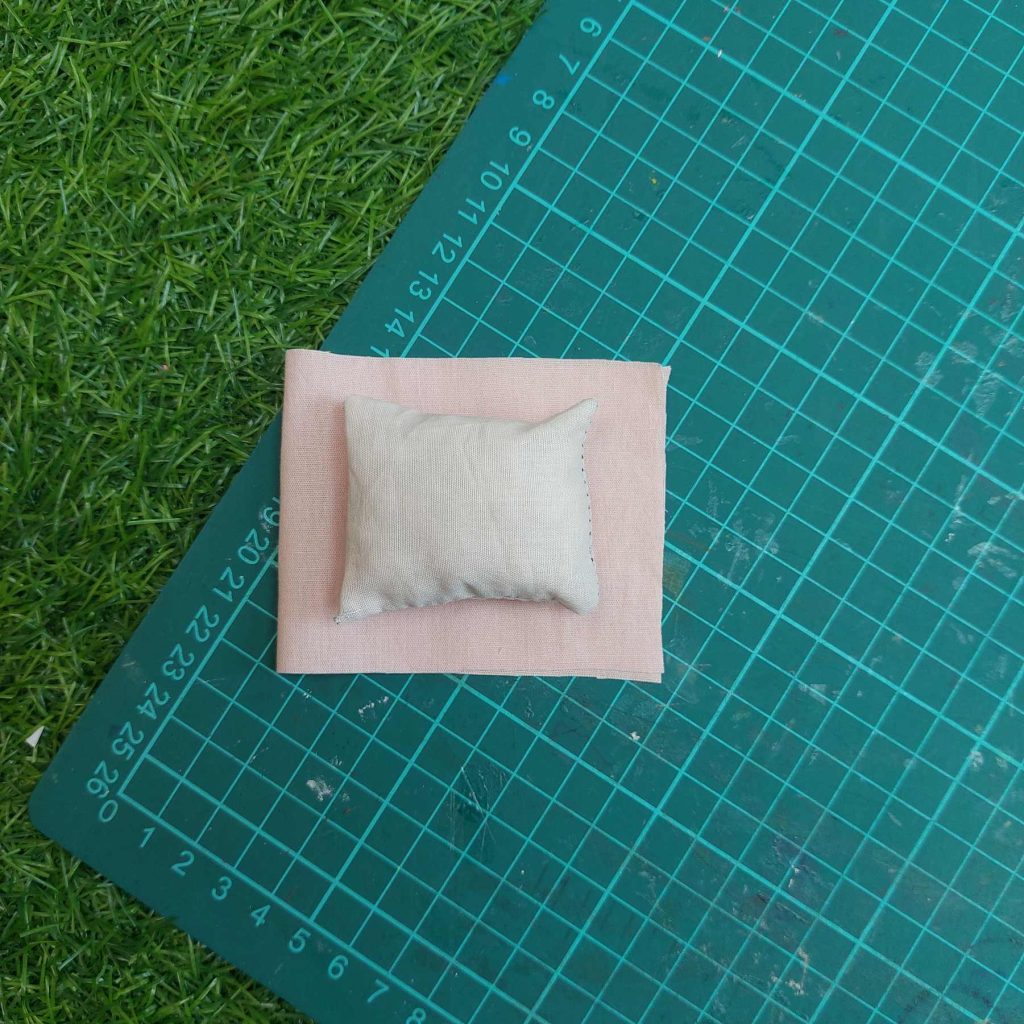
First, hemming tape was added along the edges of the fabric and folded inward to create neat seams. After ironing the folds flat, the fabric was wrapped around the pillow insert like a miniature pillowcase.
Et voila:
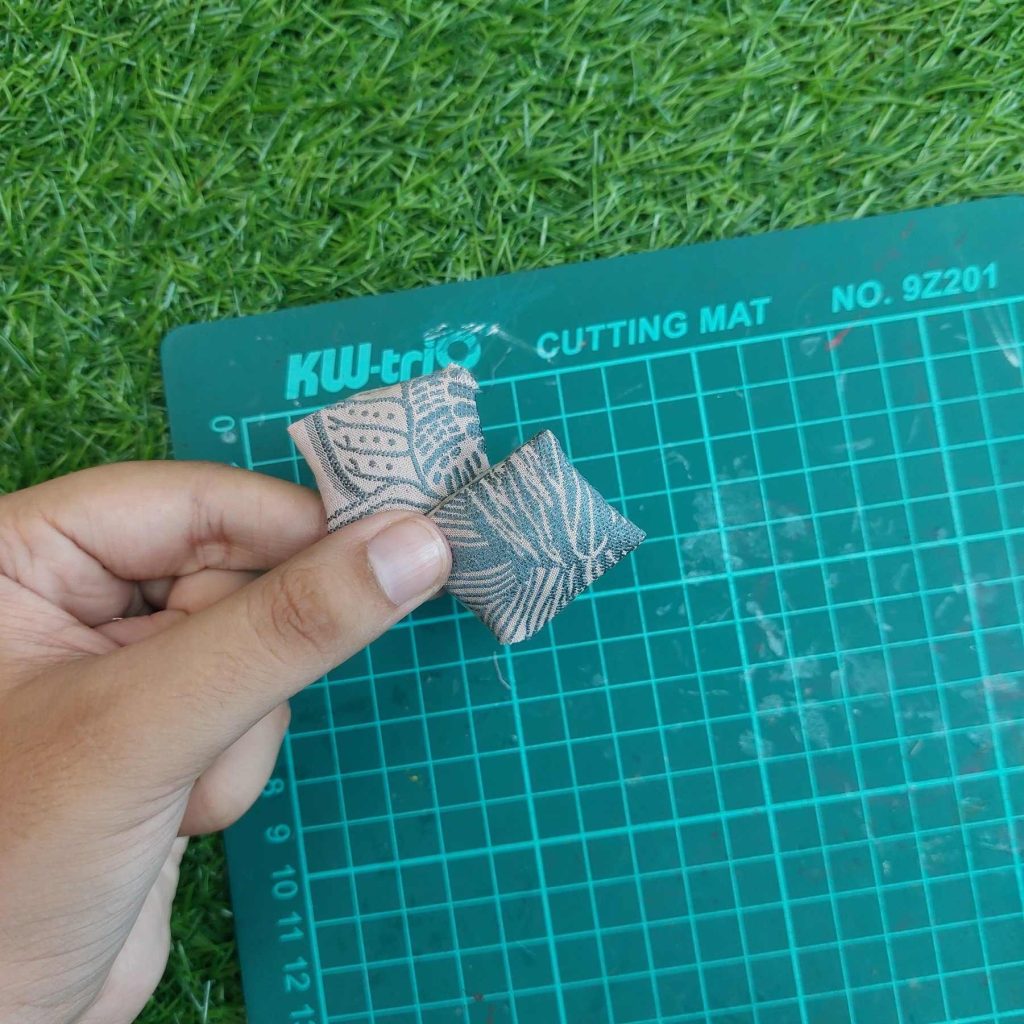
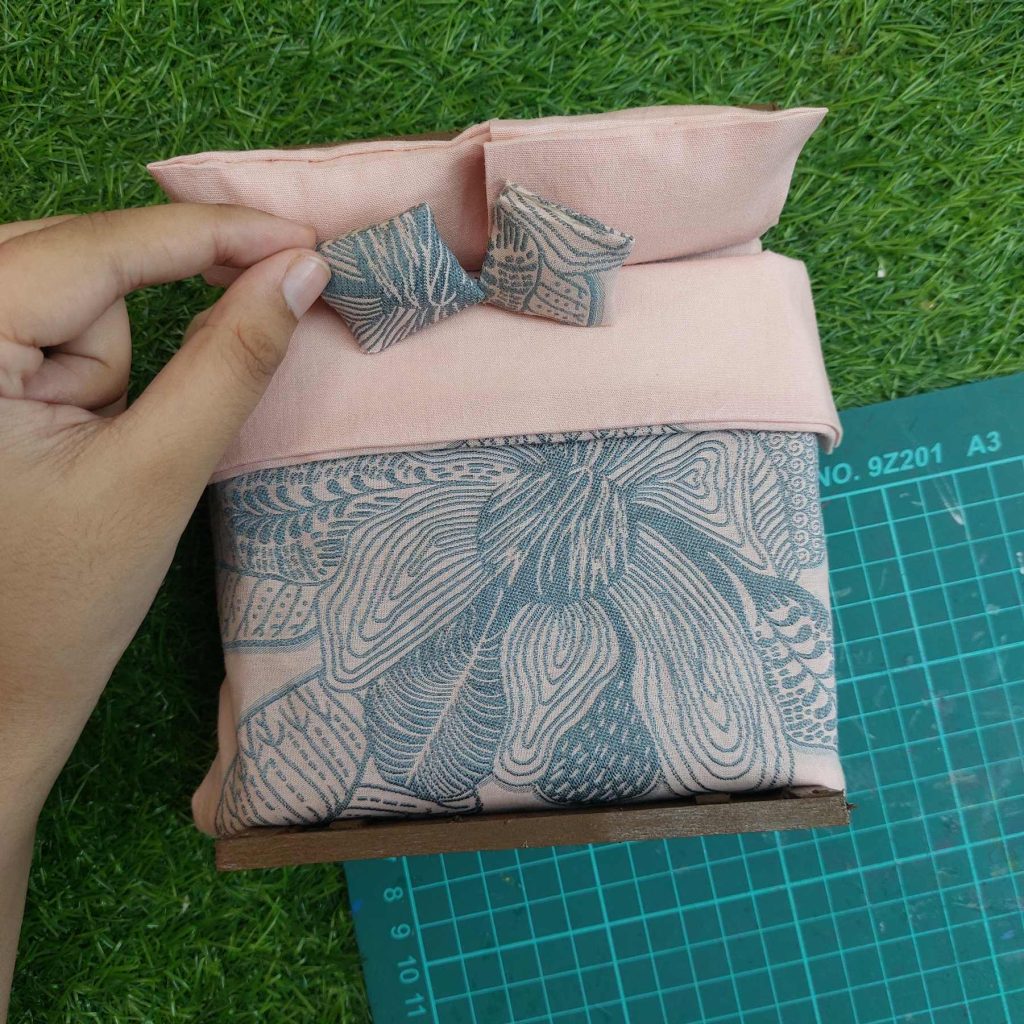
Step 6: Adding the Decorative Mini Pillows
For the final touch, I think this really finishes it; two tiny decorative cushions were made using the leftover printed floral fabric from the blanket.
Again, small pillow inserts were slipped inside the fabric covers, creating matching accent cushions for the bed.
What do you think?
🎥 Watch this Short on
YouTube
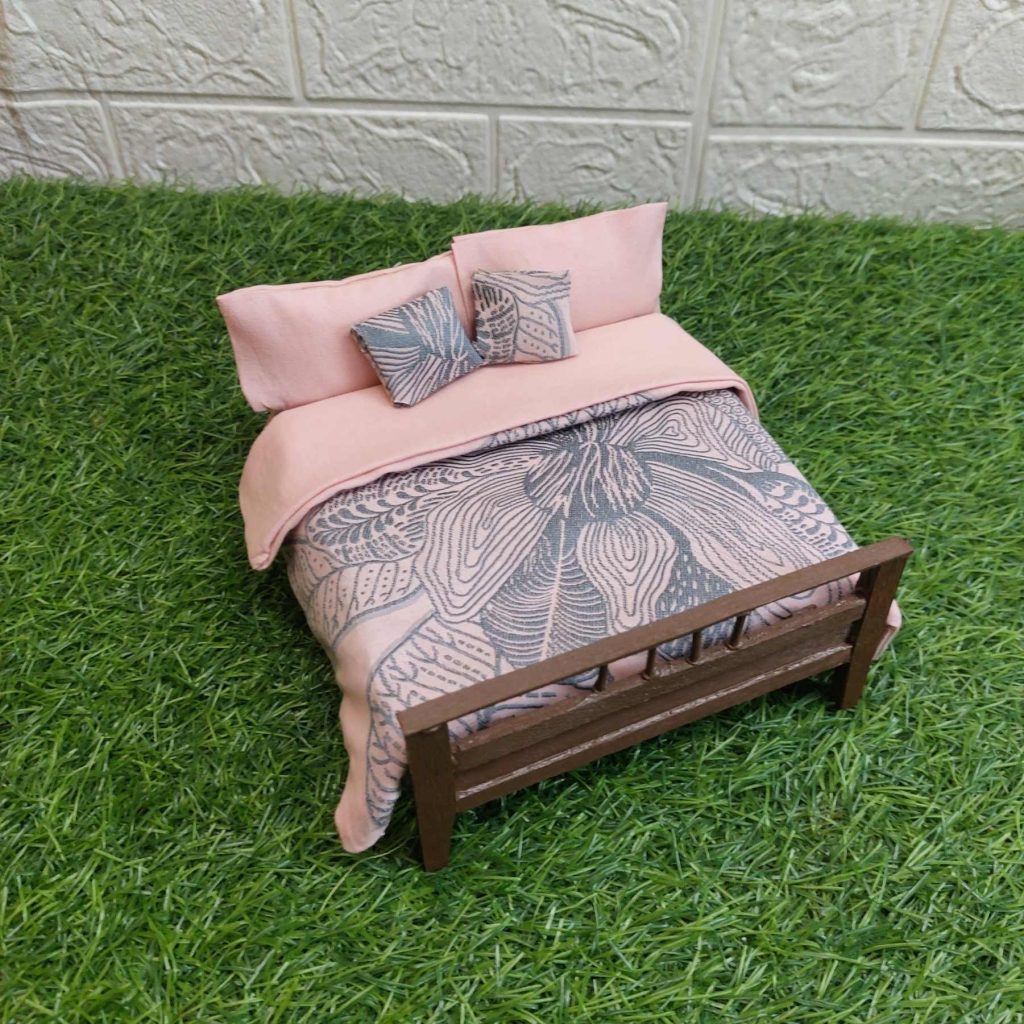
And that’s it — the miniature bed is finished!
By combining simple fabric pieces, tiny pillow inserts, hemming tape, and a few careful folds, you can create realistic dollhouse bedding without needing advanced sewing skills. The matching pillows and blanket help tie everything together and give the bed a soft, cozy look.
Have a question? Don't hesitate to ask!
I wish you happy crafting!
Kind regards,
Lizzy
