How I Made a Simple...
 
Notifications
Clear all

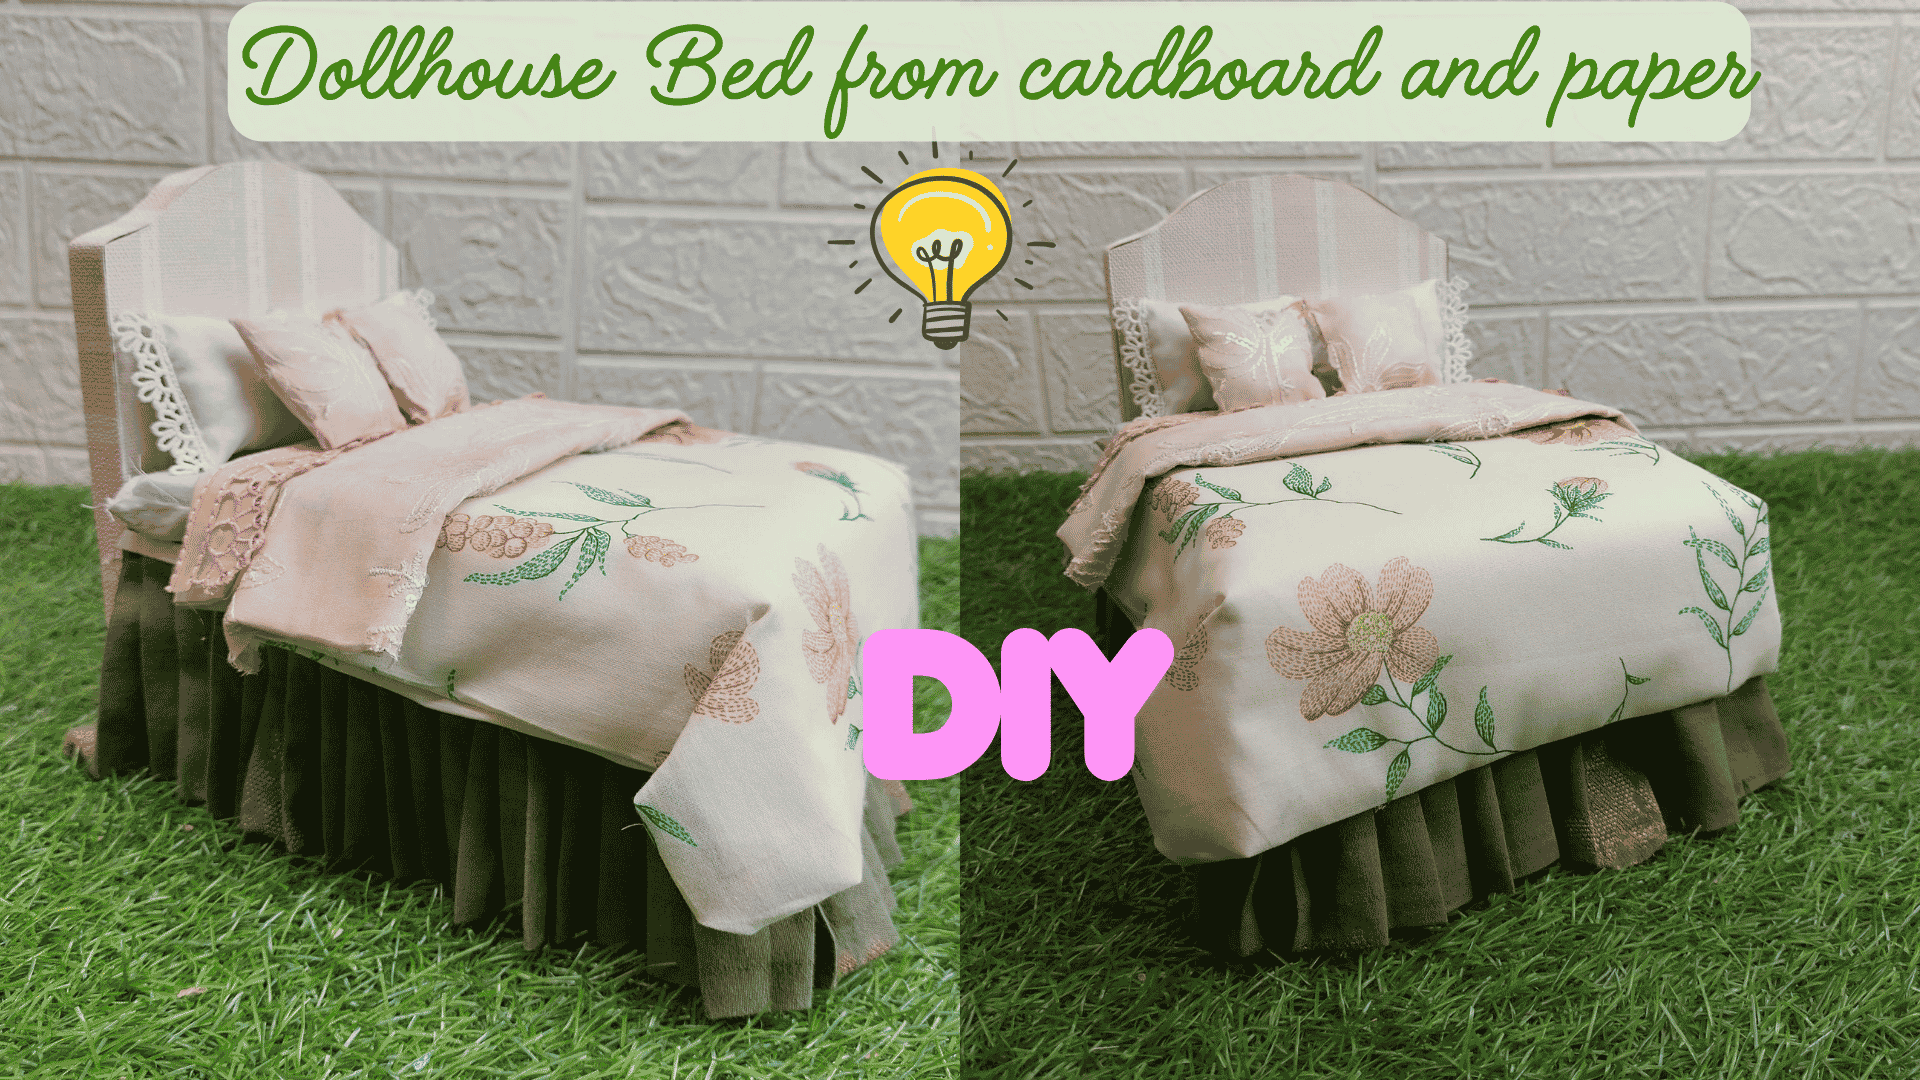
How I Made a Simple Dollhouse Bed from Cardboard - Plus Handmade Miniature Bedding

1 Posts
1 Users
0 Reactions
2 Views
(@lizzy)
Posts: 944
Member Admin
Topic starter
 
[#2829]
wpf-cross-image

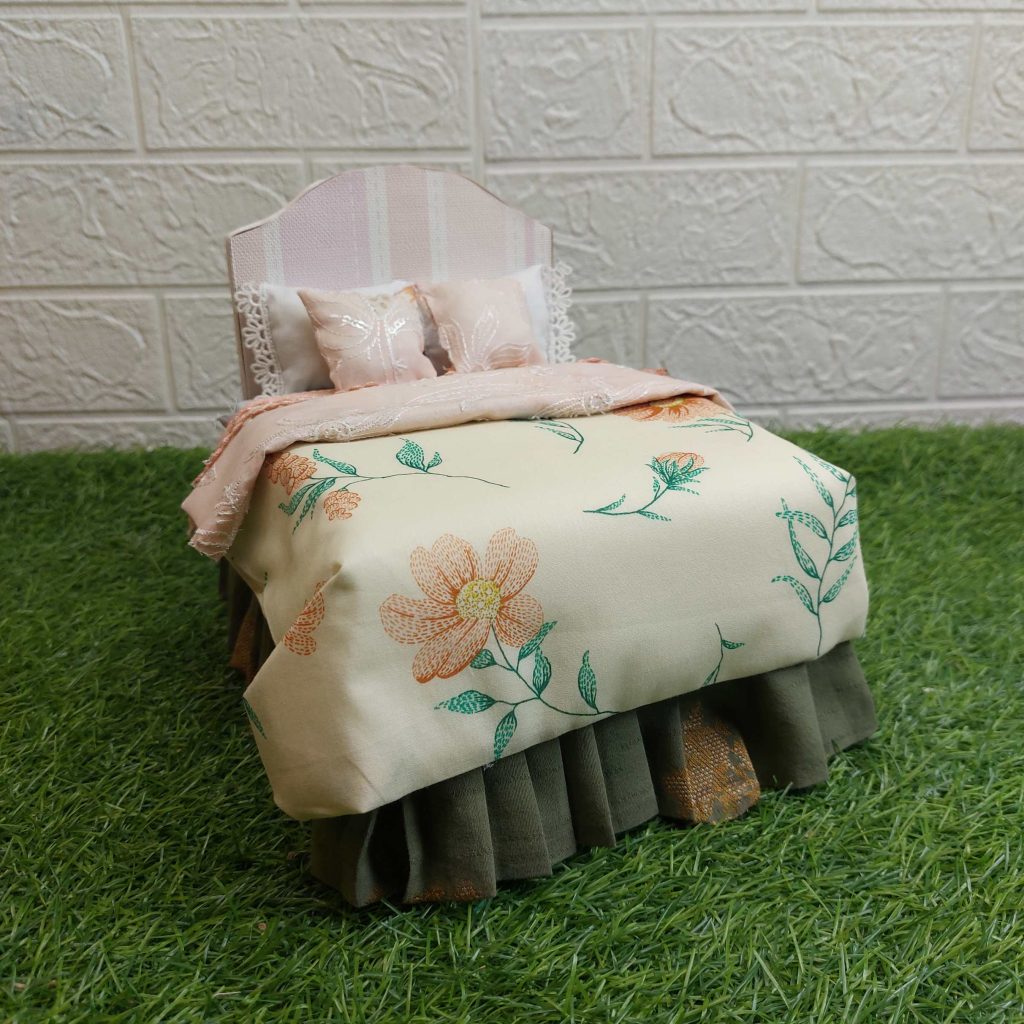
For this project, I wanted to make a simple dollhouse bed mostly from cardboard and leftover materials I already had at home. The basic structure itself is actually very easy to make, and most of the charm comes later from adding bedding, pillows, and small decorative details.

The bed shown here is roughly 1:12 scale. Part 2 for the bedding will come soon!

Materials I Used

I used pretty straightforward materials and tools; this is all there is to it:

  • Thick cardboard
  • Craft knife
  • Pencil
  • Ruler
  • Cutting mat
  • Strong craft glue
  • Masking tape
  • Wallpaper sample
  • White cardstock
  • Fabric scraps for the bedding
  • Lace trim for decoration

Bed Measurements

These are the measurements I used for the bed structure:

  • Base: 13 × 17.5 cm
  • Back/headboard piece: 13 × 17 cm
  • Front footboard piece: 6 × 13 cm

You can easily resize these measurements if you want to make a larger or smaller dollhouse bed.

If you are not sure how to resize something, feel free to check out my FREE scale converter!

Step 1: Make the basic bed base

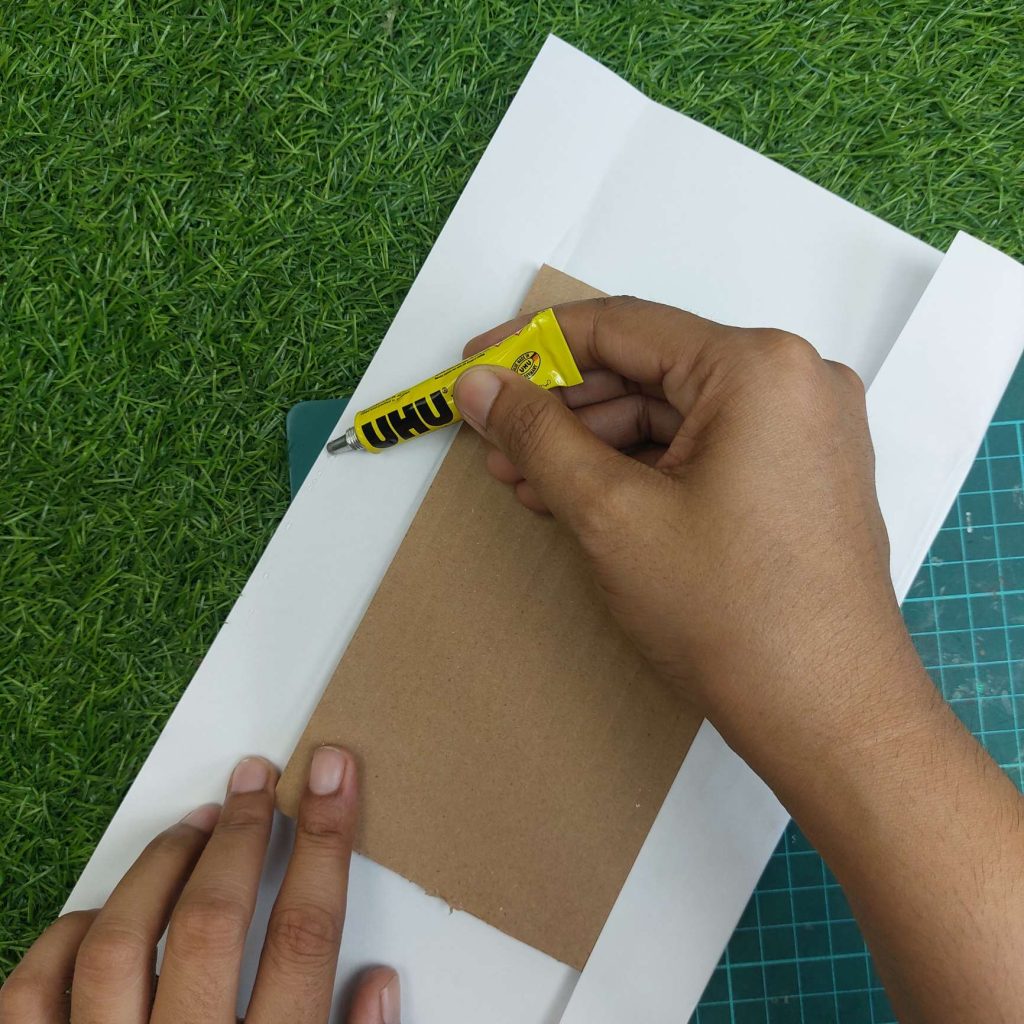
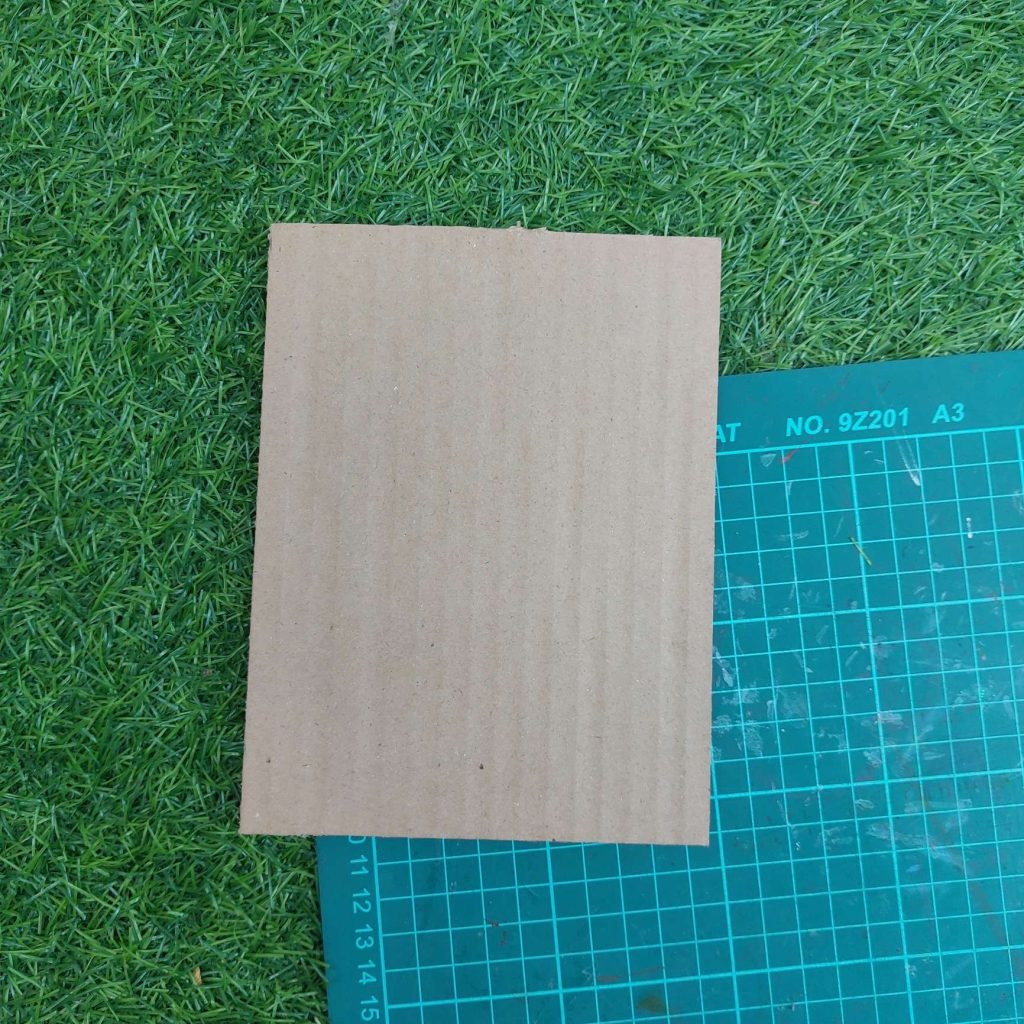
Start with a piece of sturdy cardboard for the main bed base. For this bed, the base measures 13 cm x 17.5 cm.

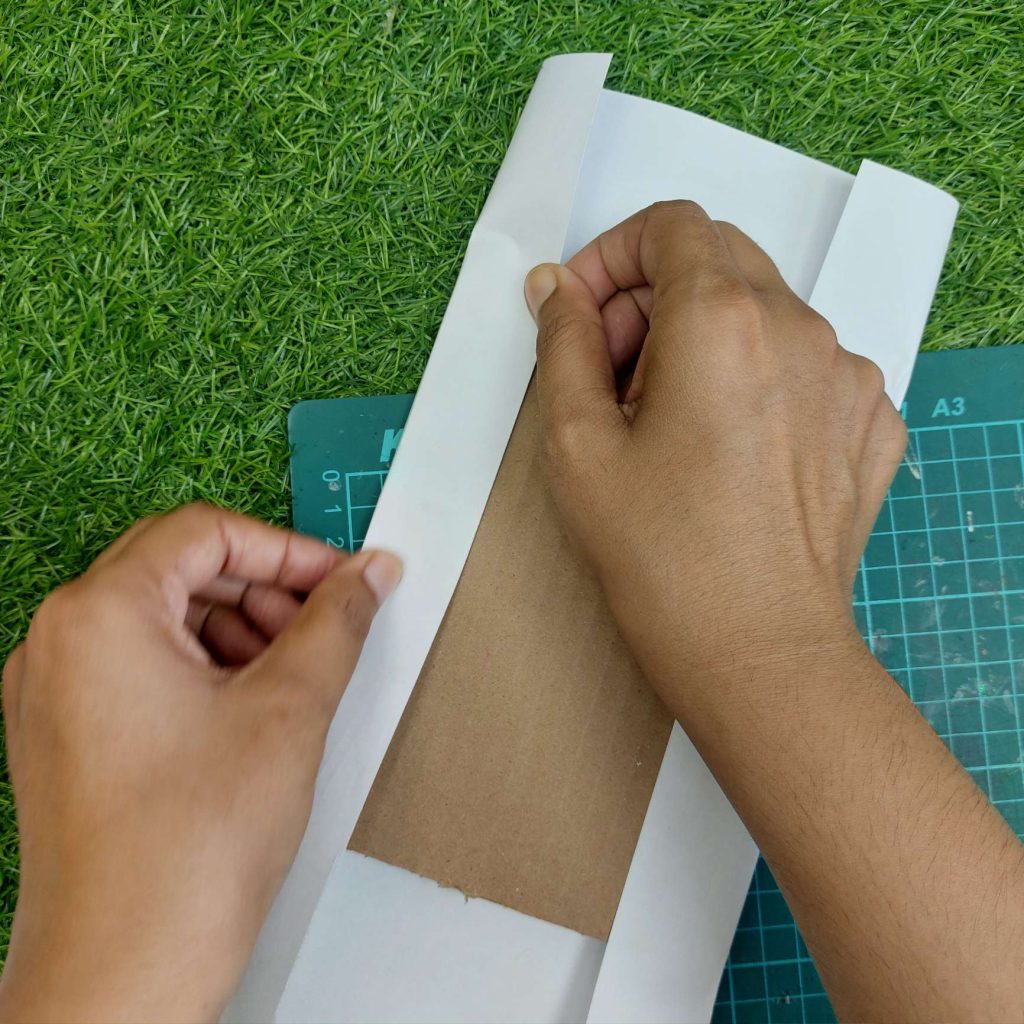
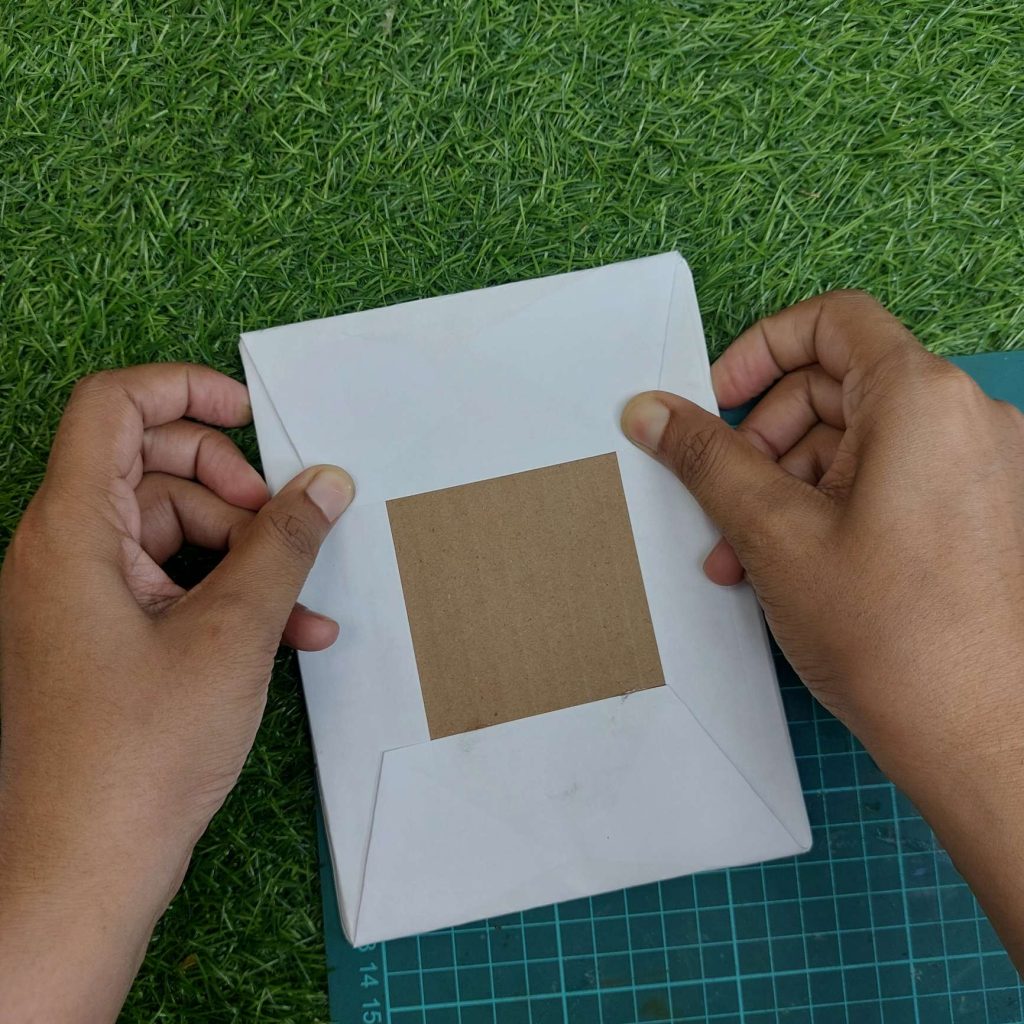
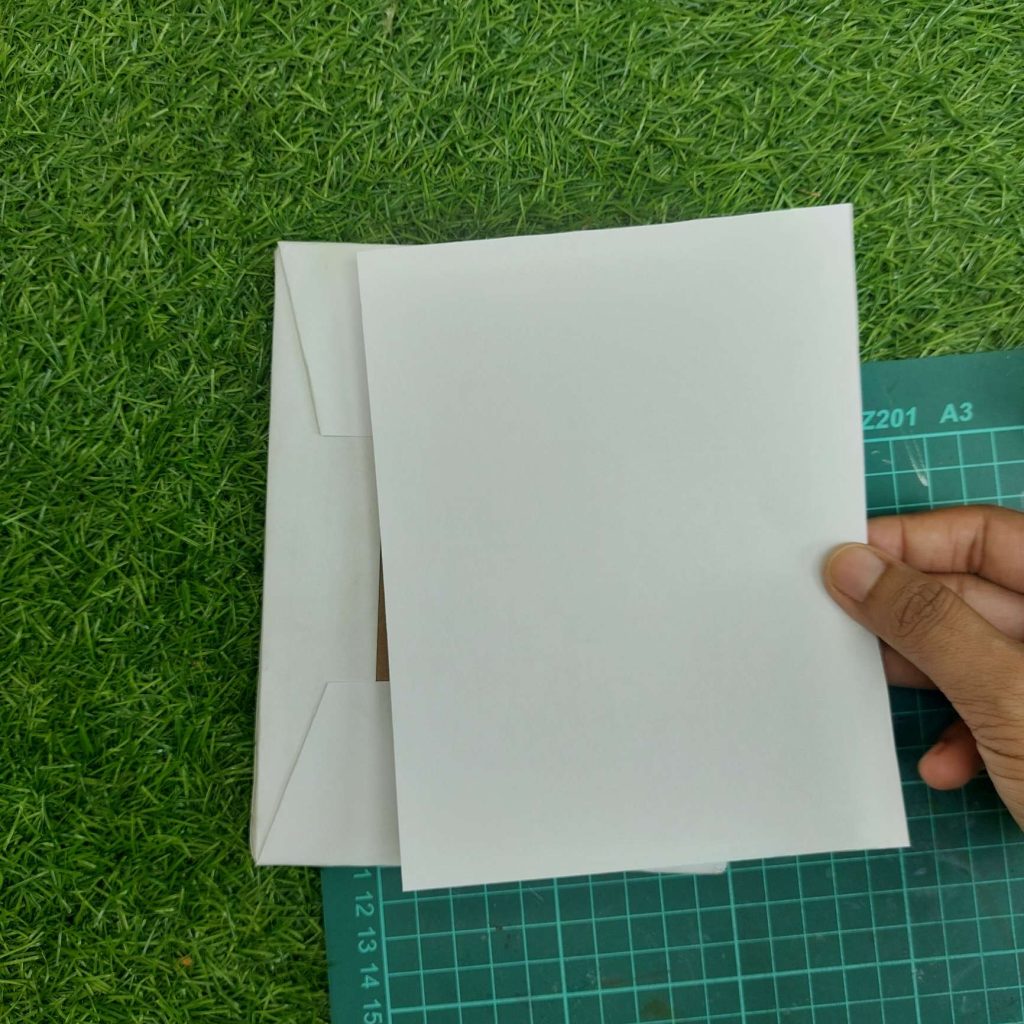
To make the base look cleaner and more finished, place the cardboard on a piece of white cardstock or thick paper. Add glue around the cardboard, then fold the paper around the back, almost like wrapping a little present.

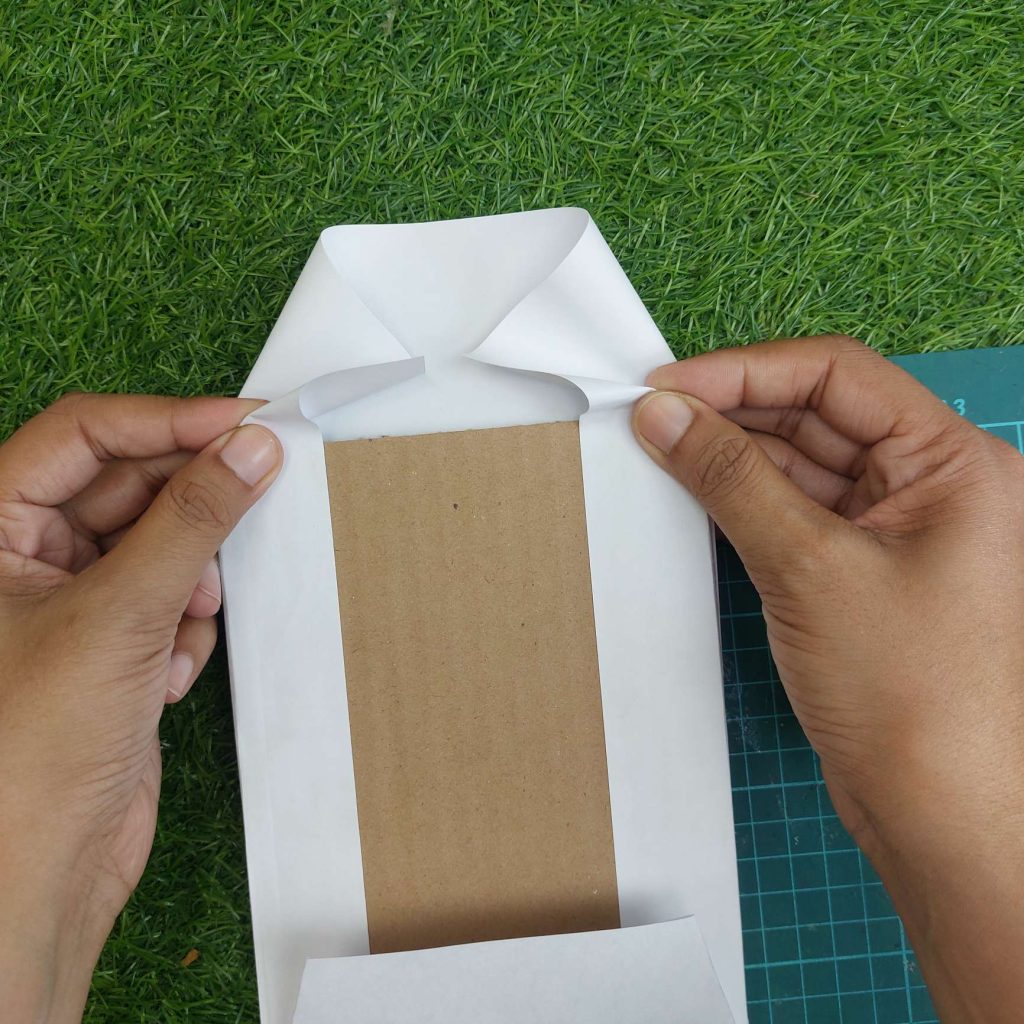
Press the paper down well on the back so it sticks flat. The front does not need to look perfect yet, because this part will be covered later. The most important thing is that the cardboard base becomes stronger, neater, and has clean white edges.
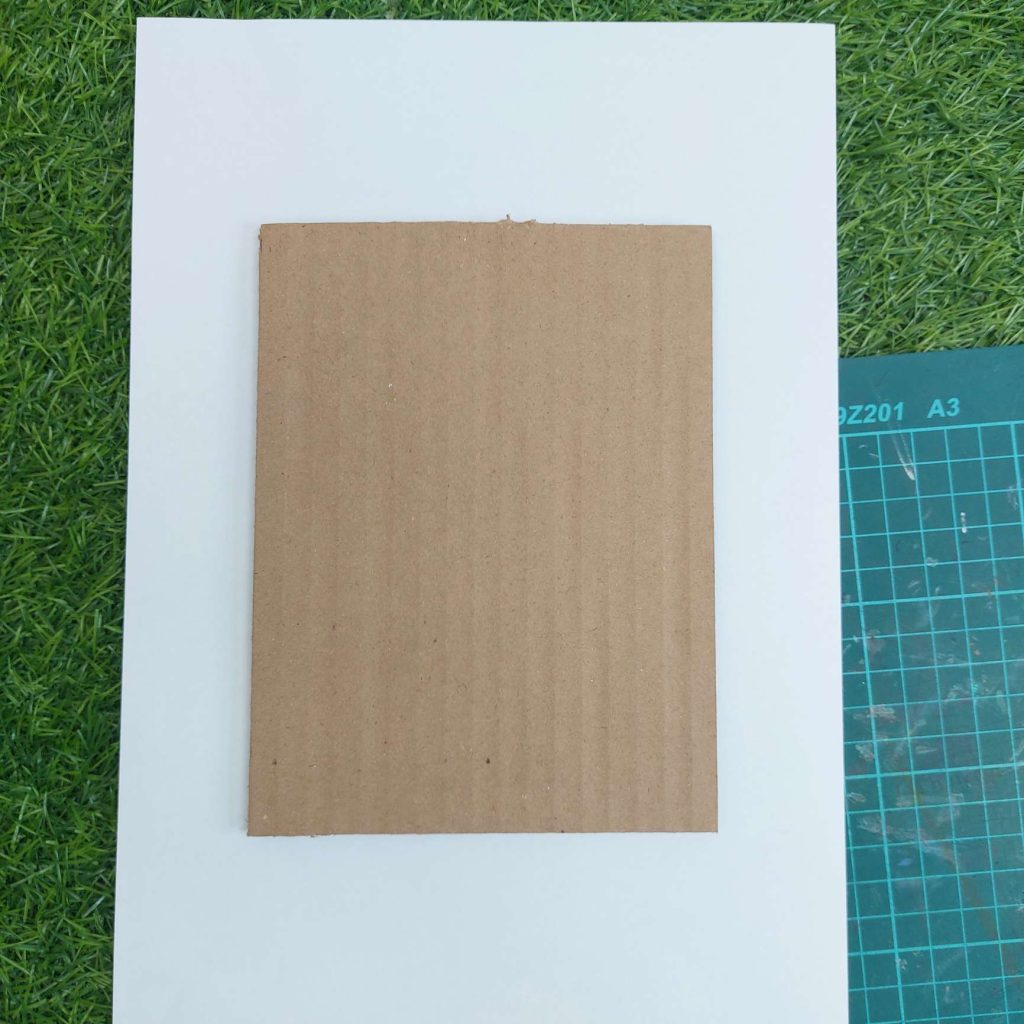
Fold the next white paper neatly around the back and glue it down.
Step 2: Shape the headboard pieces

Now it is time to create the curved shape for the headboard.

Take your two cardboard pieces measuring 13 × 17 cm. These will become the front and back layers of the headboard.

Measure about 2.5 cm down from both top corners. Then lightly sketch a curved line between those points. I also marked roughly 6.5 cm toward the center to help guide the curve, but honestly, you can freehand this part a little.

Once you are happy with the shape, carefully cut along the curved line using a craft knife.

After cutting the first piece, place it on top of the second cardboard piece and trace around it so both shapes match perfectly.

Cut out the second piece as well. You should now have two identical curved headboard pieces ready for the next step.

Step 3: Glue the headboard layers together

Apply glue across one of the cardboard headboard pieces, and then place the second cardboard piece on top and carefully line up all the edges and curves.

Once both layers are attached, wrap masking tape around the curved top and sides. This helps keep the two layers tightly together while the glue dries and also gives a smoother edge later on.

After that, place the headboard wallpaper shape onto the back of your fabric and trace around it, leaving enough extra paper around the edges so you can fold it over neatly.

Glue the paper onto the front side first, smoothing it down gently with your fingers to avoid wrinkles.

Then fold the extra paper over the edges toward the back and glue everything down neatly. The curved top may need a few tiny folds or cuts in the paper so it lays flat without bunching up.

You should now have a soft-looking headboard piece ready for the next step.

Step 4: Build and cover the base of the bed

I cut a smaller cardboard strip for the front panel at the foot of the bed.

Next, I covered it with the same dollhouse wallpaper print used for the headboard so everything matched nicely.

Glue the headboard piece to the base of the bed that you cut out in the first step.

And then finally, assemble the front piece to the base; make sure everything is stable when placed on the cutting mat.

At this point, the basic structure of the miniature bed is complete and ready for the mattress and bedding later on.

Get ready for step 2 soon, the bedding!

I hope you enjoyed this tutorial, and please feel free to leave a comment down below in the comments section!

I wish you happy crafting!

Kind regards,

Lizzy


Posted : 30/05/2026 8:04 pm