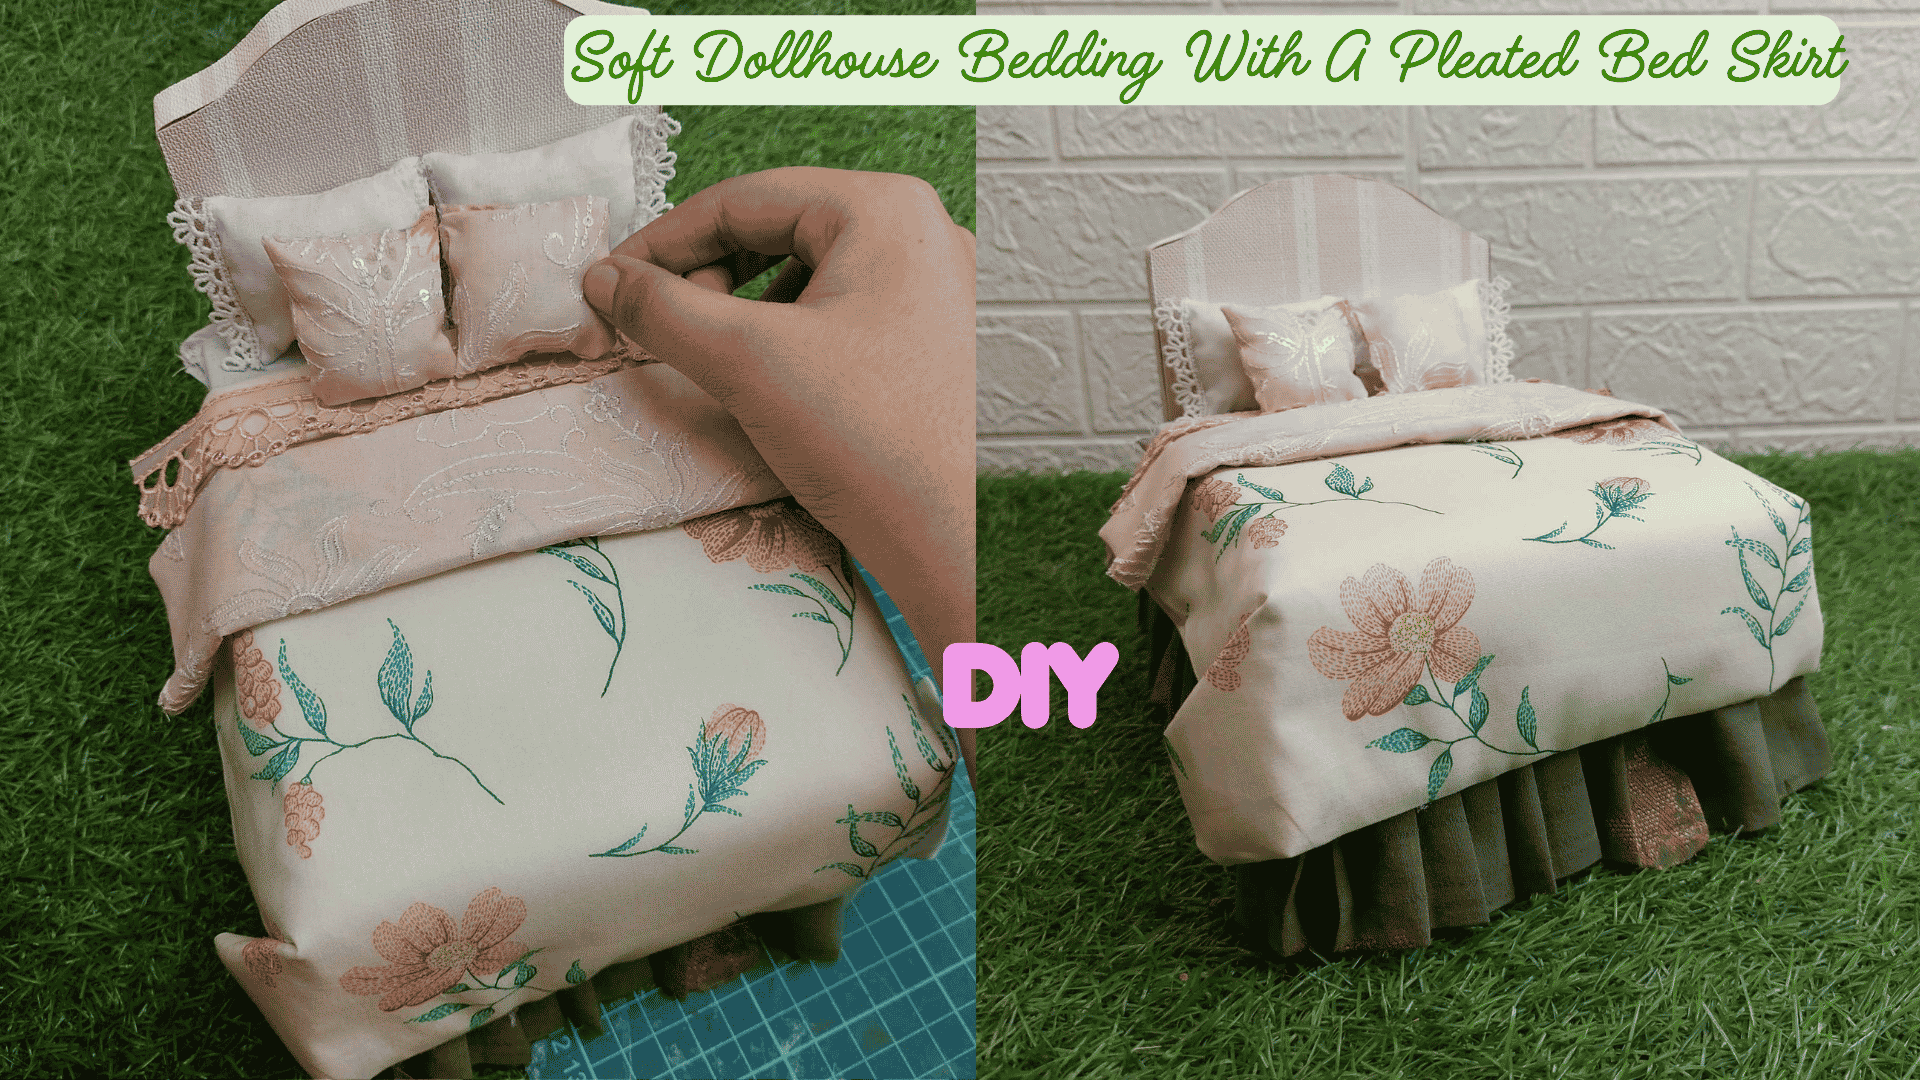
Remember last week, when we made the base of this bed? Today, we are doing the bed linen in this separate post, or all the pictures would slow it down.
I wanted this dollhouse bed to feel soft and layered, almost like a real romantic-style bed you would find in a cottage bedroom.
So for this project, I made a pleated bed skirt, a padded blanket, and decorative bedding using fabric, hemming tape, and a few simple materials.
Everything was done without sewing.
Materials I Used
- Thin fabric
- Fusible hemming tape
- Iron
- Paper towels
- Aluminium foil
- Decorative lace trim
- Fabric glue
- Scissors
- Craft knife
- Cutting mat

Step-by-step tutorial
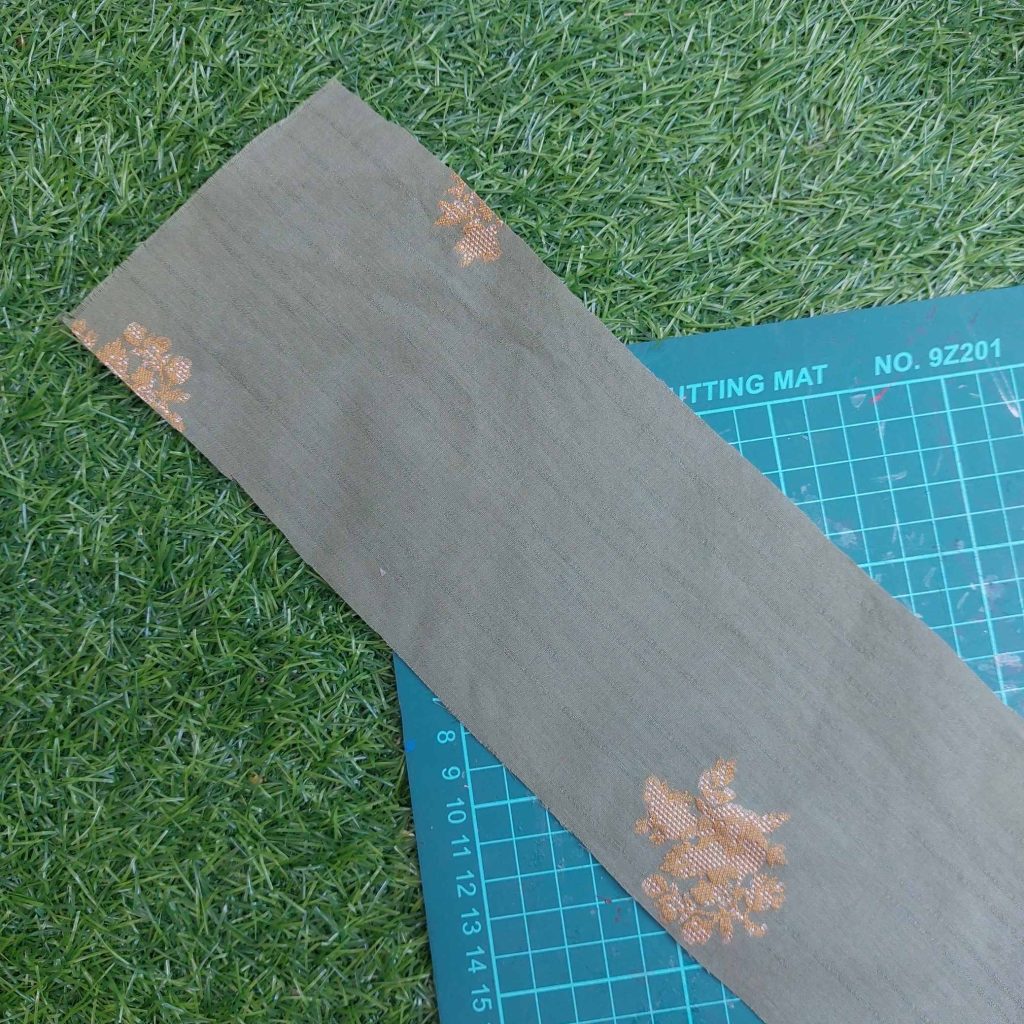
Step 1: Making The Pleated Bed Skirt
For the bed skirt, I started with a long strip of fabric. I made it much longer than the actual side of the bed so there would be enough material for the folds.
I then placed fusible hemming tape along the top edge of the fabric strip.

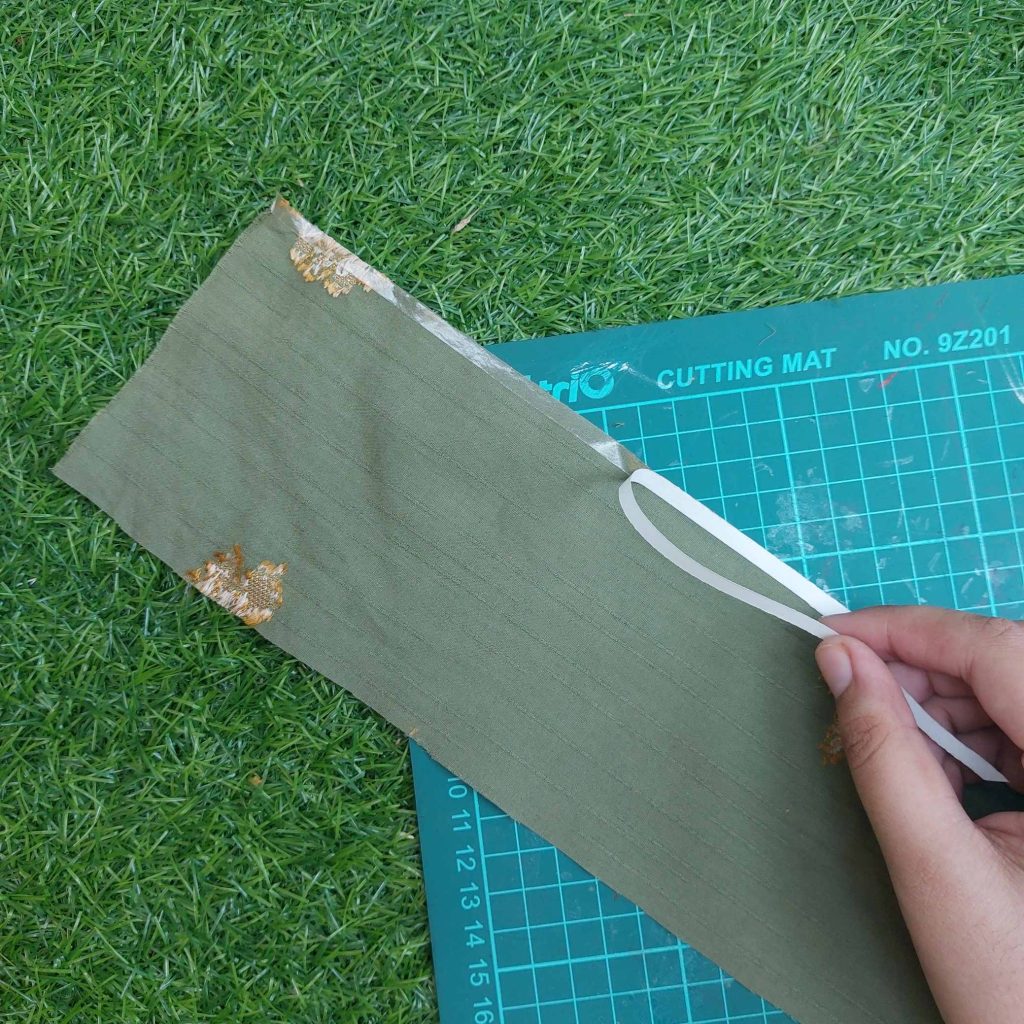
Then I folded the edge neatly over the tape.

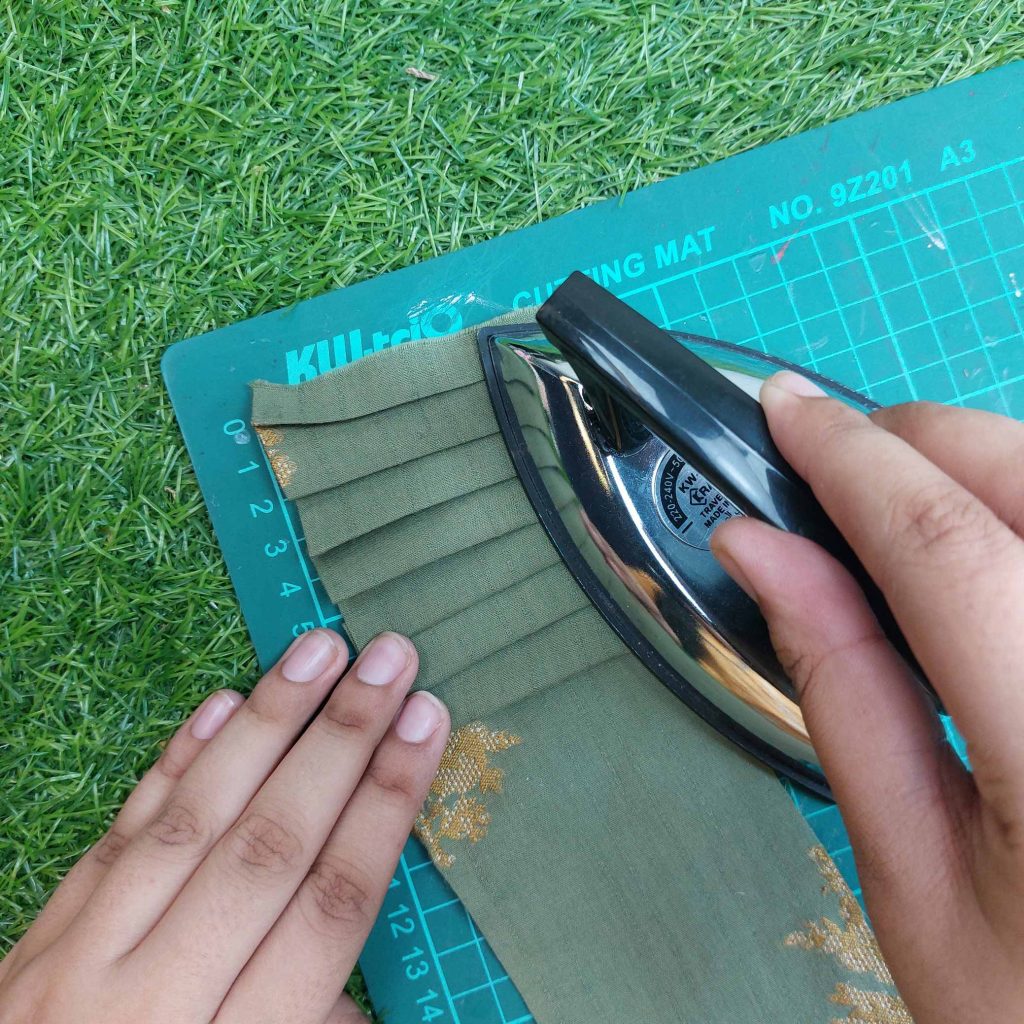
Next, I folded the fabric back and forth to make evenly spaced pleats and sealed the edge with an Iron.
I pressed each fold with the iron so the pleats would stay in place.
You can already see the bed skirt shape starting to form here.
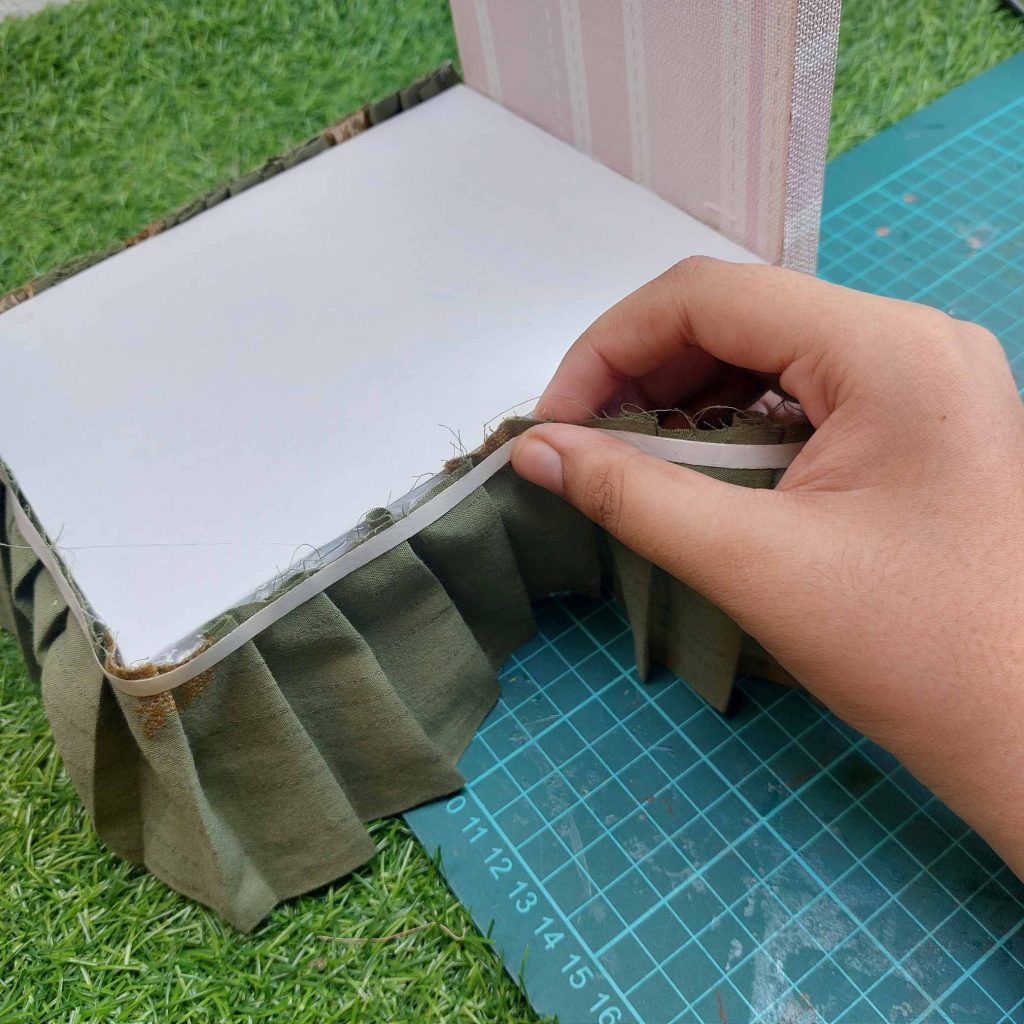
Once the pleats were finished, I glued the strip around the lower edge of the bed base. And covered it in place by adding another piece of hemming tape (push hard).
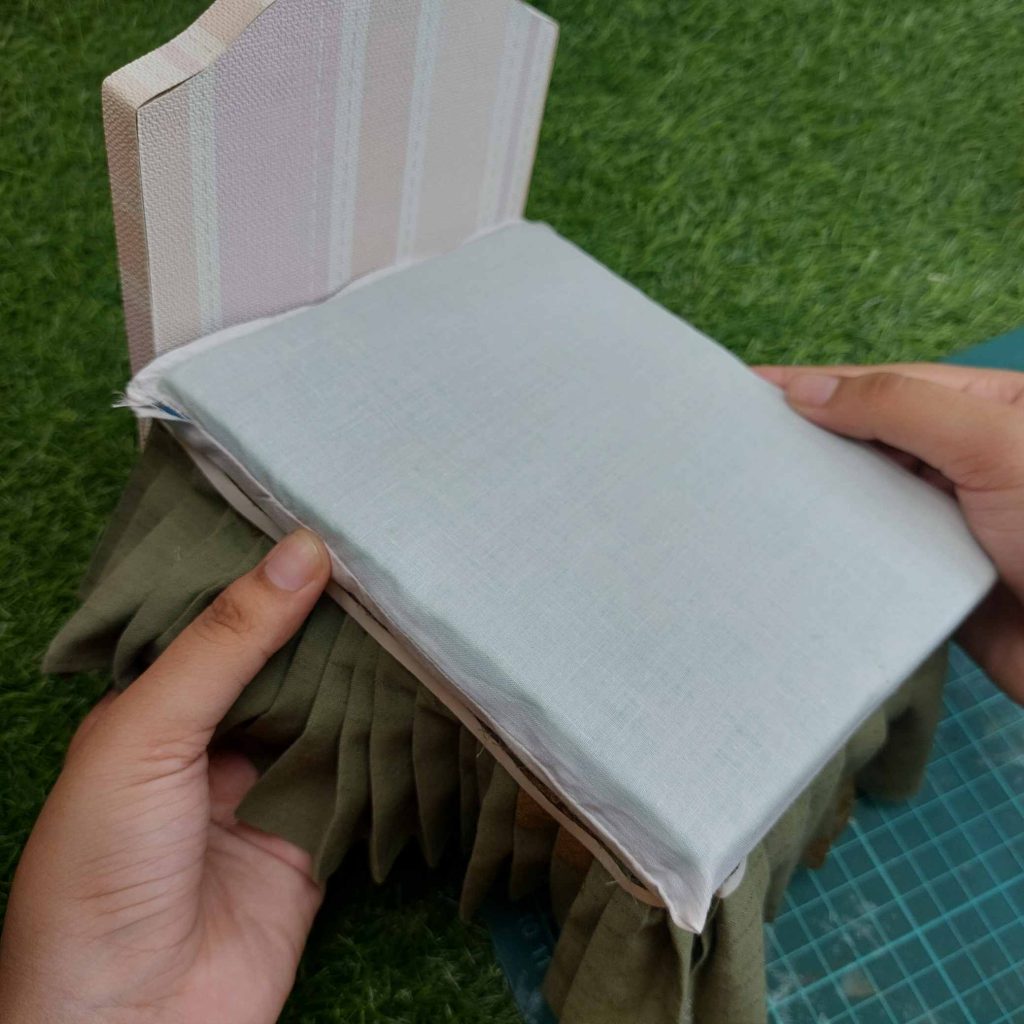
Step 2: Making The Main Blanket
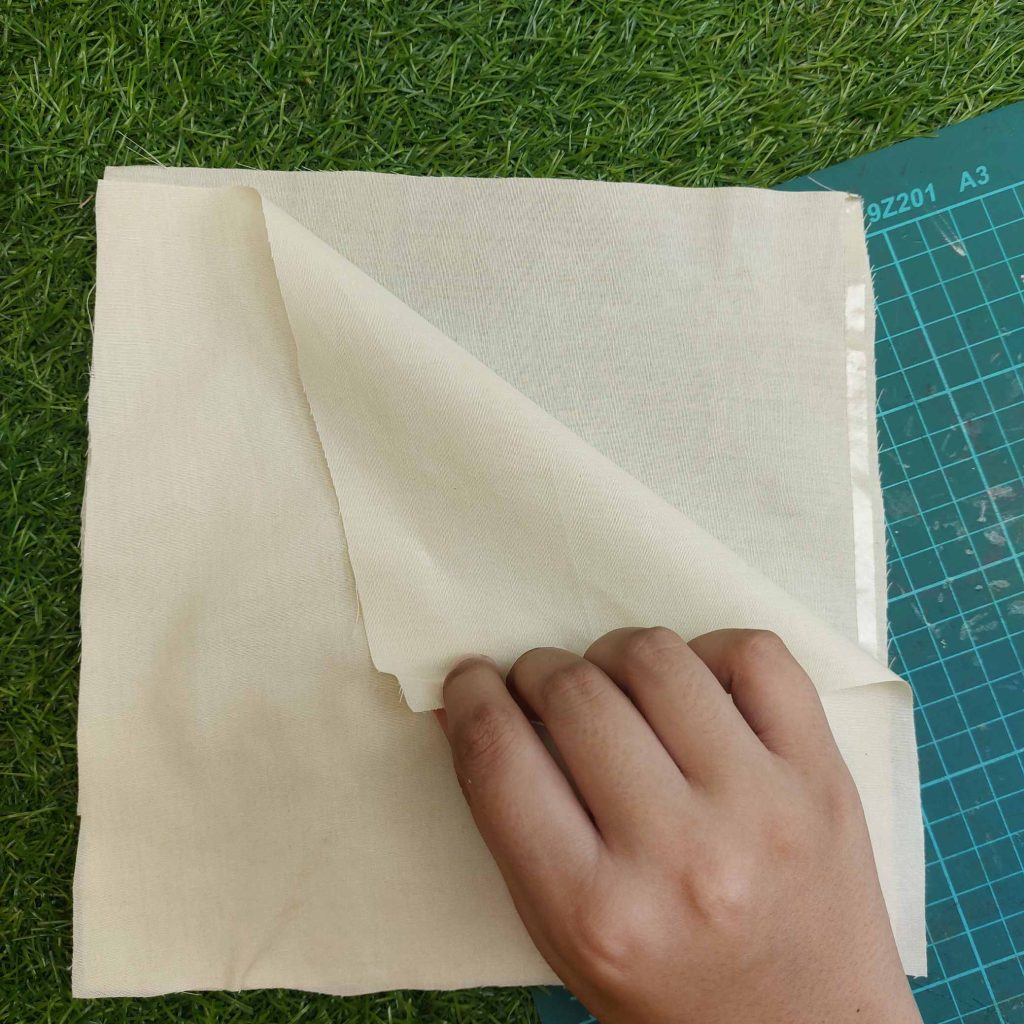
For the blanket, I cut a rectangular piece of cream-colored fabric.
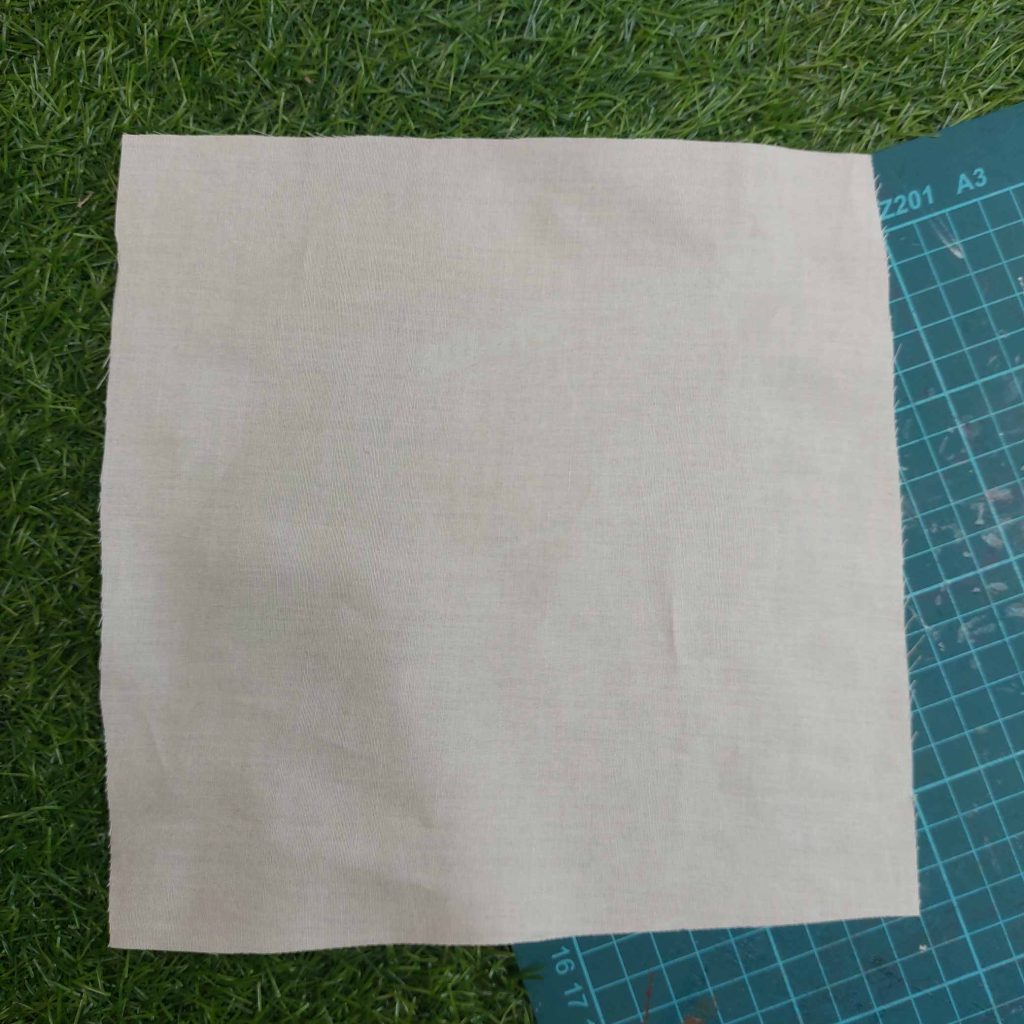
I added hemming tape along the sides and bottom edge
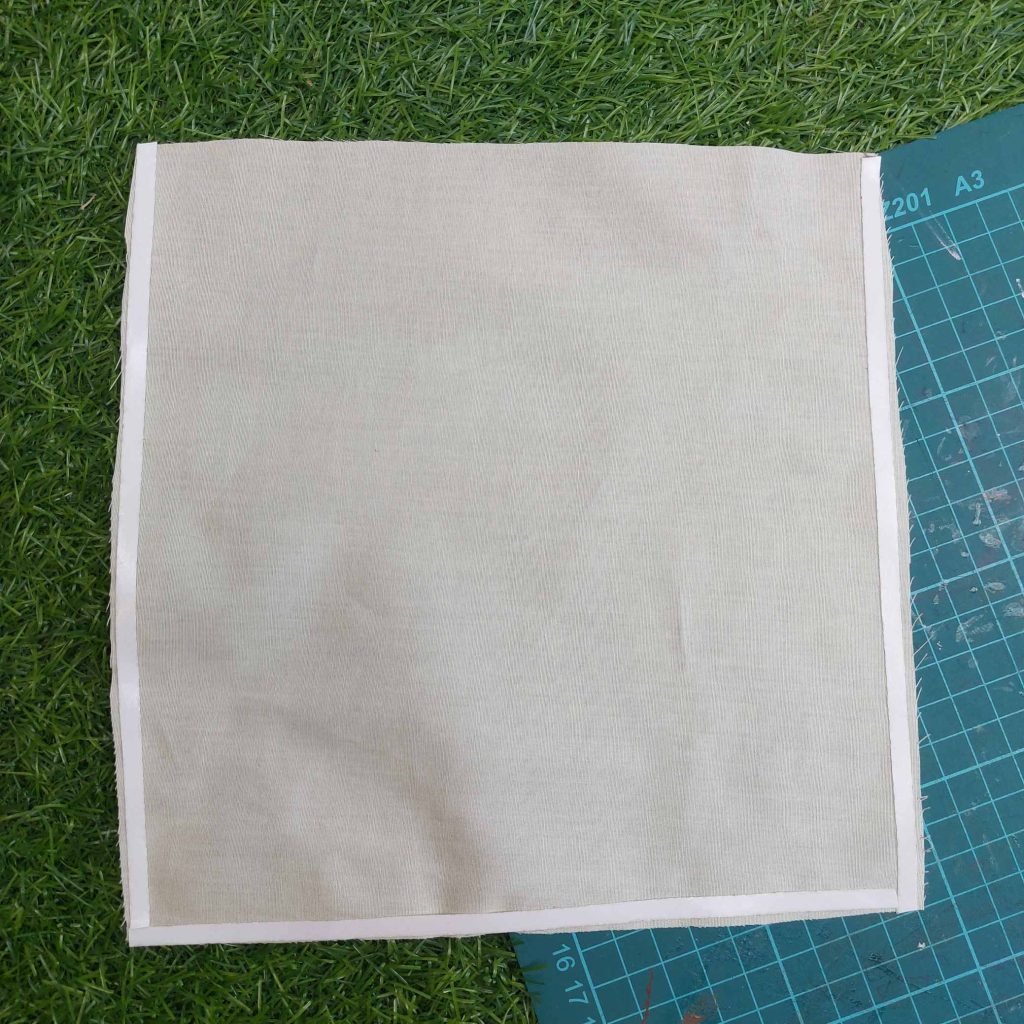
You can now attach a second layer on top, so you have a double sheet.
To give the blanket some volume, I placed folded paper towels inside aluminium foil.
This acts like a lightweight filling.
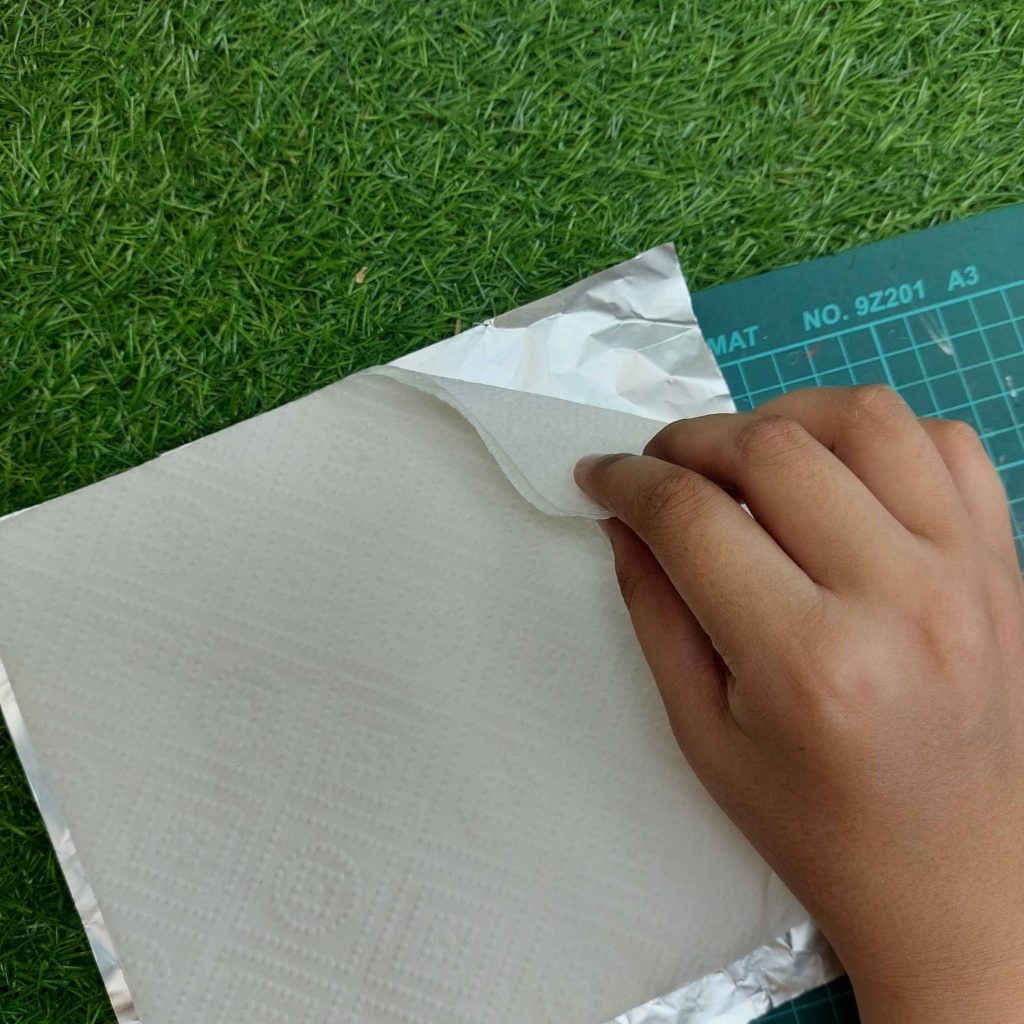
Insert it in the 'pouch'.

I added more hemming tape along the final opening and folded the fabric shut.
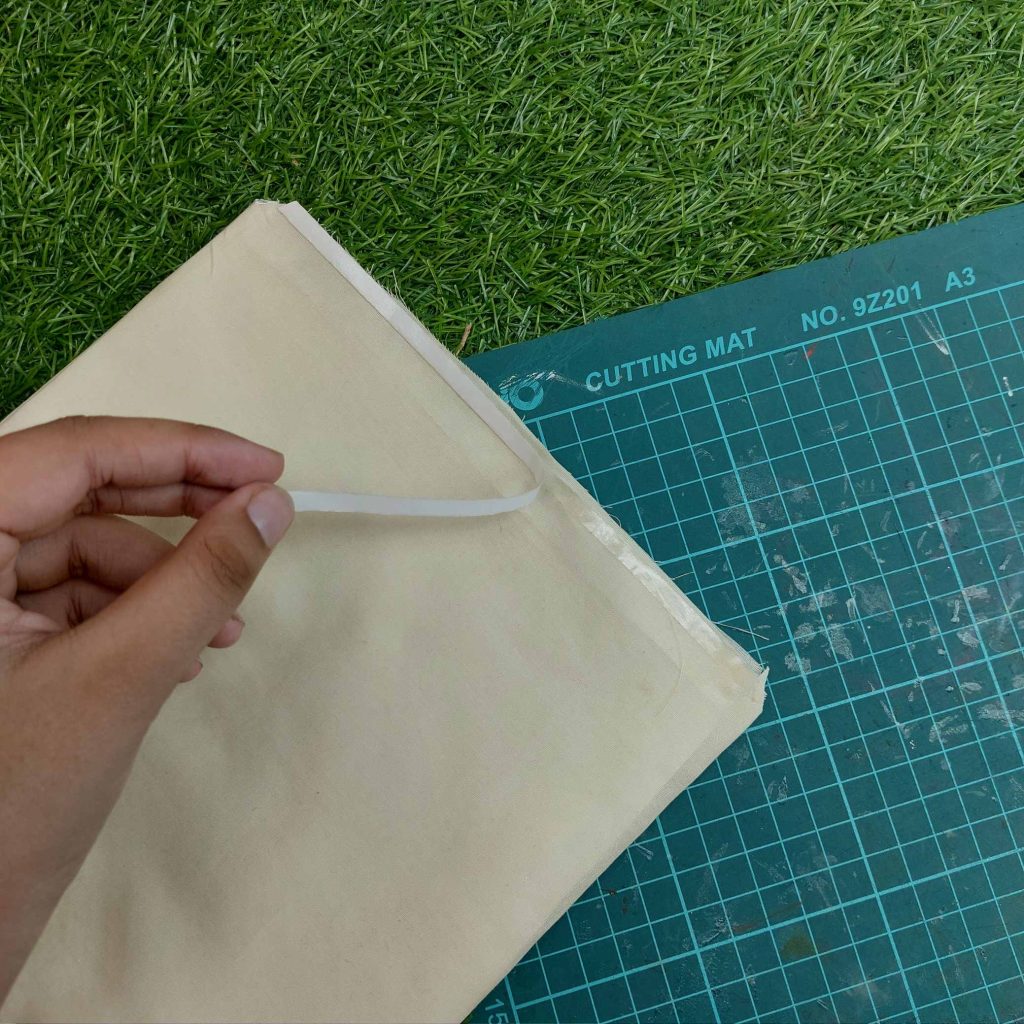
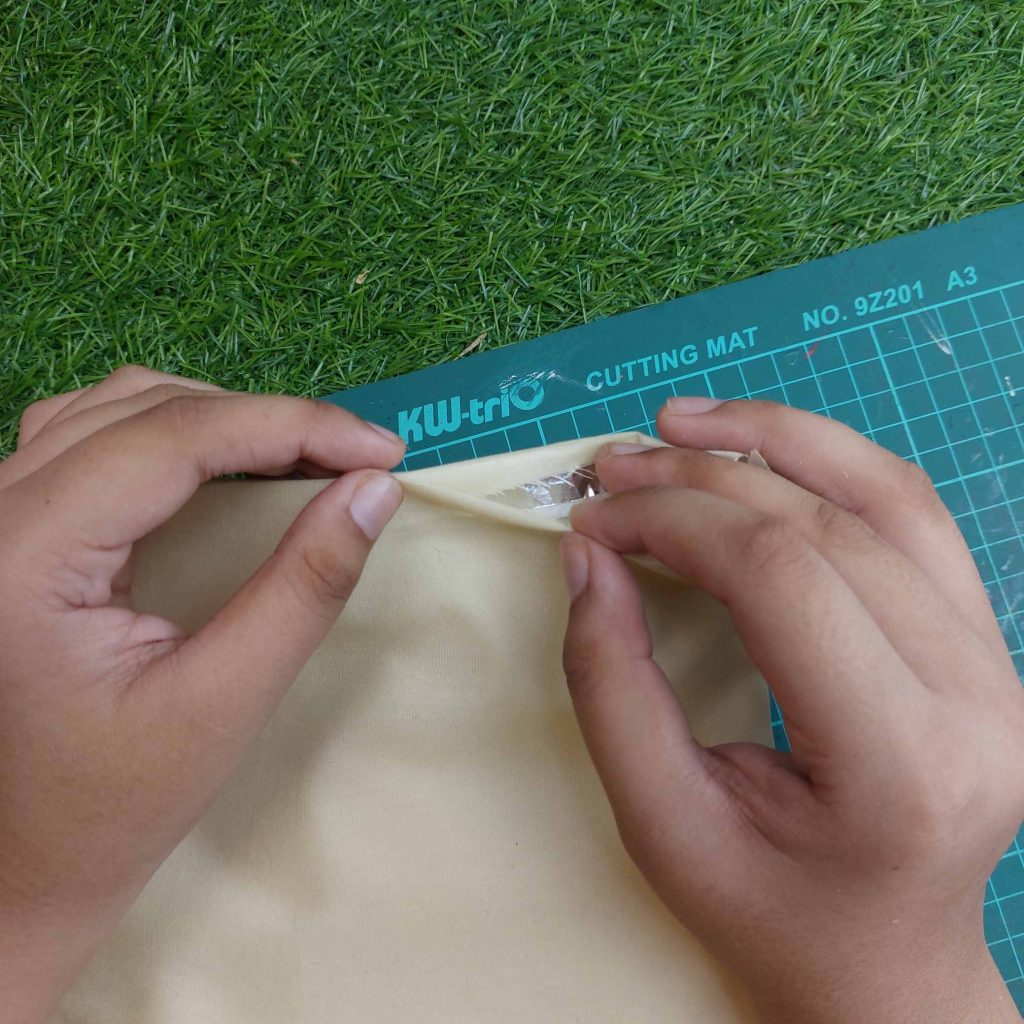
At this point, the blanket already had a soft padded look without becoming too bulky for the dollhouse scale.
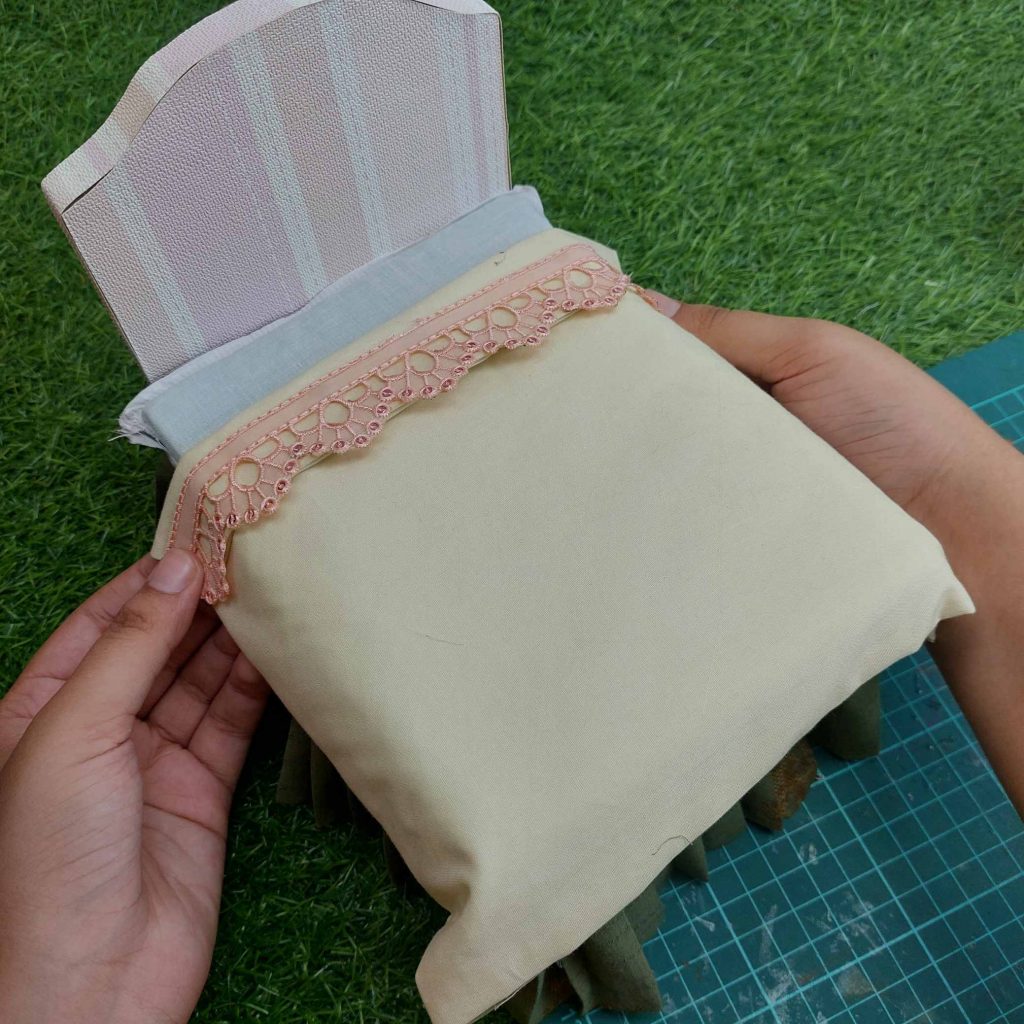
To finish it off, I glued decorative lace trim along the lower edge of the blanket.

That small detail completely changed the look and made the bedding feel much more elegant.
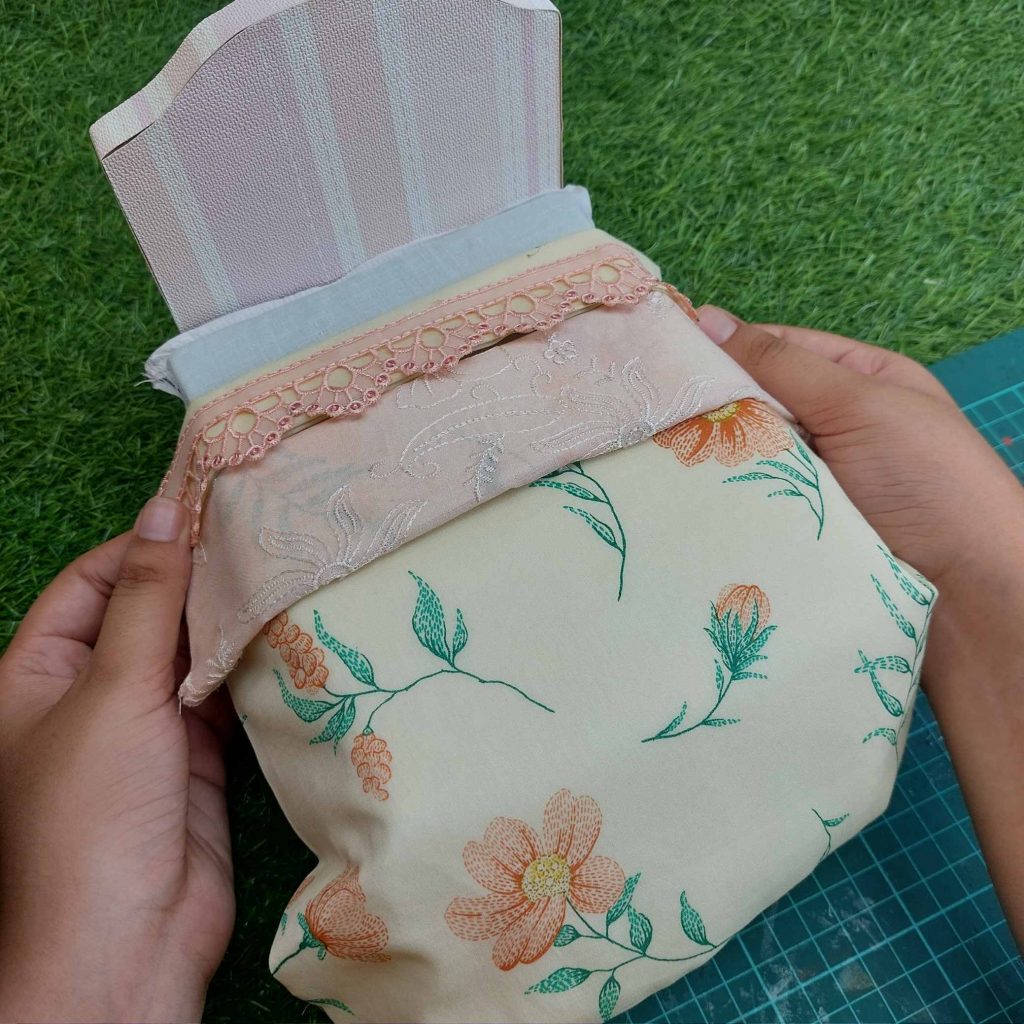
Step 3: Make The Main Blanket
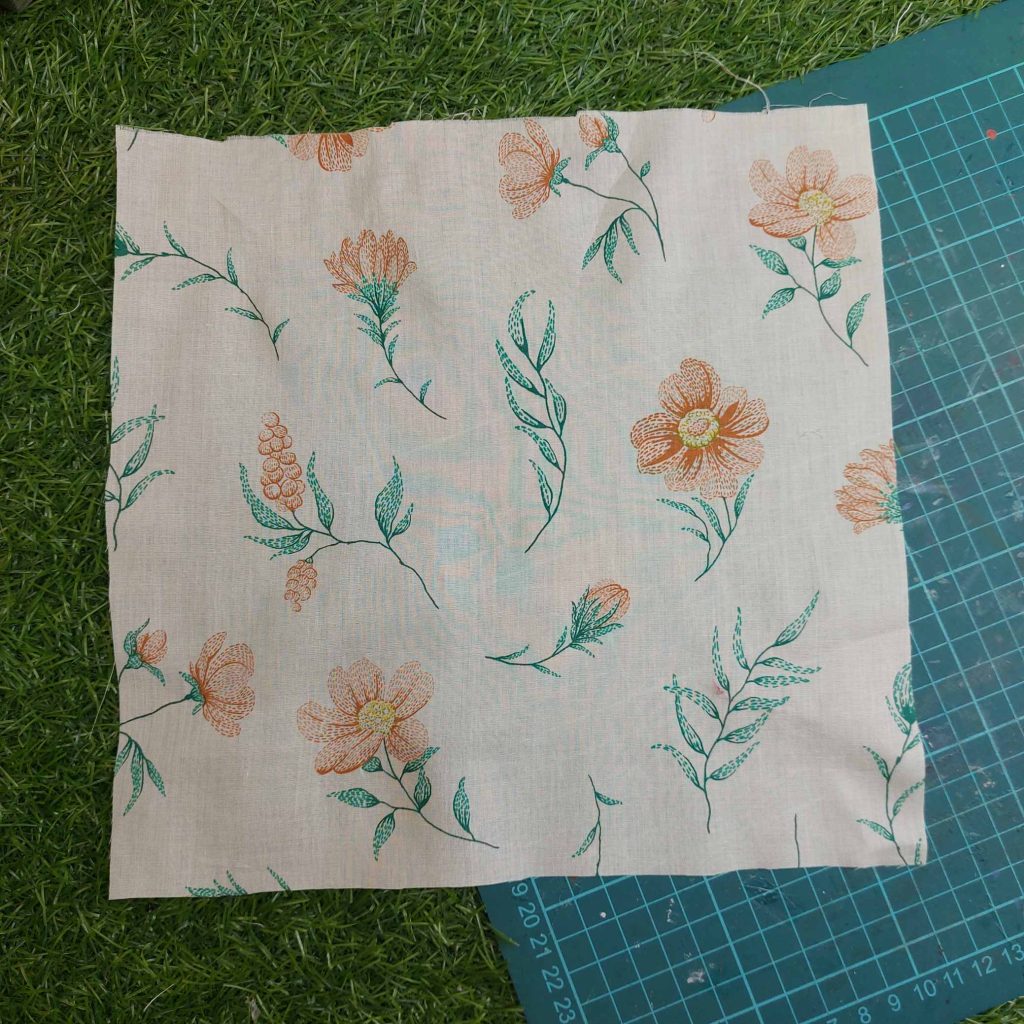
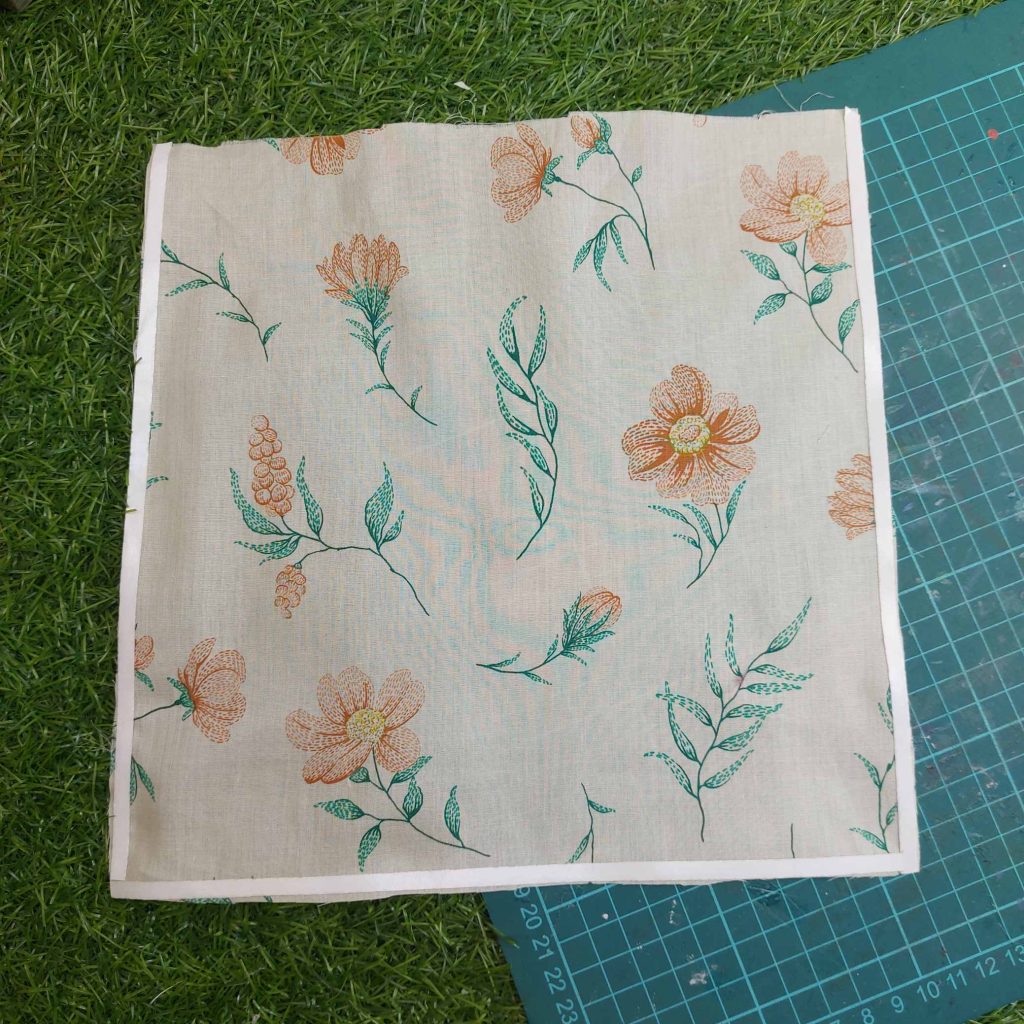
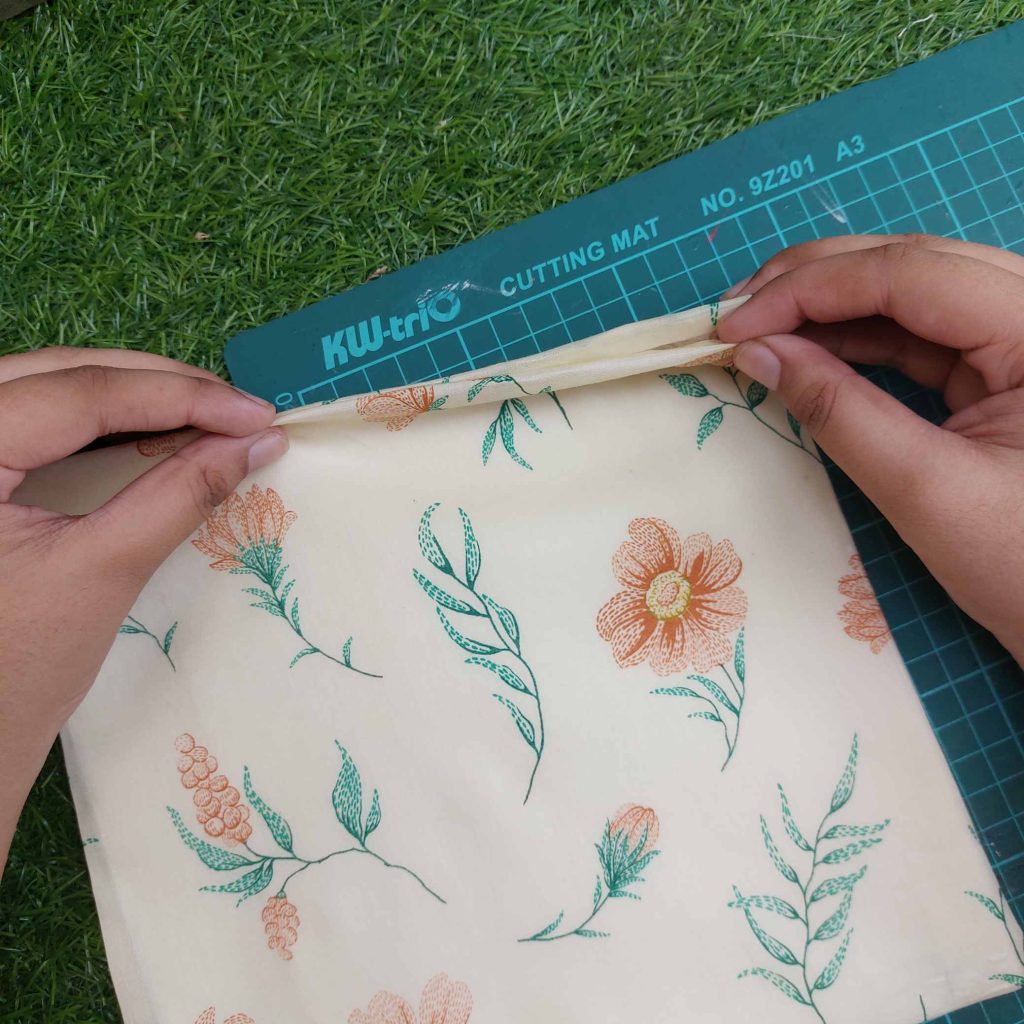
For the blanket itself, I started with a square piece of floral fabric.
I placed hem tape around the edges again so I could attach a second layer also again.
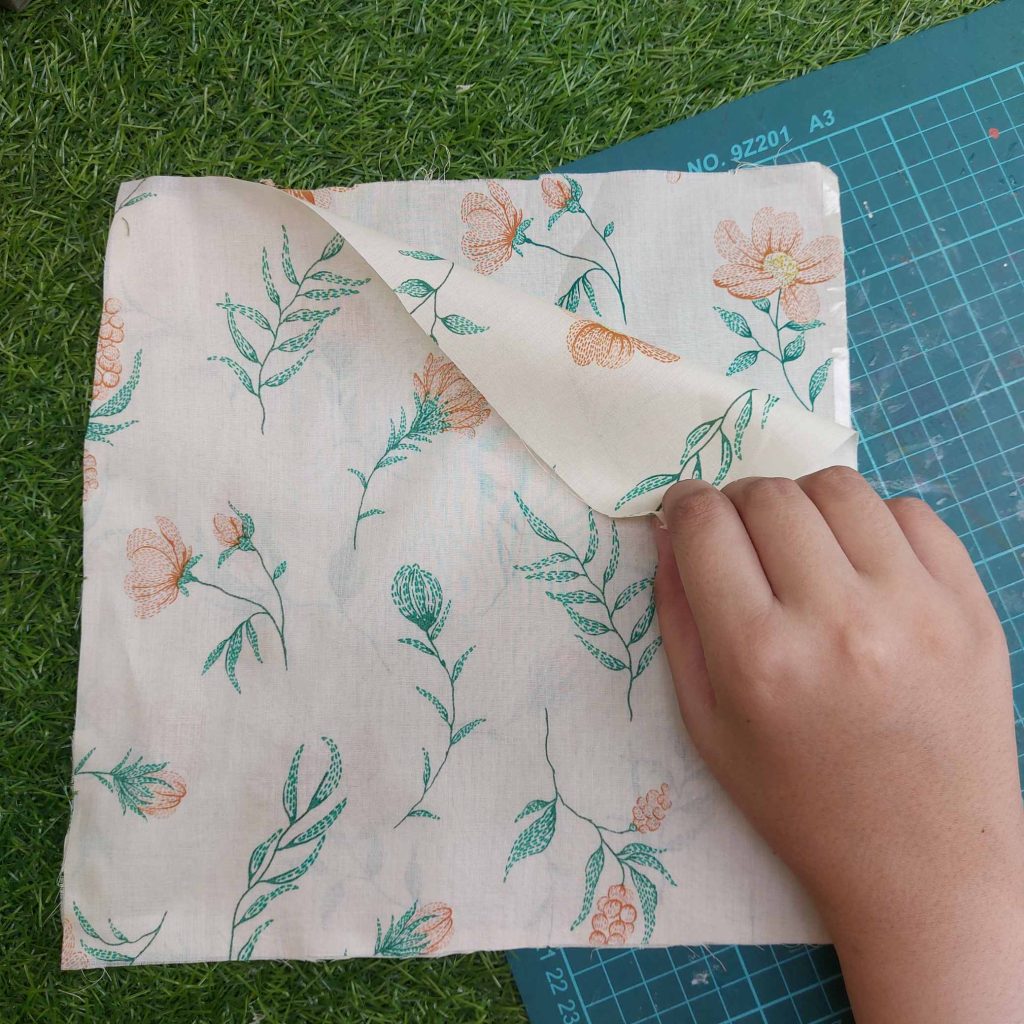
It is basically all the same method as the previous steps, paper towel, and aluminum foil. Fill up the blanket.
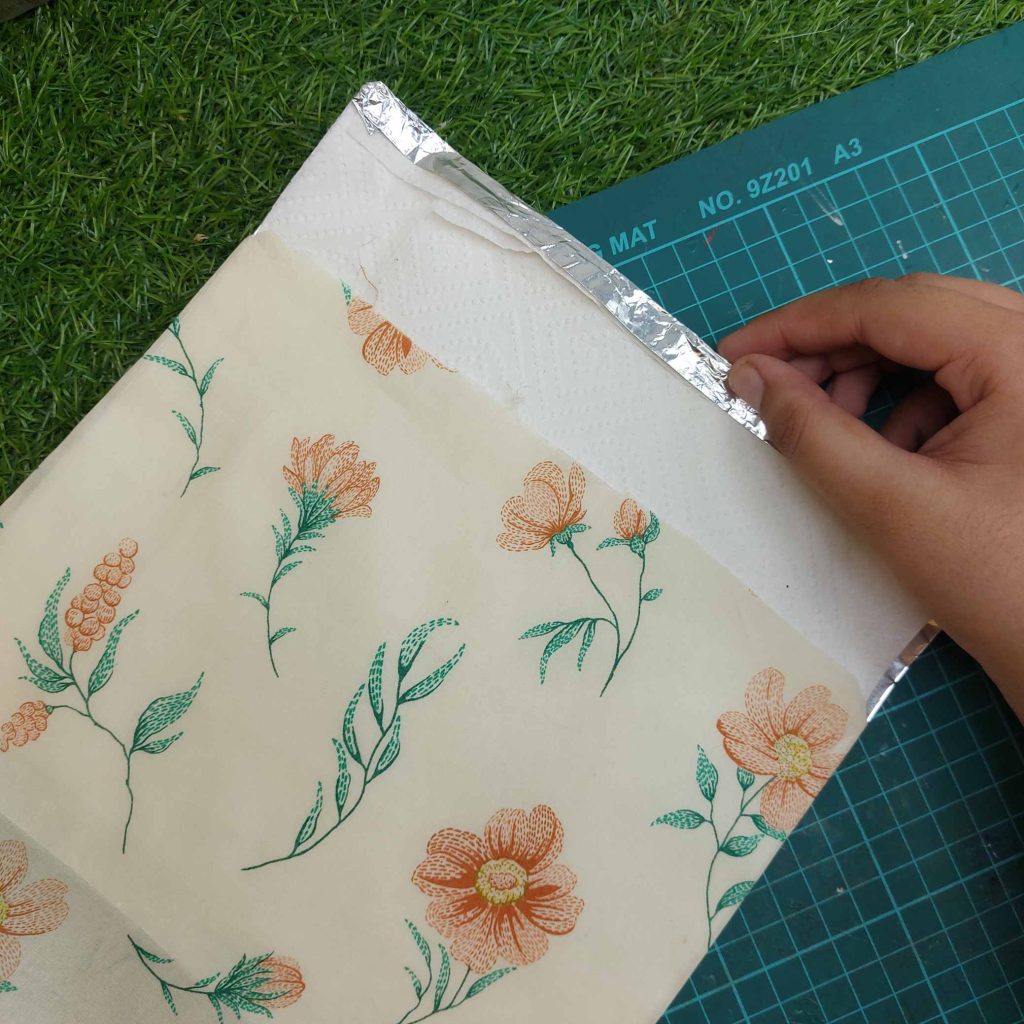
And again fold it and close it down.

Finish The Top Decorative Fold
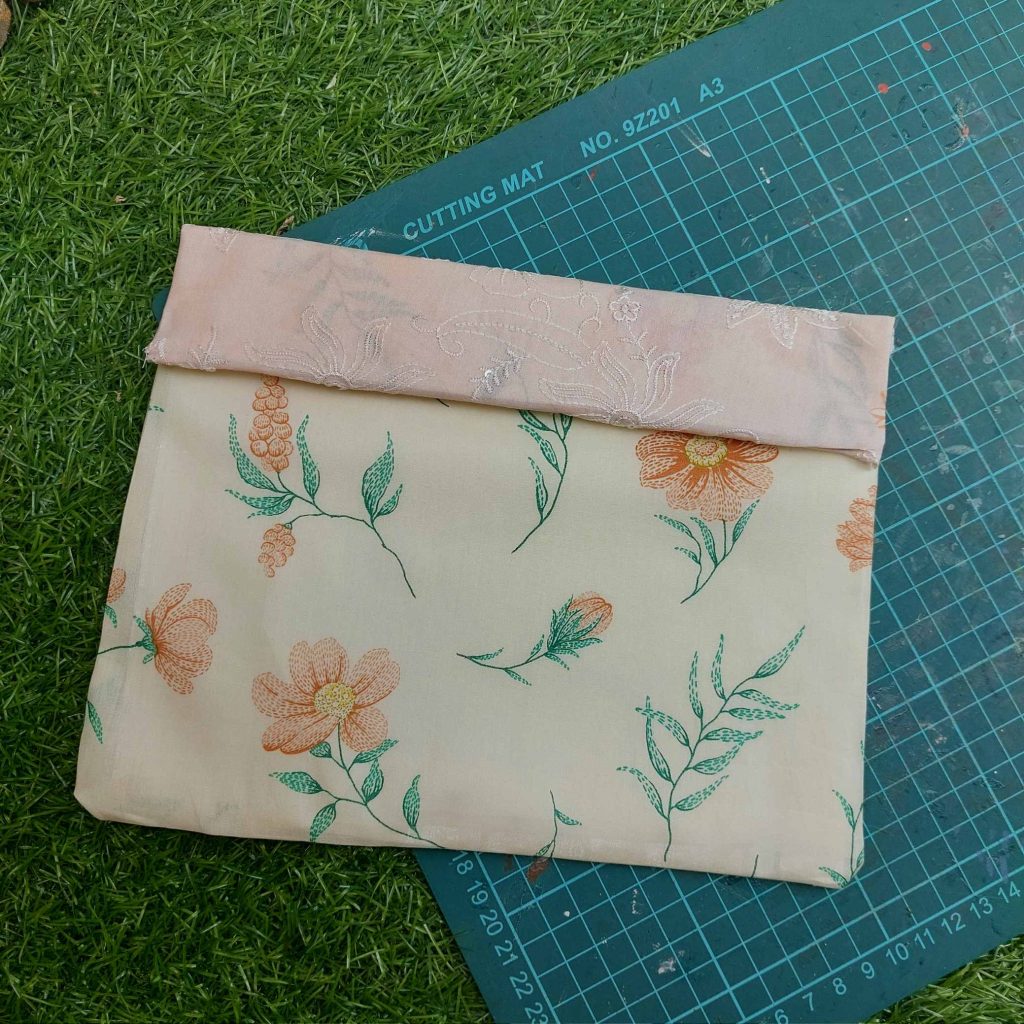
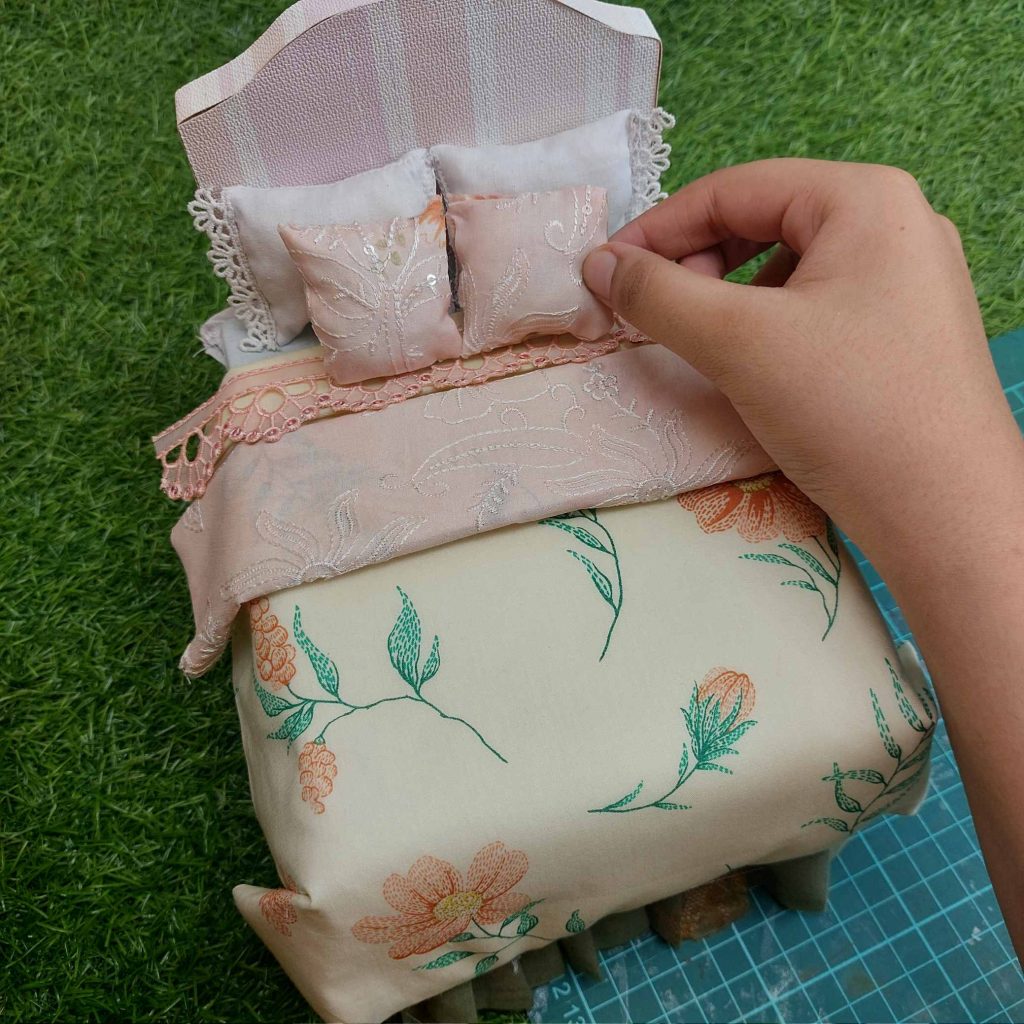
To finish the blanket, I added a separate strip of pink embroidered fabric over the top edge of the floral blanket.
The embroidered strip wraps around the top edge from back to front, almost like a cuff. After that, I folded the front section downward one more time to create a thicker decorative top fold
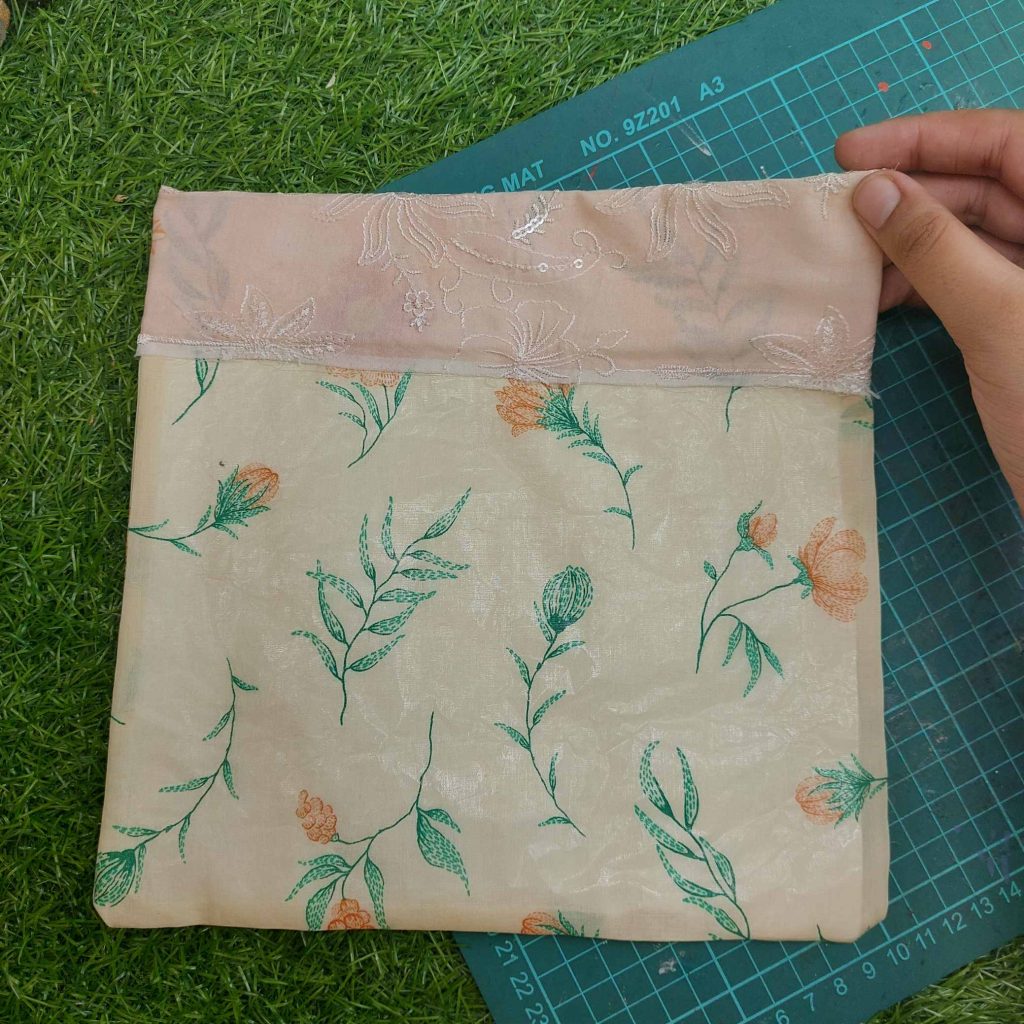
This might be the tricky part, and I hope you understand what I mean!
Step 4: Add the Mattress and make the Pillows
For the mattress base and pillows, I used the same no-sew method from my earlier tutorial here:
How I Made No-Sew Dollhouse Bedding For My Popsicle Stick Bed
This tutorial would be too long to explain this again, so please refer to the blog post above!
So I created different sizes of pillows :

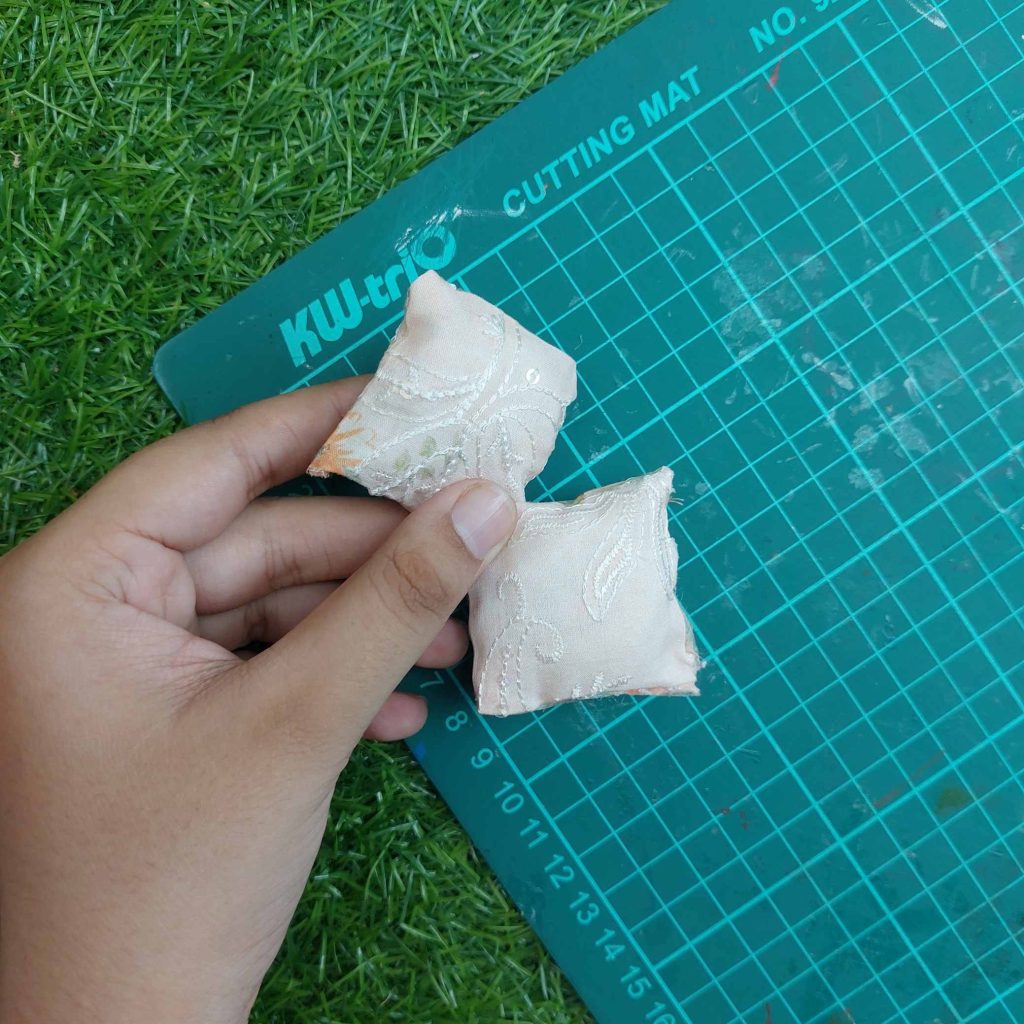
And a second mattress:
Step 5: put everything together!
The first stuffed blanket you made:
The second on top.
The larger pillows:
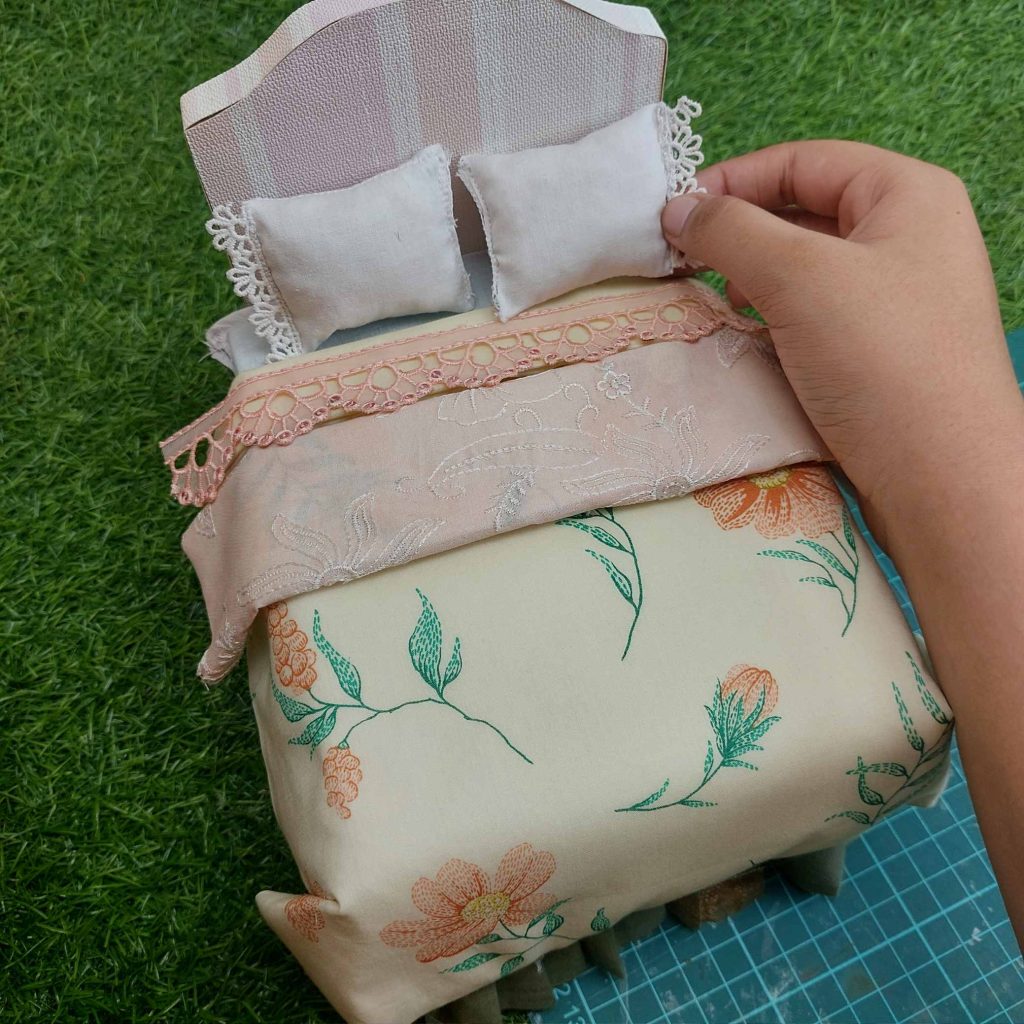
And the small ones:
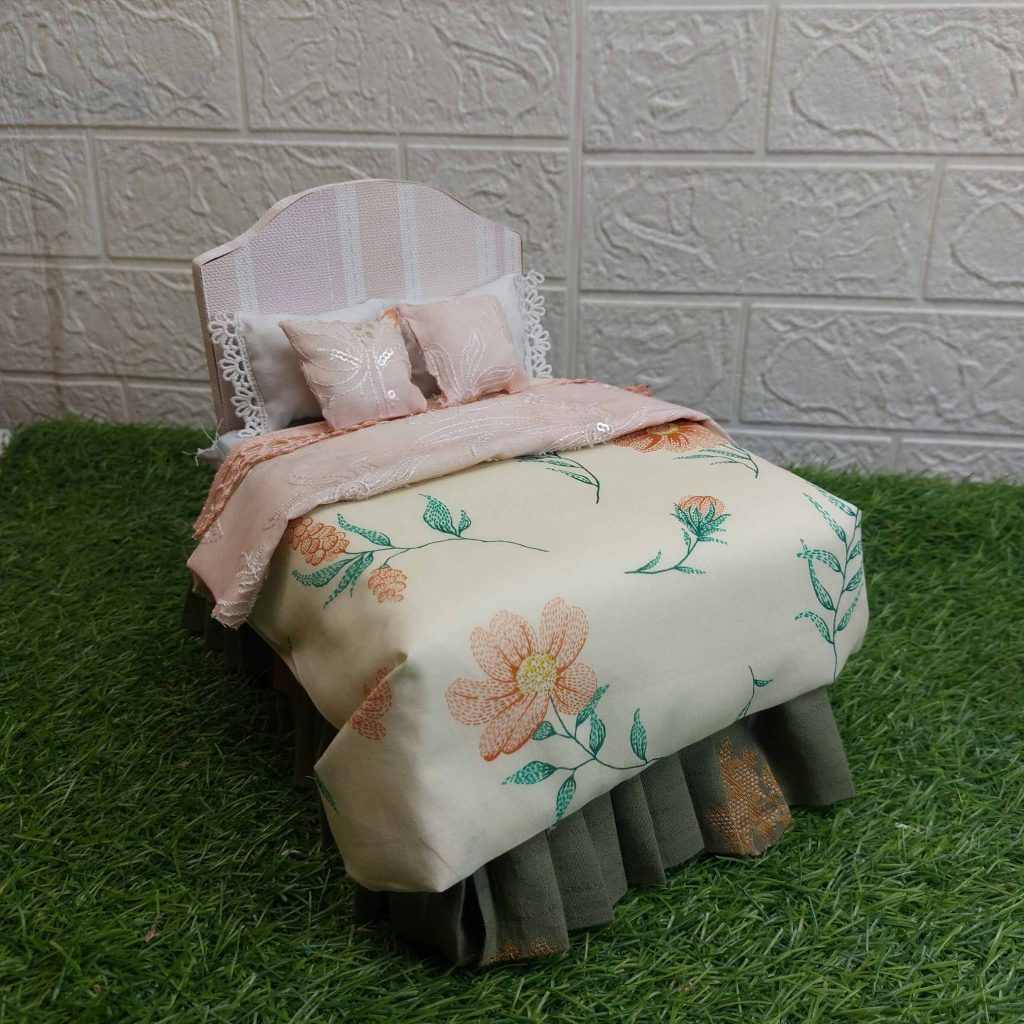
FINISHED!
(Would you create the bed skirt in another color?)
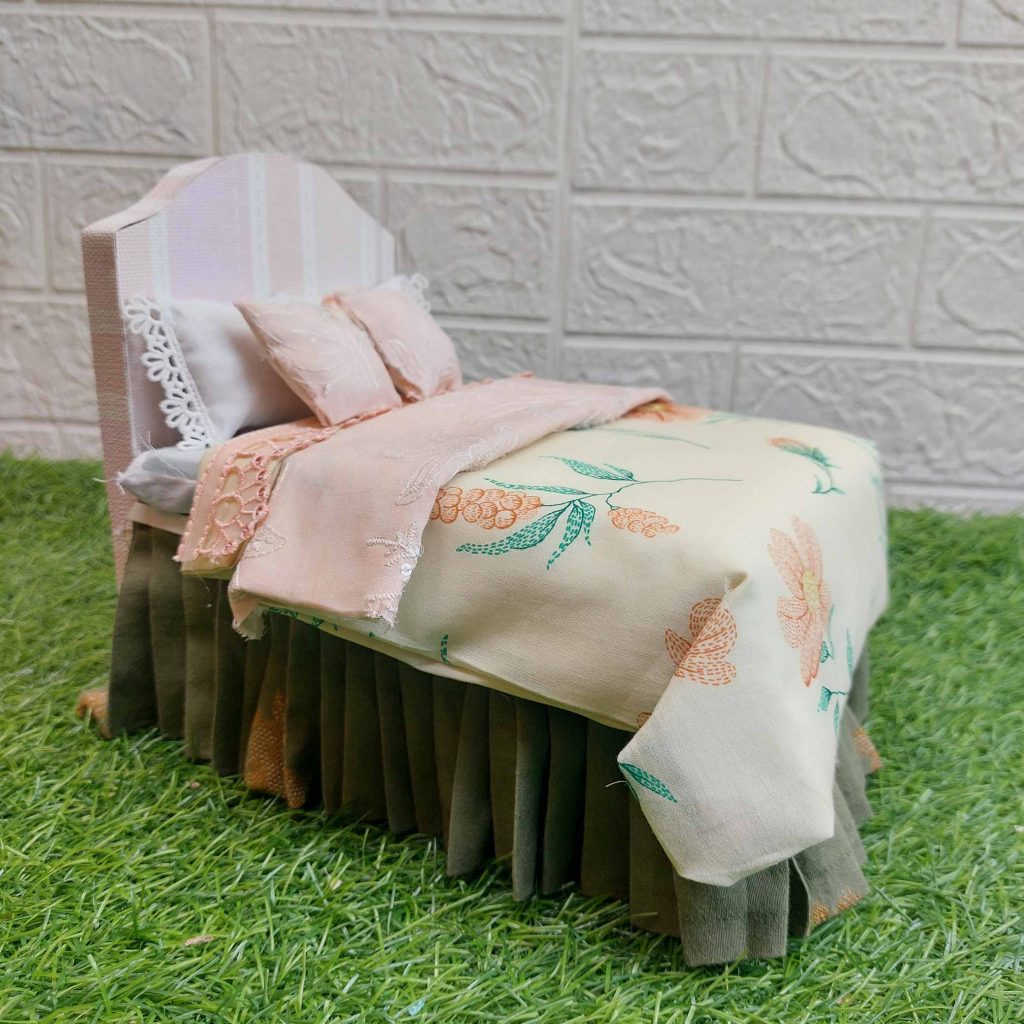
I hope you've enjoyed my second obsession with dollhouse beds lol!
And I wish you happy crafting!
You can always leave a comment down below.
Kind regards,
Lizzy
