
If you've ever made miniature pillows, you've probably noticed that they often look easier to make than they actually are.
A tiny square of fabric stuffed with some filling sounds simple enough. Yet many beginners end up with pillows that look too bulky, too stiff, or completely out of scale with the rest of their dollhouse.
Recently, I spent some time browsing Facebook groups, Reddit discussions, miniature forums, and other online communities to see how experienced miniaturists make their pillows.
I also asked directly for tips and was surprised by how many different methods people use.
Some sew every pillow by hand. Others rely entirely on glue. A few use unusual materials like silica beads, sesame seeds, and even sand.
After reading through dozens of suggestions, I noticed the same pieces of advice coming up again and again. This article is a summary of the most useful tips I found, because I can not use every tip myself ( I wish I had the time 😉 ).
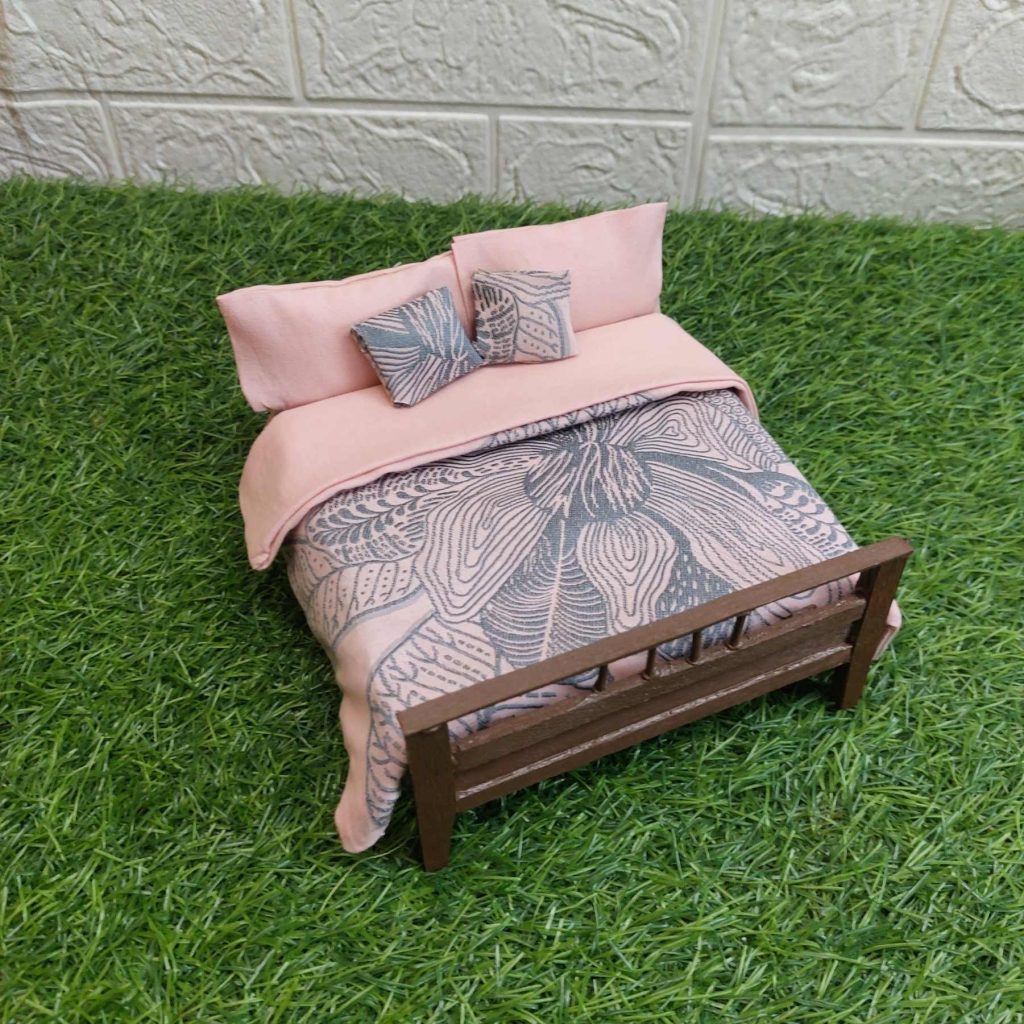
The Biggest Mistake: Using Too Much Stuffing
The advice I saw most often was simple: don't overstuff your pillows.
Many miniature pillows end up looking like balloons because they're packed too tightly with filling. Real pillows usually sag slightly under their own weight, and miniature versions should do the same.
Most experienced miniaturists recommend using just enough stuffing to give the pillow shape while still allowing it to flatten naturally.
After closing the pillow, gently squeeze and shape it with your fingers instead of leaving it perfectly square.
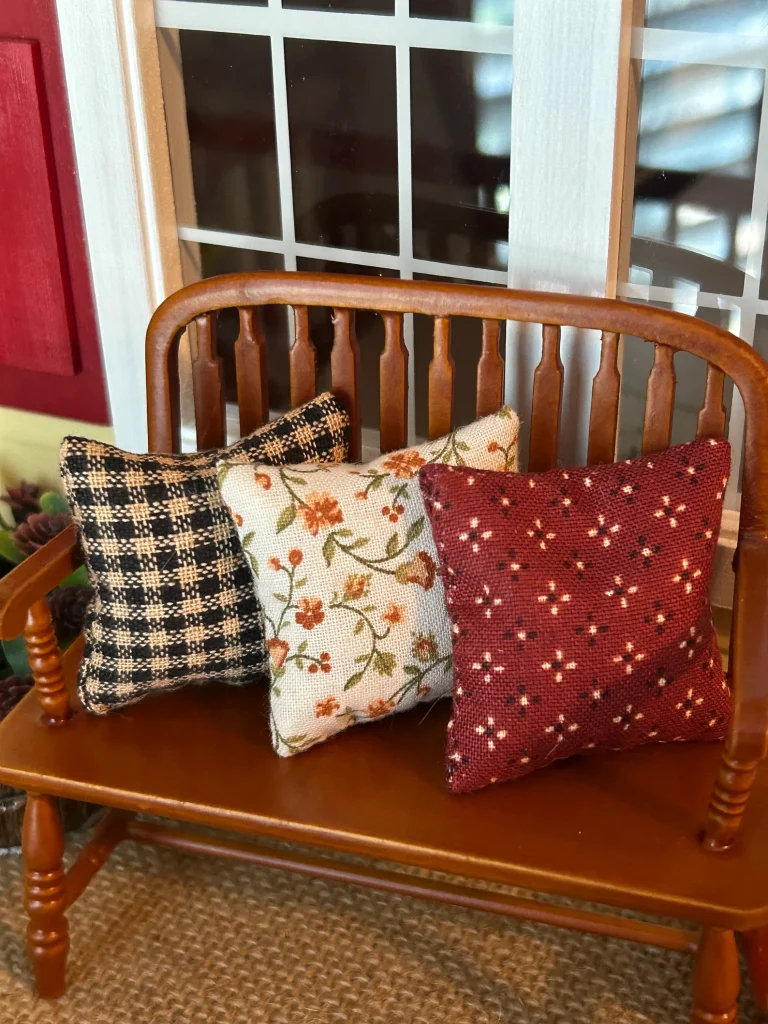
Use The Thinnest Fabric You Can Find
Several people pointed out that fabric thickness can make a huge difference.
Even beautiful fabric can look wrong if it's too thick for the scale.
Popular choices include:
- Lightweight cotton
- Old handkerchiefs!
- Thin shirt fabric
- Fabric samples
- Fine quilting cotton
Heavy upholstery fabrics often look oversized in 1:12 scale and can create bulky seams that are difficult to hide.

Sewing The Pillow Inside Out
Many miniature makers use the same basic method for pillows as full-sized sewing projects, meaning:
- Place the fabric pieces right sides together.
- Sew around the edges.
- Leave a small opening.
- Turn the pillow right-side out.
- Add stuffing.
- Close the opening with a few stitches.
One particularly useful tip was to sew as close to the edge as possible. This reduces bulk and helps the finished pillow look more delicate.
Check out this fantastic tutorial by Tasmin Bassett Art
Trim The Corners Before Turning
This tip appeared several times and makes a noticeable difference.
Before turning the pillow right-side out, trim the excess fabric from each corner diagonally.
Be careful not to cut through the stitching.
Removing that extra fabric prevents the corners from bunching up and gives the finished pillow sharper, cleaner edges.
Don't Want To Sew? Glue Works Too
One thing that surprised me was how many miniaturists don't sew their pillows at all.
Instead, they use:
- Fabric glue
- Tacky glue
- E6000
- Small amounts of super glue
The process is very similar.
The fabric is glued along the edges, turned right-side out, lightly stuffed, and then sealed.
For very small cushions, many people reported getting results that look almost identical to sewn pillows.
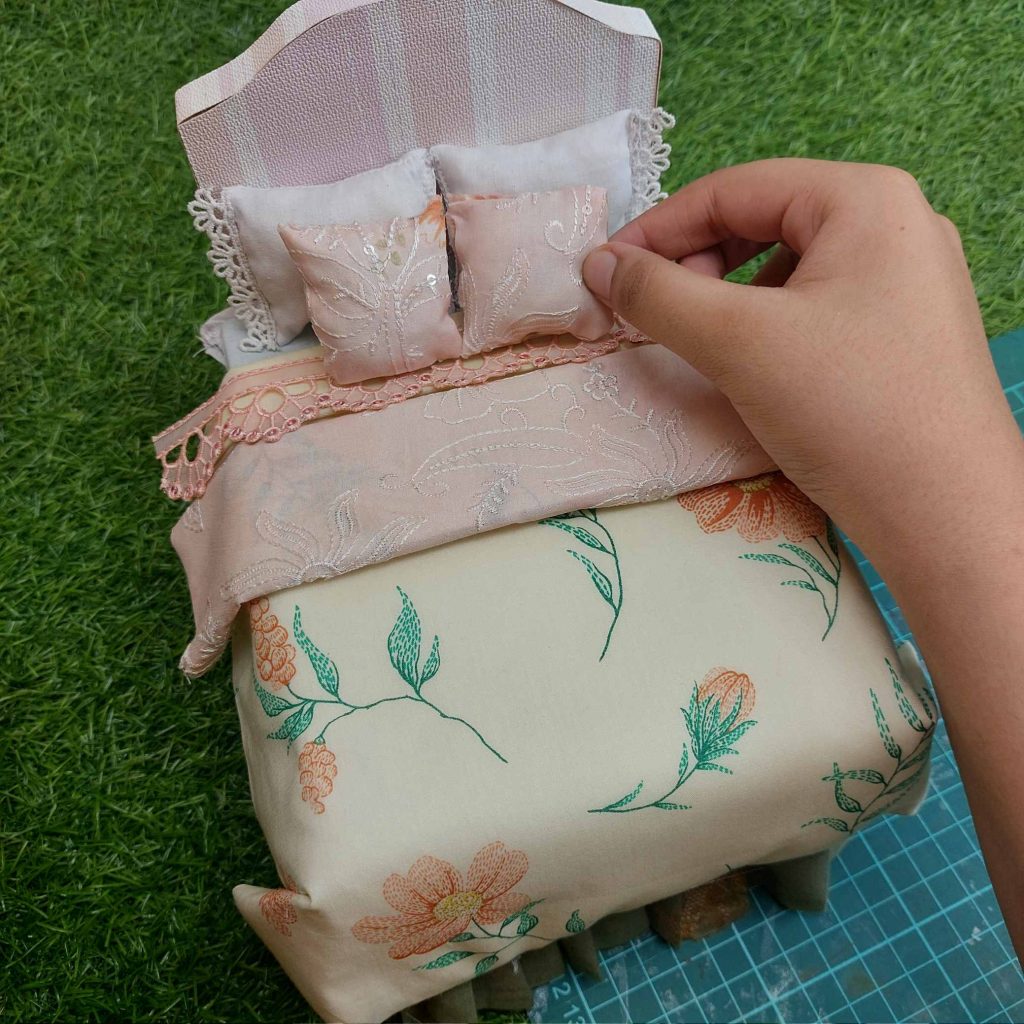
The Double-Sided Tape Method
Several miniaturists mentioned using double-sided tape instead of sewing, and this is what I personally also used for my dollhouse bedding.
The basic idea is:
- Fold the fabric into a tube shape.
- Secure it with double-sided tape.
- Seal one end.
- Add stuffing.
- Close the remaining side.
Others use double-sided tape when making miniature bedding because it keeps fabric neatly in place without the risk of glue soaking through.
It's a surprisingly useful trick, especially for beginners.
Alternative Filling Materials
Polyester fiberfill is still the most common stuffing material, but some miniature makers use other options to make pillows behave more naturally.
Sesame Seeds
One miniaturist shared a tip learned from professional miniature artist Julie Warren.
Small amounts of sesame seeds can be used as filling to give pillows realistic weight and shape.
Sand
A few people mentioned fine sand.
While it creates excellent drape, it can leak if the pillow isn't sealed carefully.
Silica Packets
This was one of the most unusual suggestions.
Several miniaturists suggested using the tiny beads found inside silica packets, or even covering an entire silica gel packet with fabric to create a ready-made cushion insert.
The extra weight helps miniature pillows and cushions sit more naturally on furniture.
Pressing Tiny Fabric Pieces
Working with miniature fabric can be frustrating because pieces shift so easily.
One clever tip involved using a hair straightener instead of a regular iron.
The small plates make it easier to press tiny seams, folds, and pleats without wrestling with a full-sized iron.
Travel irons and miniature craft irons work well too.
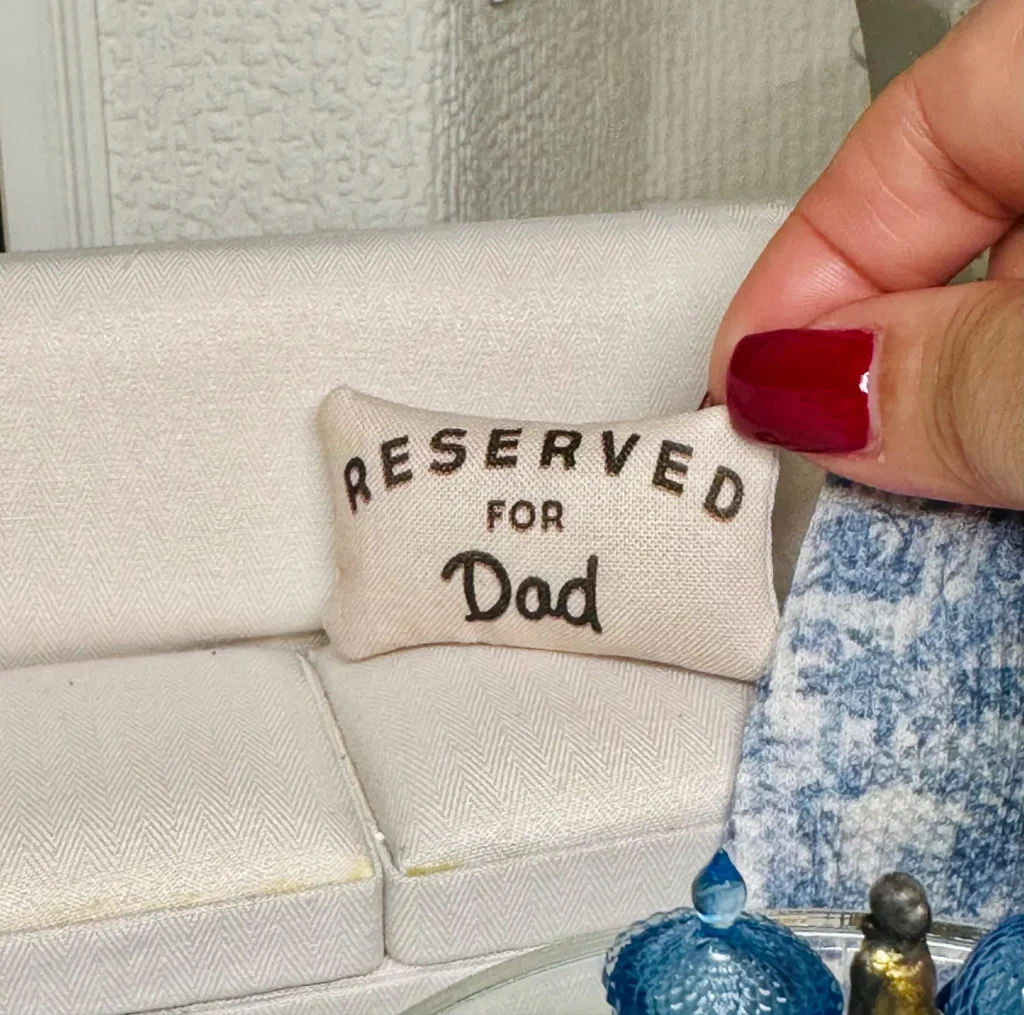
Envelope-Style Pillows
One miniaturist described making pillows like small envelopes.
The fabric overlaps at the back, leaving a flap that remains open while stuffing is added.
Once the pillow reaches the desired shape, the flap is glued shut.
This method avoids visible seams and is particularly useful for decorative throw pillows.
Related article: 4 easy ways to create dollhouse curtains.
Wrapping it up
After reading through all these discussions, I noticed that the best-looking miniature pillows don't necessarily come from the most complicated techniques.
The same advice kept appearing:
- Use thin fabric.
- Don't overstuff.
- Trim the corners.
- Add a little weight if possible.
- Press your fabric before assembling.
- Slightly flatten the finished pillow.
How do you make your miniature pillows? Do you sew them, glue them, or use another method entirely? I'd love to hear what works best for you.
I wish you happy crafting!
Kind regards,
Lizzy
Hi Lizzy: thanks for this. I said the other day-- "why is everything harder than it looks?" lol. My pillows sometimes look like crap. I have also used rice to fill. It mushes good too. Try again-practice makes perfect.
Hi Lizzy: thanks for the pillow article. I've made a few and sometimes they look like crap. lol. I have used rice as filler too and they scrunch up nicely. I'll try again-practice makes perfect.
Hi,
could you use the beads that are in a beanbag? I have an old one I was going to throw away, and wondered if it would work?
thak you x
Hi Tracey. For very small pillows (1:12 bed pillows, throw pillows, etc.), I think the beads can make them look bumpy and oversized. Just my thoughts, but you can give them a try for mini beanbags, why not? It is all about experementing 🙂
