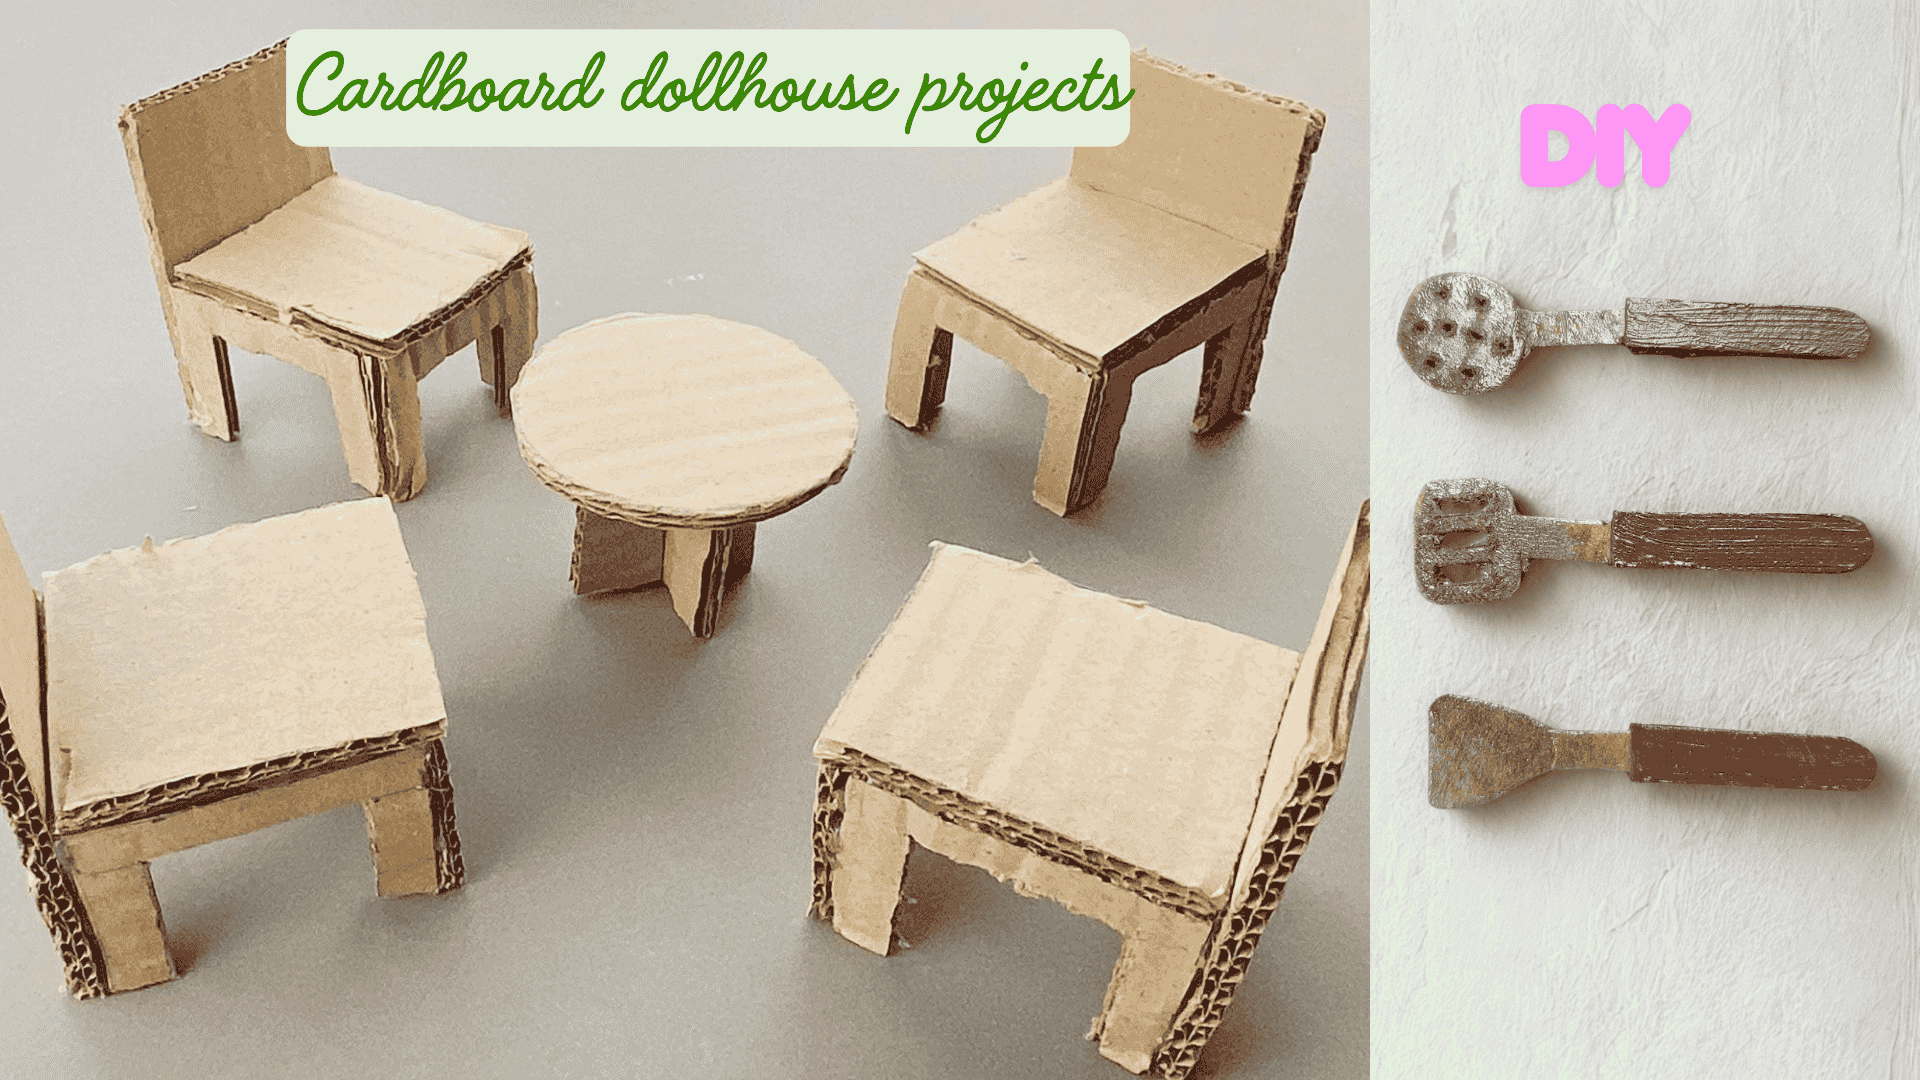
If you love making miniatures from everyday materials, this set of projects will be right up your alley. I’ve put together new dollhouse tutorials from cardboard, all quick to make and budget-friendly.
These little crafts fit perfectly into a 1:6 dollhouse, but you can easily resize them for 1:12 or even 1:24 with the help of my scale converter.
And just like my other DIY posts, everything here is made with basic supplies you probably already have at home.
Let’s jump right into the list!
(There are lots of pictures to be processed here, so I will probably create several blog posts for these tutorials.)
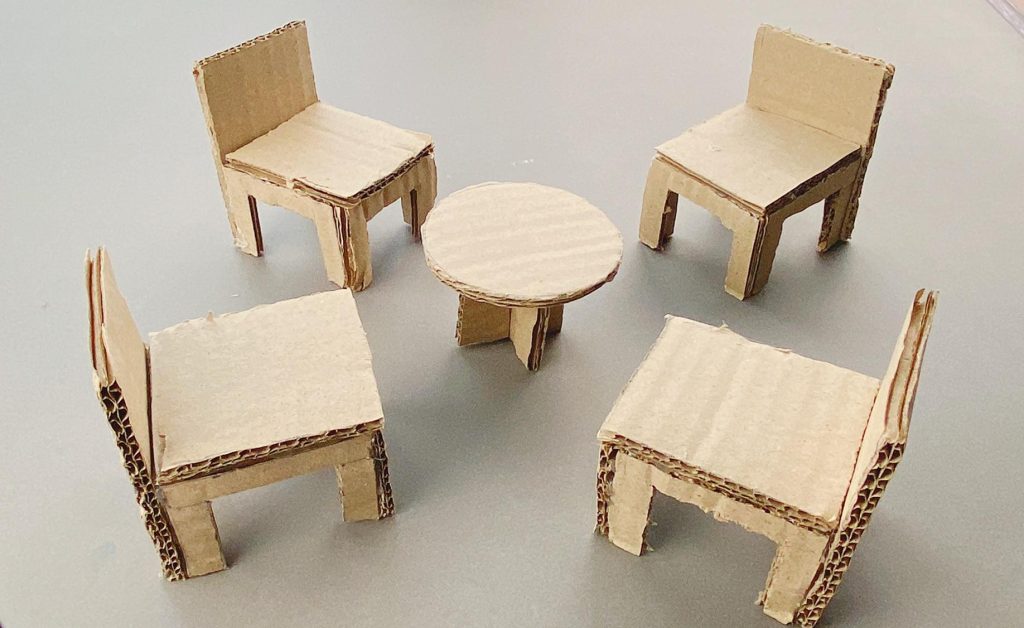
1. Miniature Cardboard Dining Table and Chairs
This first project is a cute little set of miniature cardboard dining chairs and a matching round table. It’s simple, quick, and everything is made using basic cardboard, scissors, glue, and a few measured cuts; ideal for beginners.
Materials Needed
- Cardboard (from any box)
- Scissors or a craft knife
- White glue or PVA glue
- Pencil and ruler
Step-by-Step Tutorial
- Making the Chair Base
Step 1: Cut two cardboard squares, each 4 x 4 cm.

Step 2: Cut a slit halfway up the center of each square.
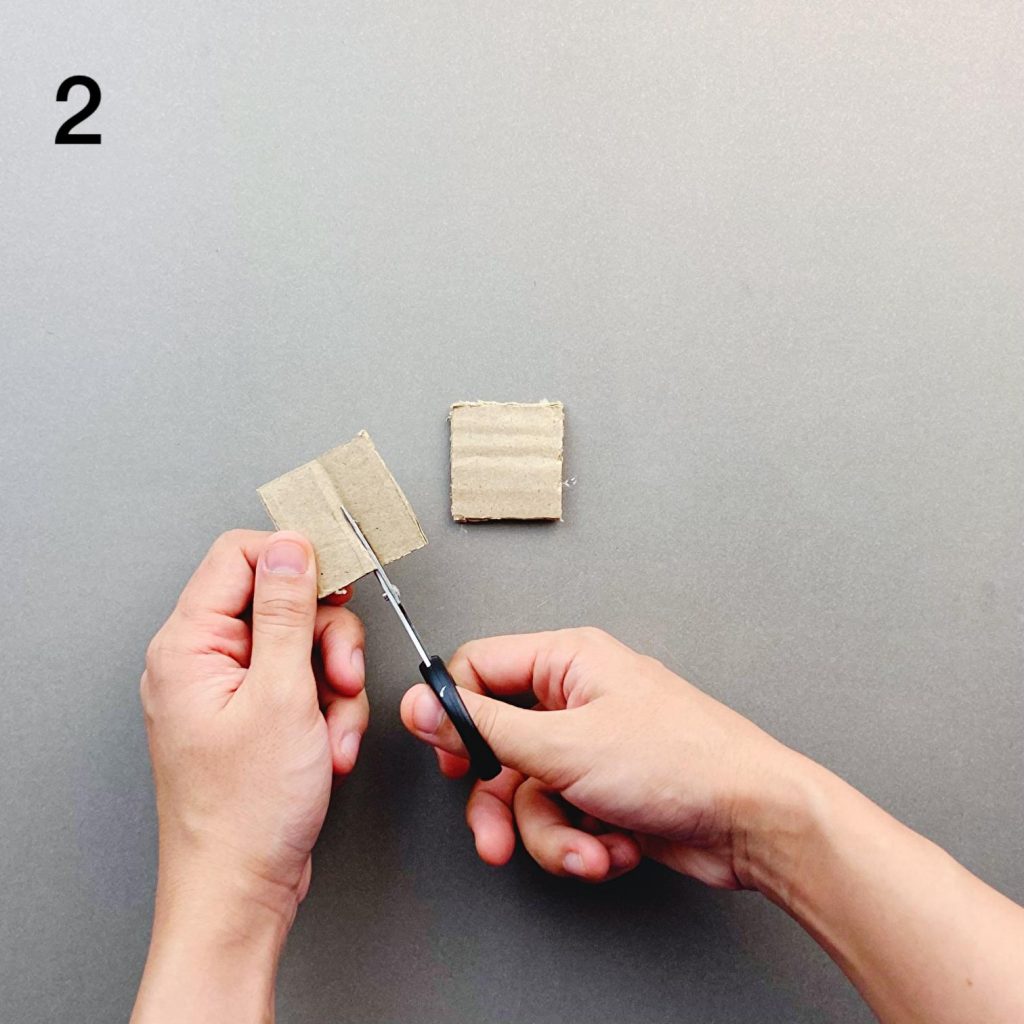
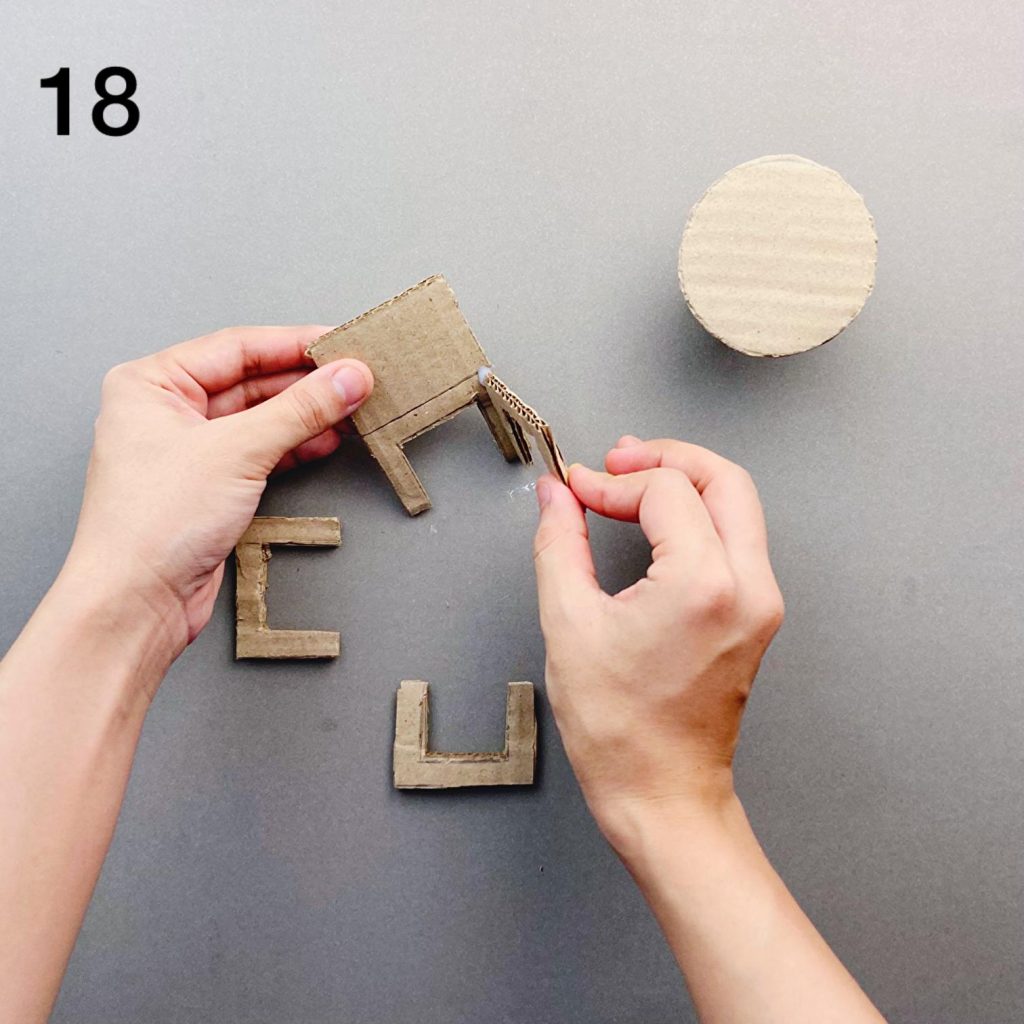
Step 3: You should now have two pieces shaped like a small “U”.

Step 4: Slide the two pieces together to form a cross-shaped base.

Step 5: Your chair base should now be sturdy and able to stand.

Step 6: Add glue inside the joints to secure the base.

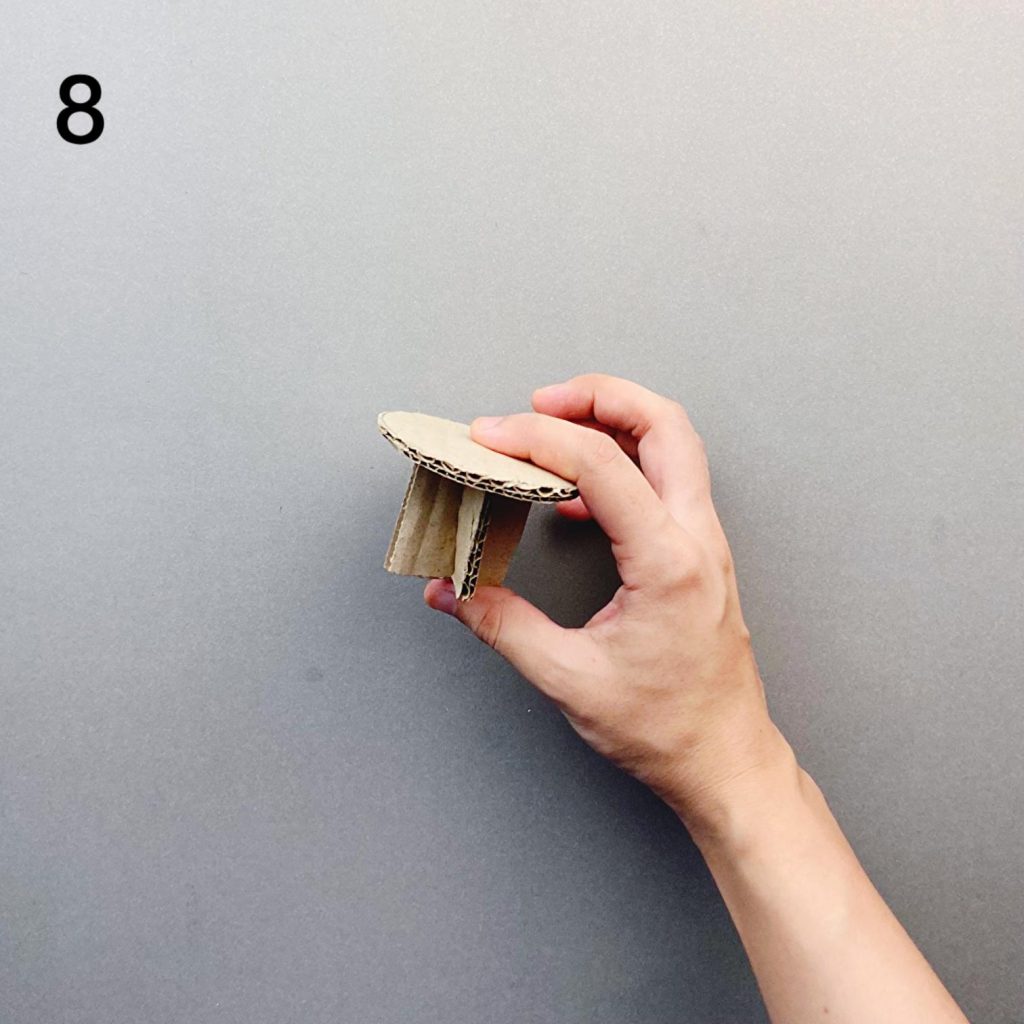
- Making the Table Base
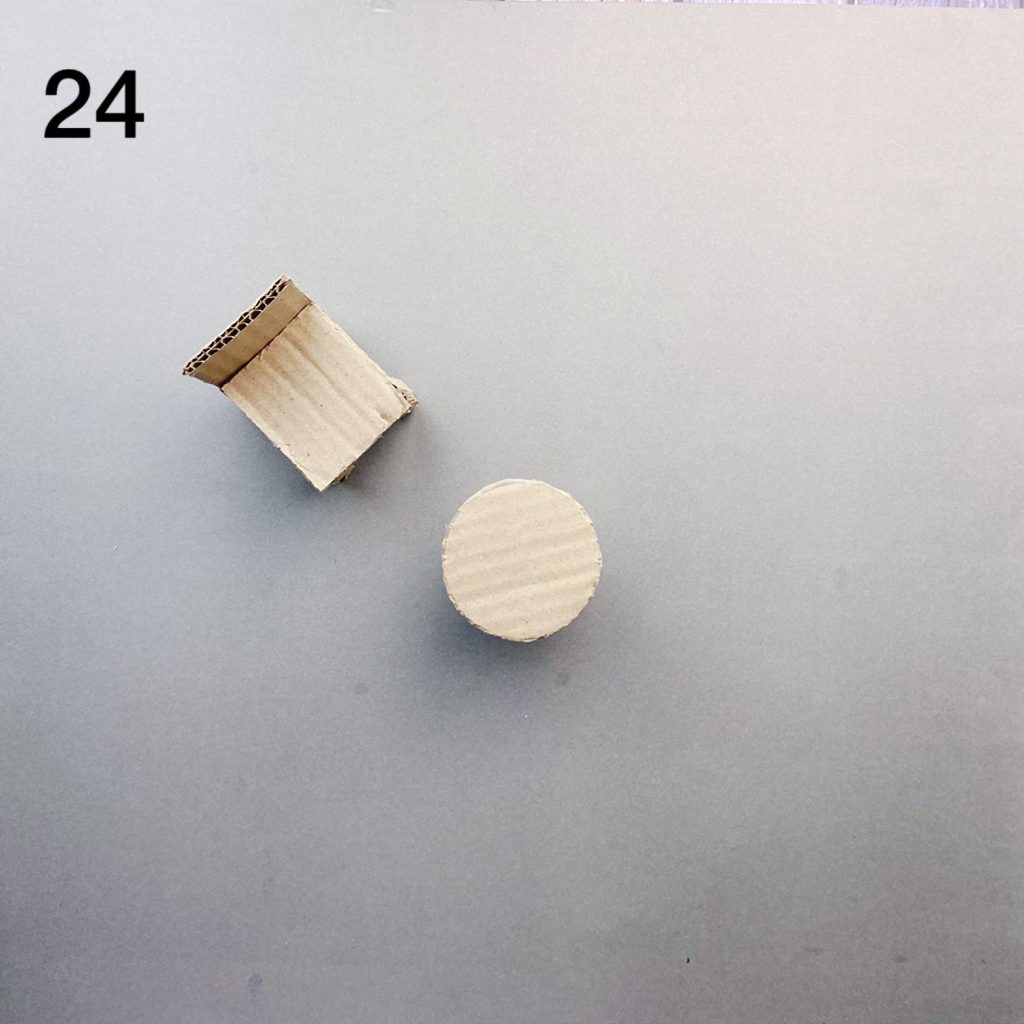
Step 7: Cut a cardboard circle with a 6 cm diameter.

Step 8: Glue the circle onto the cross-shaped base to form the small round dining table.
- Making the Chair Seats & Backs
Step 9: Cut a rectangle 5 x 8 cm and draw a horizontal line 0.5 cm from the top edge.

Step 10: Cut out the inner rectangle below the line to form the seat and two legs.

Step 11: You now have the basic chair front.

Step 12: Cut another rectangle 5 x 5 cm and draw another 0.5 cm border.

Step 13: Begin cutting out the inner section.

Step 14: Continue cutting until it forms a “U” shape.

Step 15: This forms one of the chair sides.

Step 16: Repeat until you have four identical side pieces.

- Assembling the Chair
Step 17: Add glue to one side of the seat.

Step 18: Attach the first chair side.
Step 19: Attach the second side, forming the full chair frame.

Step 20: Make sure everything is aligned and holding its shape.

- Adding the Seat Base
Step 21: Cut a 5 x 5 cm square for the seat base.

Step 22: Add glue around the inner edges of the chair frame.
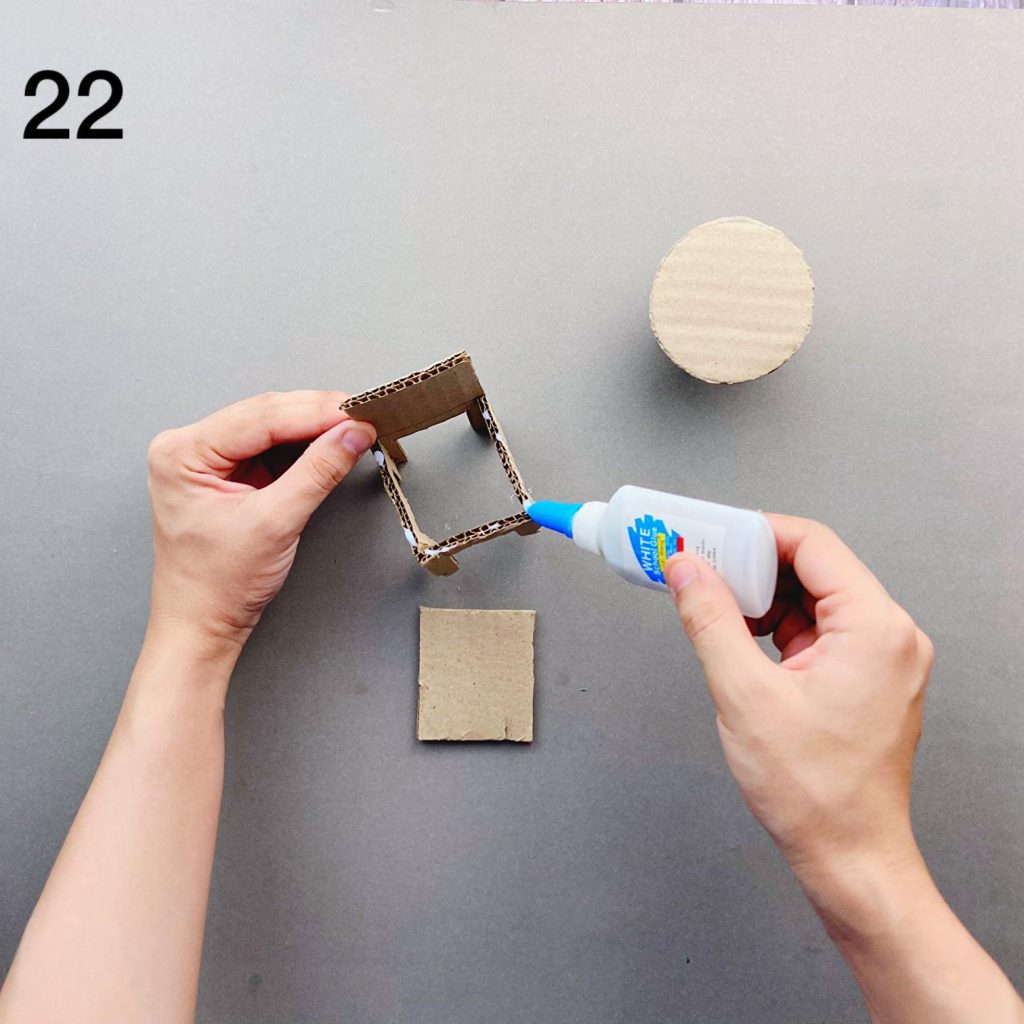
Step 23: Place the seat base inside the frame.

Step 24: Let everything dry completely.
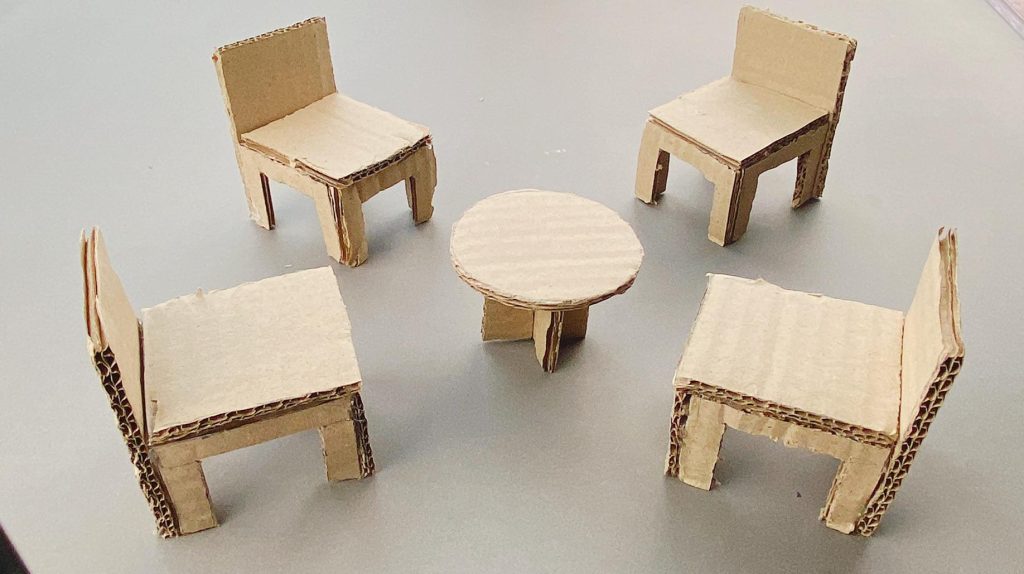
- Final Result
You now have four miniature cardboard chairs (one of the many cardboard methods to create dollhouse furniture), and a matching round table. It’s a great recycled-materials project and works beautifully for rustic 1/6 scale dollhouses or simple play scenes.
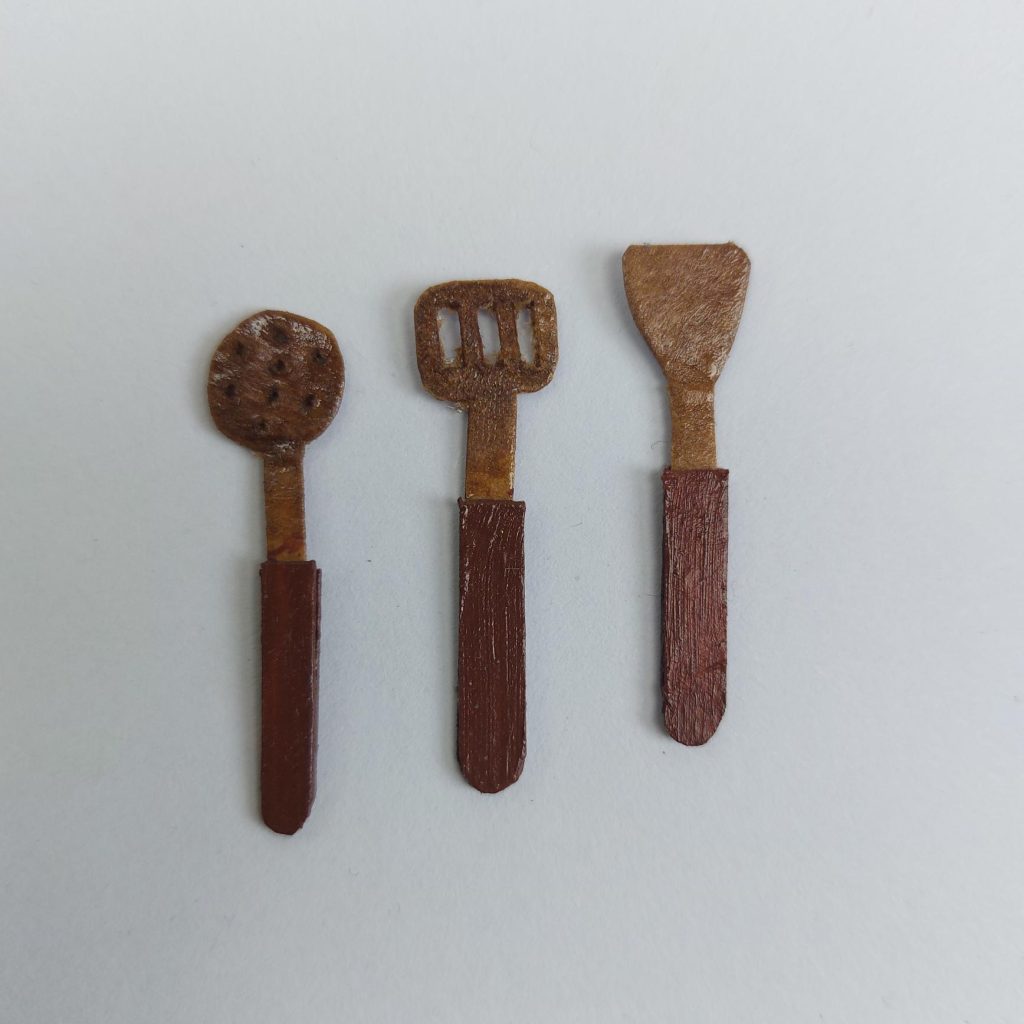
Project 2: Miniature Kitchen Utensils From Cardboard
If you love adding small, detailed accessories to your dollhouse kitchen, this one is such a fun and simple project. Using nothing more than thin cardboard and a pencil, you can make a tiny slotted spatula, round skimmer, and a flat spatula: all styled to look like rustic wooden utensils.
These are also ideal for Barbie-scale (1:6) kitchens or as oversized utensils in a 1:12 scene for a whimsical touch.
You can also use thin chipboard/kraft paperboard, for example, used in scrapbooking or kraft backing from notebooks.
Materials You’ll Need
- Thin cardboard (food packaging works perfectly)
- Pencil or fine marker
- Scissors or craft knife
- Strong tacky glue or UHU
- Acrylic paint (brown tones for a wooden look)
- Toothpick (optional, for shaping small details)
Step-By-Step Instructions
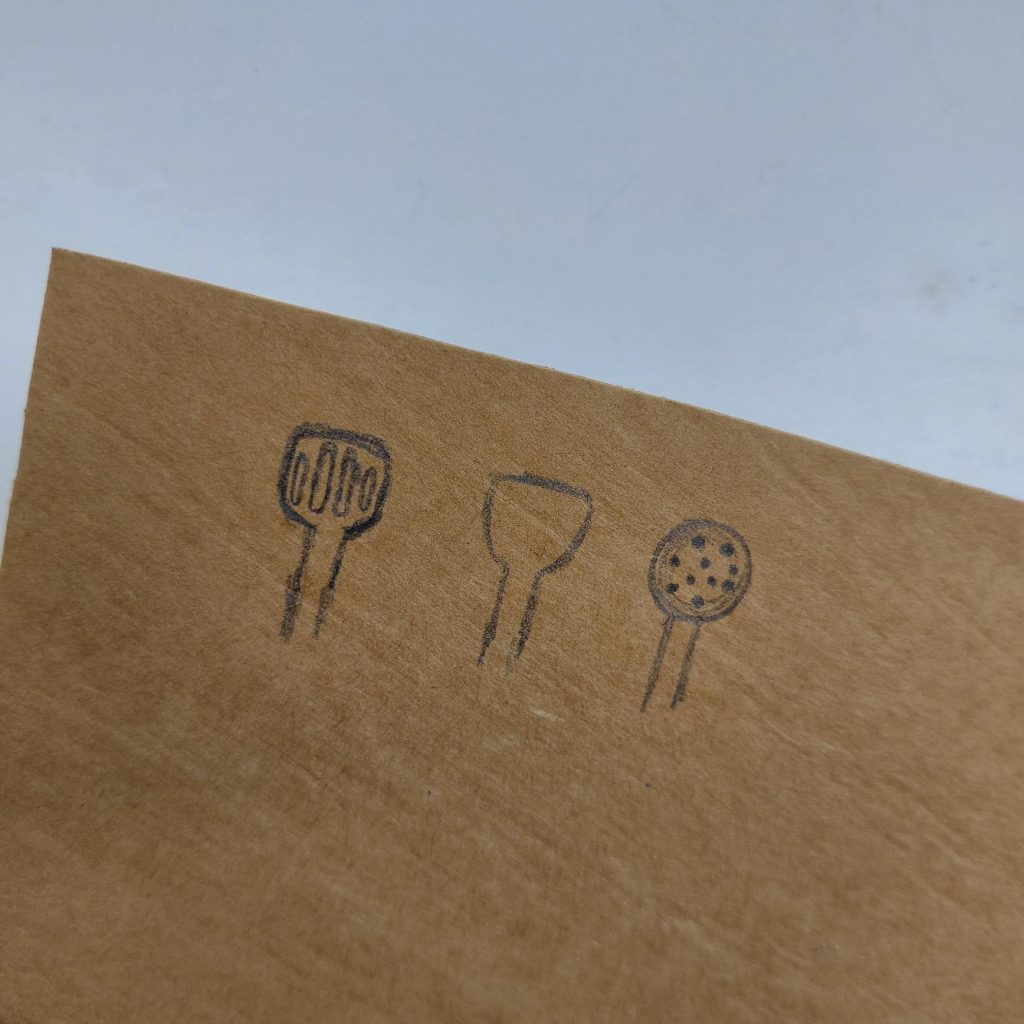
- 1. Draw the Shapes
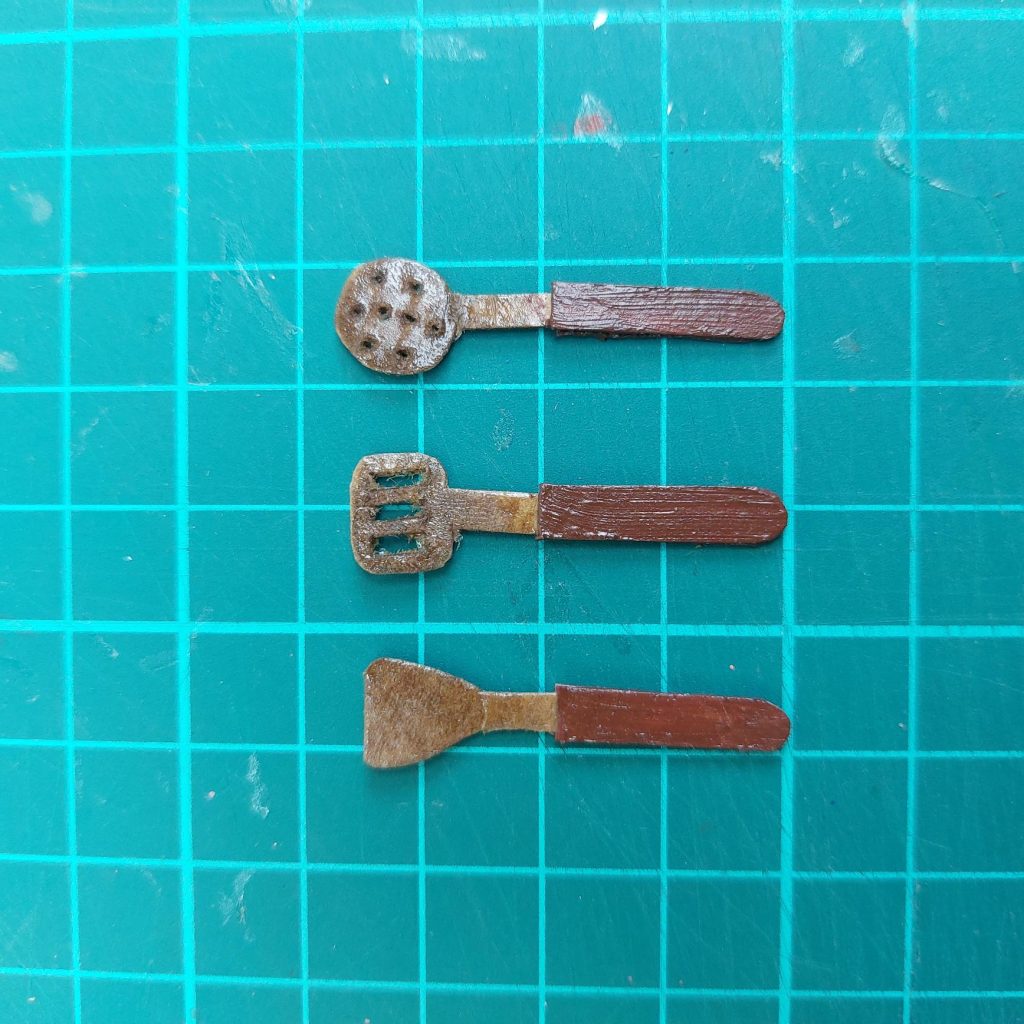
Start by sketching the outlines of your utensils onto the cardboard: a slotted spatula, a round skimmer, and a flat spatula. Keep the handles long enough so you can glue two layers together later.
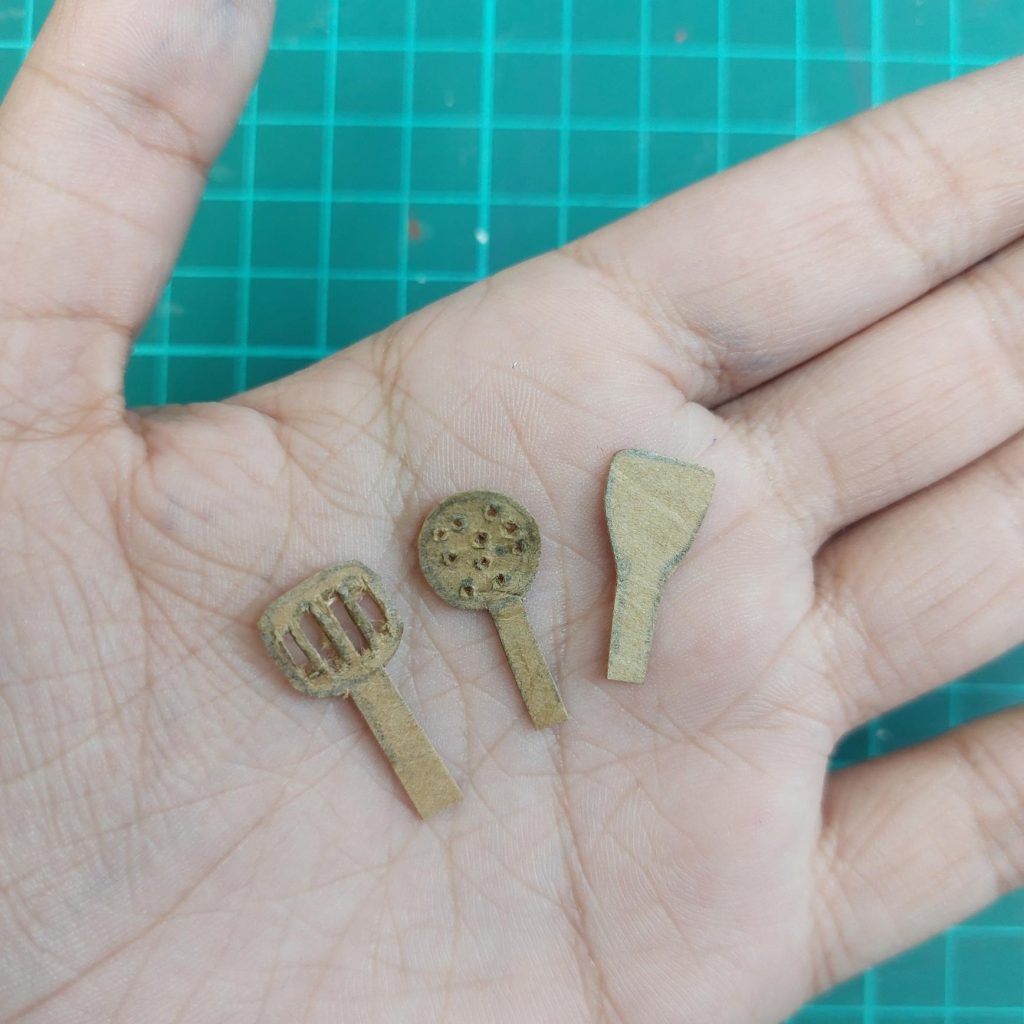
- 2. Cut Out Each Piece
Carefully cut out the shapes with small scissors. For the slotted spatula and the skimmer, remove the interior holes with the tip of a craft knife. A slightly rustic look works perfectly for miniatures.
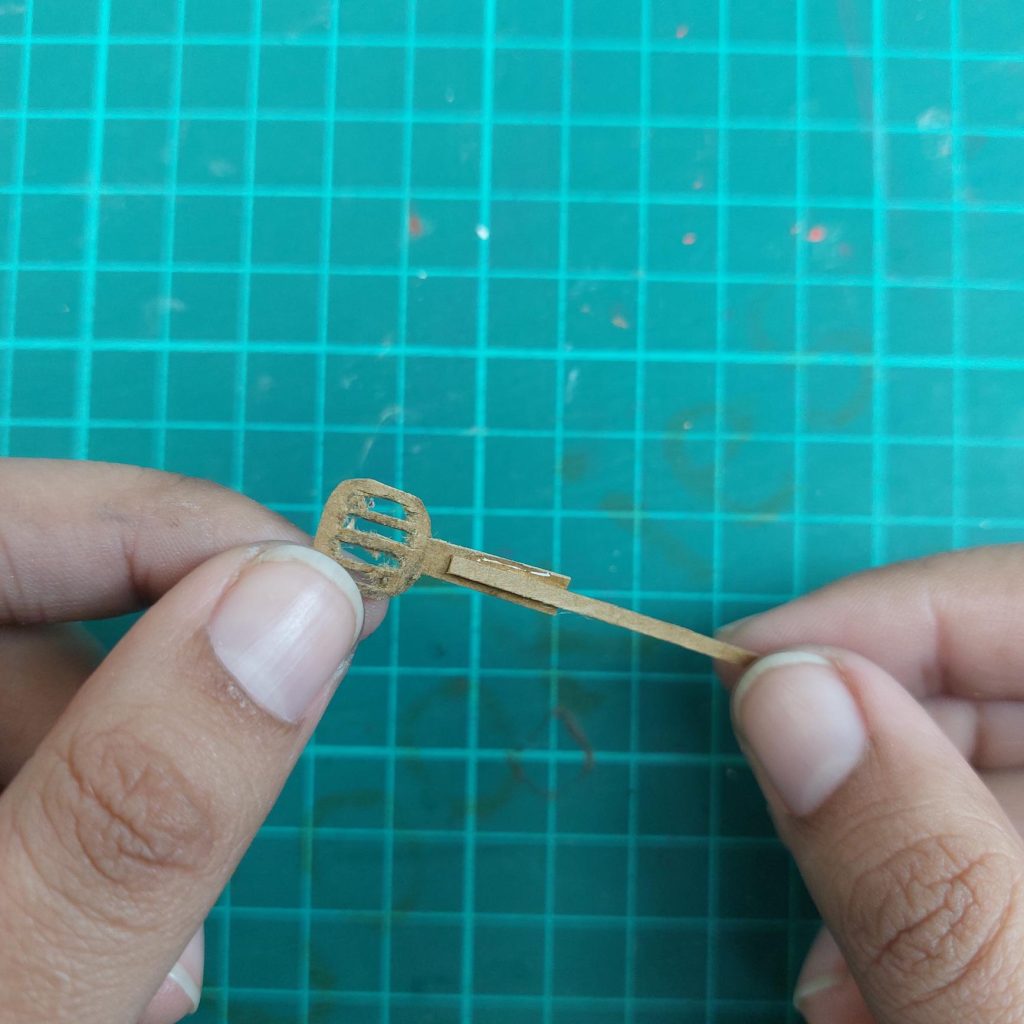
- 3. Double the Handles
Cut matching strips of cardboard and glue them behind each handle. This gives the utensils more strength and a realistic thickness. Let the glue dry for a few minutes.

- 4. Refine the Edges
Trim uneven bits or lightly sand the edges if needed. Cardboard is easy to tidy up with small snips.
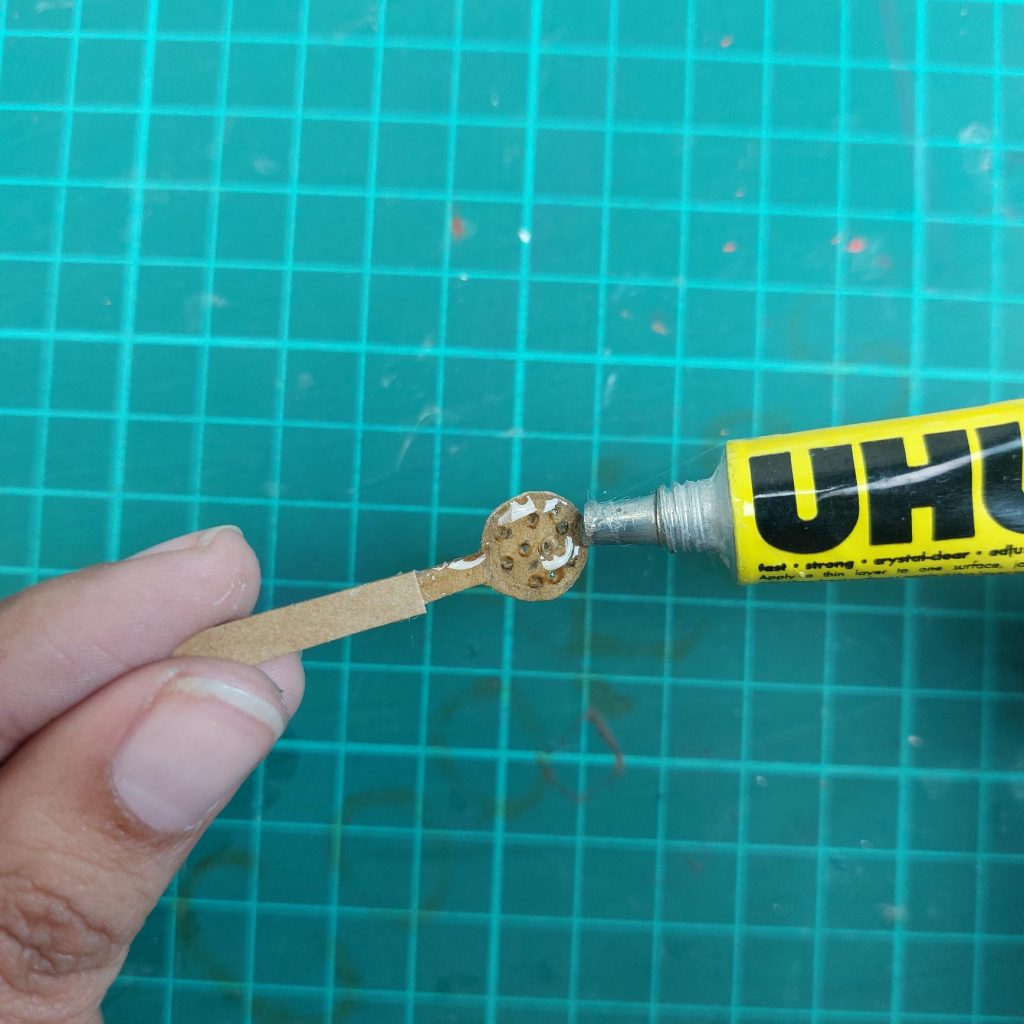
Glue some threads of glue to the top pieces, to give them that vintage and used look.
- 5. Paint the Utensils
Coat everything with brown acrylic paint to imitate wood. You can paint the heads of the utensils in a lighter brown and the handles darker for a more realistic look. Let them dry completely.

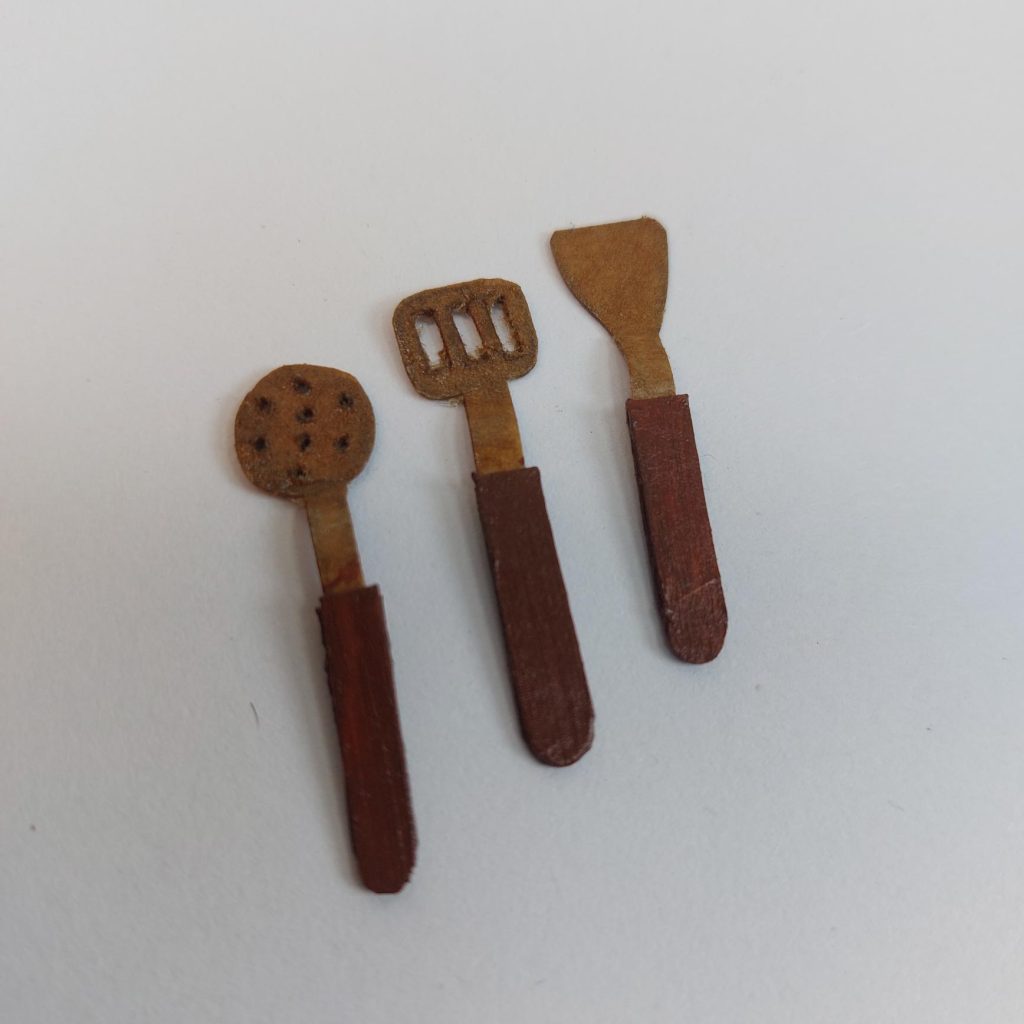
- 6. Finished Look
Your tiny utensils are ready to use in any dollhouse kitchen, diorama, or mini cooking scene. They look especially cute hanging on a tiny wall rack.
Scale Note
These utensils measure roughly 3–4 cm, which makes them ideal for Barbie-scale (1:6) kitchens. In a 1:12 dollhouse, they will look oversized but can still be used as decorative props.
My Final Conclusion
That’s it for these two quick and fun miniature projects! Both are easy to make with scraps you probably already have at home, and they add such a charming touch.
If you give them a try, I’d love to hear how yours turned out. Feel free to share your thoughts, questions, or ideas in the comment section below. 😊
I wish you happy crafting!
Kind regards,
Lizzy

Hi everyone!
My name is Lizzy, and I am an amateur miniaturist obsessed with everything in the dollhouse and miniature world, ever since I was a teenager.
So far, I have created 2 dollhouse projects, a backyard shed and a miniature treehouse, tons of DIY dollhouse kits, and “hacked” some.
I also created a fairy garden, and lots of small and simple miniature projects on my YouTube channel. (mostly made from trash or everyday items).
I love to write as well about all things happening in the miniature world, hence the reason why I created this blog!
I wish you happy reading and crafting!
Lizzy


