If there’s one thing I love about dollhouse miniatures, it’s how you can turn the most ordinary bits of trash into something that looks perfectly at home in a dollhouse. In fact, this tutorial will show you how to make a miniature stool from everyday scraps and craft leftovers.
Let’s start with the first one: a cozy, rustic stool made from a bottle cap and some burlap.
Project 1: Miniature Stool from a Bottle Cap and Burlap
This first stool project is simple but has a lovely rustic look. By reusing a bottle cap, some cardboard, and a bit of burlap, you can make a sturdy miniature stool that looks perfect in a dollhouse kitchen, garden, or farmhouse-style room.
Materials I Used
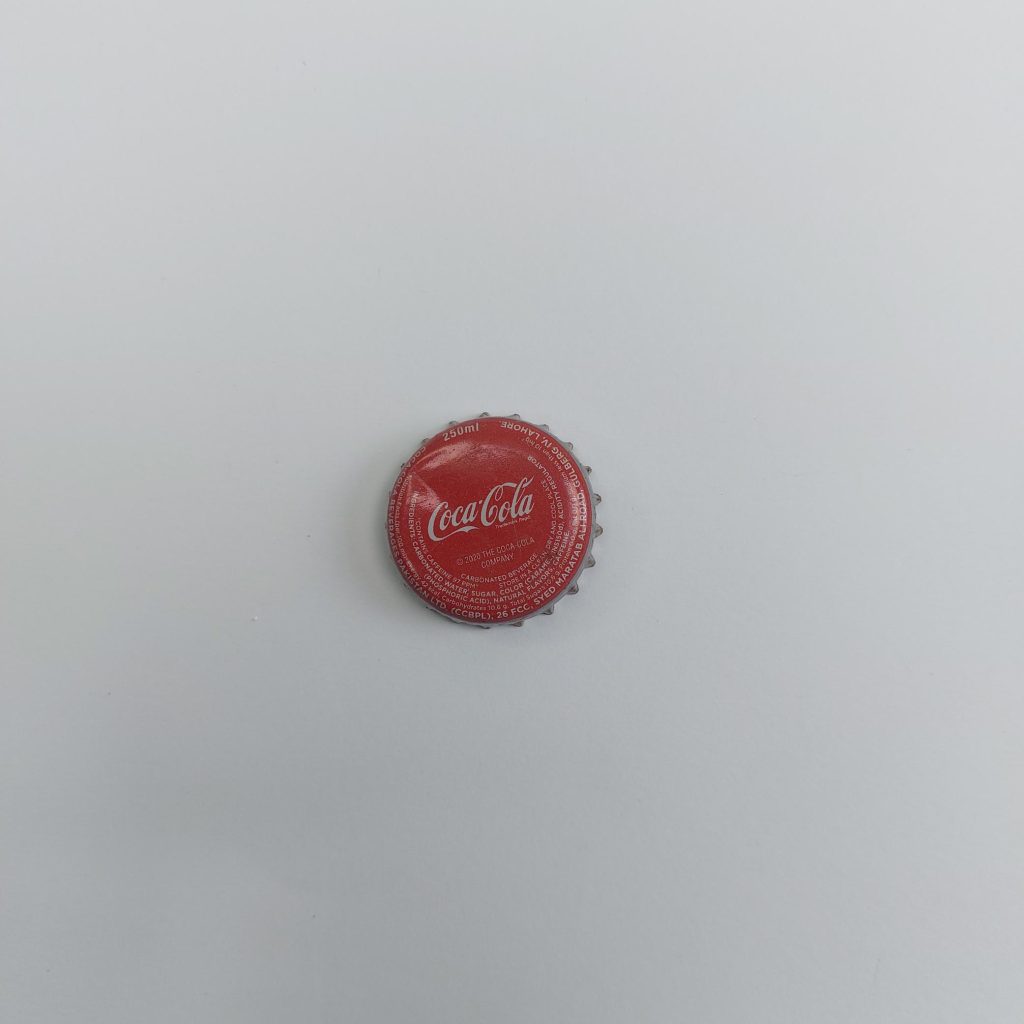
1 Bottle cap
Cardboard or thick paper (for cutting circles to cover the cap)
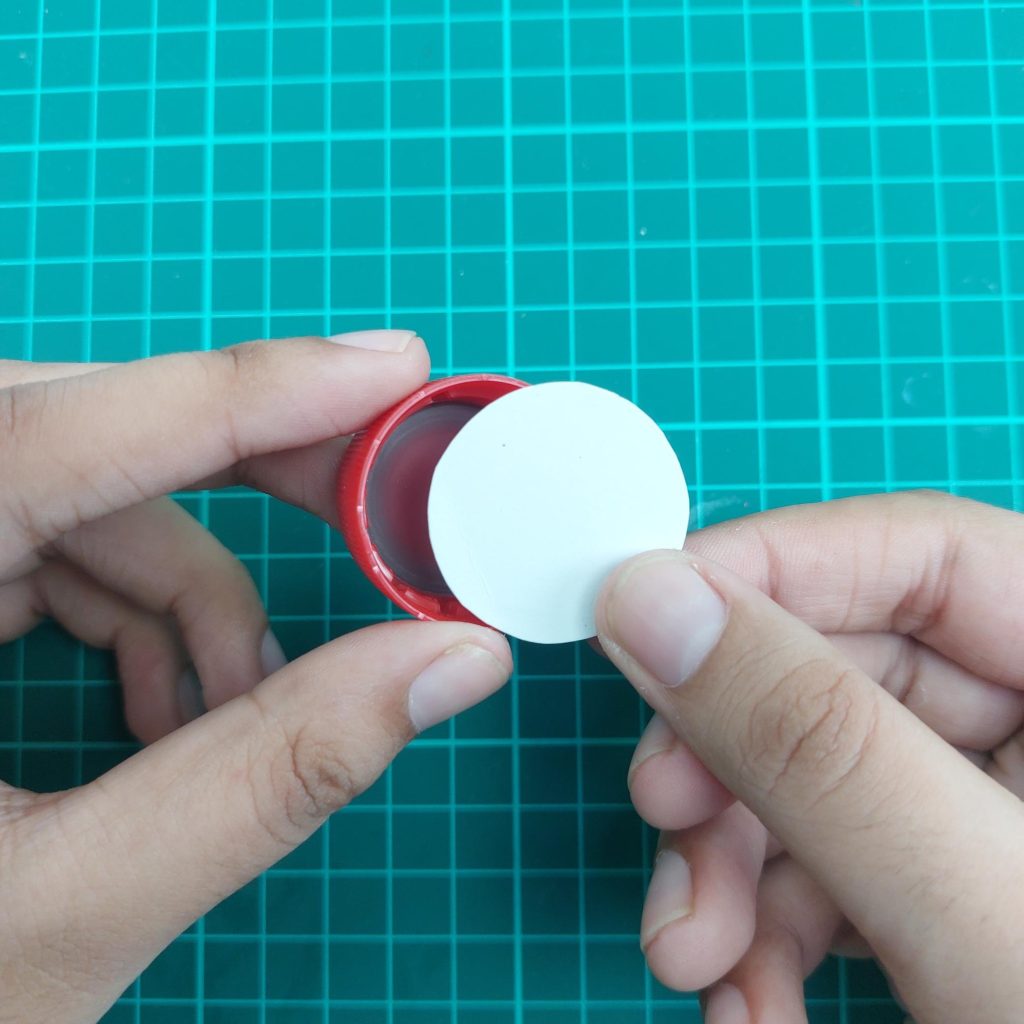
Take a clean bottle cap. Cut a cardboard circle that fits snugly on top of the cap and glue it in place. This gives a solid base to work on.
Step 2: Covering the Outside
Add another cardboard circle on the top to fully cover the surface, or just use sturdy paper.
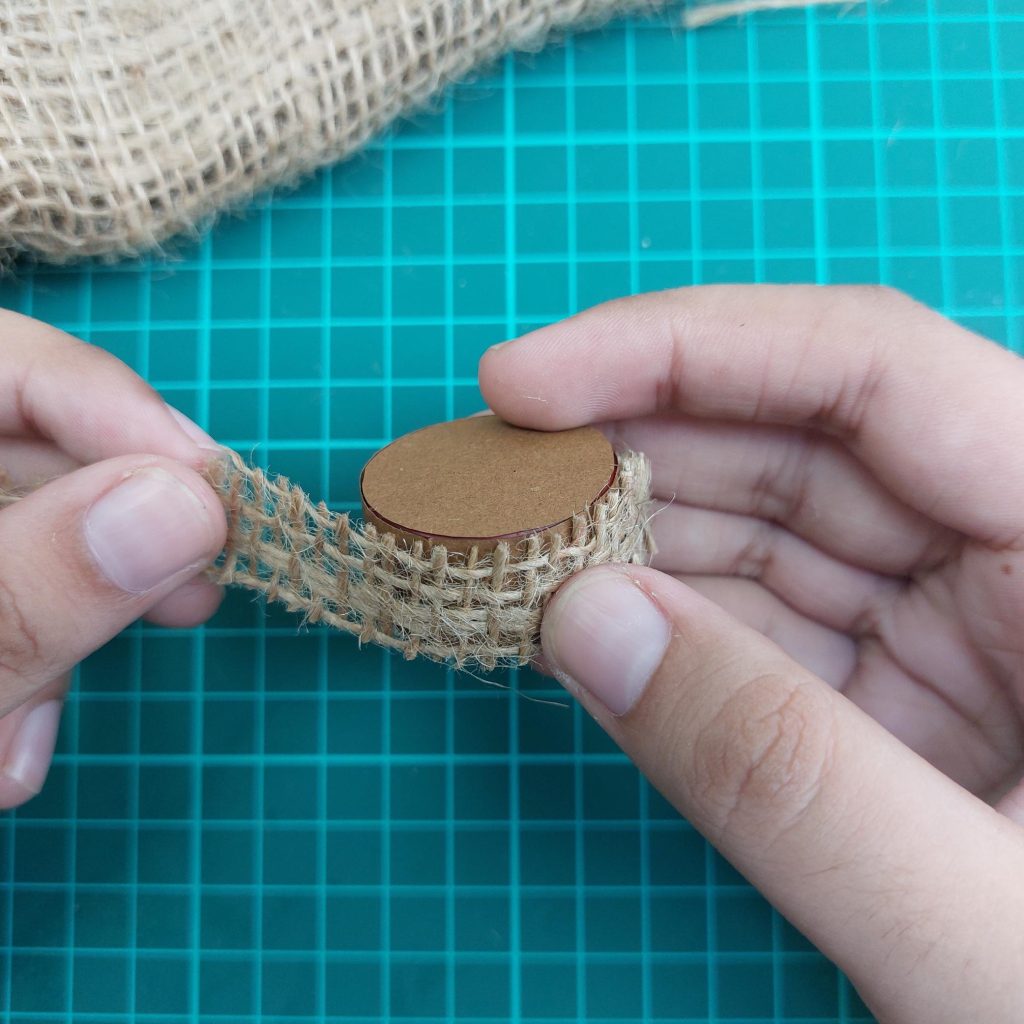
Step 3: Wrapping with Burlap
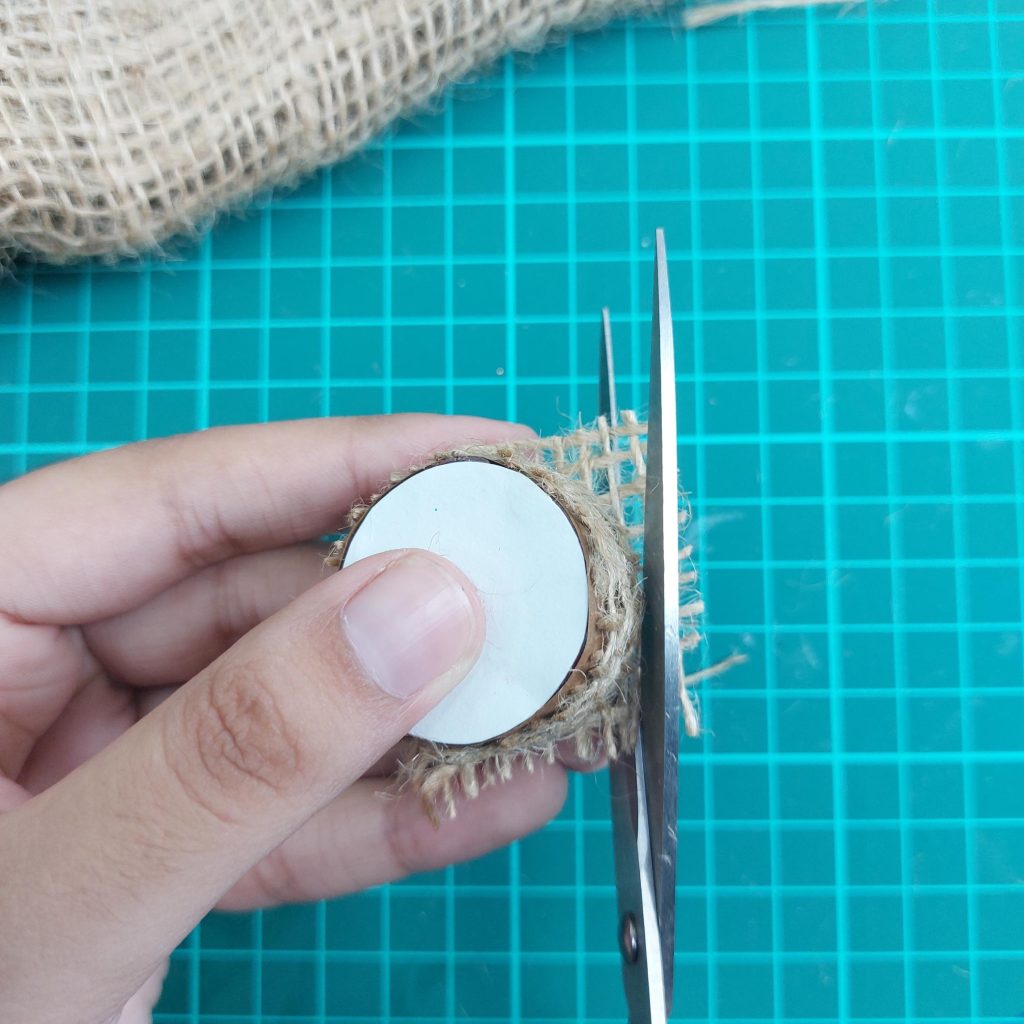
Wrap a piece of burlap (or any textured fabric) around the cap. Use UHU glue to stick it down firmly. Trim off the excess fabric neatly with scissors.
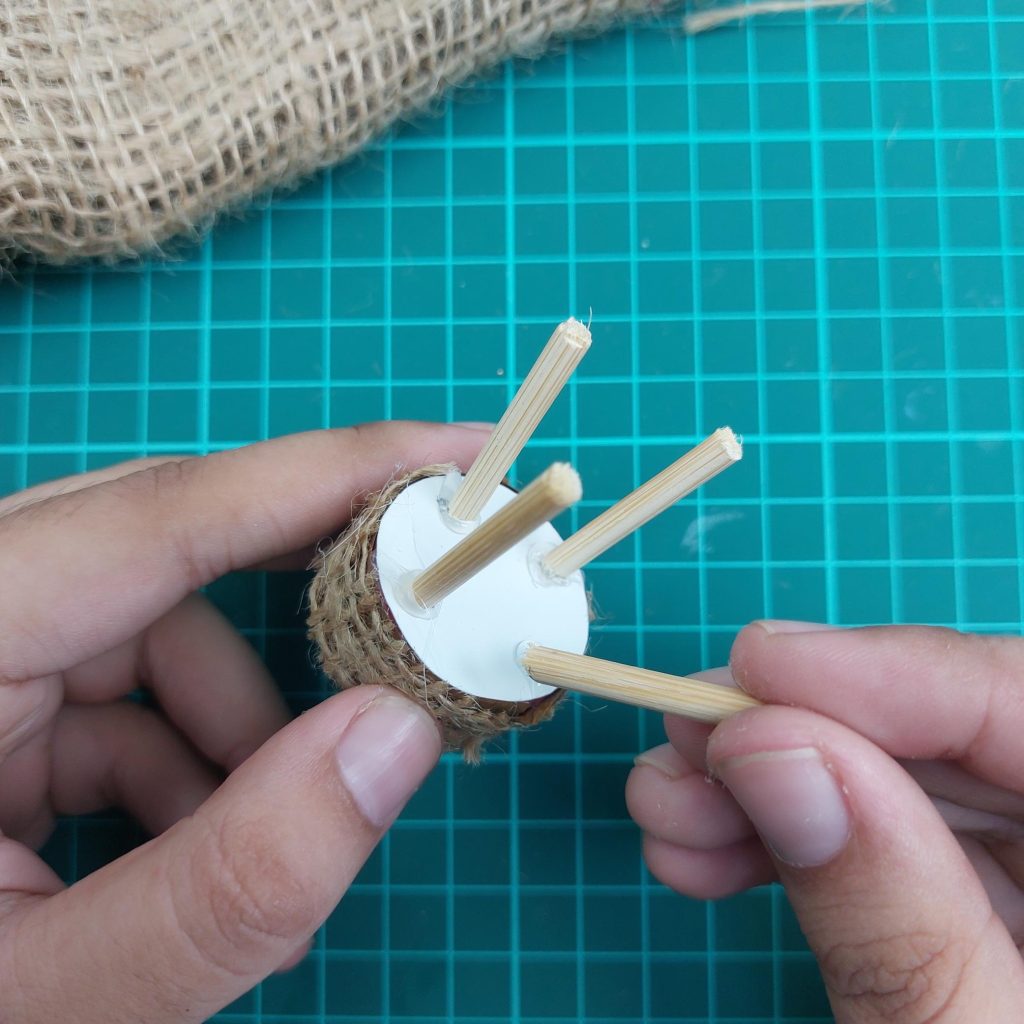
Step 4: Adding the Legs
Cut four equal lengths of wooden sticks or skewers to use as stool legs. Glue them evenly to the underside of the cap.
👉 This stool has a farmhouse vibe thanks to the burlap, but you could also paint the bottle cap or use patterned fabric for a completely different look.
DIY Miniature Stool from Bottle Cap with Painted Seat
If you’ve got a bottle cap and some toothpicks lying around, you can turn them into a fun little DIY miniature stool from a bottle cap for your dollhouse. This version looks a bit more polished thanks to the painted seat.
Materials Used
1 metal bottle cap
Acrylic paint (white + your chosen top color)
Small paintbrush
4 toothpicks (for the legs)
UHU all-purpose glue
Scissors or a small cutting tool
Step-by-Step Tutorial
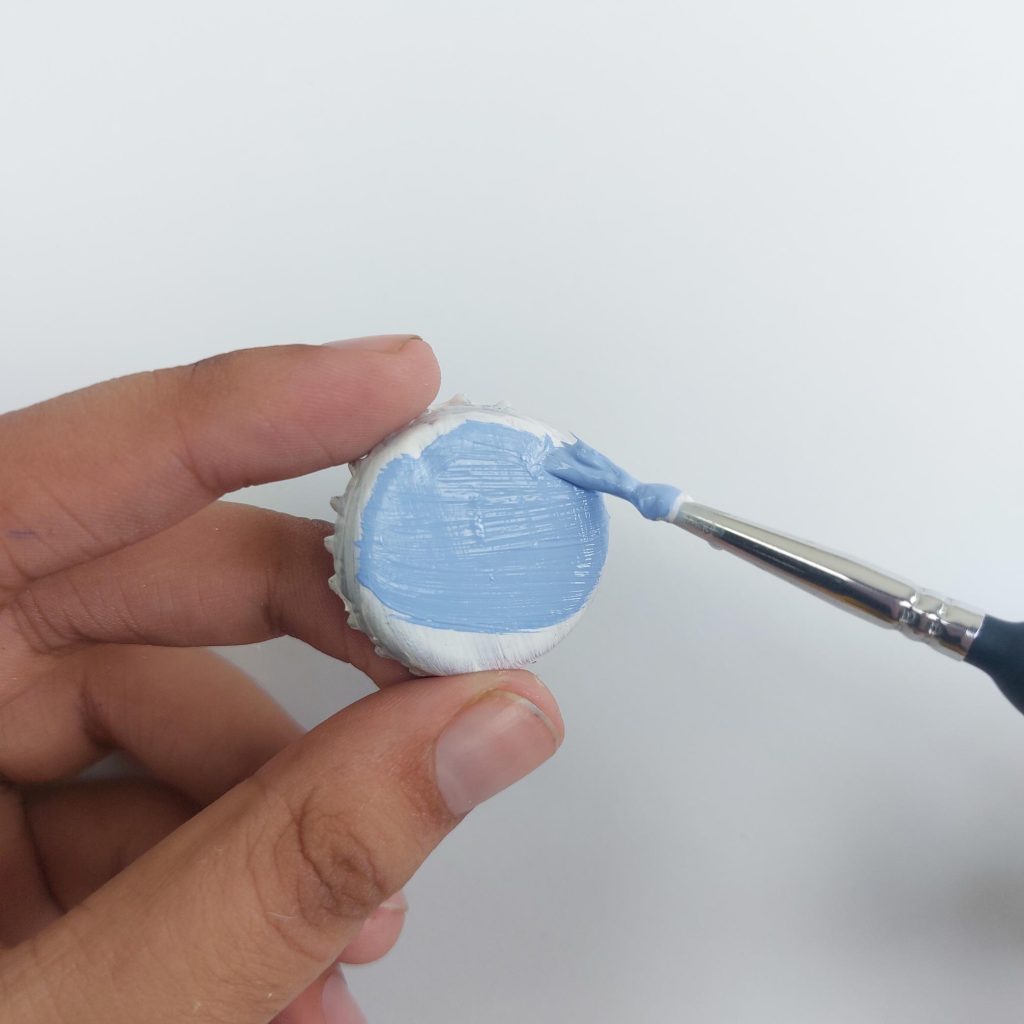
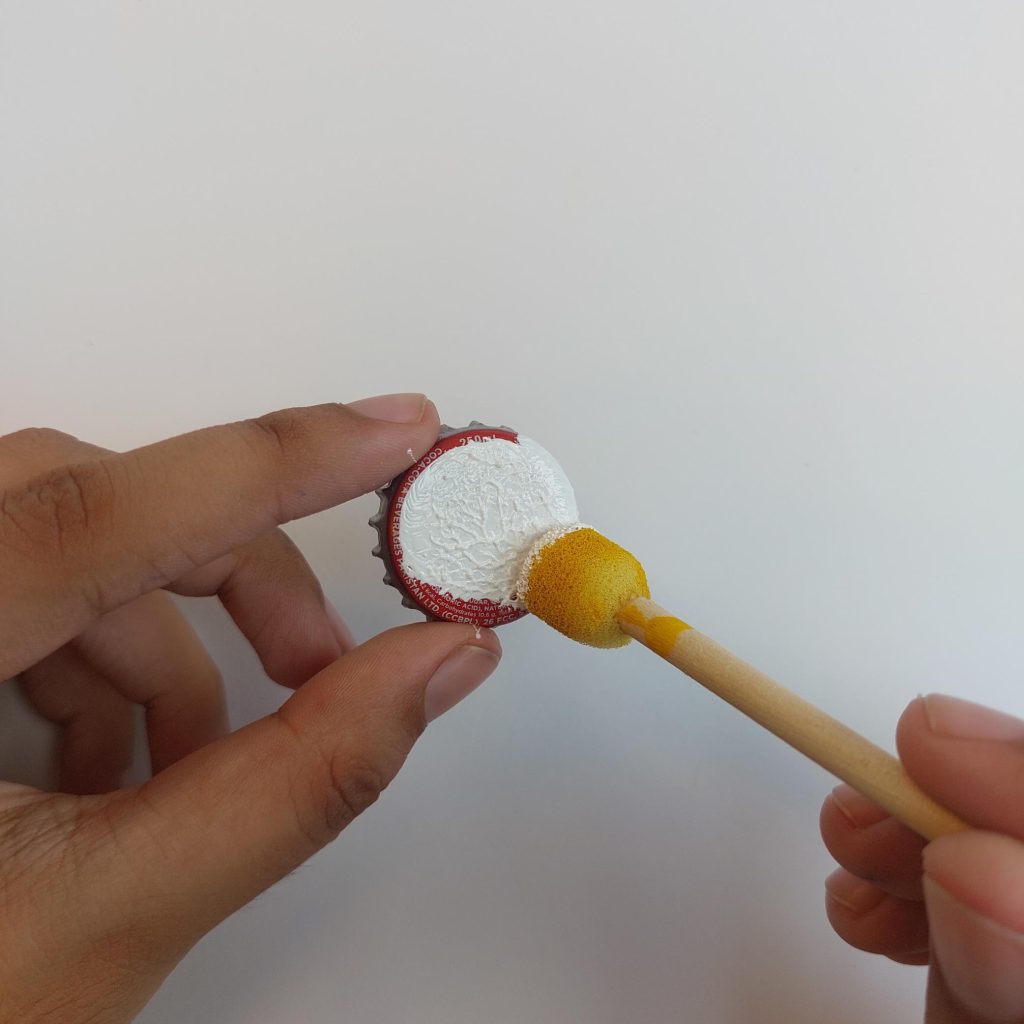
Step 1: Prepare the Bottle Cap Take a clean metal bottle cap. Paint it with a coat of white acrylic paint to prime it, let it dry well, and then add a second coat in your chosen color. I went with a soft blue for this project.
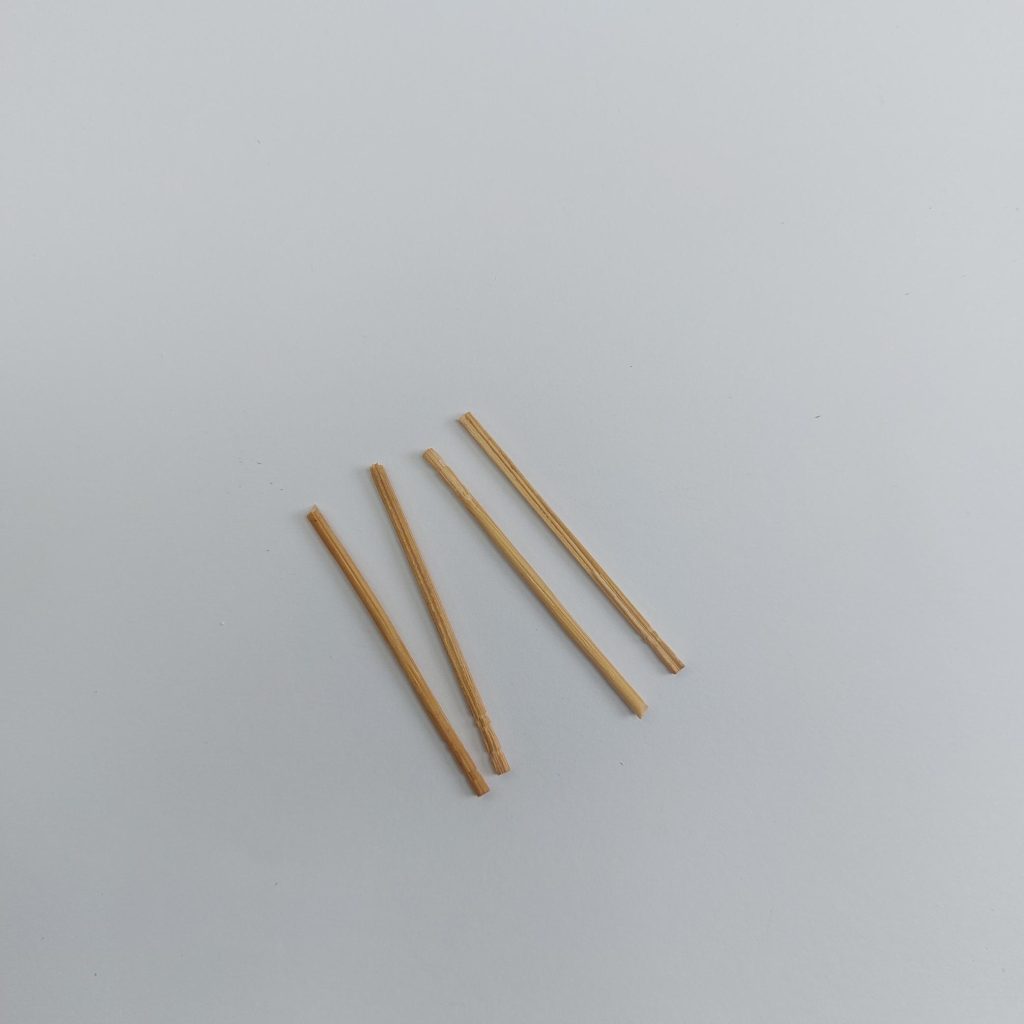
Step 2: Cut the Toothpicks Cut four equal pieces from the toothpicks. These will be the stool legs, so try to keep them the same length for balance.
Step 3: Attach the Legs Flip the bottle cap over and carefully glue the four toothpicks to the underside of the cap using UHU glue. Space them evenly around the edge. Let it dry fully before moving on.
Step 4: Build the Support Frame Cut and glue smaller pieces of toothpick to connect the legs at the bottom and sides, forming a sturdy square base. This helps the stool stay strong and stand evenly.
Step 5: Final Touches Once the glue has dried, check if the stool stands straight. You can sand or trim the legs if needed.
Now you’ve got a charming little stool with a colorful painted seat—perfect for a rustic or playful dollhouse scene!
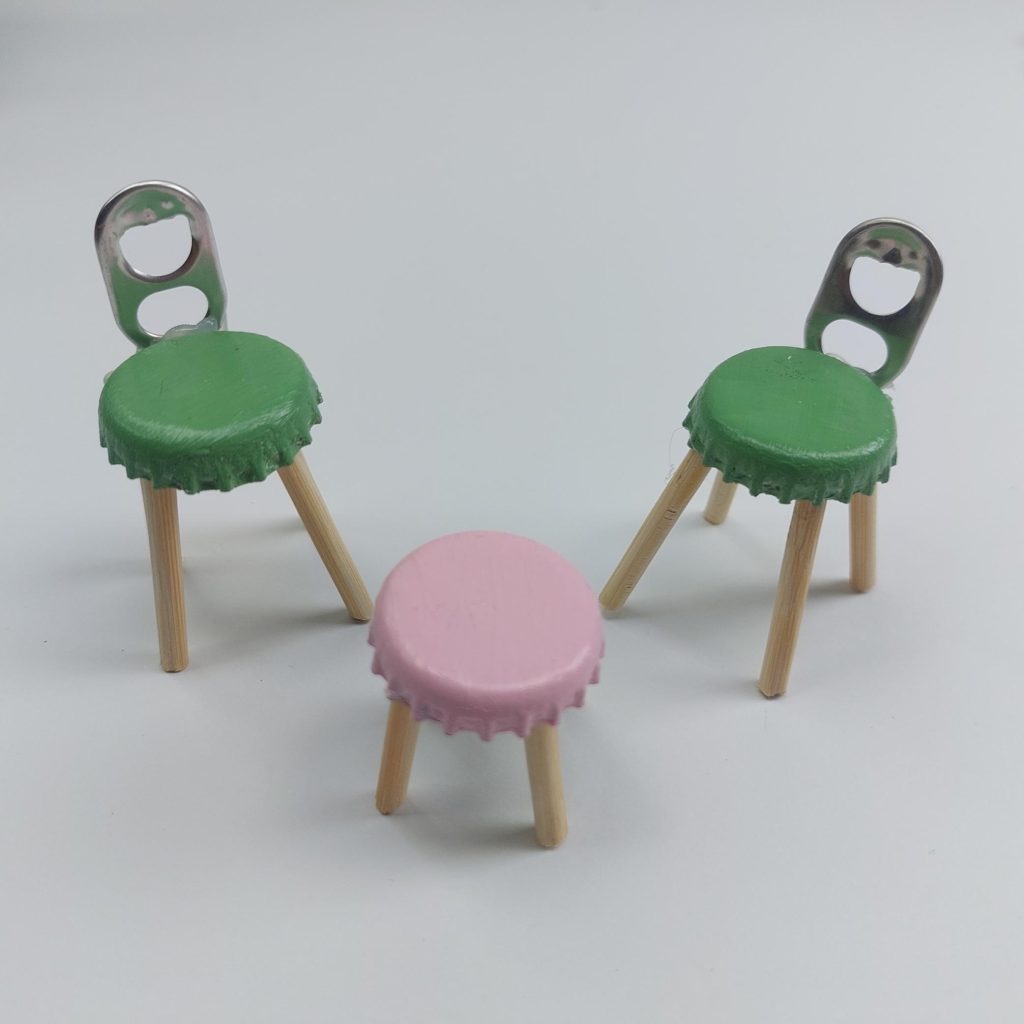
Project 3: Miniature Bottle Cap Stools (and Chairs!)
This project is quite similar to the previous stool we made with bottle caps and toothpicks, but here we’ll take it a step further. By adding soda can tabs as backrests, you can easily turn the stools into miniature chairs. It’s a small change, but it makes the whole set look more playful and versatile.
Materials I Used
Bottle caps (for the seat)
Acrylic paint (your choice of color)
skewer sticks instead of toothpicks (for the legs)
Soda can tabs (for the chair backs)
UHU glue (or any strong craft glue)
Paintbrush or sponge applicator
Step-by-Step Tutorial
Paint the bottle caps
The same way as the previous project: start by painting the outside of your bottle caps. A layer of white primer (or white acrylic paint) helps cover the original logo, and then you can go over it with your chosen color. I used pink and green for mine.
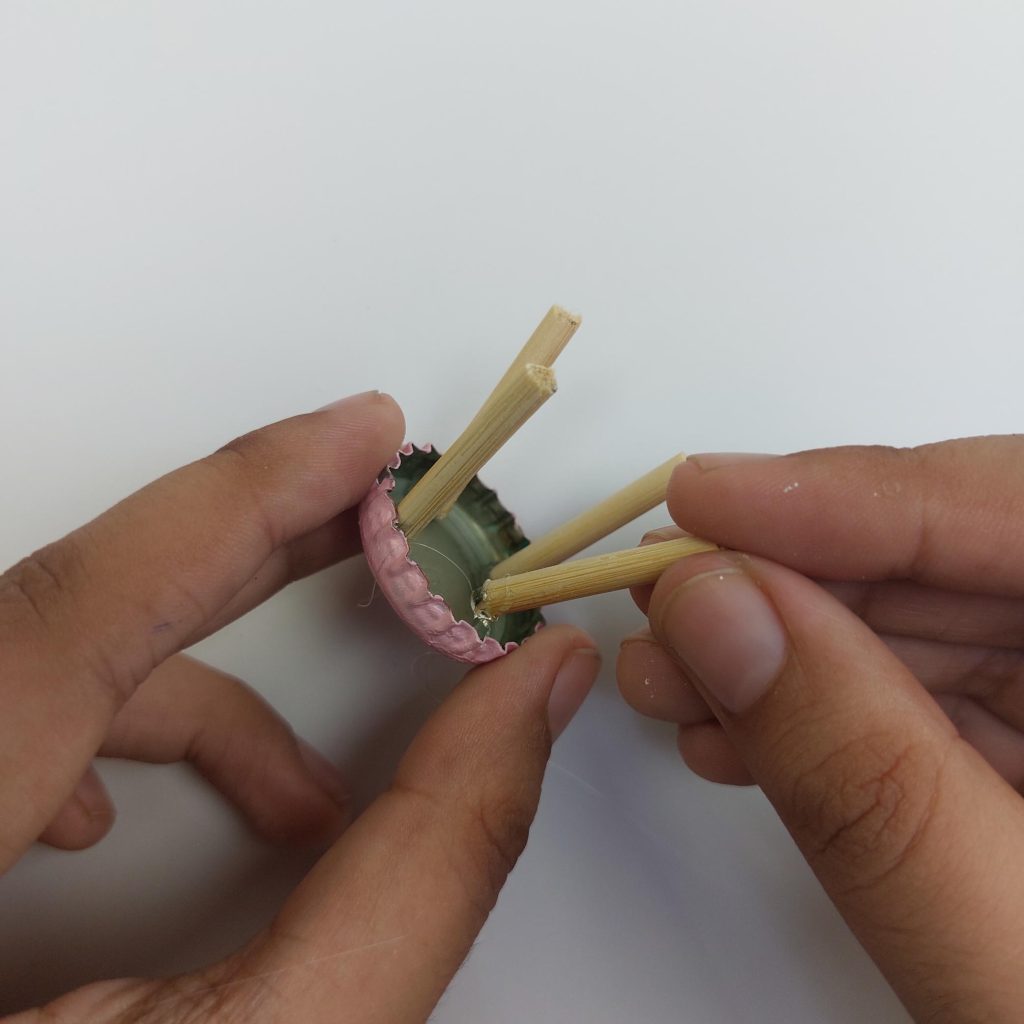
2. Prepare the legs and attach them.
Cut your skewer sticks to equal lengths to form the legs of the stools, and then attach the sticks inside the bottle cap to act as legs. Hold them steady until the glue sets.
3. Turn stools into chairs (optional)
You can now turn them into chairs, glue a soda can tab to the top of the bottle cap seat as a backrest. This simple addition instantly transforms your stools into chairs.
Let it dry Allow everything to dry thoroughly before handling your new furniture.
And that’s it — now you have a fun little set of stools and chairs made from nothing more than scraps!
4: Miniature Stool with Backrest from a Toilet Paper Roll
Here’s a fun and surprisingly sturdy little stool you can make from something we all have lying around: a toilet paper roll. With just a bit of paint, some foam or glitter paper, and glue, you’ll have a cute miniature stool that can double as a chair. I even made a tiny matching table to go with it!
Mind you, though: this is more on a Barbie scale of 1:6, instead of the usual 1:12 scale.
Materials You’ll Need:
Paintbrush
a cardboard roll (from kitchen paper or toilet paper, whichever you have: kitchen paper rolls are sturdier)
Brown acrylic paint (or any color you like for the “wood” look)
Pink craft foam or cardboard (for the seat)
Glitter foam sheets (pink and silver work well)
Silver cord or ribbon (optional, for extra detail)
Scissors and pencil
White glue (PVA) or UHU glue
Step-by-Step Instructions
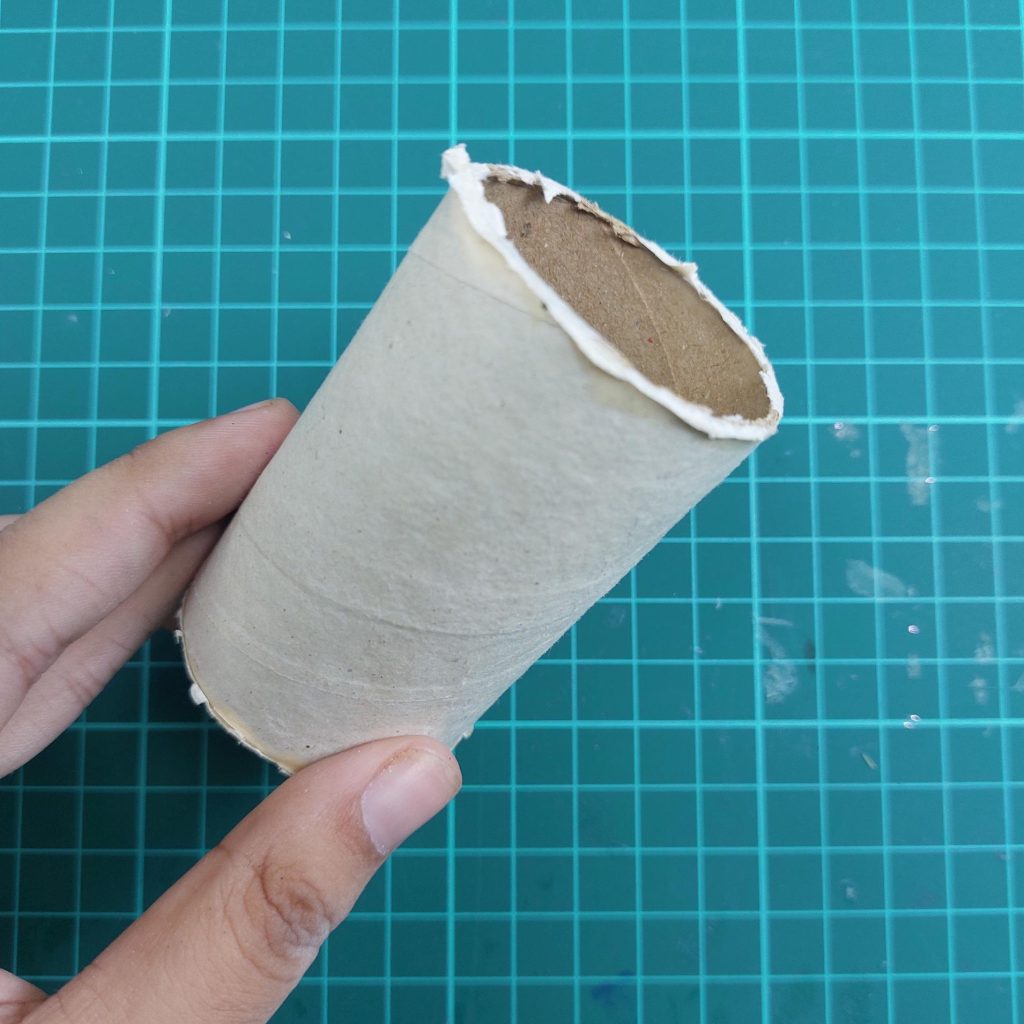
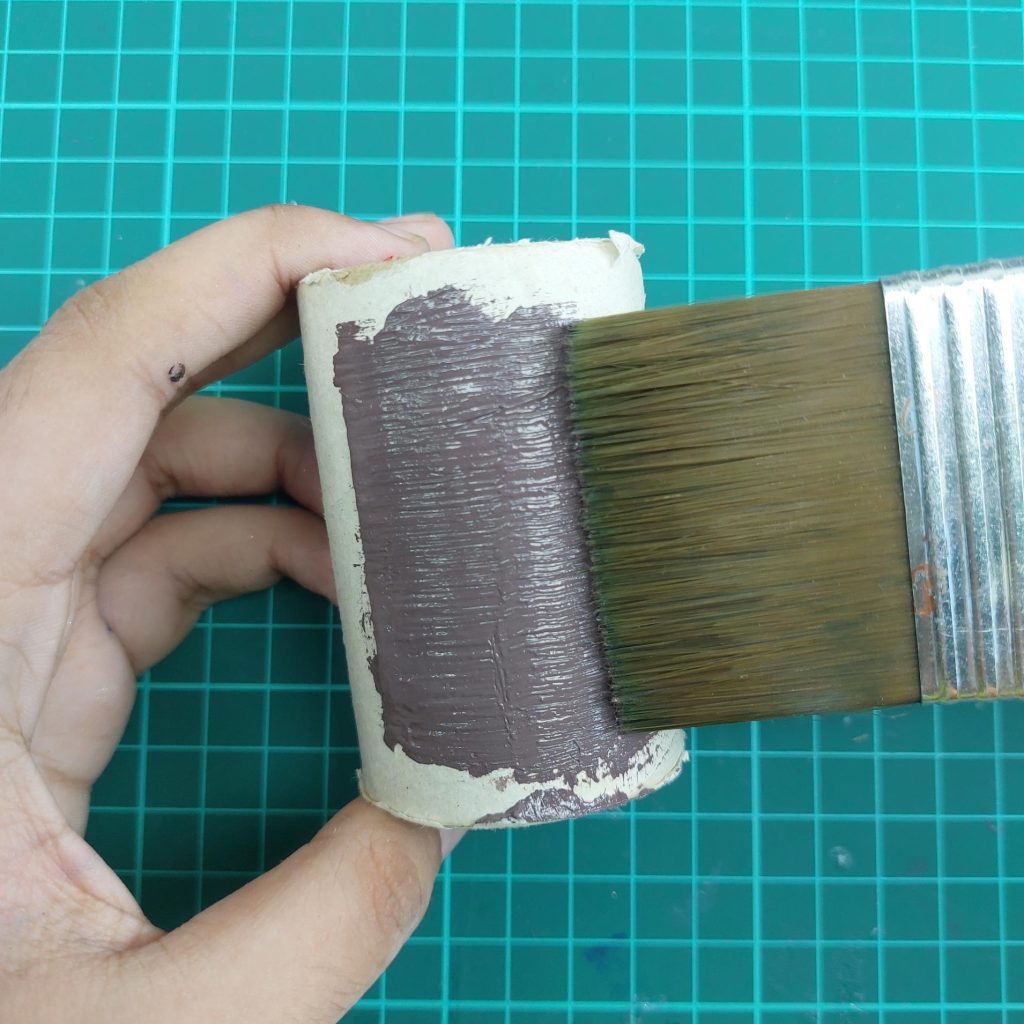
Step 1: Prepare and Paint the Roll
Cut your kitchen paper roll down to the height you’d like for the stool. Paint it with acrylic paint and let it dry completely. If you use a lighter color of the chair, you might want to prime the roll first, though!
Step 2: Shape the Backrest Cut a small flap at the top of the roll and bend it backward to form a backrest. Paint this part as well to match the base.
Step 3: Add the Seat Cut a circle from foam or colored paper that matches the size of the roll opening. Glue it on top to create the seat.
Step 4: Decorate the Edges Wrap glitter foam or glitter tape around the seat edge for a polished look.
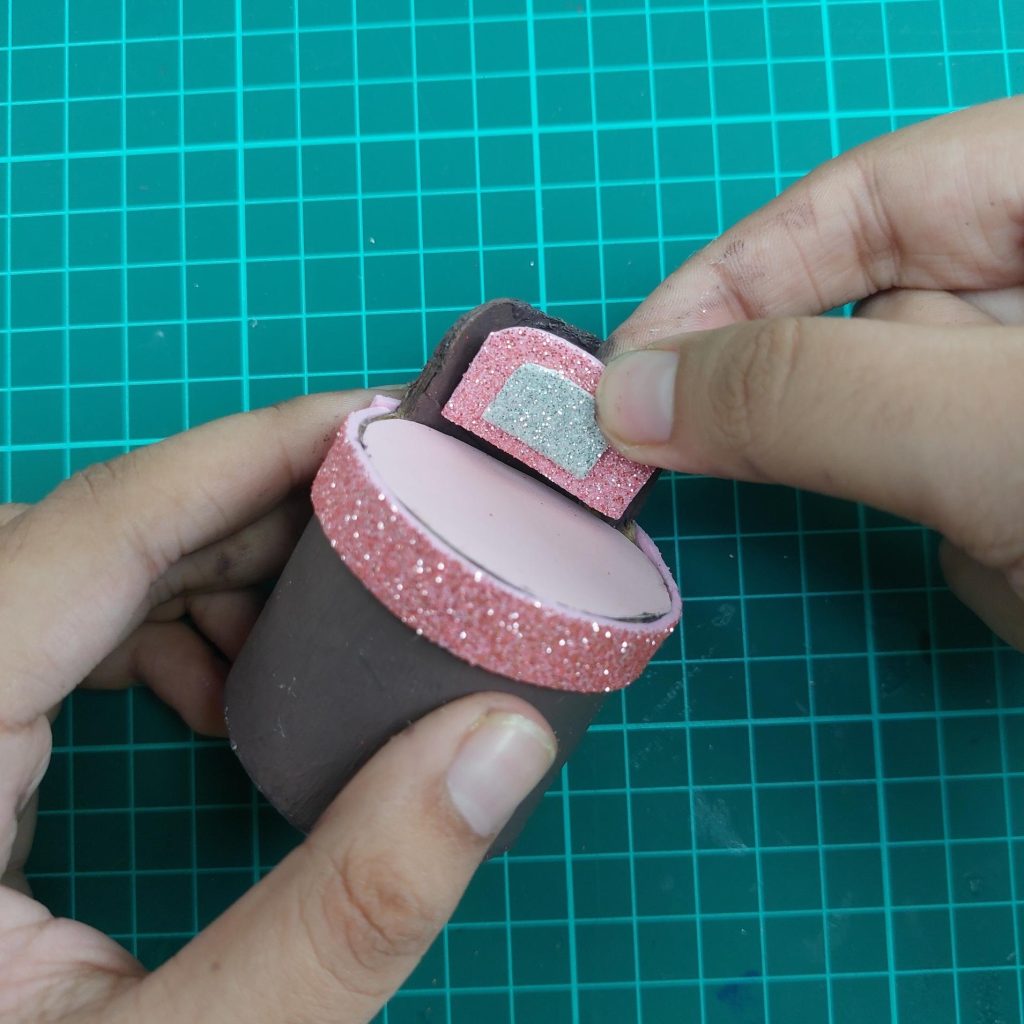
Step 5: Finish the Backrest Cut smaller shapes from glitter foam to decorate the backrest and glue them in place. You can also outline the backrest with silver ribbon for extra detail.
Step 6: Style and Display Once everything is dry, your stool is ready! Pair it with a matching mini table (I made mine from another small piece of roll) and add little details like clay food or drinks for display.
👉 And that’s it — a sturdy and stylish miniature stool made from a simple kitchen paper roll!
My Final Conclusion
Making miniature stools from trash and scraps is not only budget-friendly, it’s also a creative way to give new life to everyday items that would otherwise be thrown away.
Now I’d love to see what you come up with! Do you have your own twist on these miniature stools? Share your creations in the comments below, or better yet, post them in my Facebook group for dollhouse and miniatures, where we all exchange ideas and inspiration. Don’t be shy — your project might spark someone else’s creativity too!


I love the little stools they are so cute. Thank you for sharing these.
You are welcome! More ideas comming up soon! 🙂
Happy crafting!
Lizzy