I recently came across this idea, and it stuck with me straight away.
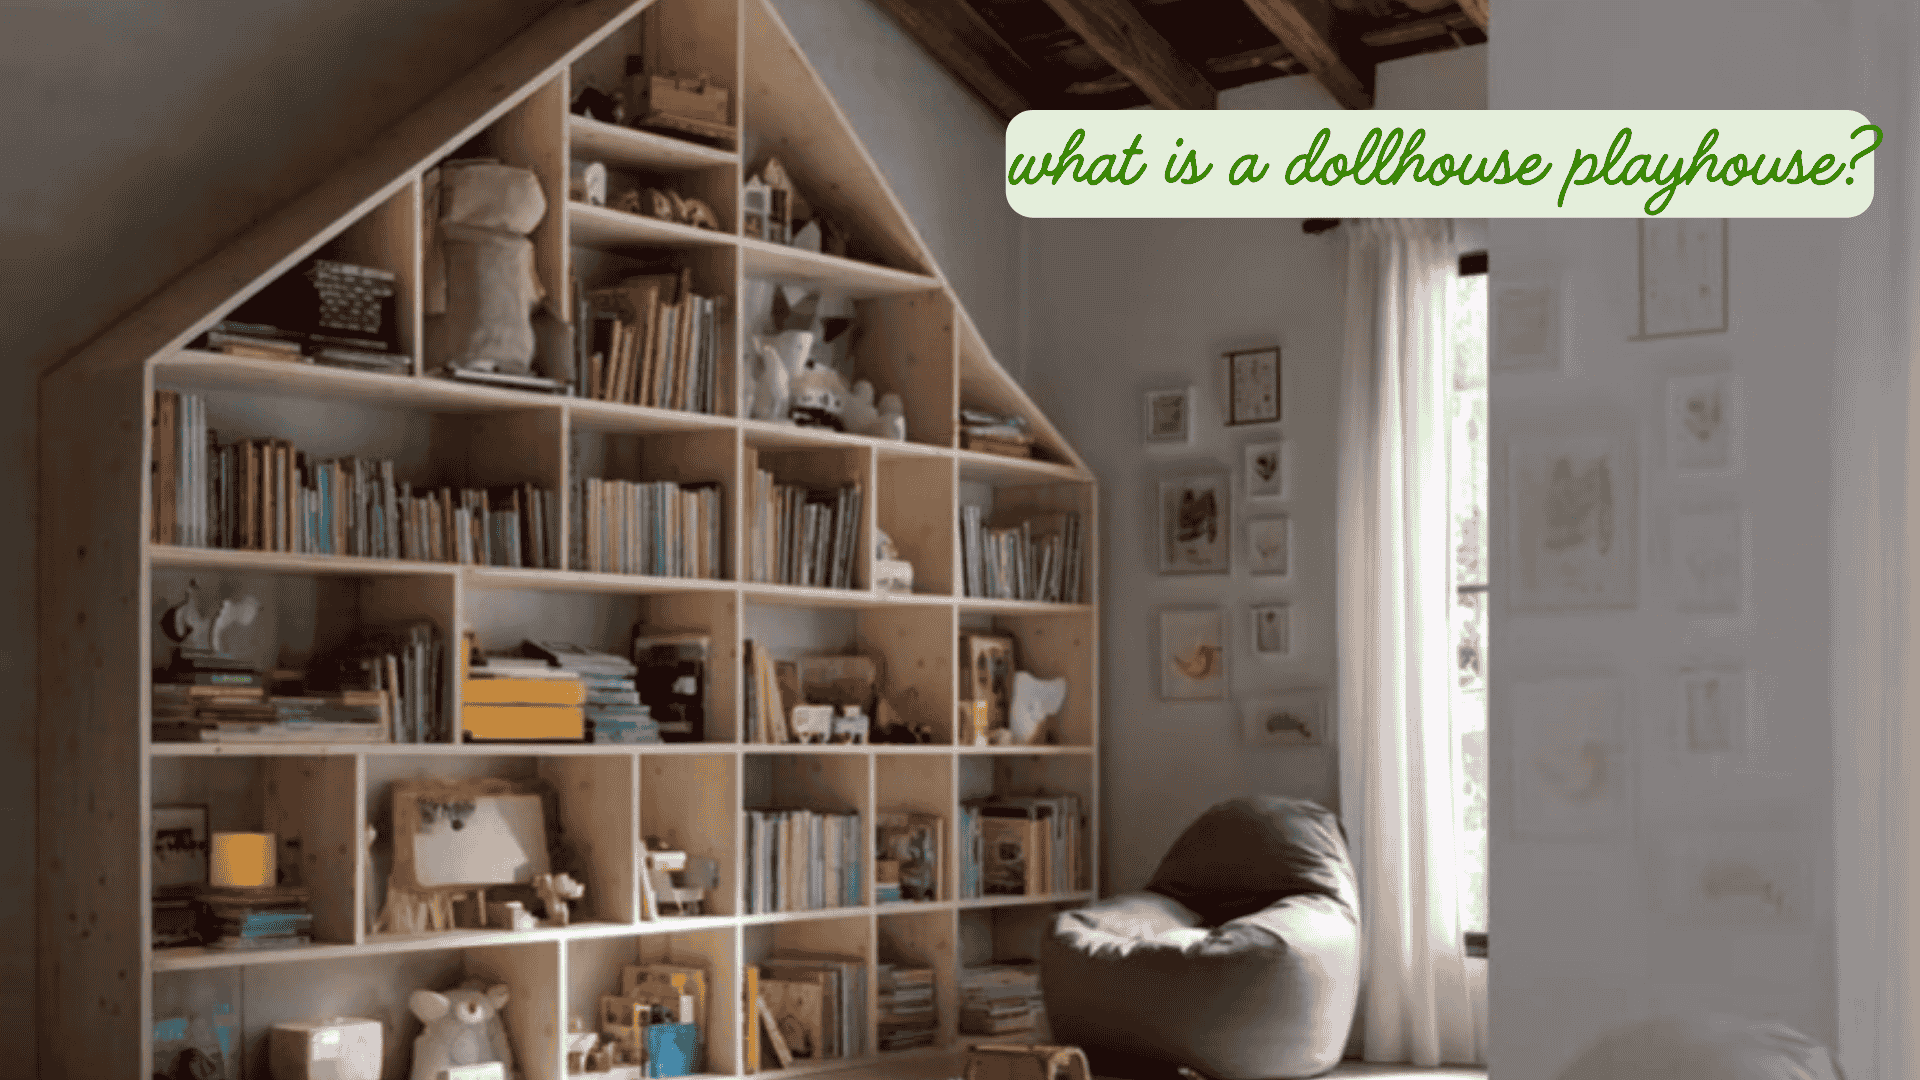
Instead of adding more toys or decorations to a playroom, in plastic boxes and such, the entire space is built around one piece: a storage unit shaped like a dollhouse. (Is it even called a ‘dollhouse playroom’? I’m honestly not sure)
And honestly, it just looks better than a regular bookcase, especially in a children’s bedroom. (yeah, doh, hahaha)
Why I prefer this over a normal shelf
A standard bookcase does what it’s supposed to do, but it always feels a bit flat.
This is different. And cute.
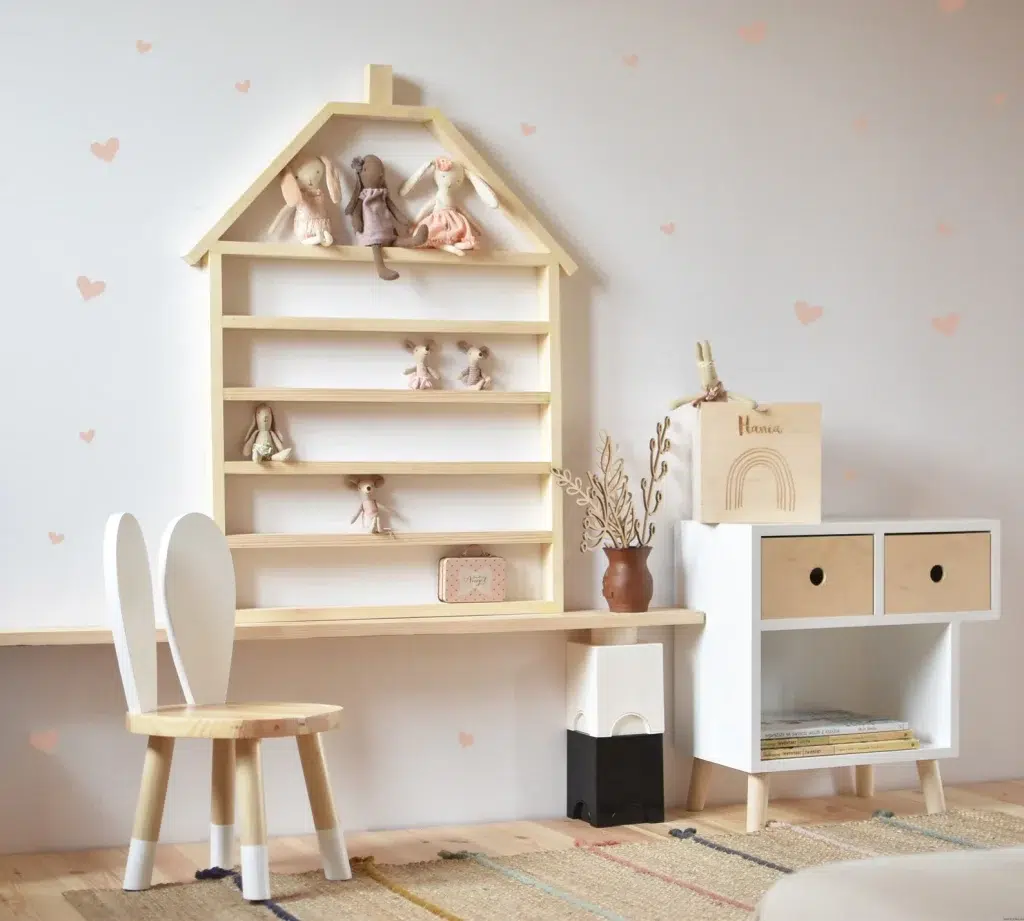
The house shape immediately softens everything. It makes the room feel lighter and more playful without adding extra clutter.
And the compartments? They naturally break things up, so nothing looks like a pile of random stuff.
Here’s where you can find some ideas:
Each section becomes its own little space. Books in one, toys in another, maybe a few decorative pieces here and there. You don’t even have to try that hard: it just looks good!
And that’s really the point. The structure does most of the work for you.
Where to find these dollhouse playrooms
If you want one, Etsy is full of them. Just search:
- house shaped shelf kids room
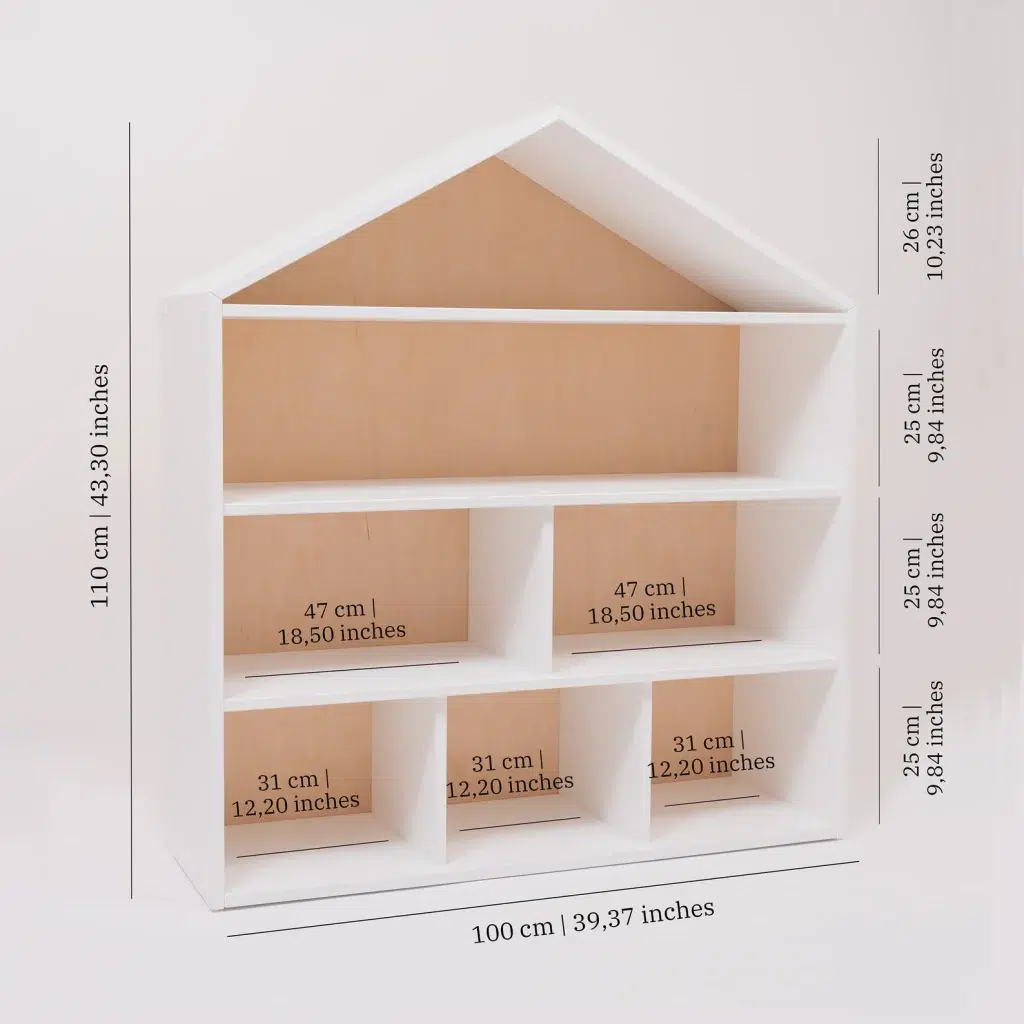
- dollhouse storage unit wood
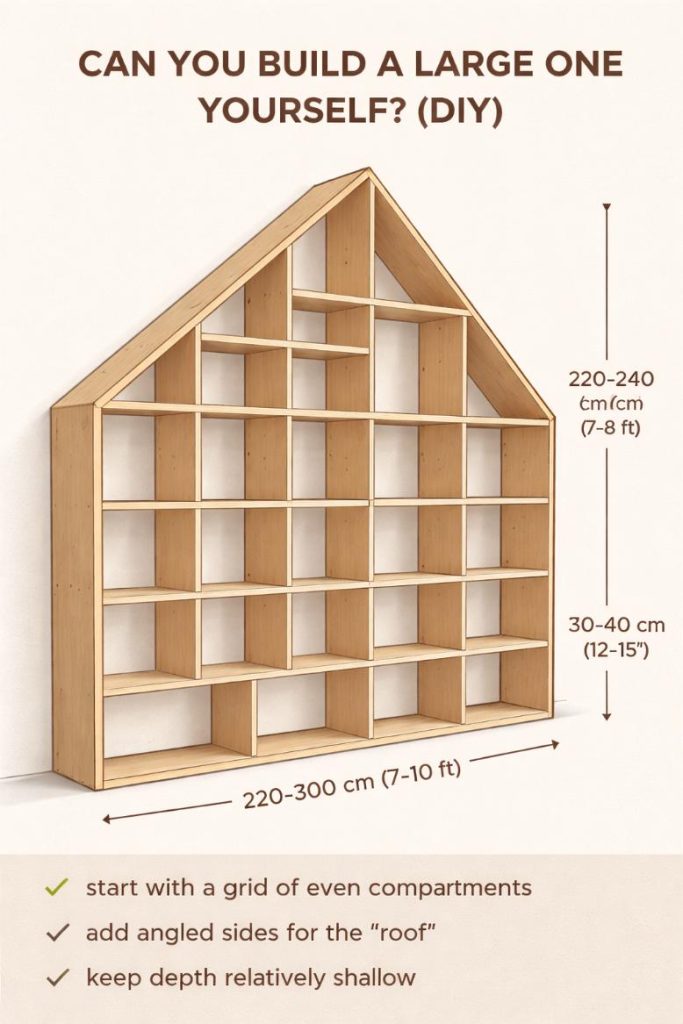
You’ll mostly find handmade wooden versions, and they fall into two types:
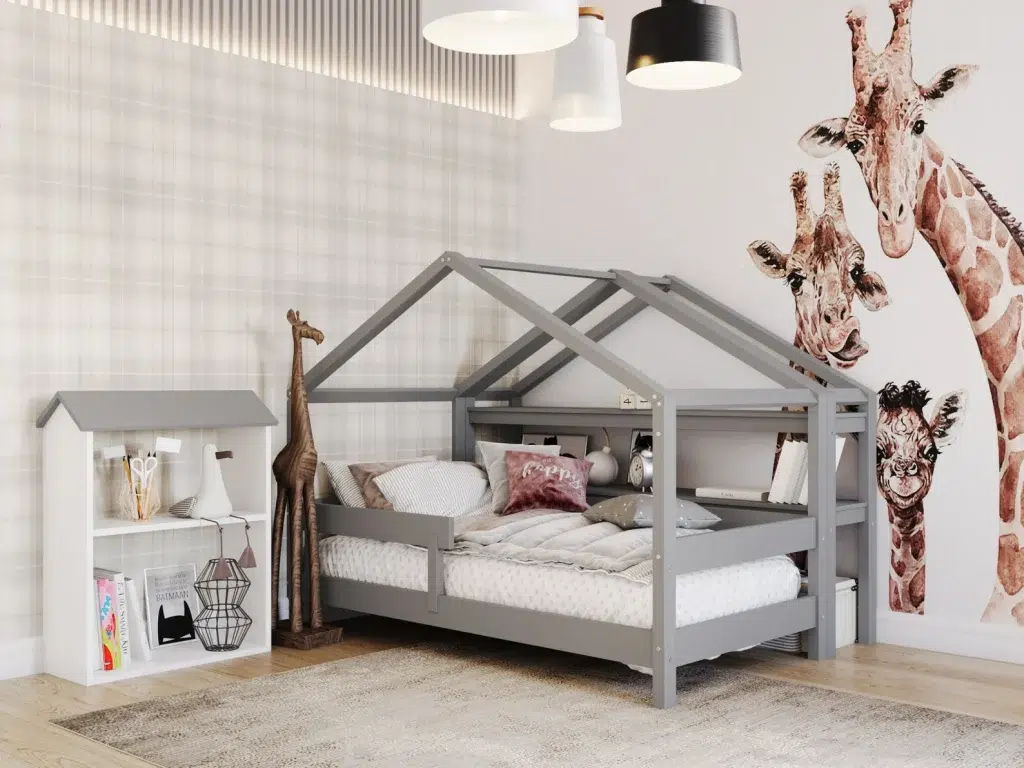
- wall-mounted (lighter, more decorative)
- freestanding (bigger, more practical for storage)
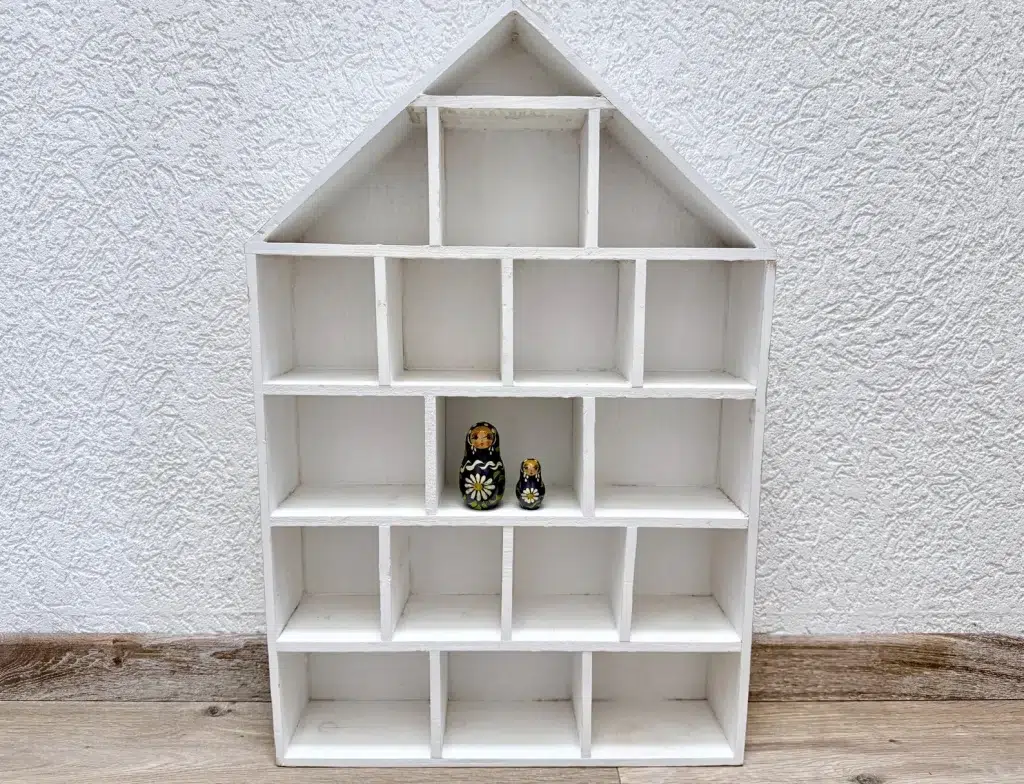
- Montessori bookshelves (reachable and open for kids)
- curiosity cabinets display
Look for simple designs with clean lines. The more minimal they are, the better they tend to look once filled.

Here are the measurements for this house:

And then there’s a ‘light version that you can attach to a wall:
Can you build a large one yourself (DIY)?
Yes, and it’s actually more doable than it looks. The design is basically a large rectangular shelving unit with a simple roof shape added on top.
As an example, you could build one around 200–300 cm wide, 200–240 cm high on the tallest side, and about 30–40 cm deep.
Start with a grid of evenly spaced compartments (similar to a cubby shelf), then add angled side panels to form the “house” shape.
Keeping the depth relatively shallow is important so it doesn’t feel bulky against the wall.

It’s a straightforward project if you’re comfortable working with wood or even sturdy MDF, and you can easily adjust the size to fit your space.
My Final Conclusion
Maybe this is not a ‘dollhouse or miniature’ theme, but I liked this topic so much for children, that I wanted to talk about it to you 😉
Next time, we’ll do some more tutorials,
Happy crafting!
Lizzy

Hi everyone!
My name is Lizzy, and I am an amateur miniaturist obsessed with everything in the dollhouse and miniature world, ever since I was a teenager.
So far, I have created 2 dollhouse projects, a backyard shed and a miniature treehouse, tons of DIY dollhouse kits, and “hacked” some.
I also created a fairy garden, and lots of small and simple miniature projects on my YouTube channel. (mostly made from trash or everyday items).
I love to write as well about all things happening in the miniature world, hence the reason why I created this blog!
I wish you happy reading and crafting!
Lizzy


