I’ve always felt that dollhouse wallpaper is one of those little things that can completely change the whole vibe of a room. Just like in real houses, the right pattern or color can make your miniature bedroom feel cozy, or your tiny kitchen feel bright and cheerful.
There are lots of ways to get creative with it: you can design your own, repurpose wrapping paper, or print patterns at home.
In this post, I’ll share five simple tips that I use myself to get miniature wallpaper looking smooth, realistic, and (most importantly) fun to work with.
Updated 25/08/25
As an Amazon, Etsy and Anavrin associate, I earn a small commission from your purchase, with no extra charges for you.
1. What Can You Use as Dollhouse Wallpaper?
When it comes to dollhouse wallpaper, the possibilities are almost endless. You can go for classic printed patterns, try something textured, or even mix and match styles and colors in the same room.
Real wallpaper samples – These can work beautifully if the pattern isn’t too large. I especially like using them on ceilings, where a slightly rougher texture doesn’t really matter.
Fabric or thin leather – Perfect if you want a softer, old-fashioned look. In real life, people used to line walls with fabric, so it feels authentic in miniature too. Especially for vintage-style dollhouses.
Plaster or wood paneling – A great choice for historic styles. For example, wooden panel wallpaper with tiny pillars in between gives you that French-style finish.
Scrapbook paper – Sturdy, acid-free, and available in endless patterns. It’s one of the easiest and most affordable options for miniature walls.
Gift wrap – Cheap and colorful, but you’ll need to pick designs that aren’t too bold for the scale. Thicker wrapping paper works better, since thin paper wrinkles easily.
Contact paper / peel-and-stick wallpaper – A mess-free alternative that’s easy to reposition or remove if you like redecorating often.
And of course, if you’d rather not hunt down samples, you can just print your own. I’ve designed a range of printable dollhouse wallpapers available in my Etsy shop: Everything Very Small Wallpapers.
Just keep in mind that printing lots of designs can eat up ink faster than you’d expect (trust me, I’ve learned that the hard way 😅).
2. How much dollhouse wallpaper do you need?
One of the most common mistakes is buying too little wallpaper. You spot a pretty design, grab one or two sheets, and then later realize it’s nowhere near enough to cover the room. Even worse, sometimes when you reorder (or reprint your printable), the color has shifted slightly because it came from a different print batch.
A good rule of thumb: plan for at least three sheets per room right from the start.
To figure out what you need, measure the depth and width of each wall. For three walls, that means:
2 × the depth + 1 × the width = total length of wallpaper you’ll need.
For example, if your room is 40 cm deep and 50 cm wide, you’d need about 130 cm of wallpaper in total. Standard miniature wallpaper sheets are usually 28–30 cm high and 40–43 cm wide, so plan accordingly.
👉 Windows and doors will reduce the amount you actually use, but keep in mind the pattern still has to match. Which wasn’t easy for me at all for my ‘bashed’ miniature pub, rescaling my wallpaper into 1:24 scale.
Some shops (like on Etsy) offer larger sheets, which help a lot for bigger rooms.
Printable wallpaper sold there is usually provided as a PDF sized for A4 paper (21 × 29.7 cm), so you’ll want to calculate based on how many sheets you’ll need to print for your room size.
If your dollhouse walls are taller than 30 cm, you can also “cheat” by adding a baseboard or ceiling trim to make up the extra centimeter or two, or even mix two different wallpapers in one room for a stylish finish.
3. Keep a notebook or scrapbook for your dollhouse
It really helps to keep a little notebook or scrapbook for your dollhouse projects. Write down the measurements of each room and tape in small samples of the paints, wallpapers, and fabrics you’ve already used.
That way, when you’re shopping for new materials (online or at a craft store), you can quickly check if that “perfect” red fabric will actually match the carpet you already have.
Trust me: I’ve learned the hard way that colors can clash once they’re side by side in miniature scale.
Plus, it’s just fun to flip back later and see how your creative process has developed over time.
The trick to getting dollhouse wallpaper smooth (and bubble-free!) is picking the right glue. Here are a few options I’ve used or seen other miniaturists recommend:
Thinned PVA (white craft glue) – Something like Elmer’s Glue-Allworks perfectly. Just add a splash of water so it brushes on easily and gives you a little wiggle room before it sets.
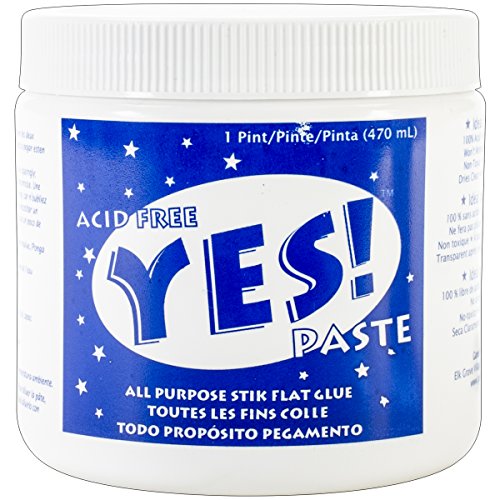
Dollhouse wallpaper paste – YES! Paste is a favorite among miniaturists. It’s thicker than PVA, spreads really smoothly, and doesn’t wrinkle the paper.
Bookbinding glue – Lineco Neutral pH Adhesive is great for heavier wallpaper or when you want a really strong, even bond.
Some people also use double-sided craft tape (like Scotch Permanent Double-Sided Tape) for small panels or accents, though I find glue is better for covering larger walls.
5. How to apply wallpaper to the dollhouse – my way
Here’s the method I use myself, after a few trial-and-error moments along the way:
Cut a little bigger than the wall. If your wall is 40 cm wide × 26 cm high, cut your wallpaper to about 41–42 cm wide × 26.5–27 cm high. Wallpaper can shrink slightly once glue is applied, so the extra margin saves you from gaps.
Prep your walls. Make sure the surface is smooth and dust-free. A quick sanding with fine grit (something like 3M SandBlaster sheets) helps if your surface is a bit rough.
Spread the glue evenly. I usually pre-glue the wall lightly, then brush glue on the back of the wallpaper itself. Use a wide paintbrush or even a popsicle stick to spread the glue in one direction.
Start with the back wall. Place the wallpaper so it “bumps” right against the ceiling and overlaps slightly at the floor and side edges. That way, when you add the sidewalls, they overlap neatly and no gaps show at the corners.
Handle windows and doors last. Don’t try to pre-cut them. Just wallpaper straight over the openings. Once it’s completely dry, use a sharp craft knife (like an X-Acto #11) to trim the excess cleanly.
Let it dry. Resist the urge to smooth or touch it while it’s still wet. Once dry, it will hold much better and look smoother.
This step-by-step approach keeps the pattern aligned and gives you crisp, gap-free walls.
6. Where to find printable dollhouse wallpaper PDF files?
Want to breeze through finding a wallpaper that fits your dollhouse’s vibe? Here’s a quick look at some of the styles out there:
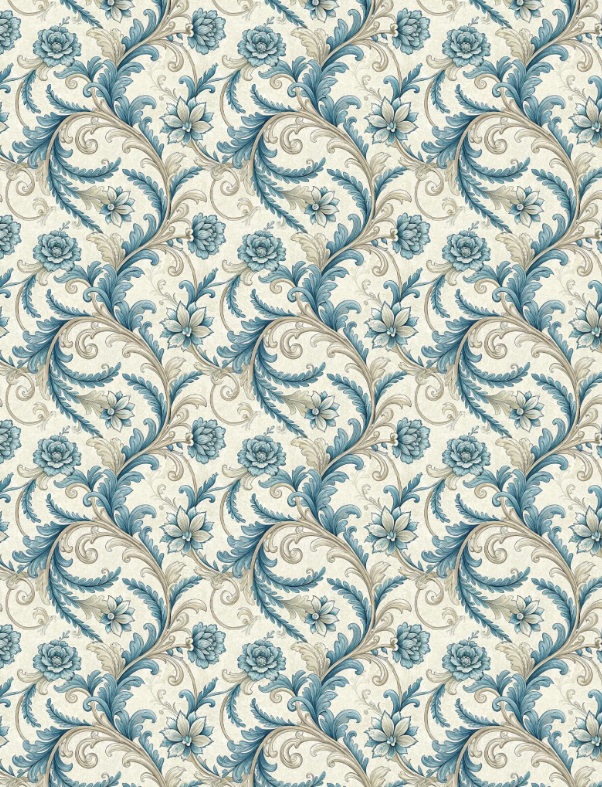
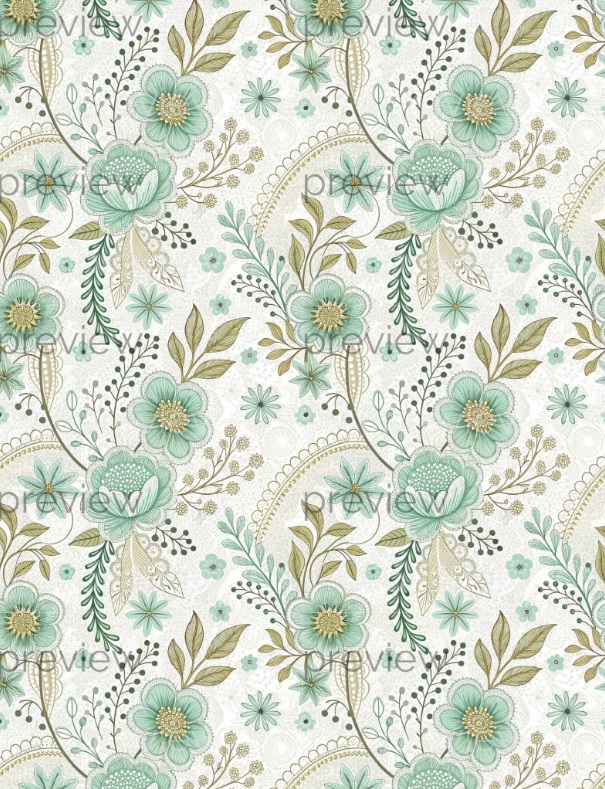
Arts & Crafts / William Morris-inspired — Rich, nature-inspired florals and geometric patterns, perfect for cozy vintage rooms. +Etsy
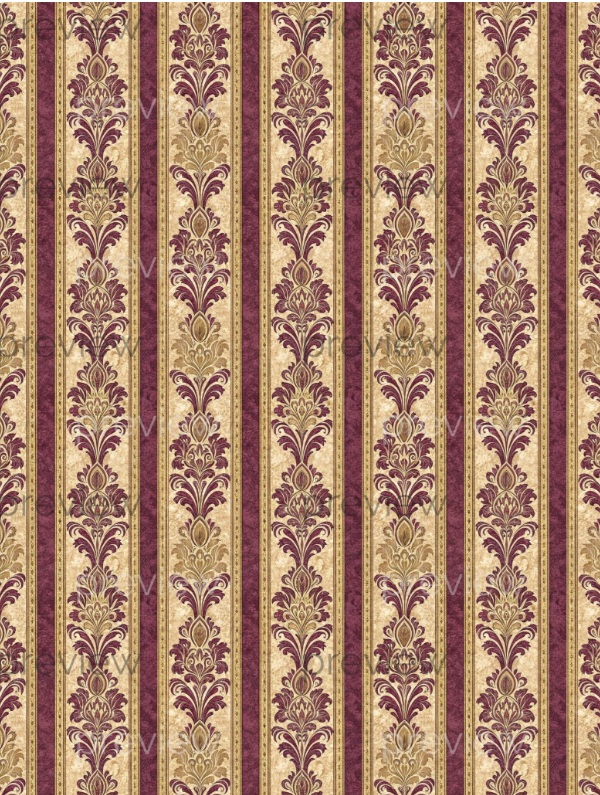
Formal Victorian (Damask & Stripes) — Elegant vertical stripes with ornate damask overlays—great for parlors or stately halls. + Etsy