
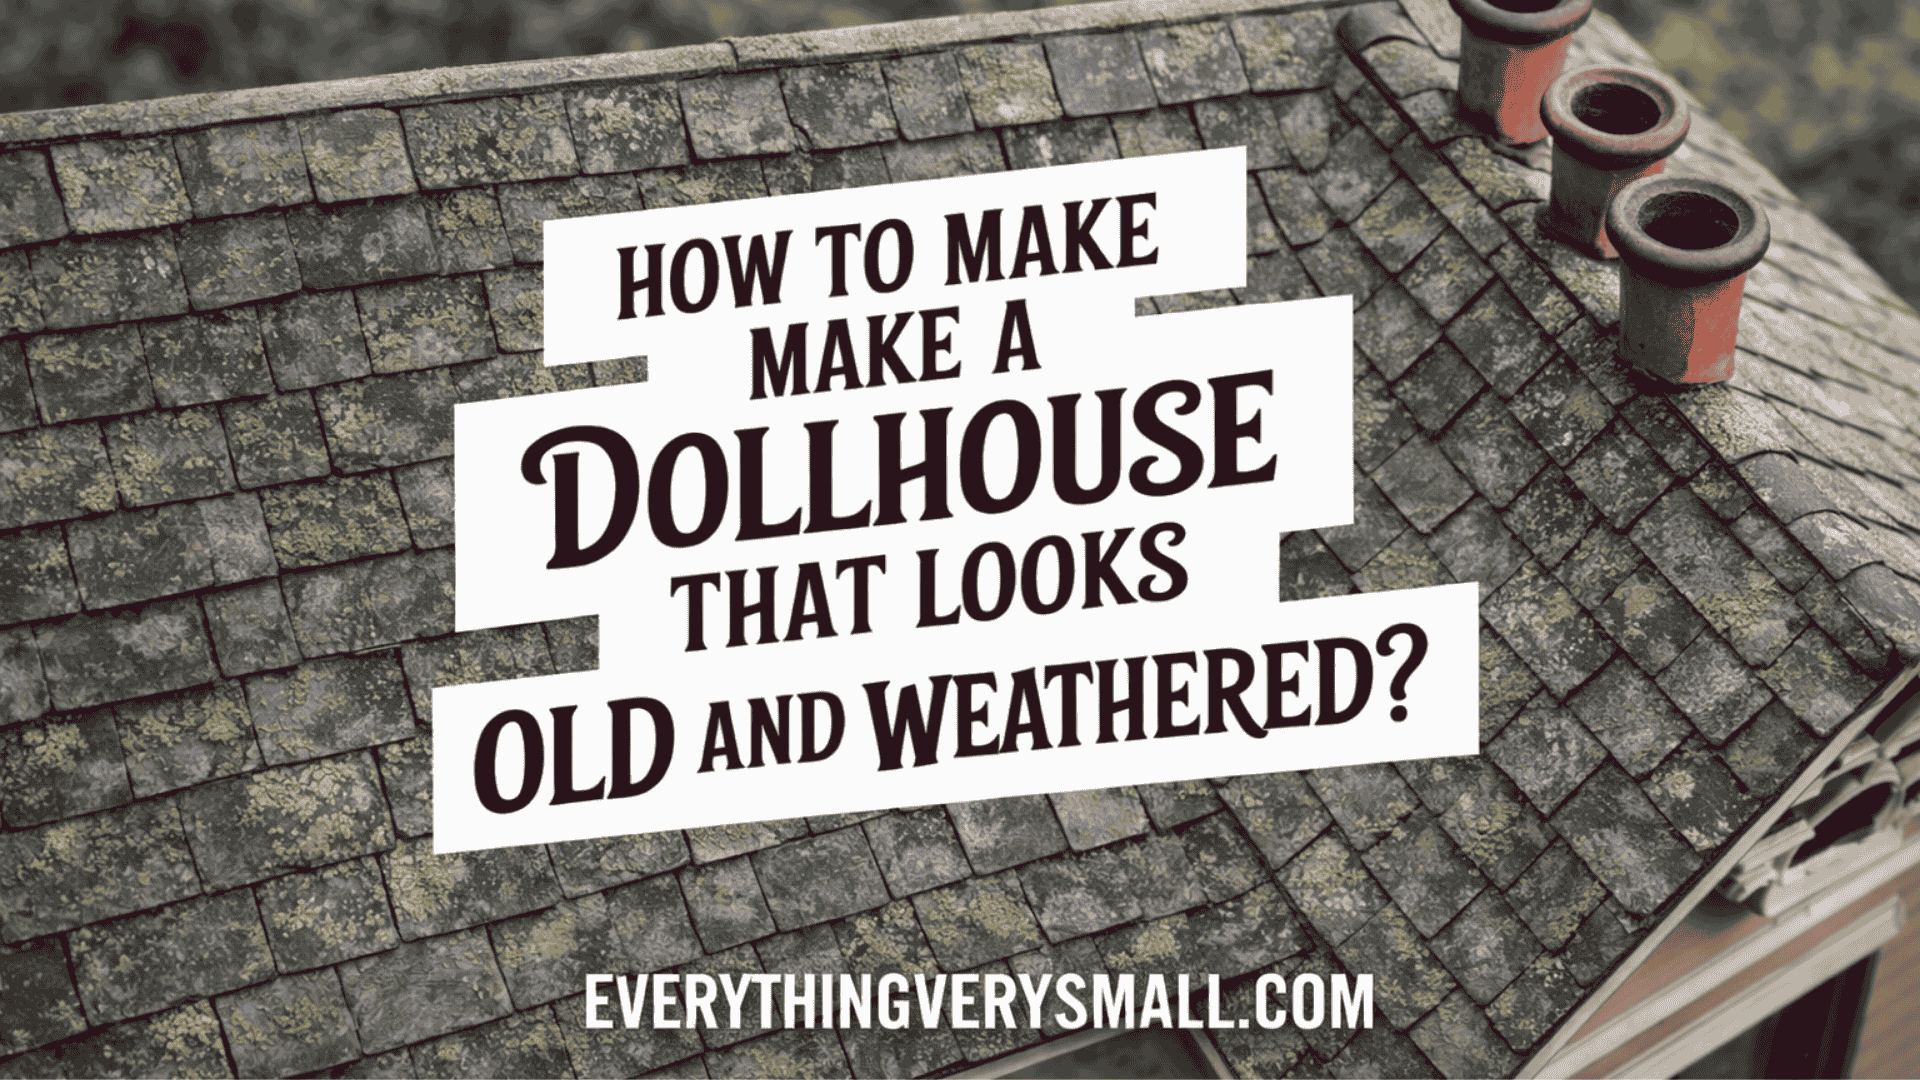
So, you've got this adorable little dollhouse, and you're thinking, "Wouldn't it be fun to make it look like it's been through a century of adventures? But how would we even weather a dollhouse exterior surface, to begin with?
We're talking faded paint, a hint of rust, and maybe even some 'wear and tear' that would make your miniature neighbors wonder what kind of tales this little abode could tell.
Get ready to add a pinch of nostalgia and a sprinkle of fun, because this is about to be the most enjoyable mini-renovation project you've ever tackled!
But Lizzy, I want to keep my dollhouse "neat", not distressed!
You can ABSOLUTELY keep your dollhouse brand new and "neat", it is totally up to you!
Just like in life, variety is the spice that keeps things interesting, and the same applies to dollhouse aesthetics.
Think about it this way: a neat dollhouse exterior is like a classic black-and-white movie – timeless, elegant, and a testament to pure design.
It's perfect for those who appreciate simplicity, minimalism, and the beauty of a clean slate. Neatness can showcase the architectural details and craftsmanship of the dollhouse, allowing them to shine without distractions.

However, for those who crave a touch of whimsy, nostalgia, or even a bit of mystery, a distressed or aged dollhouse exterior might be just the ticket.
It's like flipping through the pages of a well-worn book, each crease and mark telling a unique story. Distressing adds character, history, and that cozy feeling of stepping into a world that's lived through time.
Ultimately, it all boils down to personal taste. It's the differences in preferences that make the world of dollhouses, and any creative endeavor, so rich and diverse.
First things first: which materials do you need to distress a dollhouse exterior facade?
Below is a list of materials that you could use to distress a dollhouse exterior, there could be less, or more, depending on the project, but these will probably be a minimum if you want to specialize in this method.
Materials used to distress a dollhouse exterior:
- Acrylic Paints:
Acrylic paints in various shades, including base colors and muted tones for distressing.
Stains, like wood stains, can add depth and an aged patina to the surfaces.
- Sandpaper and Files:
Different grits of sandpaper (coarse to fine) and files for creating worn edges, scratches, and scuffs on the surfaces.
- Paint Brushes:
Various types of brushes for applying paint, creating texture, and blending colors. Soft-bristle brushes are great for dry brushing techniques.
- Aging Solutions:
These can include vinegar and steel wool solutions, which can react with wood and create a weathered effect.
- Sponges and Rags:
These are handy for applying and blending paint, creating soft textures, and wiping away excess paint for a worn appearance.
- Decoupage Medium:
Used for adding images, textures, or paper elements to the dollhouse exterior to mimic peeling wallpaper or posters.
- Clear Sealant:
A clear protective coat (such as matte varnish) to seal the distressed finish and preserve it over time.
- Faux Moss and Patina Materials:
These can include moss, artificial plants (or even real and dried plants like for my little treehouse), and patina solutions to add an authentic aged appearance.

Tools to weatherize a dollhouse
There are quite some tools that you could need to distress a dollhouse, a little unlimited list that could expand:
- an Exacto Knife:
For creating precise chipping and worn areas on surfaces.
- A Paint Palette and Mixing Tools:
Mix custom colors and create gradients for a natural look.
- A Heat Gun: Used to speed up the drying of paint layers or to create crackle effects.
- Palette Knives or Spatulas:
These can be used for applying paint in textured layers, adding depth and dimension.
- Fine-tipped Brushes:
For detailed work like adding cracks, fine lines, and small accents.
- Tweezers:
Useful for placing small decorative elements or adding delicate textures.
- Masking Tape:
For creating clean lines or protecting specific areas from distressing.
- Water Spray Bottle:
Used to create water-diluted paint effects like drips, streaks, or fading