
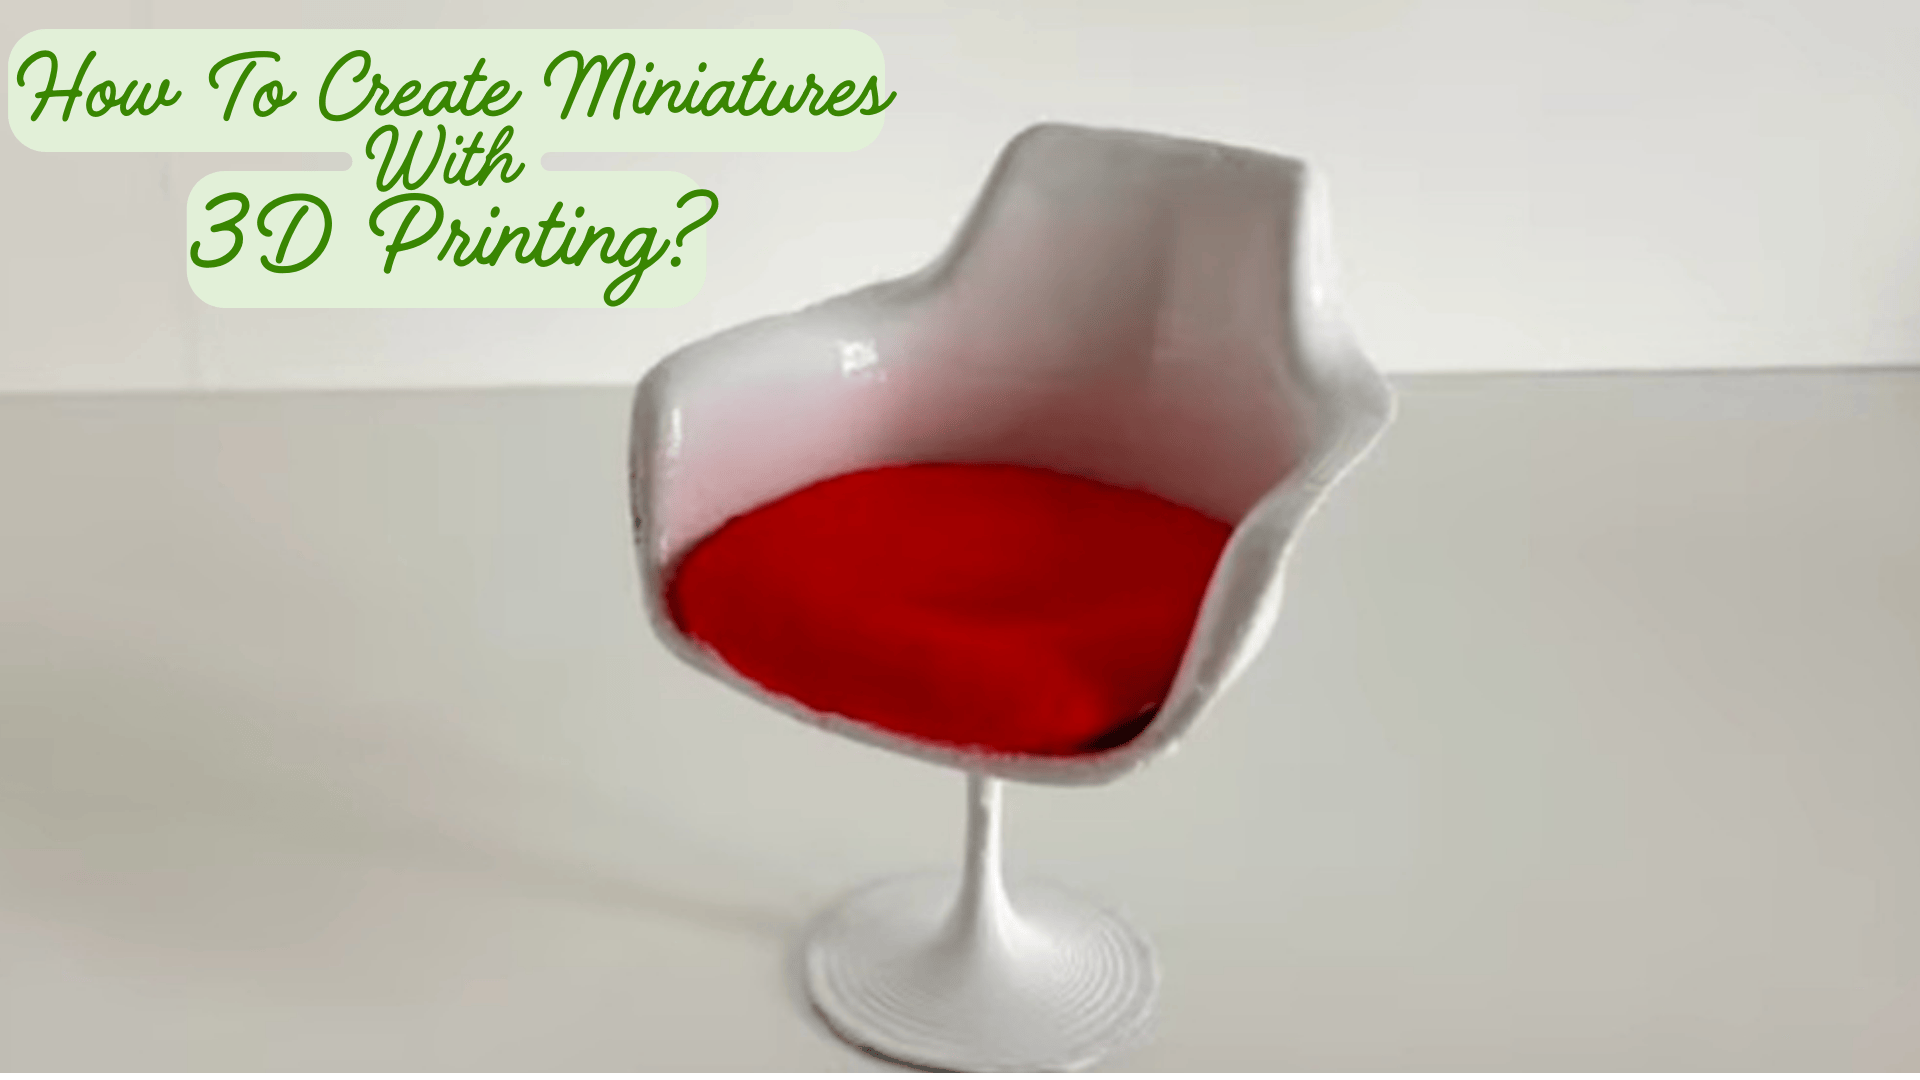
I'm going to let you in on a captivating process - the creation of miniatures with 3D printing, specifically for dollhouses and miniatures, on a journey into crafting small-scale furniture, décor, and accessories that bring your dollhouse to life.
I'll break down the process for you: it starts with planning, where your ideas take shape, followed by using tools like Blender, Meshmixer, or Sculptris, and here's the good news: they're widely available for free download.
Also, if you are looking for a tool to easily convert a scale of a miniature, check out my free converter tool!
Make sure to first equip your digital toolbox with these programs to kickstart your miniature-making 3D printing quest, here we go for more details!
Step 1: Getting the Blueprint: From Sketch to a real miniatures or dollhouse
I'm going to lead you through the process of turning your imagination into tangible blueprints for your dollhouse miniatures.
While it's easy to fall in love with existing miniature designs (and just buy those for your 3D printer), remember, the charm lies in uniqueness.
So go ahead, and explore the designs in dollhouse blogs, and flip through (online) interior design books, or even an Ikea catalog, just don't directly copy; but let those visuals spark your own creativity and adapt them in specific software.

Think about how the piece will fit into the overall décor. Will it be a centerpiece or a subtle addition? Which dollhouse style will it be, vintage or modern? This step saves time and materials in the long run!
This foundational sketch also acts as the roadmap for the next phase.
It is really important to find the real size measurements of a real scale object like a table or chair before you start modeling it!
Shaping Your Vision: The Art of Blender Basics for miniatures
Think of Blender as the place where you'll begin the exciting process of turning flat drawings into 3D reality.
We'll import the sketch into Blender. This step is surprisingly straightforward and exceptionally useful. as you begin to mold the main shapes of your miniature, keeping everything to scale and true to your design.
Design or Find 3D Models:
Use 3D modeling software like TinkerCAD, Blender (in this case), or Fusion 360 to create your own miniature designs.
If you're not comfortable with designing, you can find ready-made 3D models on websites like Thingiverse, MyMiniFactory, or Cults3D.
Imagine sculpting a tiny chair - where would the armrests curve? How would the backrest weave into the seat? Let us help you answer these questions, allowing you to add definition to your miniature piece by piece.
Today, we'll learn how to use Blender to build dollhouse furniture, what you need to do is then just use a real scale model and adapt it to a miniature scale.
The tutorial below is based on the video above, let's go over it step by step, but for more details, please check out the whole video! (it is for real-scale furniture, but you can easily scale it down in Blender, you can just use my scale converter).
Shaping a dollhouse chair in Blender involves both basic commands and artistic vision.
1. Launch and Create:
Alright, now that we've got our research and reference materials sorted, let's dive into the modeling process in Blender. Fire up Blender and start a fresh project. You'll be greeted by the default scene with a cube, camera, and light – think of it as our virtual stage.

2. Interface Tour:
Take a minute to familiarize yourself with the Blender interface. The 3D viewport is where your creation comes to life, the toolbar houses essential tools, and various panels offer customization options. Don't worry; we'll explore these throughout the process.
You can for example switch the metric system (meters and centimeters) to inches, if you want. Just have a good look around!
3. Sketching Our Chair (The Foundation):
Cube Time! Press Shift + A, navigate to "Mesh," and select "Cube." This cube is the starting point for our chair.
4. Shaping Up:
Switch to Edit Mode (hit the Tab key). Now, the fun begins! Drag, push, and pull those vertices, edges, and faces to transform the cube into the rough shape of your chair seat. Let your creativity flow; imagine the basic form without sweating over perfect details for now.
