

Why renovate a dollhouse, you ask? Beyond the sheer pleasure of engaging in a creative pastime, dollhouse renovation holds immense sentimental value.
Additionally, dollhouse renovation fosters valuable skills such as patience, precision, and problem-solving, making it an educational and rewarding endeavor for both young and old.
Let's just dive right into the topic of how to renovate an old dollhouse with three different topics: exterior, interior, and landscaping!
1. Exterior Beautification: Giving Your Dollhouse a Fresh Look
Giving your dollhouse exterior a facelift can be done in different ways, starting by repainting it, but there are a number of other things you can do.
Let's summarize things because we already have talked about most methods on my site! 😉
1. Repainting the dollhouse exterior.
Alright, first things first, let's talk about paint. You'll want to use acrylic paint, which is fantastic for miniature projects. It adheres well to surfaces and dries relatively quickly. You can find a wide range of colors, so feel free to get creative.
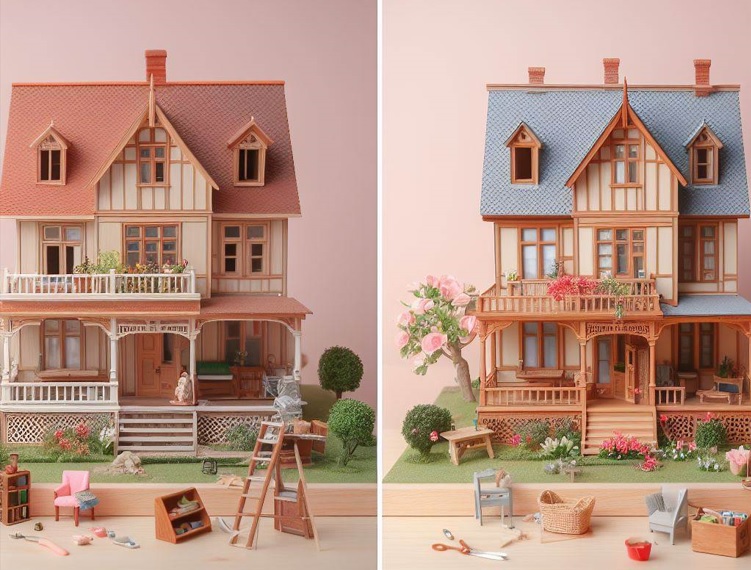
As for tools, grab some quality brushes in different sizes. You might also want to invest in painter's tape to make sure you get those clean lines. And don't forget a small palette for mixing colors if needed.
We already know how to paint a dollhouse, but repainting a surface requires a few extra steps:
- Step 1: Assess the Situation Take a good look at your dollhouse. Any chipped paint, peeling wallpaper, or scratched surfaces?
- Step 2: Strip It Down If there's existing paint that's seen better days, let's bid it farewell. Use a fine-grit sandpaper or even a small sander if you have one, and smooth out those rough spots.
- Step 3: Patch and Repair Fill in any holes or dents with wood filler. Smooth it out, let it dry, and then sand it down until it's as sleek as a dollhouse in a magazine.
- Step 4: Clean House Give your dollhouse a good cleaning. You want that surface to be pristine before you start applying new paint.
- Step 5: Prime Time Now, let's talk primer. It's like the foundation for your dollhouse makeover. Apply a thin, even layer and let it dry. This will make sure your paint sticks around for the long haul.
- Step 6: Color Choices Think about the color scheme you want. Are you going for a Victorian elegance or a modern pop of color? The choice is yours.
- Step 7: Paint Away Start painting! Use a brush for those delicate corners and a small roller for larger areas. Be patient between coats, and don't be afraid to layer up for a richer color.
- Step 8: Detail Work Time for the tiny details. Doors, windows, trim – grab a smaller brush and give them the attention they deserve. Precision is key here.
If the doors or windows are a bit wonky, consider replacing them, as craft stores often have a variety you can use. If they're just a bit worn, a fresh coat of paint can do wonders. Or, you can totally make your own windows and doors!
If your dollhouse has a roof, consider whether it needs any attention. A new coat of paint, or even adding miniature shingles, can give it a completely new look.
- Step 9: Finishing Touches Once everything is dry and looking spiffy, seal the deal with a clear varnish. It'll protect your masterpiece and give it that polished finish.
For any chipped or damaged trims, use wood filler to smooth them out. Once dry, sand lightly. You can either repaint or, if needed, replace it with new trims.
Check out my expanded blog post on how to paint a dollhouse here
2. Create a stone brick wall for your exterior dollhouse wall
There are several ways to create a stone brick wall for your dollhouse and here are a few of them in short:

- A. The Clay Method:
The Materials you need: