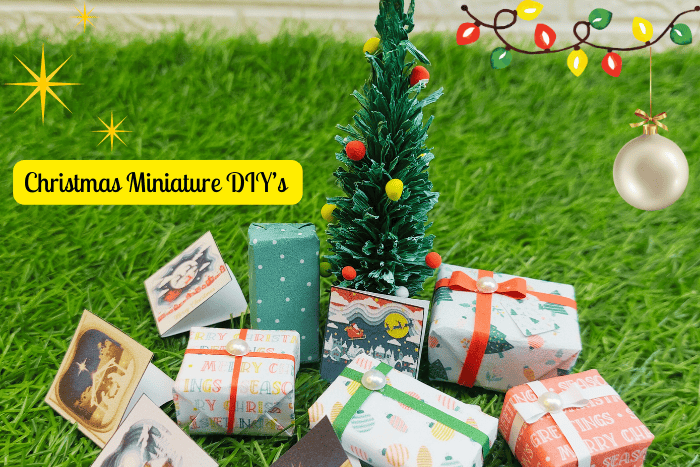
Every year when the holidays come around, I feel the urge to add a few extra tiny projects to my dollhouse scenes. This miniature Christmas tree, Christmas packages and mini cards are one of those easy-but-charming crafts you can finish in an afternoon.
It only takes a bit of paper, glue, and a wooden stick, and suddenly you have a festive little tree ready for your winter displays.
Updated 09/05/26
Materials You Will Need
🎥 Watch this Short on YouTube
- Green crepe paper
- Red cardstock (for the pot)
- Wooden skewer or cocktail stick
- Scissors (small, sharp ones work best)
- Craft UHU glue or grab fast tacky glue
- White acrylic paint
- A dry brush (a fan brush works beautifully)
- Air-dry clay or polymer clay (for the tiny ornaments)
- Optional: tweezers for placing small decorations
A step by step tutorial
Step 1: Preparing the Paper Strip
Start with a long strip of green crepe paper.
Before cutting, fold the strip a few times—this will save you a lot of time later.


Step 2: Cutting the Fringe
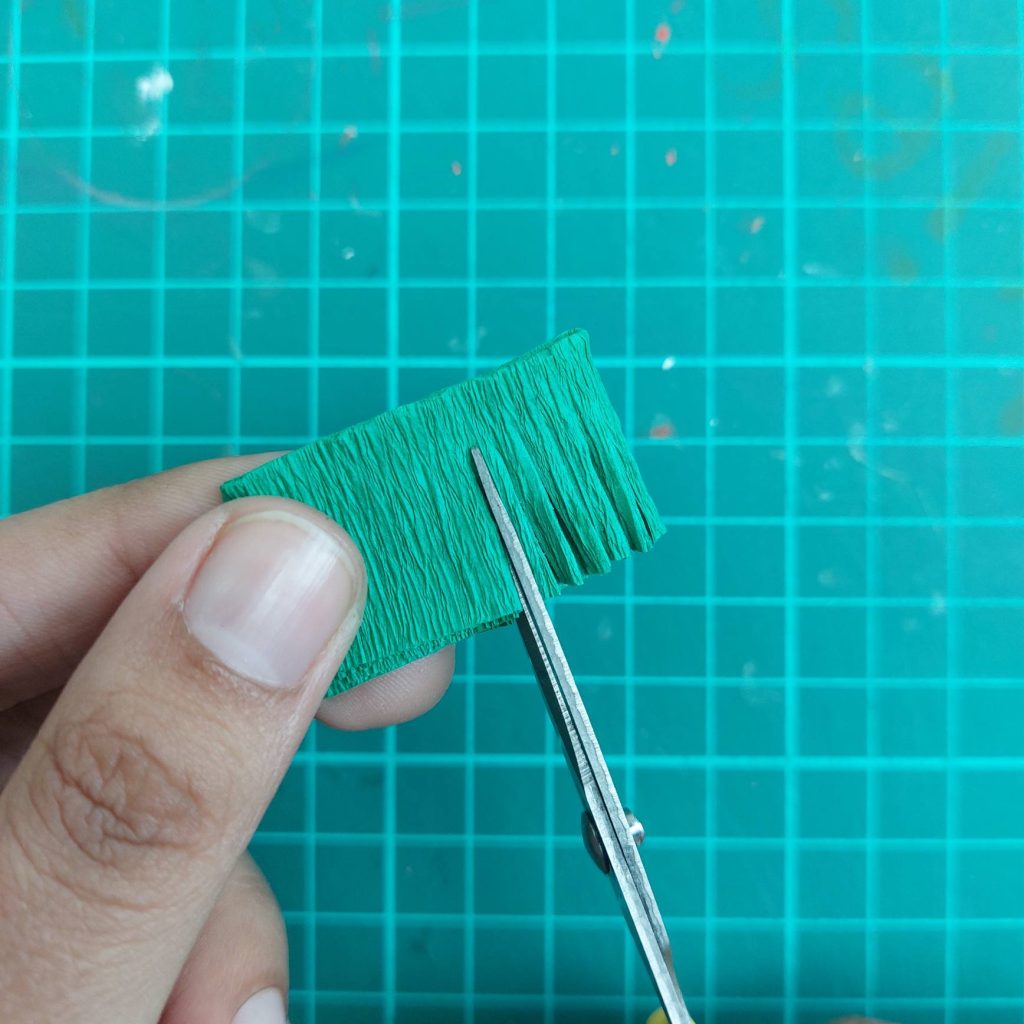
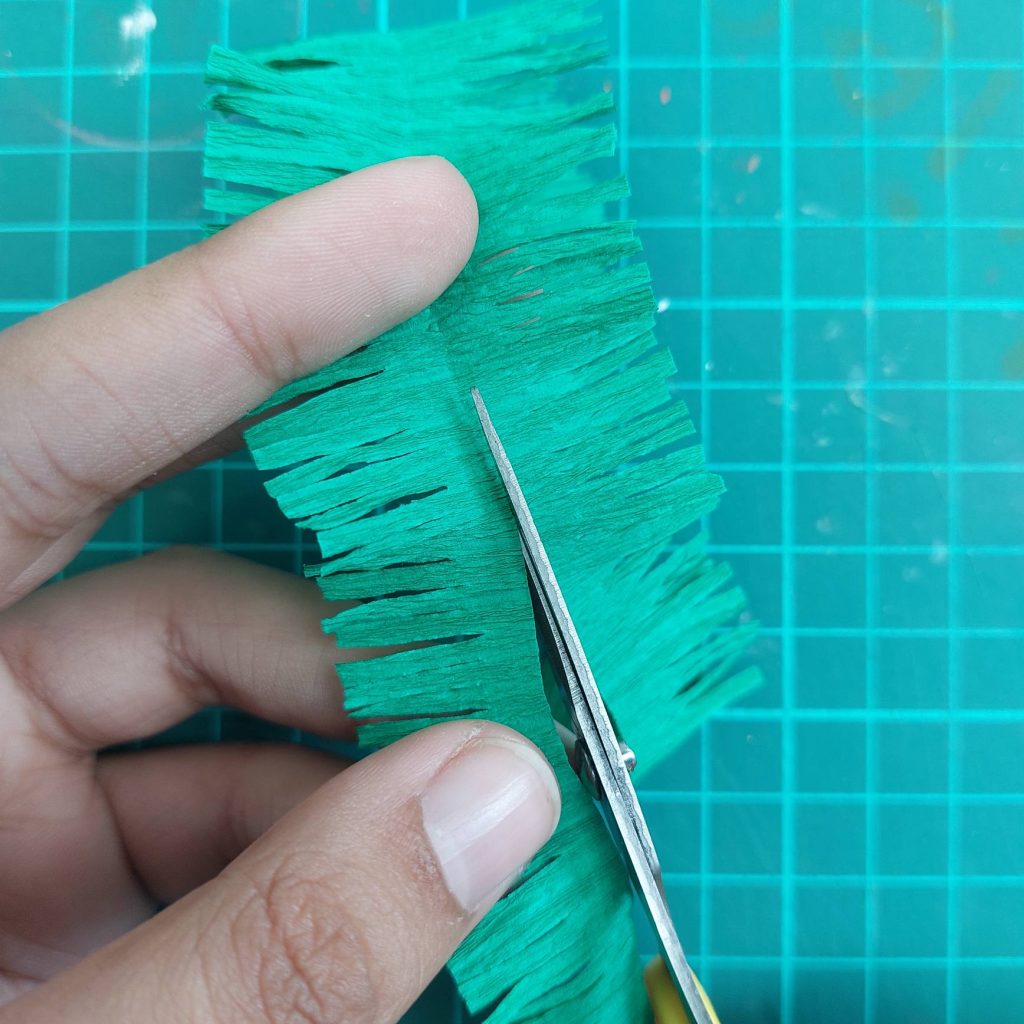
Cut tiny slits along one long side of the folded strip, stopping about halfway down the width.
Because the paper is folded, you create several layers of fringe at once.
Step 3: Refining the Needles
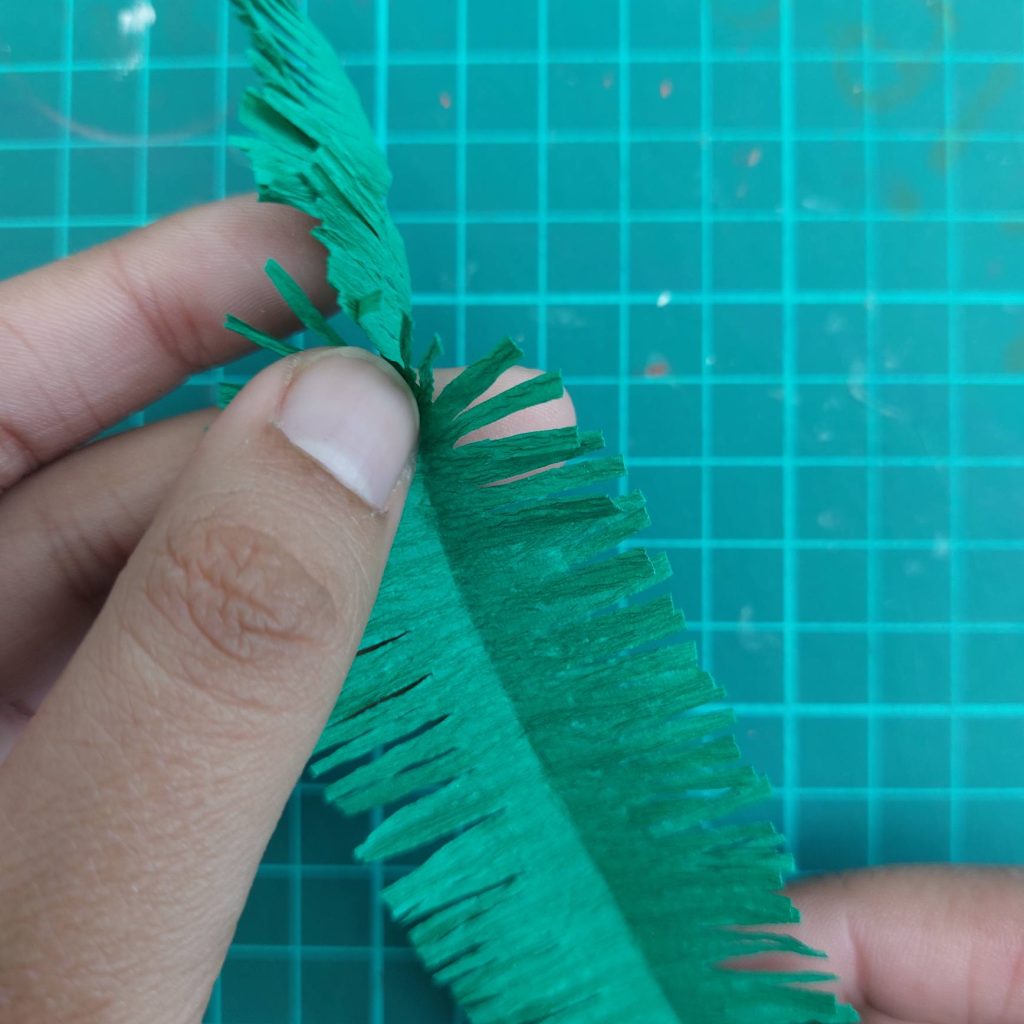
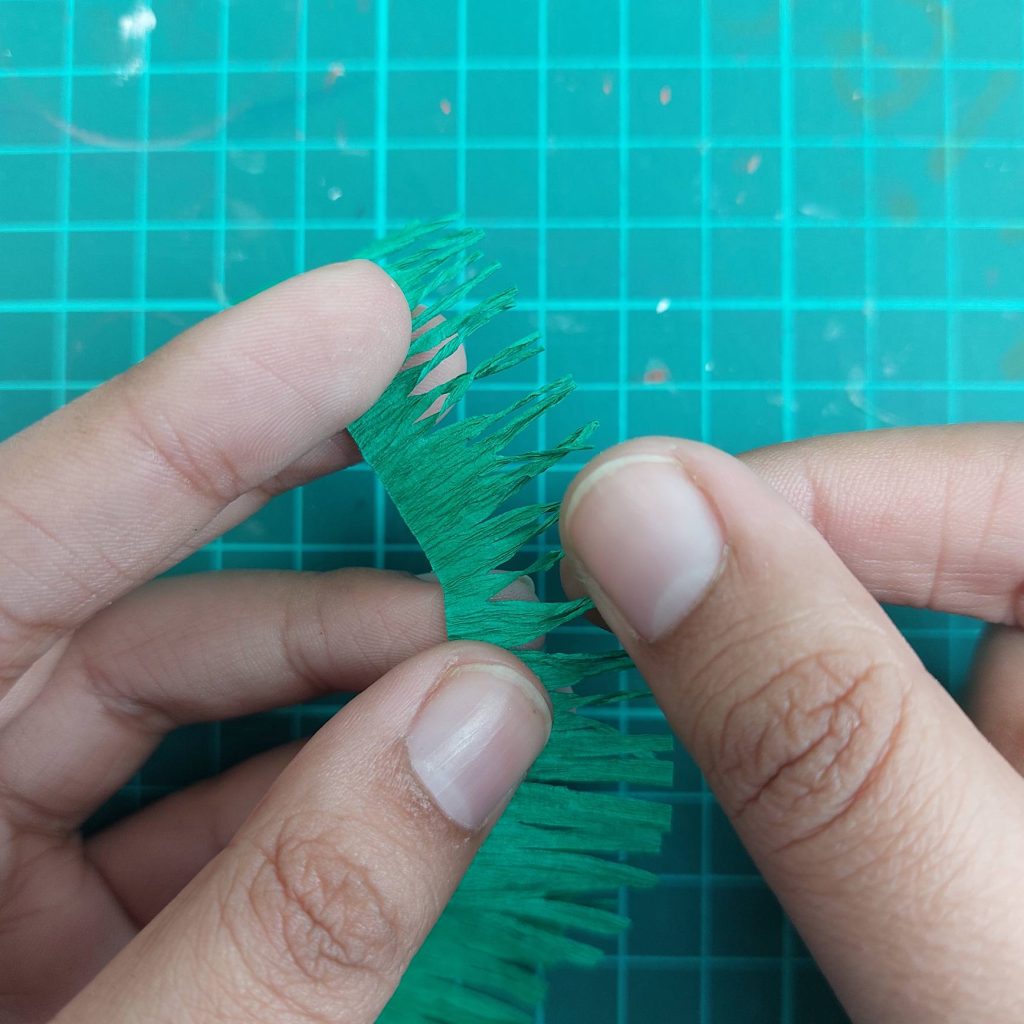
To make the tree look more natural, go back and trim some of the fringe into thinner or pointier shapes.
This gives the finished tree a softer, more realistic look. Then cut them in the middle.
Step 4: Preparing the Tree Trunk
Take a wooden skewer or cocktail stick—this will act as the tree trunk and also help you anchor the tree into a little pot later.

Step 5: Building the Tree
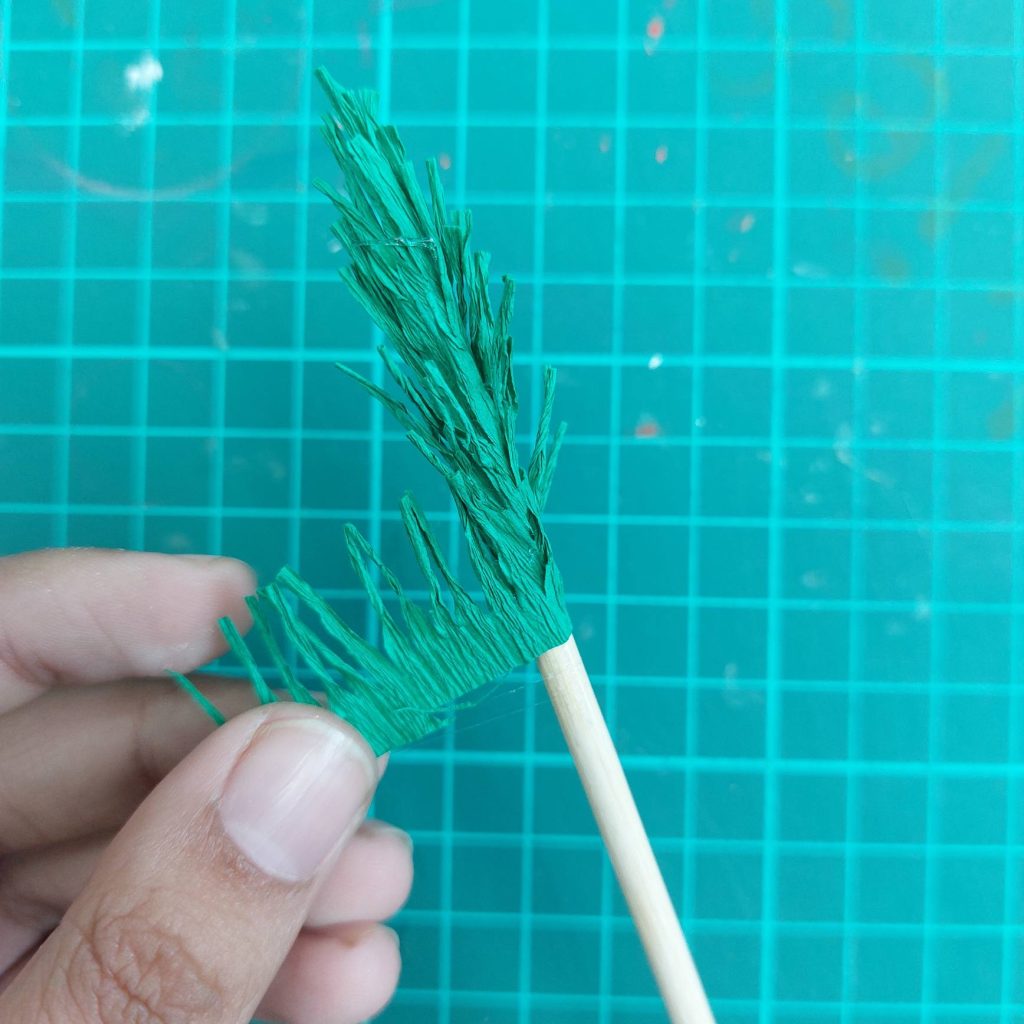
Now the fun part: wrap the fringed strip around the stick!
Start at the bottom and slowly work your way up, adding a little glue as you go.