
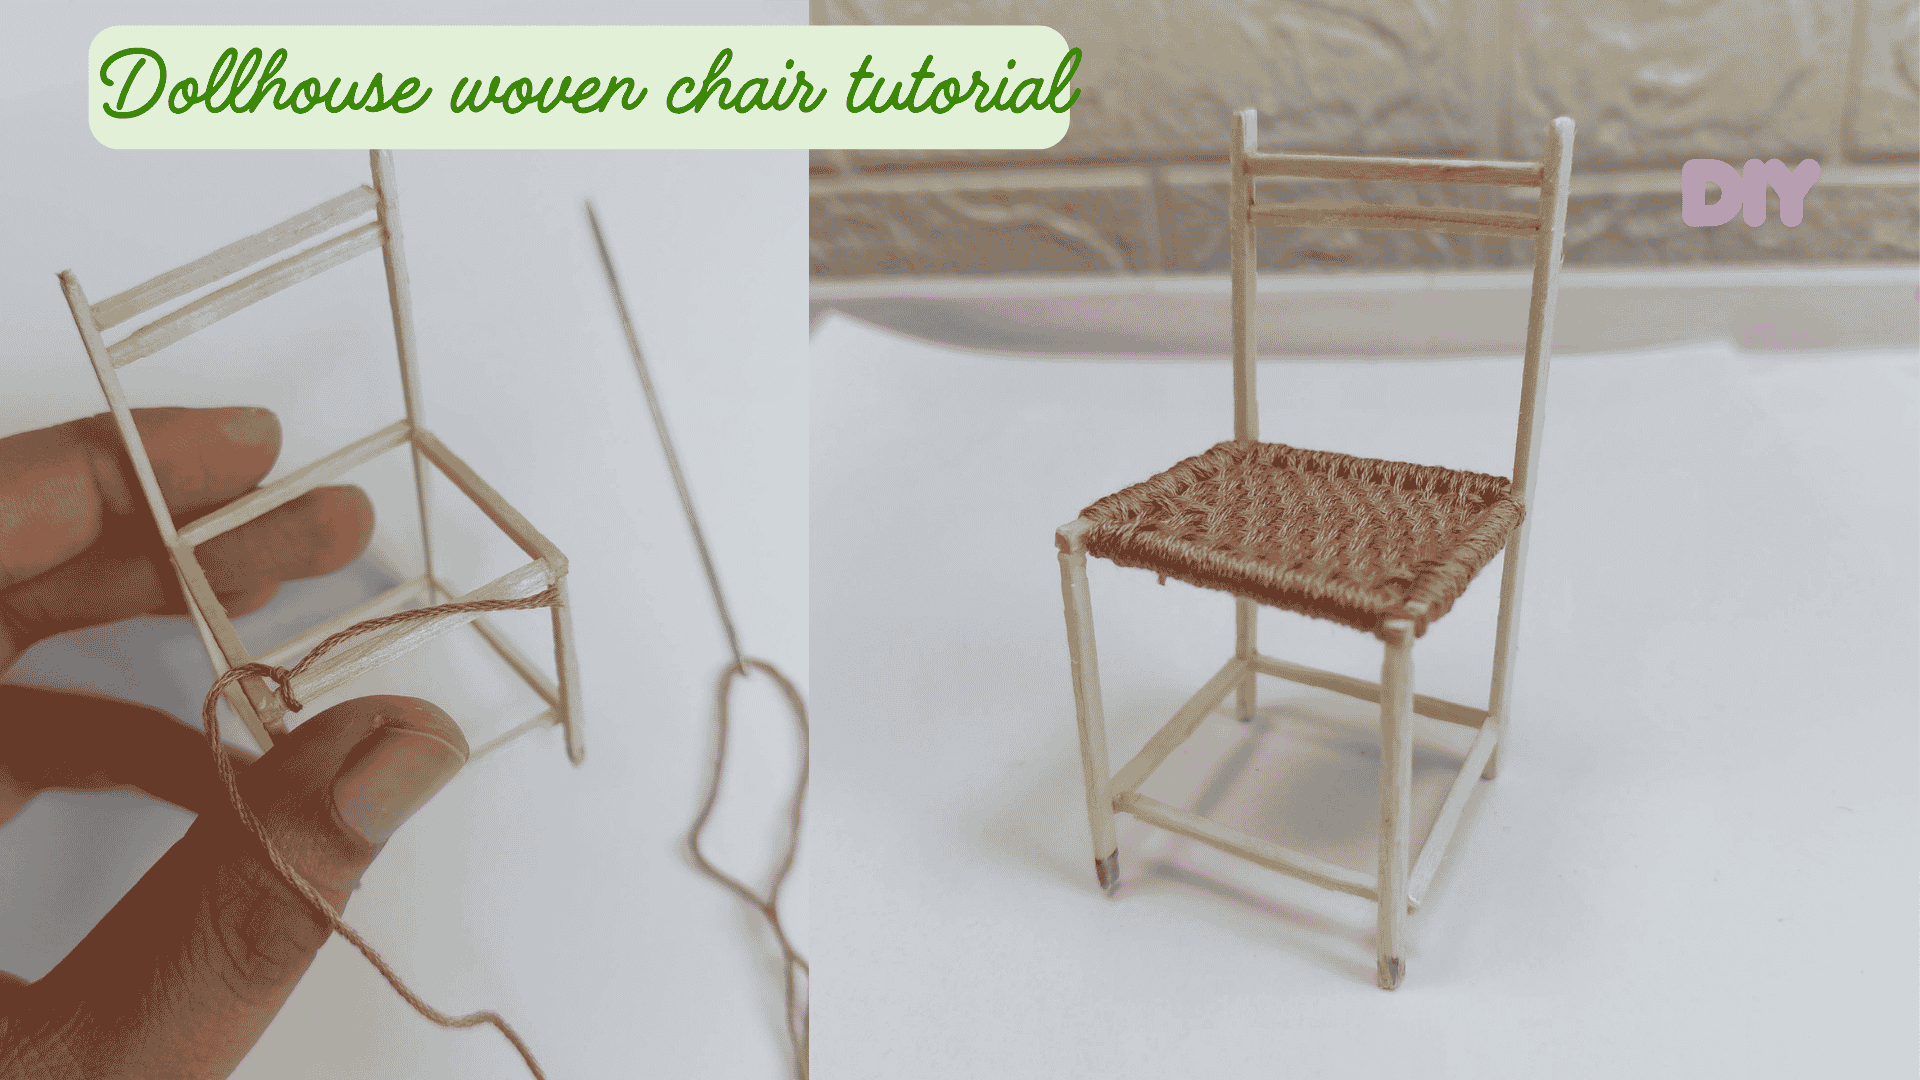
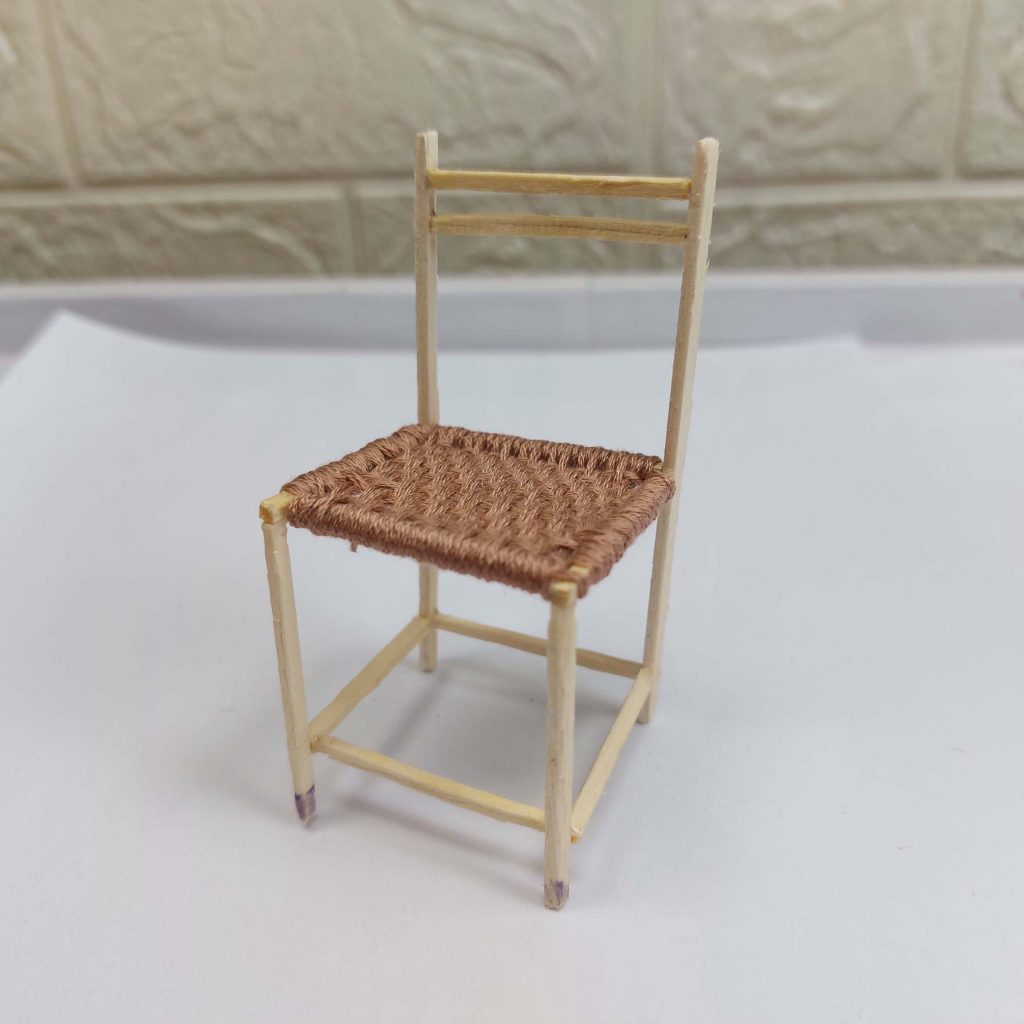
Looking for an easy dollhouse furniture project? This miniature chair is made almost entirely from ordinary wooden matchsticks and a little thread for the woven seat. It's inexpensive to make, requires only a few basic tools, and is a great project for beginners who want to try building realistic miniature furniture from scratch.
In this tutorial, I'll show you how to cut the matchsticks, assemble the chair frame, and weave the seat to create a sturdy little chair that's perfect for any 1:12 scale dollhouse kitchen, dining room, or cottage.
Materials needed
- Wooden matchsticks (heads removed), long and short ones
- Craft knife or scissors
- Metal ruler
- Tweezers
- Fast-drying craft glue (such as B-7000)
- Fine sandpaper
- Brown embroidery floss, crochet thread, or thin cotton cord for the woven seat
Step-by-step tutorial
Step 1 – Cut the Matchsticks
Start by cutting all of the matchsticks you'll need for the first side of the chair frame.
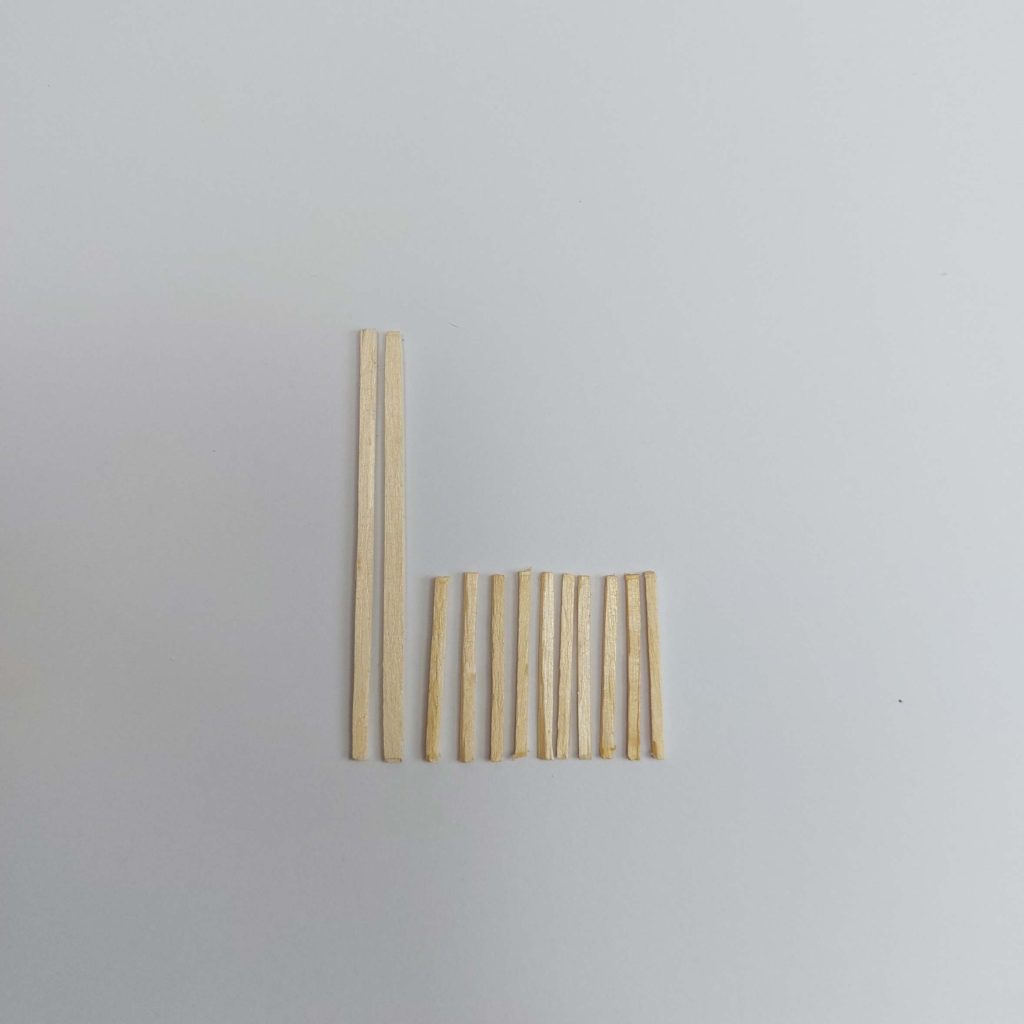
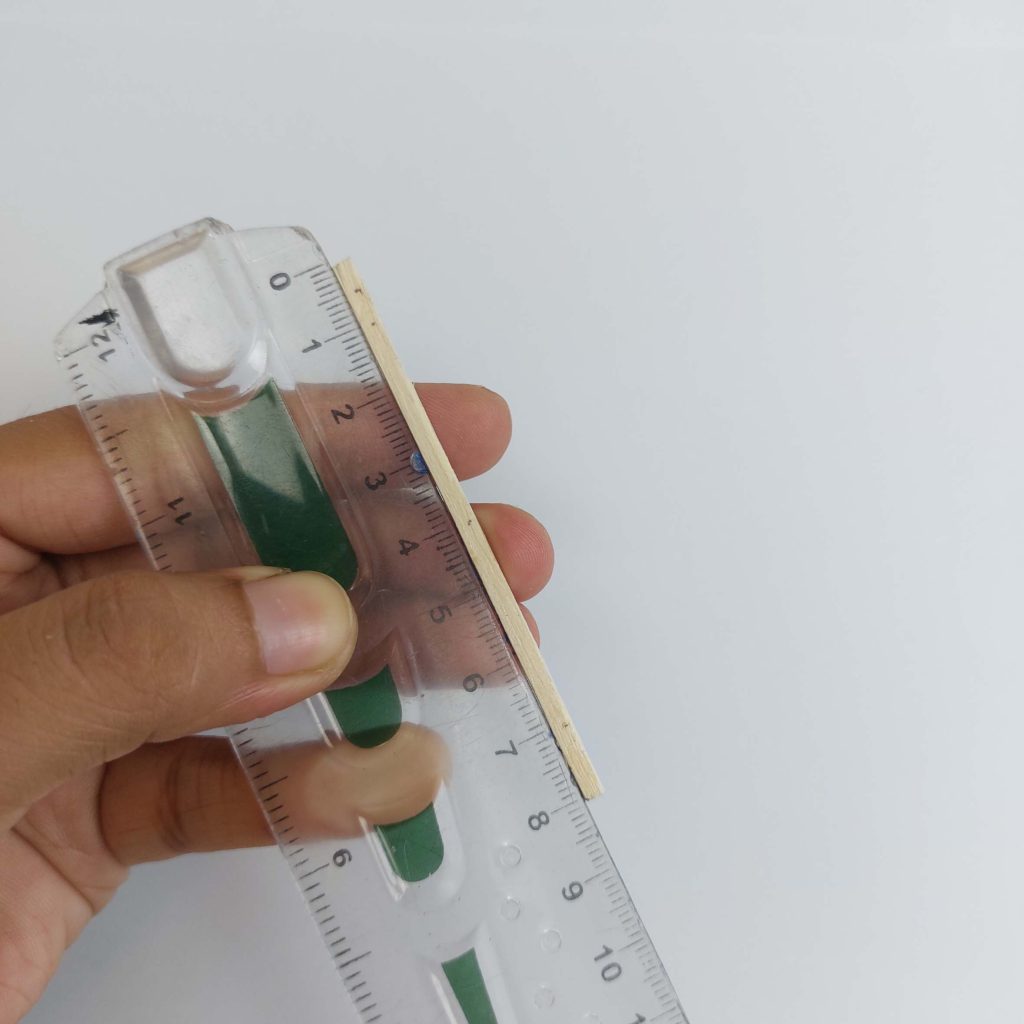
Cut the following pieces for the first side of the chair:
- 2 matchsticks measuring 8 cm (chair legs)
- 10 short matchstick pieces of equal length (about 3.5 cm)
Make all 10 short pieces exactly the same length. We'll refer to them as the crossbars throughout the tutorial.
Step 2: Build the First Side of the Chair
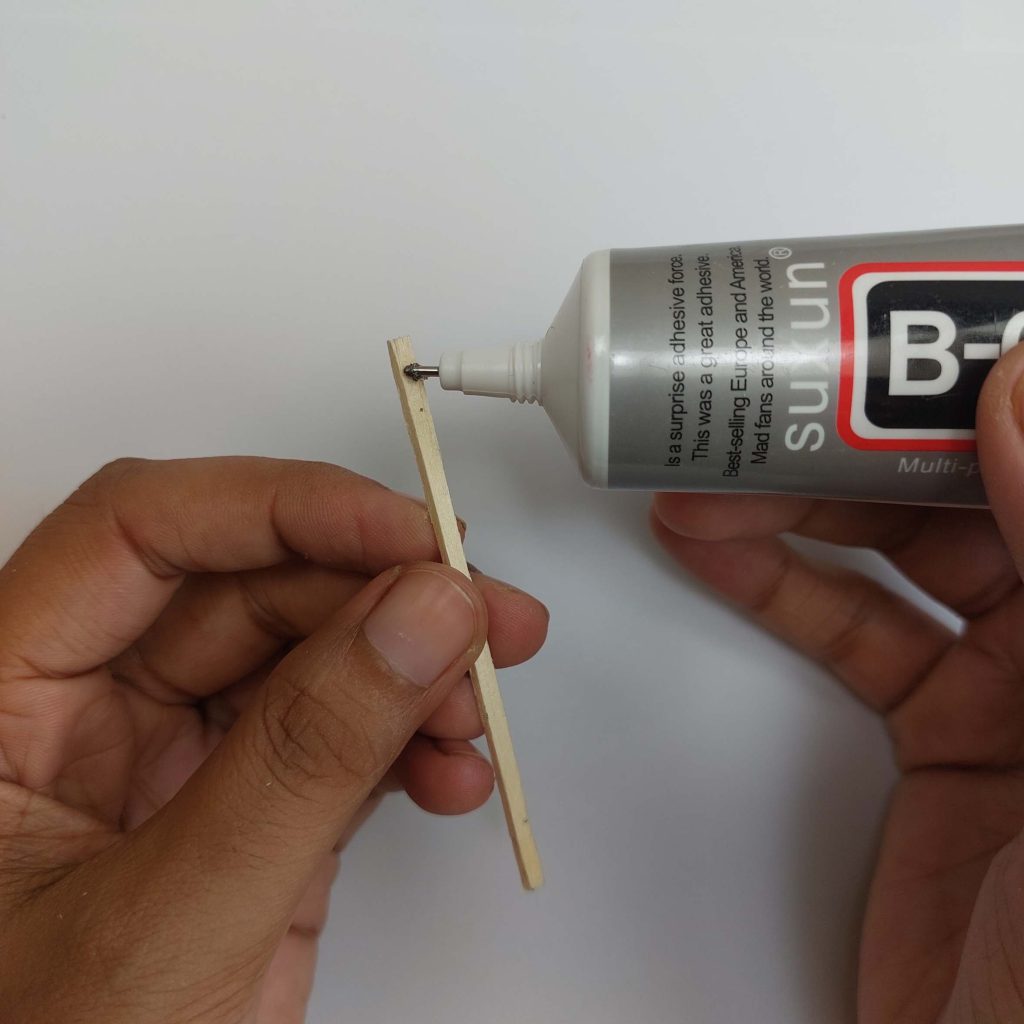
Apply a small drop of wood glue to the top of one of the 8 cm chair legs. Position a 3.5 cm crossbar so it sits flush with the top of the leg, forming a right angle.
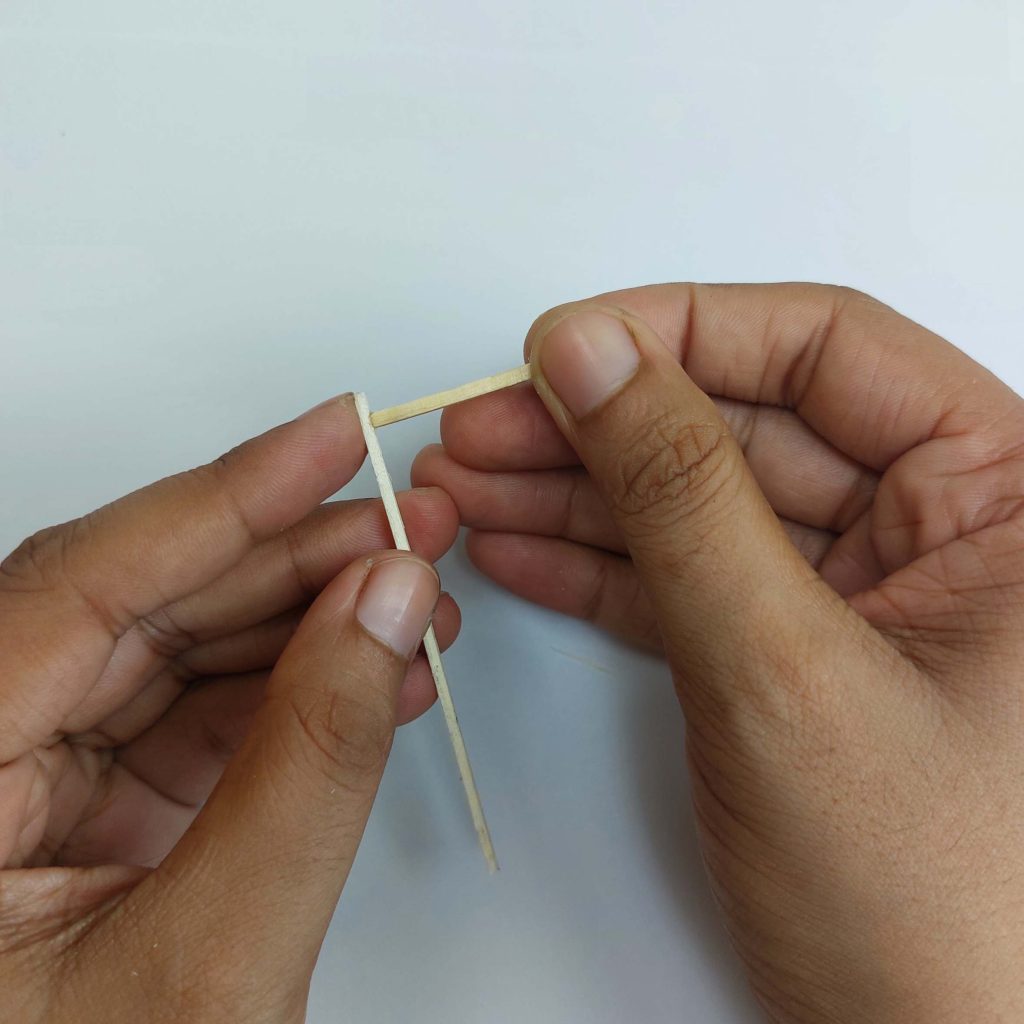
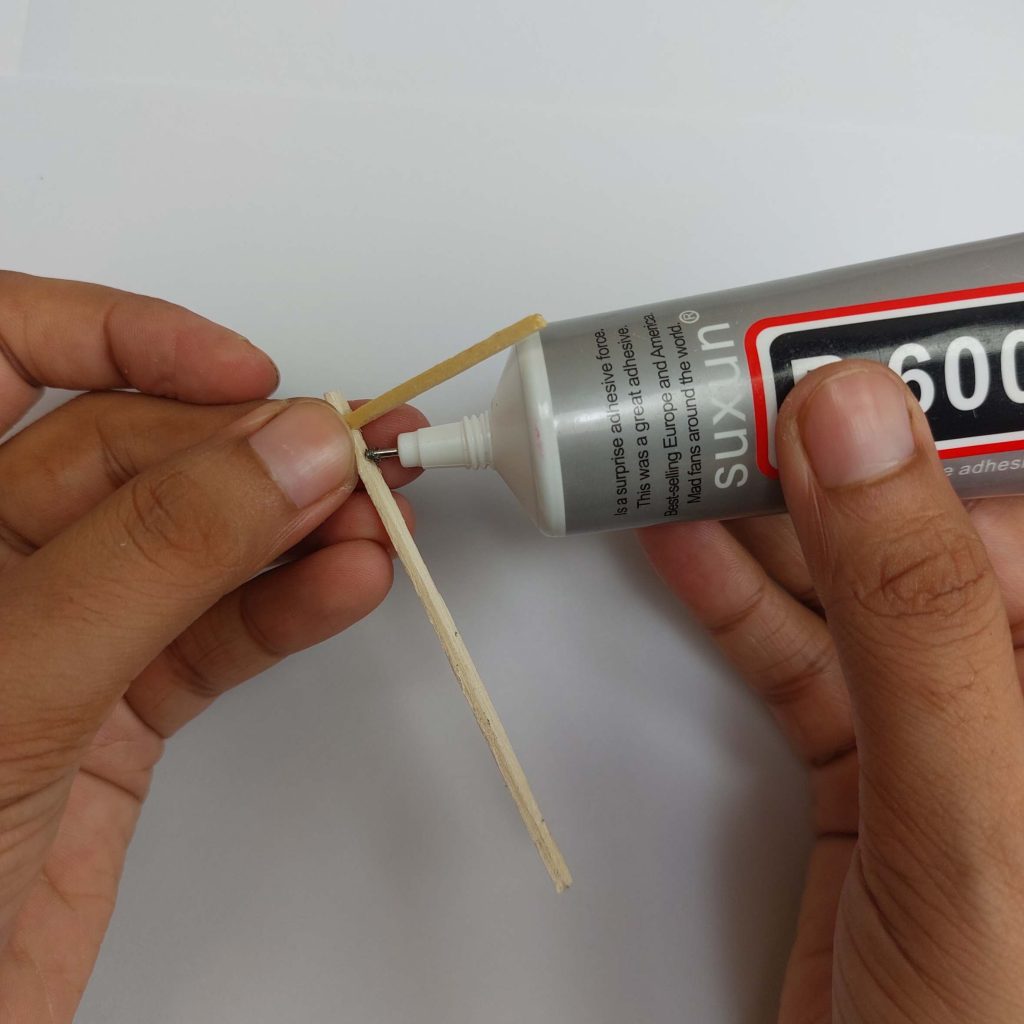
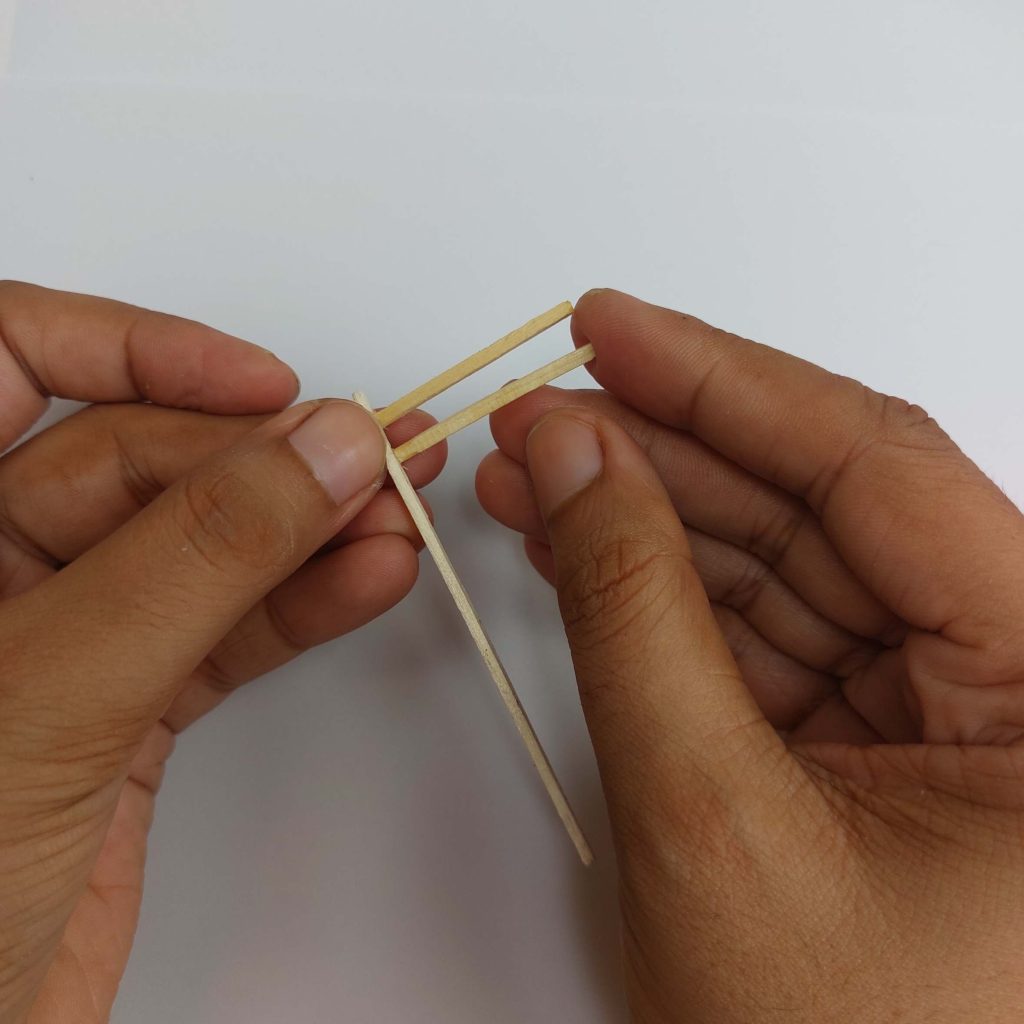
Next, glue a second 3.5 cm crossbar directly underneath the first one, leaving a narrow gap between the two pieces. These two bars will become the chair's backrest.
Then, glue a third 3.5 cm crossbar lower down the leg, about in the middle. This piece will support the seat, so try to keep it level with the backrest bars.