
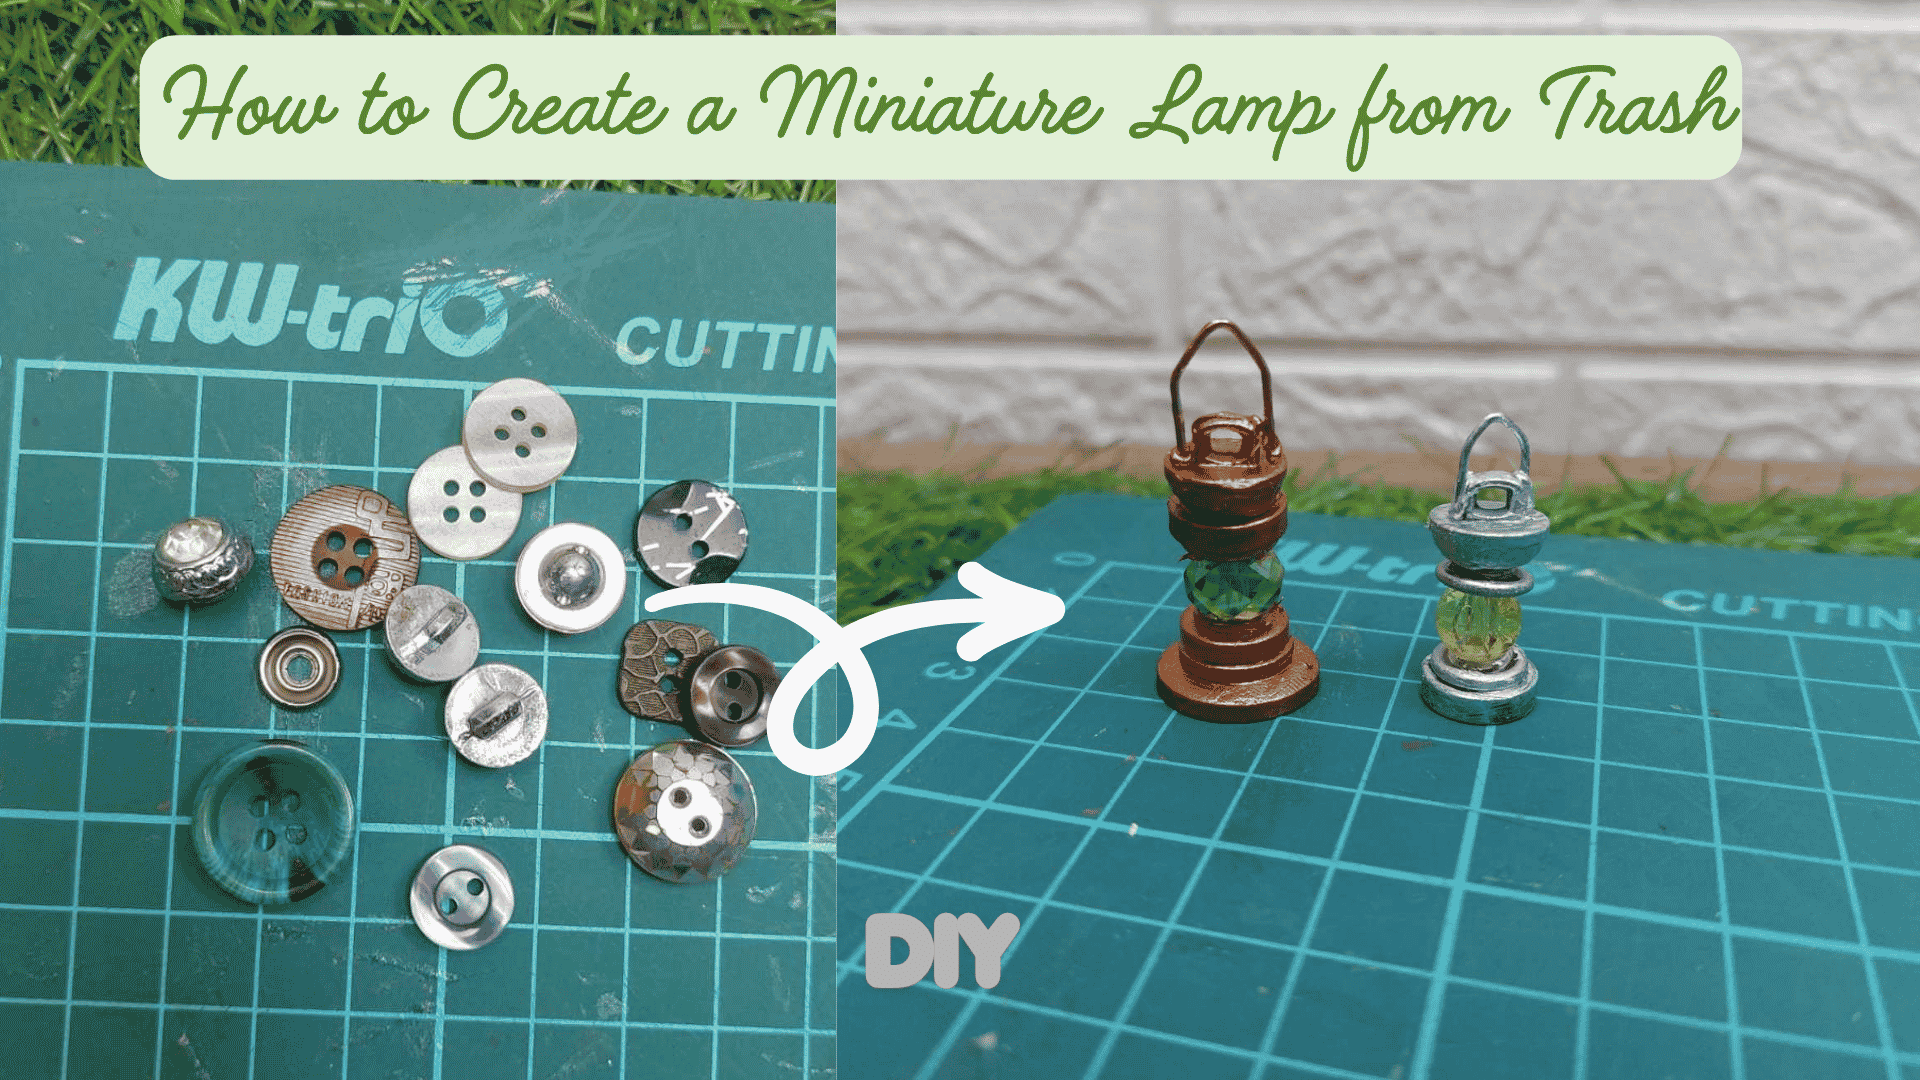
Miniature lanterns are one of those tiny details that can add so much character to a dollhouse scene.
And the fun part? You can make one almost entirely from old buttons and a small bead (yeah, from trash!) .In this tutorial, I’ll show you how I turned a few mismatched buttons into a surprisingly realistic little lantern, perfect for a dollhouse, miniature room, garden scene or rustic diorama.
List of Materials
- A selection of old buttons in different sizes and shapes
- Small transparent faceted bead for the glass part of the lantern
- Strong craft glue (I used B-6000)
- Thin craft wire for the lantern handle
- Acrylic paint in your preferred metallic color, such as copper, silver or bronze
- Small paintbrush
- Wire cutters
- Needle-nose pliers for bending the wire
- Tweezers (optional, but useful for handling the tiny pieces)
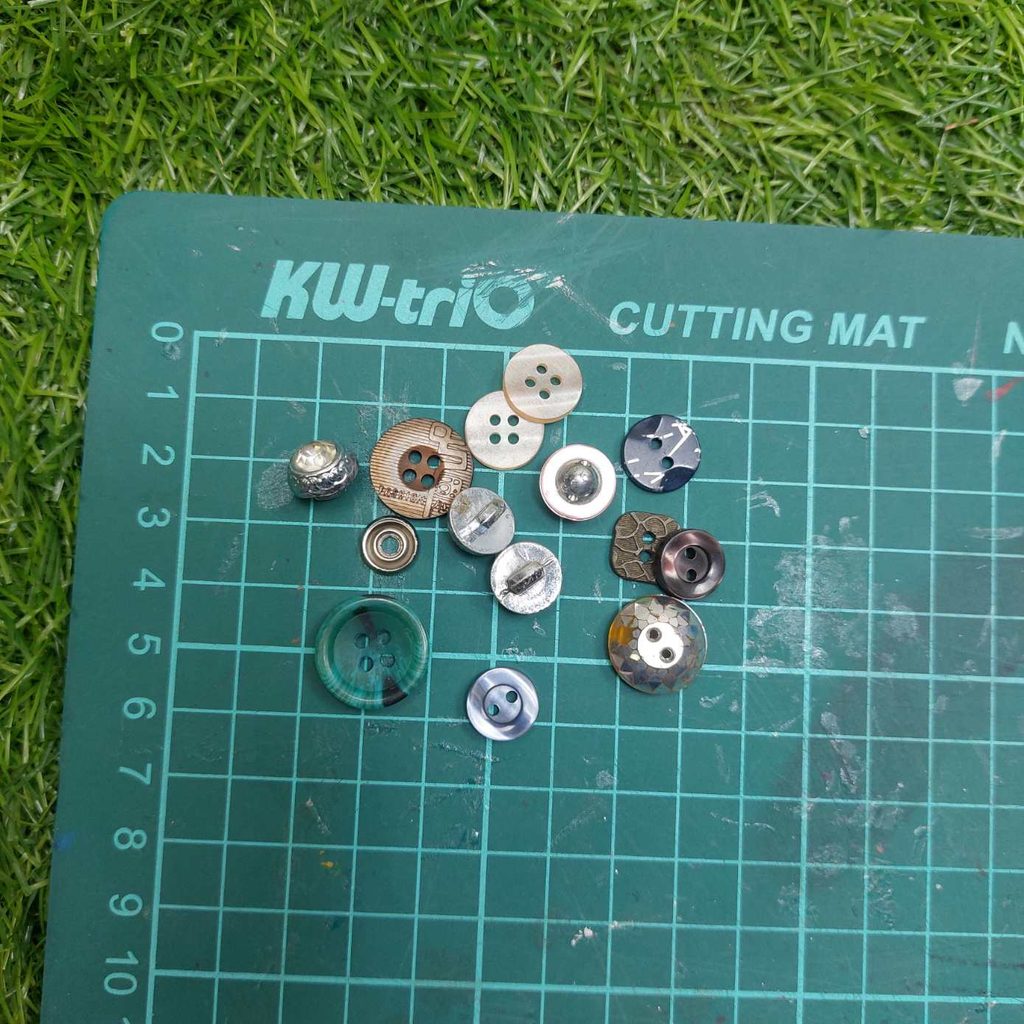
Step-by-step tutorial
Just follow the steps, one by one; we are doing a very easy tutorial today!
Step 1: Build the Base of the Miniature Lantern
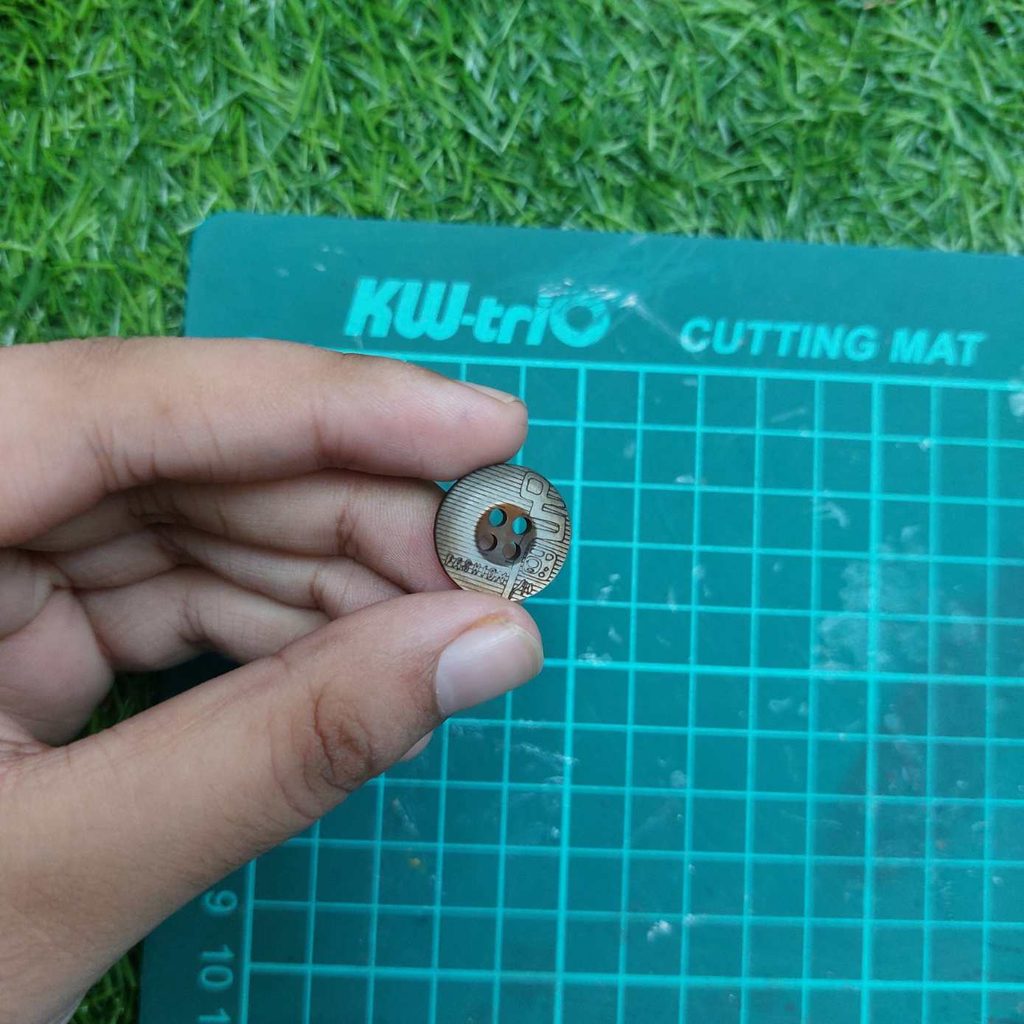
Start with a larger flat button for the bottom of the lantern.
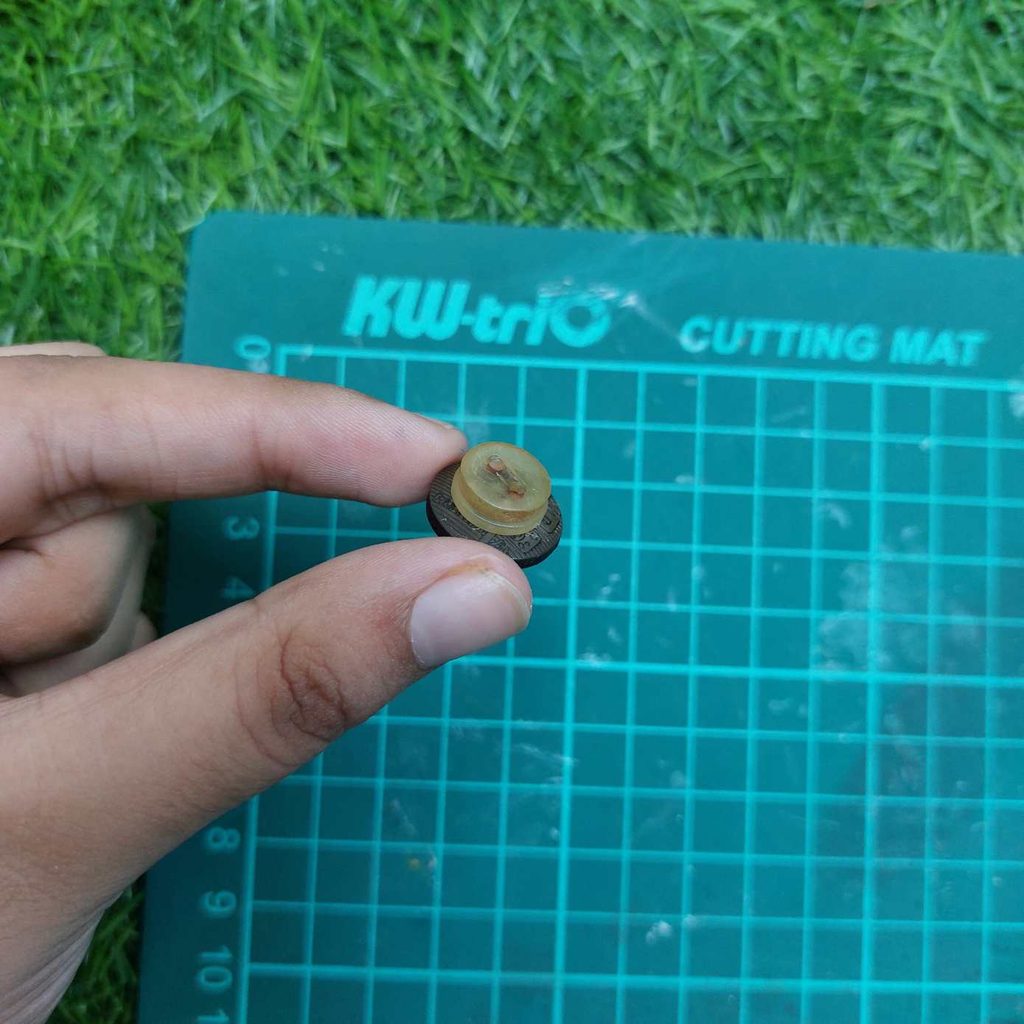
Add a small amount of strong craft glue to the center and glue a slightly smaller button on top.
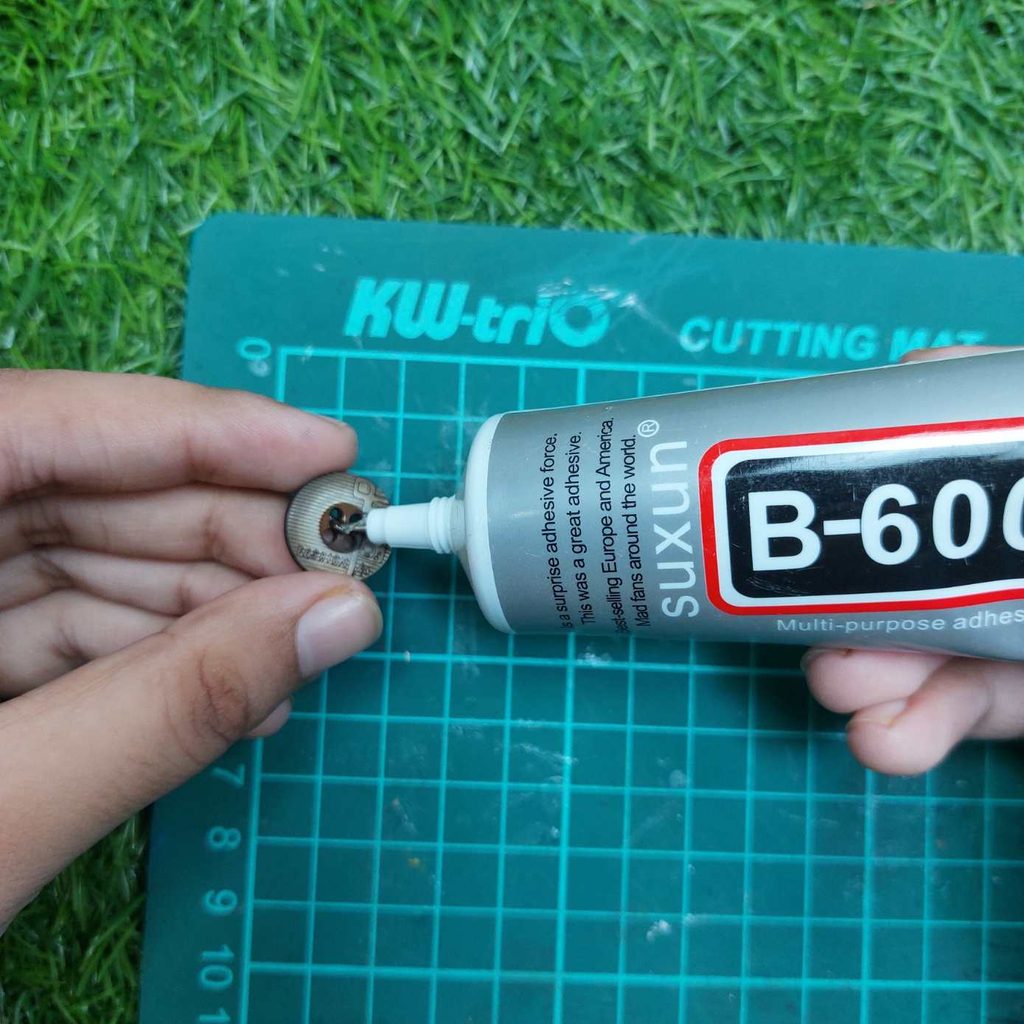
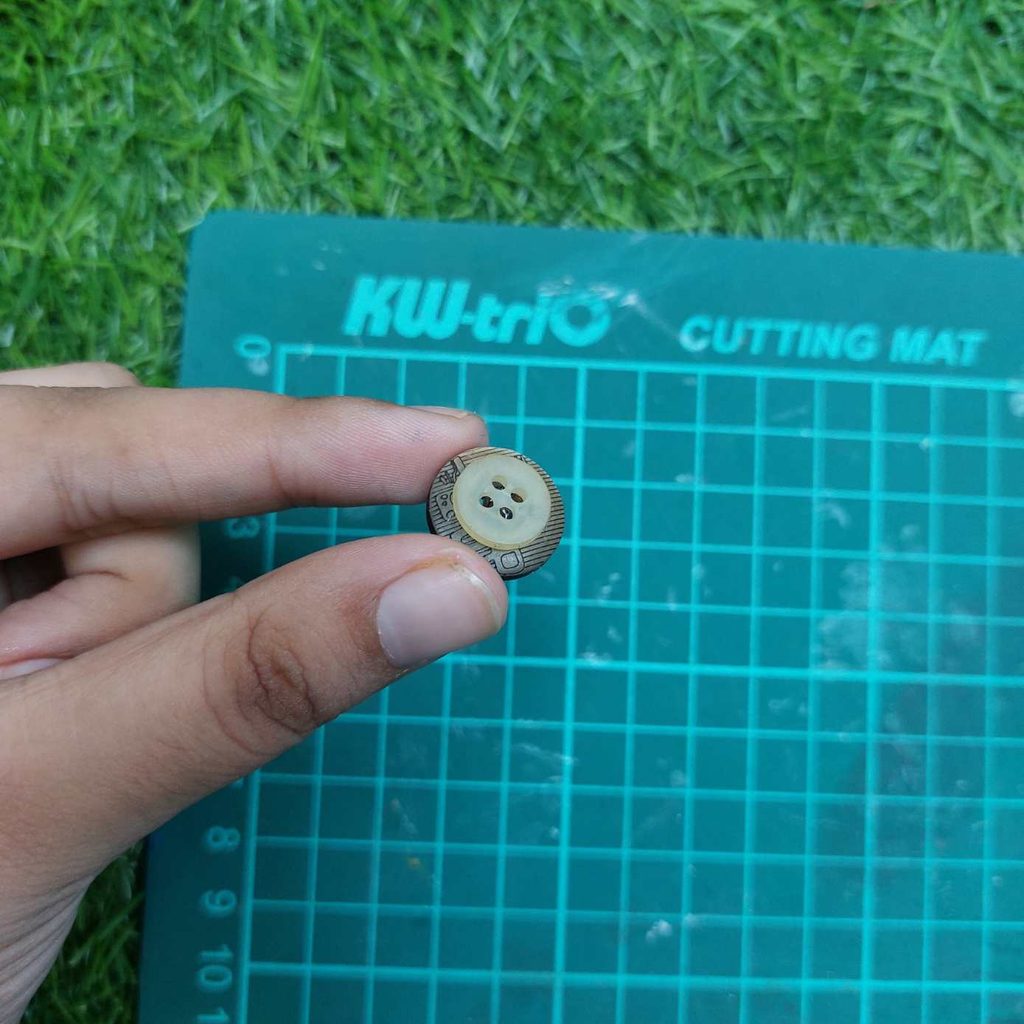
I used buttons with different shapes and textures, as these little differences will give the lantern more detail once everything is painted.
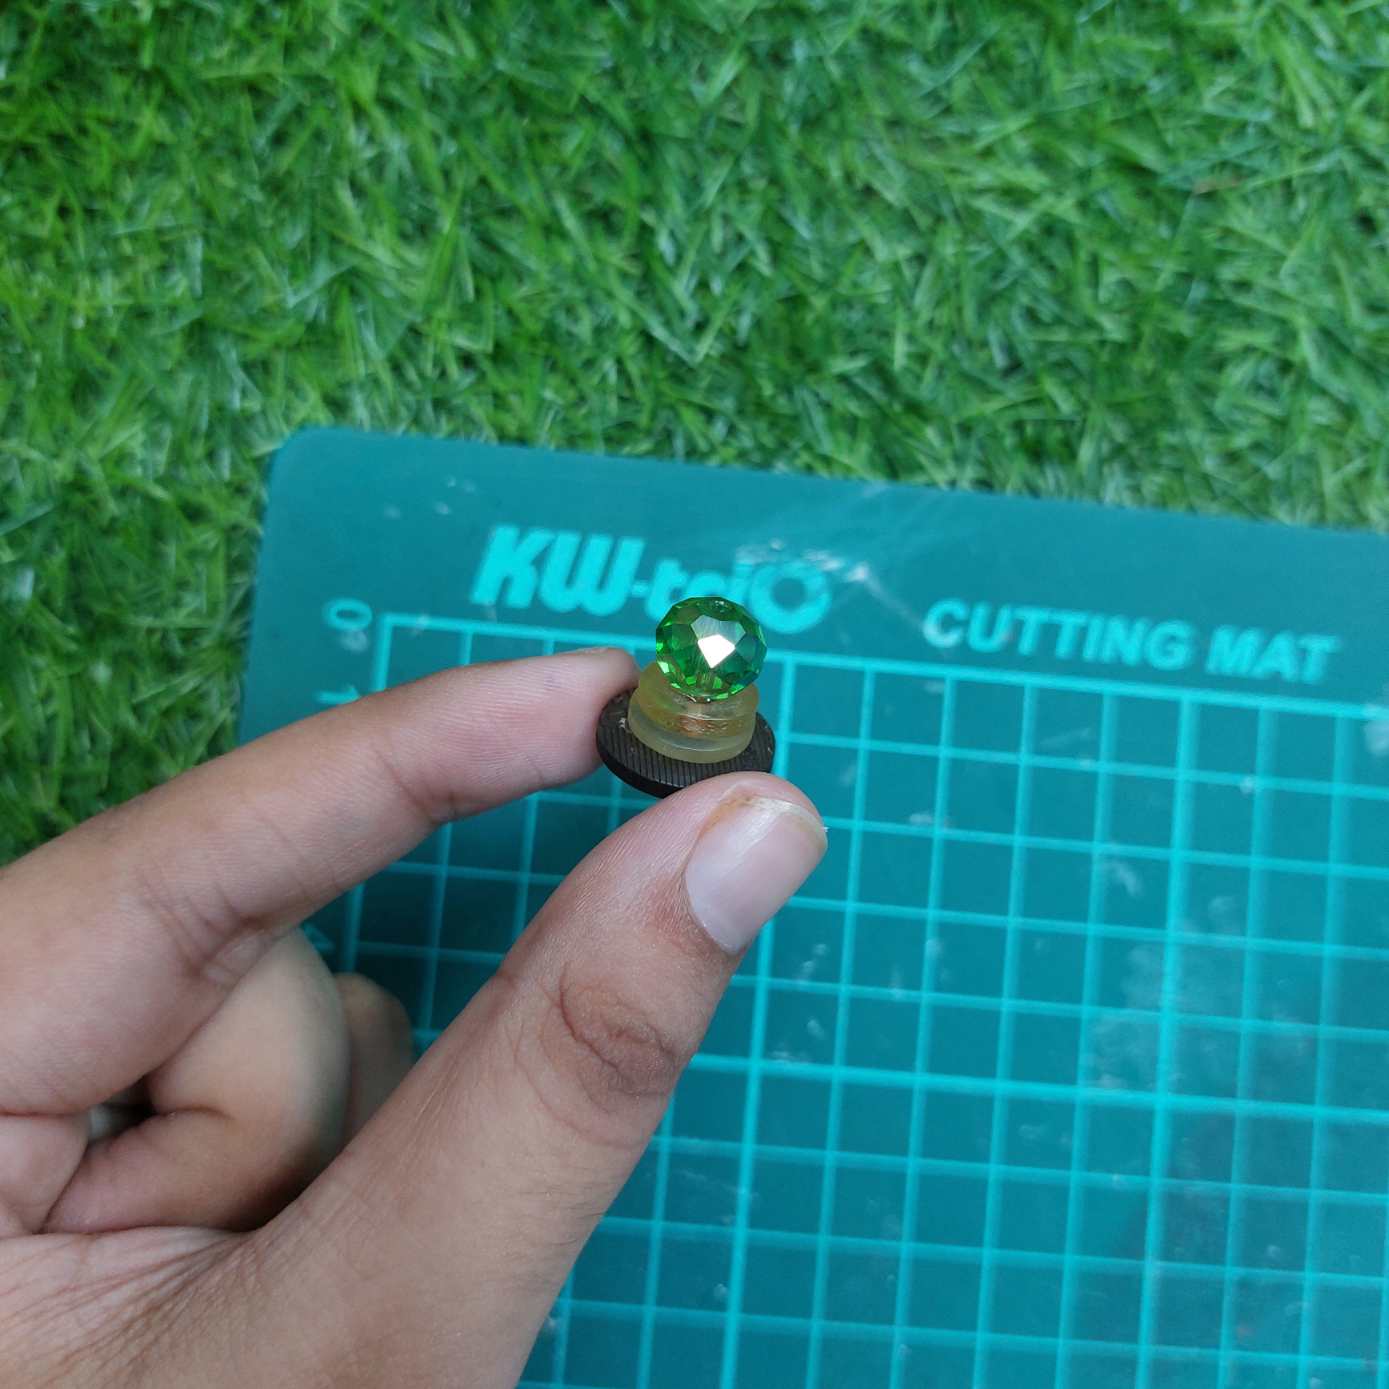
Next, glue a faceted transparent bead in the center. This will become the glass section of the lantern.
Finally, glue another small button on top of the bead to create the upper rim.
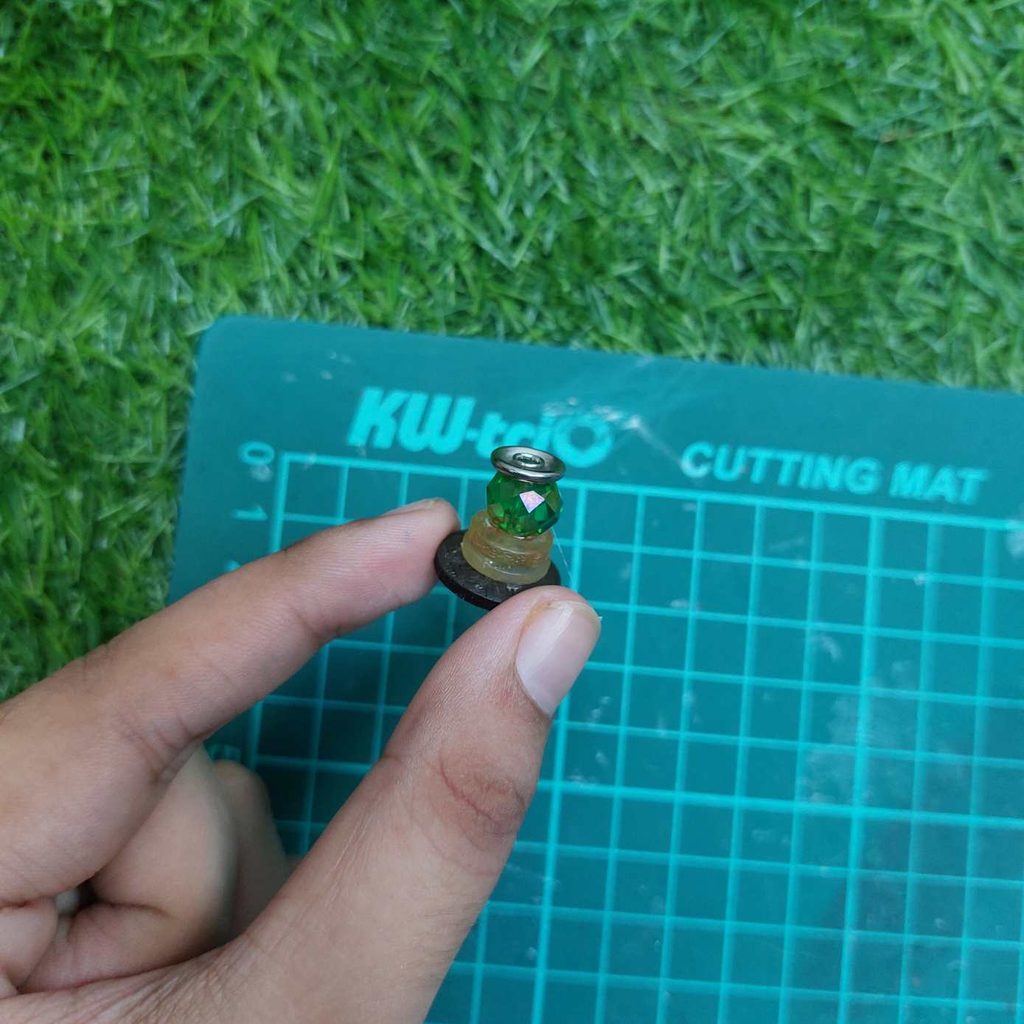
Let the glue dry properly before continuing, as the stacked pieces can easily shift while you are working on the next part.
Step 2: Build the Top and Make the Handle
To give the lantern a more detailed top, glue another decorative button on top of the upper button.
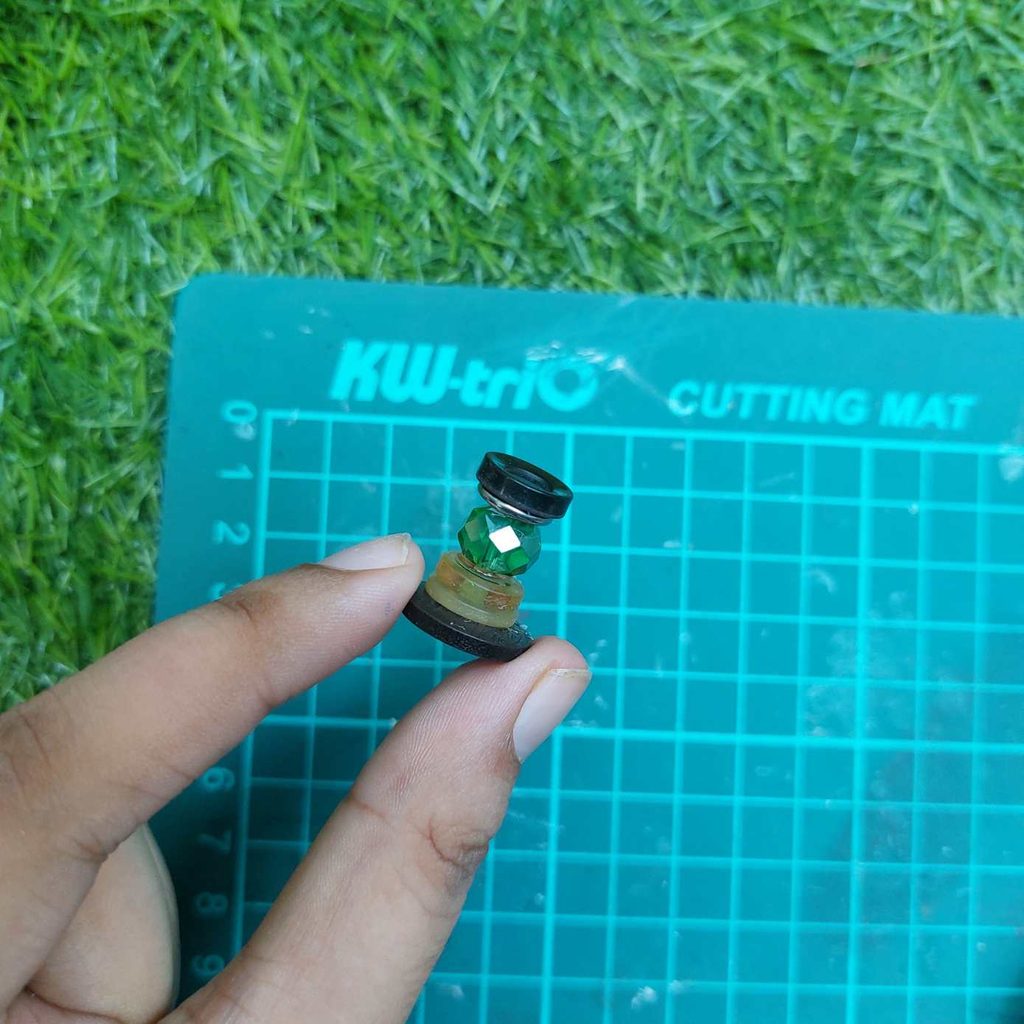
Then finally, use a button with a raised loop in the center, which works perfectly as the little fitting you often see on an old-fashioned lantern.
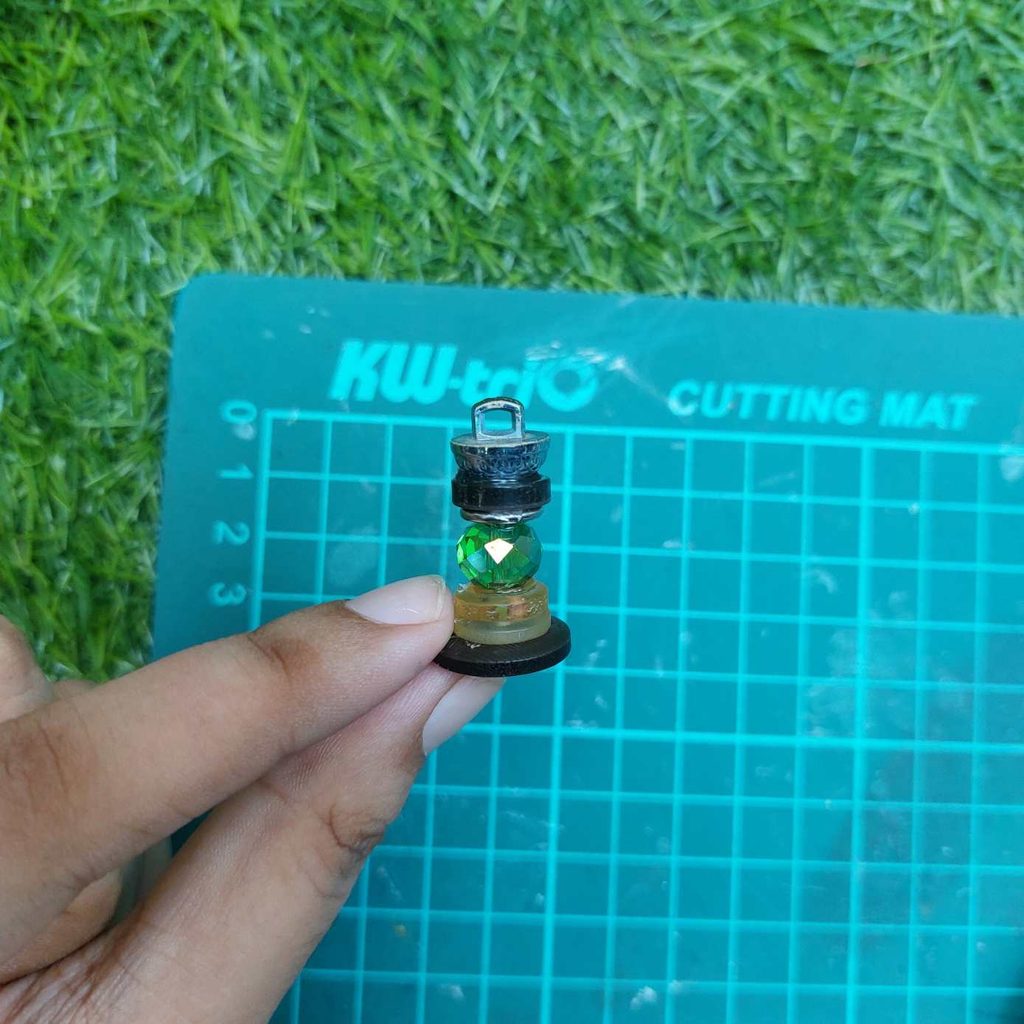
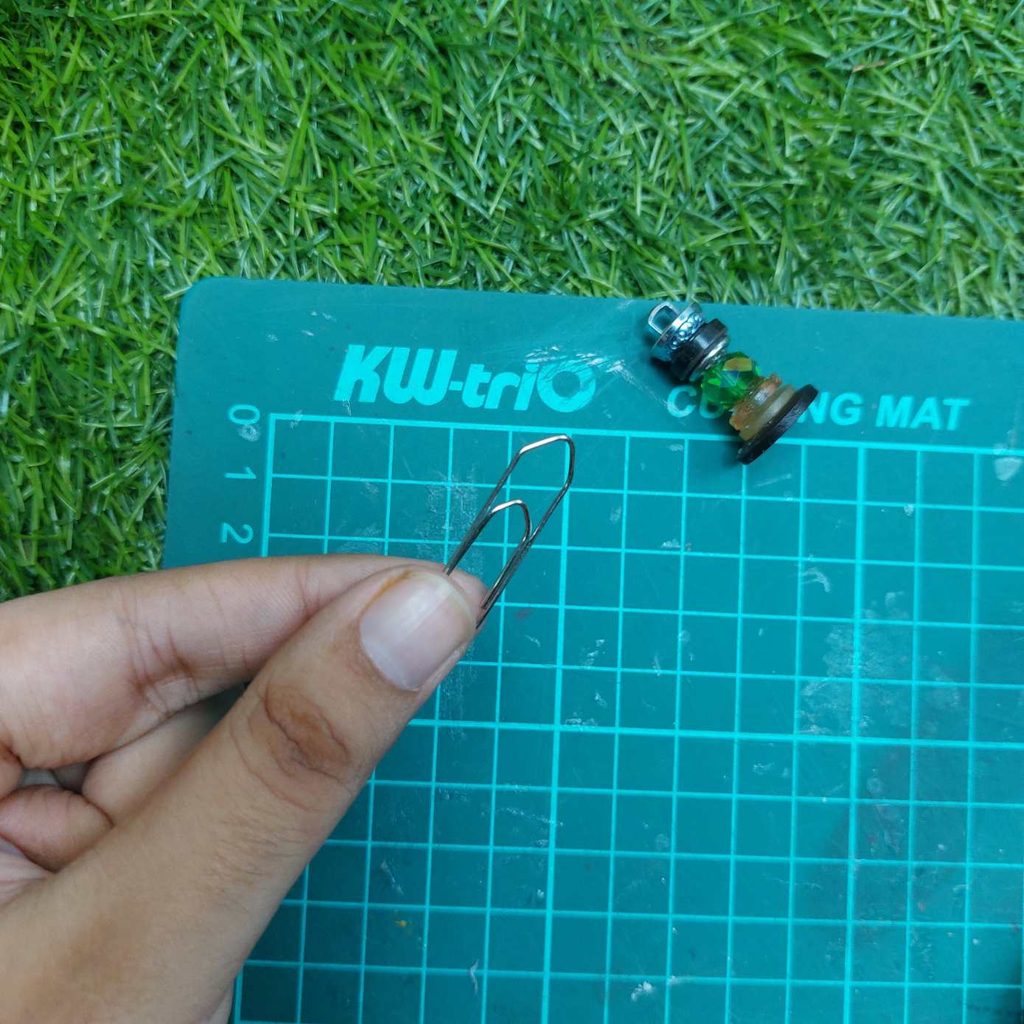
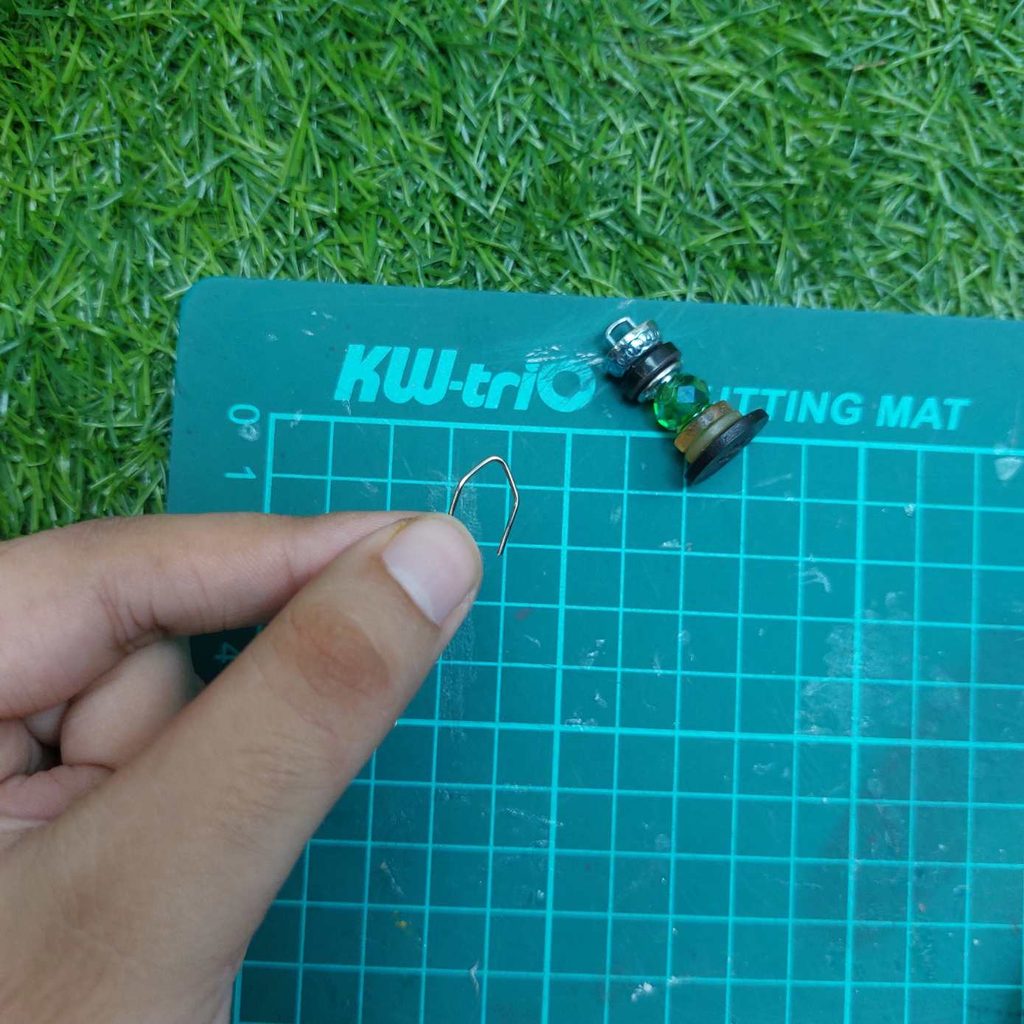
For the larger carrying handle, take a metal paper clip and carefully bend it into a tall, narrow arch. Adjust the shape and size so that it fits neatly over the lantern.
Step 3: Attach the Handle and Paint the Lantern
Glue the two ends of the paper-clip handle to opposite sides of the top section, creating the tall handle over the lantern. Make sure it sits straight and allow the glue to dry completely before painting.
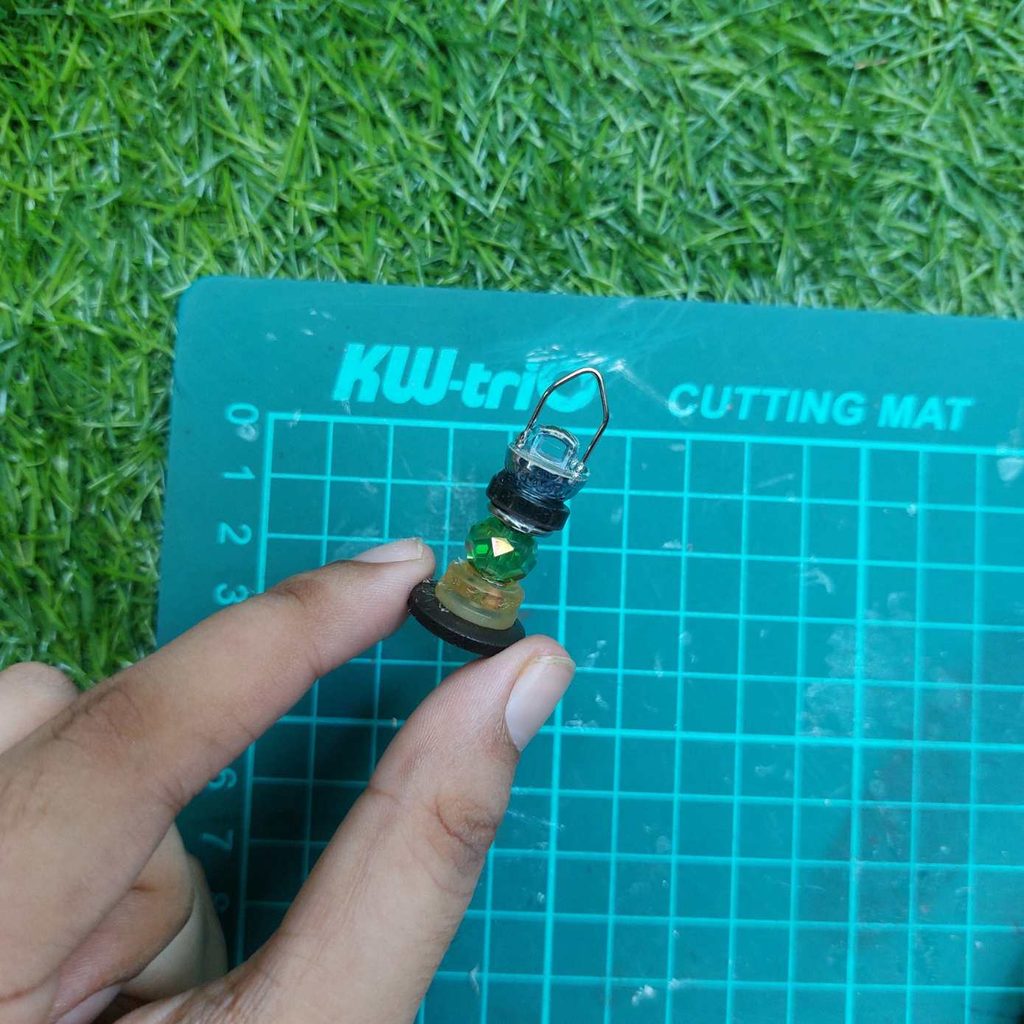
Now paint all the button pieces and the handle with metallic acrylic paint, while leaving the faceted bead unpainted so it still looks like colored glass.
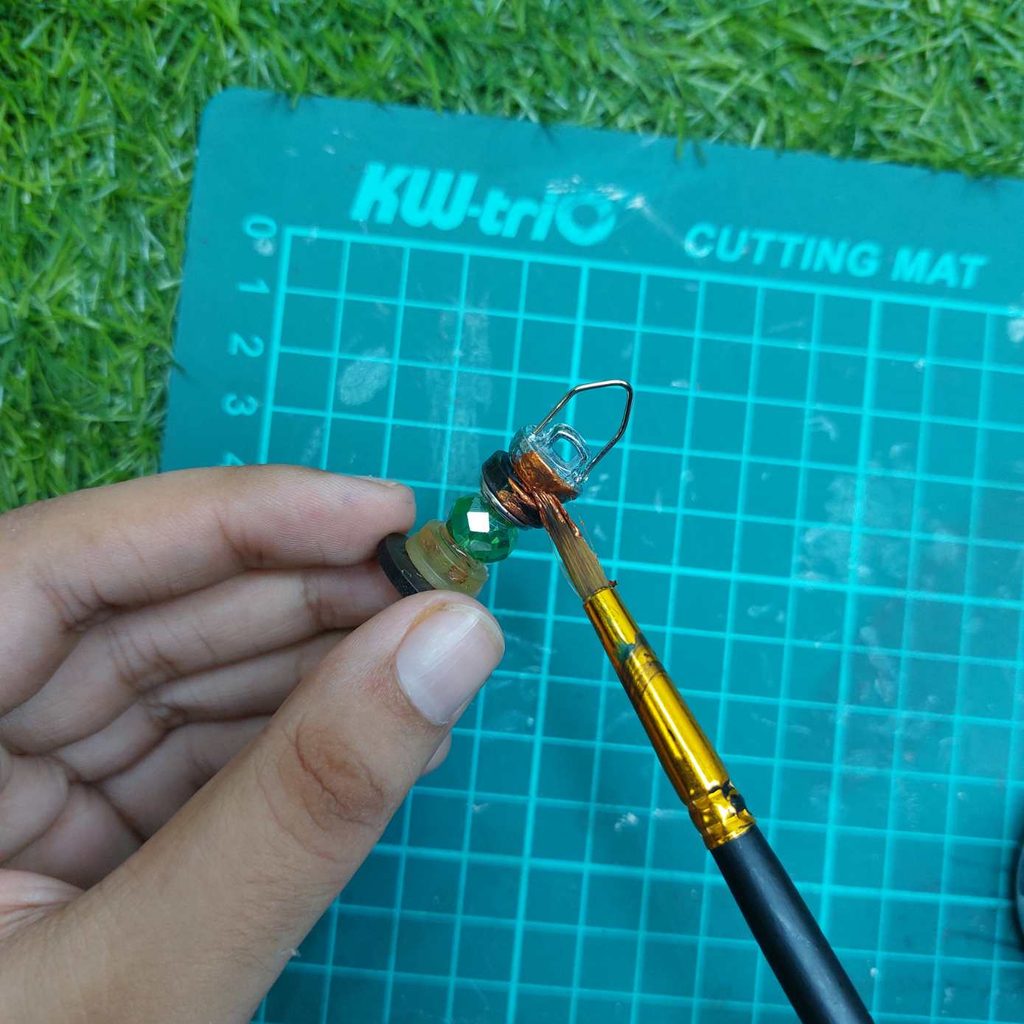
I made one lantern in a warm copper finish and another in silver, but you can use any metallic shade that suits your miniature scene.
Once the paint has dried, your tiny lantern is