
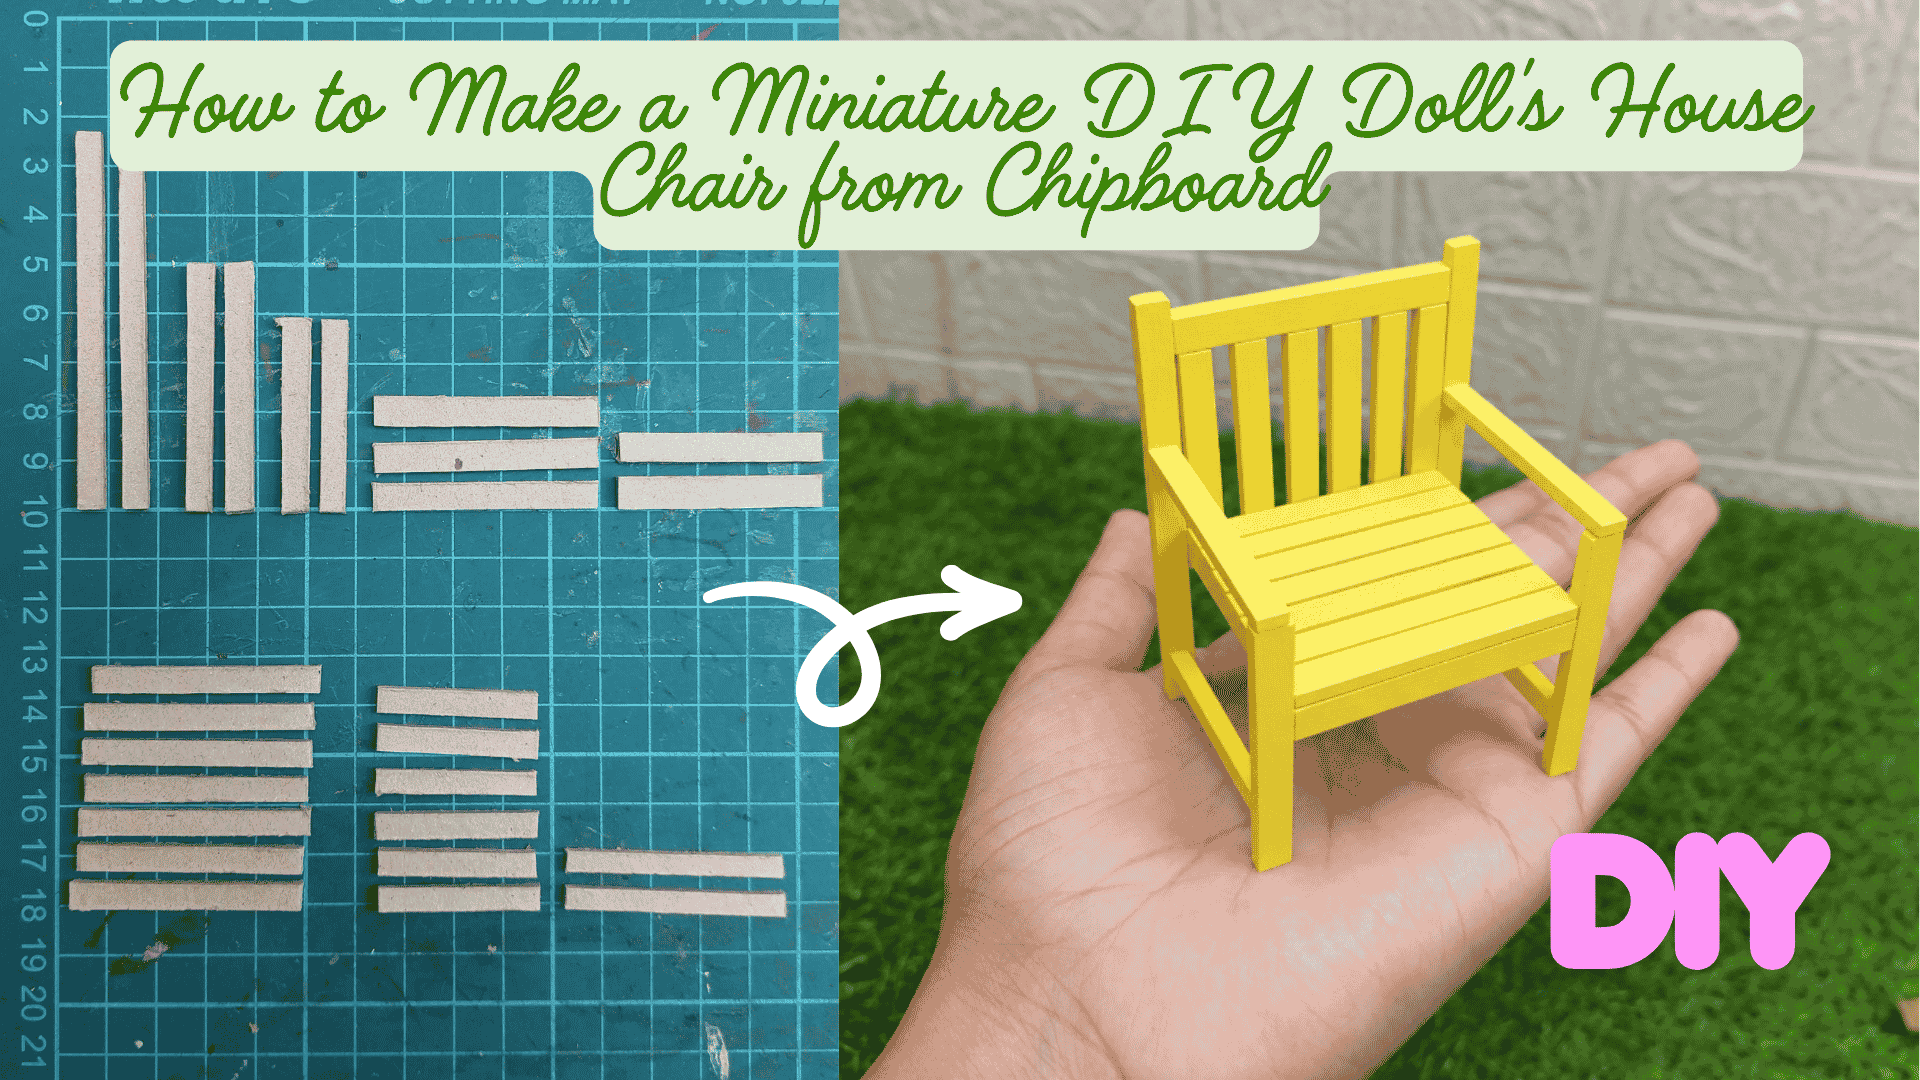
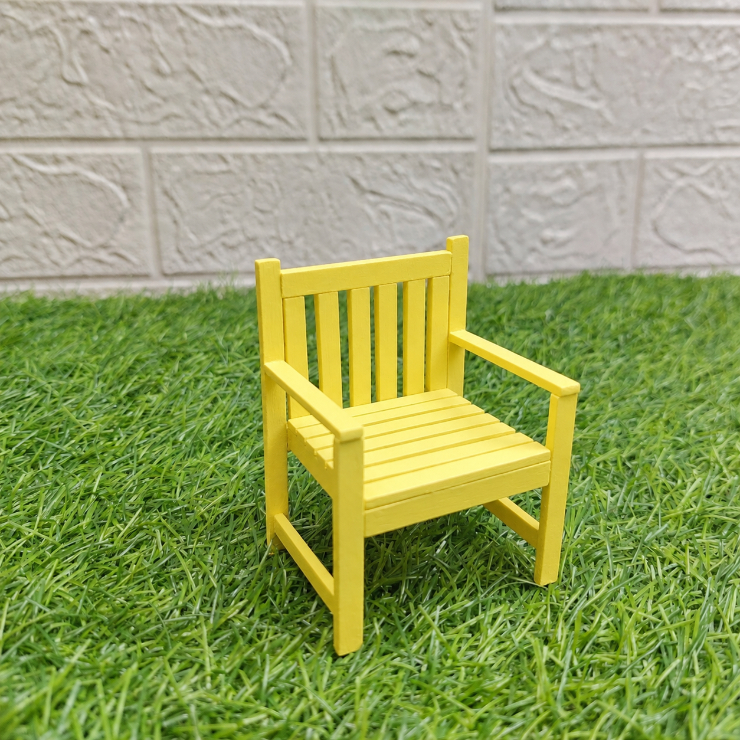
Looking for an easy way to make miniature furniture for your dollhouse? This DIY miniature doll's house chair is made from small pieces of chipboard and features a slatted seat, a matching backrest, and two armrests.
It's a lovely little project for a dollhouse garden, patio, porch, or even a miniature living room. You can also paint it in any color you like. I chose bright yellow for mine!
In this tutorial, I'll show you how to build the chair step; this method would work aswell for balsawood or basswood.
Materials Needed to Make this Miniature Doll's house Chair
- Thick chipboard (approximately 2 mm thick)
- Craft knife
- Metal ruler
- Pencil
- Craft glue. I use B-7000 adhesive
- Yellow acrylic paint
- Small paintbrush
- Cutting mat
This miniature chair is designed for 1:12 scale dollhouses and measures approximately 7.5 cm tall.
Step-by-step tutorial
Step 1: Cut the Thick Chipboard Pieces
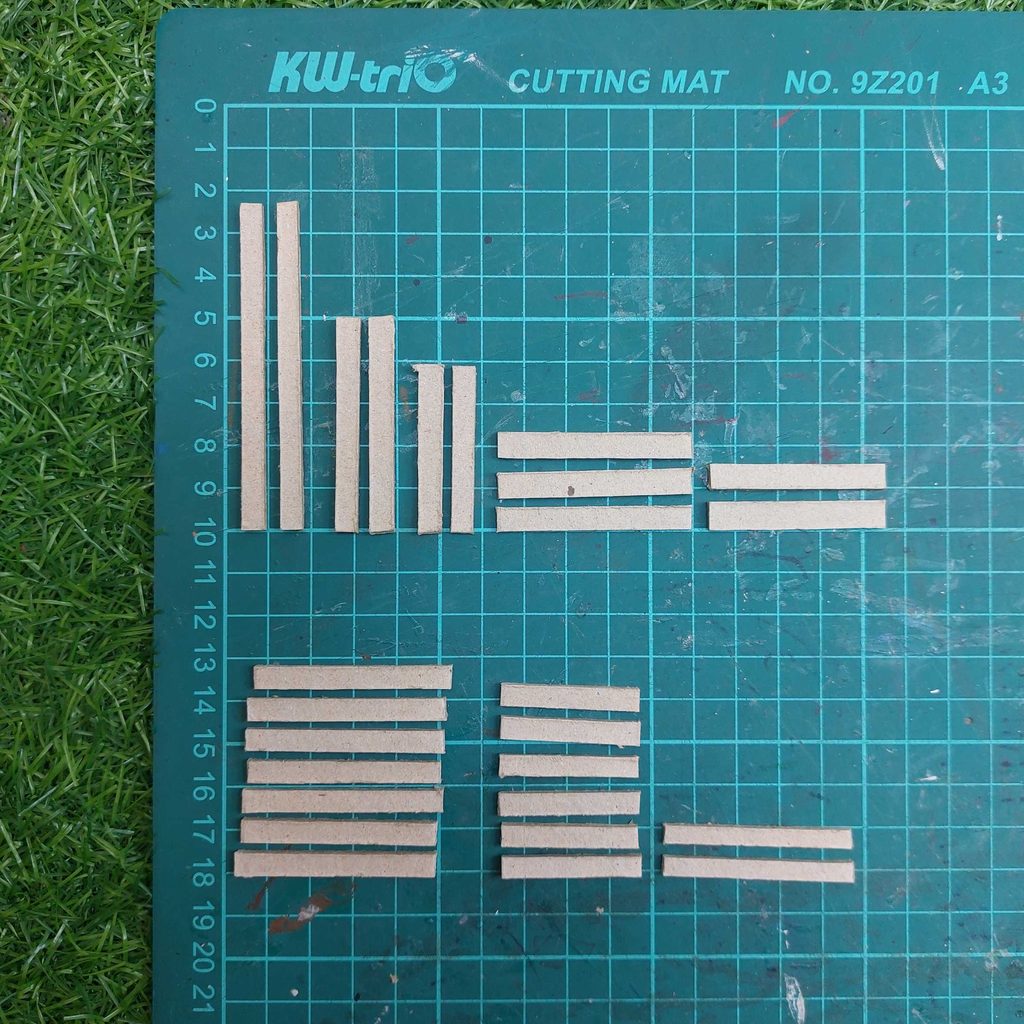
Start by cutting your thick chipboard into strips using the measurements below. These are the exact dimensions from the original 1:12 scale tutorial, with thick chipboard replacing the balsa wood.
Step 1: Cut the Thick Chipboard Pieces
Start by cutting your thick chipboard into strips using the measurements below.
- 2 pieces measuring 7.5 cm (2.95 inches) long × 4 mm (0.16 inches) wide
- 2 pieces measuring 5 cm (1.97 inches) long × 4 mm (0.16 inches) wide
- 2 pieces measuring 3.9 cm (1.54 inches) long × 3 mm (0.12 inches) wide
- 3 pieces measuring 4.5 × 0.6 cm (1.77 × 0.24 inches)
- 2 pieces measuring 4 × 0.6 cm (1.57 × 0.24 inches)
- 7 pieces measuring 4.5 × 0.5 cm (1.77 × 0.20 inches)
- 6 pieces measuring 3 × 0.5 cm (1.18 × 0.20 inches)
- 2 pieces measuring 4.4 × 0.4 cm (1.73 × 0.16 inches)
For the flat pieces, use 2 mm (0.08 inches) thick material.
Keep the pieces grouped together, so they're easy to identify during assembly.
Step 2: Make the Miniature Chair Seat
Arrange six narrow chipboard strips side by side, leaving small, even gaps between them to create the slatted seat.
Glue the ends of each strip onto two longer chipboard strips, one on either side, as shown in the first picture.
Allow the glue to dry completely. You now have the seat of your DIY miniature dollhouse chair, ready to attach to the chair frame.
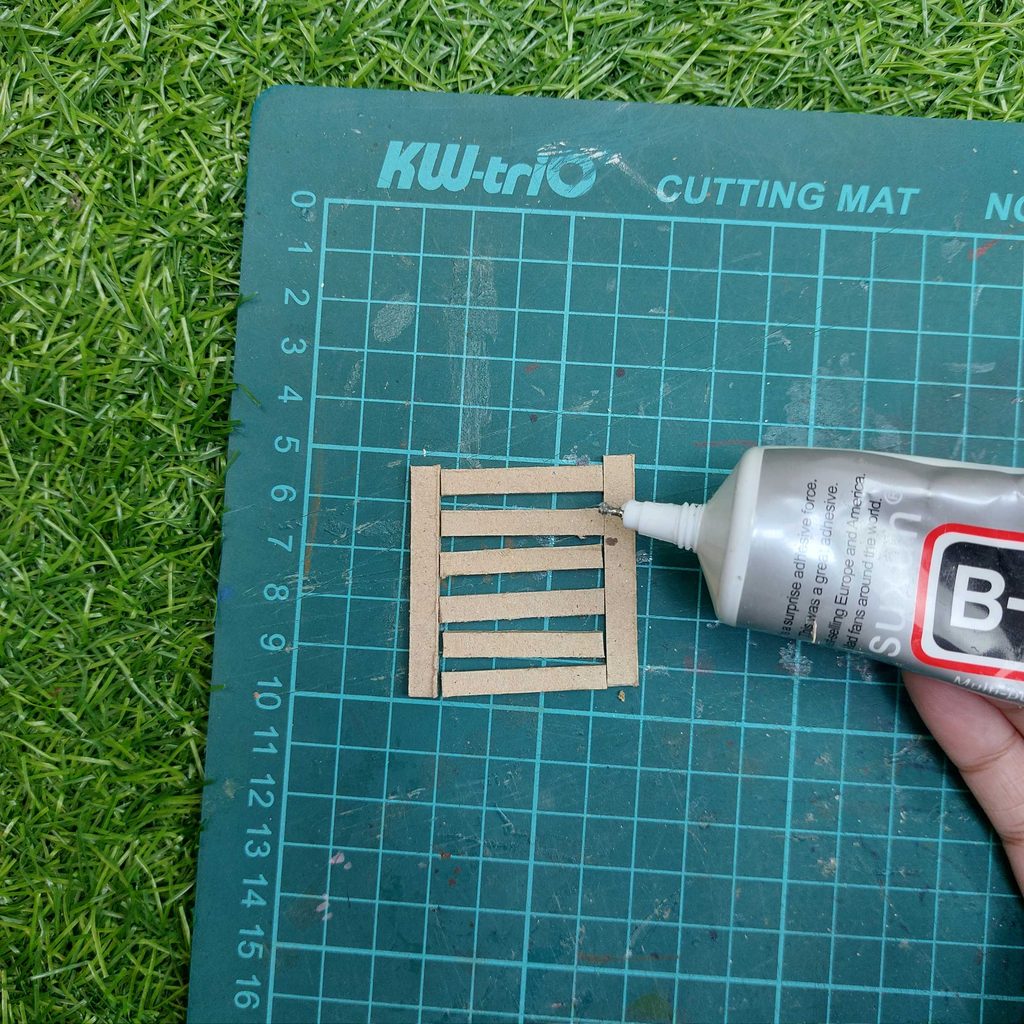
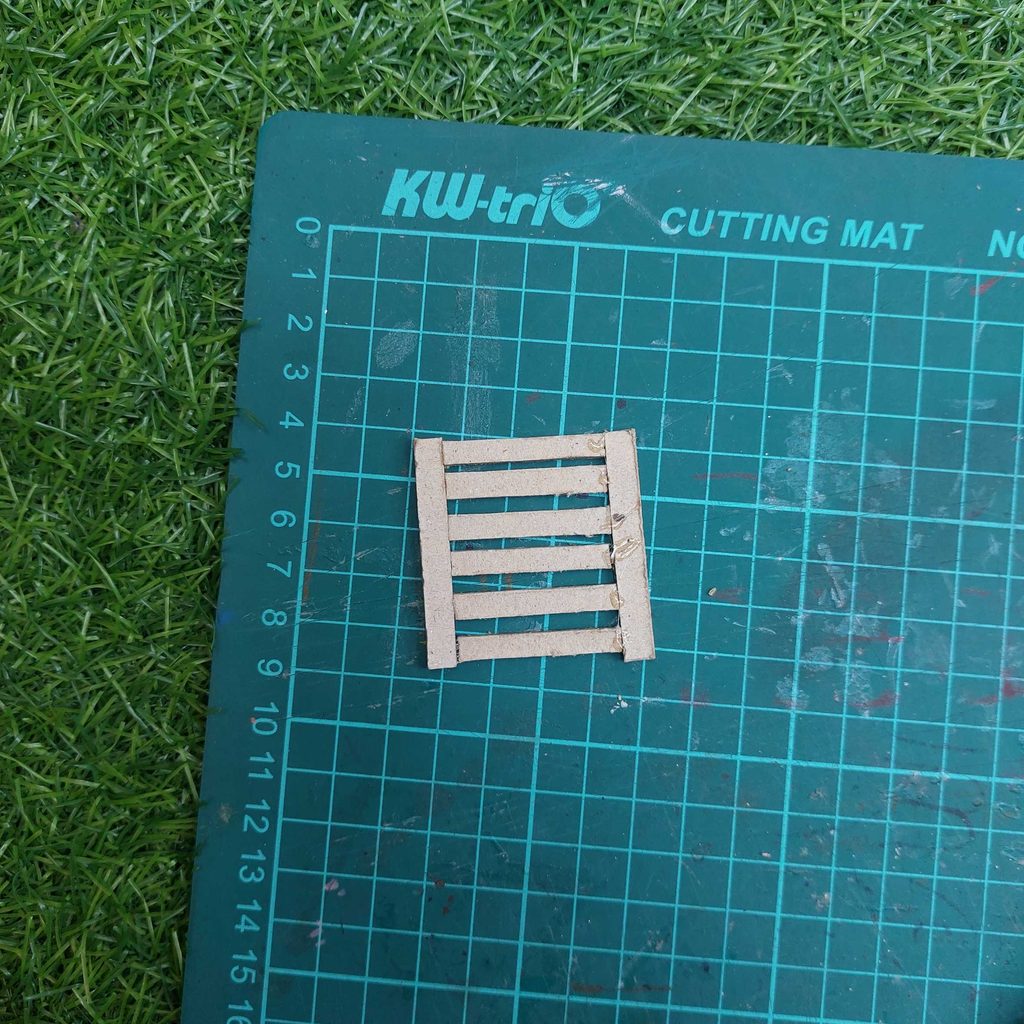
Allow the glue to dry before moving on to the next step.
Step 3: Make the Slatted Backrest for the Miniature Chair
Now let's make the backrest of our DIY miniature dollhouse chair.
Start by placing two long chipboard strips parallel to each other. These will form the back legs of the chair and extend above the seat to support the backrest.
Glue a shorter horizontal strip between them, near the top. Then arrange five narrow chipboard strips vertically underneath it, leaving small, even gaps between each one.
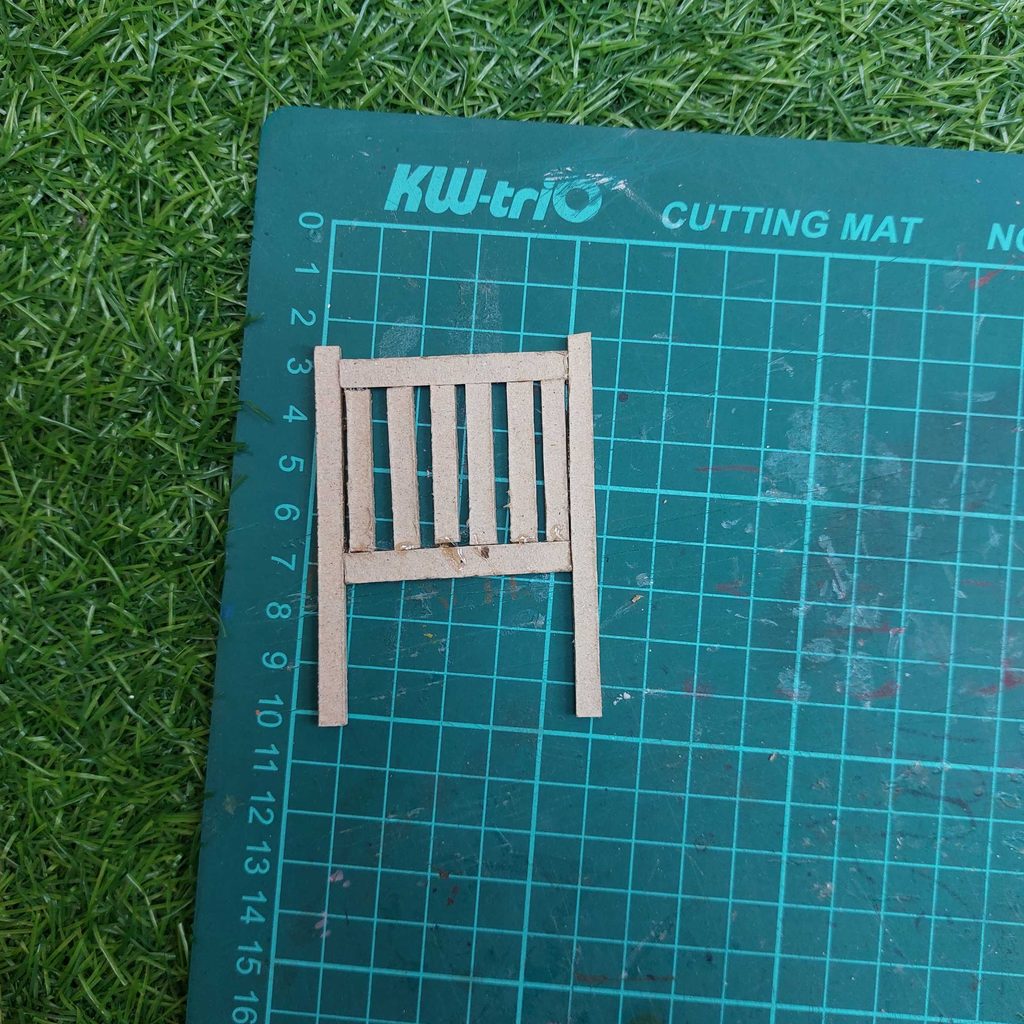
Add another horizontal strip across the bottom of the vertical slats to complete the backrest. Make sure everything is straight and allow the glue to dry before moving on.
Step 4: Attach the Front Legs and Build the Chair Frame
Next, we'll connect the backrest to the front of the miniature chair.
Take two shorter chipboard strips for the front legs and connect them with a horizontal strip, creating an H-shaped piece, as shown in the photos.
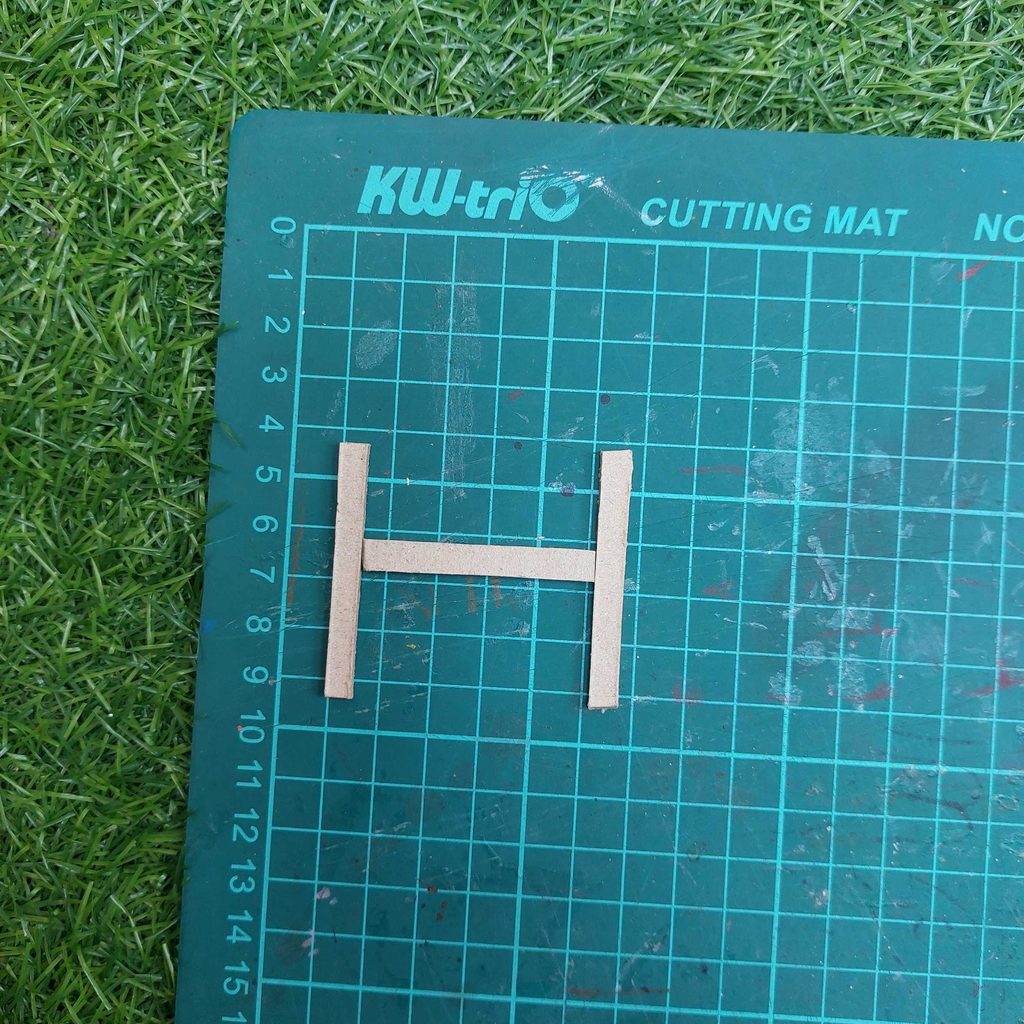
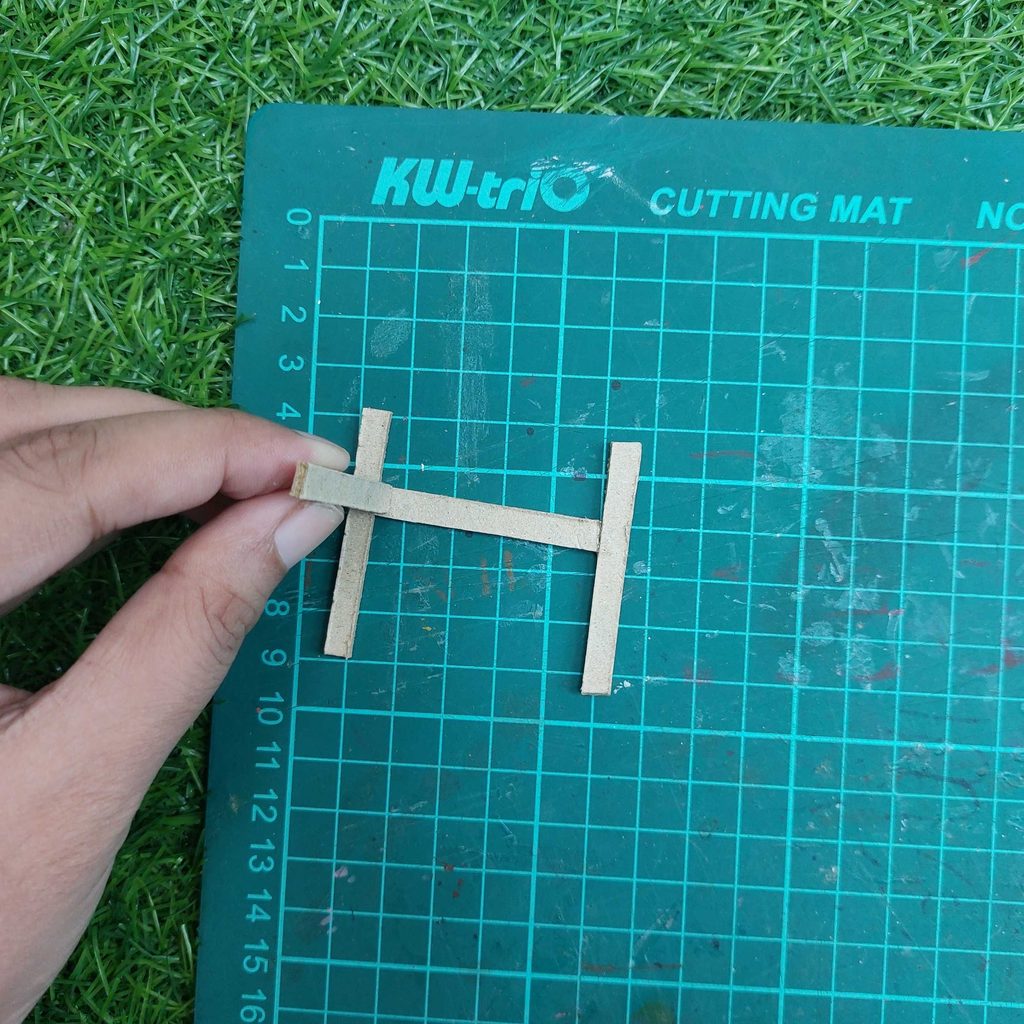
Now attach this front section to the backrest using two additional chipboard strips, one on each side. These form the side supports for the seat and connect the front legs to the back legs.
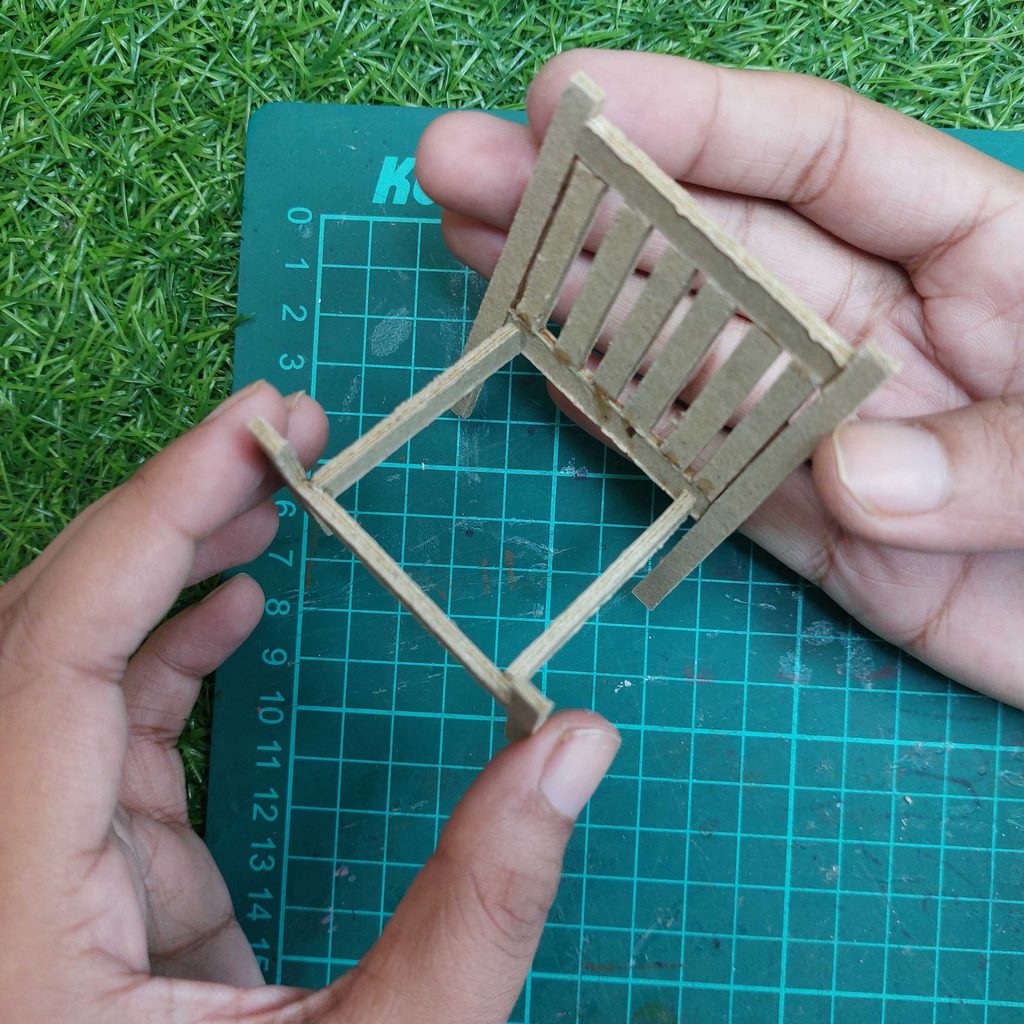
Check that the four legs are positioned correctly and that the seat frame is reasonably square. Allow the glue to dry thoroughly before attaching the slatted seat we made in Step 2.
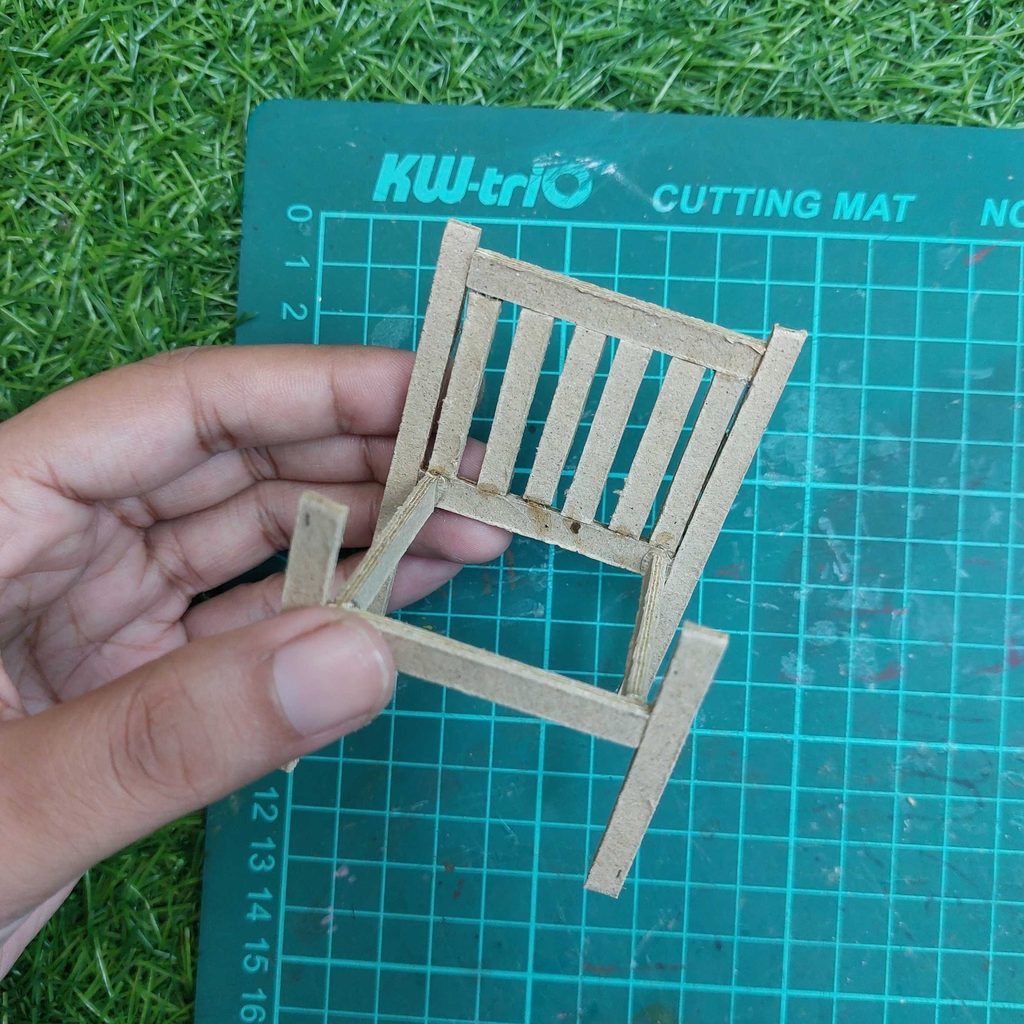
Step 5: Attach the Slatted Seat to the Miniature Chair
Now that the chair frame is assembled, it's tim