
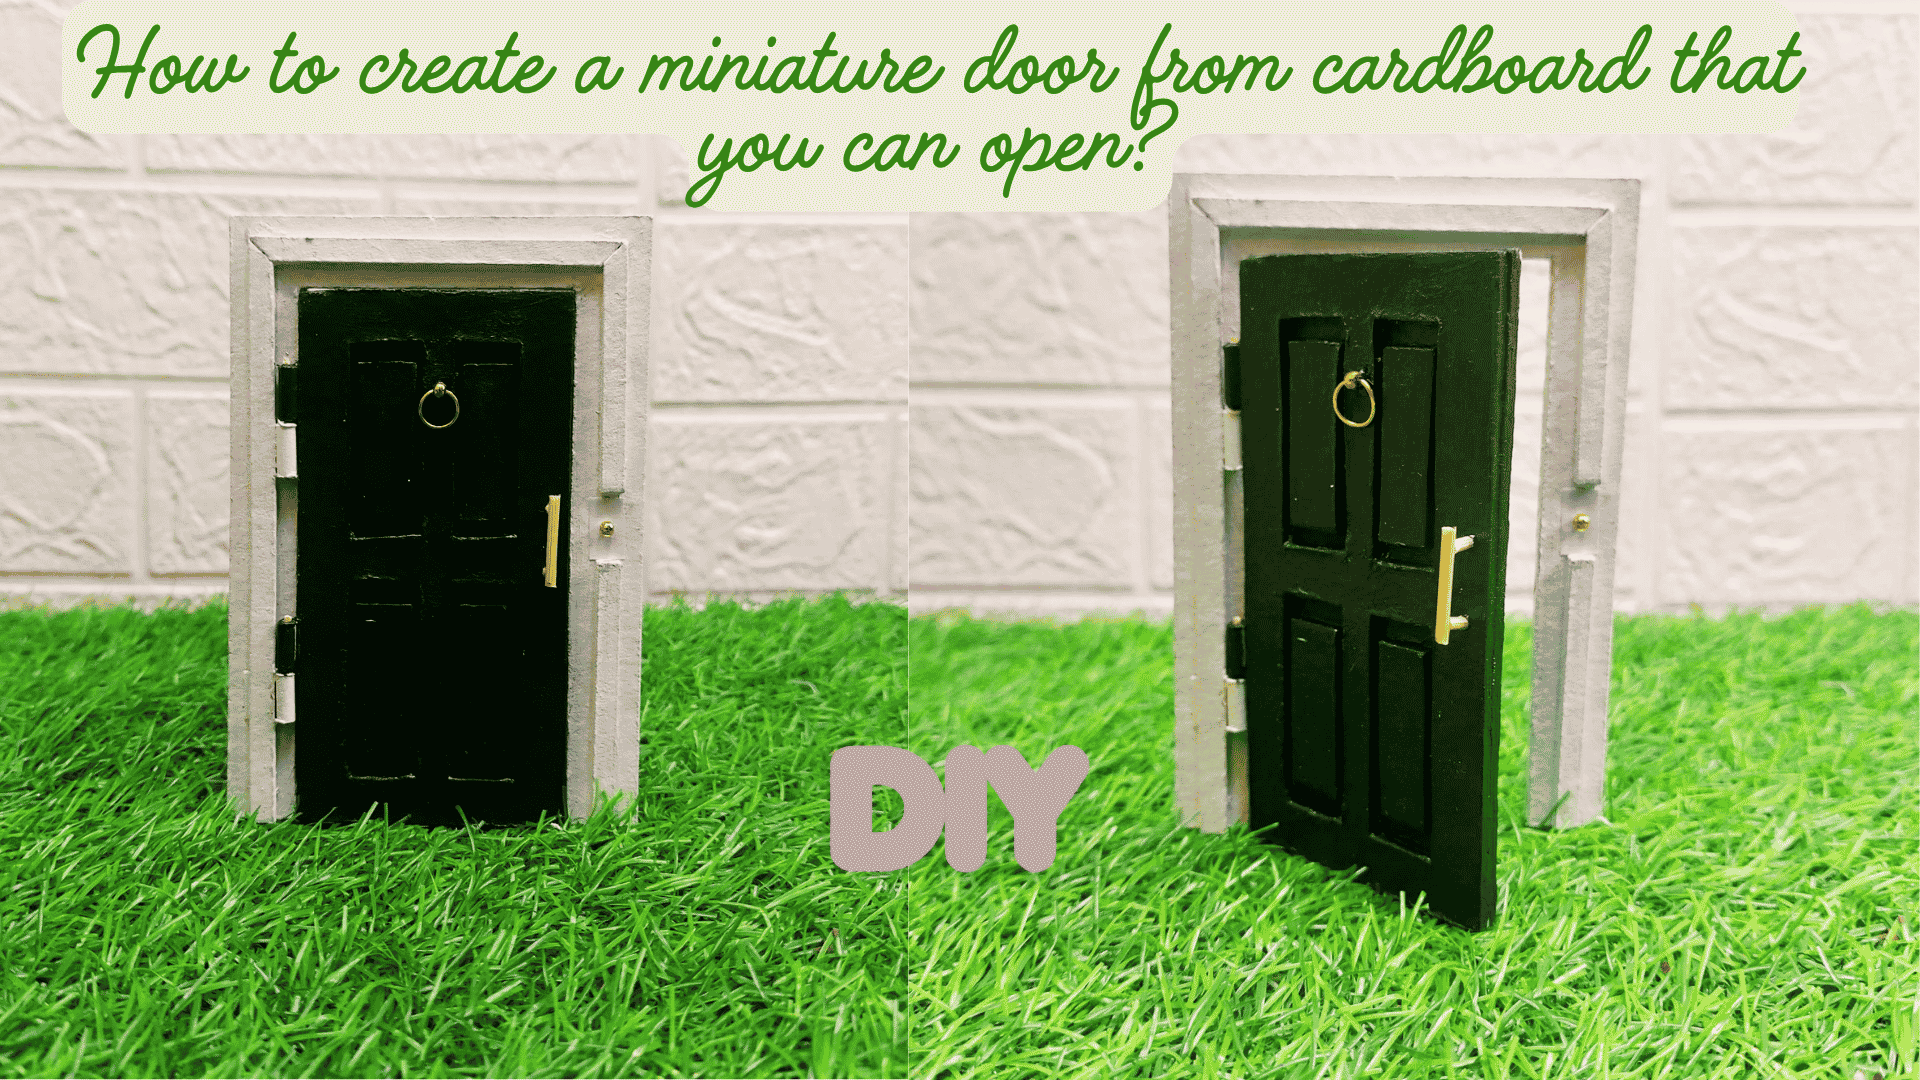
Making your own dollhouse door is easier than you might think! In this tutorial, I'll show you how to turn a few pieces of thin cardboard (chipboard) into a realistic miniature front door, complete with decorative panels, a door frame, and tiny working hinges so it actually opens and closes.
We'll also add little details like a door handle and knocker to give it a more realistic look. It's a fun, budget-friendly DIY project that you can easily customize to match the style of your dollhouse!
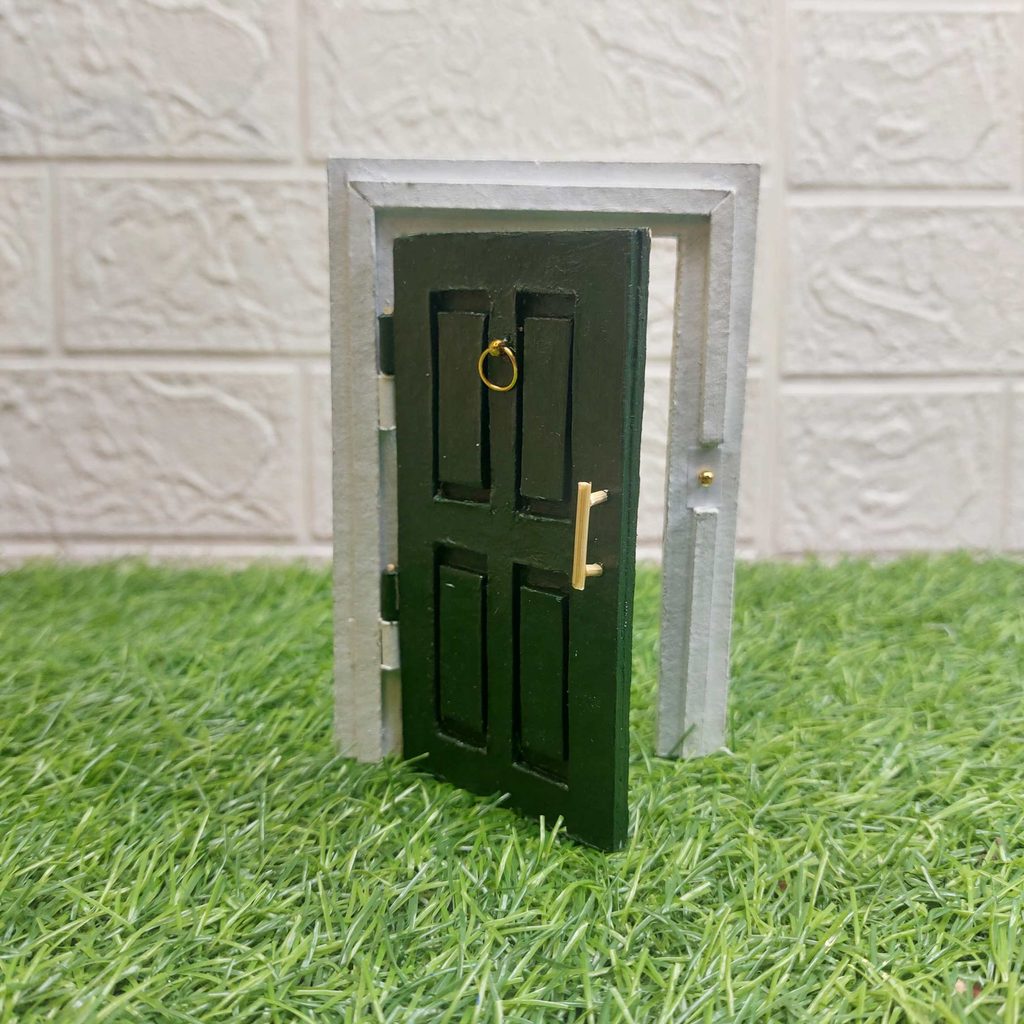
Materials and Tools Needed to Make a Miniature Dollhouse Door
You won't need many expensive supplies for this project. Most of these materials are probably already in your craft collection!
Materials
- Thin chipboard (non-corrugated cardboard) – for the door, door frame, recessed panels, and decorative trim
- Thin white paper – for making the miniature working hinges
- Wooden toothpicks – for the hinge pins and miniature door handle
- Small gold-colored metal ring – for the door knocker
- Tiny gold-colored beads – for the door knocker and doorbell
- Craft glue – for assembling the chipboard pieces and paper hinges
- Superglue – a tiny drop to secure the trimmed toothpick hinge pins
- Dark green acrylic paint – for the door
- White or light gray acrylic paint – for the door frame
Tools
- Craft knife or precision cutter
- Metal ruler
- Pencil
- Cutting mat
- Small paintbrush
- Scissors
- Tweezers (optional, but useful for handling tiny pieces)
Step-by-step tutorial
Skill level: Beginner to intermediate. You don't need any advanced miniature-making skills for this project, although some experience with a craft knife and working with tiny pieces will help.
The door itself is fairly easy to make, while the working hinges require a little extra patience and a steady hand.
Step 1: Prepare the Cardboard for the Dollhouse Door
Start by cutting two rectangular pieces of thin chipboard (greyboard). One will form the door itself, while the other will be used to create the surrounding door frame. These are about 7.5 cms long.
A quick note about scale: The door in this tutorial is not made to standard 1:12 dollhouse scale. If you want to make yours in 1:12 or another scale, you can adjust the measurements using my free miniature scale conversion tool.
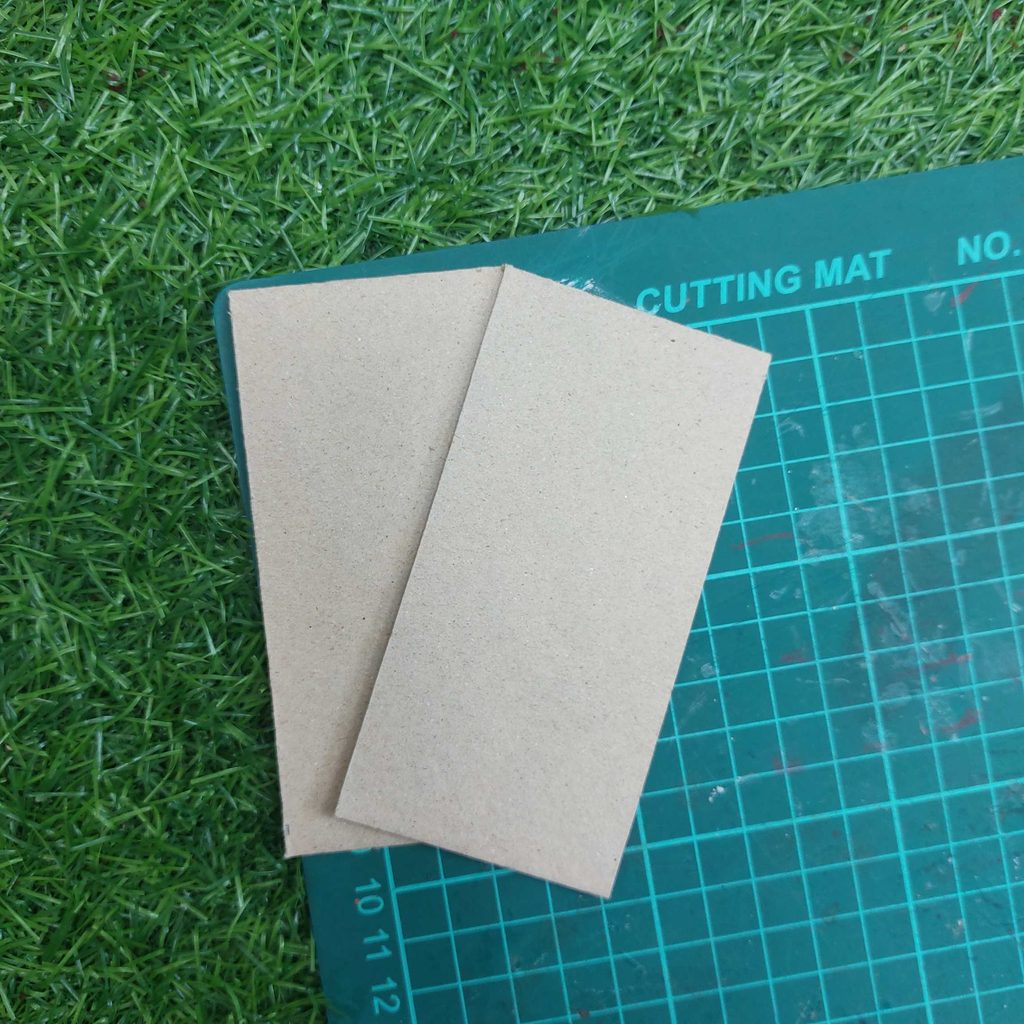
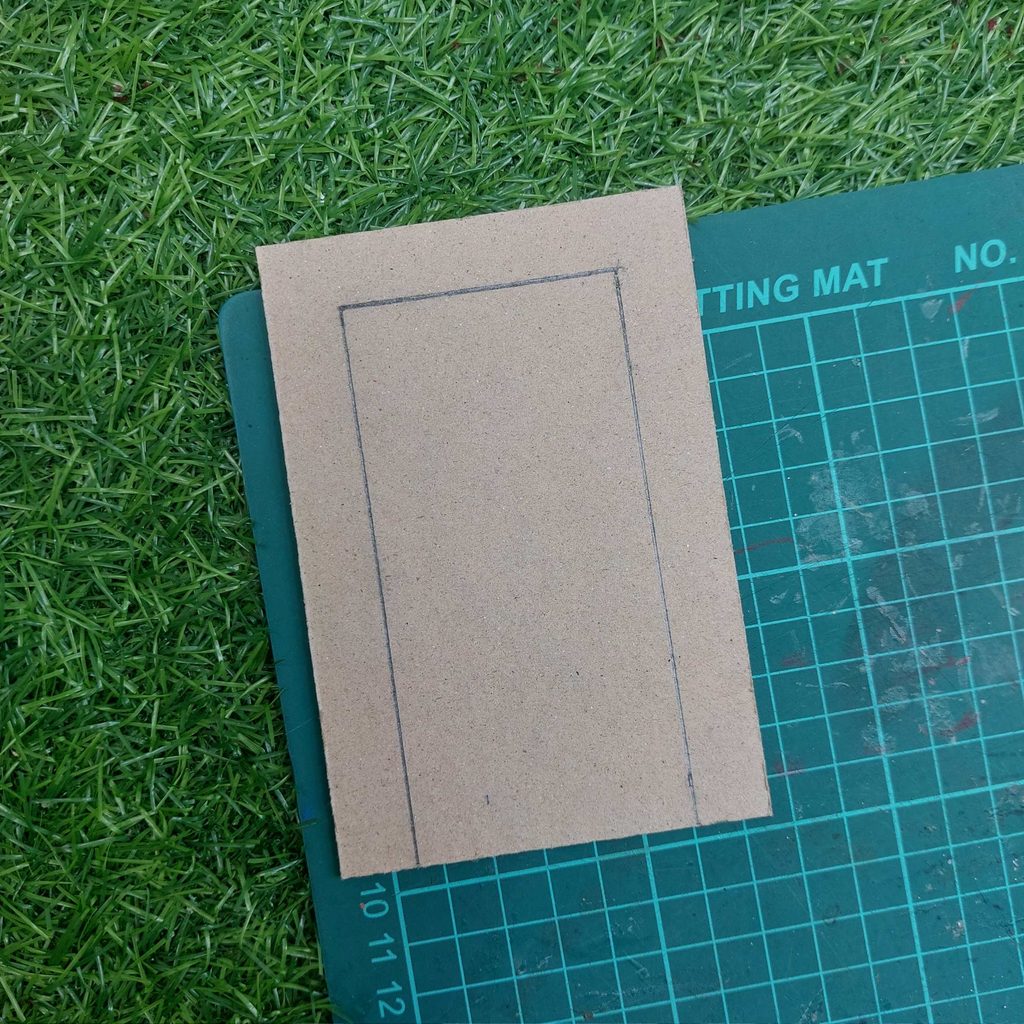
On the first piece, use a ruler and pencil to draw a rectangle for the door opening, leaving enough cardboard around the edges for the frame.
Next, take the second piece and sketch the decorative panel design. I chose a traditional four-panel door, with two long panels at the top and two at the bottom.
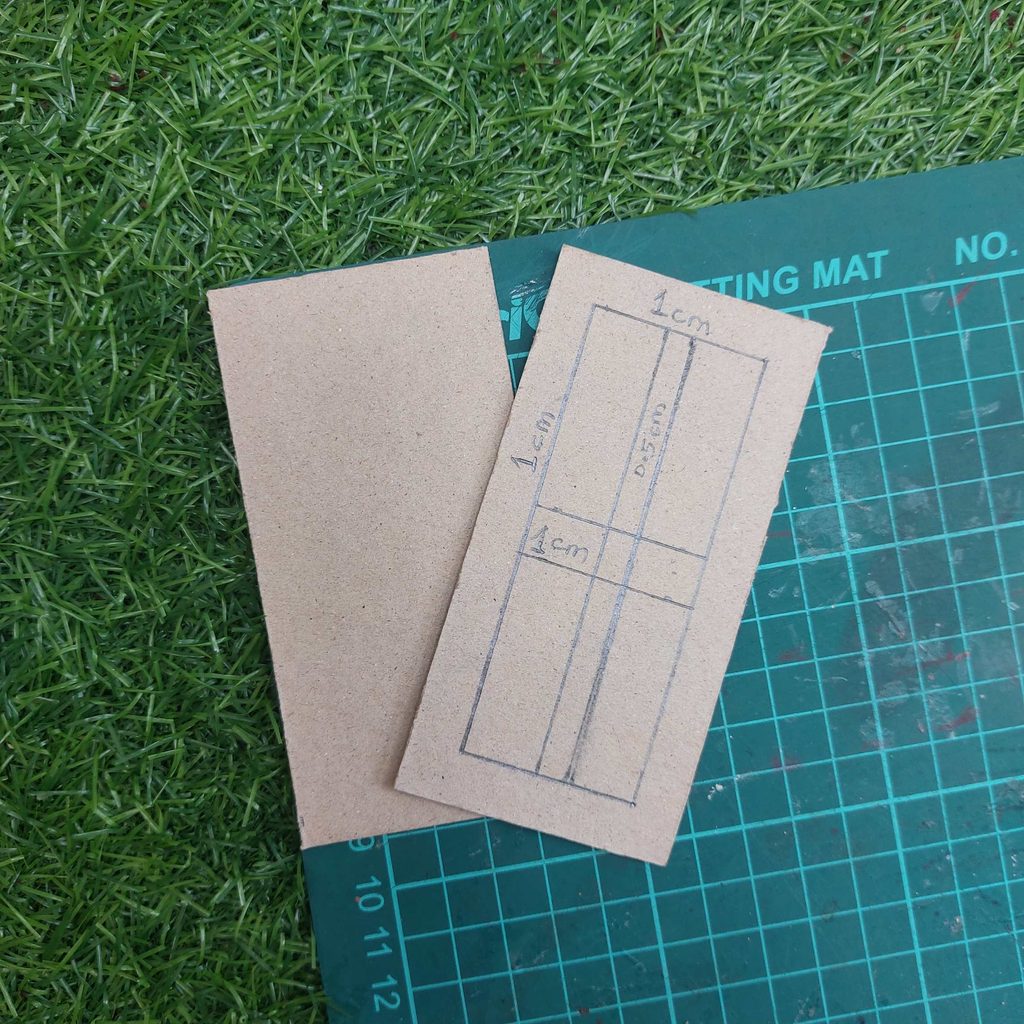
Use the measurements shown in the photos to mark out the details, including the 1 cm (0.39 inch) sections and the narrow 0.5 cm (0.20 inch) centre strip.
Take your time with the pencil lines and keep everything straight and symmetrical. This will make cutting and assembling the miniature door much easier in the next steps.
Step 2: Make the Miniature Door Hinges
Now we're going to make the miniature hinges that will allow our dollhouse door to open and close. For this, you'll need a cotton swab (Q-tip), some thin paper, a toothpick, scissors, and a small piece of sandpaper.
Start by cutting a small rectangular piece of paper. Wrap one edge of the paper around the stem of a cotton swab, creating a narrow rolled section while leaving the rest of the paper flat. This flat section will later be used to attach the hinge.