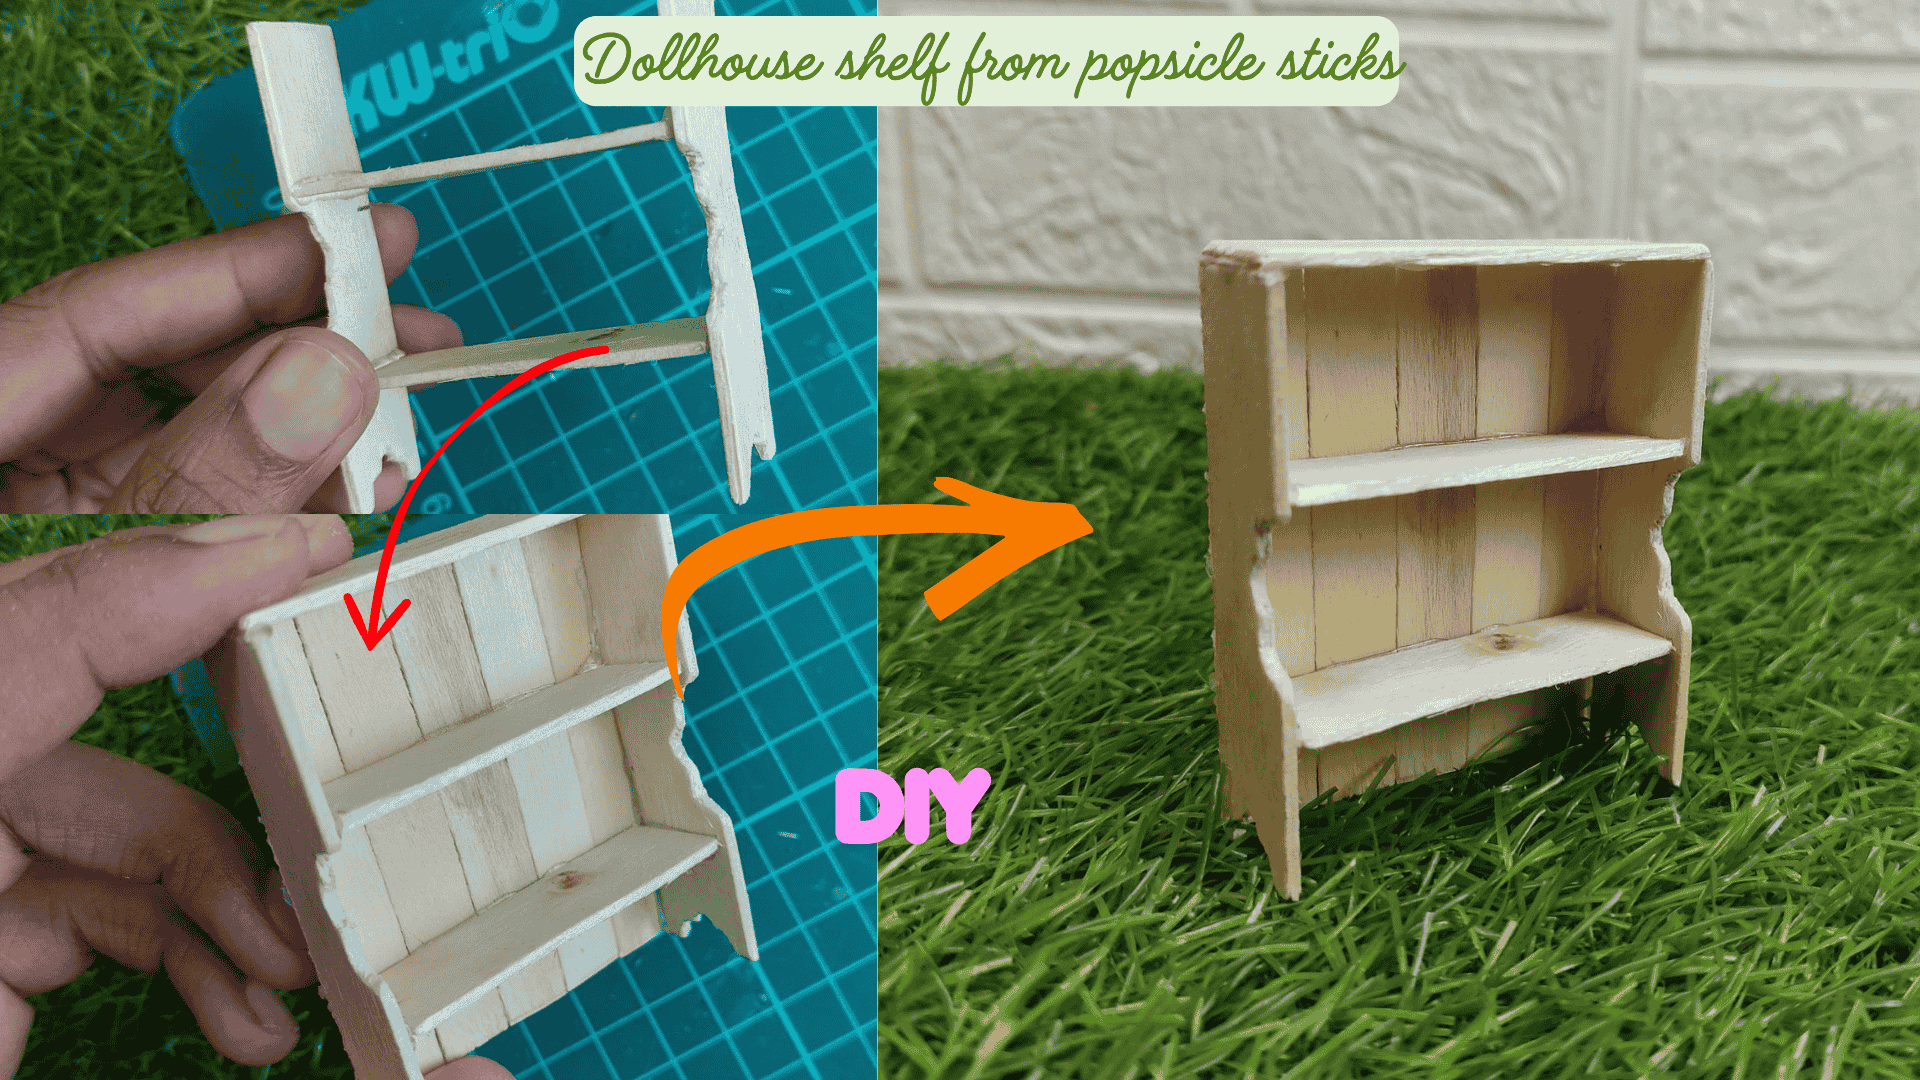
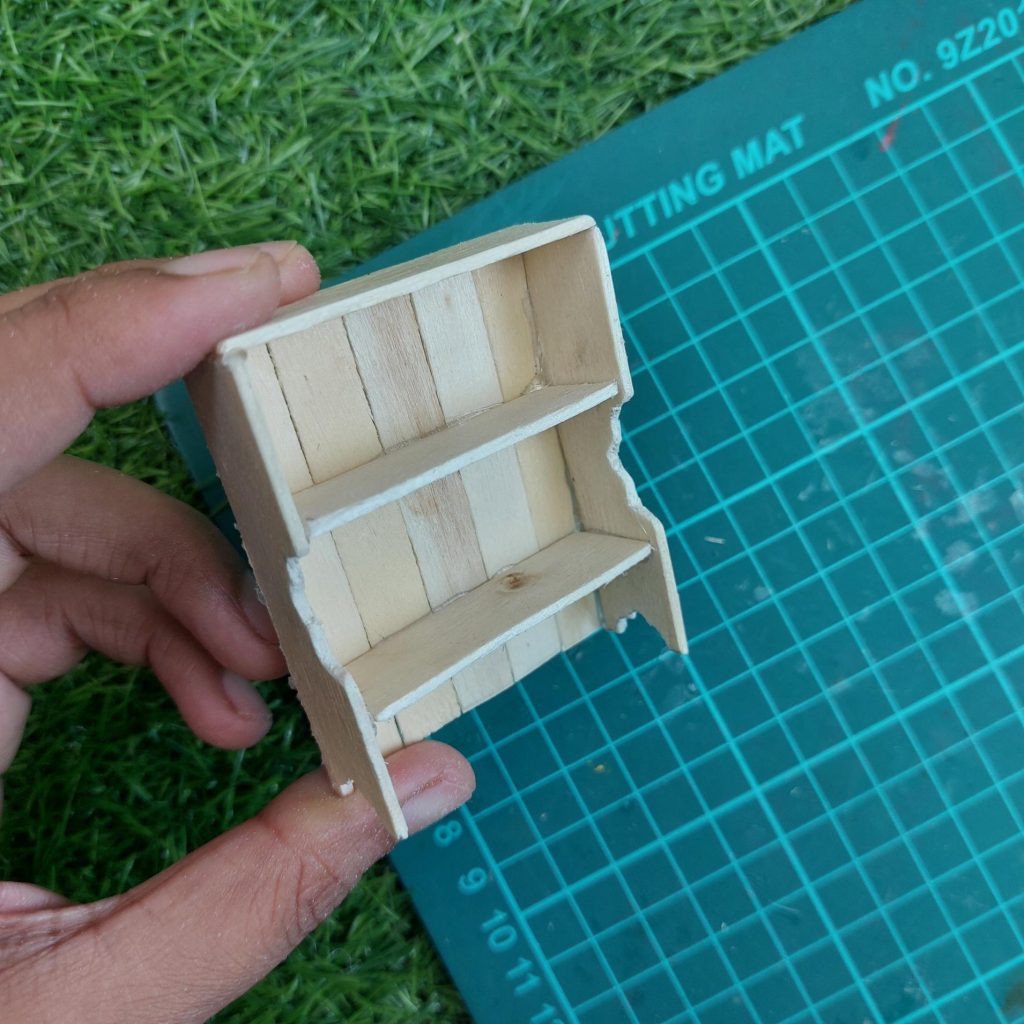
I wanted to make a small rustic shelf for a dollhouse using only thin wood strips or popsicle sticks, and honestly… this turned out way better than expected. It’s actually a very straightforward build.
This one fits nicely in a 1:12 dollhouse and works great for kitchens, shops, or little storage corners.

List of Materials
- Thin wooden strips (about 2–3 mm thick, popsicle stick or basswood)
- Craft knife (precision knife)
- Sandpaper (fine grit)
- Wood glue or UHU glue or super grab fast tacky glue
- Pencil
- Cutting mat
My Measurements
These are the measurements I used (approximate, but very close to what you see in the photos):
- Total width: to 5.4 cm
- Total height: 6.5 cm
- Depth: 2.5 cm
- Side panels: 6.5 cm high × 2.5 cm deep
- Shelves: 5 cm wide × 2.5 cm deep
- Top piece: 5 to 5.5 cm wide × 2.5 cm deep
- Back planks: about 1 cm wide each
Step-by-step instructions
Just follow these step-by-step, and if you have any questions, feel free to ask!
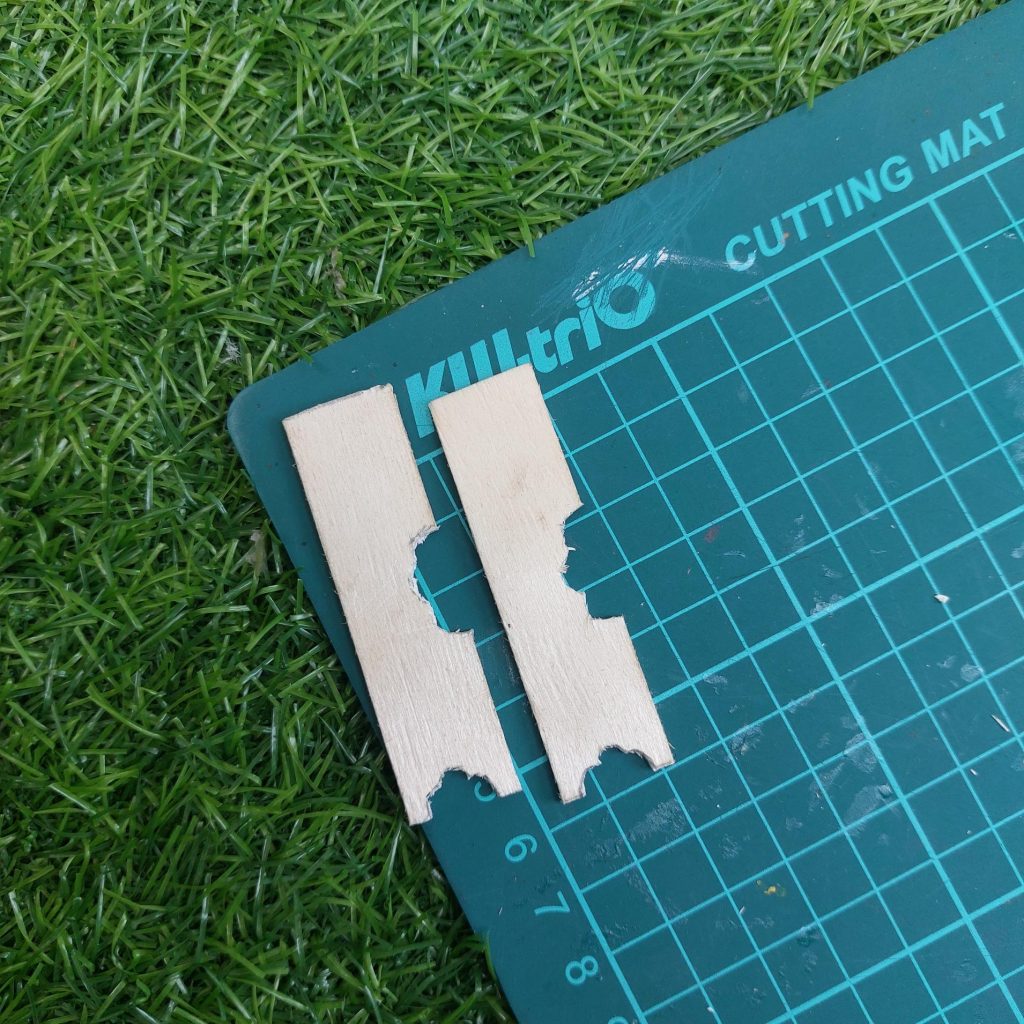
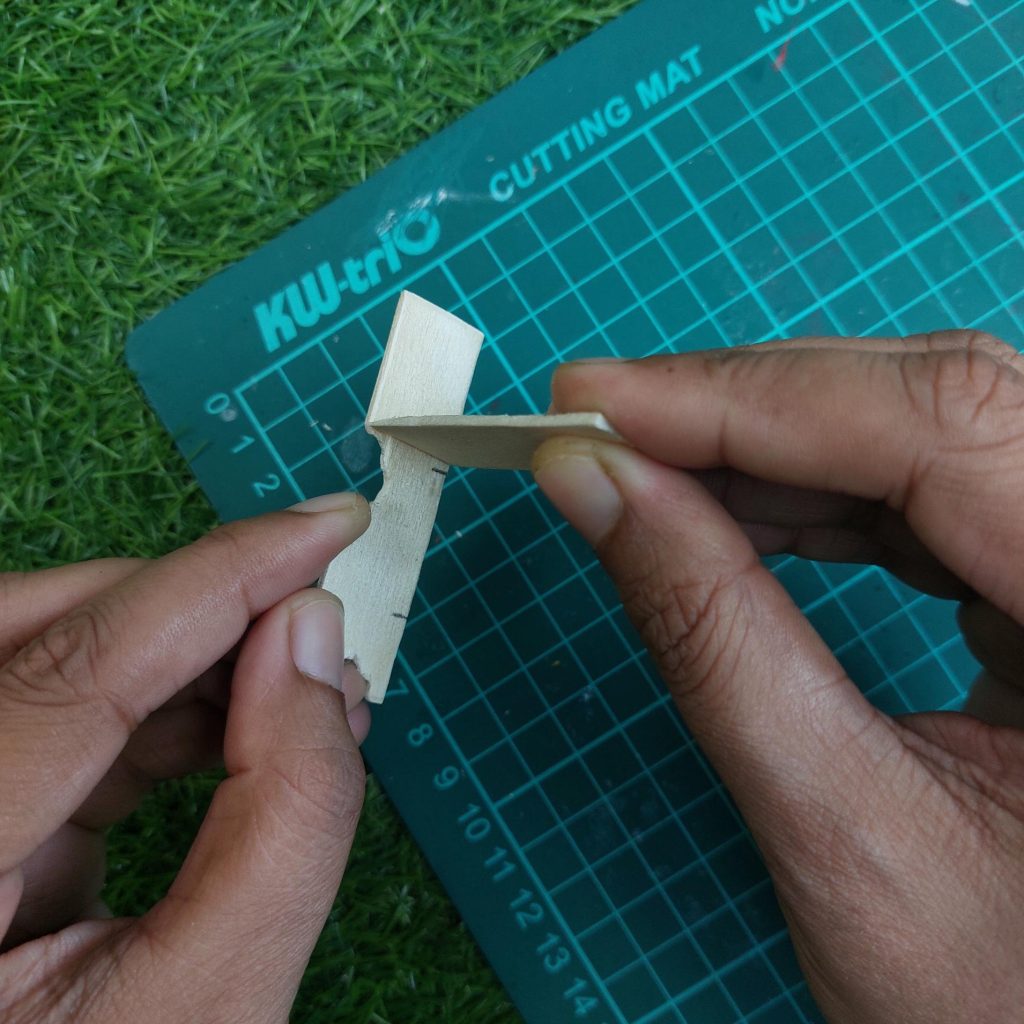
Step 1: Sketch the side panels
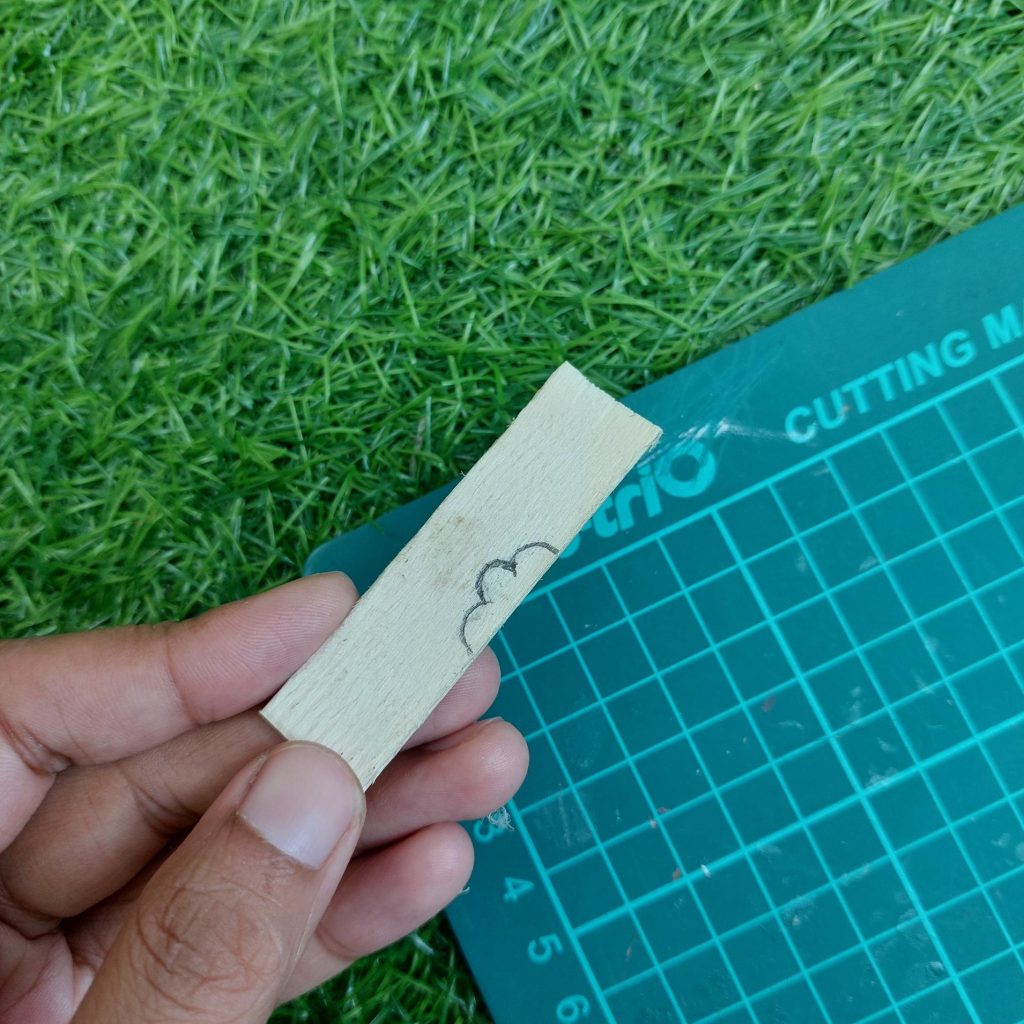
Start with two wooden pieces cut to about 6.5 cm high and 2.5 cm deep. Draw a soft, curved cut-out on one side.
I placed the curve roughly in the middle of the piece, starting around 3 cm from the bottom. This gives it that classic shape.
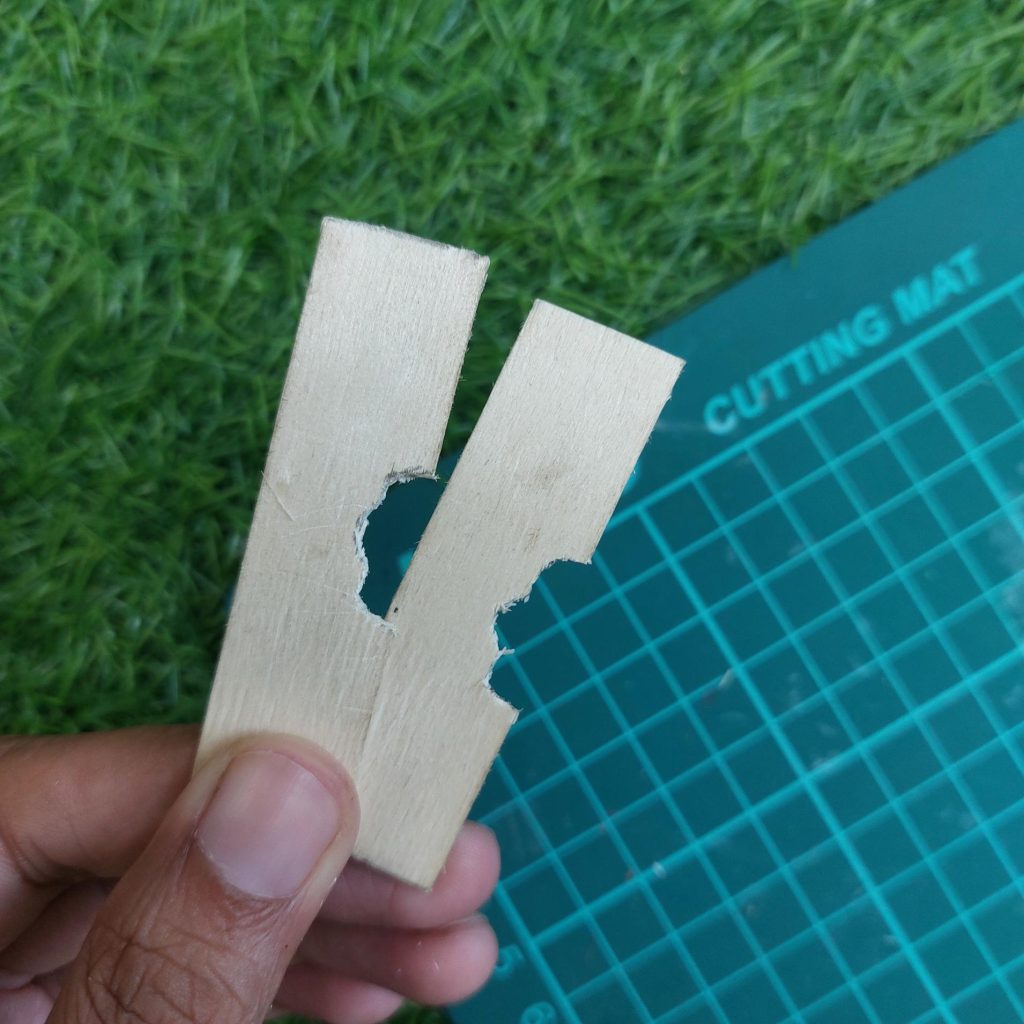
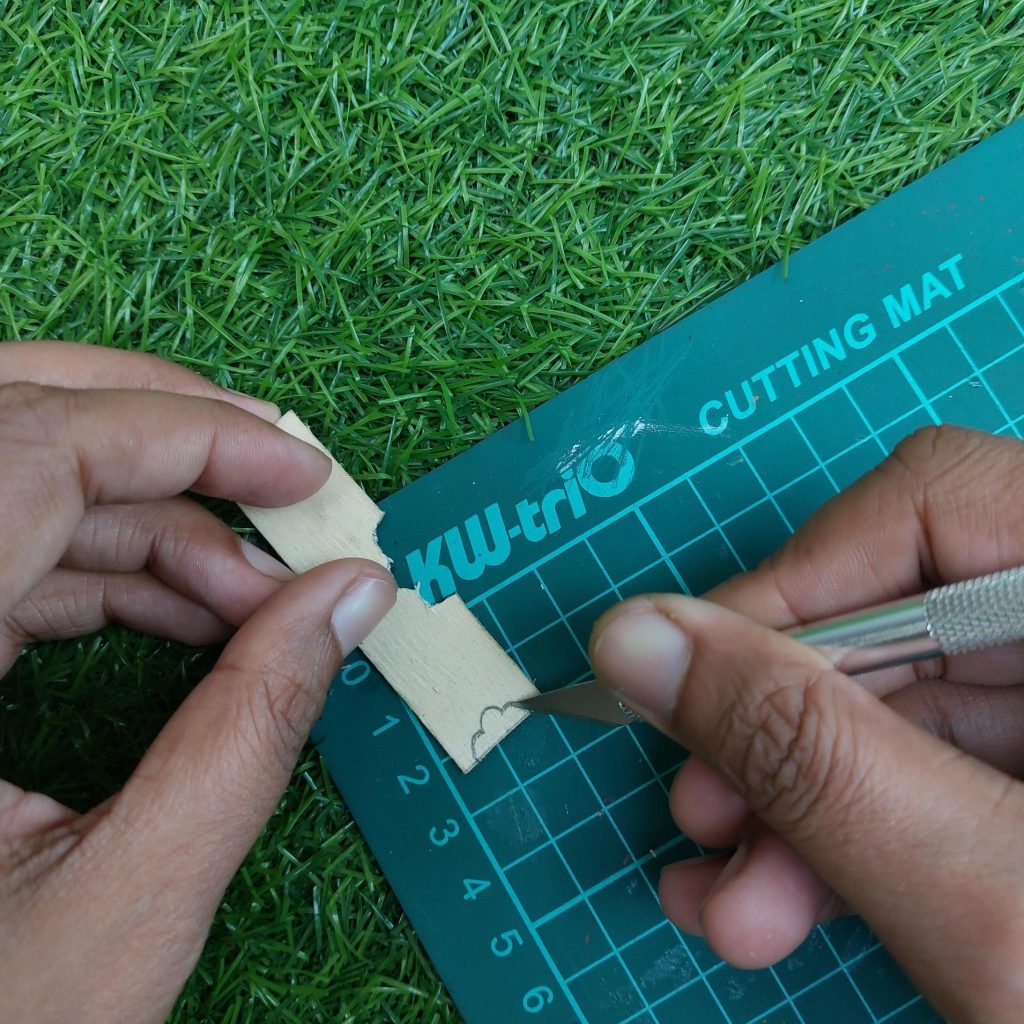
Step 2: Cut out the shape

Using a sharp craft knife, carefully cut along the lines. Do this slowly in small passes.
Once the first piece is done, trace it onto the second one so both sides match perfectly.
Step 3: Sand everything smooth
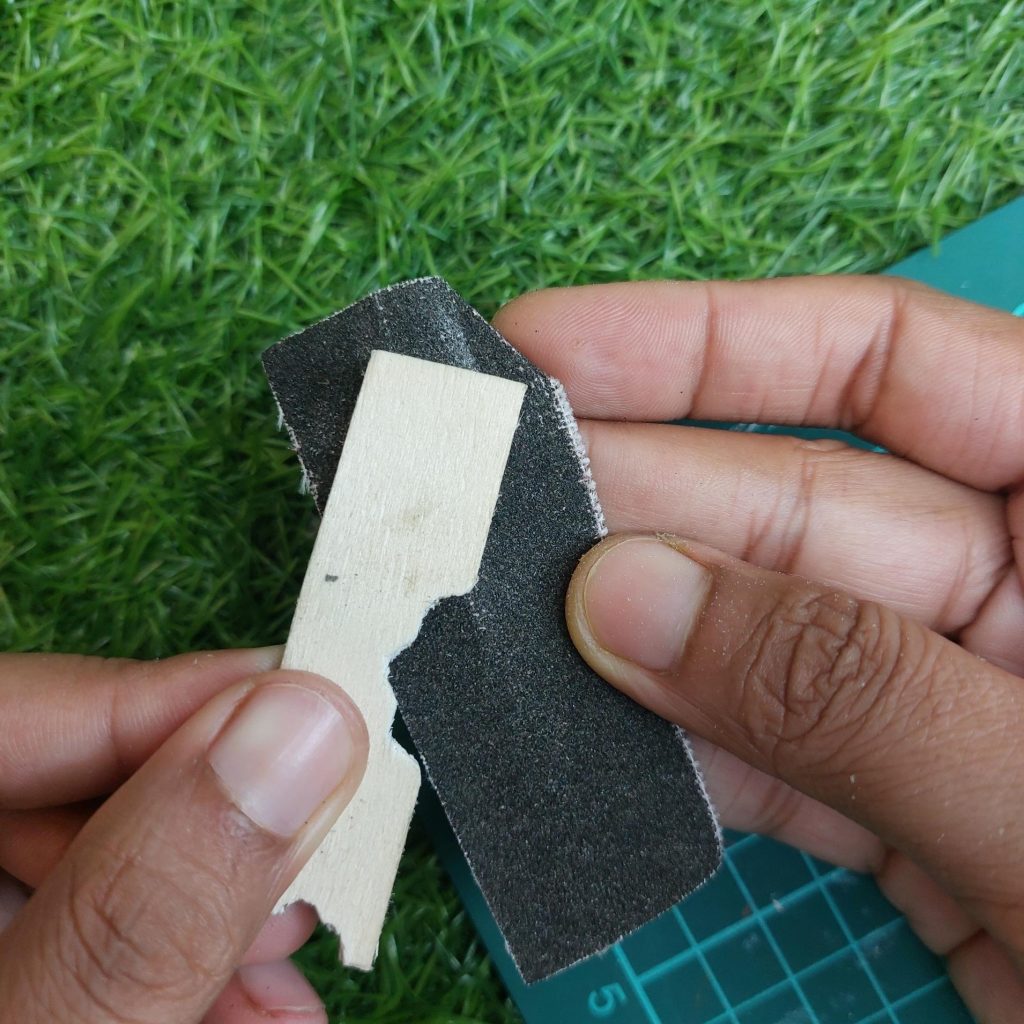
Smooth all edges, especially the curved cut-out. This step really improves the final look.
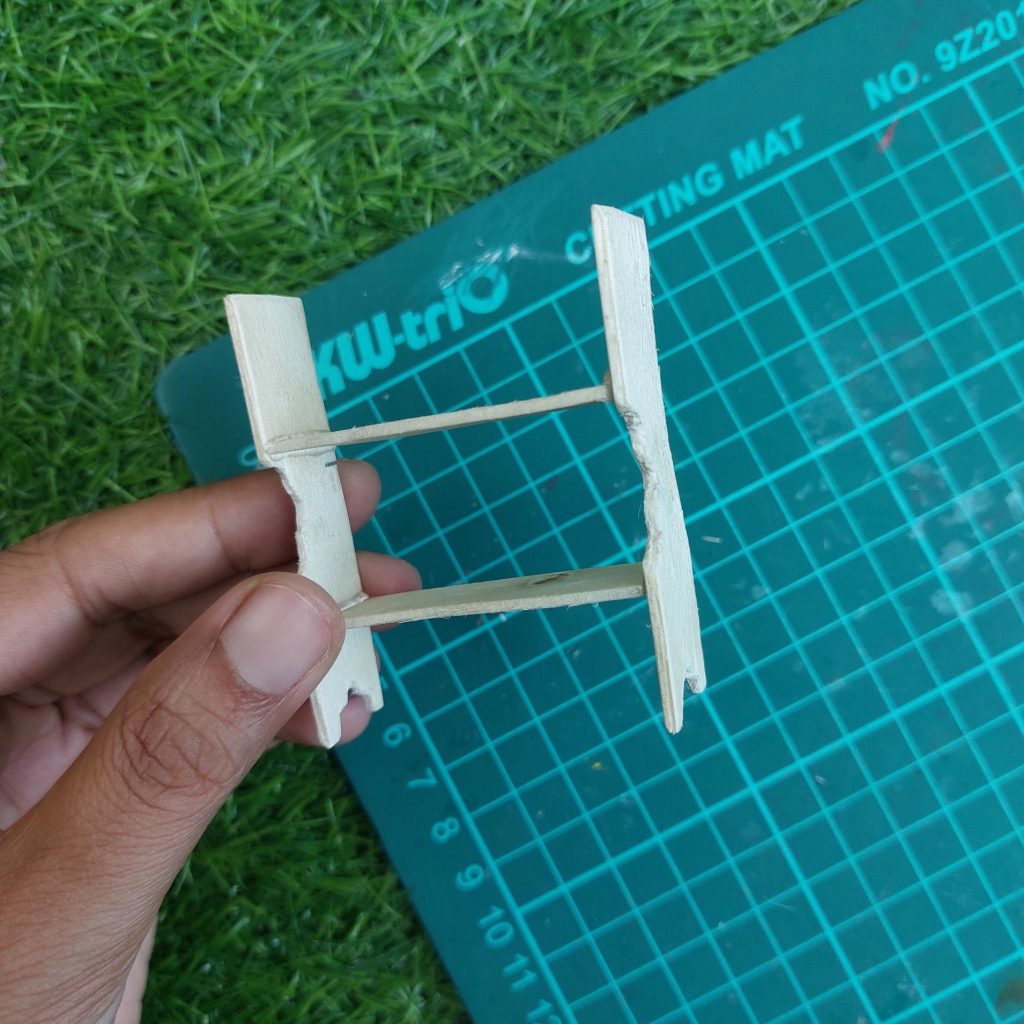
Step 4: Make the back panel
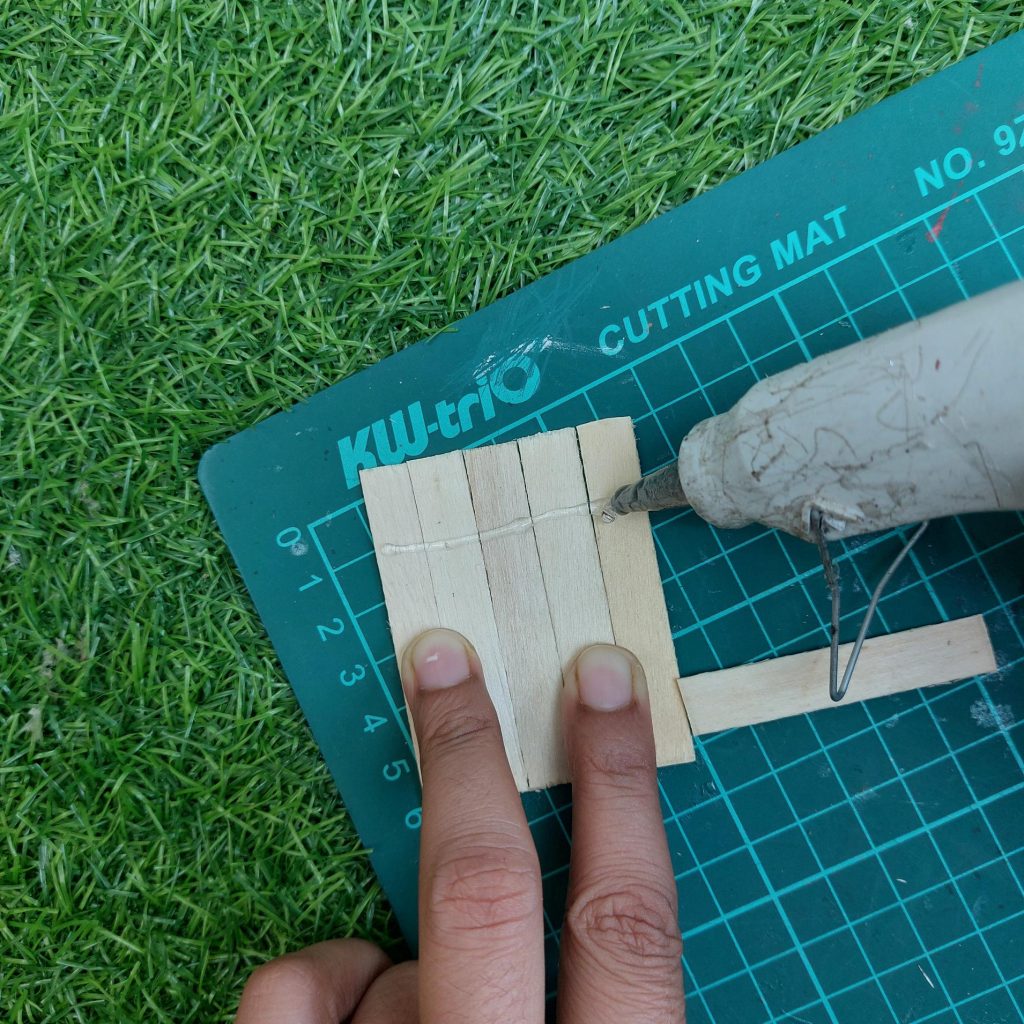
Glue together several vertical strips to form a panel about 5 to 5.5 cm wide and to 6.5 cm high.
Each strip is roughly 0.8 to 1 cm wide, so you’ll need about 5 to 6 pieces, depending on the brand of popsicle sticks you use.
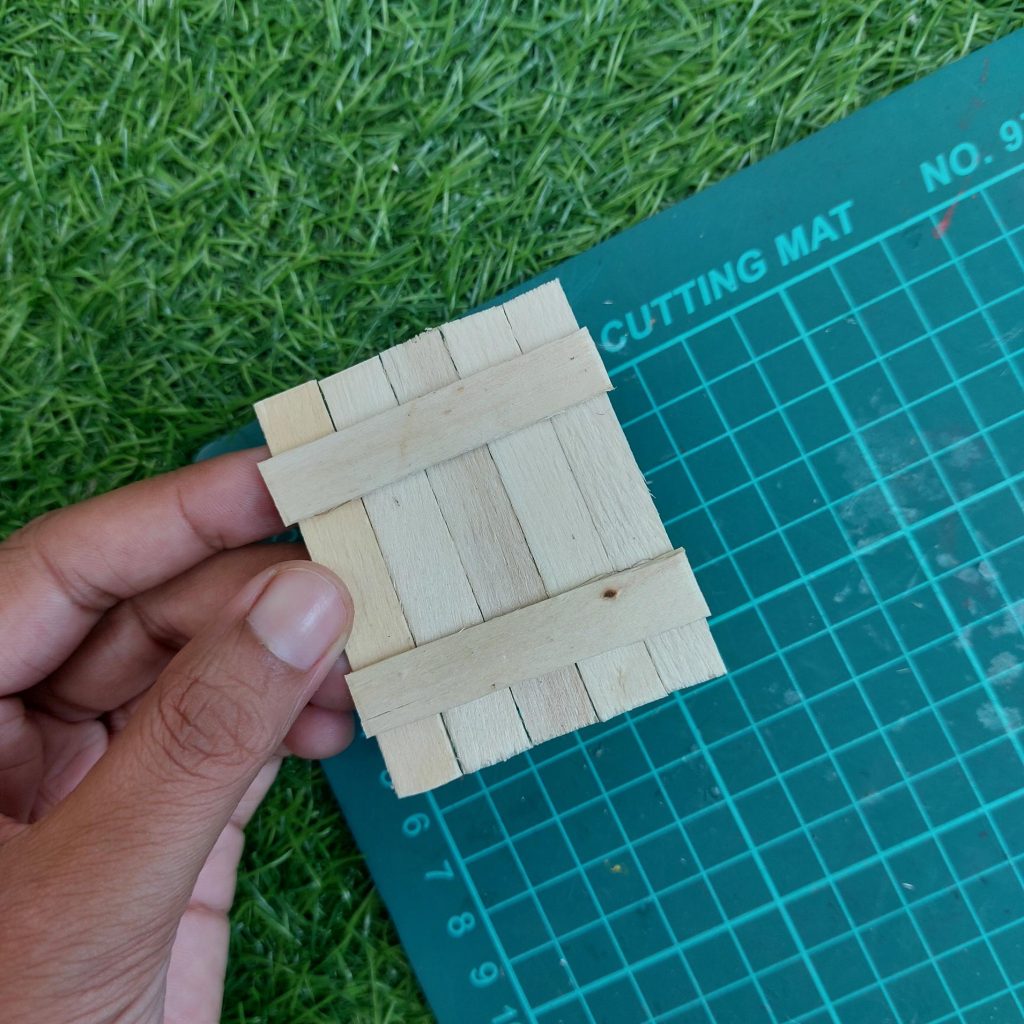
Glue one or two horizontal strips across the back to hold everything together.
These strips run across the width (about 5 cm) and keep the panel stable.
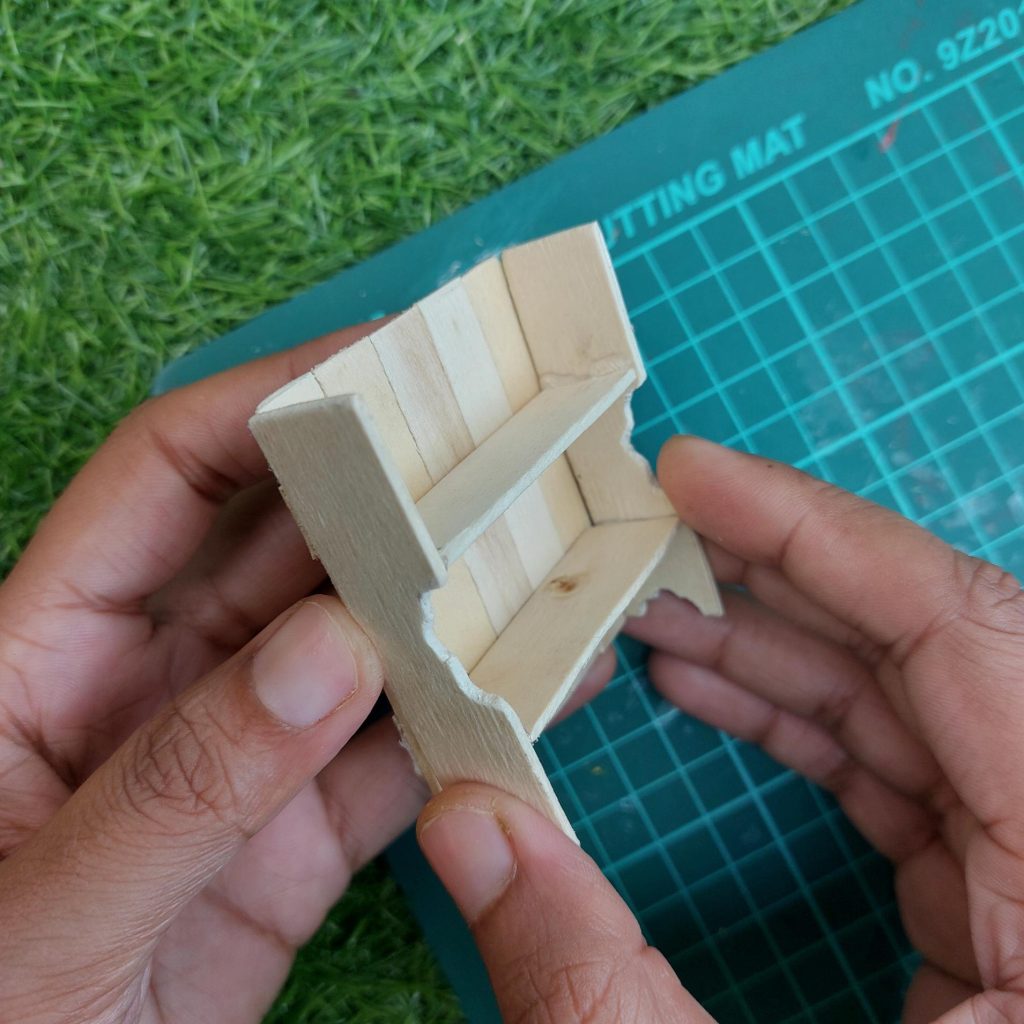
Step 5: Glue the shelves
Cut two shelf pieces around 5 cm wide and 2.5 cm deep.
Glue the bottom shelf first, leaving about 2.5 to 3 cm space from the base. Then add the second shelf about 2 to 2.5 cm above it.
Glue the two shelves onto the back panel.
Make sure everything is straight and aligned before the glue sets. The depth should be around 2.5 to 3 cm.
Step 6: Add the top piece
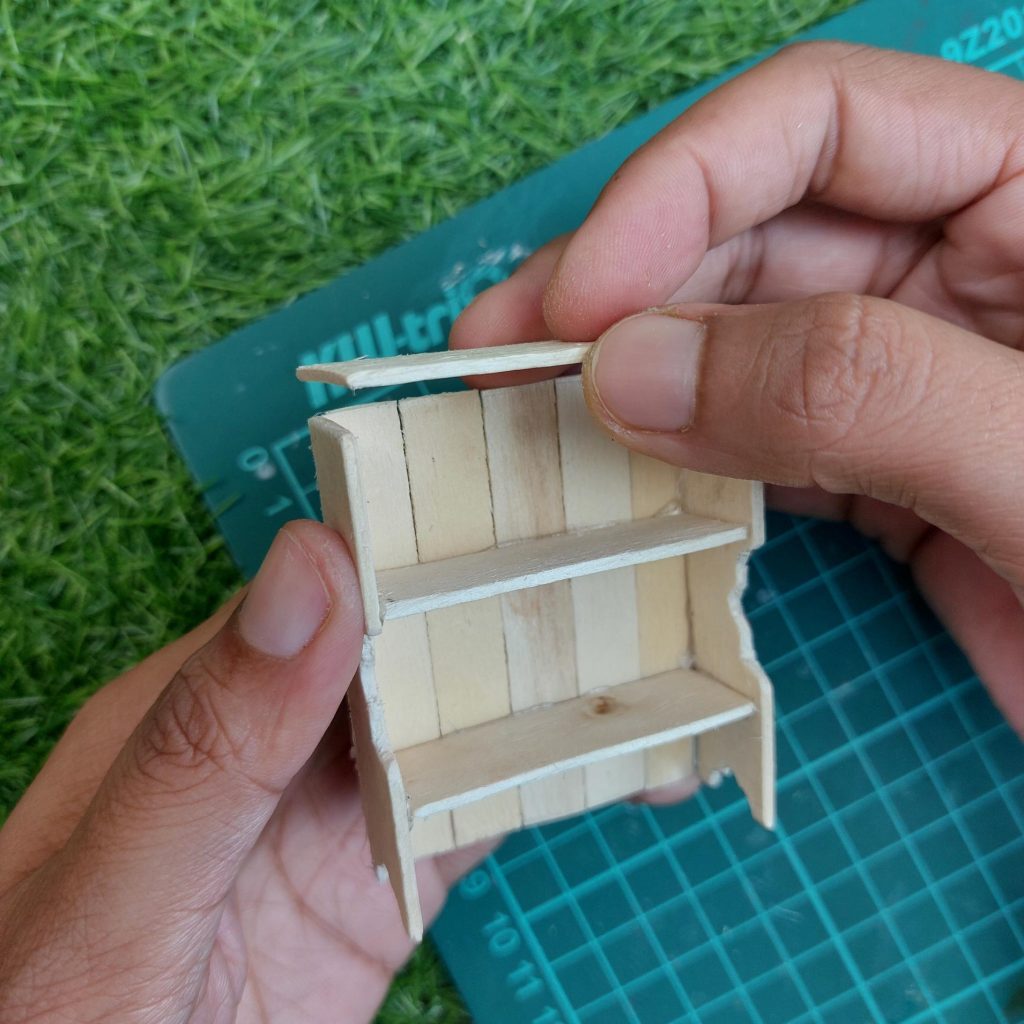
Glue a top panel (about 2 mm wider than the shelves) to finish the structure.
This gives it that complete “mini cabinet” look.
Step 7: Final sanding and cleanup
Lightly sand the whole piece to smooth edges and remove glue marks.
You can leave it natural like this, or paint or stain it, depending on your dollhouse style.
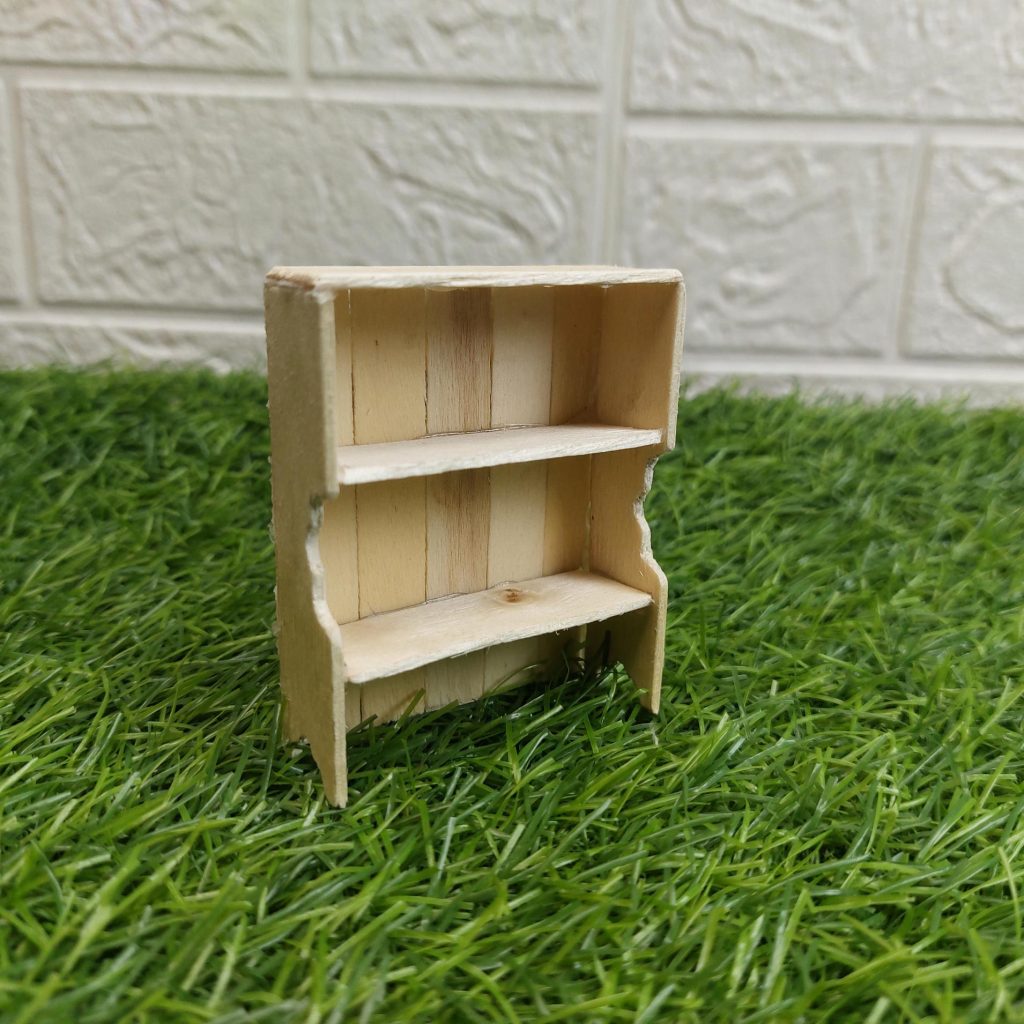
This is what it looks like painted, but I prefer the raw version
🎥 Watch this Short on
YouTube
This is one of those projects that looks detailed, but once you’ve made one, you can easily make a few more in different sizes. That’s actually what I like most about it. You can tweak the measurements slightly and suddenly you have a completely different piece of furniture.
Any questions? Feel free to ask them down below in the comment section!
I wish you happy crafting!
Kind regards,
Lizzy
