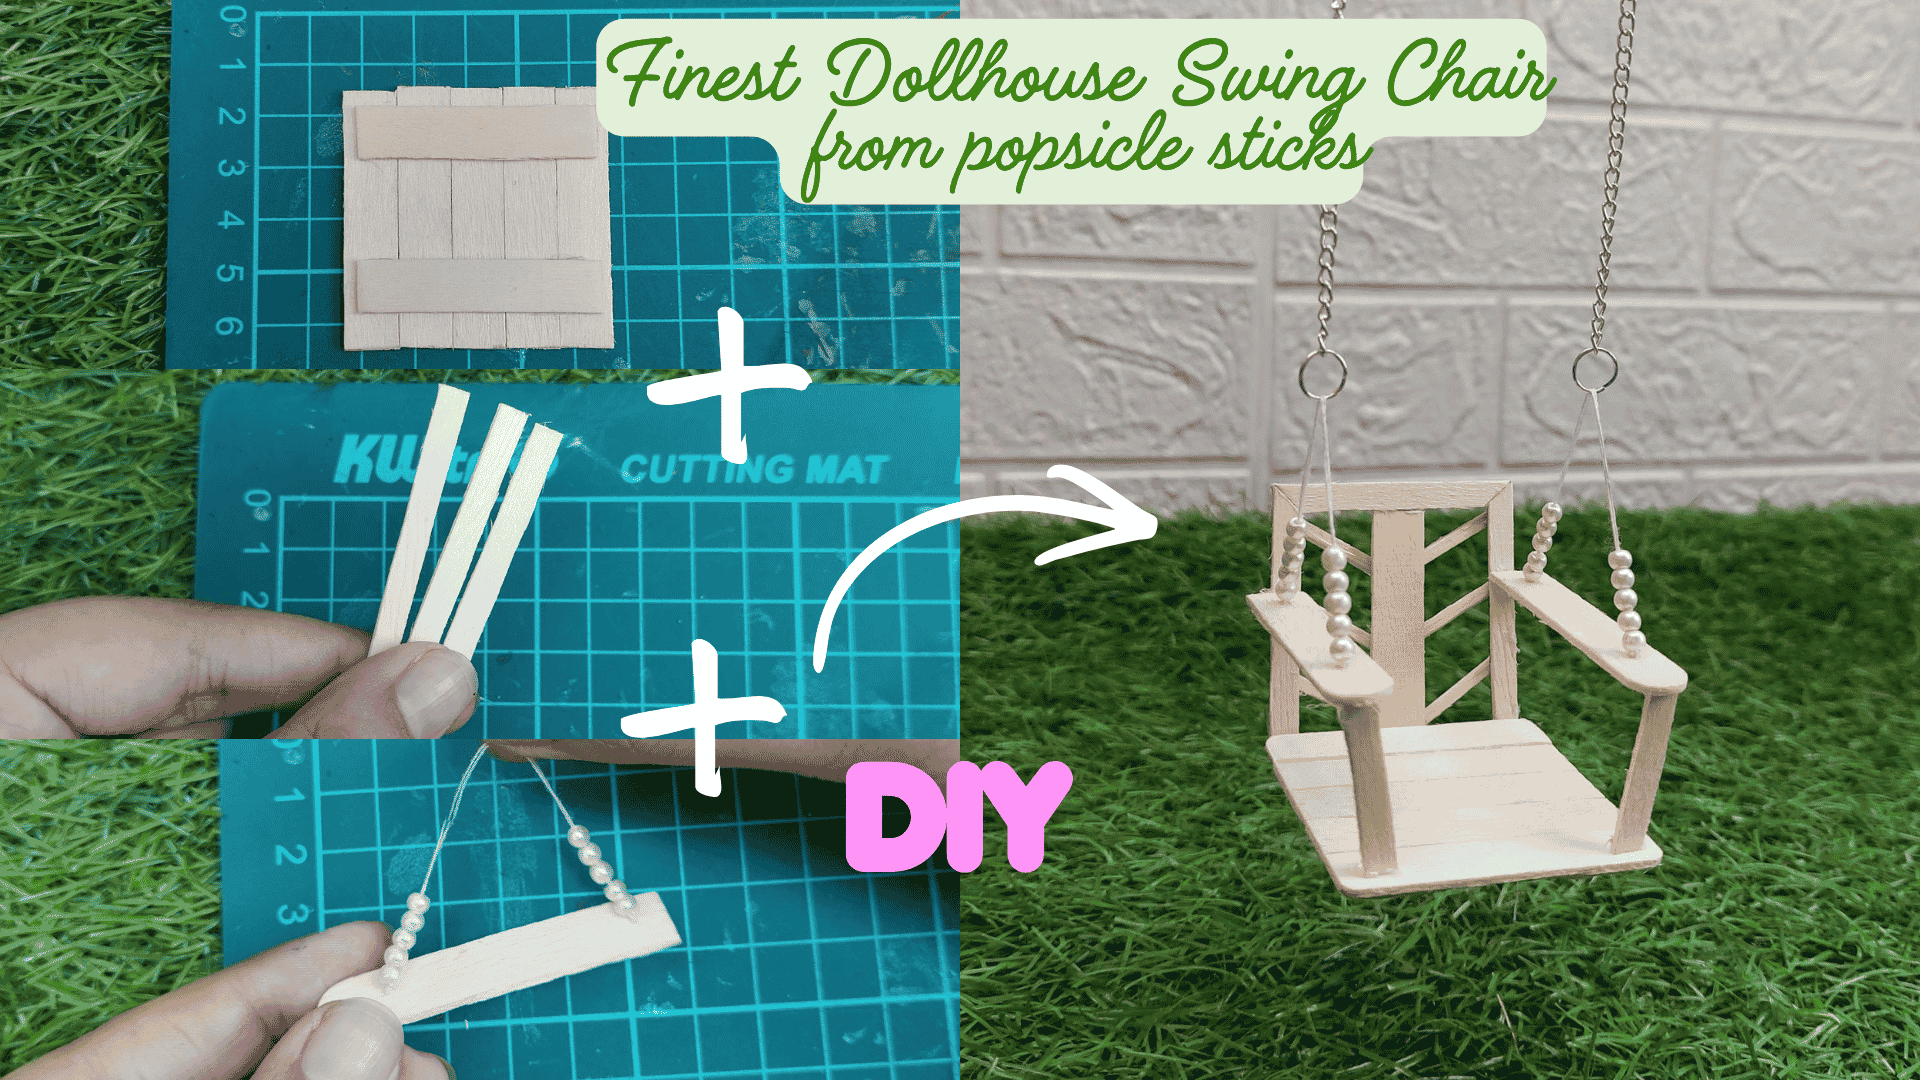
Finest DIY Dollhous...
 
Notifications
Clear all

Finest DIY Dollhouse Swing Chair with Popsicle Sticks and Chains

1 Posts
1 Users
0 Reactions
5 Views
(@lizzy)
Posts: 977
Member Admin
Topic starter
 
[#2864]
wpf-cross-image

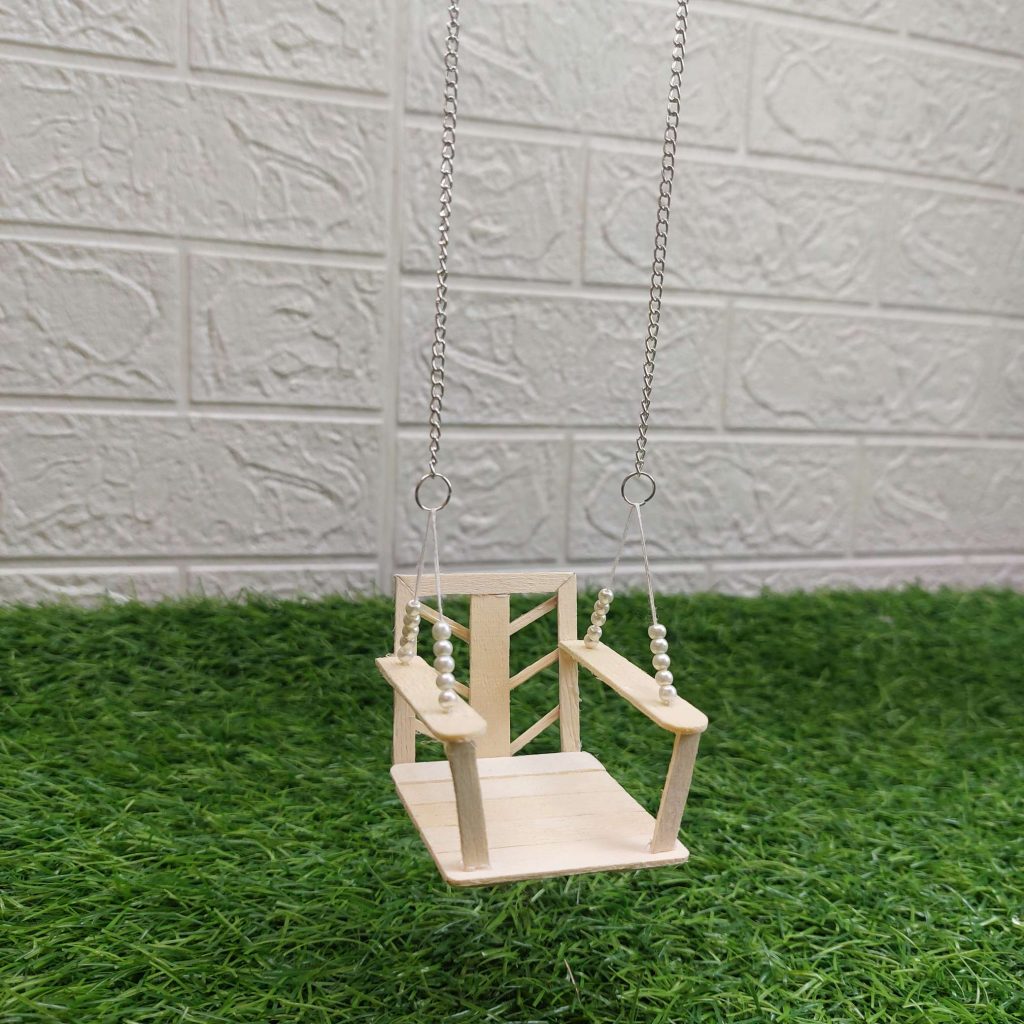
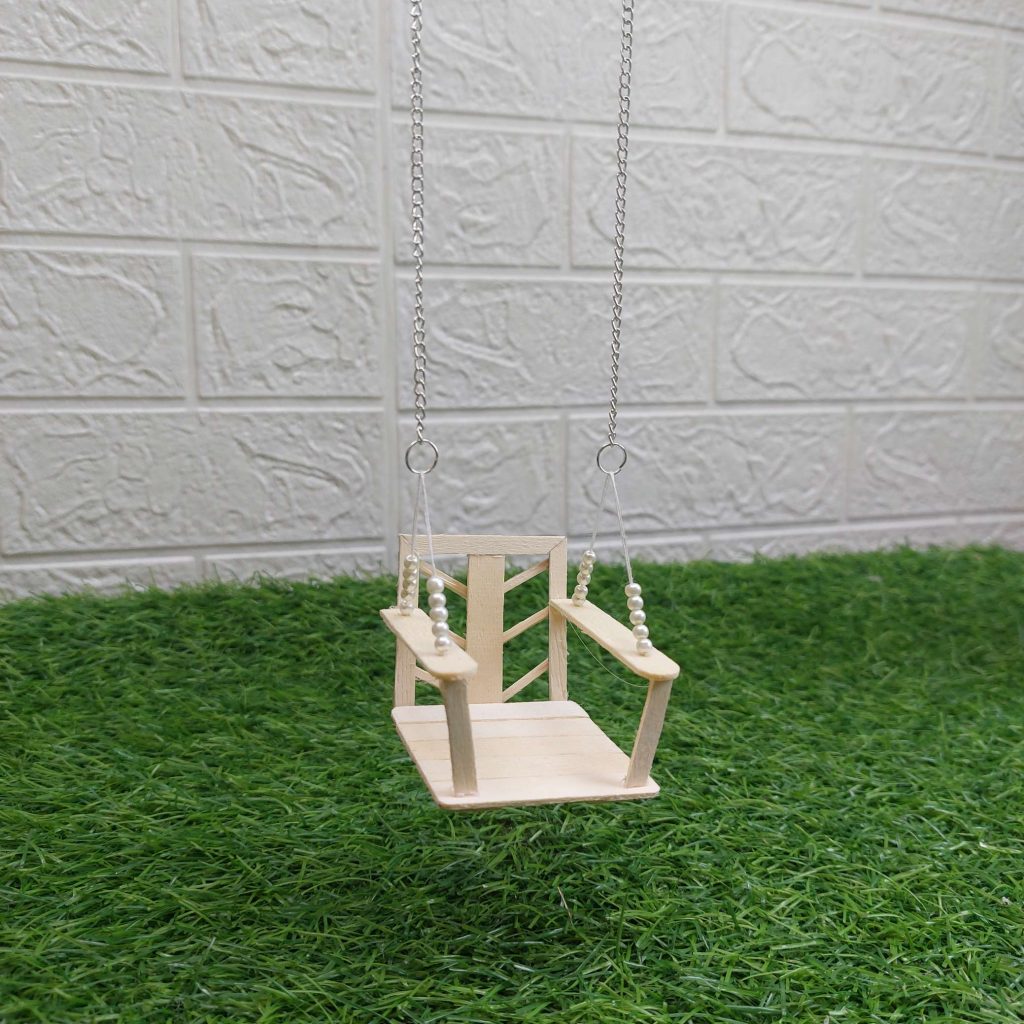
This miniature hanging swing chair is made mainly from popsicle sticks, with small beads, thread and metal chains added to create the suspension system. The finished chair has a simple wooden seat, armrests and a decorative geometric backrest, making it suitable for a dollhouse porch, miniature garden or small-scale outdoor scene.

In this step-by-step tutorial, I’ll show you how the individual wooden pieces are cut, assembled, reinforced and sanded before the chains and decorative details are added. It may look intricate when finished, but the construction starts with a very simple square seat made from short pieces of popsicle stick.
Materials You'll Need

Before you get started, gather the following materials:

  • Popsicle sticks (craft sticks)
  • matchsticks
  • Crafting Glue (like Grab Fast Tacky glue)
  • Craft knife or hobby knife
  • Metal ruler
  • Cutting mat
  • Pencil
  • Sandpaper (fine grit)
  • Small beads
  • Strong thread or jewelry cord
  • Small metal jump rings
  • Fine decorative chain
  • Scissors
  • Wood stain, acrylic paint or varnish (optional, for finishing)

Optional tools

  • Mini clamps or tweezers to hold small parts while the glue dries
  • Small hand drill or pin vise (if you prefer drilling holes instead of making them with a craft knife)

This project is suitable for several miniature scales depending on the final dimensions.
Step-by-step tutorial

Let's get straight to the tutorial again!

Step 1: Build the Seat Base

Begin by cutting five pieces measuring approximately 5 cm long from a popsicle stick. Arrange them side by side to create a square seat measuring about 5 × 5 cm.
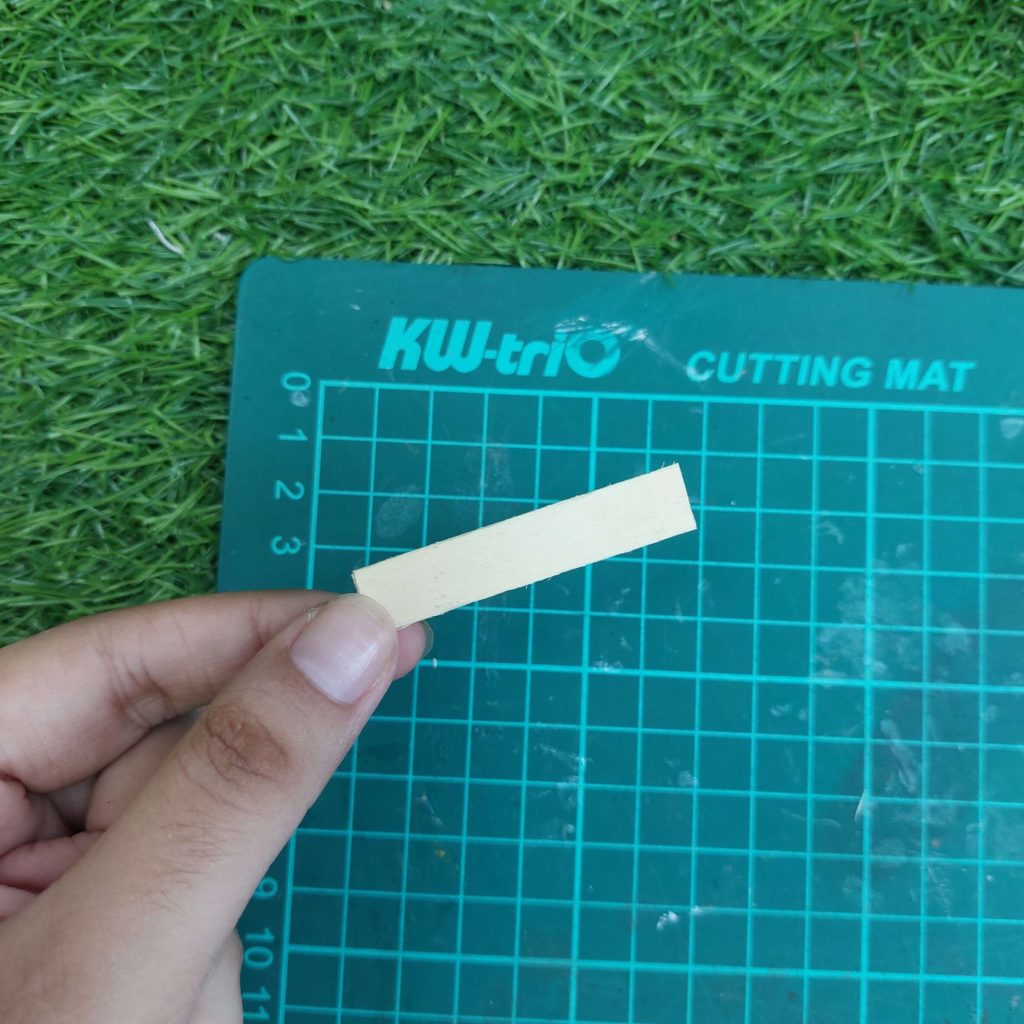
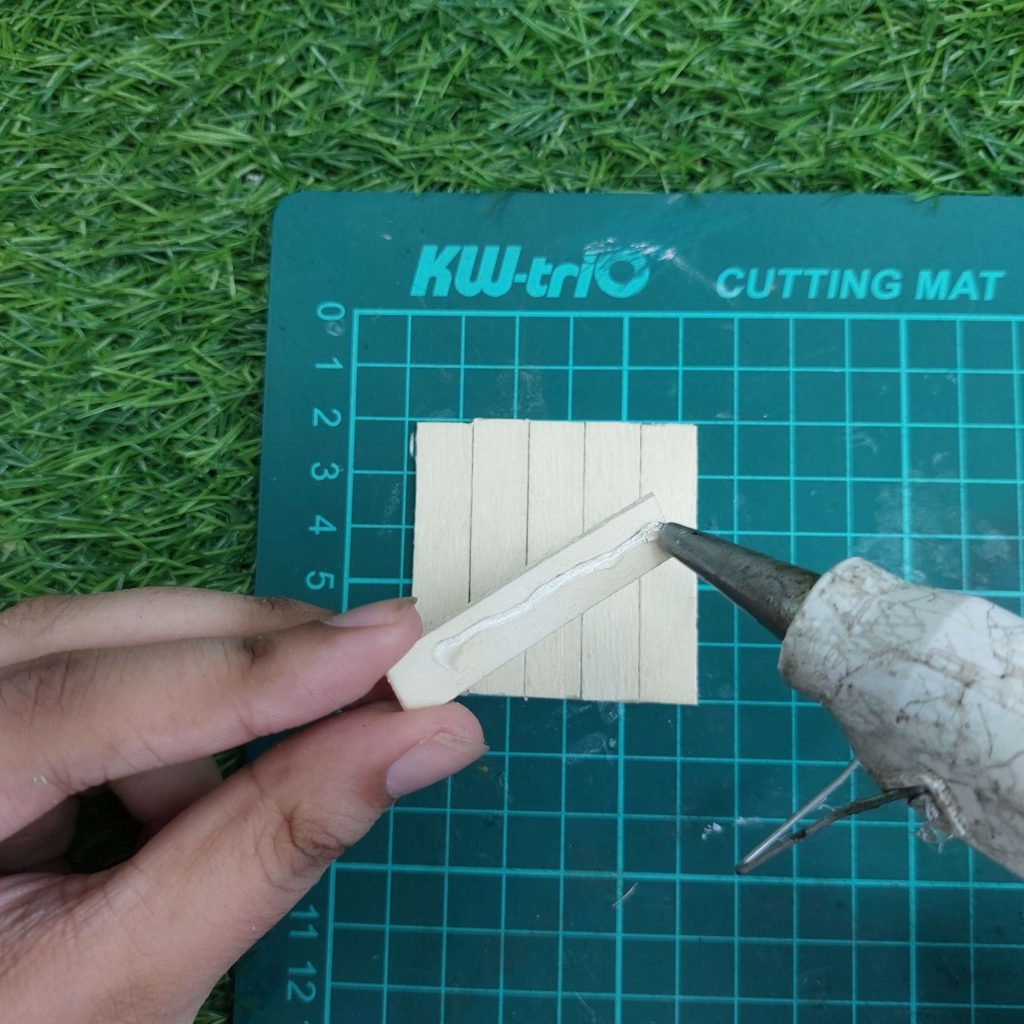
Next, cut two support strips, each approximately 4.5 cm long, and glue them across the back of the seat—one near the top and one near the bottom. These reinforcement pieces will hold the seat together and keep it nice and sturdy.
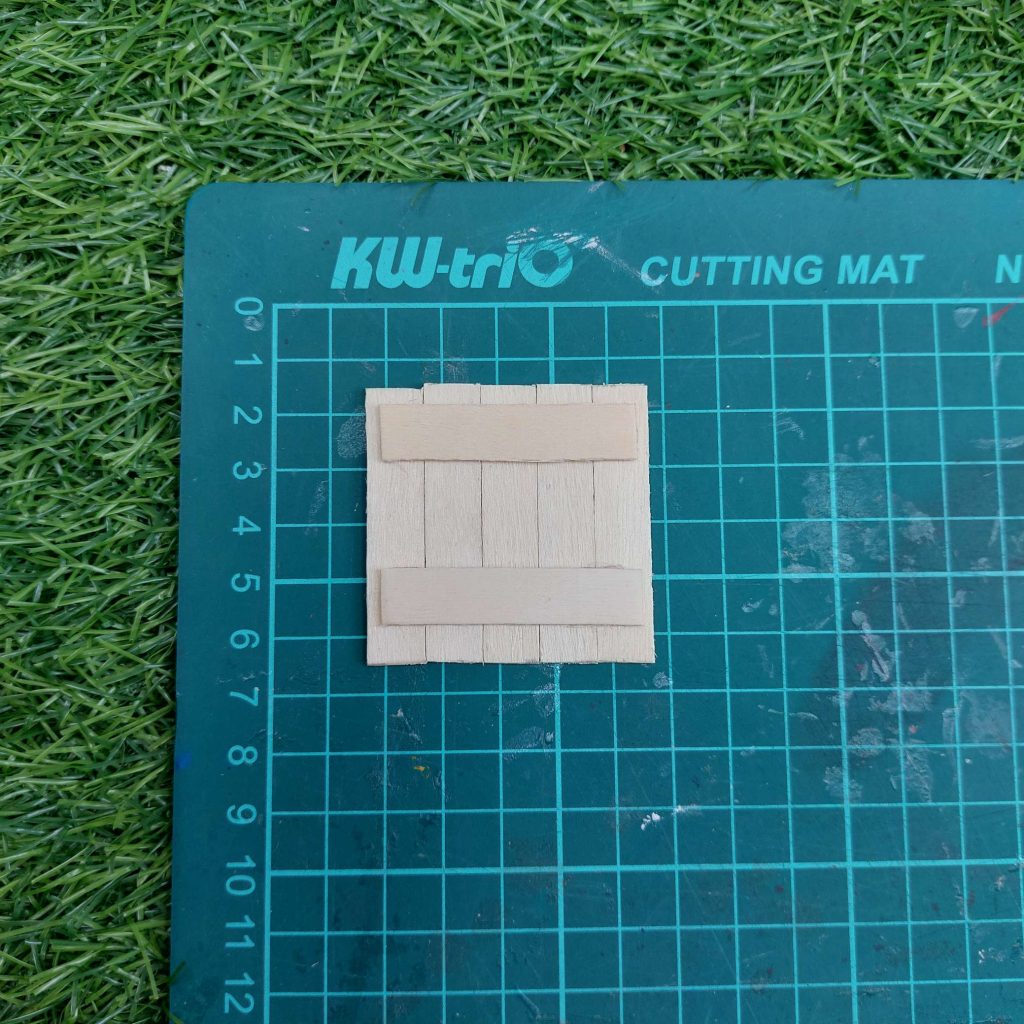
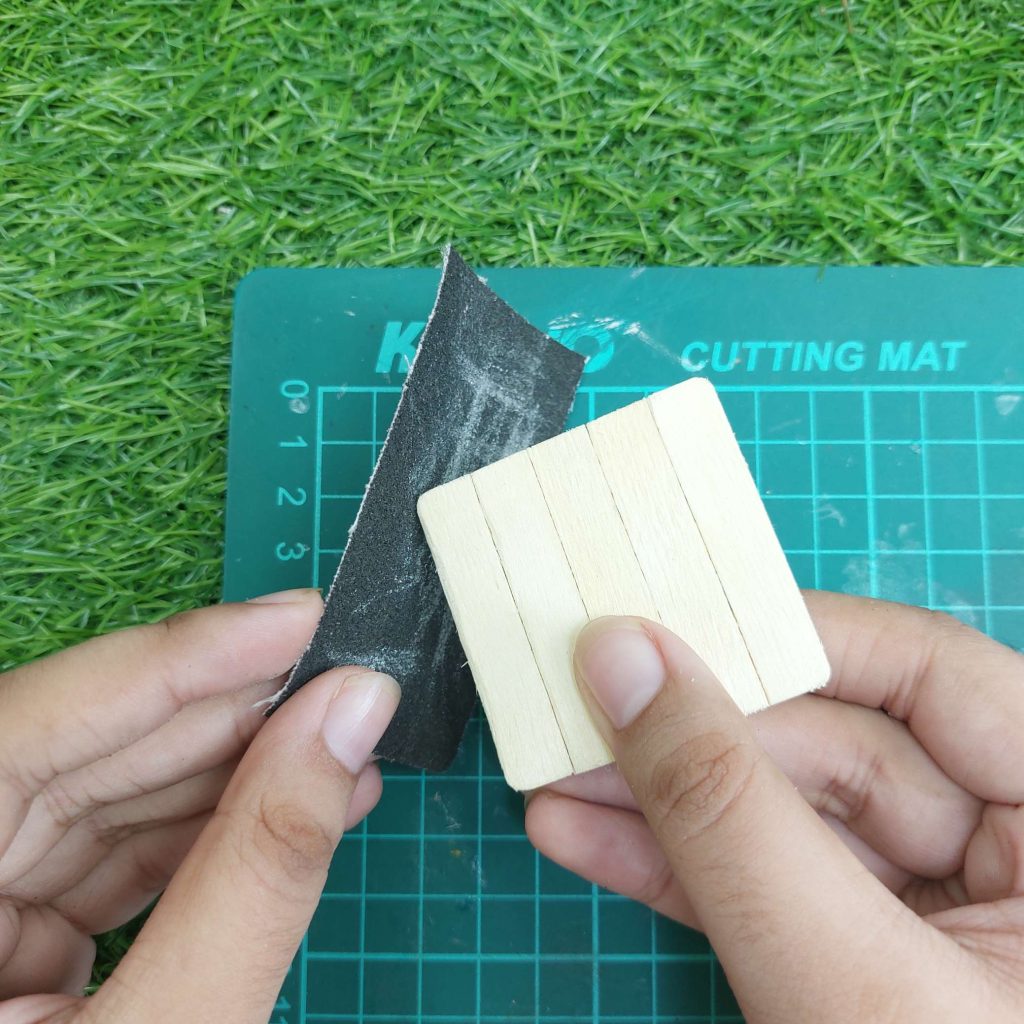
Once the glue has completely dried, turn the seat over and use fine-grit sandpaper to smooth the edges and gently round the four corners. This simple step gives the seat a much cleaner, more professional finish and prepares it for the rest of the build.
Step 2: Attach the First Side Support

Cut one full-width popsicle stick to 5 cm. This piece will become the first side support of your miniature swing.
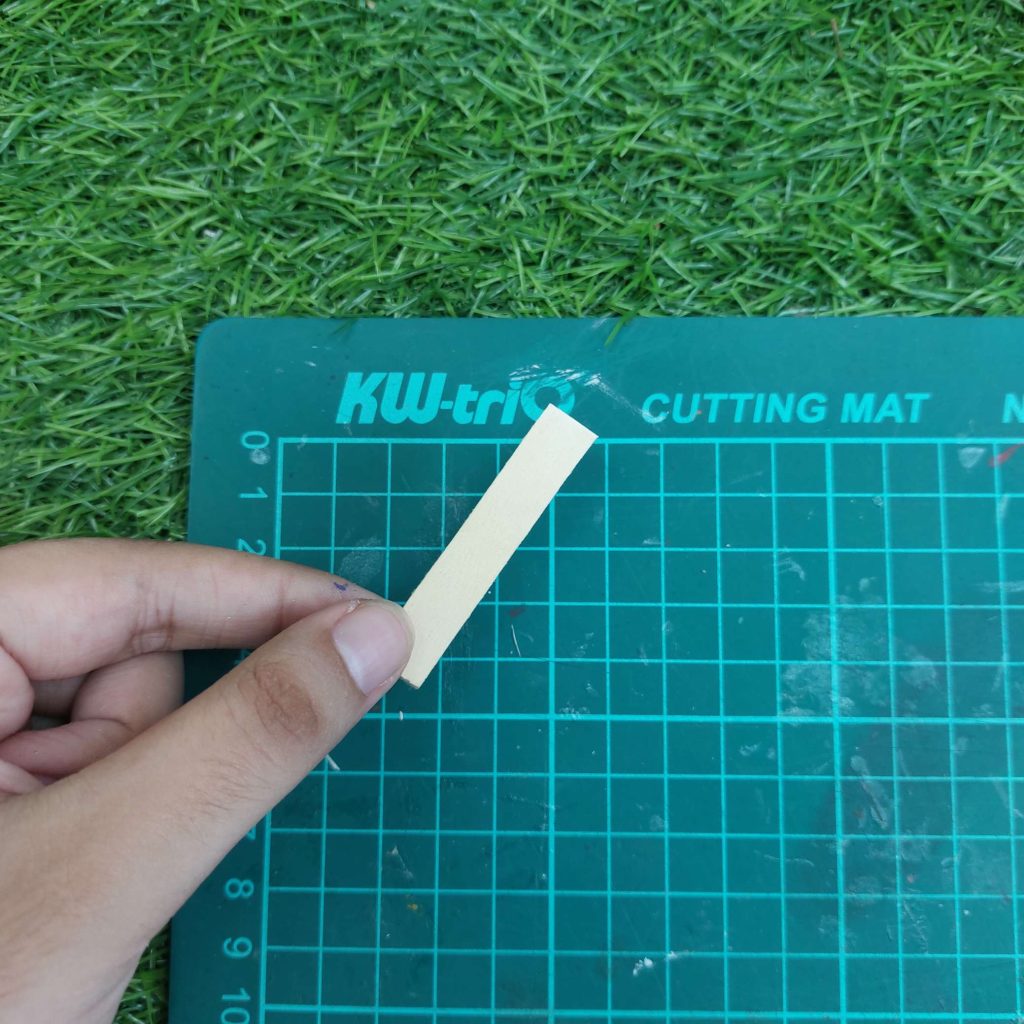
Apply a thin line of glue along one long edge of the stick and position it vertically against the side of the seat base, making sure it sits flush with the bottom edge. Hold it in place for a few seconds until the glue has set.

Take your time aligning this piece carefully, as it will determine how straight the rest of the swing frame will be.

Step 3: Build the Back Frame

Cut a popsicle stick in half to get 2 narrow strips.

Cut these again, to get 3 pieces with the same height as the back strip in the picture above.

Trim the ends of all three pieces at a 45-degree angle so they fit together neatly.

Glue the pieces together to form a rectangular frame.

Finally, glue the completed frame to the back of the seat, making sure it is centered and sits straight before the glue sets. Measure everything again beforehand to make sure it fits perfectly to the back.

Step 4: Add the Front Arm Supports

Cut two narrow strips measuring approximately 2.5 cm. Trim the ends of each strip at a slight angle so it will sit neatly beneath the armrests later.

Glue the strips vertically to the front corners of the seat, with the angled ends pointing inward. Try to keep both supports at the same angle so the armrests will sit evenly later.

Allow the glue to cool completely before moving on to the next step.

Step 5: Make the Armrests

Cut two popsicle stick pieces measuring approximately 5,5 cm long. Leave one rounded end intact, as this will become the front of each armrest.

Using a sewing needle or pin, carefully make two small holes near the squared end of each armrest. Thread a thin piece of string through the holes and slide five small pearl beads onto each side. Tie or secure the thread so the beads stay in place.

Finally, glue each armrest onto the chair by attaching the beaded ends to the back frame and resting the front of the armrest on the angled front support. Repeat on the opposite side and make sure both armrests are level before the glue dries.

Step 6: Add the Decorative Back Supports

Cut three matchsticks or thin wooden sticks to approximately 2.5 cm long. Trim both ends at a slight angle so they fit neatly between the center back support and the outer frame.

Starting at the top, glue the first stick in place so it slopes gently downward toward the outside of the chair. Repeat with the remaining two pieces, spacing them evenly to create the decorative crisscross-style backrest shown in the photos.

Take your time adjusting each piece before the glue sets—the small angled braces give the chair its finished look and add extra strength to the backrest.

Step 7: Attach the Hanging Chains

To finish your miniature porch swing, attach the hanging hardware.

Thread the two beaded cords through two small jump rings (approximately 6–8 mm in diameter), one for each side of the chair. Close the jump rings securely with small jewelry pliers.

Next, attach a length of fine metal chain to each jump ring. Adjust both chains until they are the same length so the swing hangs level.

You can now hang your miniature porch swing from a dollhouse ceiling, porch roof, or display stand. If you'd like, paint or stain the wood first, then add tiny cushions or pillows for an even cozier finishing touch.

Conclusion

Feel free to customize your swing with paint, wood stain, cushions, or tiny accessories to match your dollhouse style. It's a simple project that's easy to personalize, making every swing unique.

Happy crafting!

Kind regards,

Lizzy


Posted : 06/08/2026 4:32 pm