
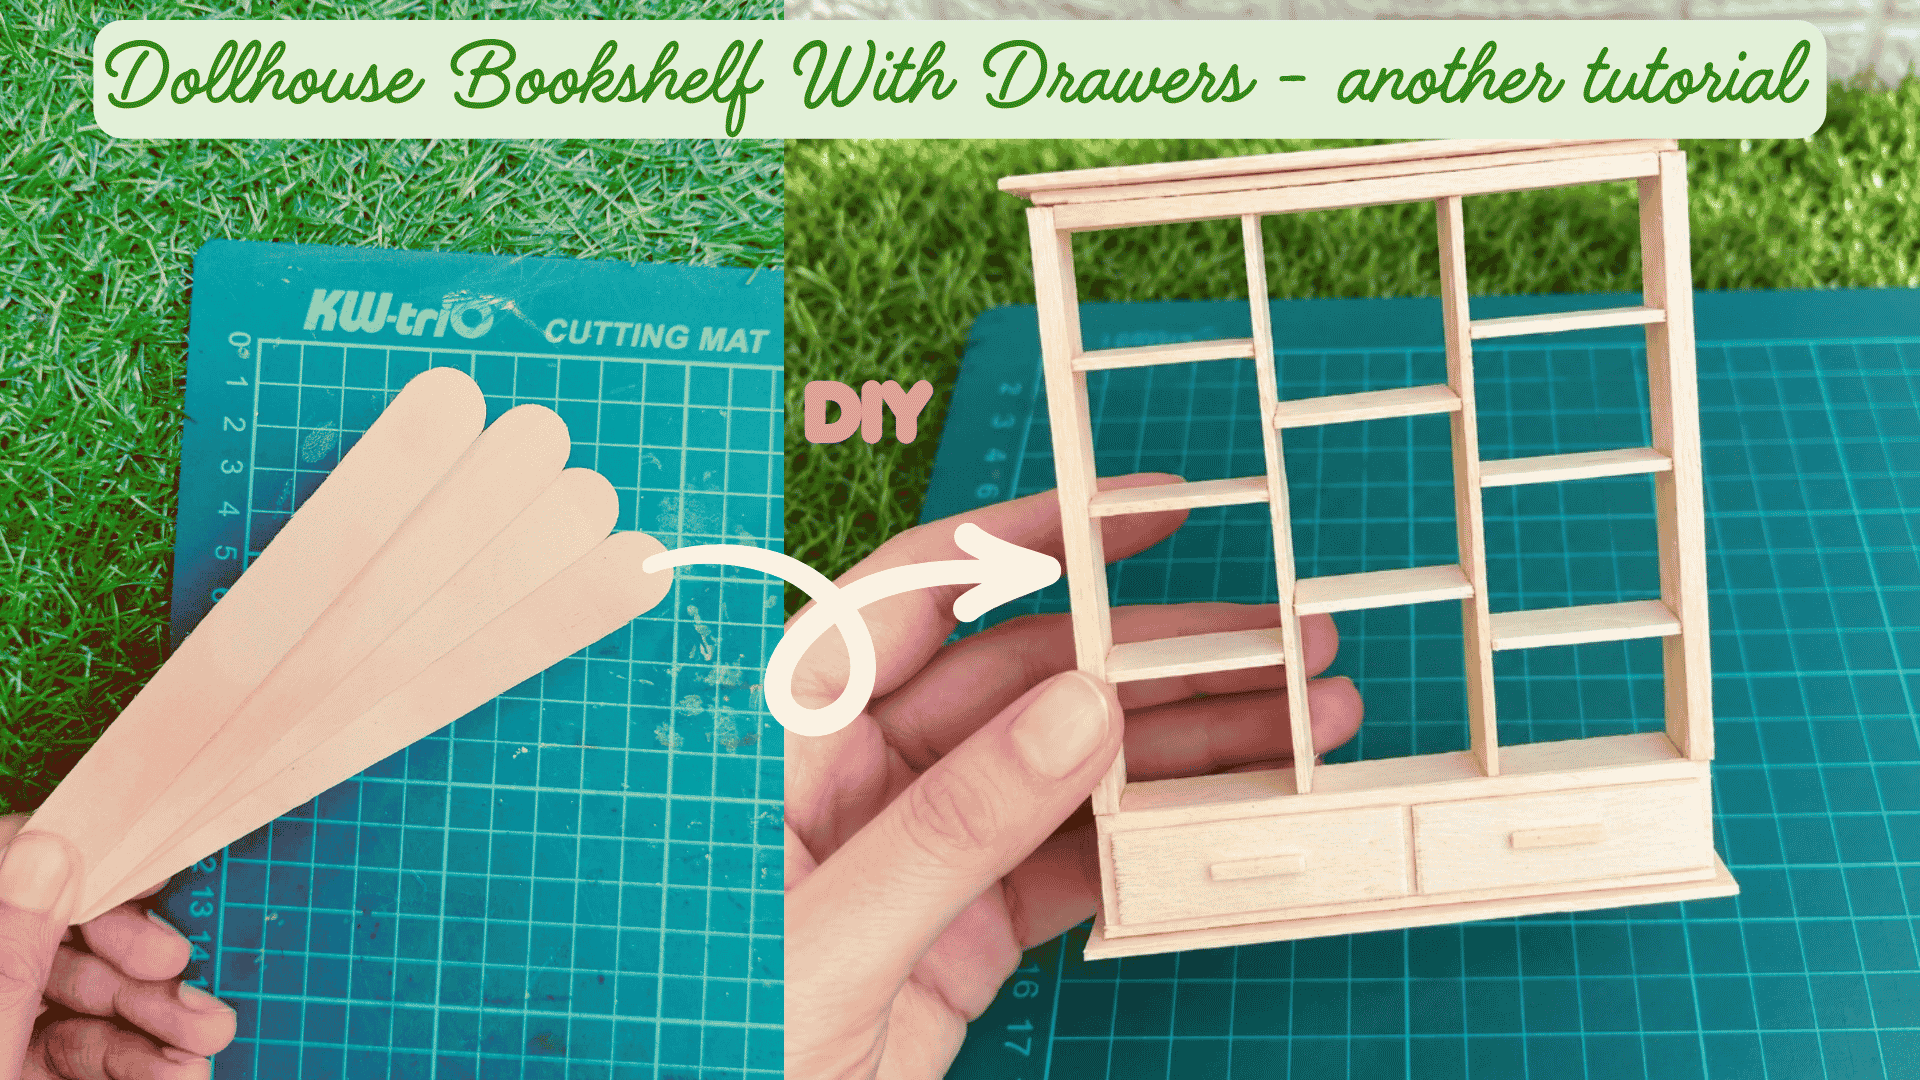
Want to make a miniature bookshelf for your dollhouse without spending much on materials? In this easy DIY tutorial, I'll show you how to turn ordinary wooden popsicle sticks into a cute miniature bookshelf with several compartments, shelves, and two little drawers at the bottom.
It's a fun project that you can leave in its natural wood finish or paint to match your dollhouse interior!
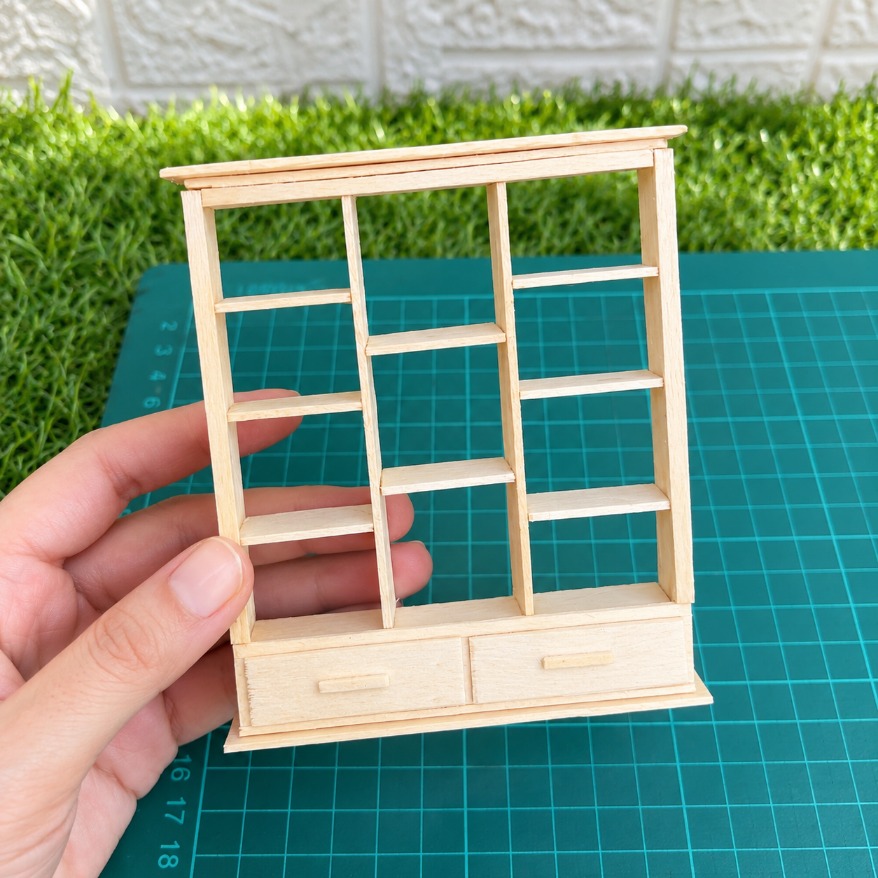
Materials Needed for This DIY Miniature Bookshelf
- Jumbo wooden popsicle sticks (wide craft sticks)
- Strong craft glue (such as B-6000)
- Craft knife or precision cutting tool
- Cutting mat
- Ruler and pencil
- Sandpaper
Measurements
All measurements:
- Outer frame: 9 × 11 cm (3.54 × 4.33 inches)
- First vertical partition: 9 cm (3.54 inches) — 1 piece
- Second vertical partitions: 9.3 cm (3.66 inches) — 2 pieces
- Small horizontal shelves: 2.4 cm (0.94 inches) each
- Drawer partition: 9.4 × 1.4 cm (3.70 × 0.55 inches)
- Drawer fronts: 4.4 × 1.4 cm (1.73 × 0.55 inches) — 2 pieces
- Narrow strips: 0.4 × 9.3 cm (0.16 × 3.66 inches) — 2 pieces
- Additional narrow strip: 0.4 × 8.8 cm (0.16 × 3.46 inches) — 1 piece
- Long strips: 10.3 × 1.5 cm (4.06 × 0.59 inches) — 2 pieces
Tip: These measurements are based on the original project. You can adjust them slightly depending on the size of your popsicle sticks and the scale of your dollhouse.
Step-by-step tutorial
Step 1: Build the Outer Frame of the Miniature Bookshelf
Start with four jumbo wooden popsicle sticks and cut off their rounded ends to create straight wooden strips. For the outer frame, you'll need two pieces measuring 11 cm and two pieces measuring about 9 cm, creating a rectangular frame approximately 9 × 11 cm.
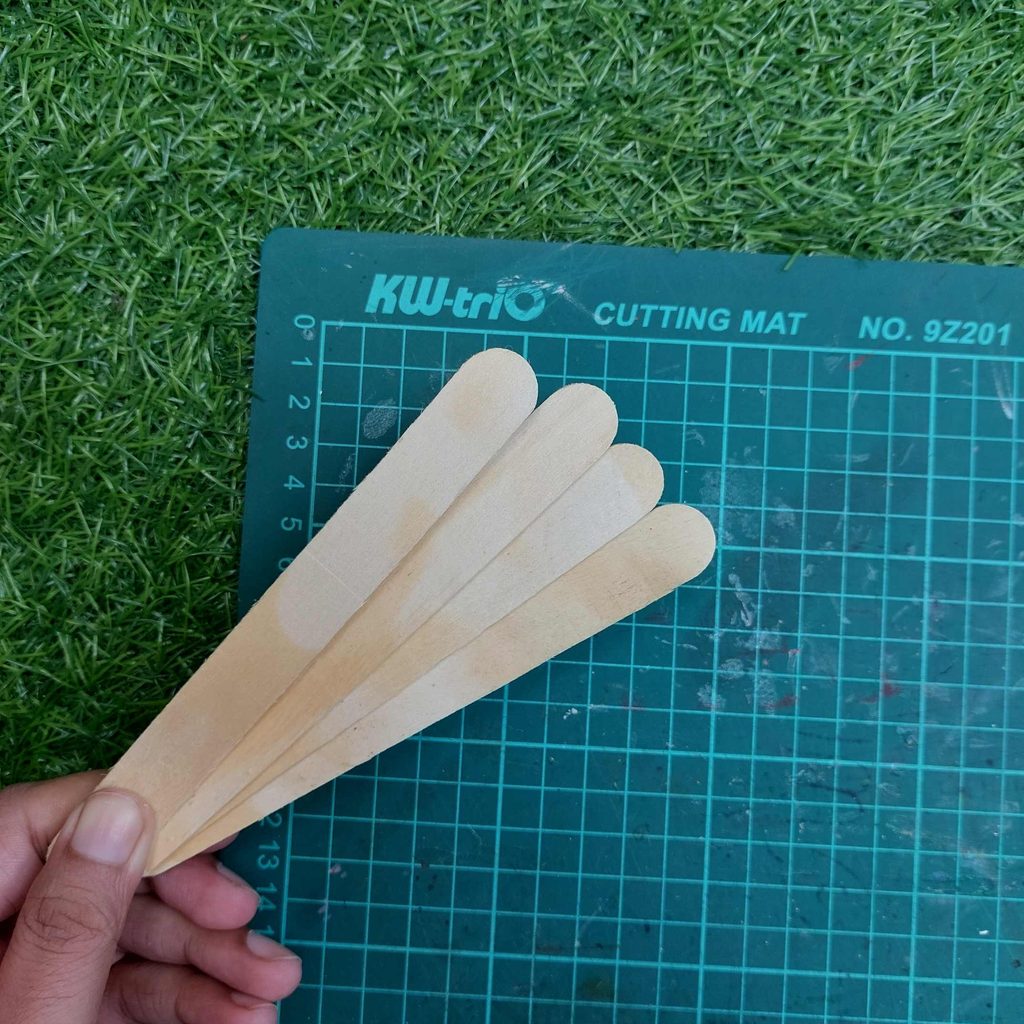
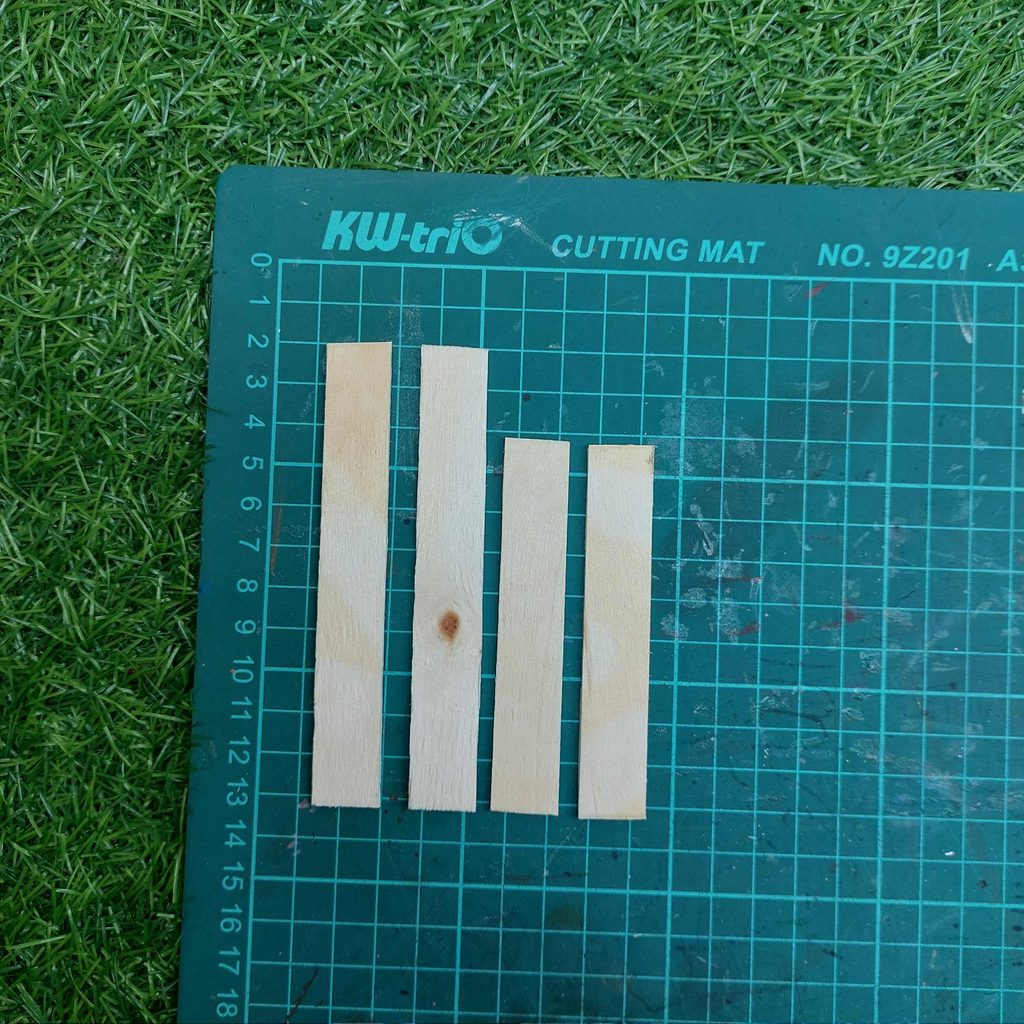
Apply a small amount of strong craft glue to the end of one strip and attach it to another at a right angle. Continue adding the remaining strips, as shown in the pictures, until you've formed a complete rectangle.
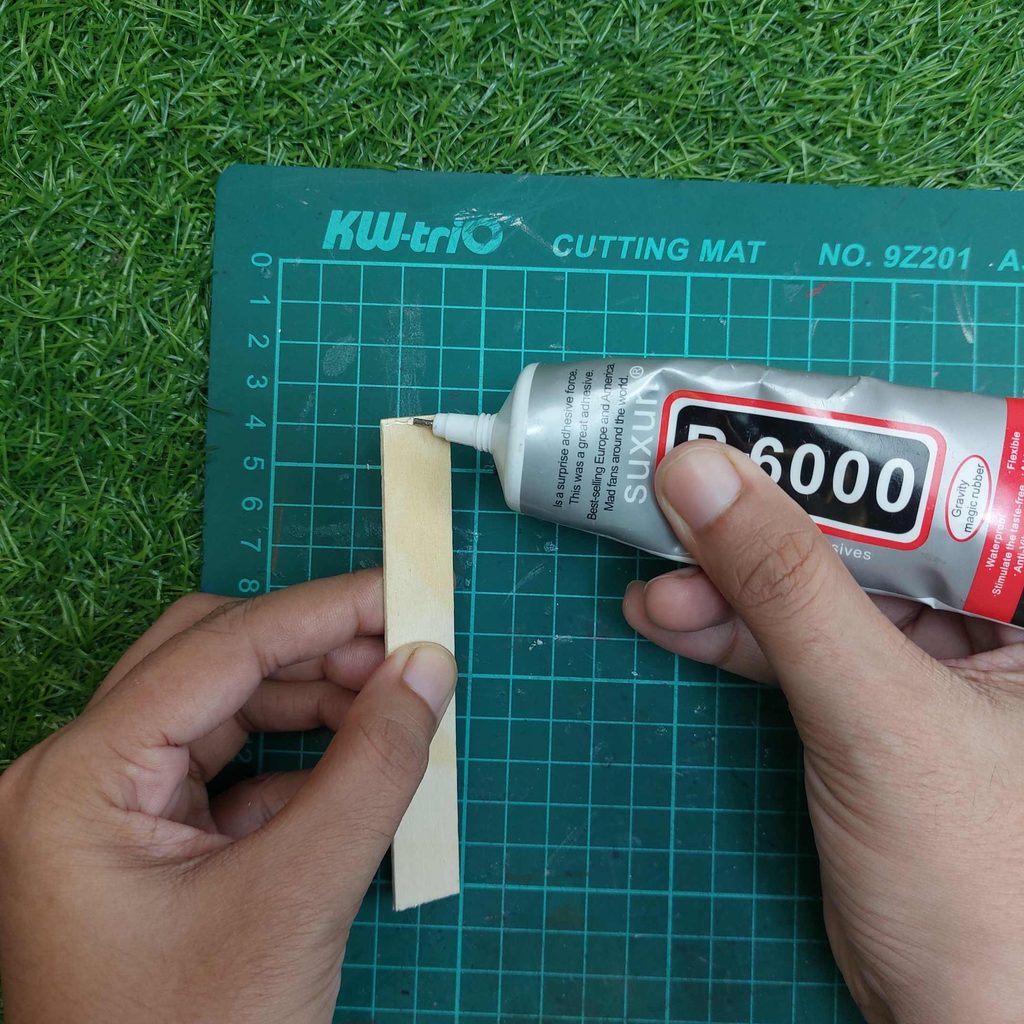
Make sure the corners are properly aligned and allow the glue to dry before moving on to the inner partitions and shelves.
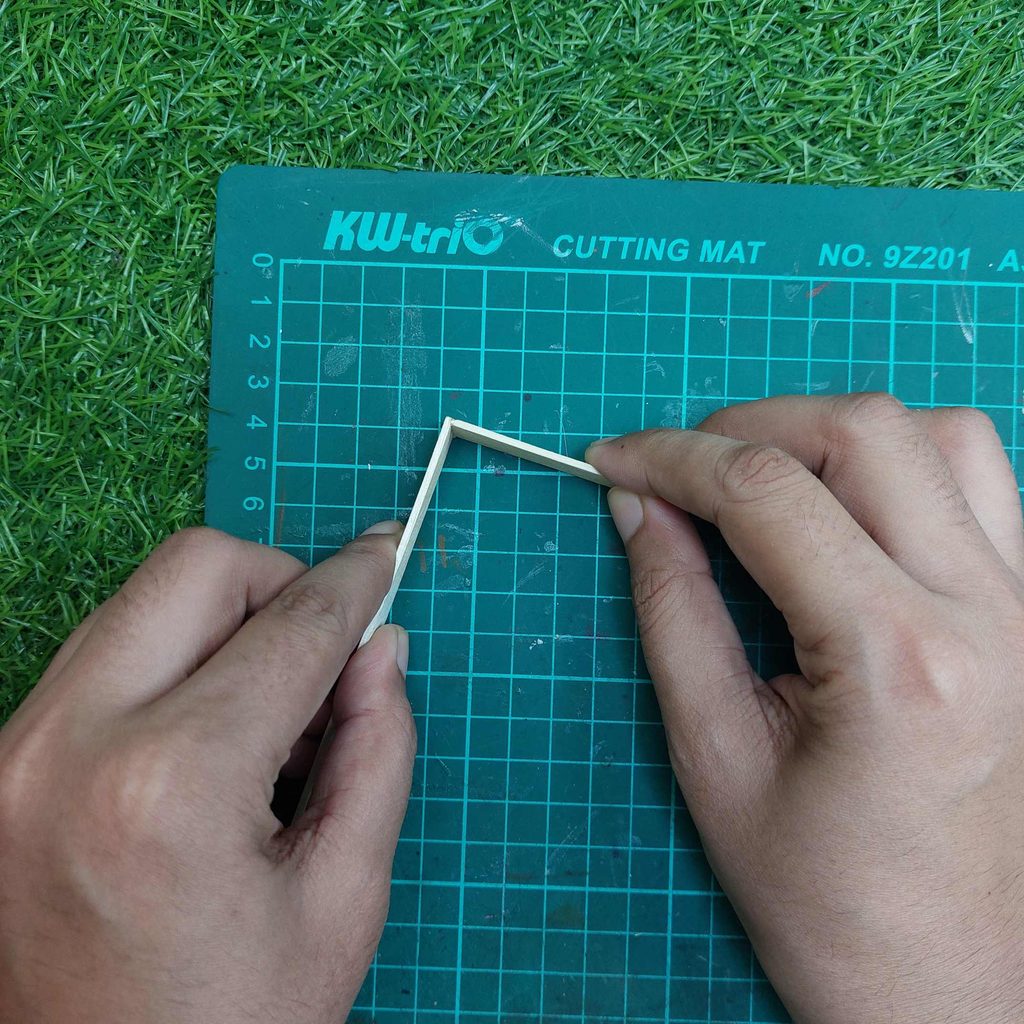
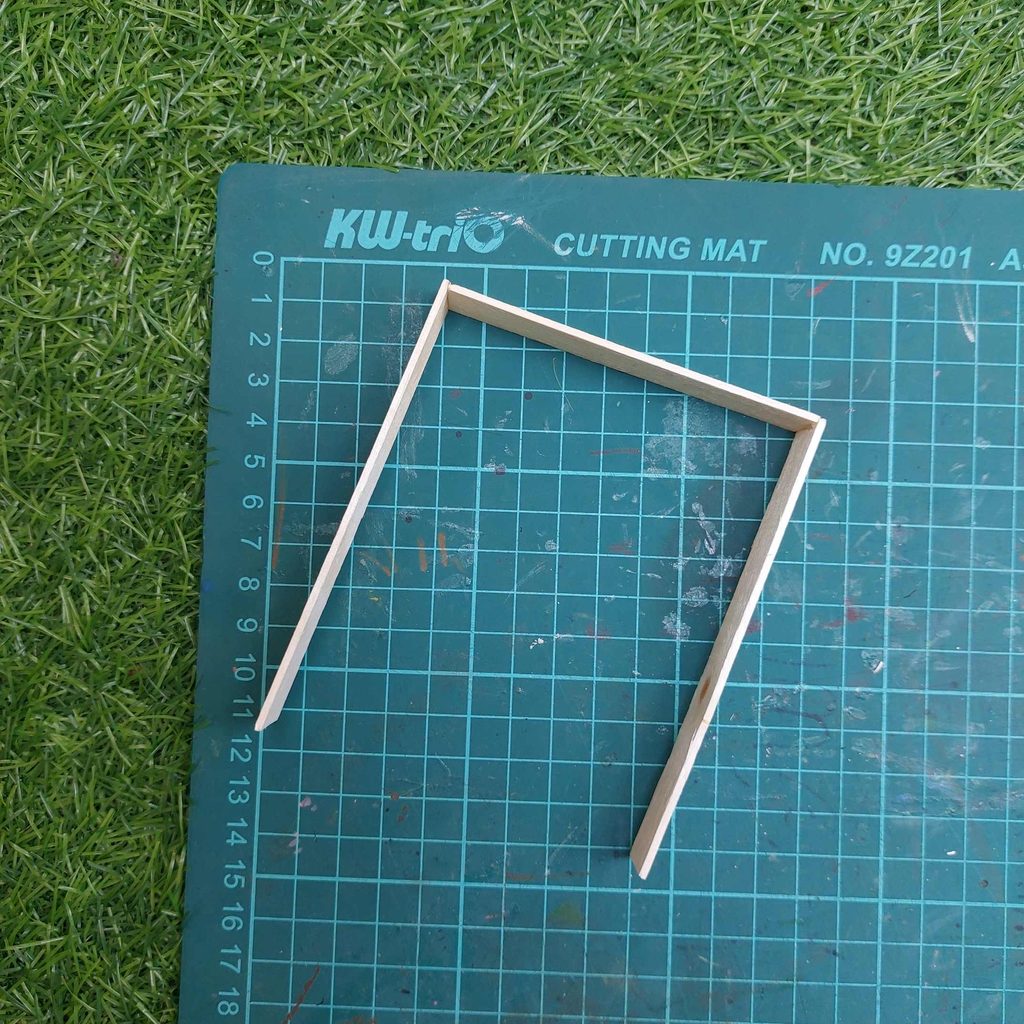
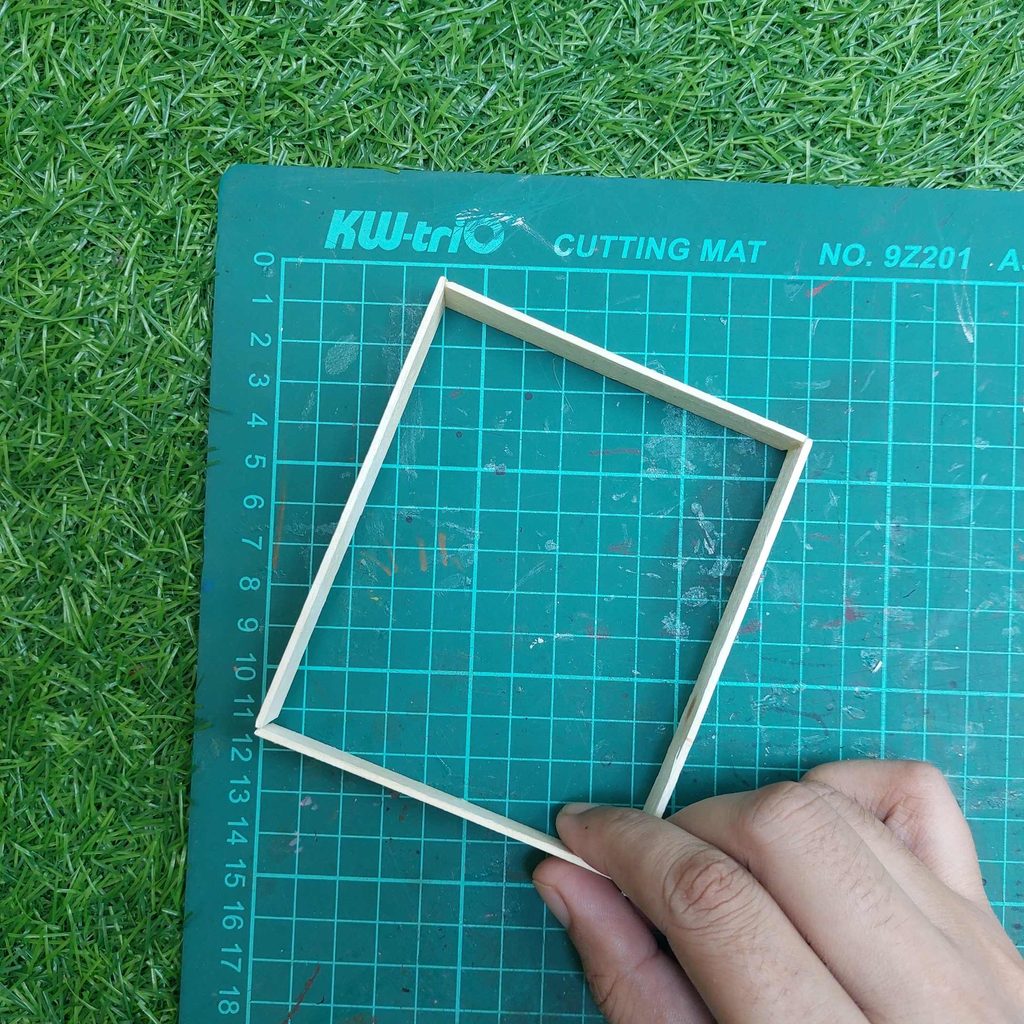
Step 2: Add the Bottom Divider and Vertical Partitions
Now that the outer frame is ready, it's time to divide the bookshelf into separate compartments.
Start by gluing a horizontal wooden strip across the frame, just above the bottom edge. This creates a narrow section underneath the shelves where the two drawers will go later.
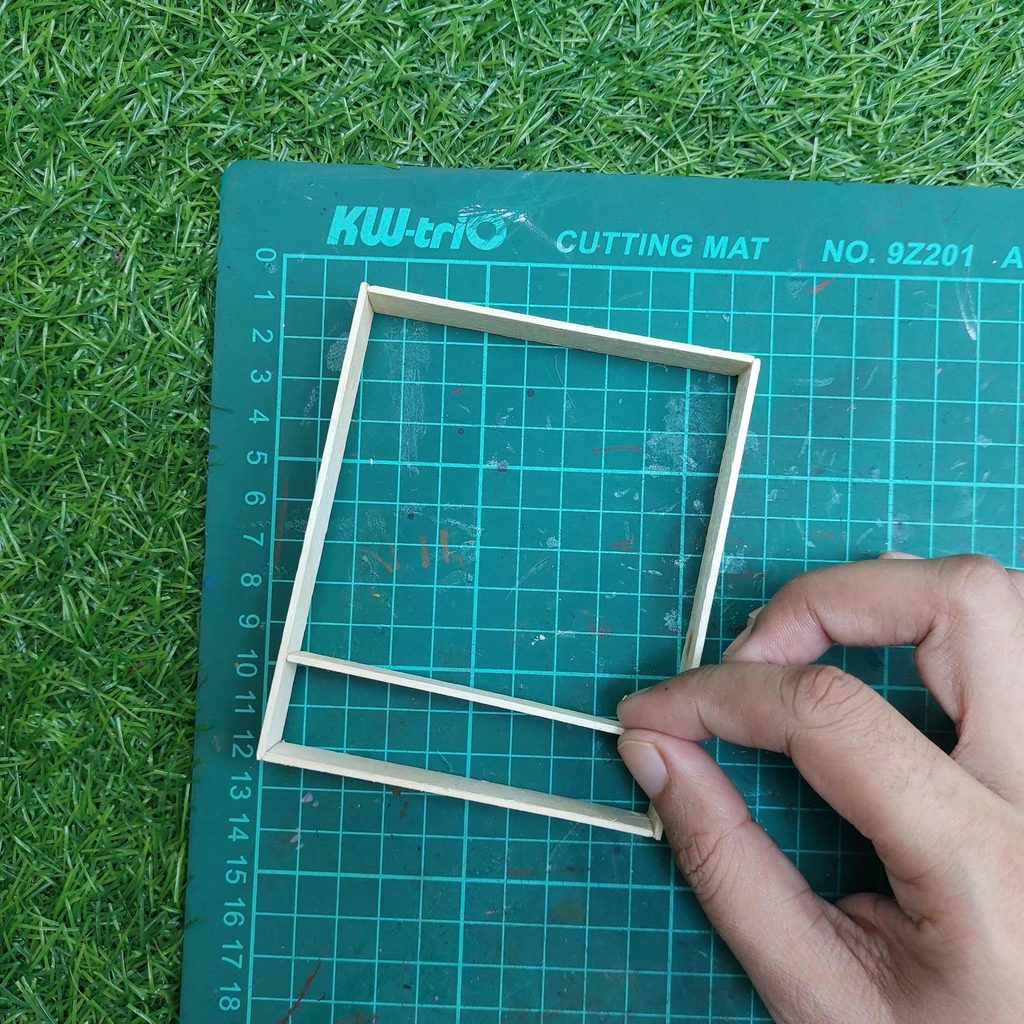
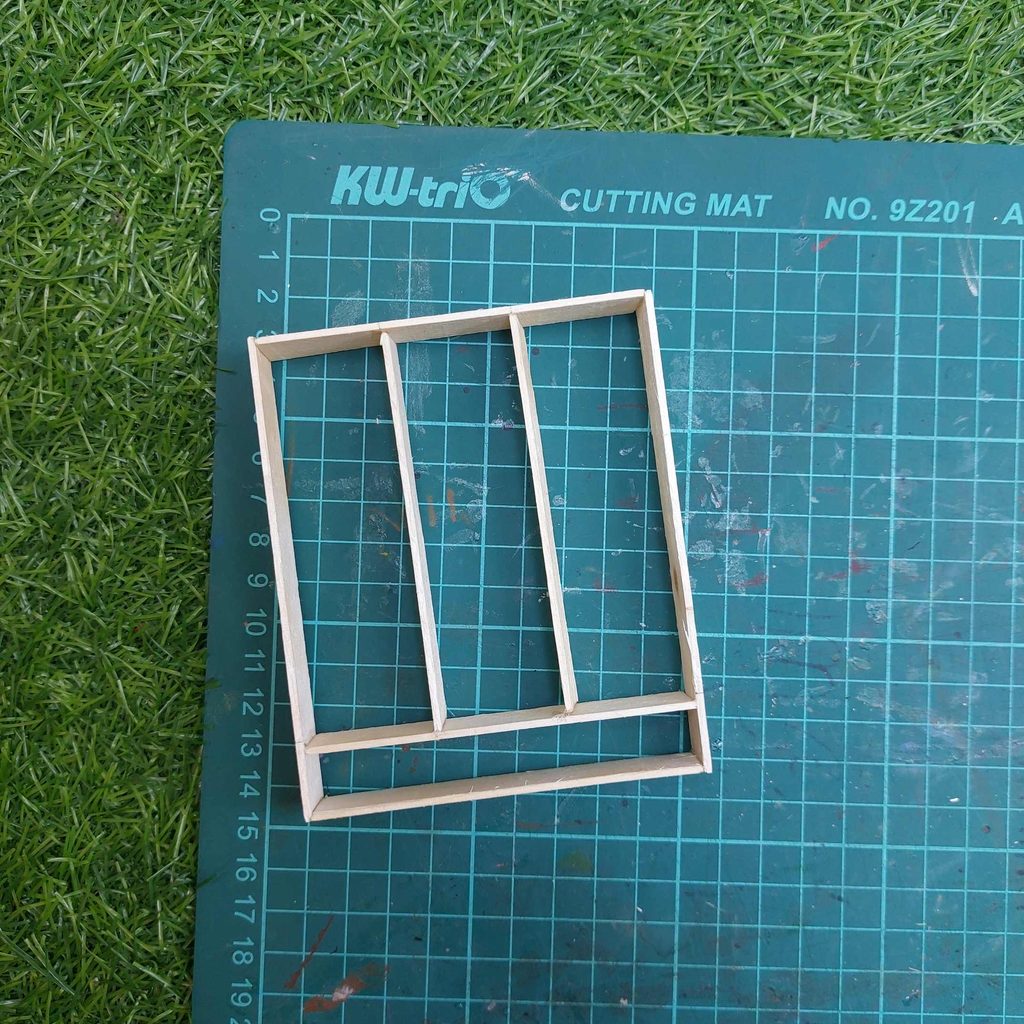
Next, take the two 9.3 cm (3.66-inch) vertical partitions and glue them inside the larger upper section, spacing them evenly to create three columns.
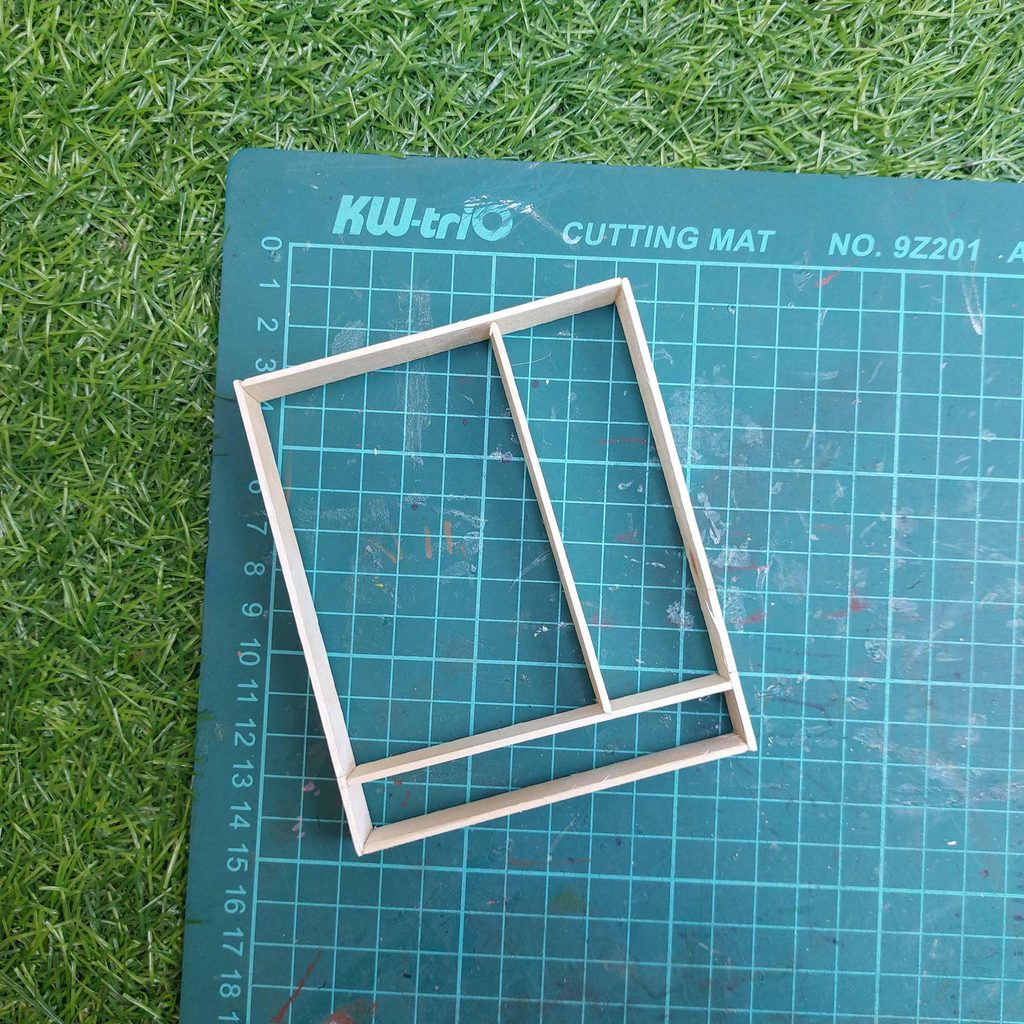
Make sure the partitions are straight and securely attached to the top and horizontal divider. Let the glue dry before adding the smaller shelves.
Step 3: Add the Drawers and Handles
Now it's time to finish the bottom section of the miniature bookshelf.
Cut two rectangular pieces from your popsicle sticks, each measuring 4.4 × 1.4 cm (1.73 × 0.55 inches). Glue them side by side across the bottom section to create the two drawer fronts, leaving a small gap between them.
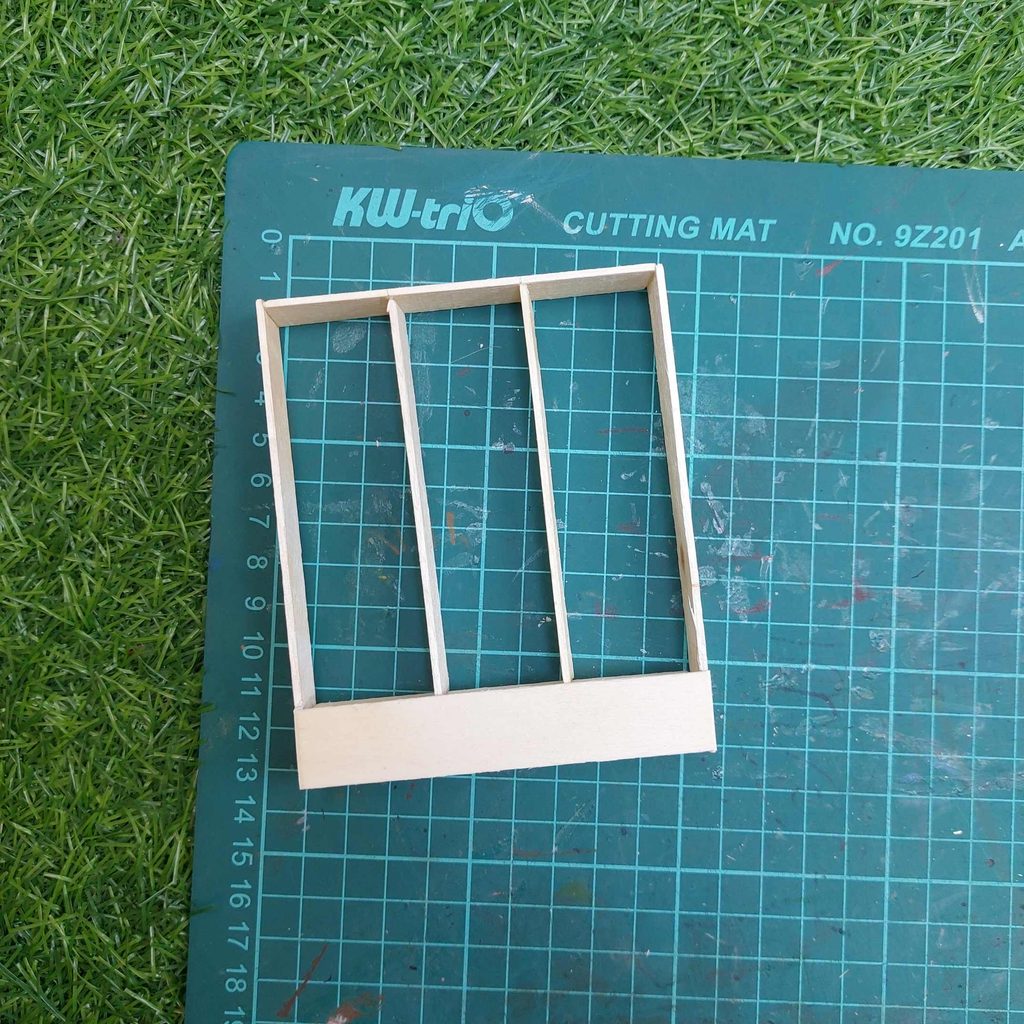
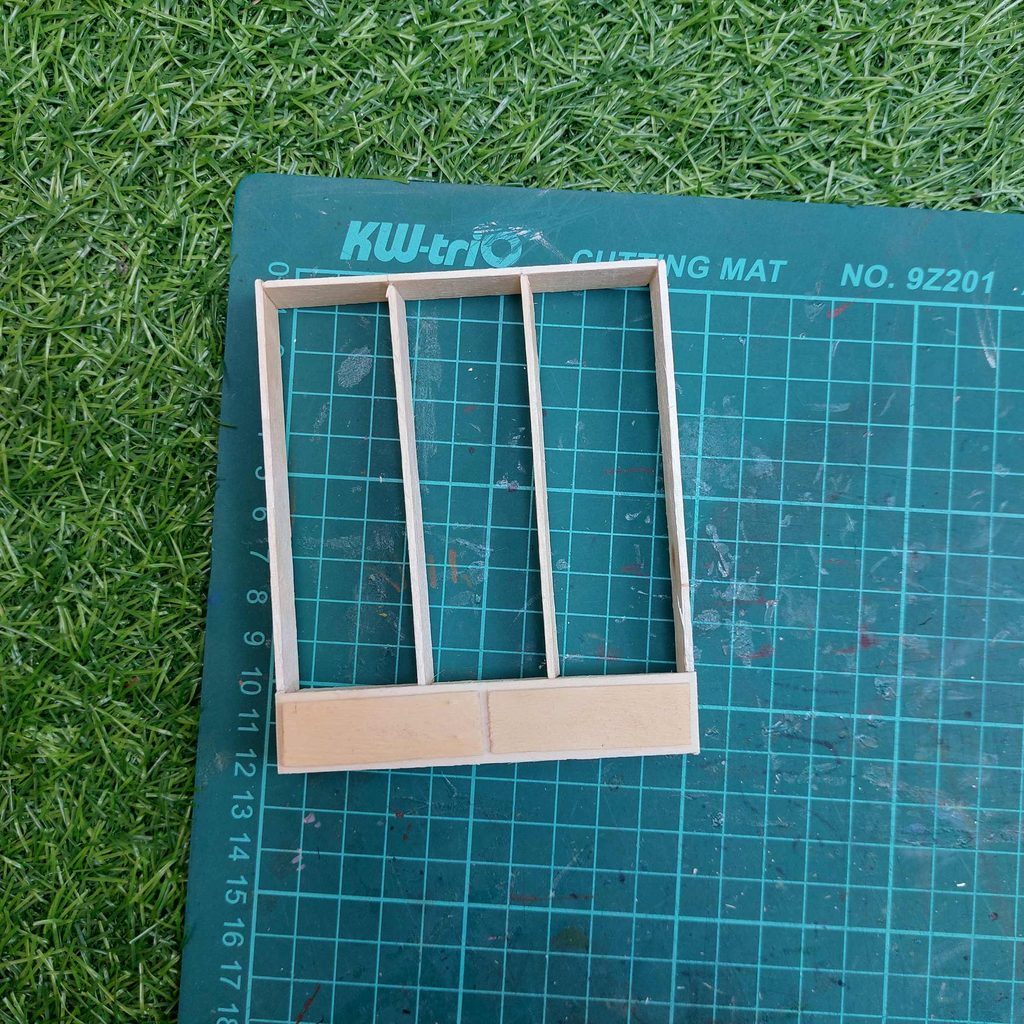
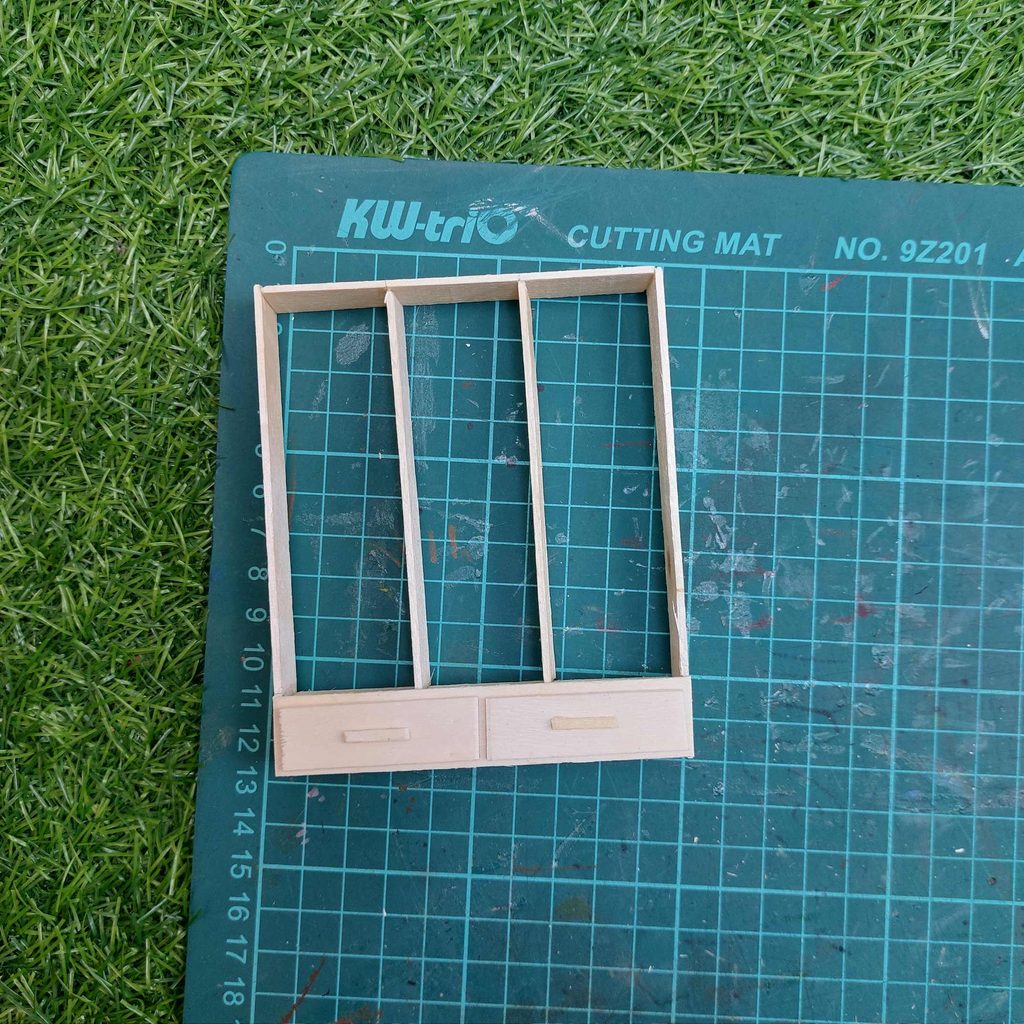
Next, cut two tiny strips of wood and glue one horizontally in the center of each drawer front to make the handles.
Let the glue dry before moving on to the shelves. The bottom of your miniature bookshelf now looks like a little cabinet with two drawers!
Step 4: Add the Shelves to the Miniature Bookshelf
Now we can turn those three tall sections into lots of little compartments!
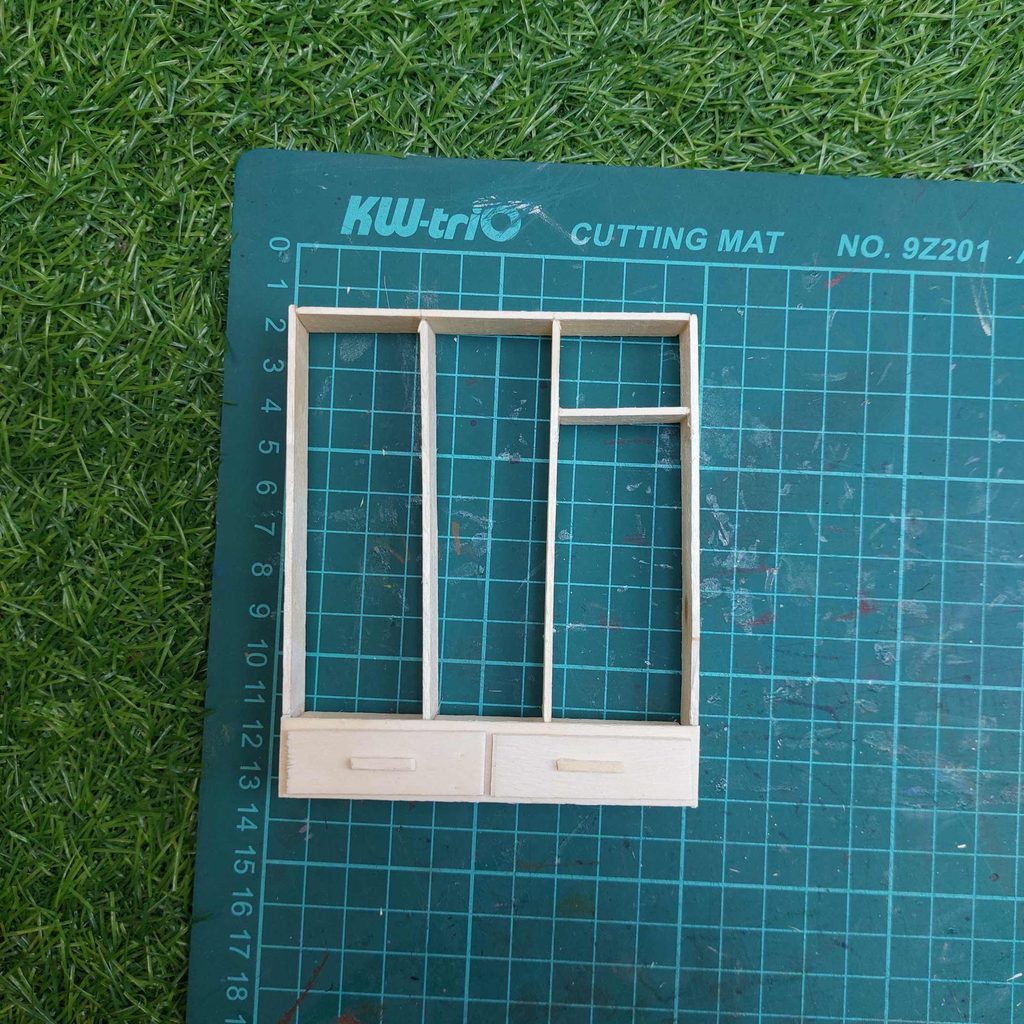
Cut several short pieces of popsicle sticks, approximately 2.4 cm (0.94 inches) long, making sure they fit between the vertical dividers.
Start by gluing one horizontal shelf near the top of the right section. Then add three shelves to the left section, spacing them out as shown in the pictures.
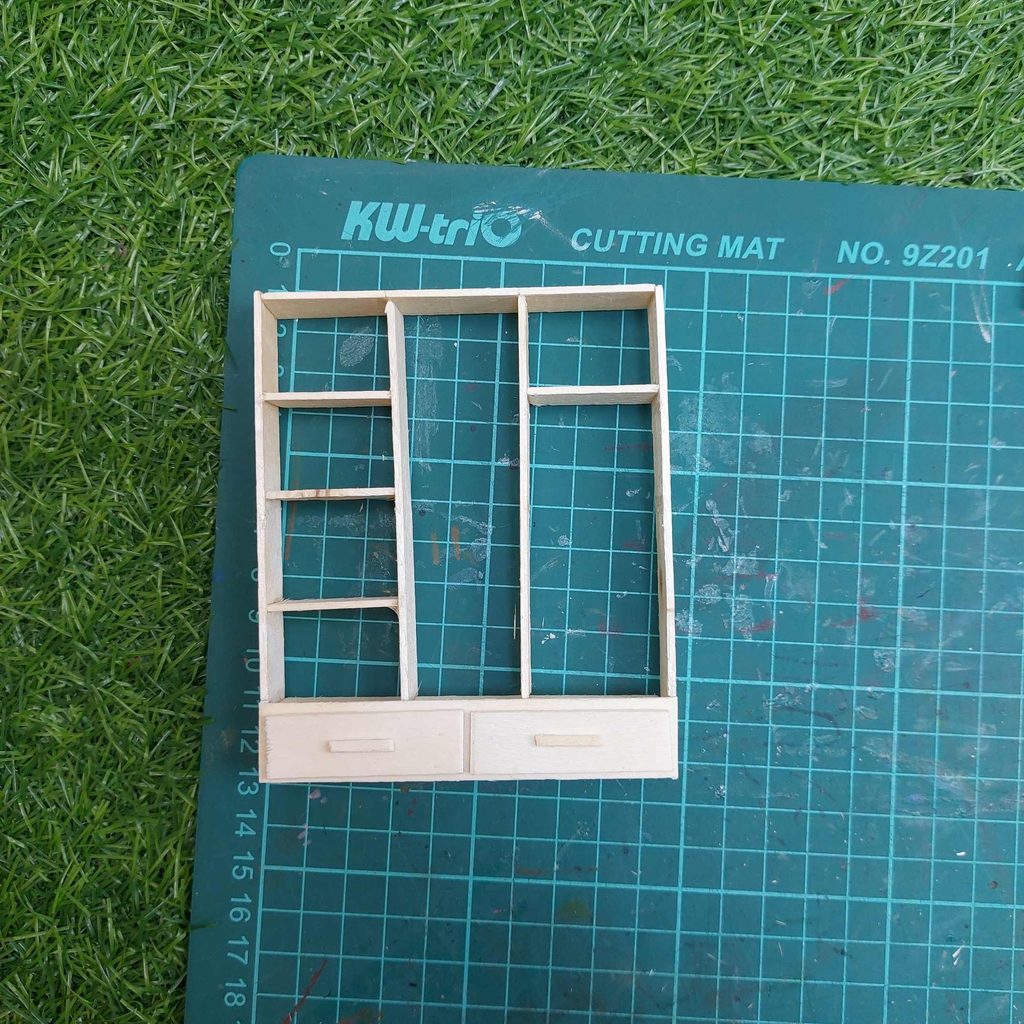
Next, add two shelves to the middle section and another two to the right section. I placed the shelves at different heights to give the miniature bookshelf a more interesting, asymmetrical look.
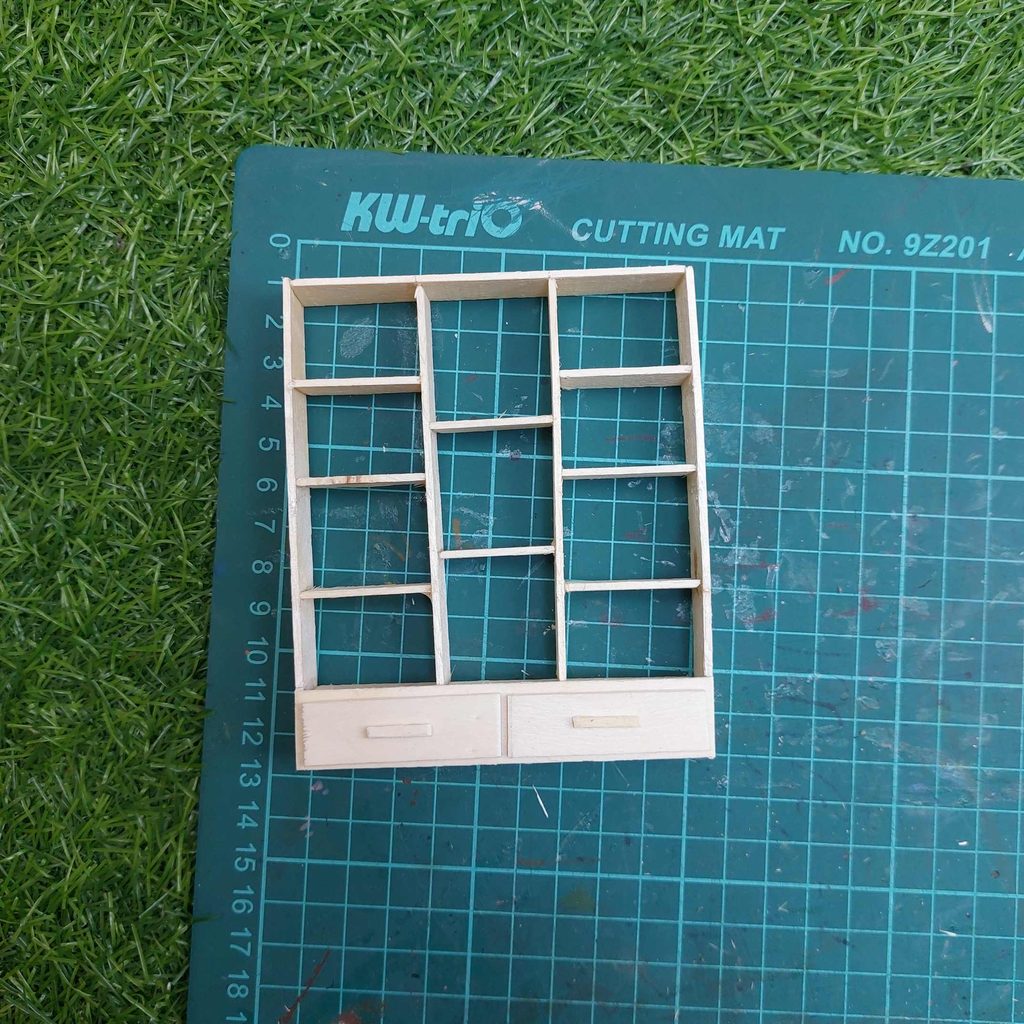
Finally, glue a long, narrow strip of popsicle stick along the bottom of the two drawers, allowing it to extend slightly beyond the front. This creates a small decorative base and gives the miniature bookshelf a more finished, furniture-like appearance.
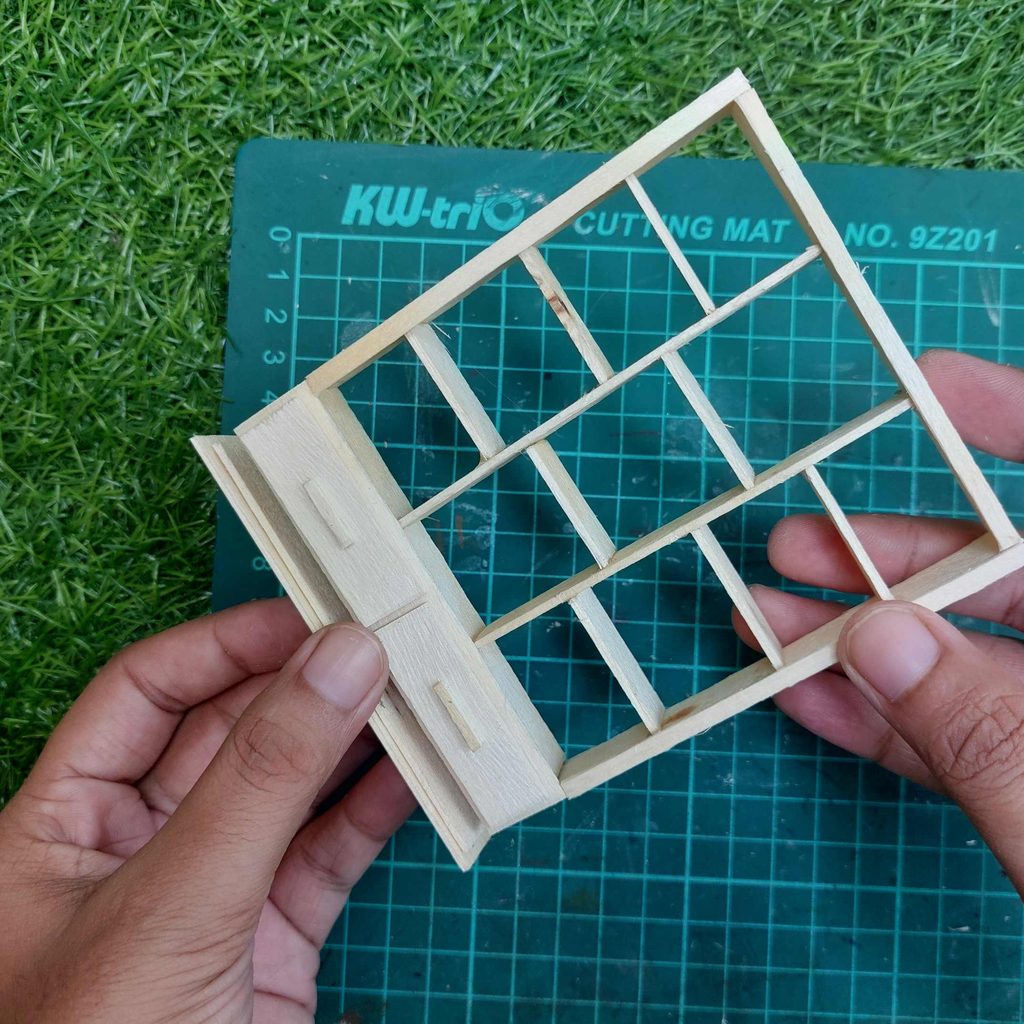
For the top, glue a wider wooden strip across the upper edge of the bookshelf, followed by a strip on top. Let the upper piece extend slightly past the sides to create a layered, overhanging trim.
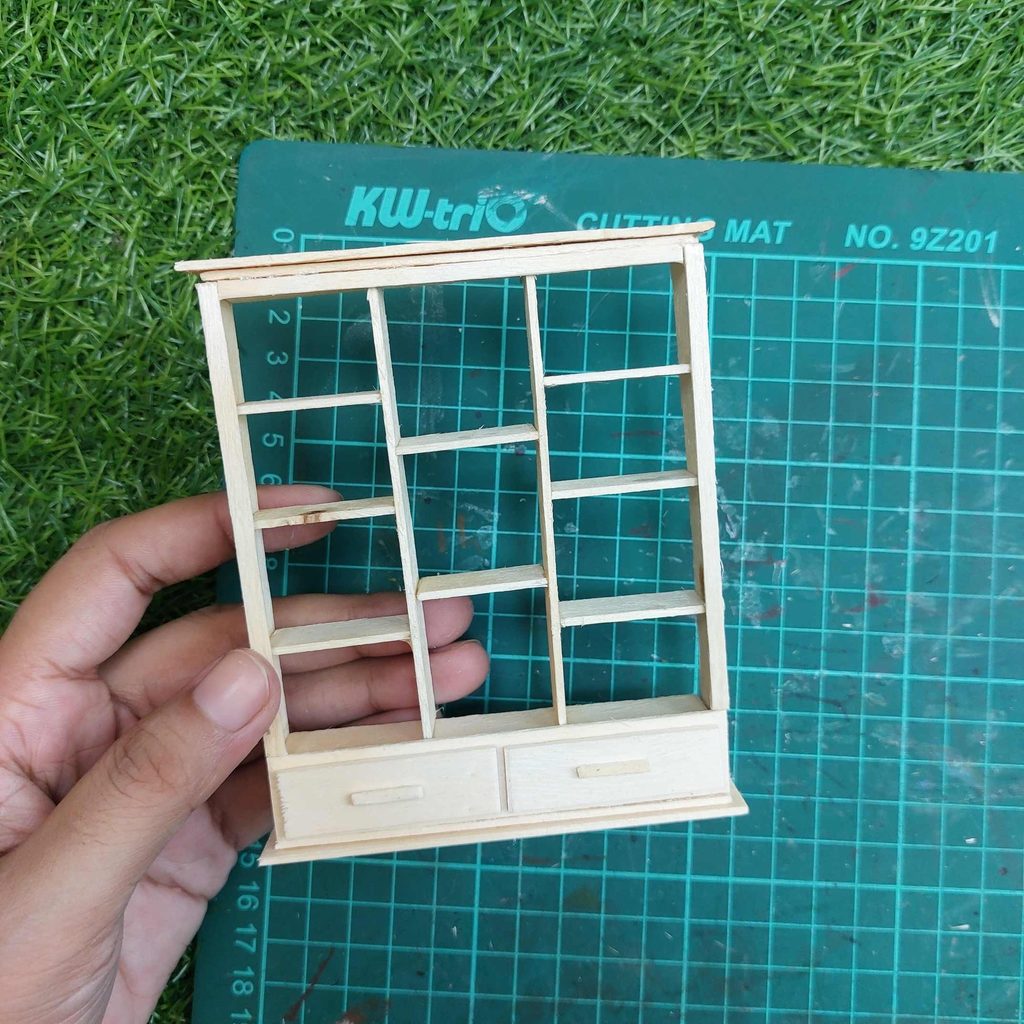
The wooden structure is now complete!
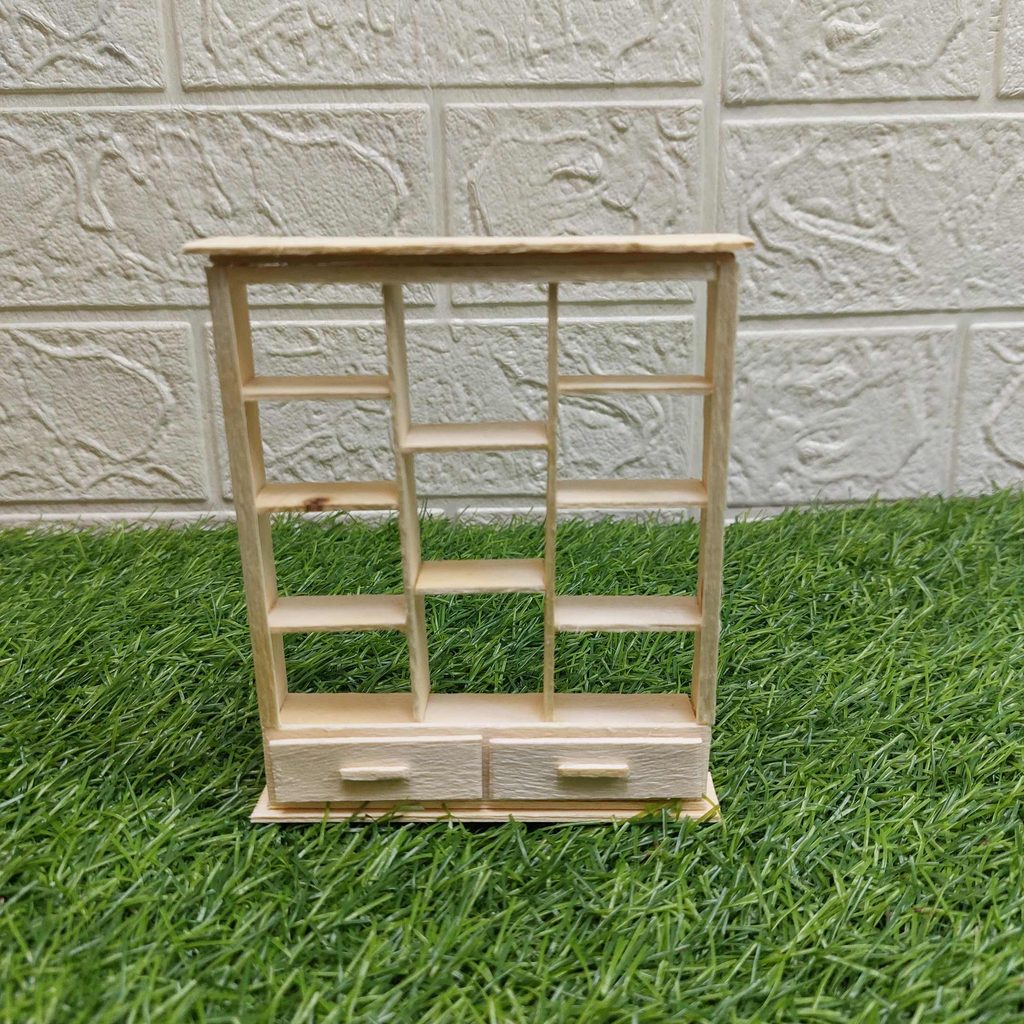
Conclusion: Your DIY Miniature Bookshelf Is Ready!
And there you have it! With just a few popsicle sticks, some glue, and a little patience, you've created a lovely miniature bookshelf with different-sized compartments, two decorative drawers, and a neat wooden trim.
You can leave the wood natural for a simple, rustic look or paint it to match your dollhouse interior. Fill the shelves with tiny books, plants, picture frames, or other miniature decorations to make it your own.
I wish you happy crafting!
Kind regards,
Lizzy
