Notifications
Clear all

Topic starter
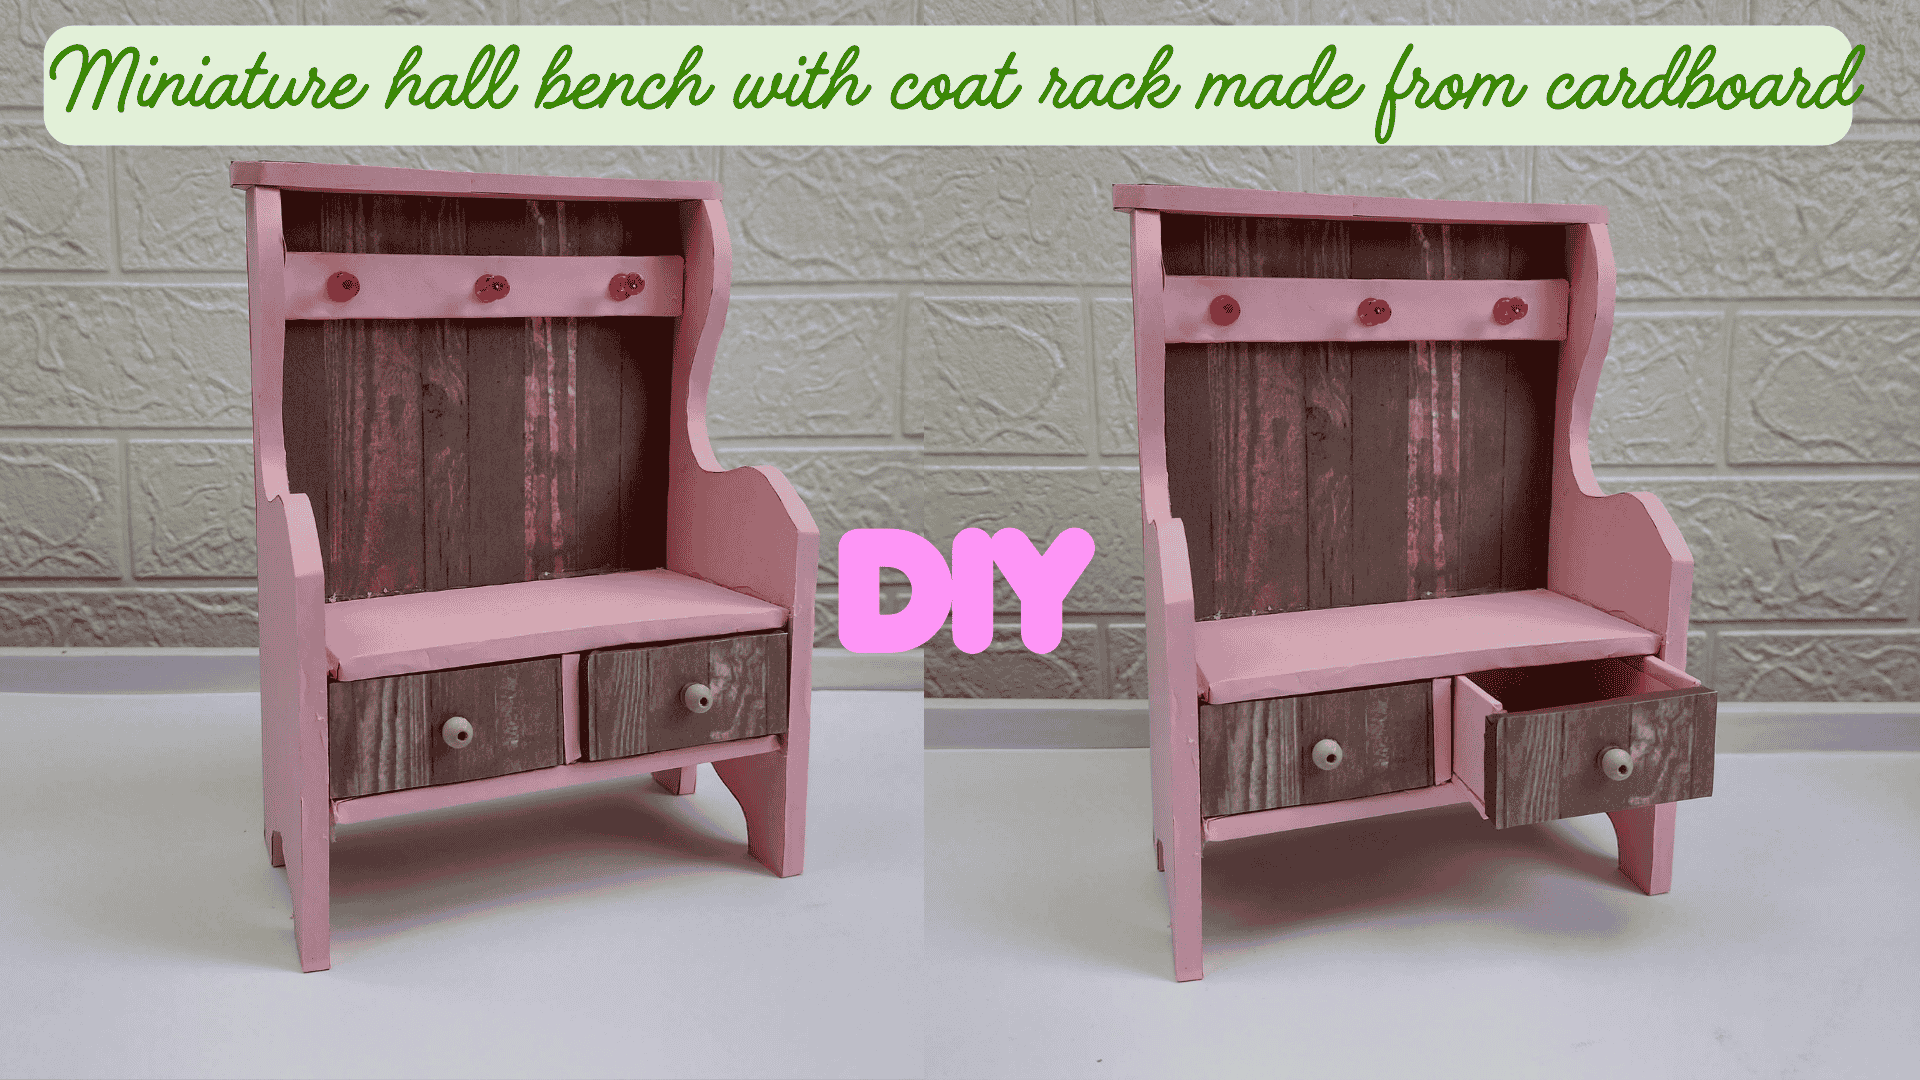
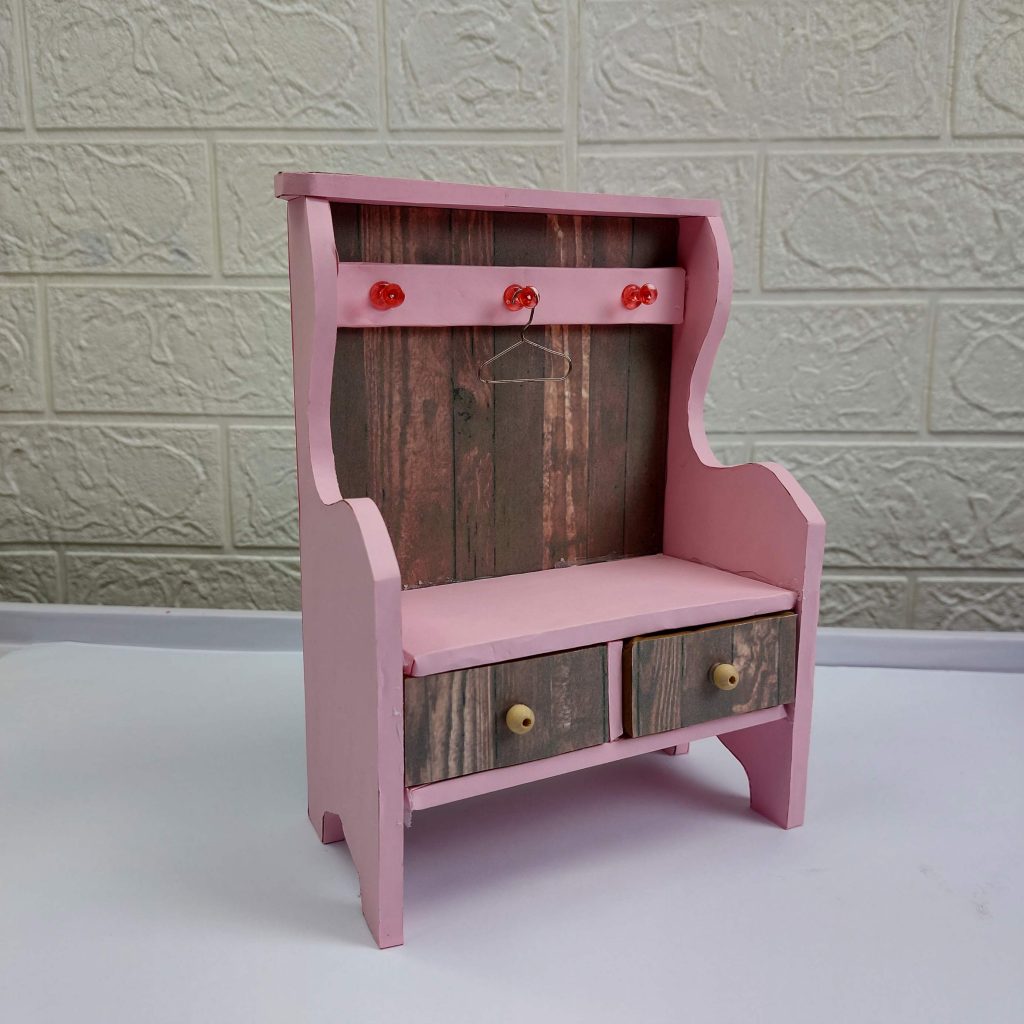
Sometimes I just want to build a piece of furniture that looks detailed and realistic, but is still completely doable with cardboard and decorative paper. This little miniature hall bench is exactly that.
It has curved side panels, a wooden-look back panel, a small top rail with hooks, and two working drawers at the bottom.
No paint involved: everything is covered with paper, which keeps it clean, neat, and surprisingly sturdy. Let's dive in!
PPS Design is by me, but I had some health issues last week, so I had help from a family member this time!
Materials needed
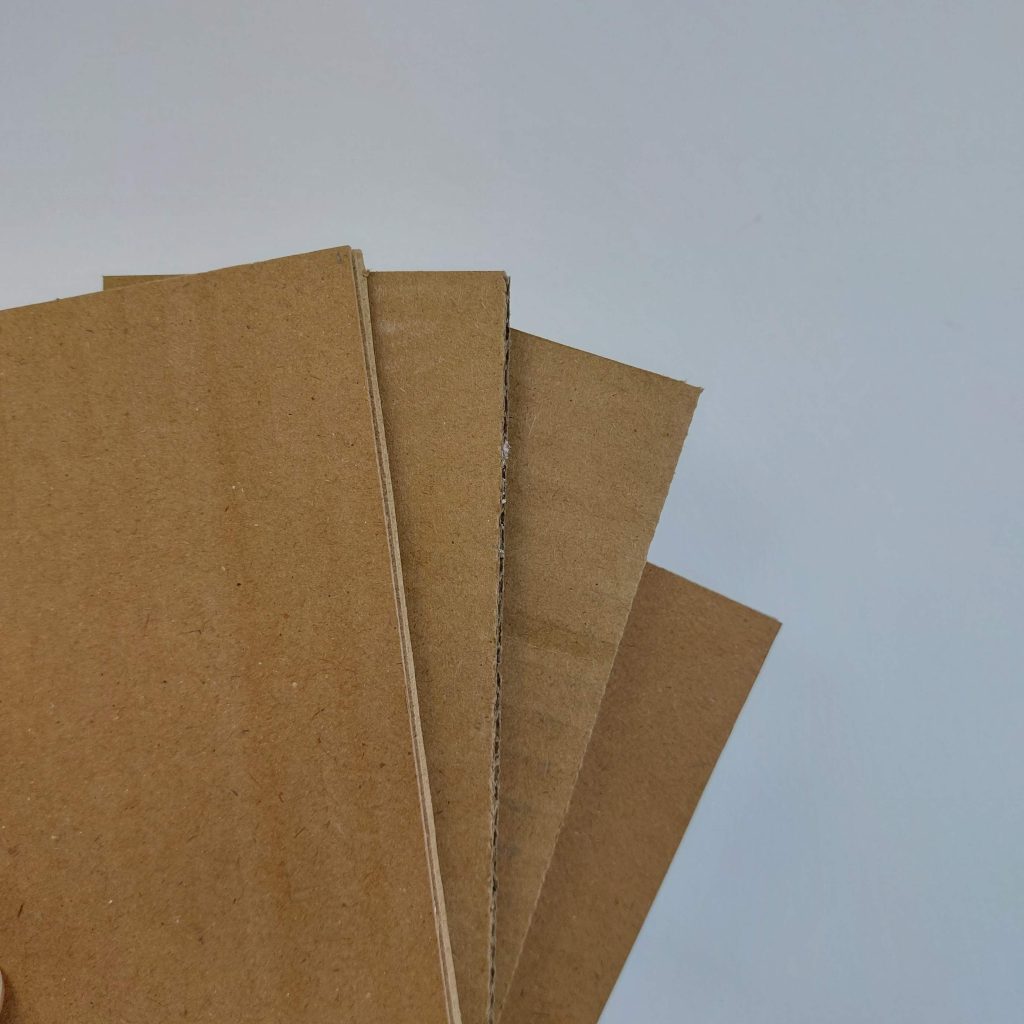
- Thick cardboard (for structure)
- Thin cardboard (for drawer parts)
- Pink decorative paper (or any color you prefer)
- Wooden-print decorative paper (for back panel and drawer fronts)
- Hot glue gun
- All-purpose glue (for wrapping paper)
- Craft knife
- Metal ruler
- Pencil
- Small round wooden beads (drawer knobs)
- Decorative push pins (for top hooks)
- Sandpaper (optional)
Measurements
This project really needs some cutting out, but you will love the end result!
🎥 Watch this Short on YouTube
Main Structure
- Back panel → 13 × 18.5 cm
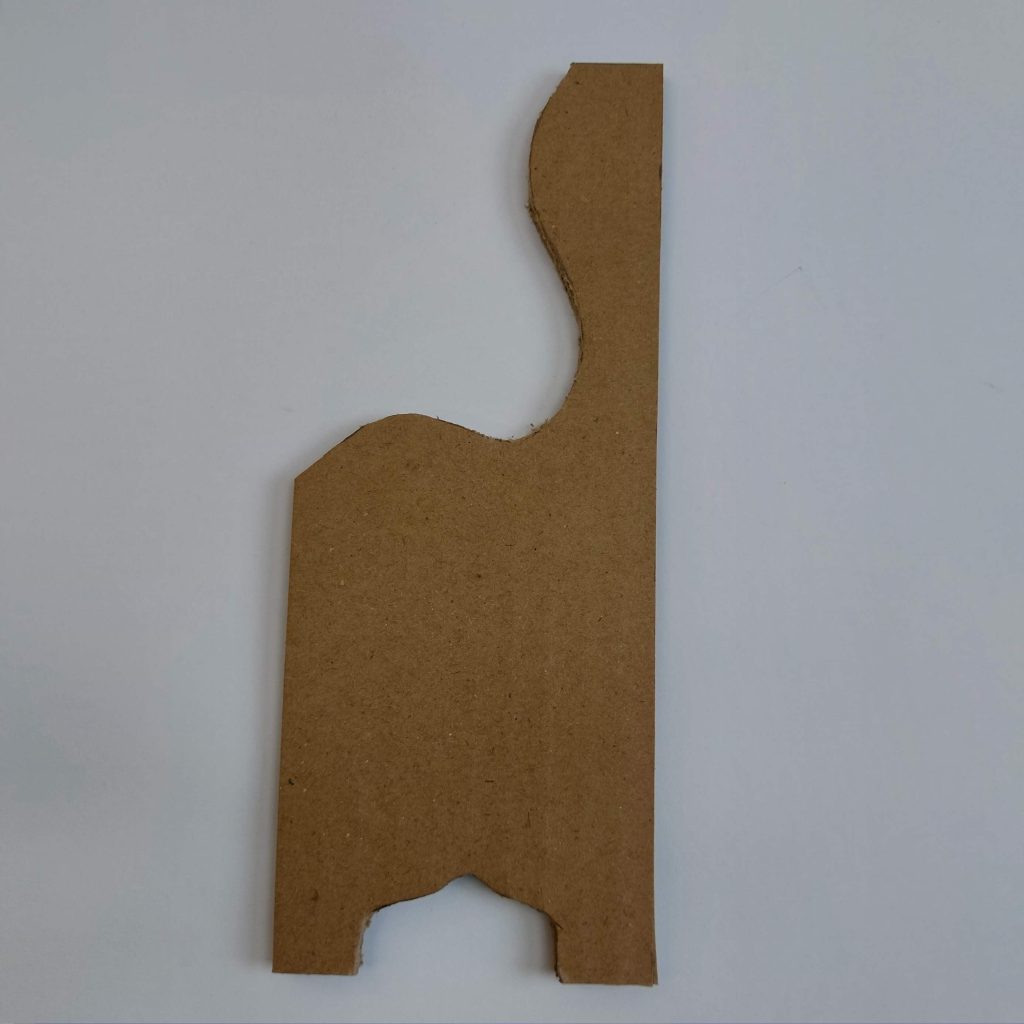
- Side panels (2x) → 8 × 20 cm (cut into curved shape as shown)
- Drawer cover strip (upper front bar) → 7 × 13 cm
- Center divider → 3 × 7 cm
- Top inner holder strip → 1.7 × 13 cm
- Top front edge strip → 15.5 × 2 cm
Drawer Measurements (each drawer)
- Drawer base → 6.2 × 6.5 cm
- Sides (2x) → 2.7 × 6.5 cm
- Back → 6.1 × 2.8 cm
- Front (structure) → 6.2 × 3 cm
- Drawer front cover (wood print) → same size as front piece

Tutorial
- Start by drawing and cutting the two side panels from thick cardboard. Both sides have a curved inner section and small feet at the bottom. Cut one first, then use it as a template to trace the second so they match perfectly.
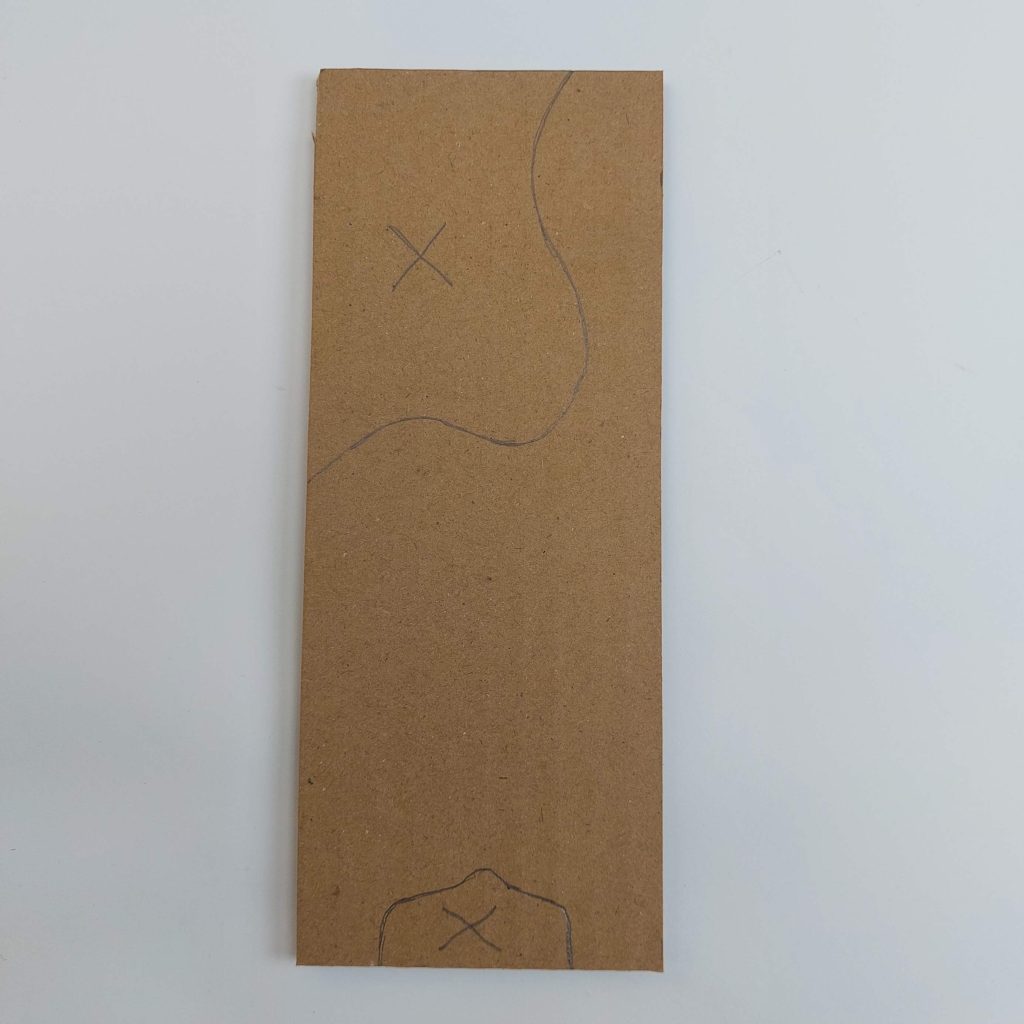
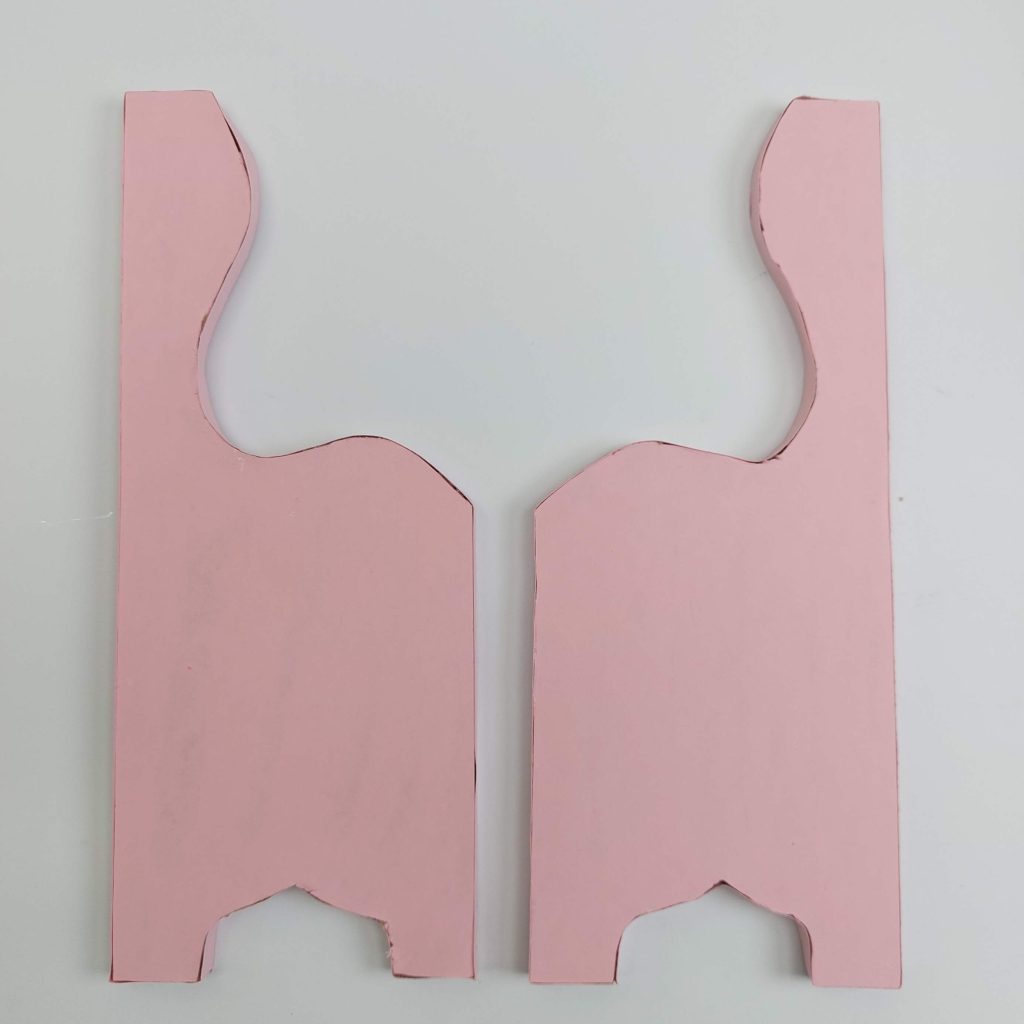
- Once cut, wrap both side panels completely in your pink decorative paper. Glue the paper smoothly around the curves and trim any excess neatly.

- Prepare the back panel (13 × 18.5 cm) and cover it with the wooden-print decorative paper. This will form the visible back wall inside the dresser.
</