DIY Barbie Scallope...
 
Notifications
Clear all

DIY Barbie Scalloped Chair (1:6 Scale) – Easy Modern Doll Furniture Tutorial

1 Posts
1 Users
0 Reactions
8 Views
(@lizzy)
Posts: 975
Member Admin
Topic starter
 
[#2863]
wpf-cross-image

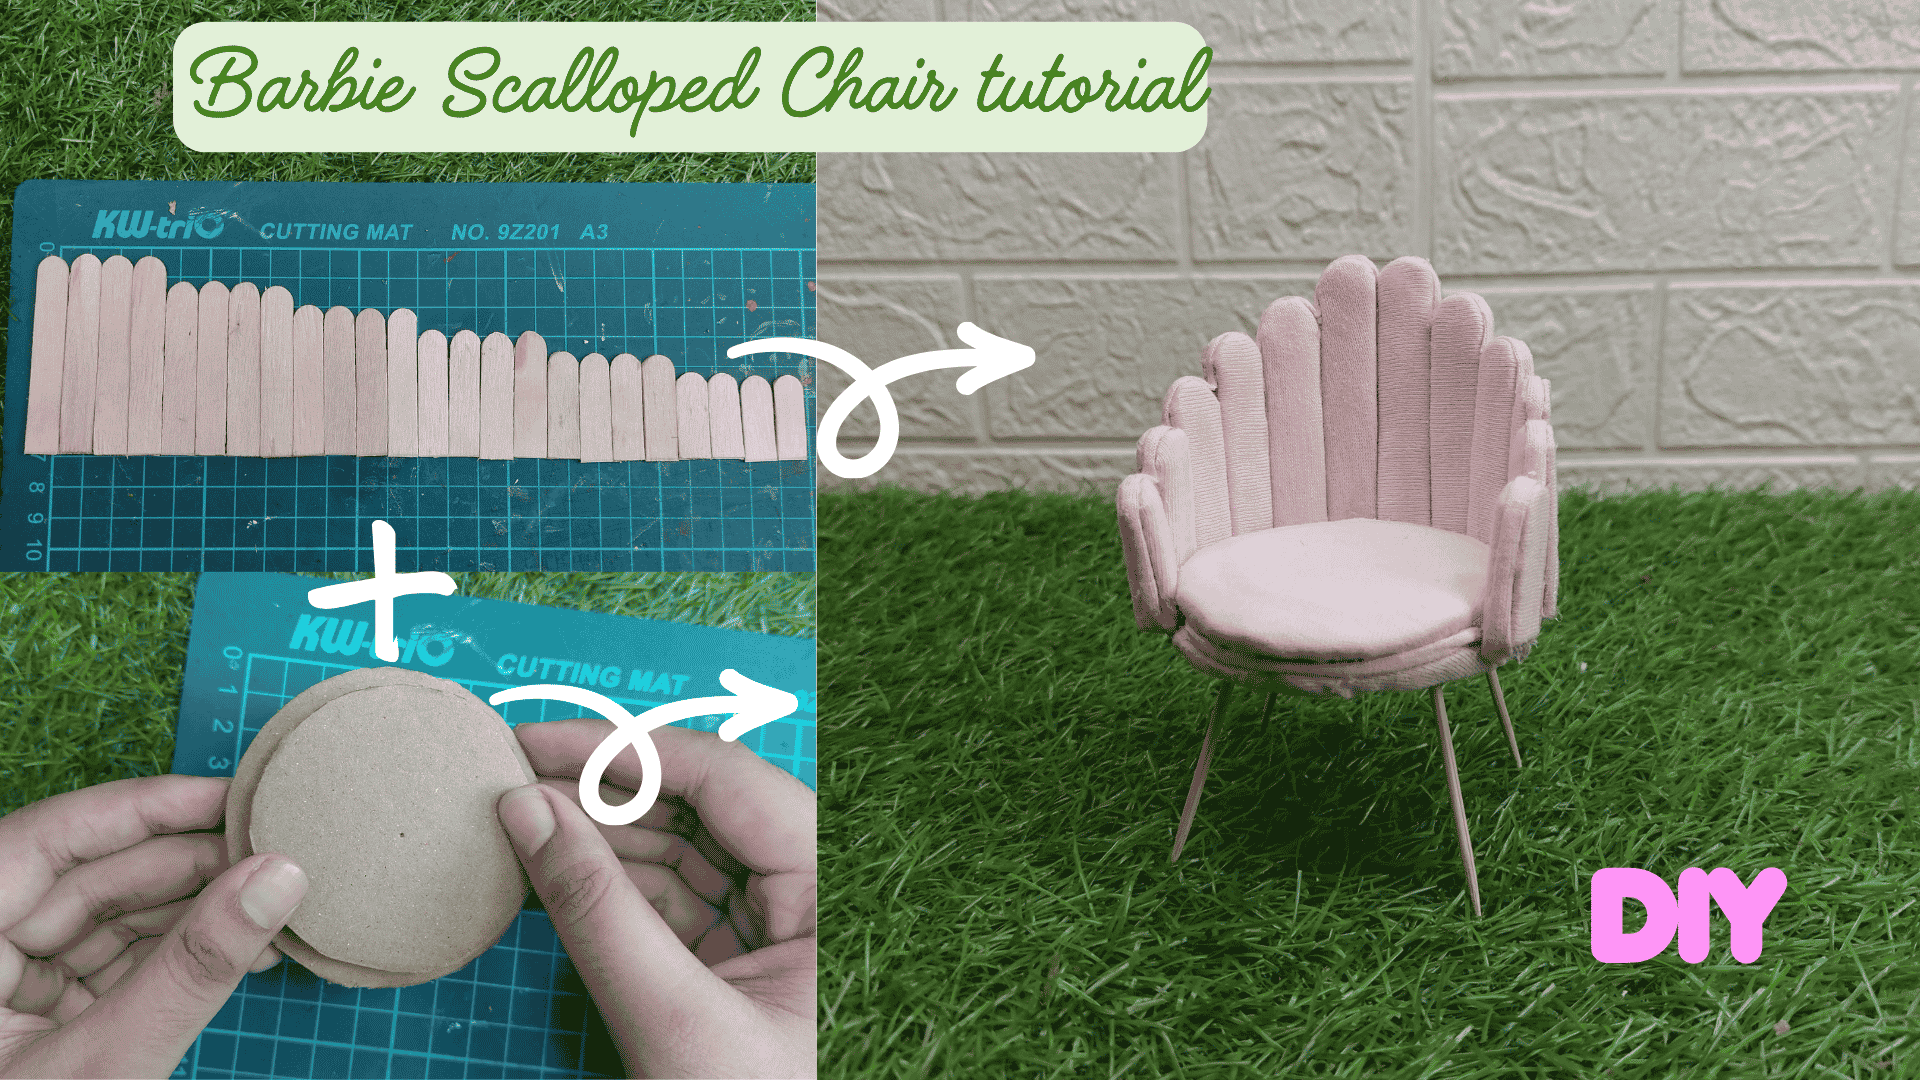
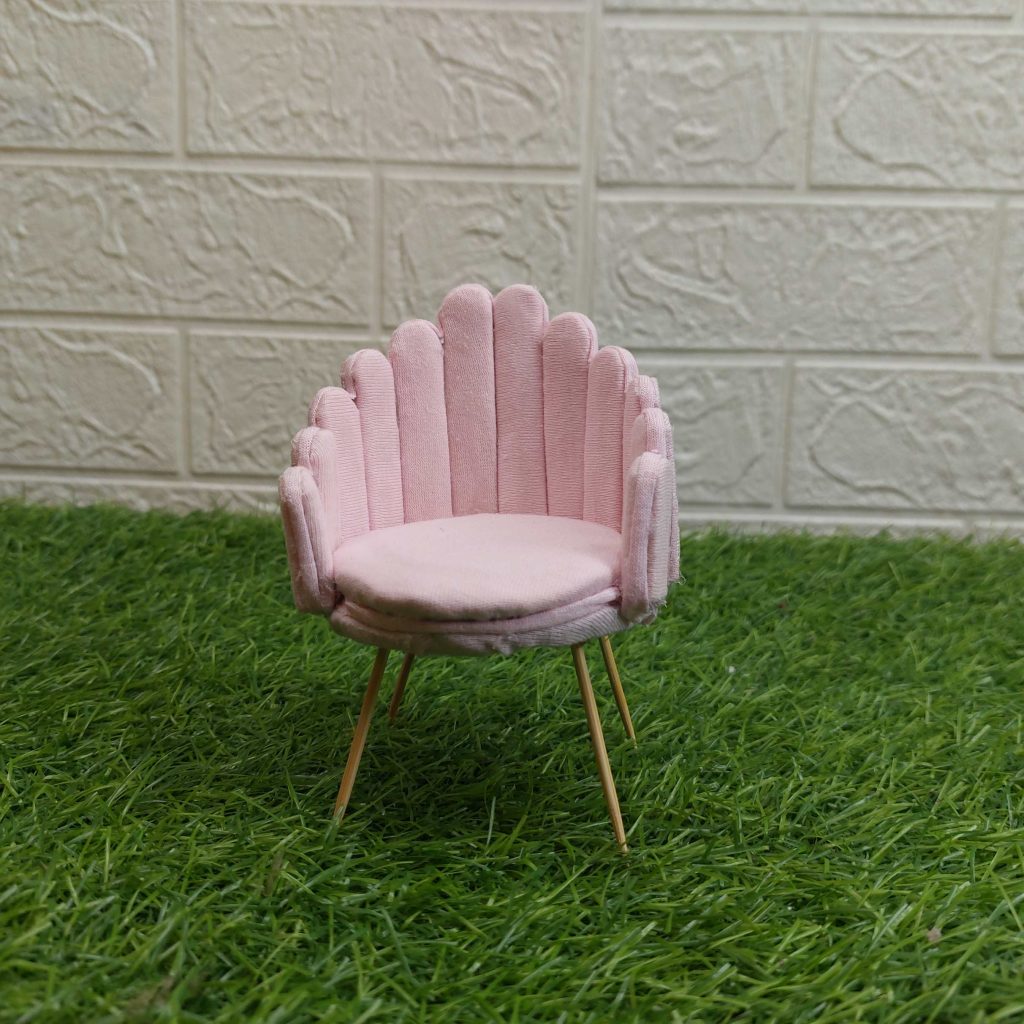
Looking for a stylish piece of furniture for your Barbie dollhouse? This modern scalloped chair is a fun project that's surprisingly easy to make using simple materials.

In this step-by-step tutorial, I'll show you how to build the chair from scratch, from creating the seat base and backrest to upholstering the frame and attaching the legs. You don't need any special tools, making this a great project for beginners as well as experienced miniature makers.

Let's go!
Quick Project Details

Scale: 1:6 scale — suitable for Barbie dolls

Difficulty: Easy and beginner-friendly

Estimated time: 30–45 minutes, excluding drying time

Estimated cost: Less than €1 when using leftover materials

List of Materials

You'll need the following supplies to make this miniature upholstered chair:

  • Cardboard (for the seat base)
  • Stretch fabric or jersey knit fabric
  • Kitchen paper (or a paper towel) for the padding
  • Hot glue gun and glue sticks
  • Pencil
  • Ruler
  • Scissors
  • Craft knife
  • Cutting mat
  • Toothpick or bamboo skewer (for making pilot holes and applying glue)

Optional

  • Fabric glue (for securing loose fabric edges)
  • Acrylic paint or wood stain (to finish the bamboo legs)
  • Sandpaper or a nail file (to smooth the cut ends of the bamboo skewers)

Step-by-step tutorial

Step 1: Make the Seat Base

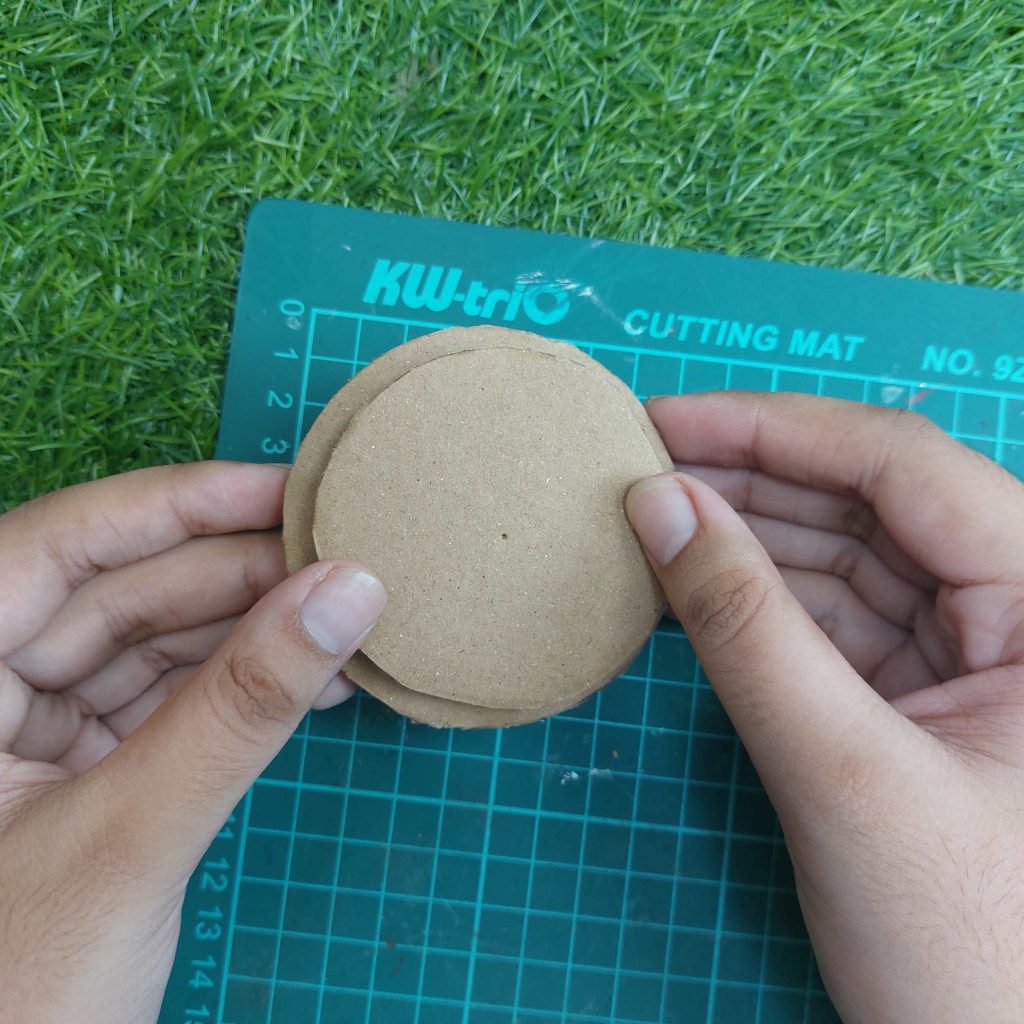
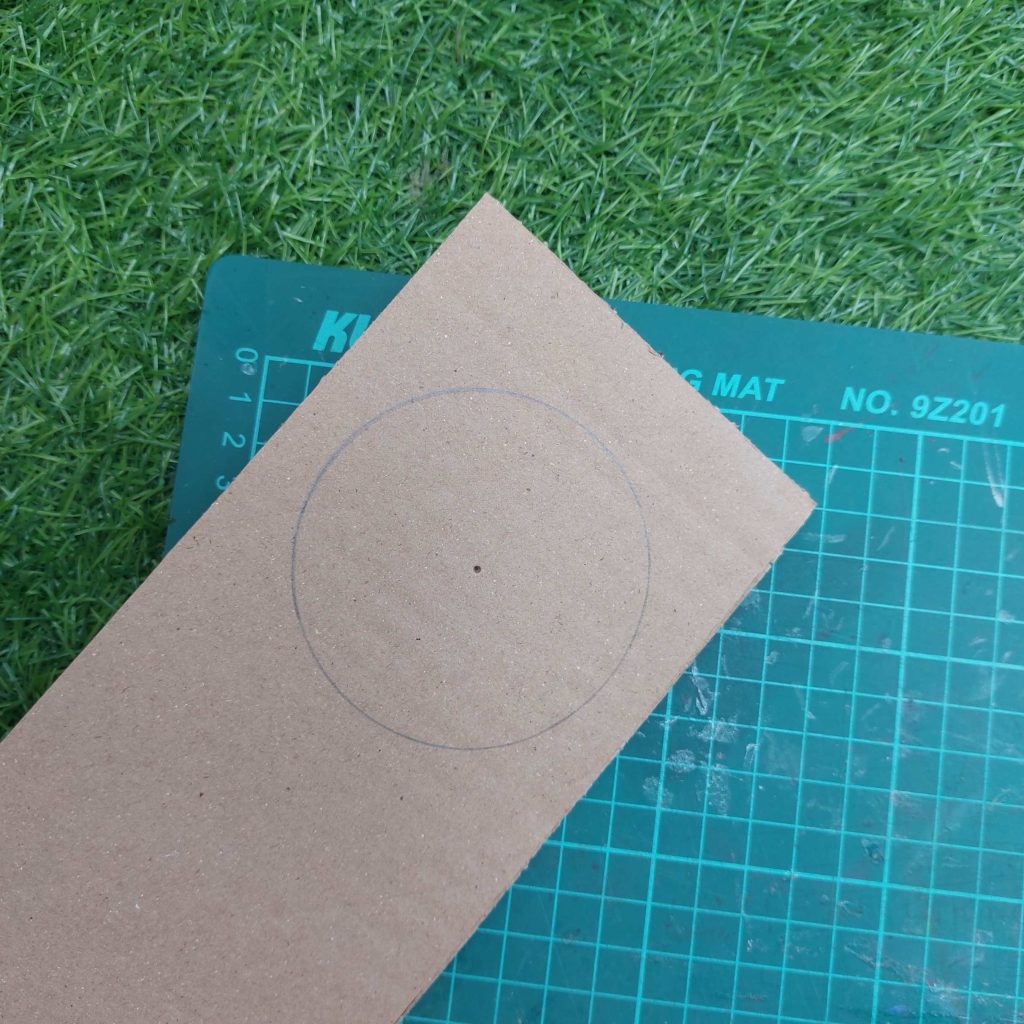
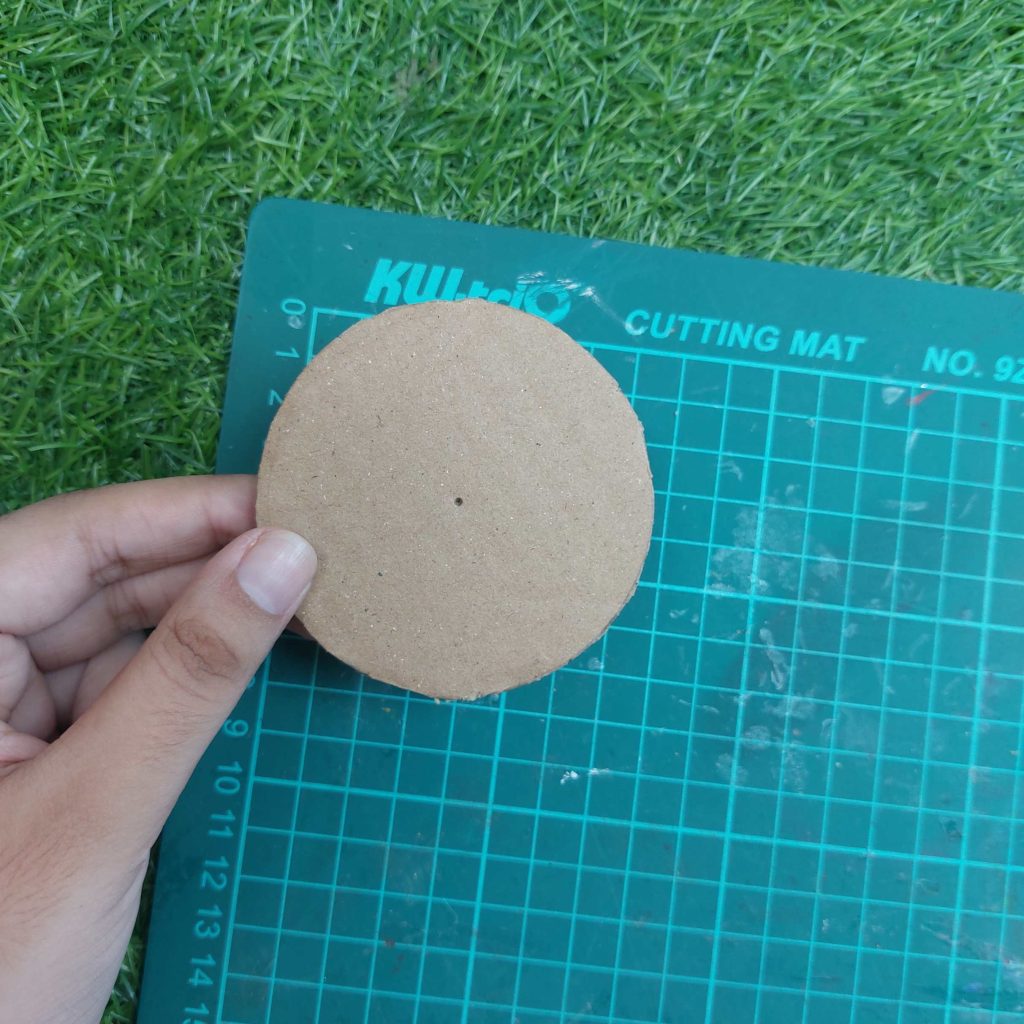
Draw a circle onto a piece of sturdy cardboard and cut it out. Repeat to make a second identical circle, then glue the two pieces together. Doubling the cardboard creates a stronger base for your Barbie chair and helps it hold its shape.
Step 2: Cut the Backrest Pieces

Using bamboo skewers, cut all the pieces needed for the chair frame. Accuracy is important, so measure each piece carefully before cutting.

  • Base pieces: Cut one piece measuring 6 cm and one piece measuring 5.5 cm.
  • Central backrest sticks: Cut 2 pieces measuring 6.3 cm.
  • Remaining backrest and side sticks: Cut the remaining pieces by reducing the length by 0.8 cm for each pair as you move outward from the center. This gradual reduction creates the curved shape of the chair back and armrests.
  • Legs: Cut 4 pieces measuring 5 cm.

Lay all the pieces out in order from the longest to the shortest before moving on to the next step. This makes the assembly much easier and helps keep both sides of the chair perfectly symmetrical.

Step 3: Add Padding to the Backrest Pieces

Separate a paper towel into a single ply and cut it into strips that are slightly wider than your craft sticks.

Apply a thin line of hot glue down the center of each wooden piece, then press it onto the paper towel. Trim away the excess paper and repeat until all of the backrest pieces have a thin layer of padding. This will give the finished chair a soft, upholstered appearance once the fabric is added.

Step 4: Trim the Padding

Once the glue has cooled, trim away the excess paper towel around each craft stick with a pair of scissors. Follow the shape of the rounded top as closely as possible so every piece has a neat, even finish.

When you're done, arrange the padded pieces by size and set them aside for the next step.

Step 5: Cover the Cushions with Fabric

Cut a piece of fabric slightly larger than each padded craft stick. Apply a thin line of hot glue around the edges of the paper towel layer, then place the fabric over the front and press it down gently, smoothing out any wrinkles.

Turn the piece over and add a small dab of hot glue to the rounded top. Fold the fabric neatly over the curved edge and press it into place.

Next, glue the long sides, pulling the fabric snug as you fold it over to the back. Finally, fold and glue the bottom edge, trimming away any bulky excess if needed.

Repeat this process for all of the padded pieces until every cushion is neatly covered in fabric.

Step 6: Make the Side Cushions

For the narrow side cushions, cut a strip of fabric that is wide enough to wrap completely around the padded craft stick. Apply a thin line of hot glue along the back seam, then fold the fabric over and press the edges together to create a smooth, rounded cushion.

Hold the seam closed for a few seconds while the glue cools. Try to keep the seam as straight and narrow as possible, as it will be glued against the chair frame later and won't be visible.

Repeat this process for all of the narrow side cushions. You should now have soft, fabric-covered cushions with a neat rounded front and a single glued seam running along the back.

Step 7: Make and Cover the Seat Cushion

Take one of the cardboard circles and cover the top with a layer of kitchen paper to add a little softness and volume. Trim the paper roughly to the shape of the circle.

Place this padded circle in the center of a larger piece of pink fabric. Pull the fabric around the edges and glue it to the back, working gradually around the circle so the front stays smooth.

Once the fabric is secured, glue the second cardboard circle onto the back. This hides the folded fabric edges and gives the cushion a firm, tidy base.

I think it is better in this case to let the multiple pictures do the talking:

Step 8: Assemble the Upholstered Chair

Apply a generous amount of hot glue to the bottom end of one upholstered tube and press it firmly against the back edge of the seat cushion. Hold it in place for a few seconds until the glue sets. Attach the second tube beside the first, making sure both pieces are straight and evenly aligned.

Continue gluing the remaining upholstered tubes one by one around the curved edge of the seat, spacing them evenly to create the chair's rounded back and armrests. The tubes at the sides naturally curve forward, giving the chair its distinctive wraparound shape.

Once all the pieces have been attached, check that they are evenly spaced and make any small adjustments before the glue fully hardens. The result is a soft, rounded accent chair ready for the final finishing touches.

Step 9: Finish the Chair with Decorative Piping

Create a long, thin fabric cord by wrapping a narrow strip of fabric tightly around a piece of string or thin cord. This will become the decorative piping that hides the raw edges and gives the chair a polished, upholstered finish.

Starting at one side of the chair, apply a thin bead of hot glue along the front edge of the seat base and press the piping into place. Work slowly around the curved front of the chair, keeping the piping snug against the edge. Continue gluing until you reach the opposite side, trimming off any excess.

Once the piping is attached, gently press it down with your fingers so it follows the curve of the chair evenly. This simple finishing detail conceals the fabric edges and gives the miniature chair a much cleaner, more professional appearance.

Step 10: Attach the Chair Legs

Cut four bamboo skewers to the desired length for the chair legs. Turn the chair upside down and use a pointed skewer to carefully make four pilot holes in the cardboard base where you marked the leg positions earlier. These small holes make it much easier to insert the legs neatly.

Add a generous drop of hot glue into each hole, then insert a bamboo skewer at a slight outward angle. Repeat for all four legs, checking from different angles to make sure they are evenly spaced and the chair stands level. Hold each leg in place for a few seconds while the glue sets.

Your Miniature Chair Is Finished!

Your upholstered miniature chair is now complete and ready to display in your dollhouse or miniature room. You can leave the bamboo legs natural for a Scandinavian look, or paint or stain them to match your décor.

This simple technique can also be adapted to make chairs in different sizes, fabrics, and colors, allowing you to create an entire matching dining or living room set.

I wish you happy crafting!

Kind regards,

Lizzy


This topic was modified 10 hours ago 8 times by Lizzy
This topic was modified 9 hours ago by Lizzy
 
Posted : 31/07/2026 2:14 pm