
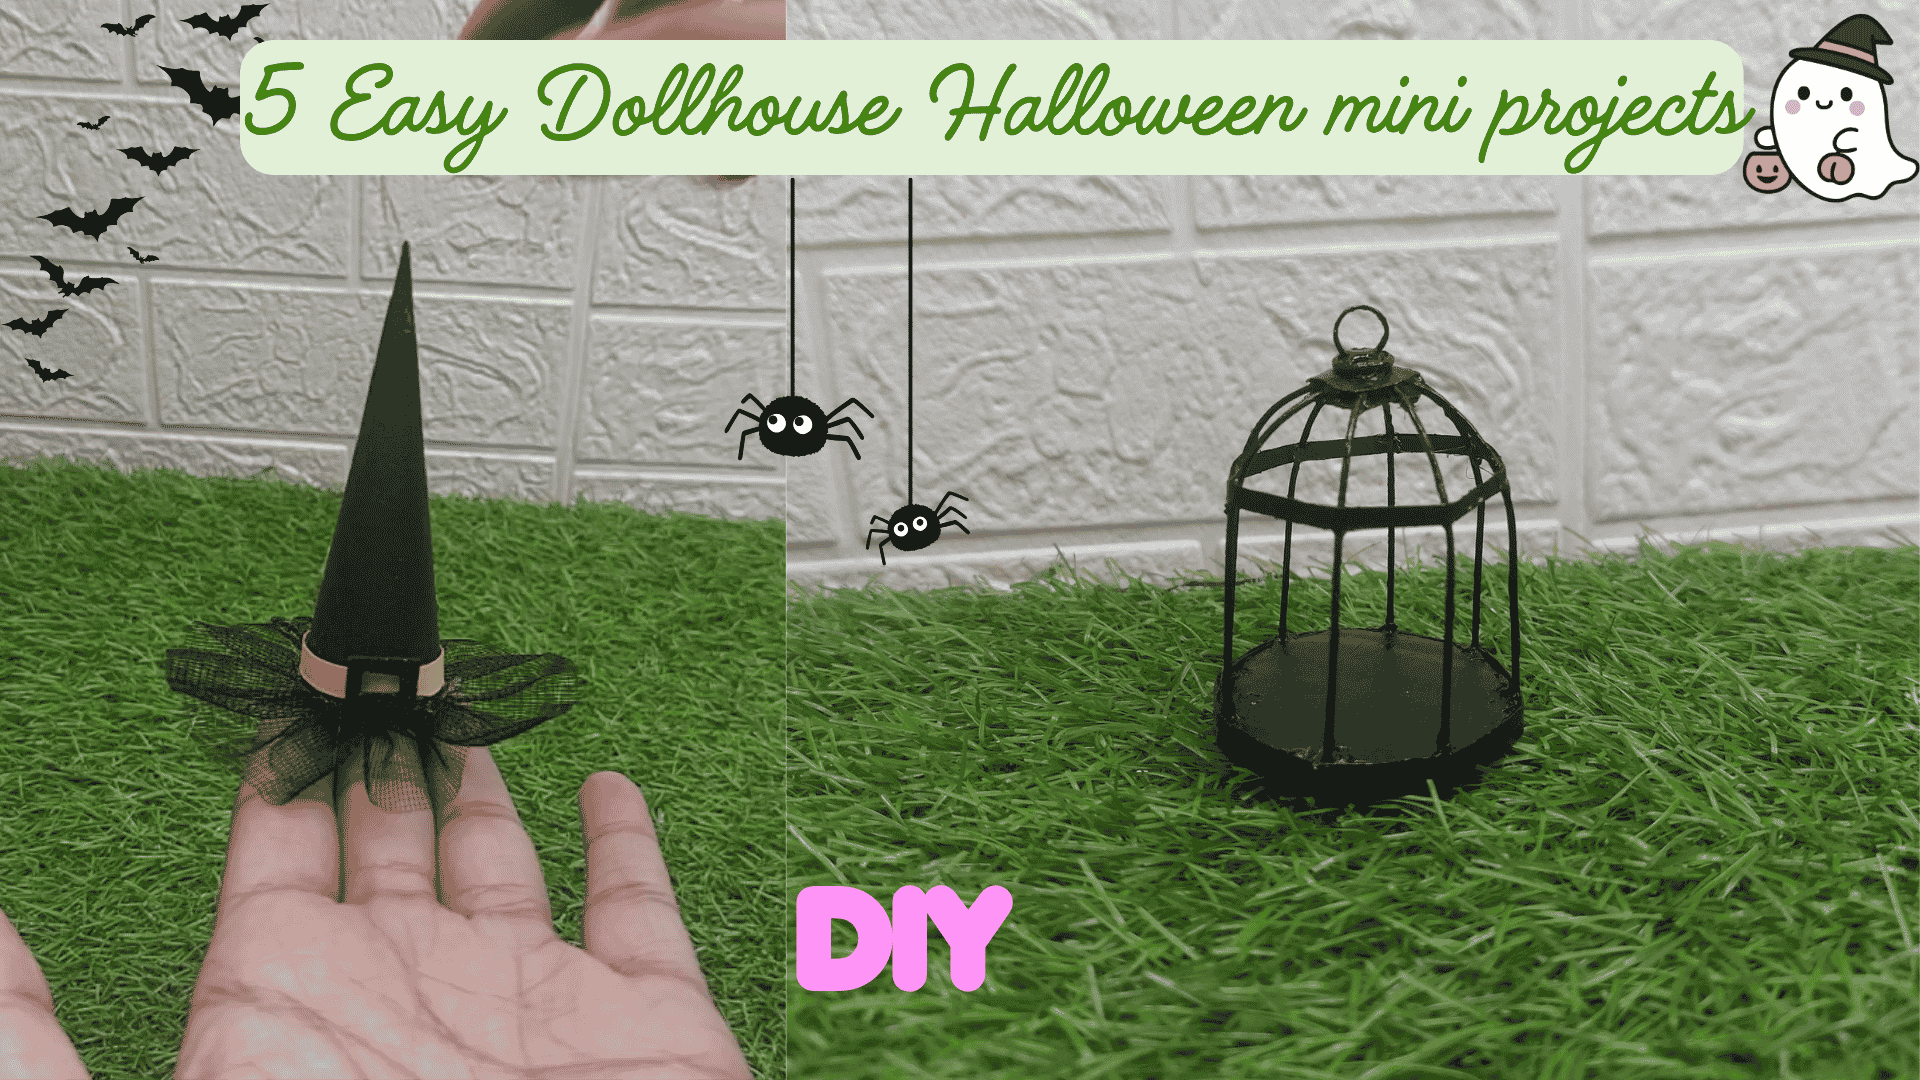
Halloween is the perfect excuse to add a few spooky little details to your dollhouse or miniature scenes!
In this tutorial, I’ll show you how to make 5 easy miniature Halloween crafts using simple materials such as paper, mesh, beads, and other inexpensive craft supplies. Each project includes step-by-step photos, so you can easily make your own versions at home.
1. DIY Miniature Witch Hat
For the first Halloween project, we’re making this tiny witch hat from black mesh and a few simple materials.
Maybe you could even add this hat to the Halloween doll I just recently made.
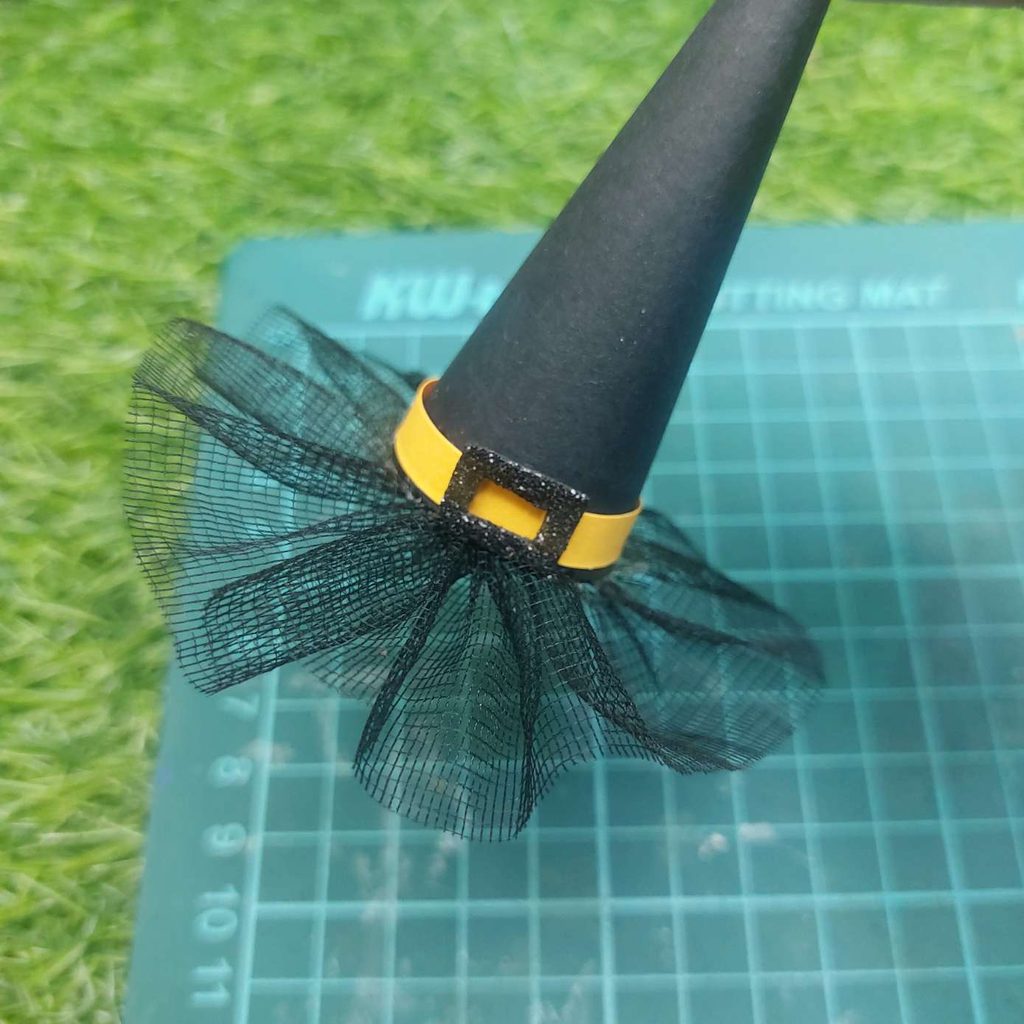
Step 1: Make the Ruffled Witch Hat Brim
Cut a long strip of black mesh or tulle. Thread a needle with black thread and sew simple running stitches along one long edge of the mesh.
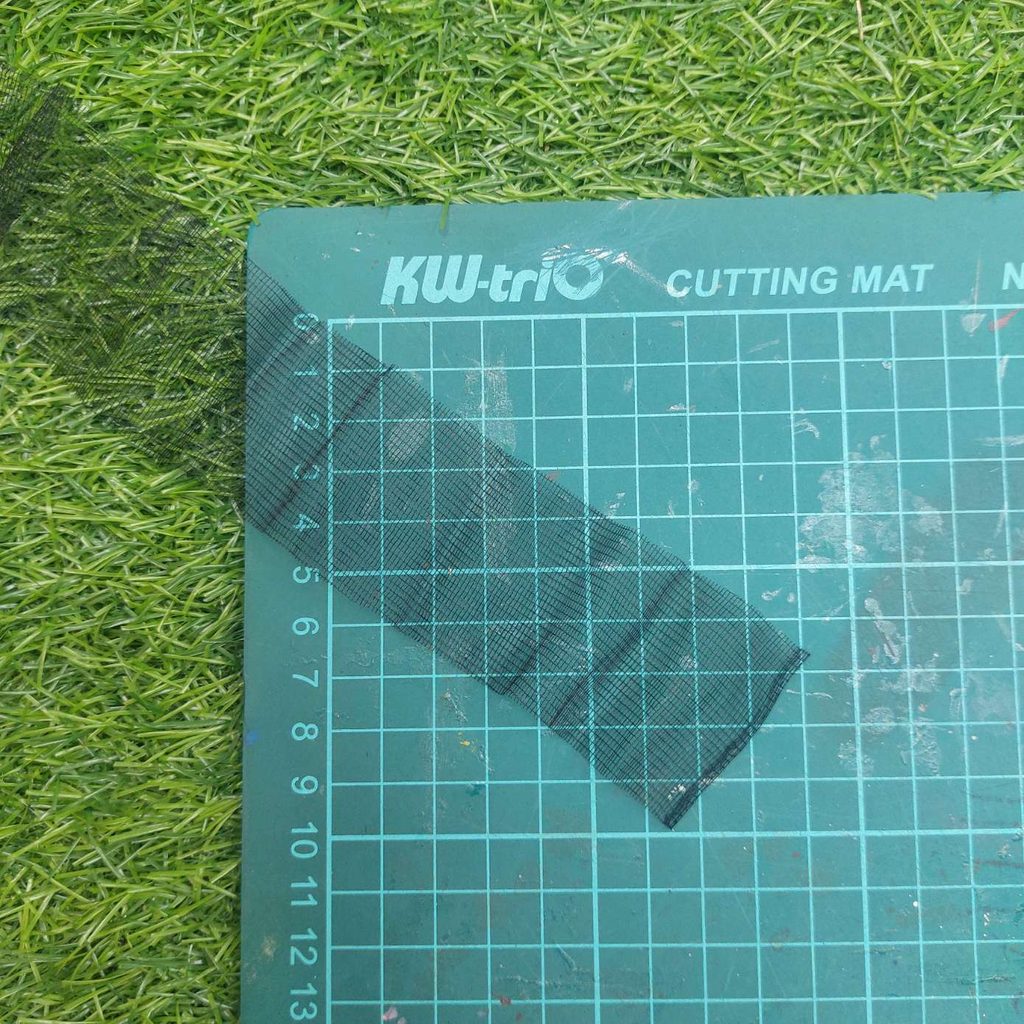
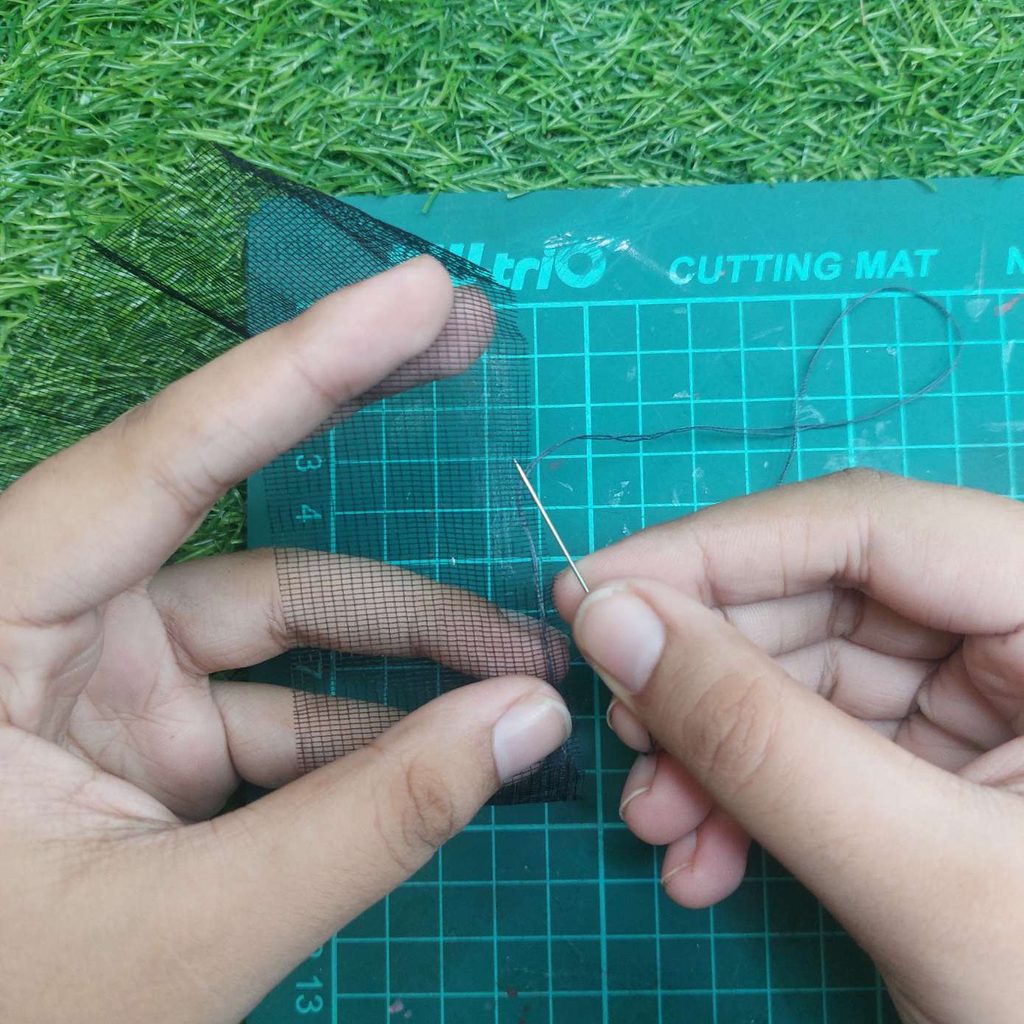
Gently pull the thread as you go so the mesh starts to gather. Continue gathering it until it forms a full circular ruffle, then secure the thread with a knot.
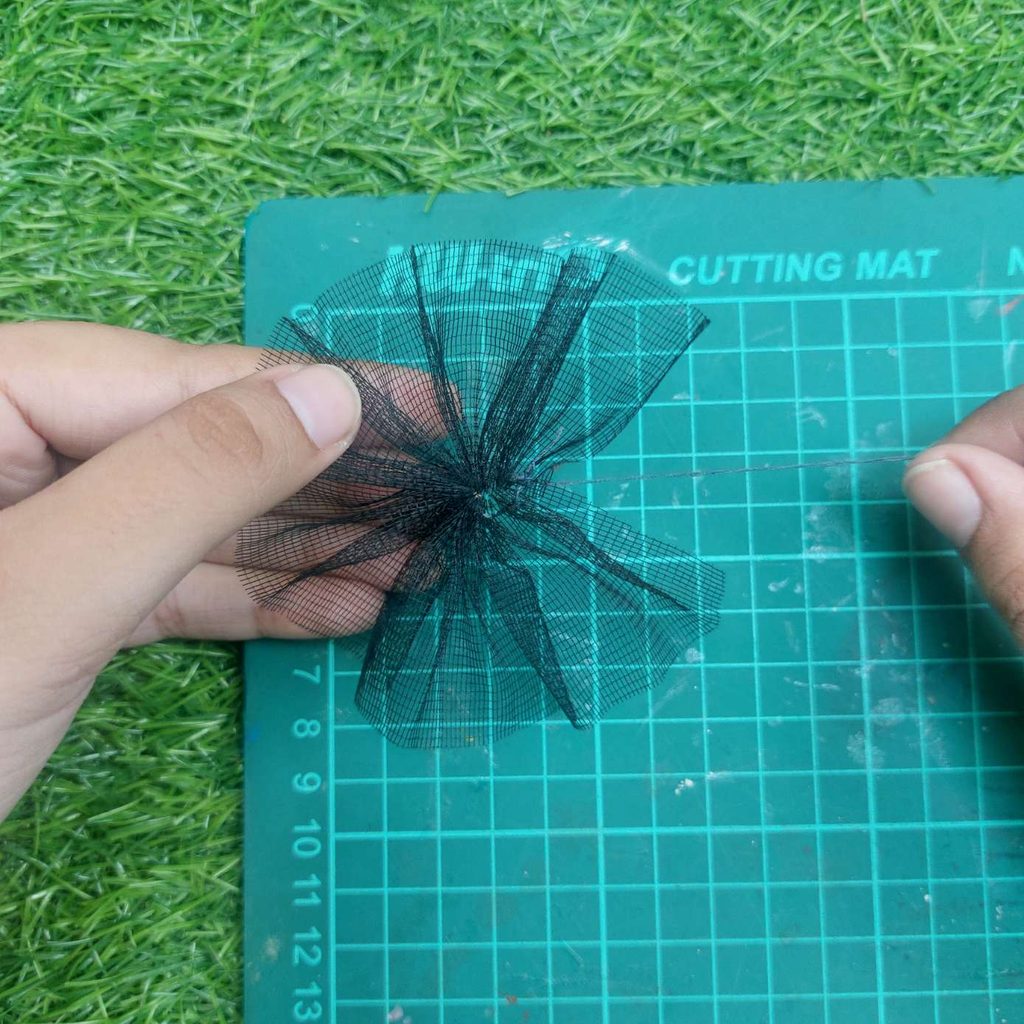
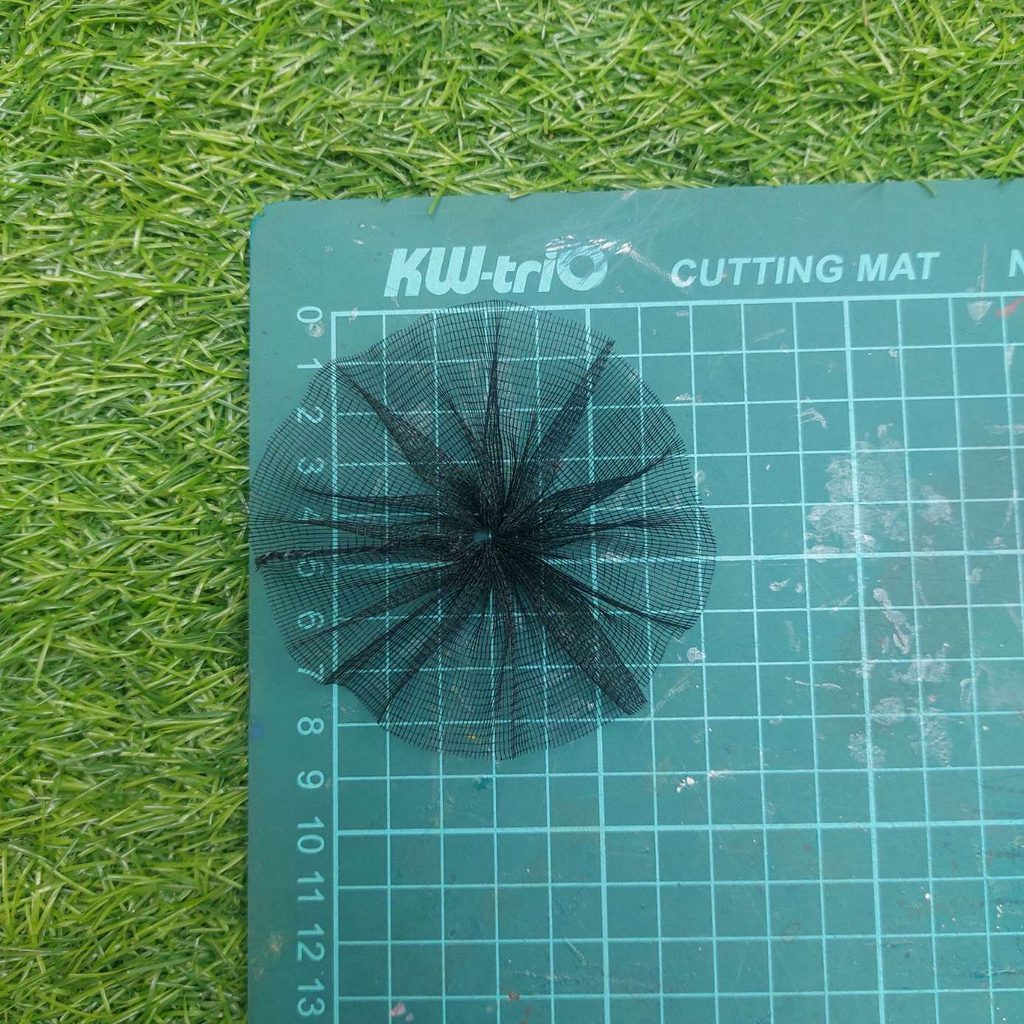
Spread the folds around evenly to form the ruffled brim of the miniature witch hat. Don't worry about making every fold identical—the slightly uneven ruffles actually work really well for this little Halloween hat.
Step 2: Make the Pointed Top of the Witch Hat
Take a piece of black craft paper and roll it into a long, narrow cone. Adjust it until you are happy with the shape and the point at the top, then glue the overlapping edge together.
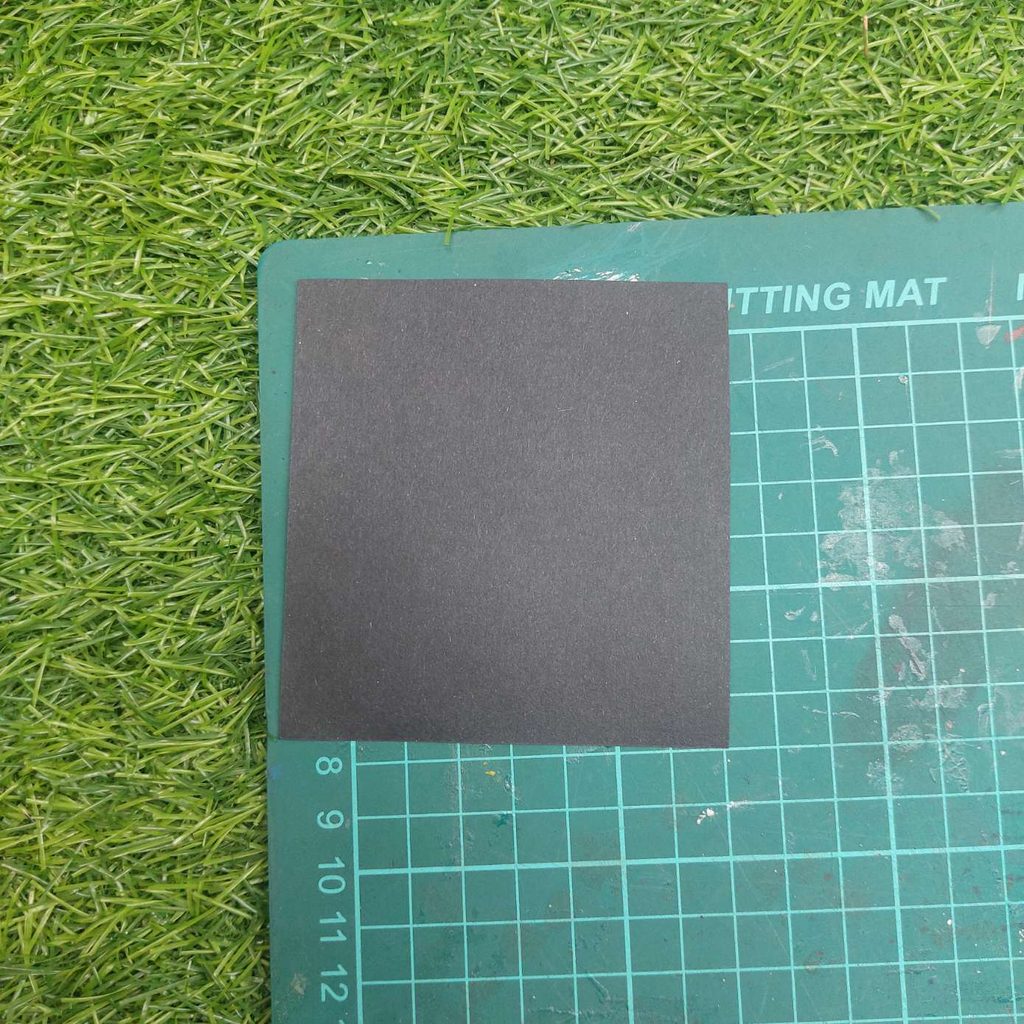
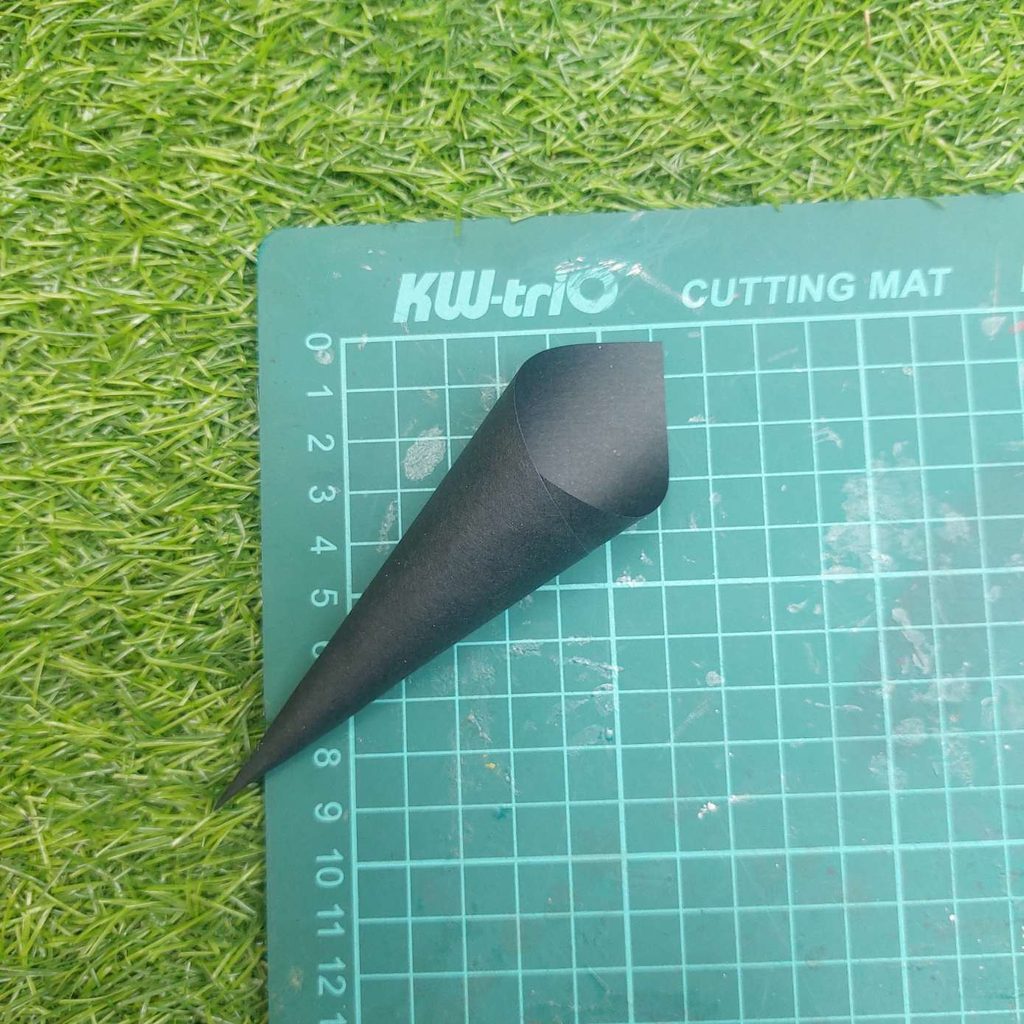
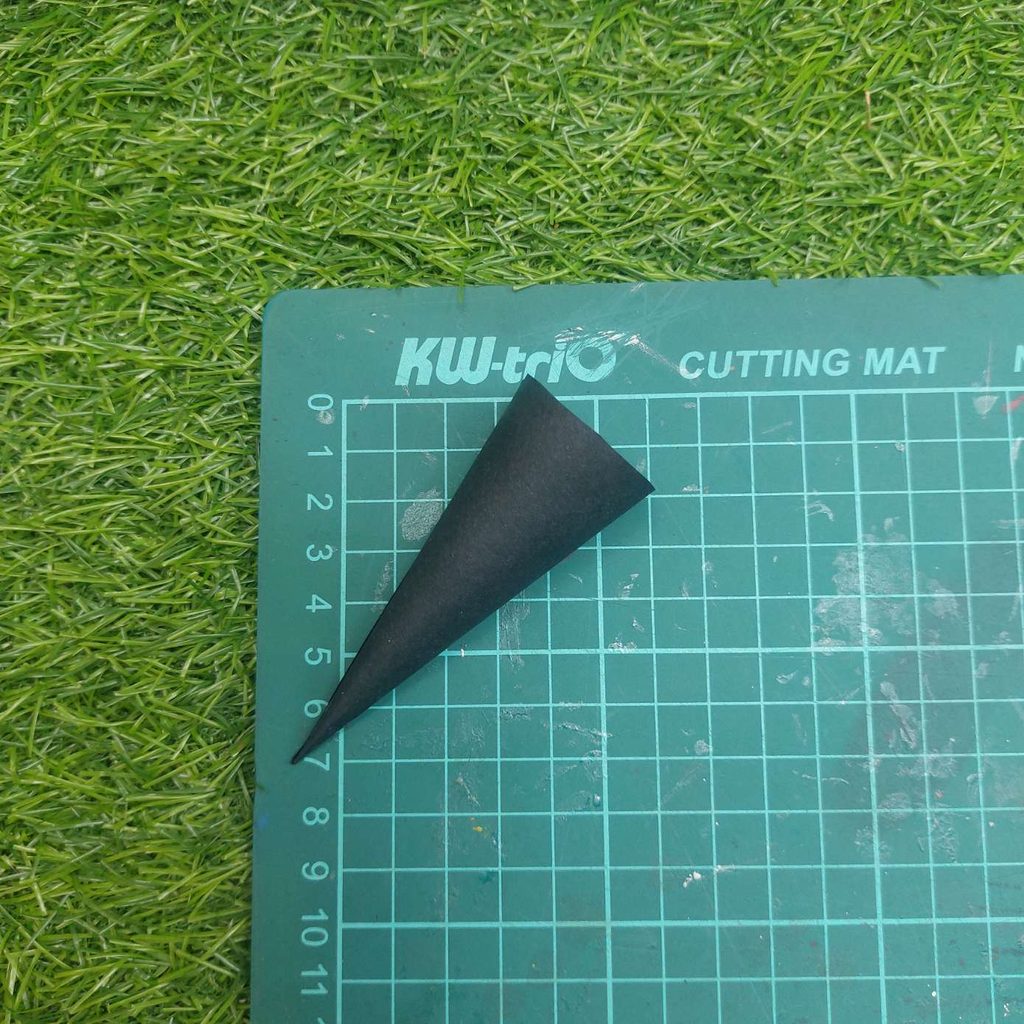
Once the glue has dried, trim the open end if necessary so the bottom of the cone sits fairly evenly.
Step 3: Attach the Cone to the Brim
Add glue around the bottom edge of the paper cone and place it directly in the center of the gathered black mesh you made earlier.
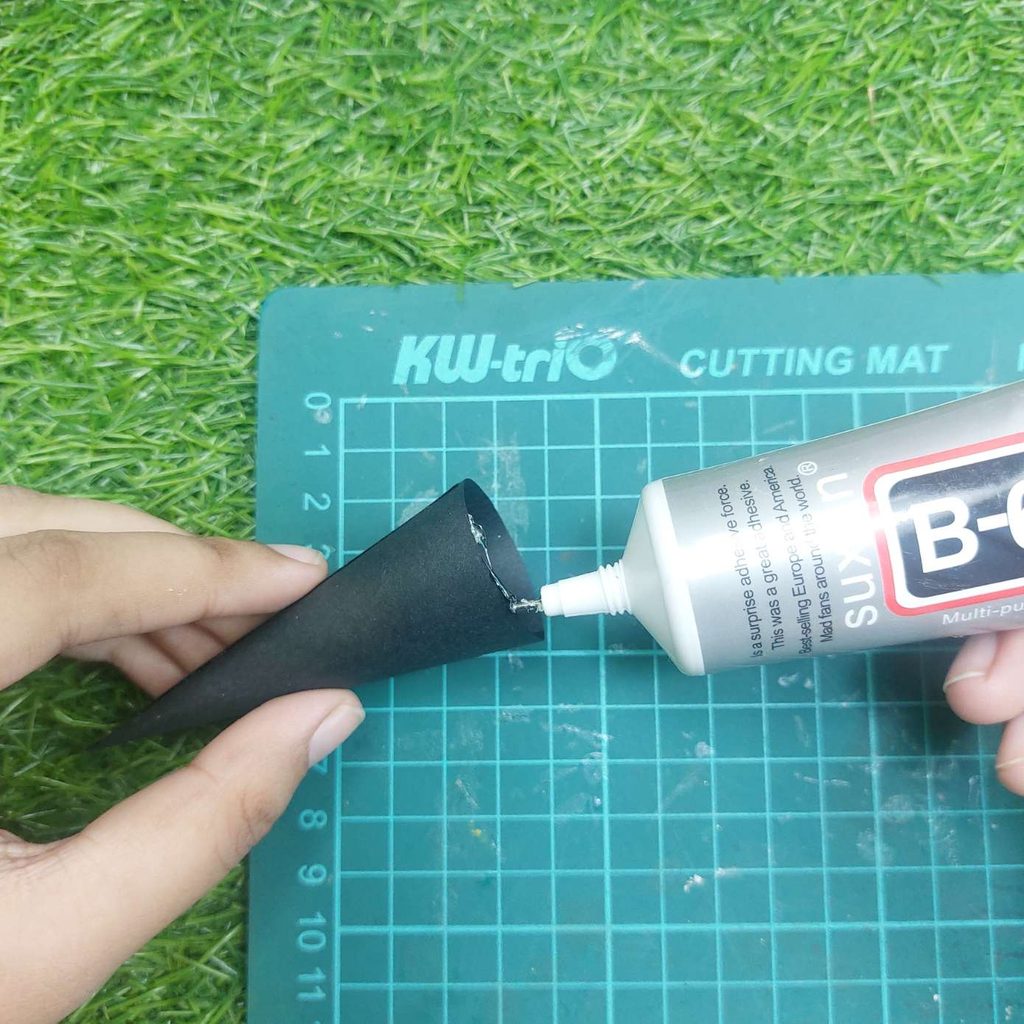
Press it gently into place and allow the glue to dry well before adding the decorations.