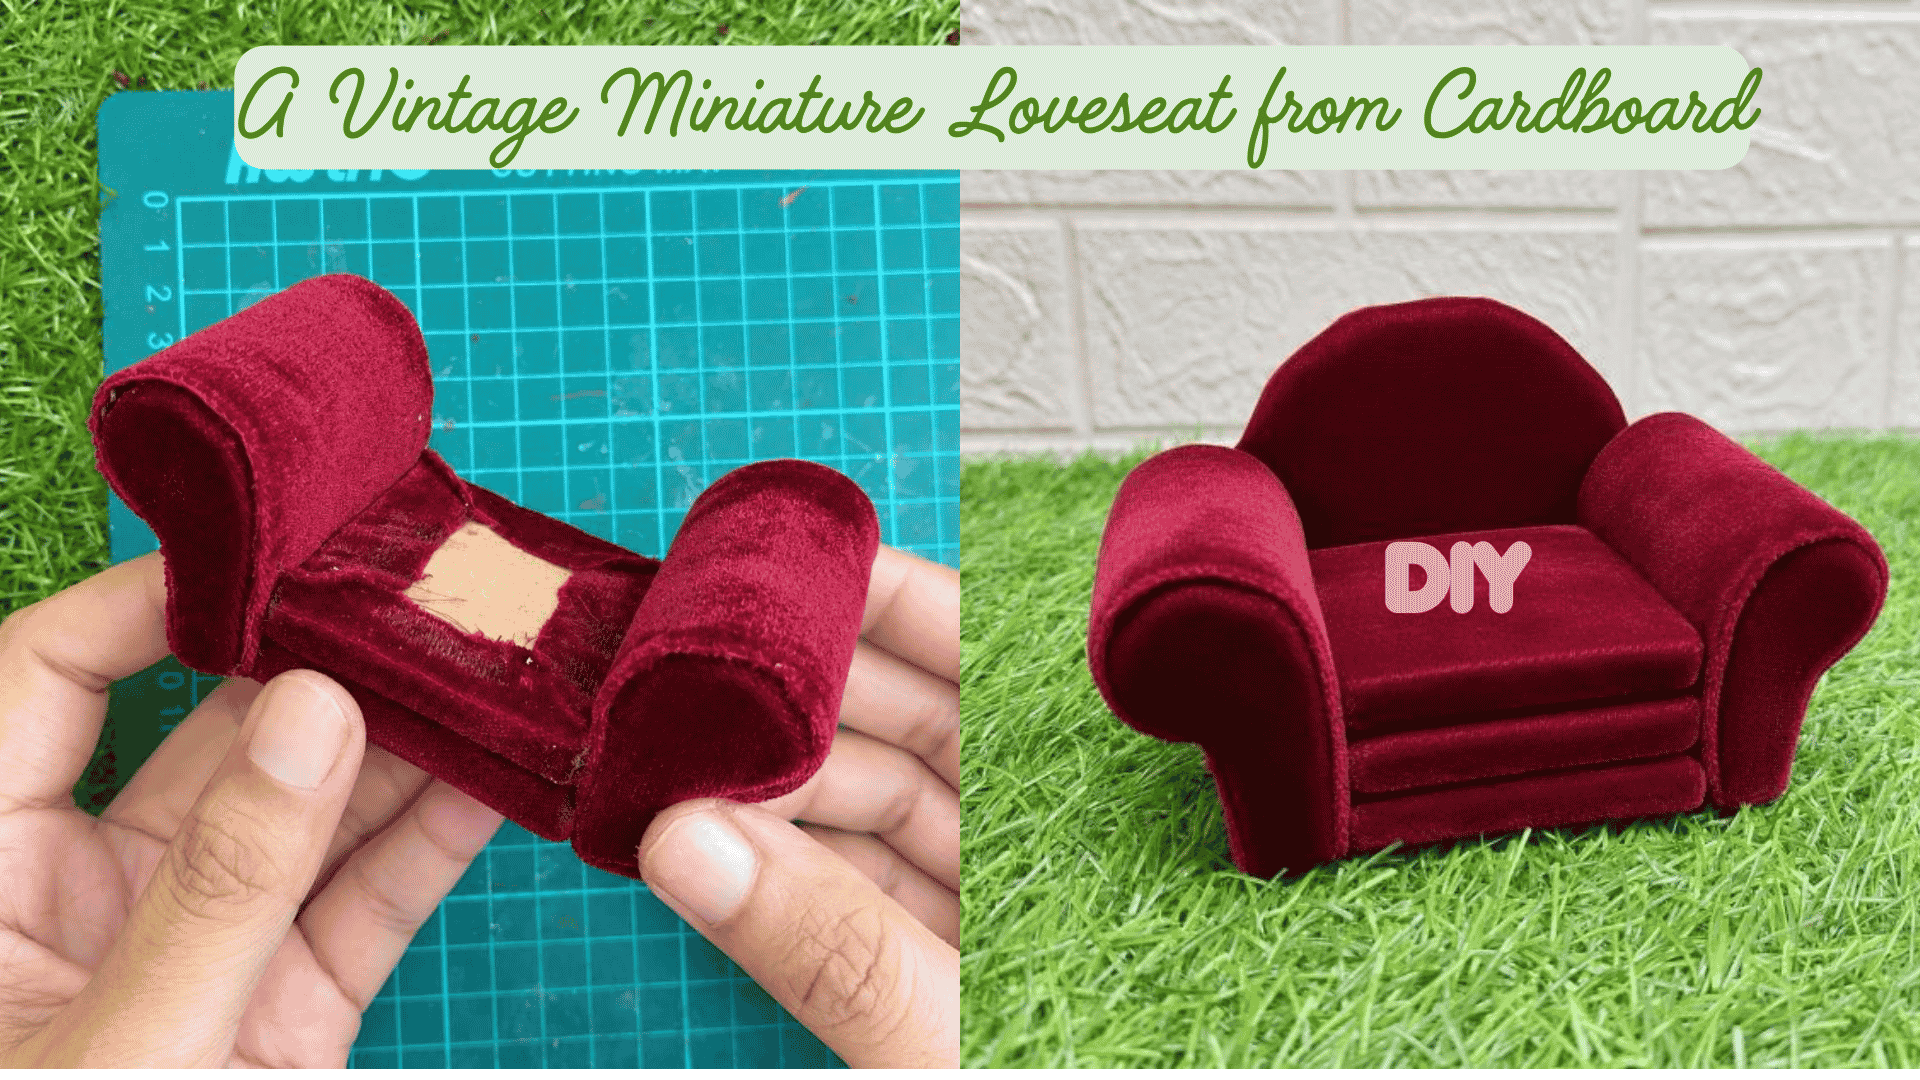
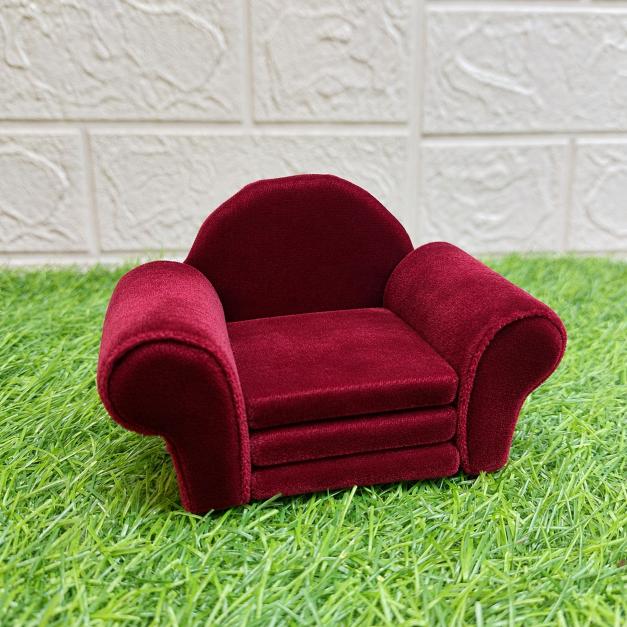
I’ve always loved those elegant little velvet armchairs you see in vintage interiors, so why not make one in miniature? This DIY dollhouse armchair is made from simple cardboard, a little padding, and burgundy velvet fabric to give it that soft, upholstered look.
The rounded armrests and curved backrest make it look surprisingly luxurious, even though it’s made with inexpensive materials. I’ll show you how to put it all together, step by step!
Materials Needed
- Cardboard corrugated
- Burgundy velvet fabric (or another fabric of your choice)
- Paper towels for soft padding
- Craft glue
- Scissors
- Craft knife
- Pencil
- Ruler
- Cutting mat
Approximate Measurements
The finished miniature armchair measures approximately:
- Width: 8–9 cm (3.1–3.5 inches), including the armrests
- Depth: 6–7 cm (2.4–2.8 inches)
- Height: 7–8 cm (2.8–3.1 inches)
- Seat cushion: approximately 5 × 5 cm (2 × 2 inches)
You can adjust the cardboard pieces to fit your desired chair size by using my free scale converter here. The most important thing is that the seat cushion fits snugly between the armrests.
Step-by-step tutorial
Just take it one step at a time again, here we go!
Step 1: Cut Out the Cardboard Pieces for the Sofa Arms
Let’s start by making the rounded armrests for our miniature sofa.
Take a piece of cardboard and draw the shape shown in the first picture. It has a rounded, curled top and a narrower straight section underneath. This shape will form the side profile of the sofa’s rolled armrests.
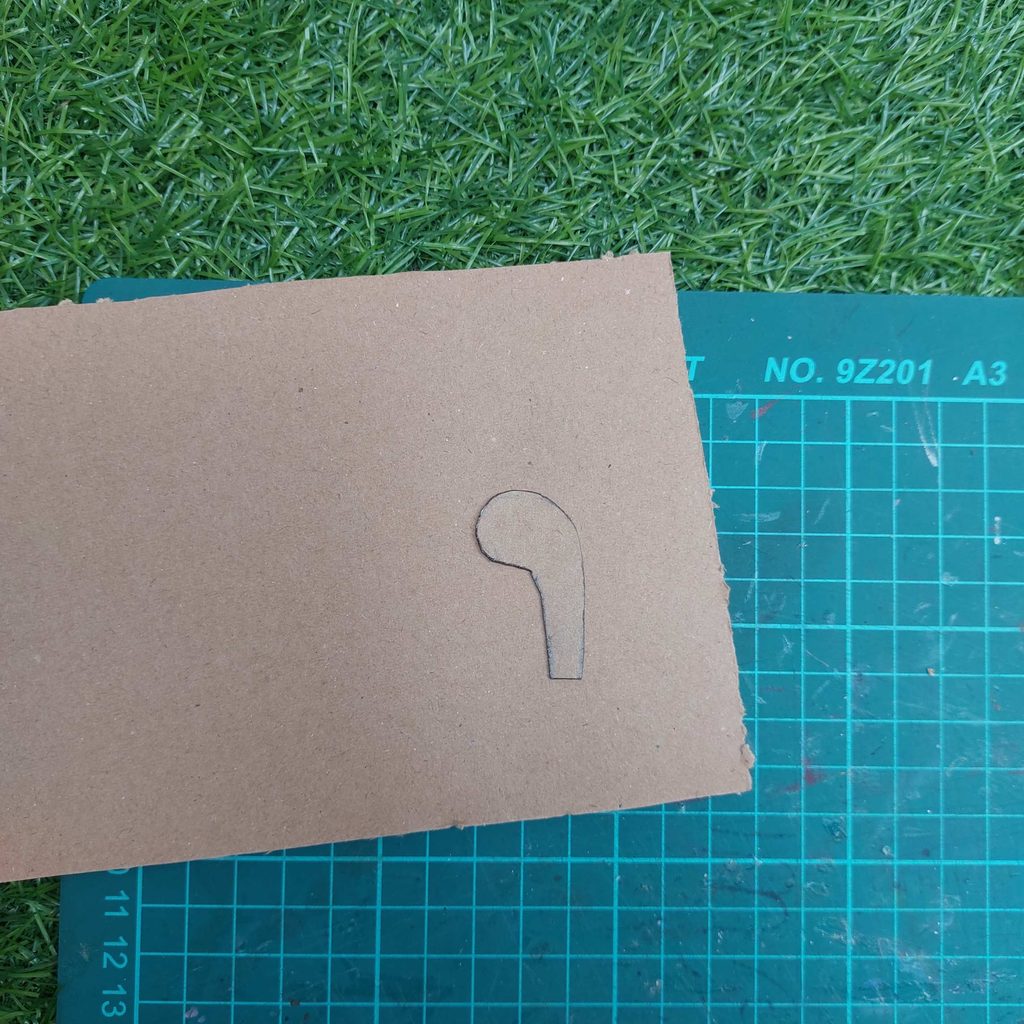
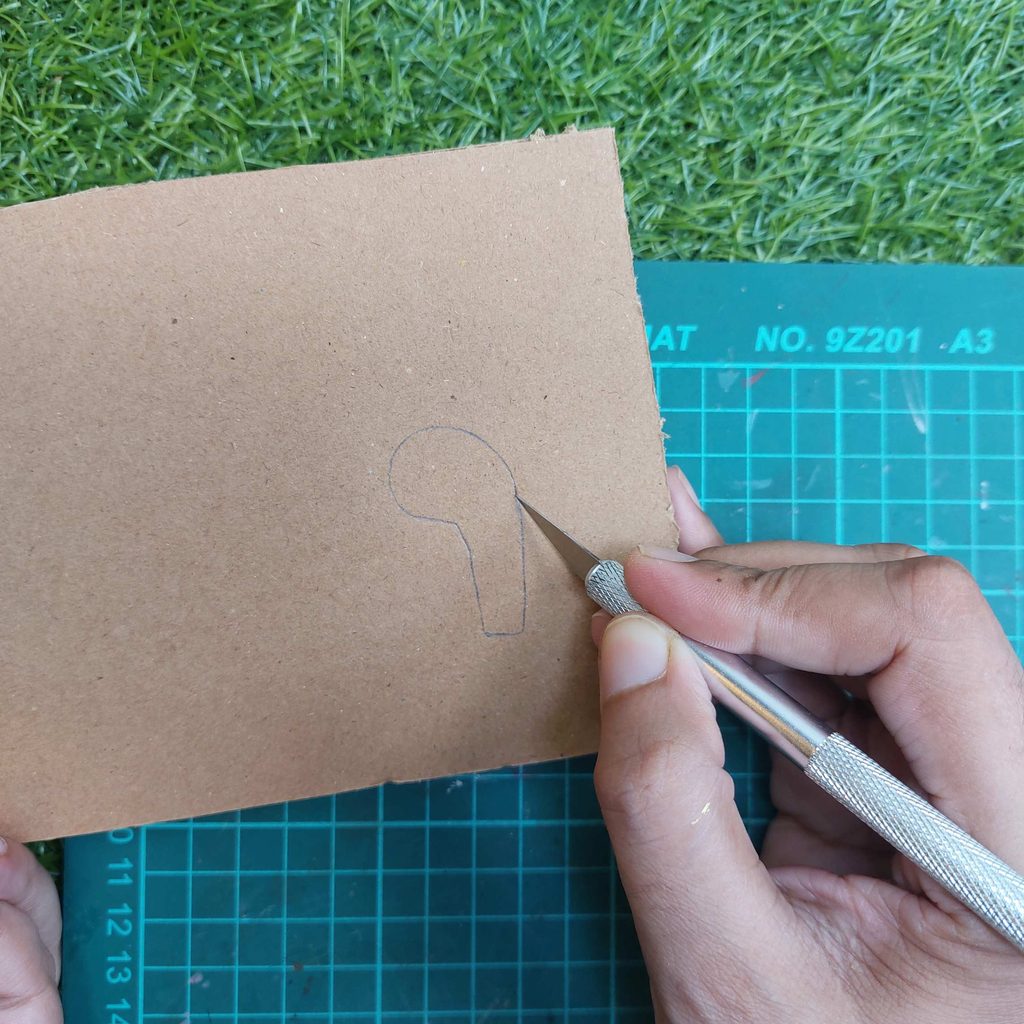
Using a sharp craft knife, carefully cut along the outline, taking your time around the curved edges.
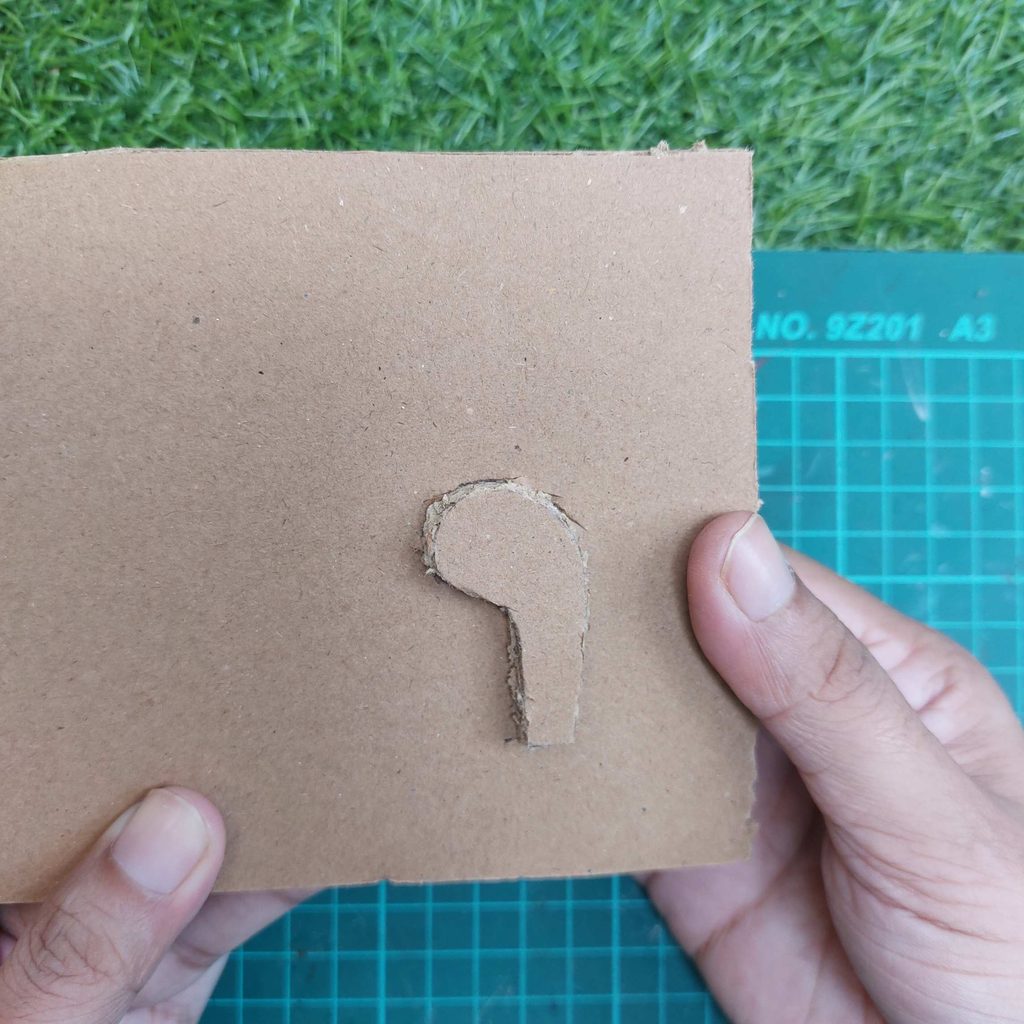
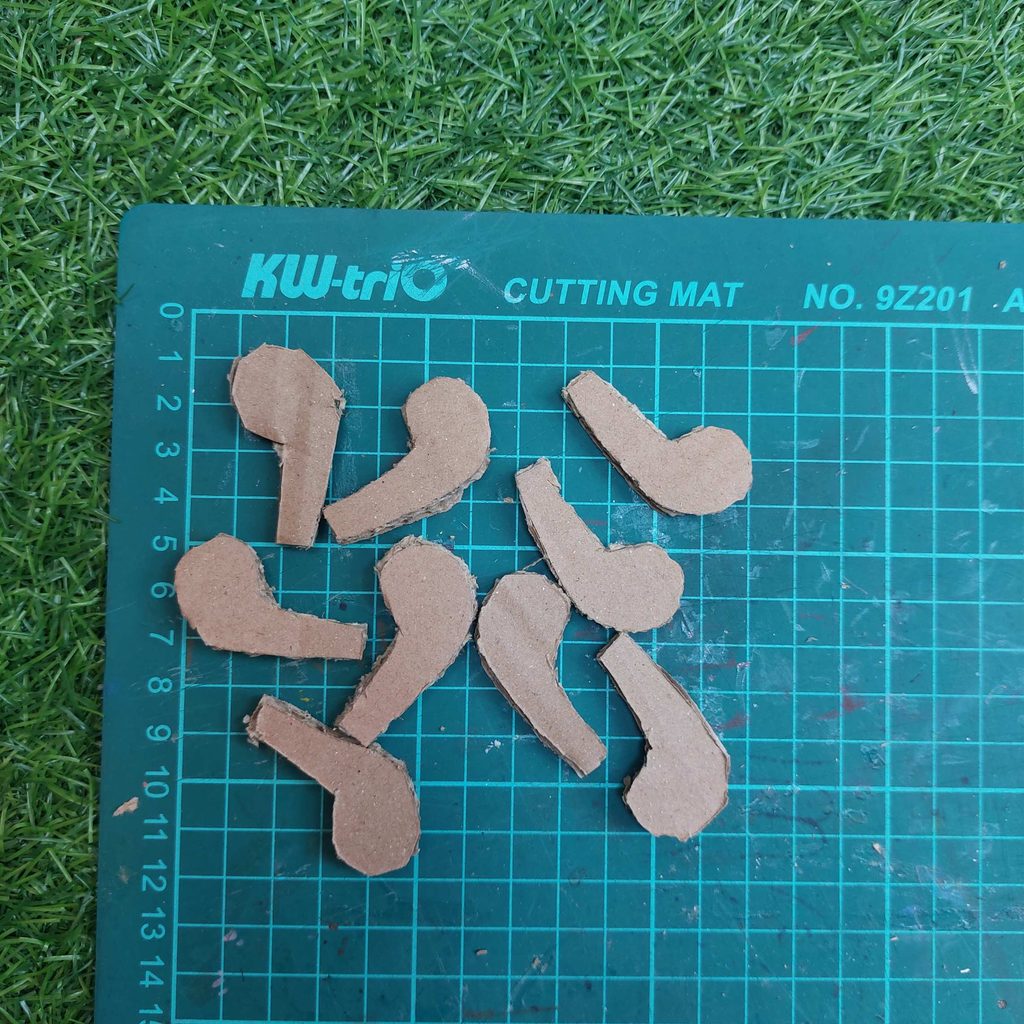
Repeat the process until you have eight identical cardboard pieces, as shown in the last picture. These will be layered together to give the armrests their thickness and strength in the next steps.
Step 2: Build the Rounded Sofa Armrests
Glue the cardboard pieces together, stacking them one by one and aligning their edges.
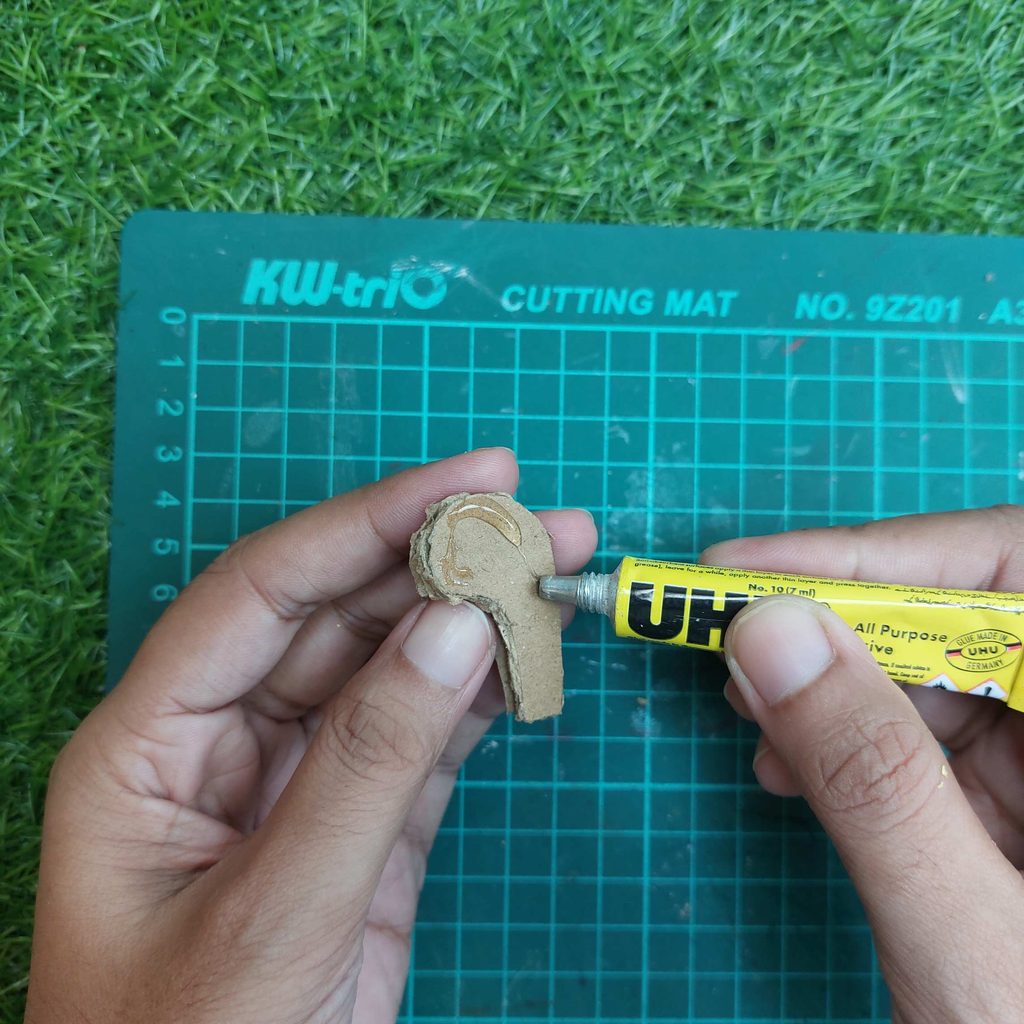
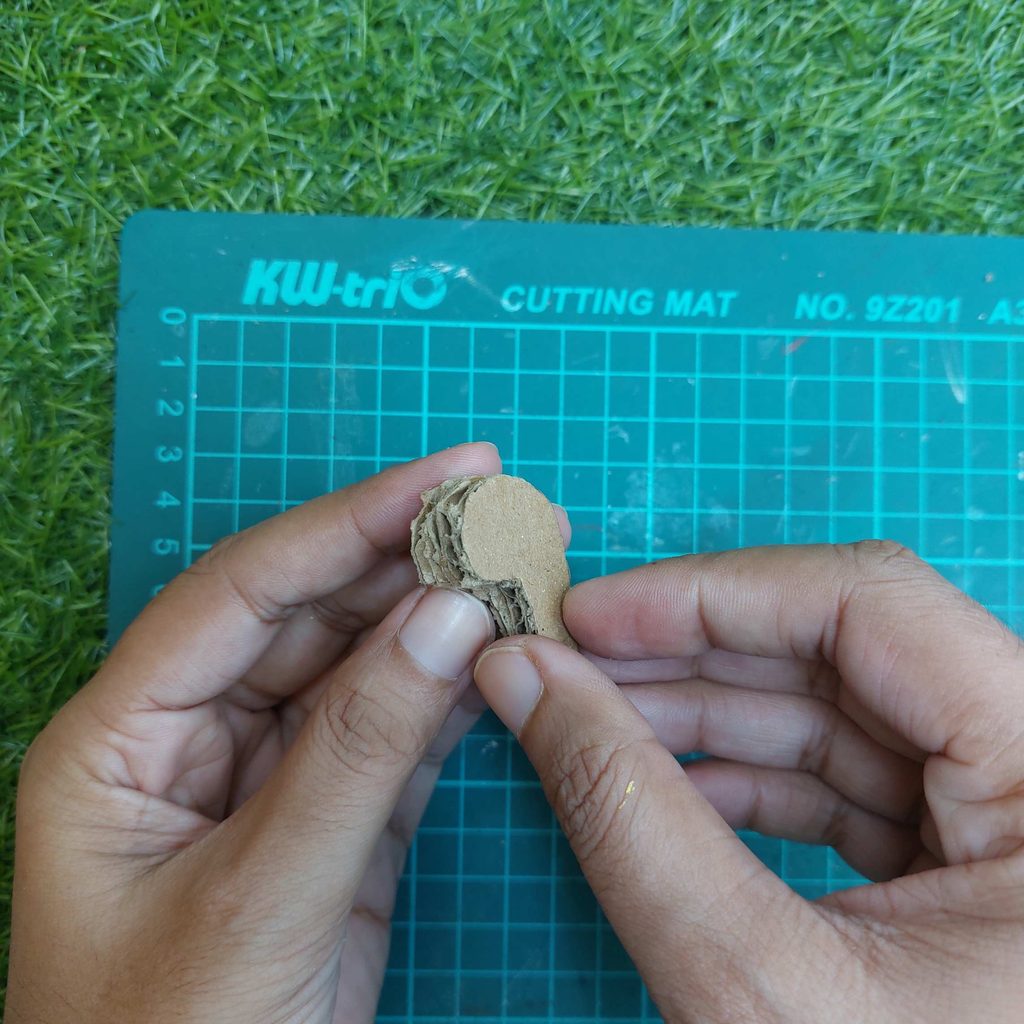
Continue until you’ve created two thick, rounded armrests for your miniature loveseat.
Don’t worry about the rough cardboard edges. We’ll cover them with fabric later.
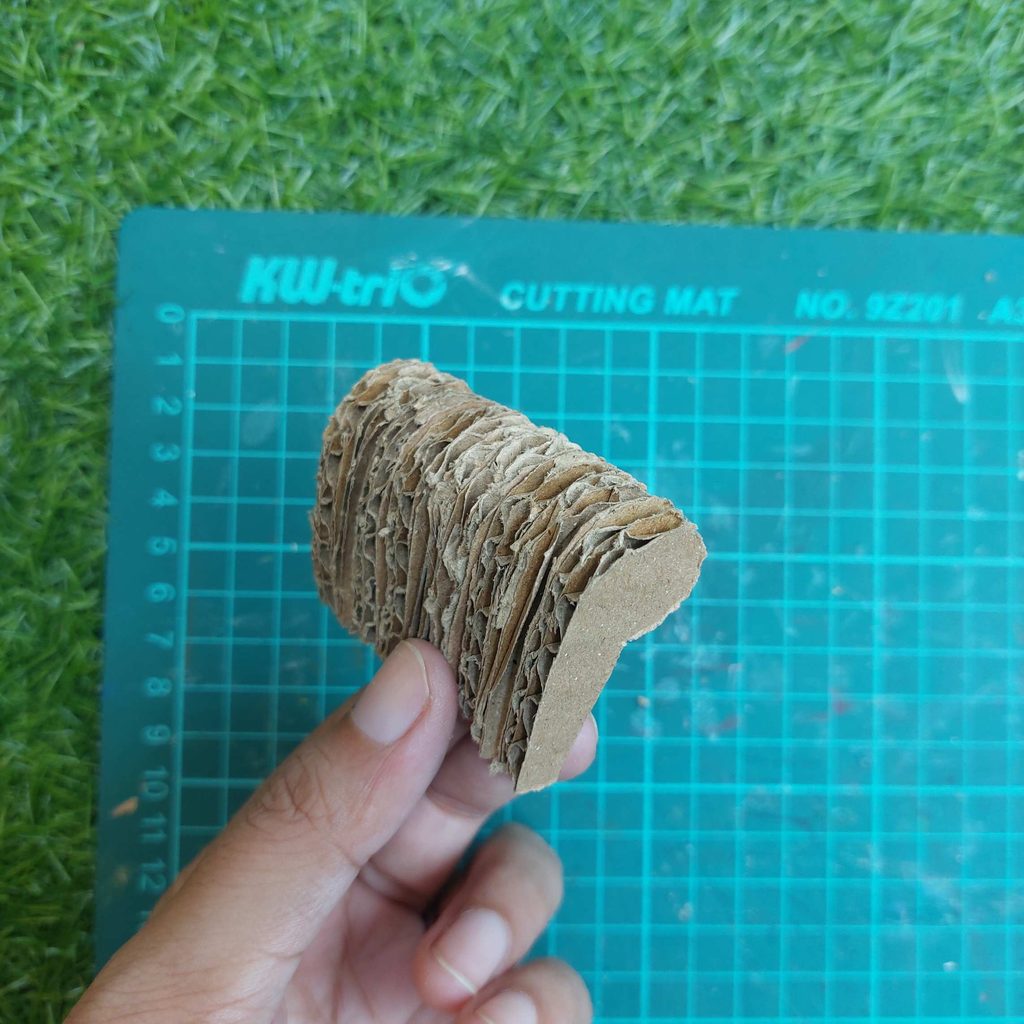
Step 3: Assemble the Loveseat Frame and Add Padding
Cut and stack rectangular pieces of cardboard to create the seat, making sure it fits between the two armrests. Cut a separate piece with a rounded top for the backrest, then glue everything together to form the loveseat’s frame. See next step for more details about this.
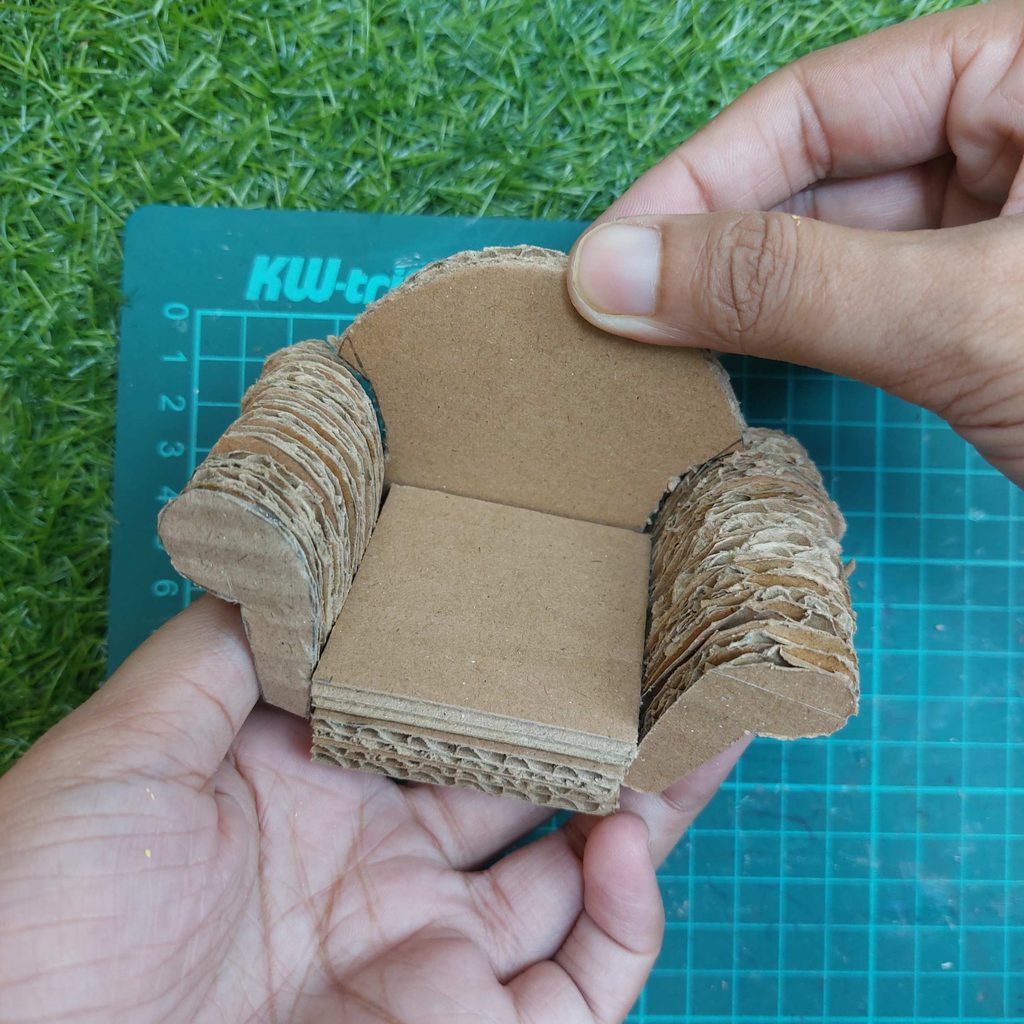
Next, wrap a strip of soft paper towel around the curved top of each armrest, seat, and backrest. This adds a little cushioning, softens the hard cardboard edges, and gives our miniature loveseat a more realistic upholstered look.
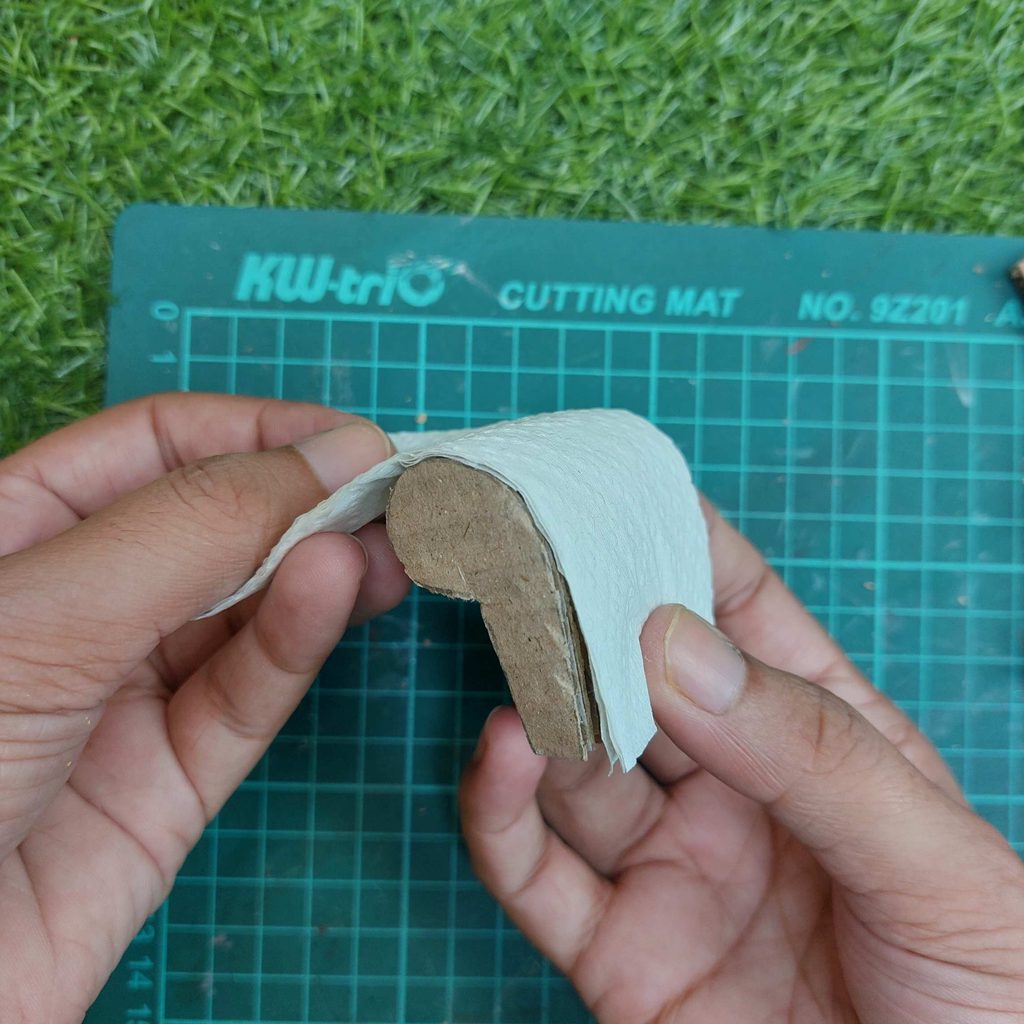
Trim away any excess paper towel before covering the armrests with fabric.
Step 4: Make the Upholstered Seat Cushion
Cut two equal squares of cardboard for the seat cushion, approximately 5 × 5 cm. Glue them together for extra thickness.
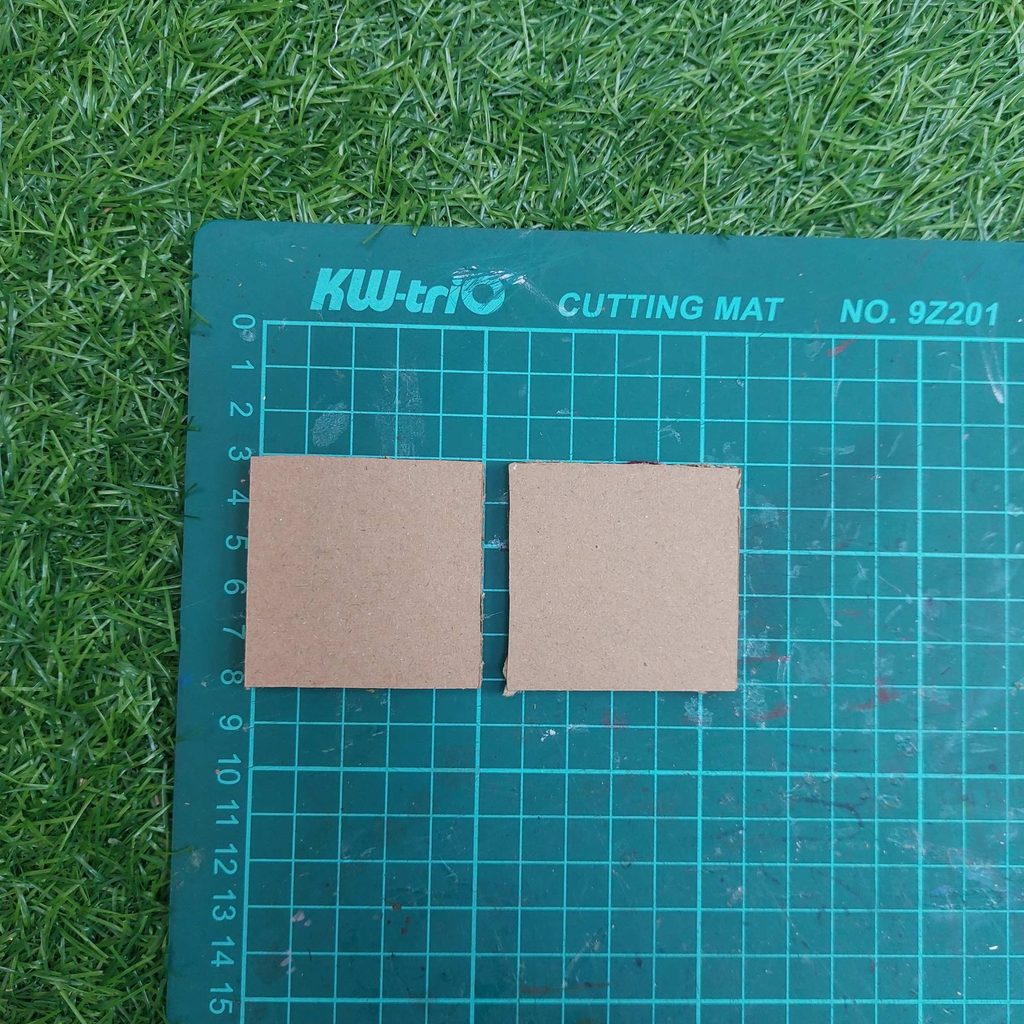
Place the cardboard on a piece of burgundy fabric (or a color of choice), leaving enough material around the edges to fold over. Glue the fabric neatly around the back, folding in the corners.
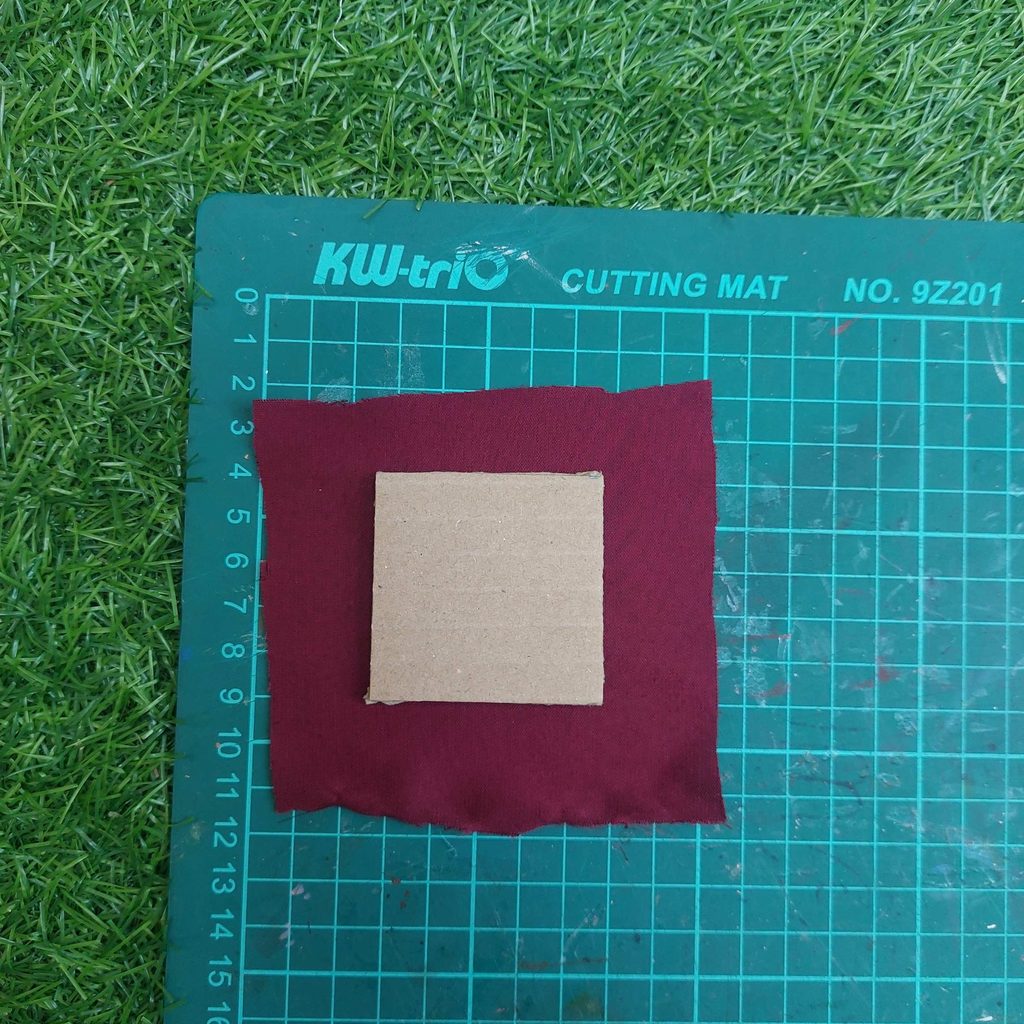
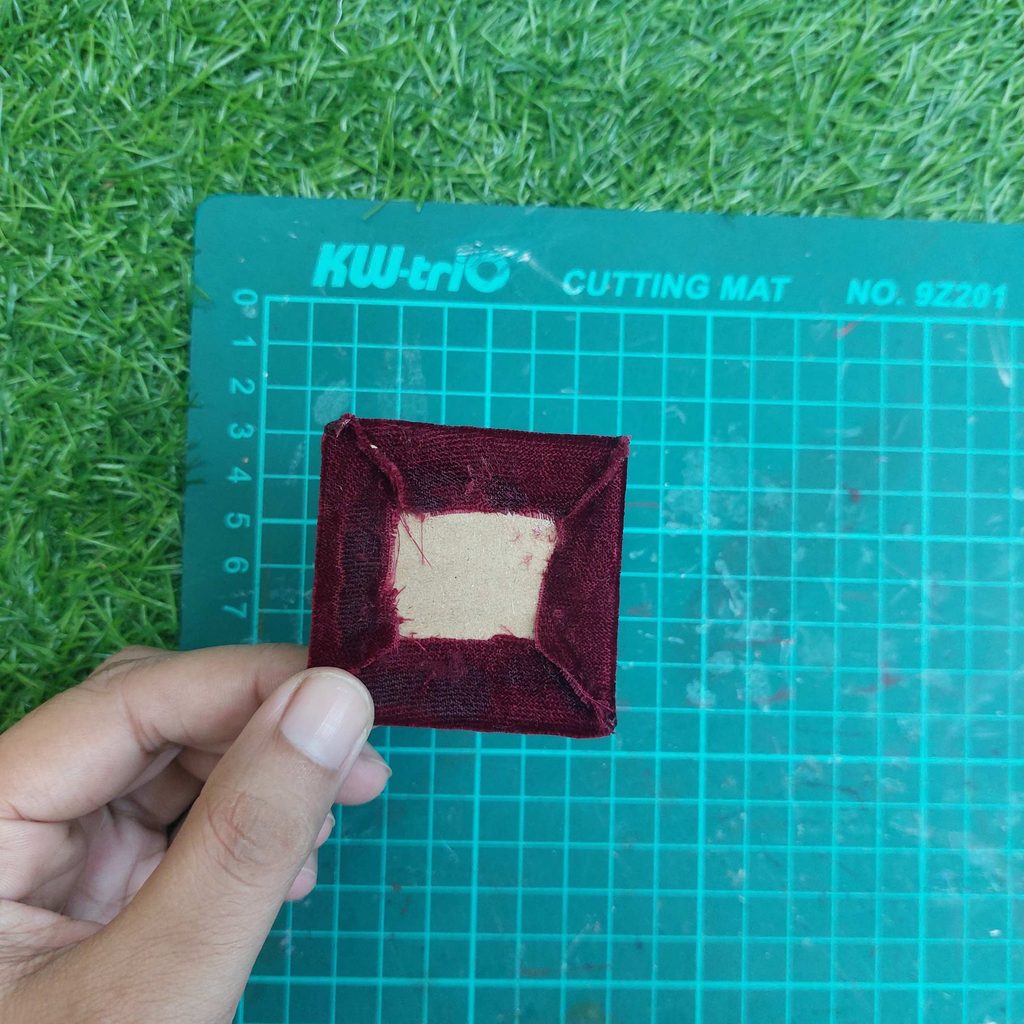
Make this one twice!!!
For the final piece on top of the seat, create a softer, more realistic cushion; add a thin layer of kitchen paper towel between the cardboard and fabric.
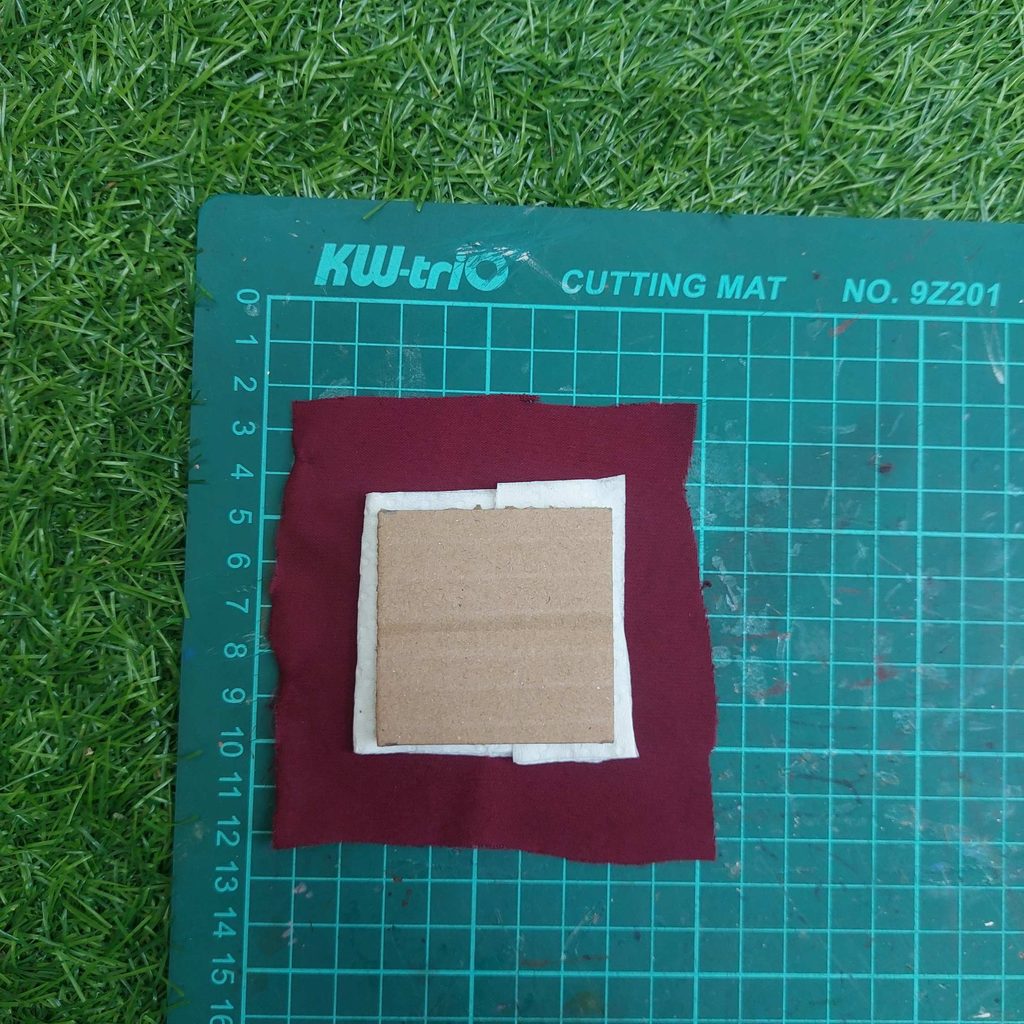
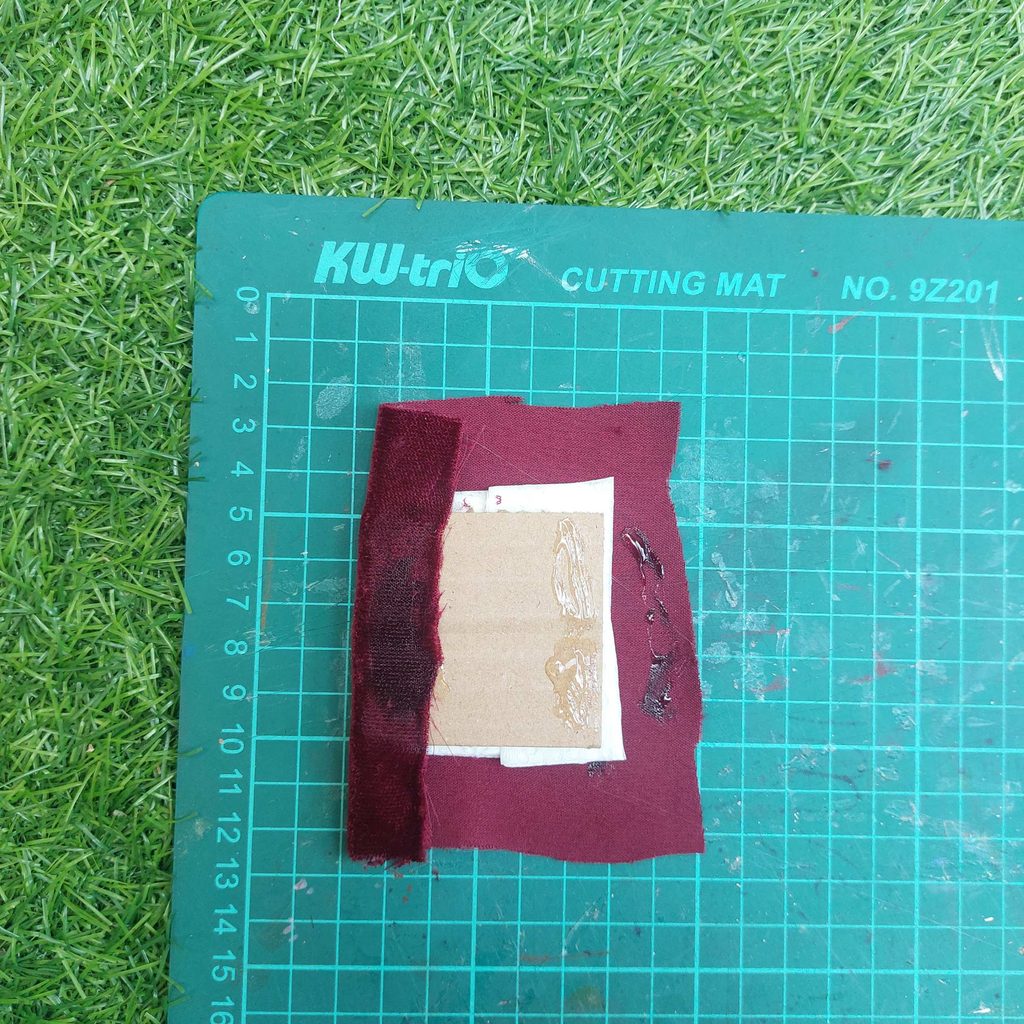
Fold and glue the remaining fabric edges to the back, then trim away any excess with scissors.
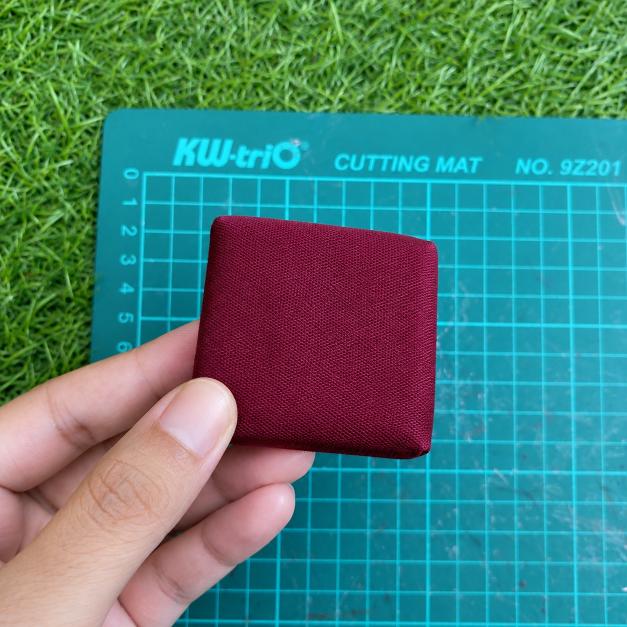
Your upholstered cushion and the 2 layers underneath are now ready for the miniature sofa!
Step 5: Cover the Backrest with Fabric
Cut a piece of cardboard into the rounded shape of the chair’s backrest, as shown in the first photo.
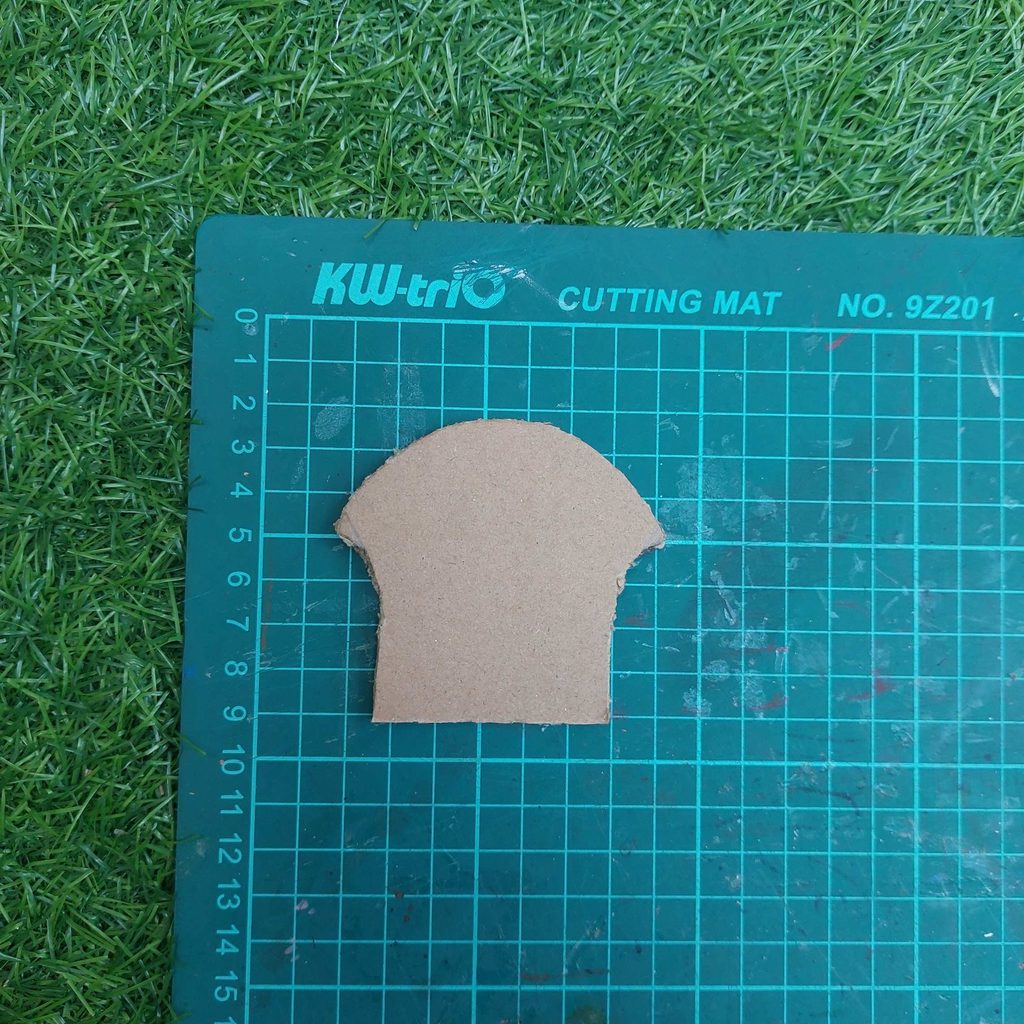
Then we repeat the process: place it in the center of a piece of burgundy fabric, leaving enough fabric around the edges to fold over the back.
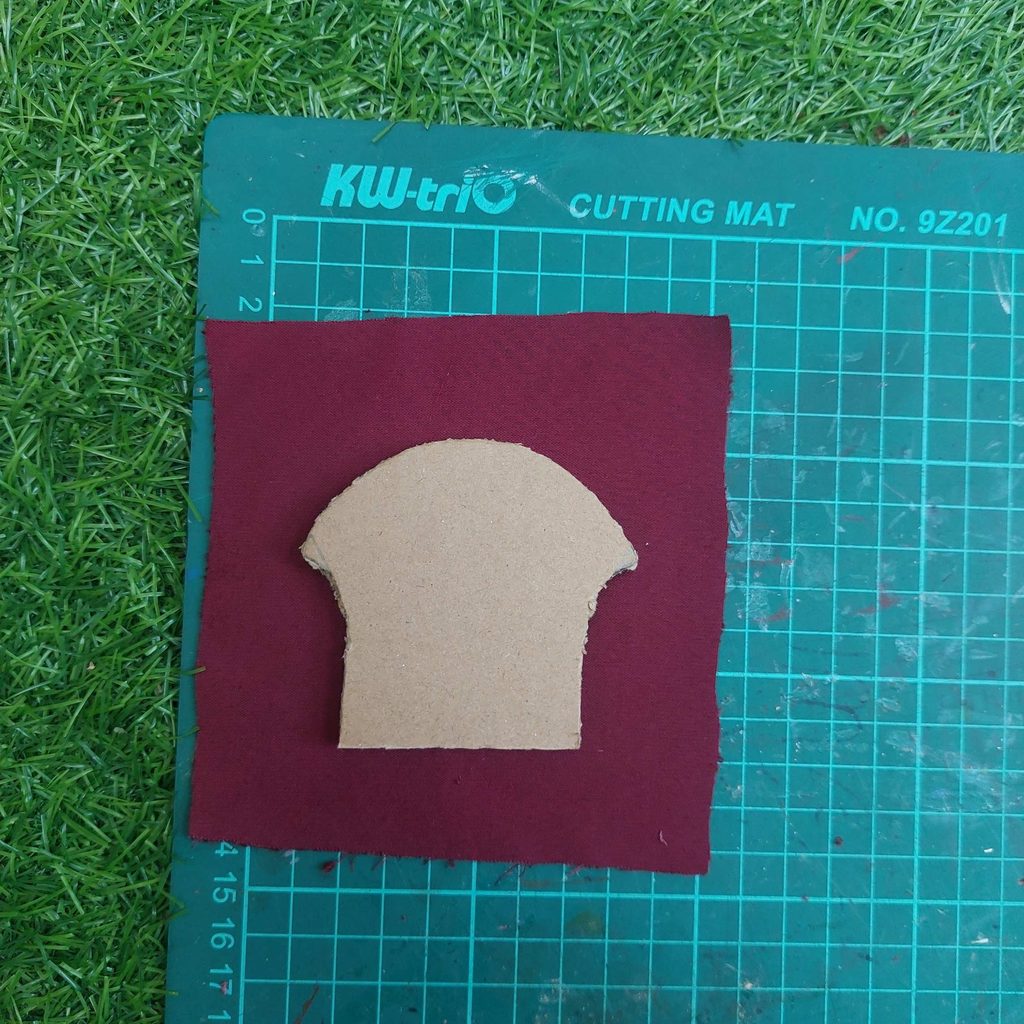
Apply glue and fold the fabric around the cardboard, smoothing it over the curved top and sides.
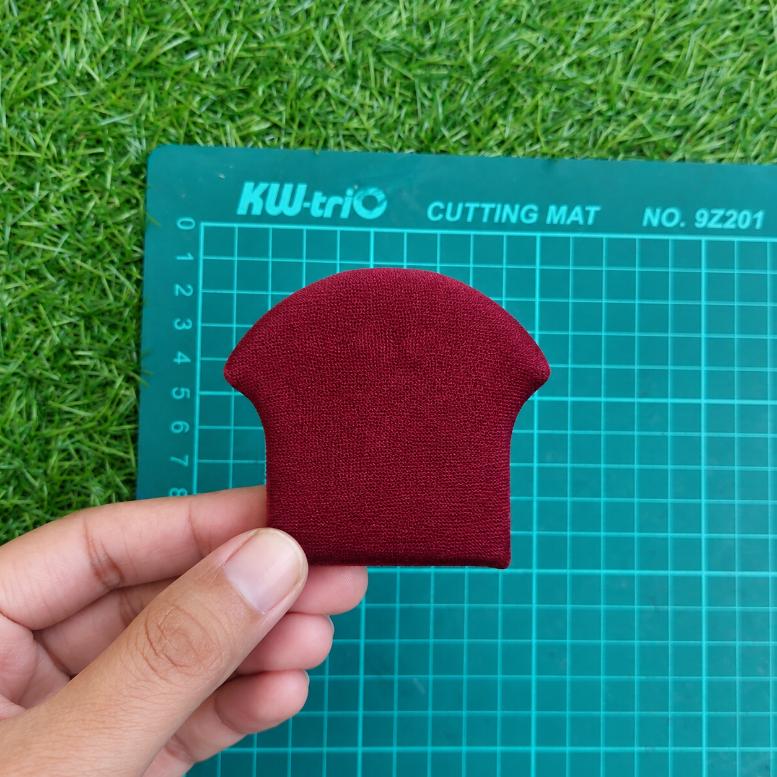
Your upholstered backrest is now ready to attach to the miniature chair, leaving us the sides!
Step 6: Upholster and Attach the Armrests
Take the two rounded cardboard armrests and cover them with a thin layer of kitchen paper towel for a softer, padded appearance.
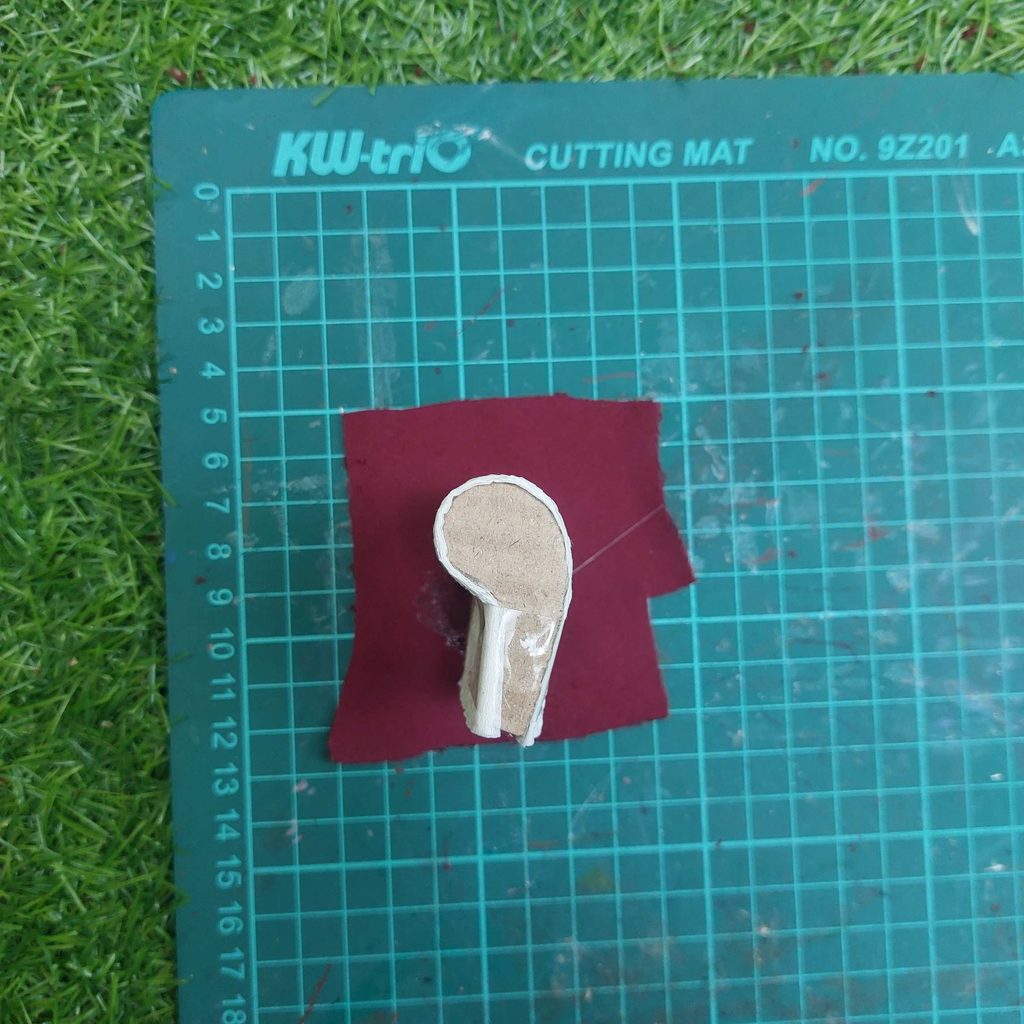
Place each armrest onto a piece of burgundy fabric, then carefully wrap the fabric around its curved shape. Fold and glue the excess fabric underneath, trimming where necessary.
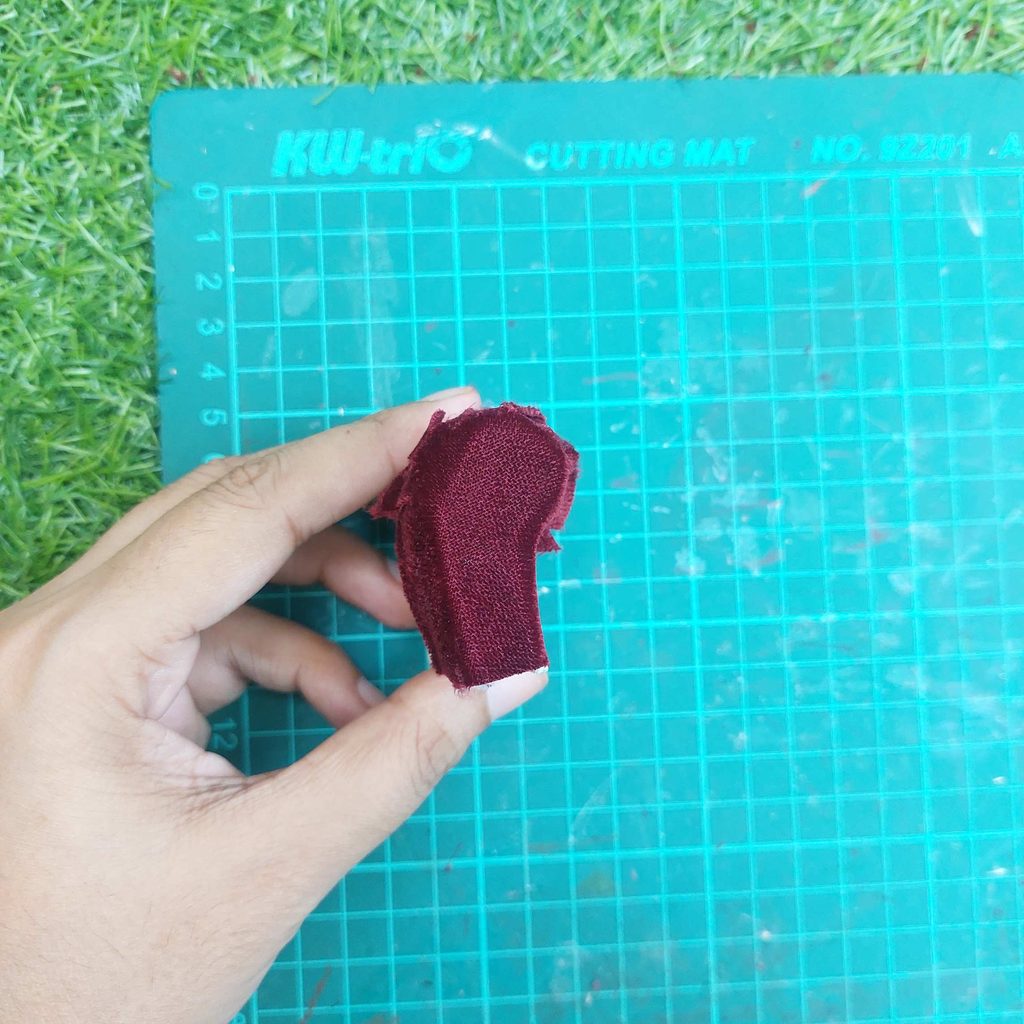
Now cover the curved top of the armrest with a longer strip of burgundy velvet, keeping the fabric smooth as it follows the rounded shape.
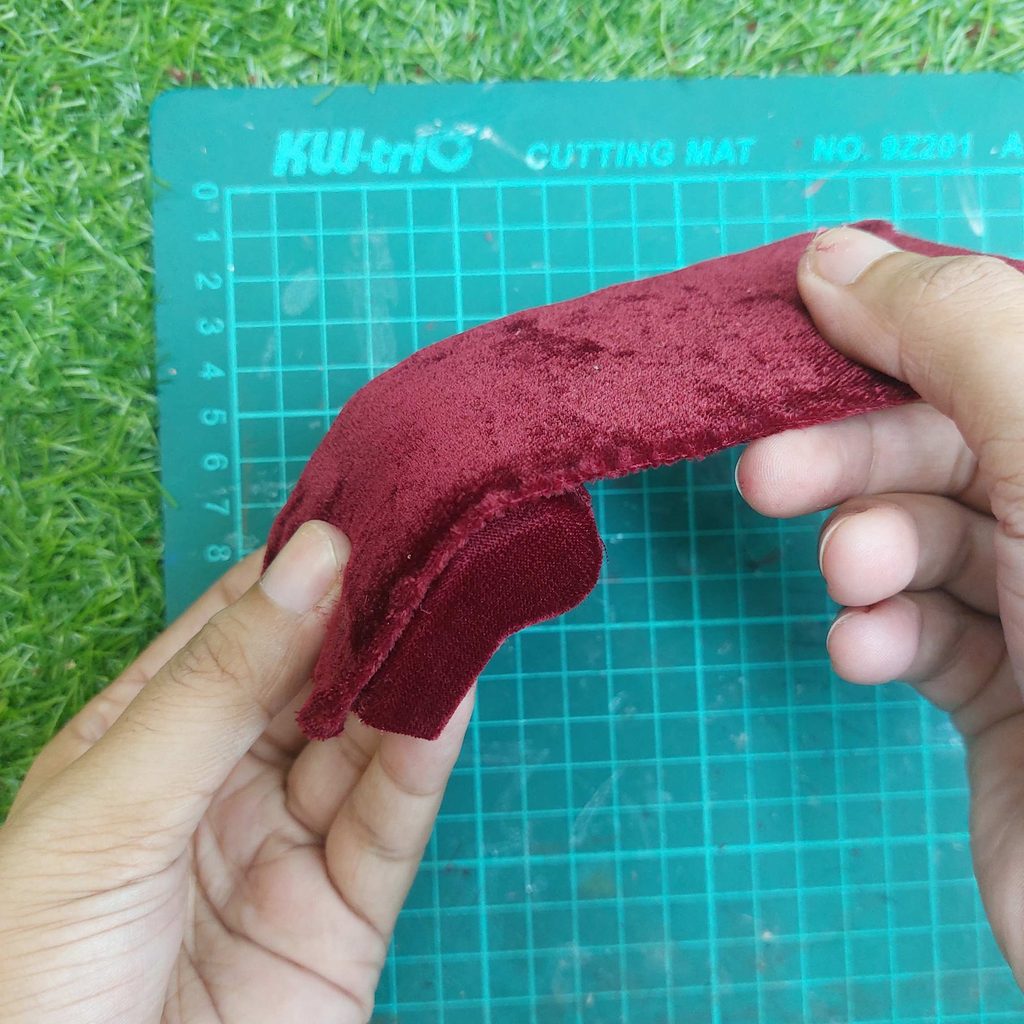
Notice the thicker, raised velvet edge along the curve. This was created by folding the fabric into 2 layers, giving it a lovely upholstered finish and a more realistic look than simply wrapping one piece of fabric around the armrest.
Step 7: Assemble the Seat and Attach the Armrests
Glue the two upholstered layers together to form the chair seat.
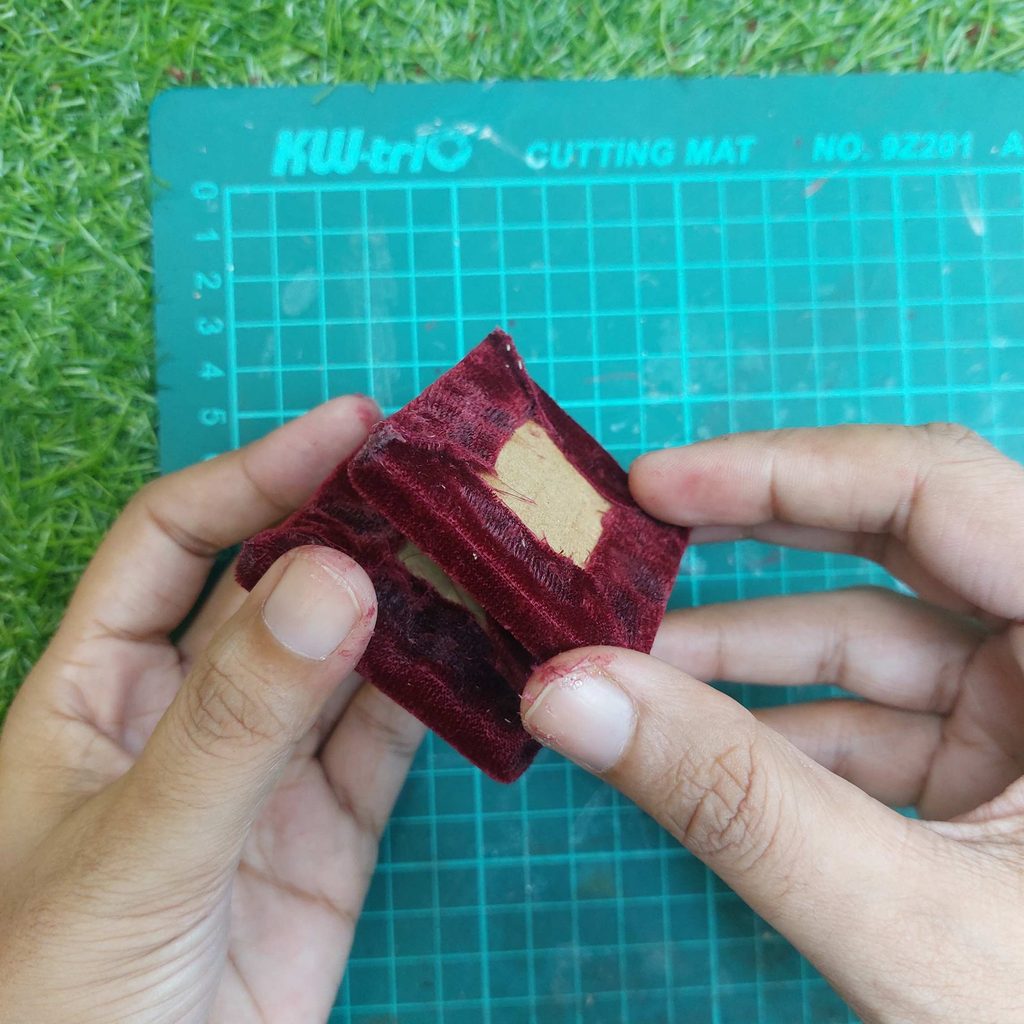
Next, glue the first velvet-covered armrest along one side of the seat, with its lower straight edge attached to the seat base and its curved end rising above it.
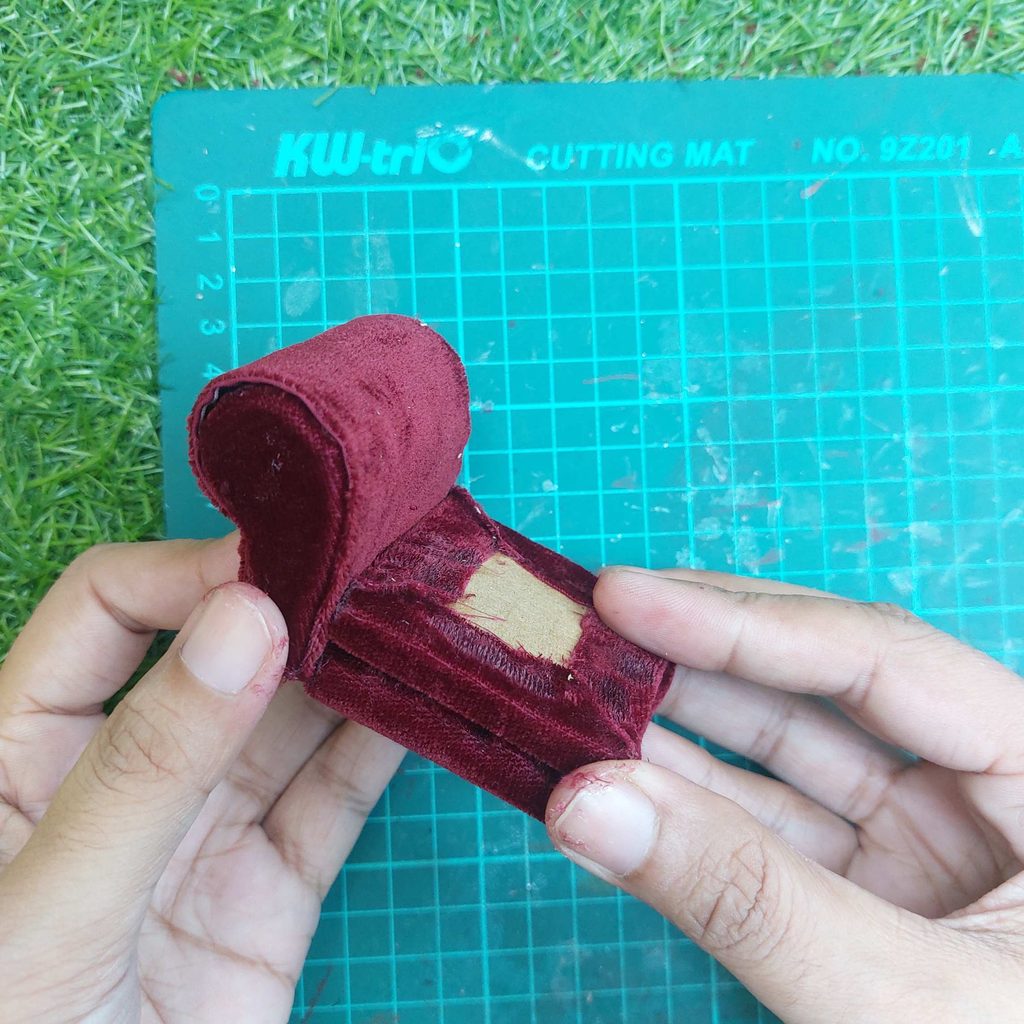
Repeat on the opposite side, aligning both armrests with the front and back edges of the seat.
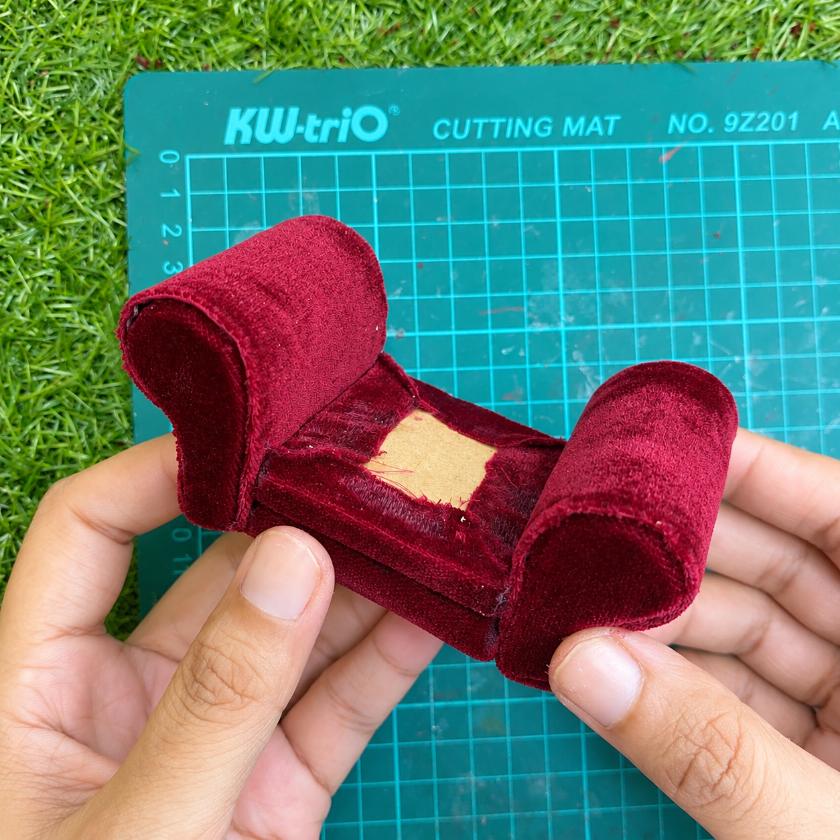
Step 8: Add the Backrest and Seat Cushion
Glue the burgundy velvet-covered backrest into place between the two armrests, making sure it sits neatly against the back of the chair.
Finally, add the matching upholstered seat cushion to cover the exposed cardboard in the middle. Adjust it so it fits snugly between the armrests.
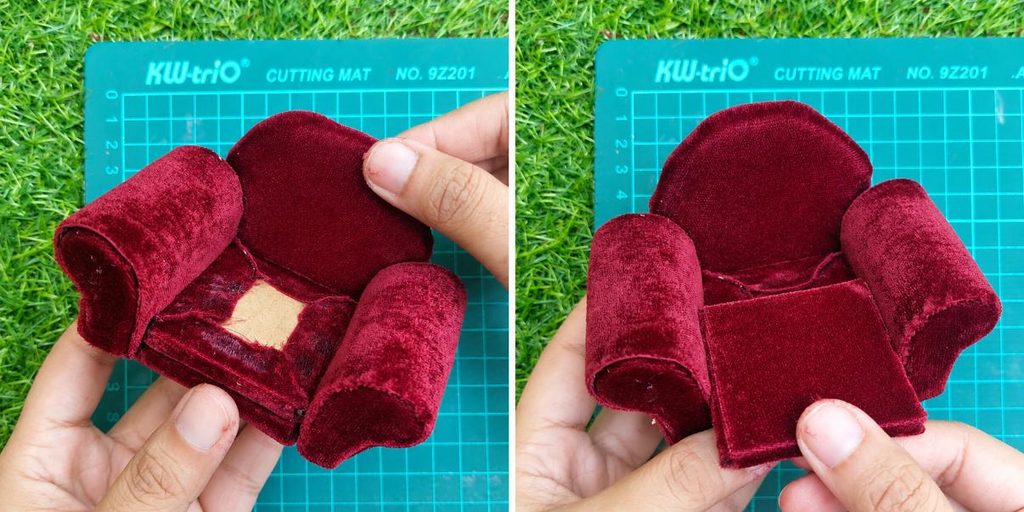
And that’s our miniature velvet armchair finished! Remove excess glue and dirt, cause you will have some!
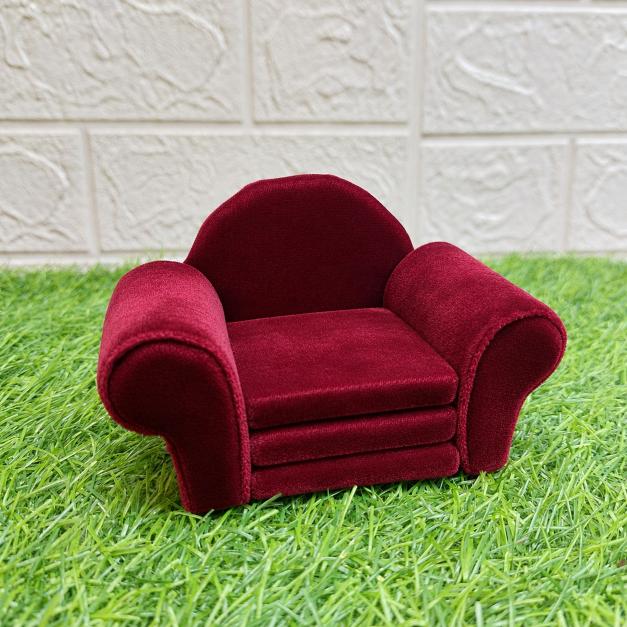
Your Miniature Velvet Armchair Is Finished!
And there you have it! A charming vintage-style dollhouse armchair made from cardboard, paper towels, and velvet fabric. I love how the rounded armrests and soft upholstery give it such an elegant look!
Try experimenting with different fabric colors and patterns to create a miniature armchair that perfectly matches your dollhouse interior.
Happy crafting!
Kind regards,
Lizzy

Hi everyone!
My name is Lizzy, and I am an amateur miniaturist obsessed with everything in the dollhouse and miniature world, ever since I was a teenager.
So far, I have created 2 dollhouse projects, a backyard shed and a miniature treehouse, tons of DIY dollhouse kits, and “hacked” some.
I also created a fairy garden, and lots of small and simple miniature projects on my YouTube channel. (mostly made from trash or everyday items).
I love to write as well about all things happening in the miniature world, hence the reason why I created this blog!
I wish you happy reading and crafting!
Lizzy