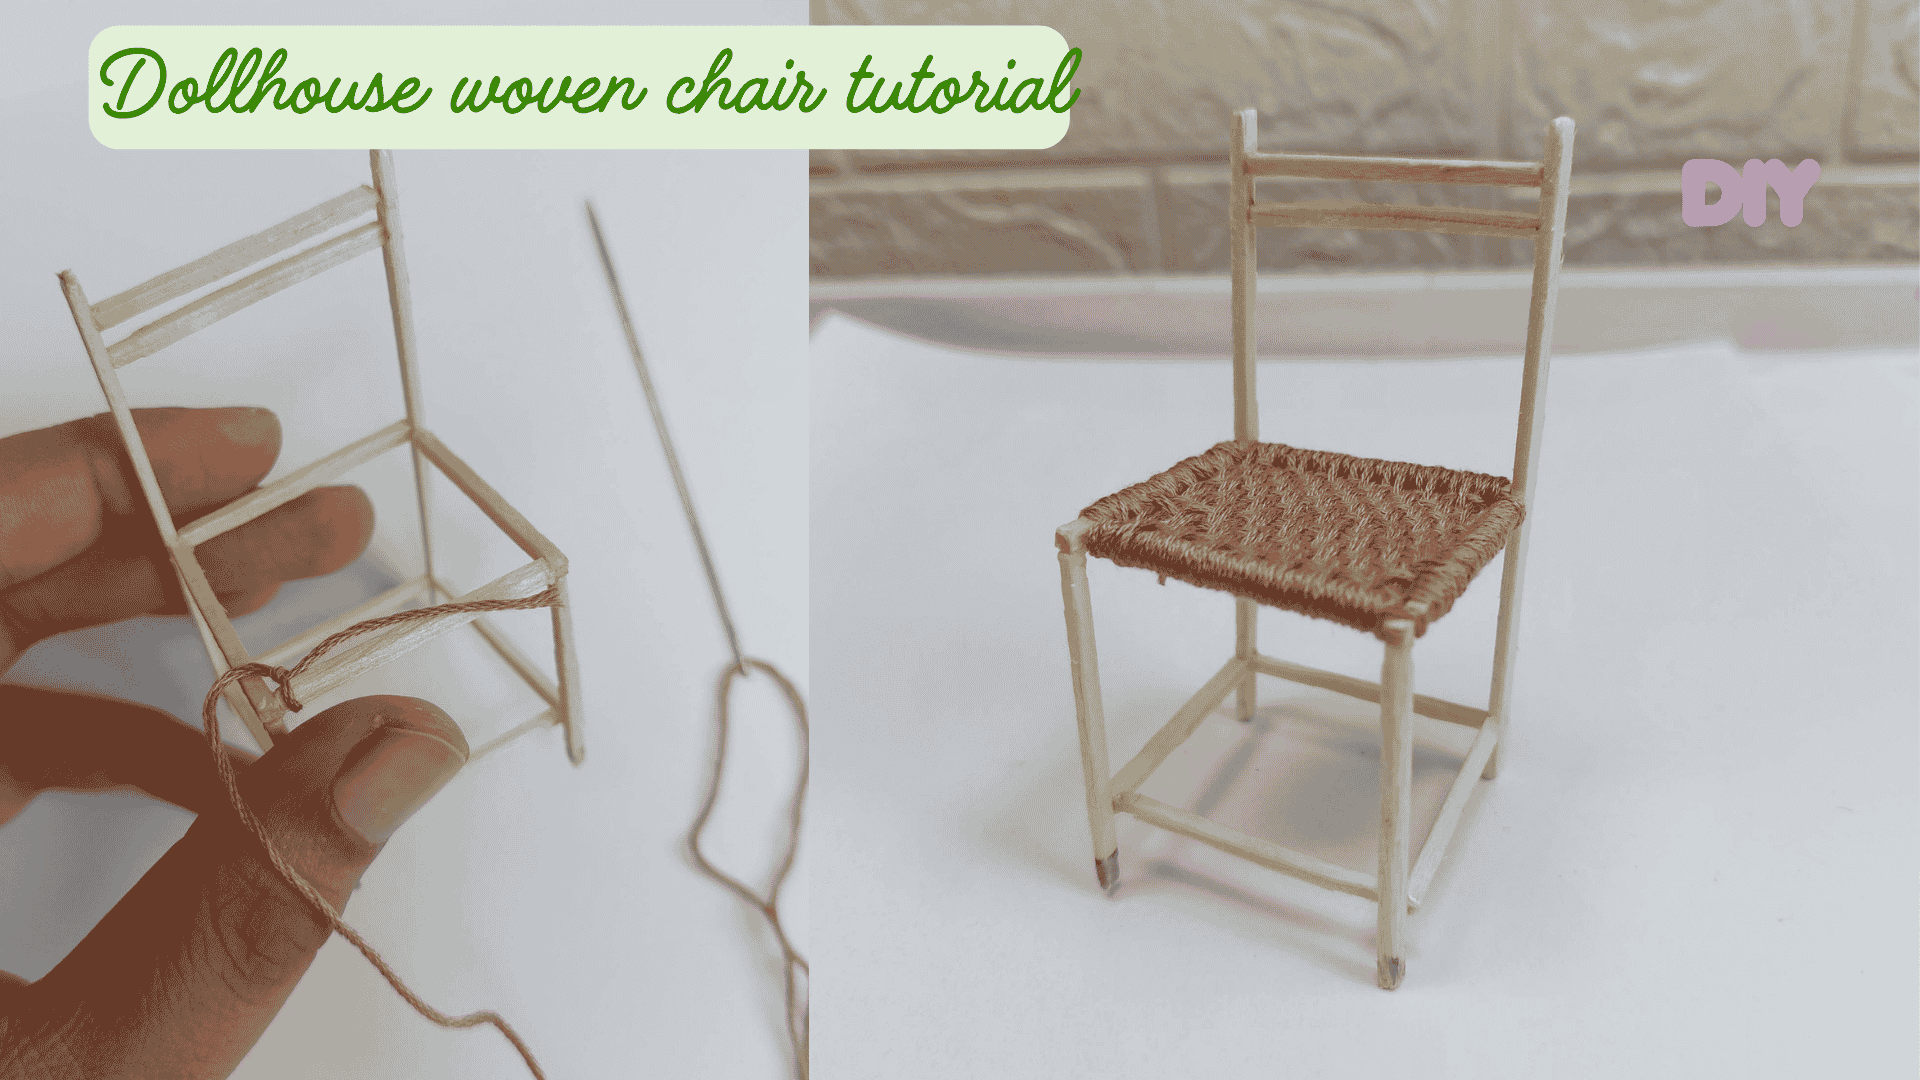
Looking for an easy dollhouse furniture project? This miniature chair is made almost entirely from ordinary wooden matchsticks and a little thread for the woven seat. It’s inexpensive to make, requires only a few basic tools, and is a great project for beginners who want to try building realistic miniature furniture from scratch.
In this tutorial, I’ll show you how to cut the matchsticks, assemble the chair frame, and weave the seat to create a sturdy little chair that’s perfect for any 1:12 scale dollhouse kitchen, dining room, or cottage.
As an Amazon, Etsy, xTool, and Anavrin associate, I earn a small commission from your purchase, with no extra charges for you.
Materials needed
Wooden matchsticks (heads removed), long and short ones
Craft knife or scissors
Metal ruler
Tweezers
Fast-drying craft glue (such as B-7000)
Fine sandpaper
Brown embroidery floss, crochet thread, or thin cotton cord for the woven seat
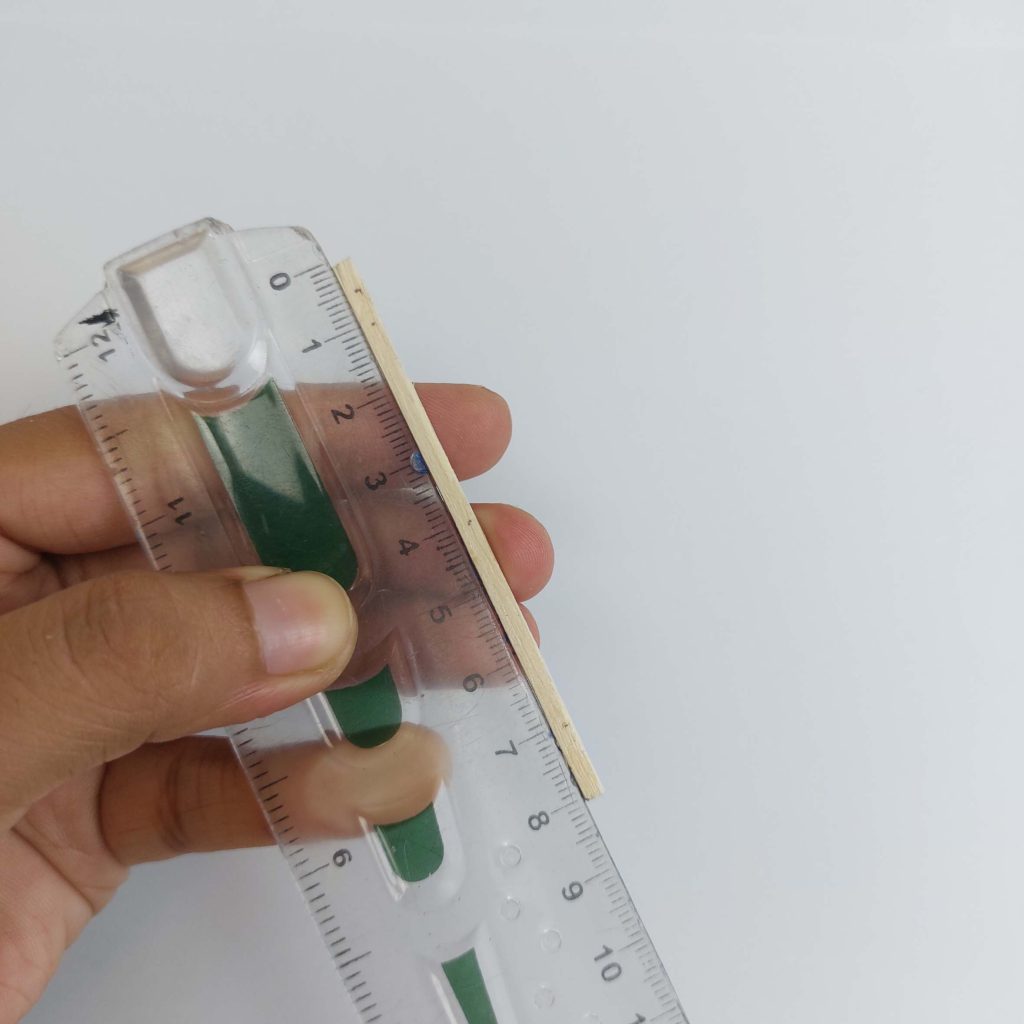
Start by cutting all of the matchsticks you’ll need for the first side of the chair frame.
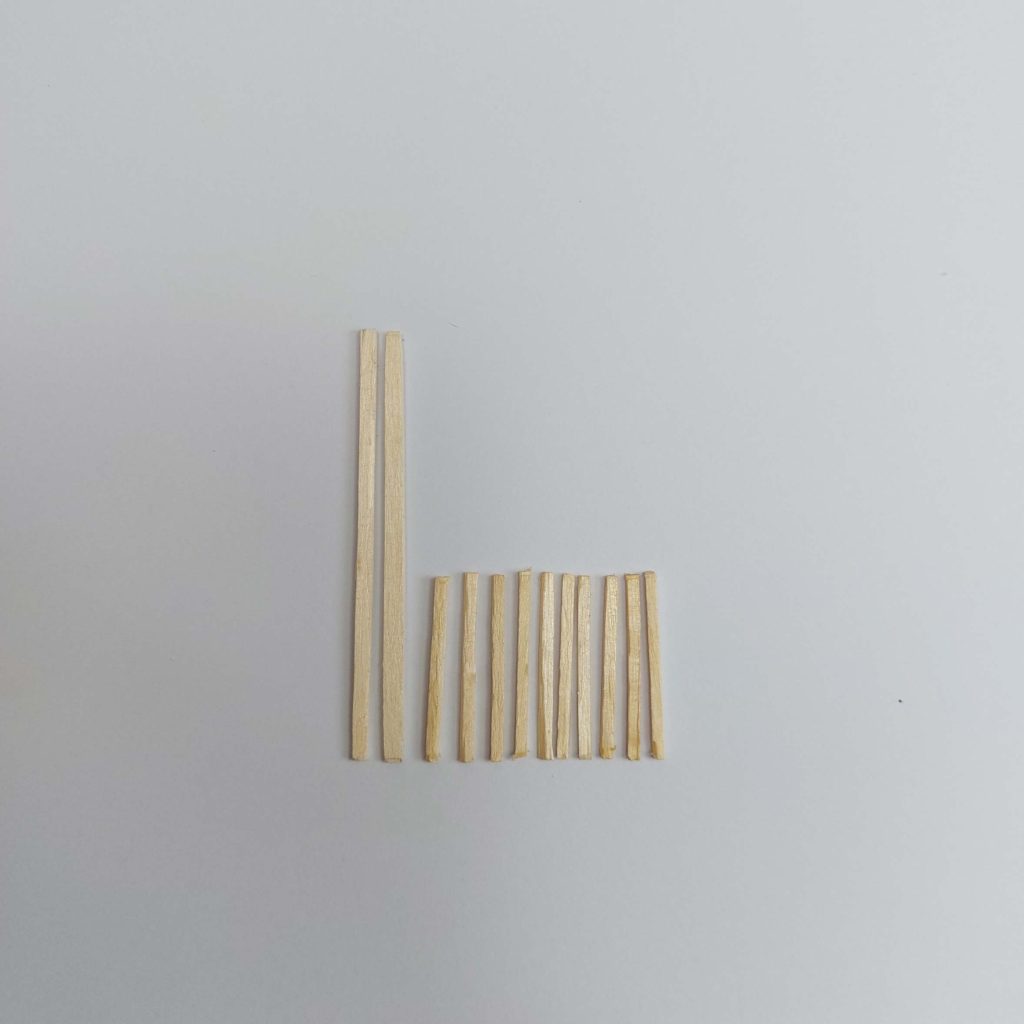
Cut the following pieces for the first side of the chair:
2 matchsticks measuring 8 cm (chair legs)
10 short matchstick pieces of equal length (about 3.5 cm)
Make all 10 short pieces exactly the same length. We’ll refer to them as the crossbars throughout the tutorial.
Step 2: Build the First Side of the Chair
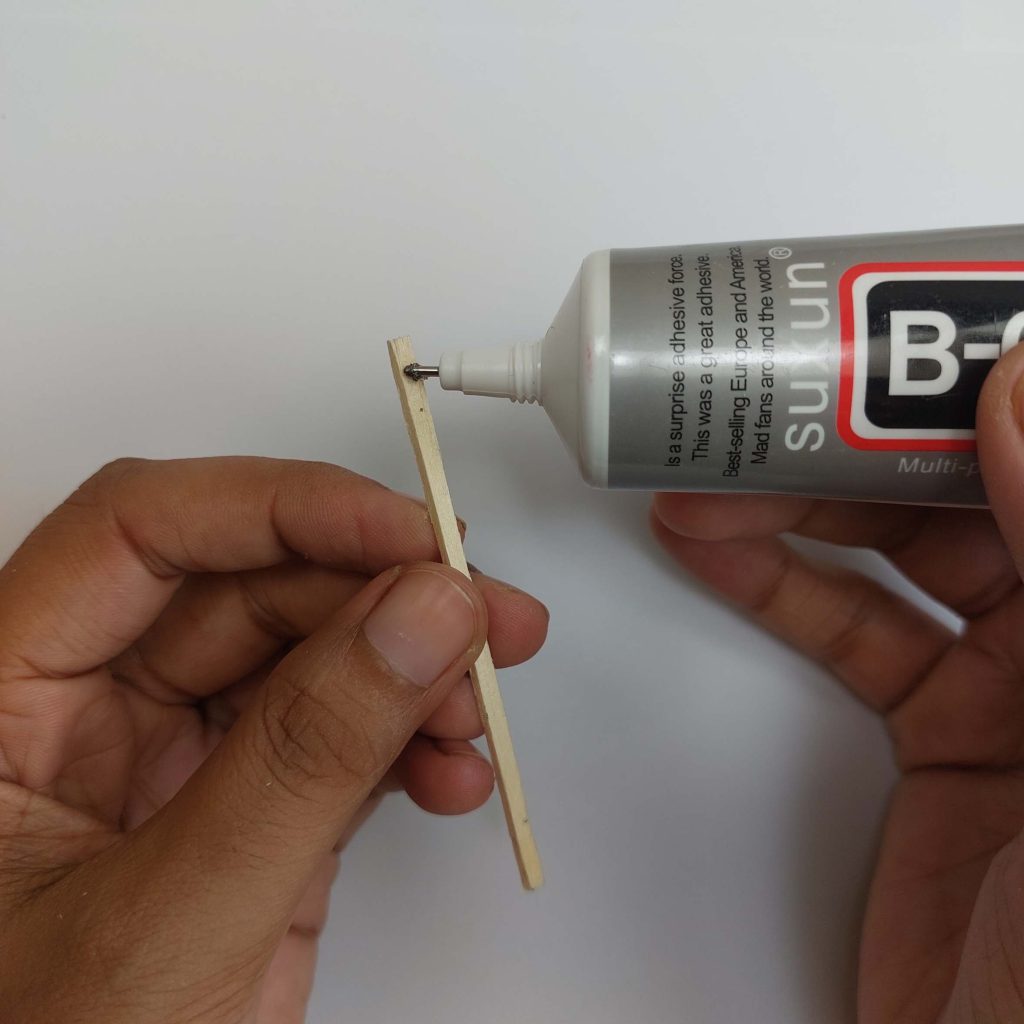
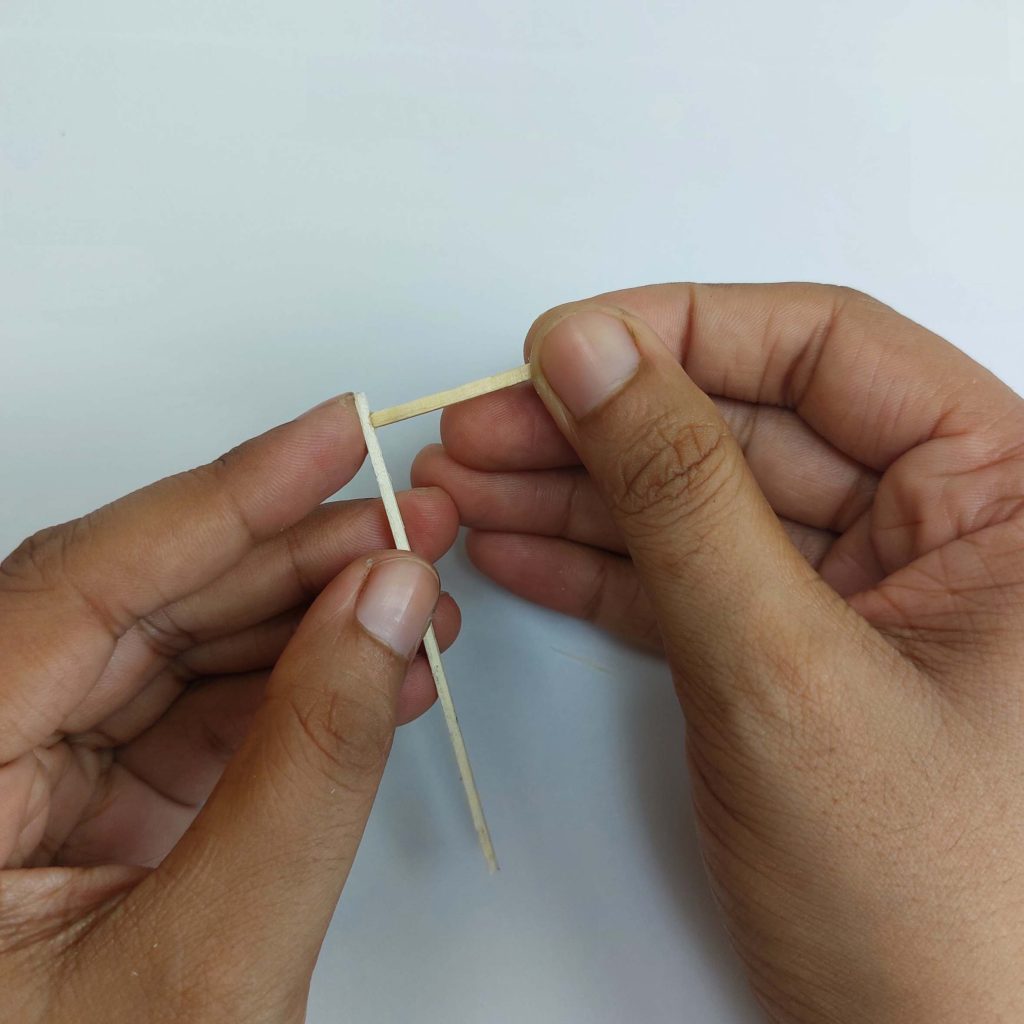
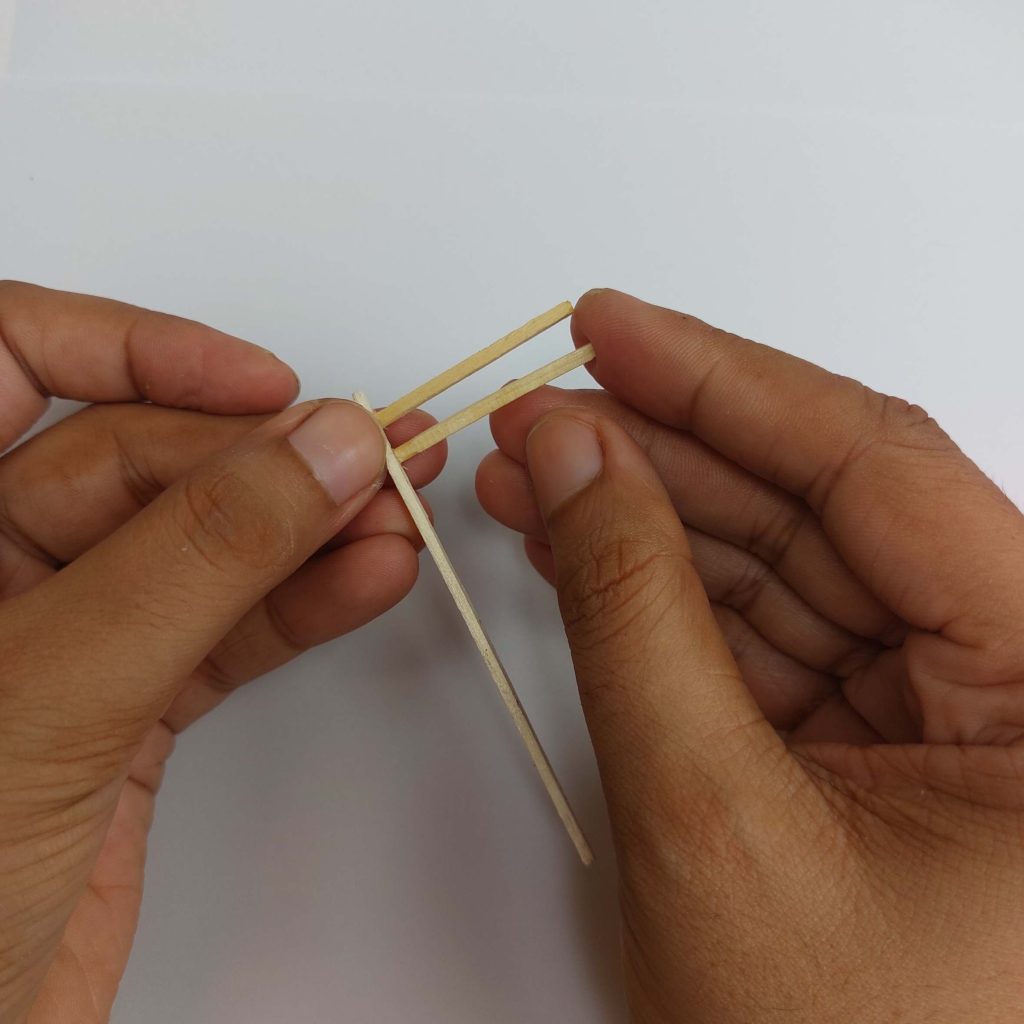
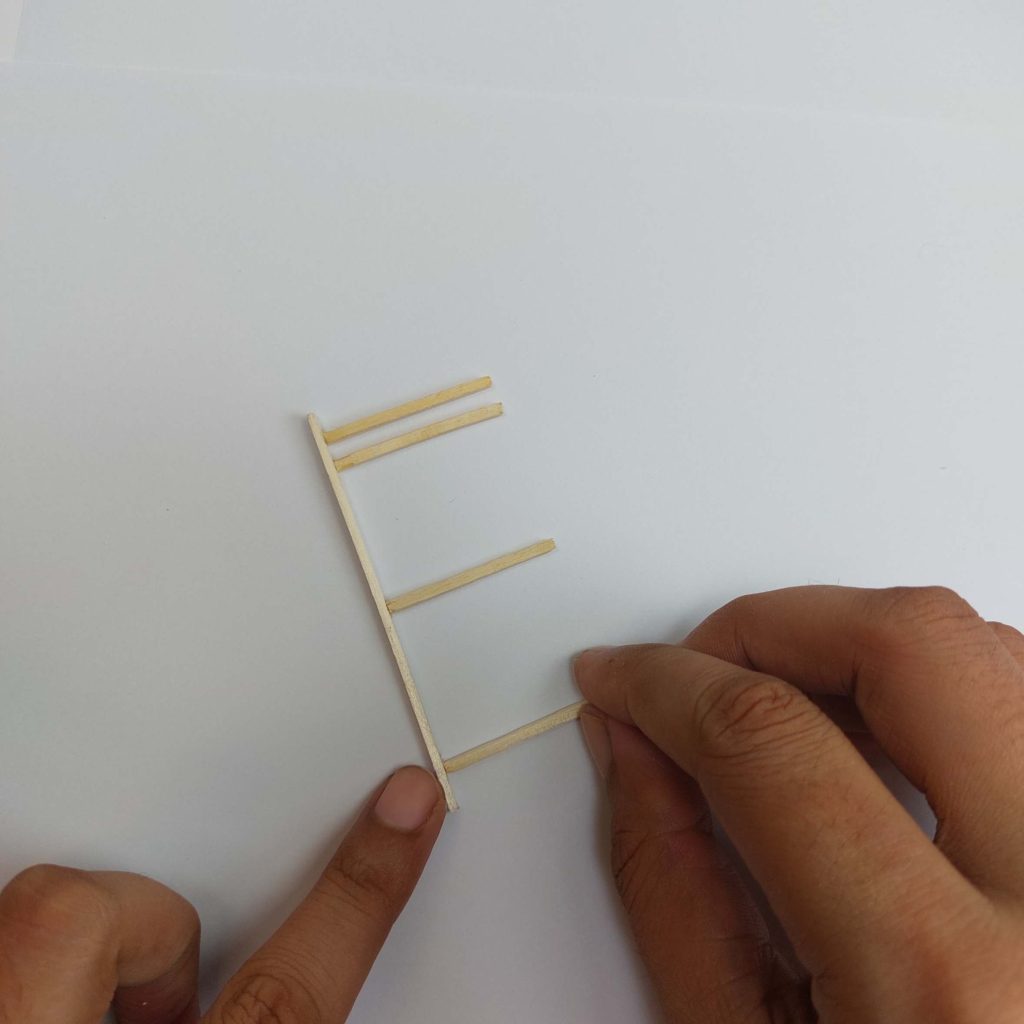
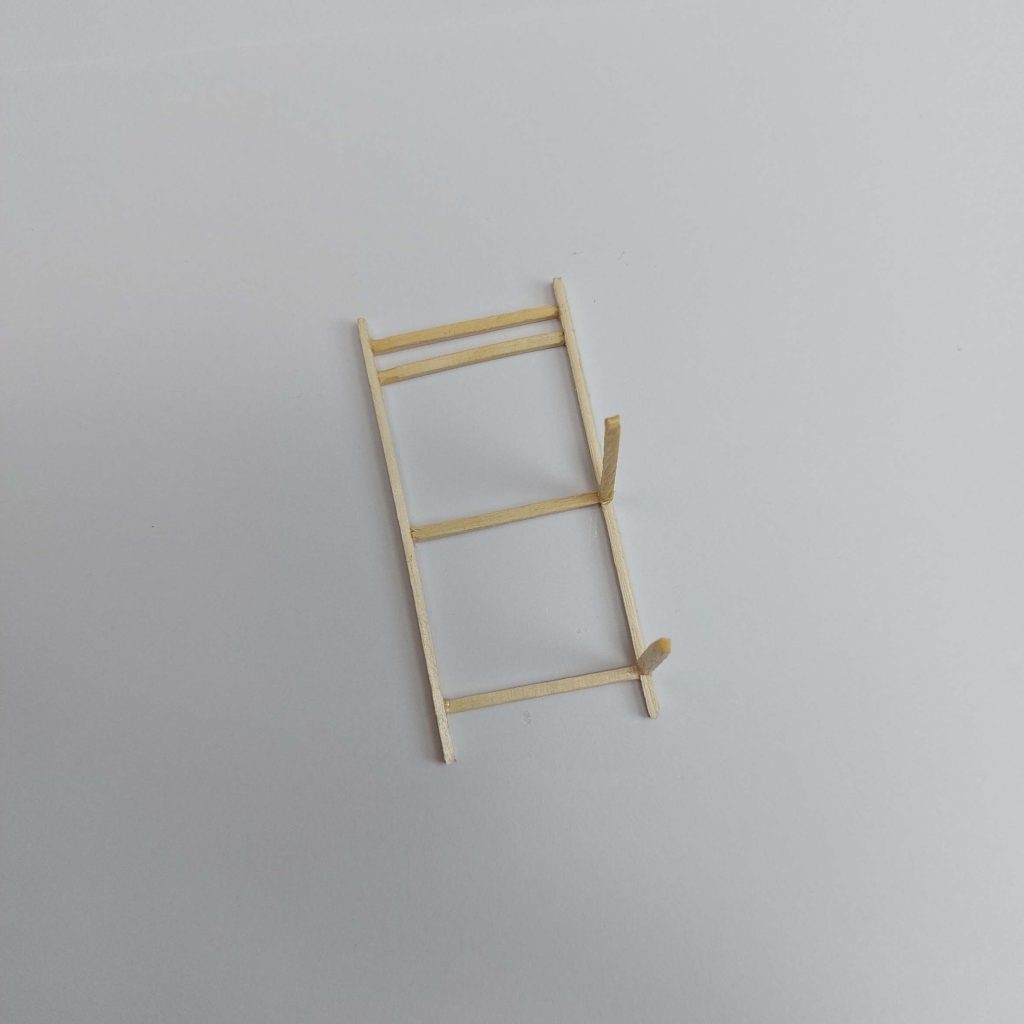
Apply a small drop of wood glue to the top of one of the 8 cm chair legs. Position a 3.5 cm crossbar so it sits flush with the top of the leg, forming a right angle.
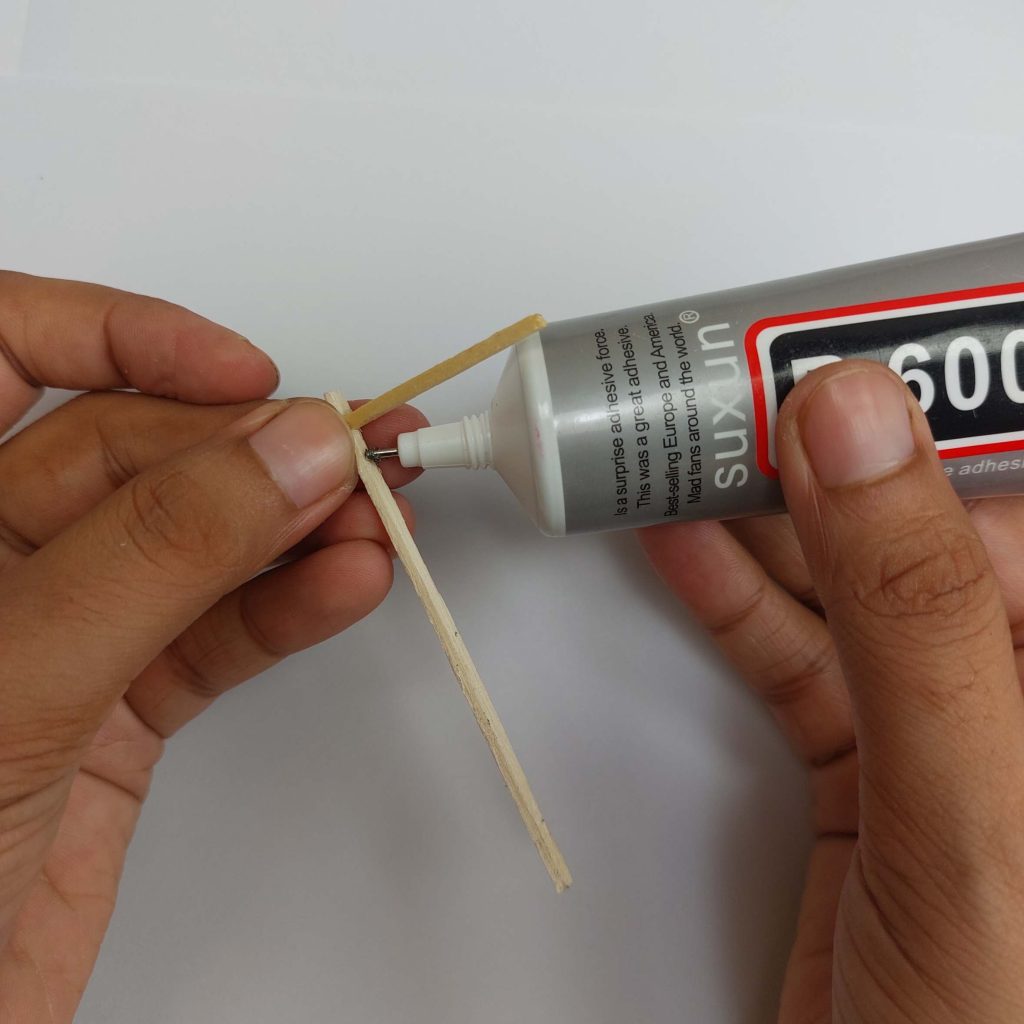
Next, glue a second 3.5 cm crossbar directly underneath the first one, leaving a narrow gap between the two pieces. These two bars will become the chair’s backrest.
Then, glue a third 3.5 cm crossbar lower down the leg, about in the middle. This piece will support the seat, so try to keep it level with the backrest bars.
Allow the glue to set for a few minutes before moving on to the next step.
Finally, glue the fourth crossbar close to the bottom of the leg. This will strengthen the frame and act as the lower side support.
Tip: A small engineer’s square or a ruler helps keep every crossbar at a perfect 90° angle. A straight side frame will make the rest of the chair much easier to assemble.
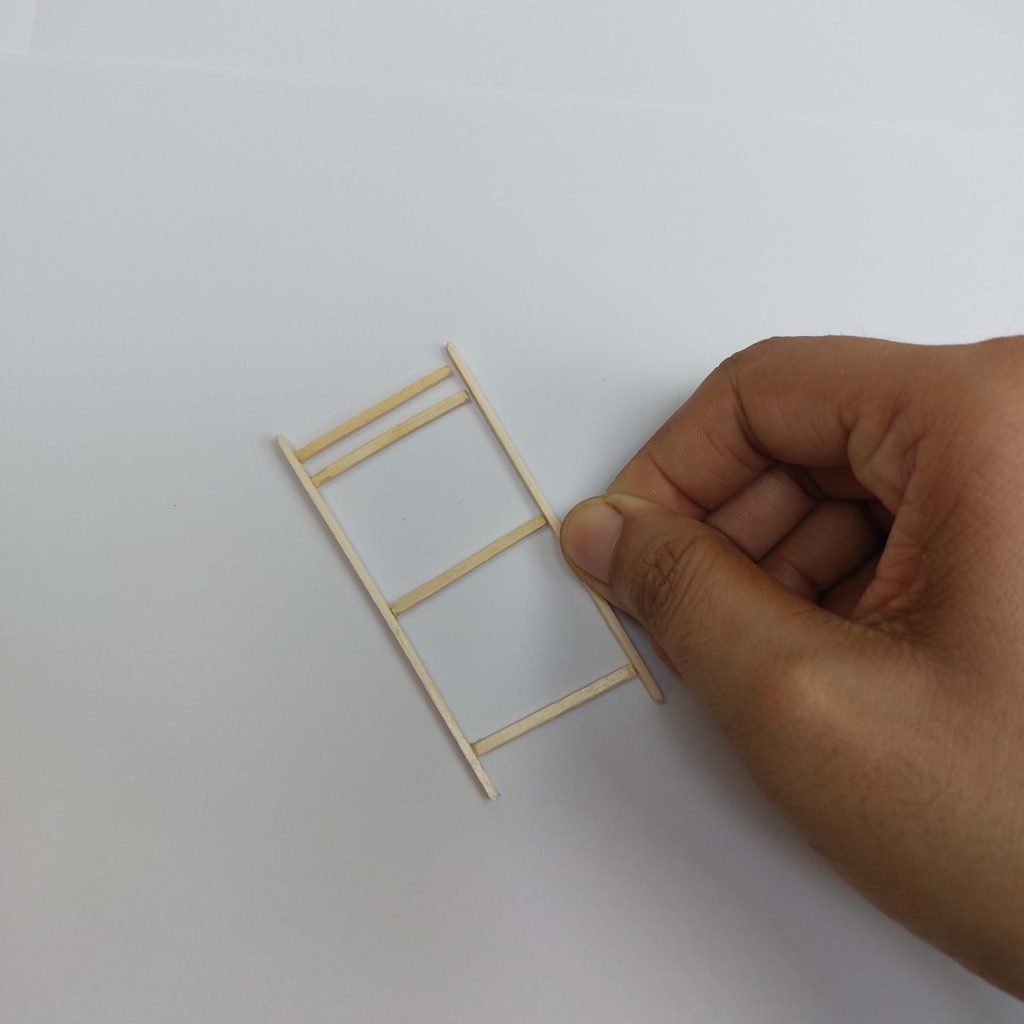
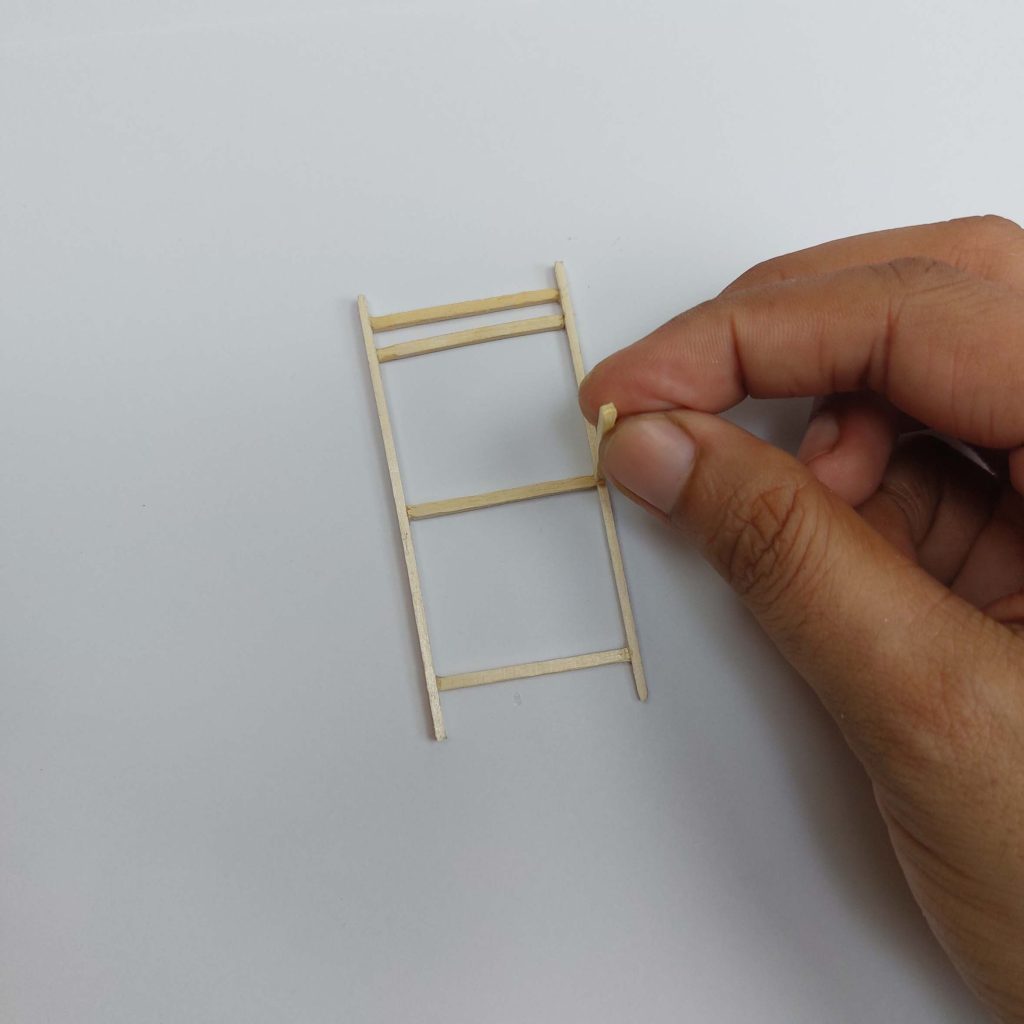
Take the second 8 cm matchstick and glue it to the opposite ends of the four horizontal crossbars, completing the side frame of the chair.
Step 3: Build the Seat Frame
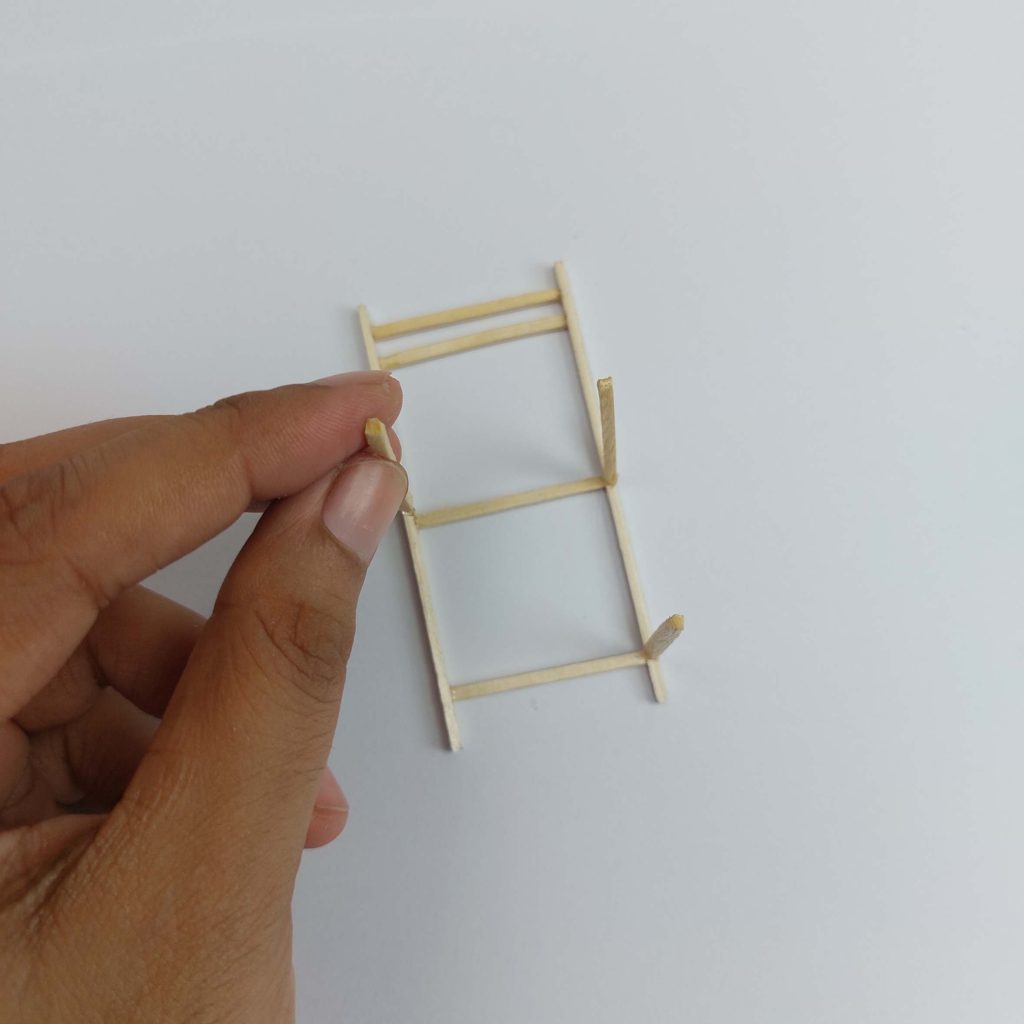
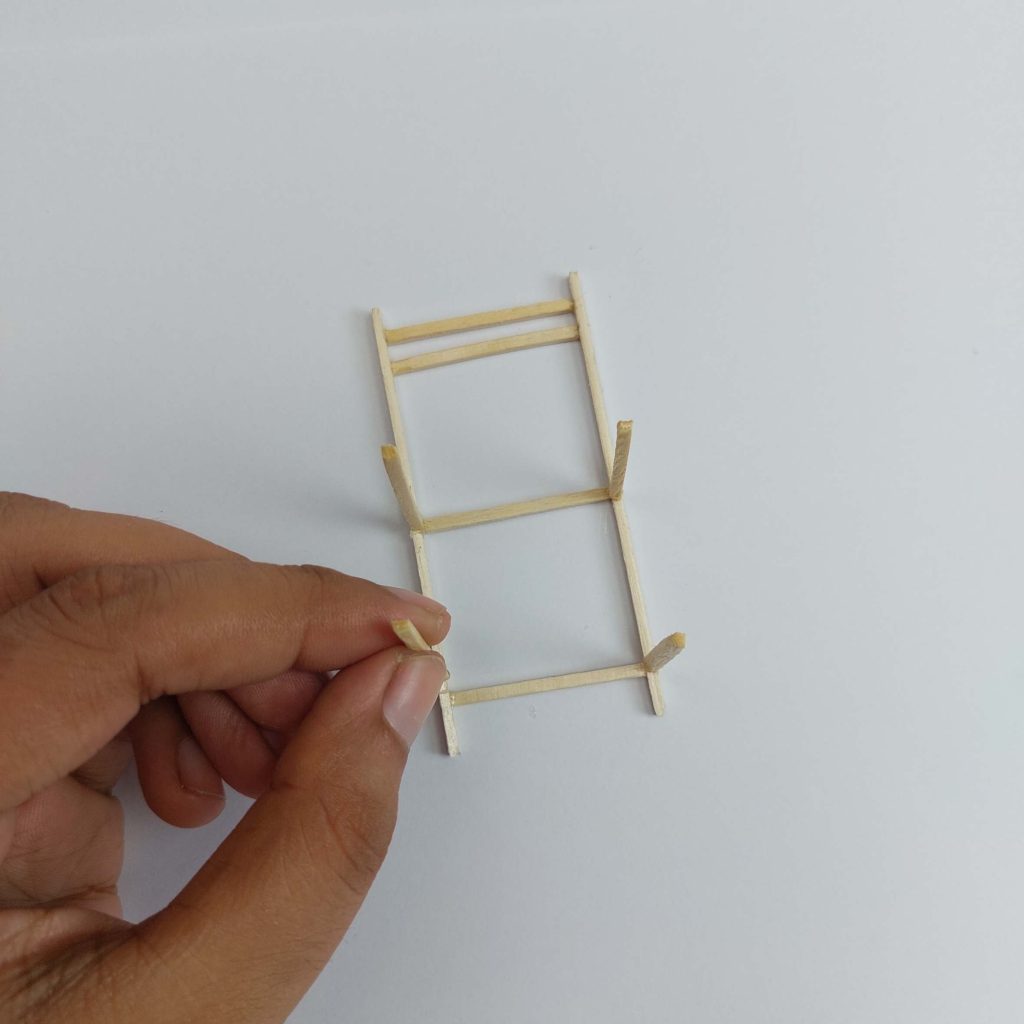
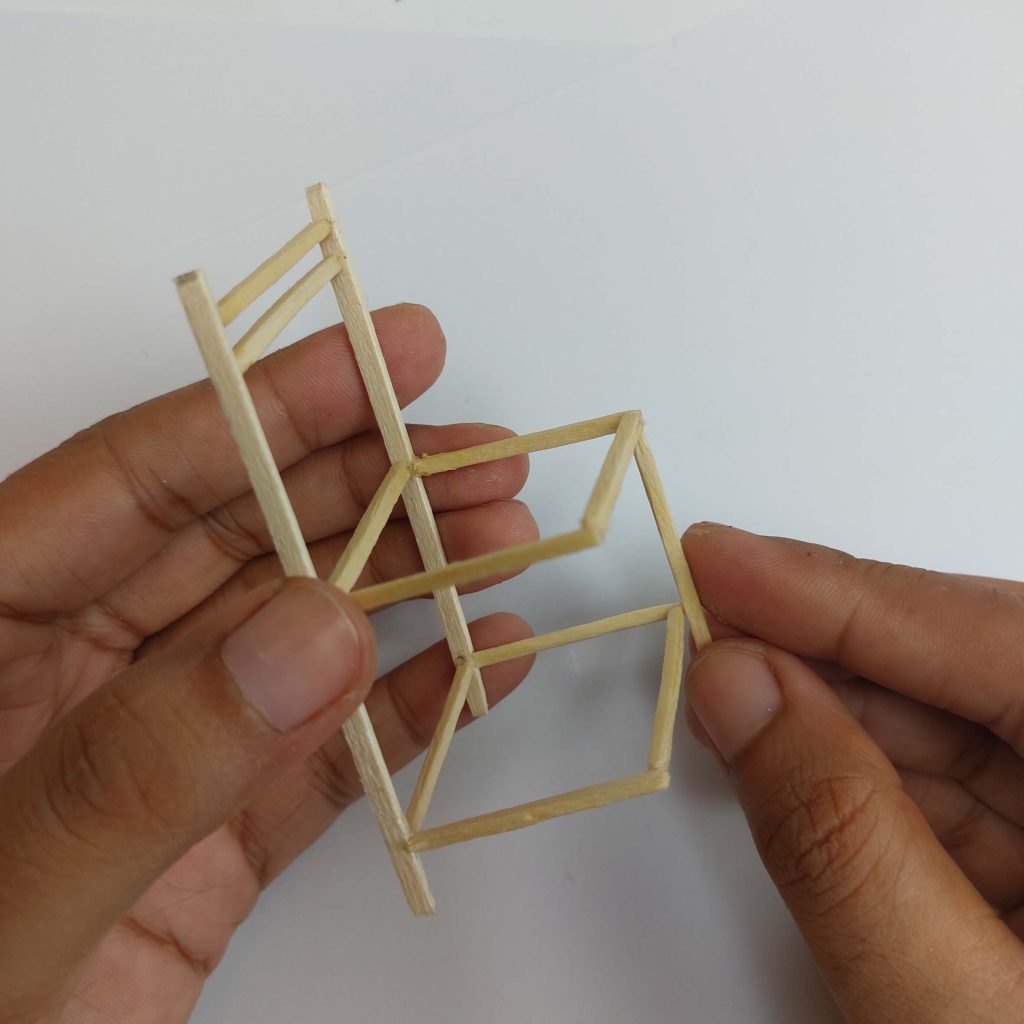
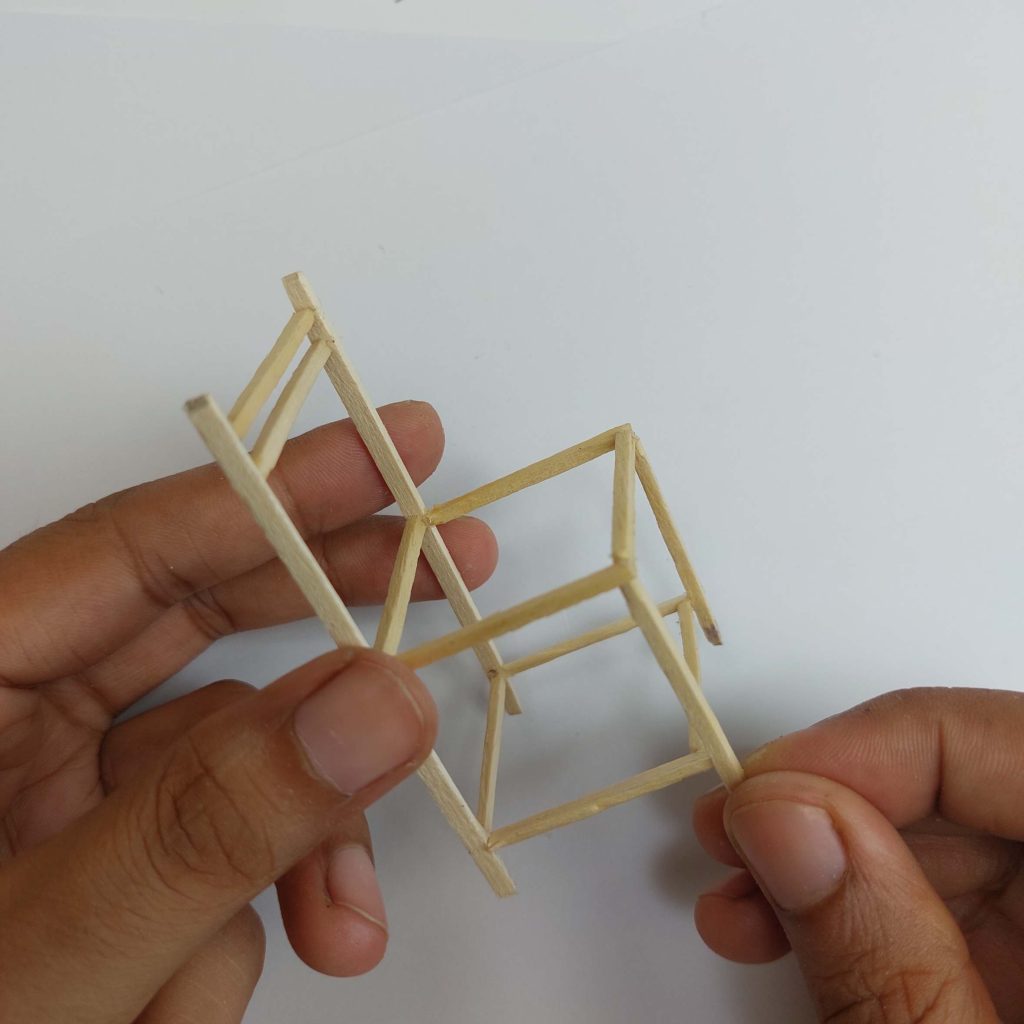
Next, glue four 3.5 cm matchsticks upright onto the frame as shown in the photos.
Position 4 of them at the back of the seat area. These pieces form the supports for the seat.
Step 4: Connect the Front Legs
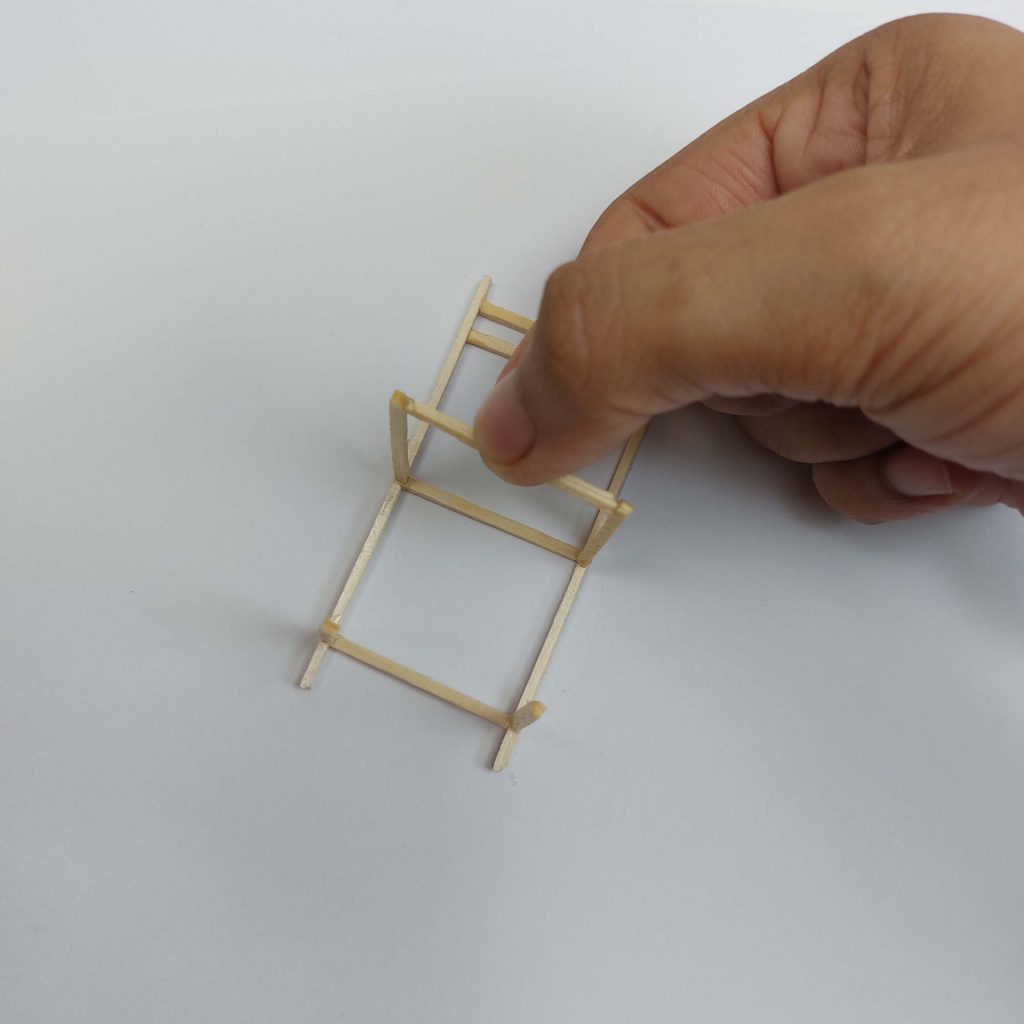
Using the remaining 3.5 cm matchsticks, build the front frame.
Glue one 3.5 cm stick between the tops of the two front legs. This forms the front edge of the seat.
Glue another 3.5 cm stick between the front legs near the bottom, level with the rear lower crossbar. This strengthens the base.
Finally, glue one 3.5 cm stick on each side, connecting the lower front and rear legs. These are the lower side stretchers.
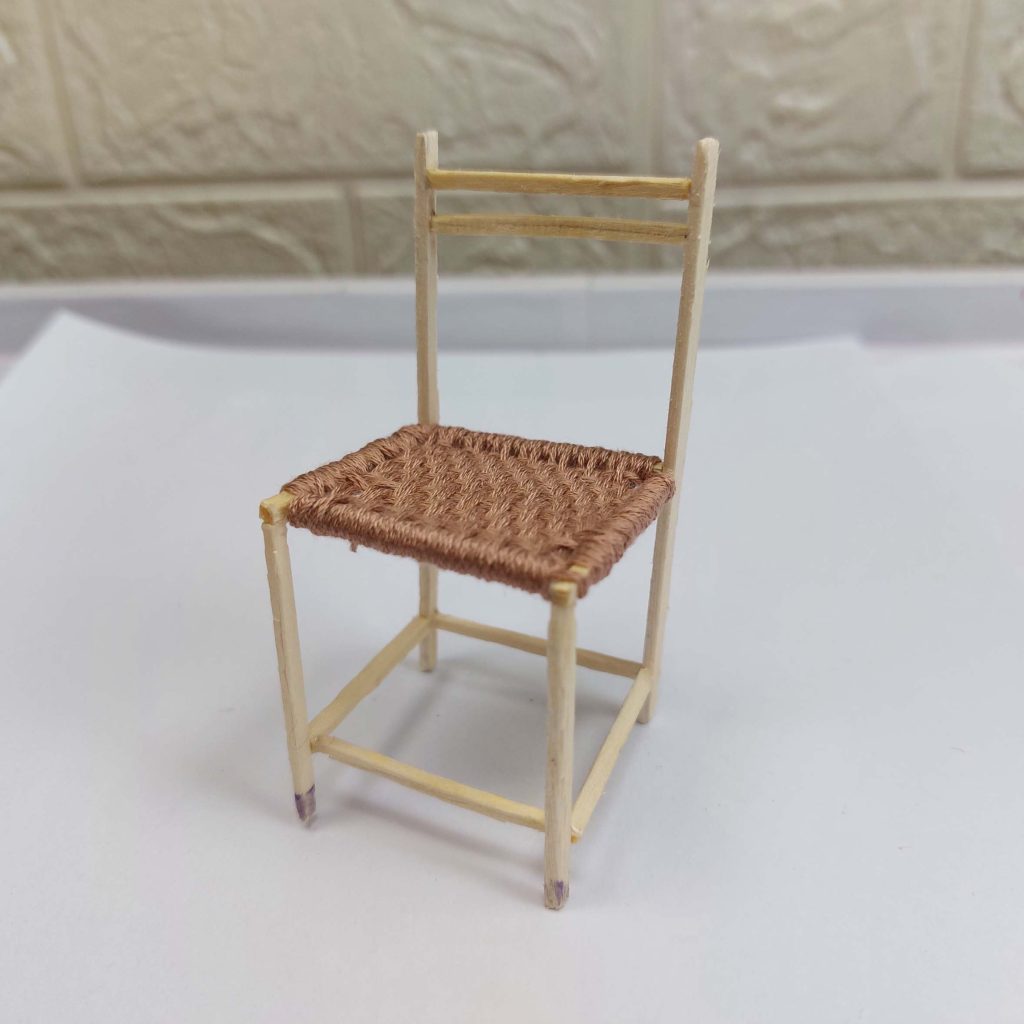
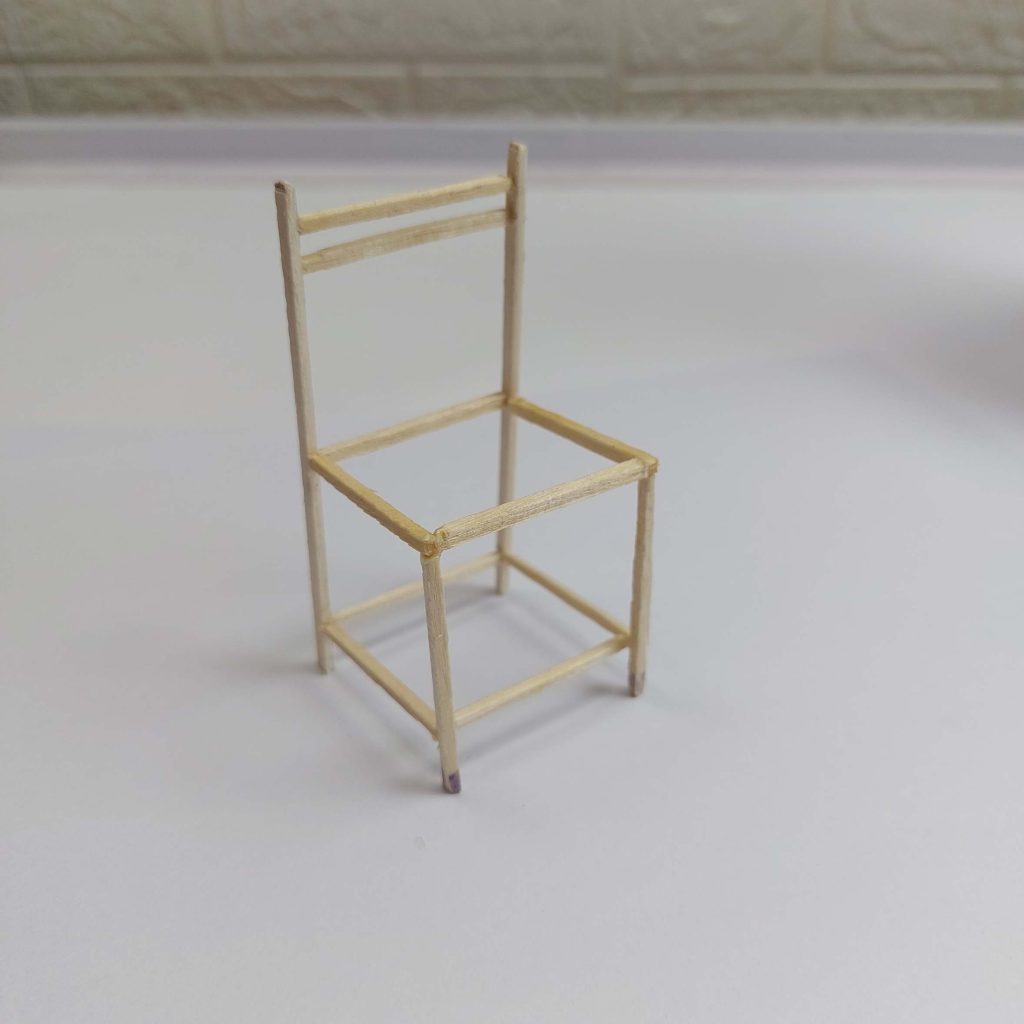
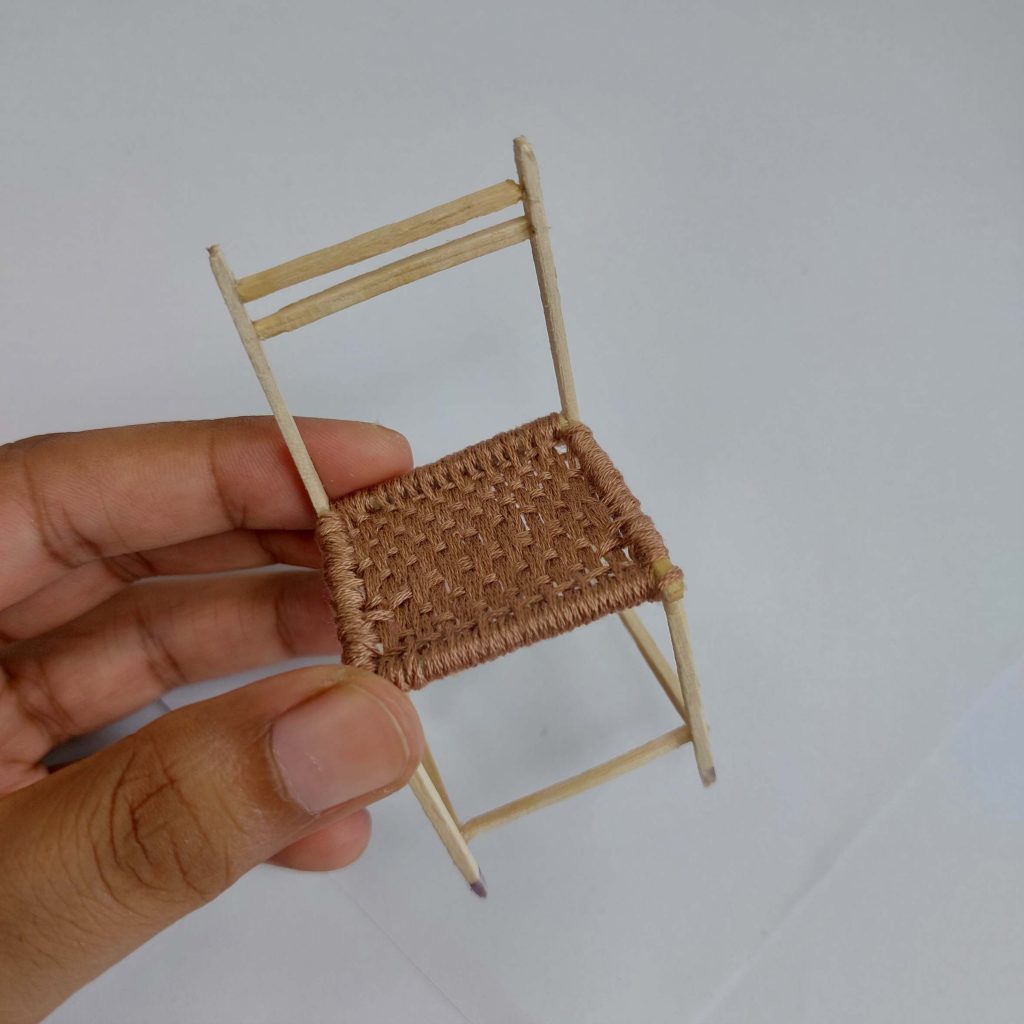
When finished, the chair frame should look like the final photo—a sturdy open frame with the seat opening ready for the next stage.
Allow the glue to dry before continuing to the next step.
Final frame: if you can make it straighter than I have, I admire you! hahaha
Tip: Make a straight drawing on a piece of paper of the chair, so you would just need to align your wooden sticks to the building plan when you glue them together. I should have done that in the first place!
Step 5: Start the Woven Seat
Materials
Thin embroidery floss, crochet cotton, or strong sewing thread
Large sewing needle
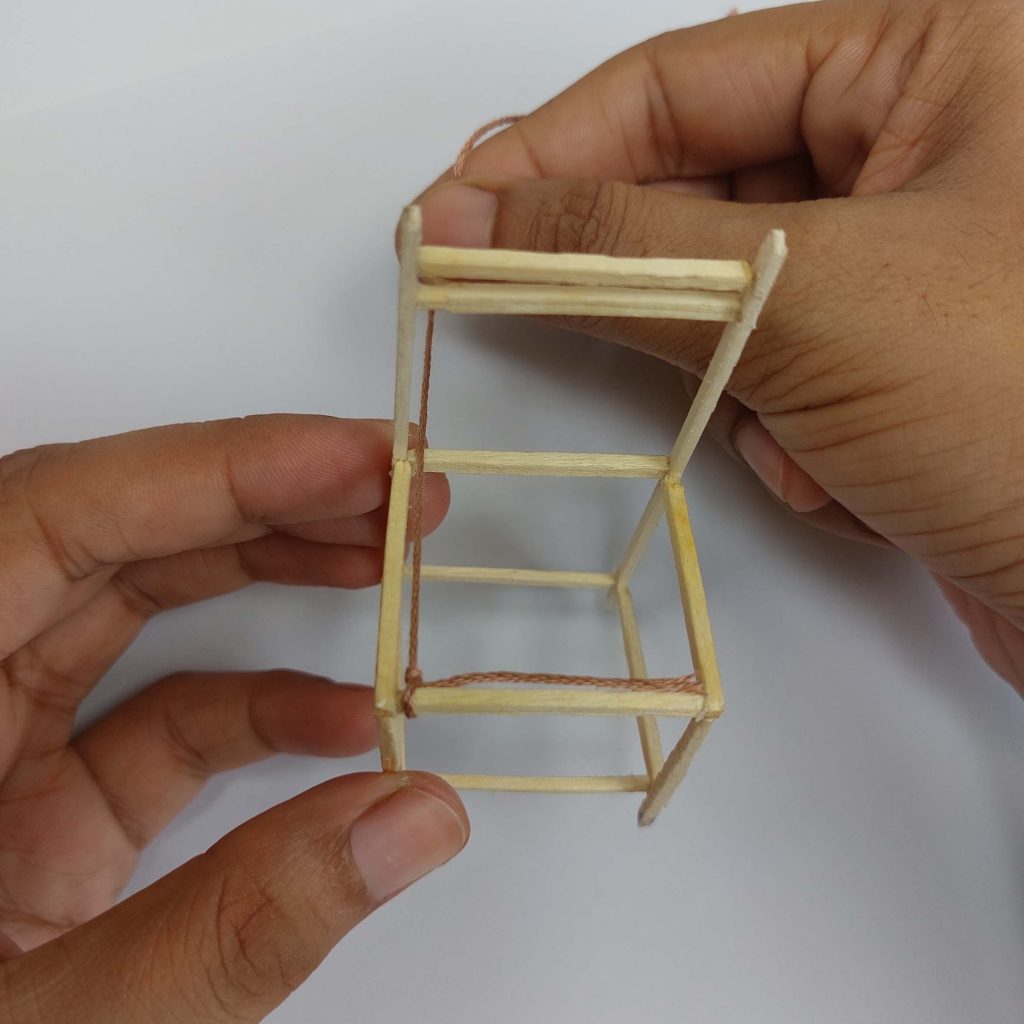
1. Tie the thread
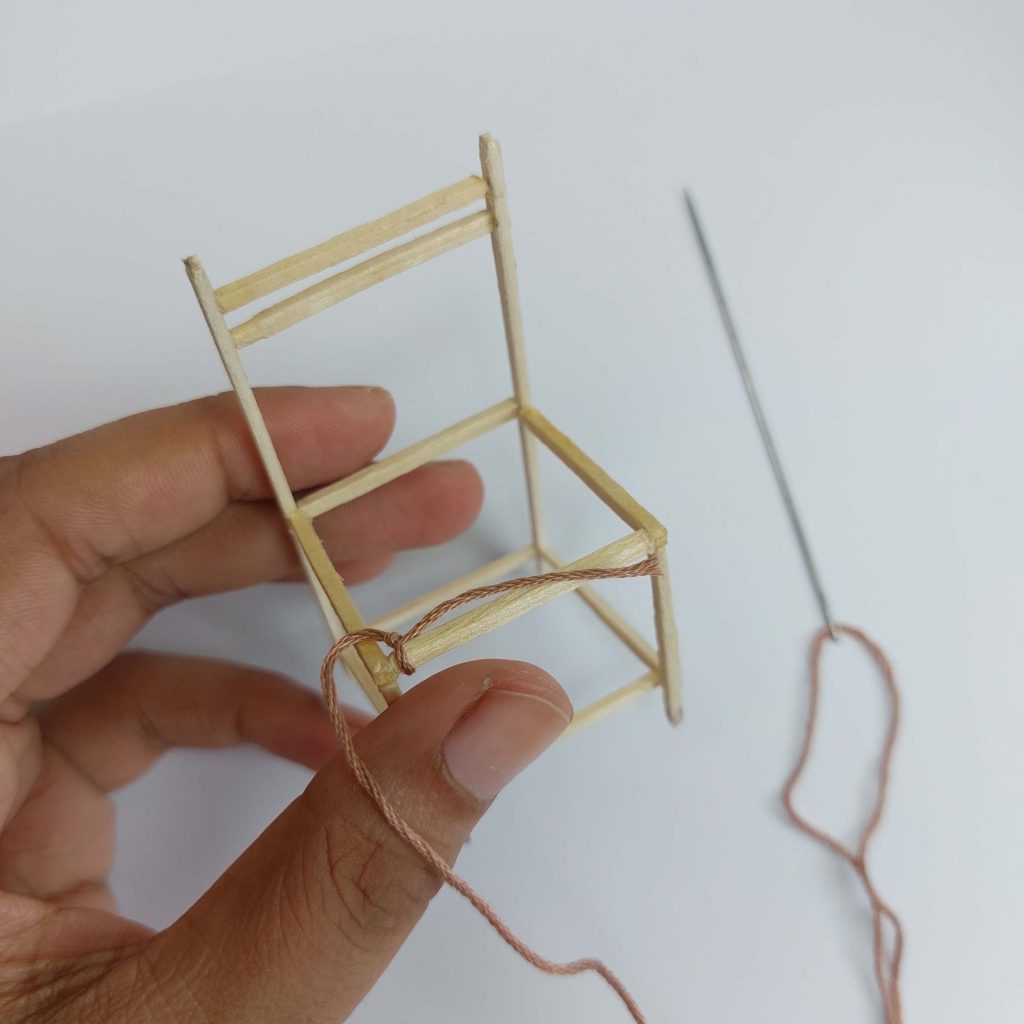
Tie one end of the thread securely around the front-left corner of the seat frame (the horizontal seat rail).
Leave a short tail and pull the knot tight.
2. Make the first loop
Bring the thread:
up the outside of the left side rail,
across the top,
down the inside,
underneath the front rail,
back to where you started.
This creates one complete loop around the seat opening.
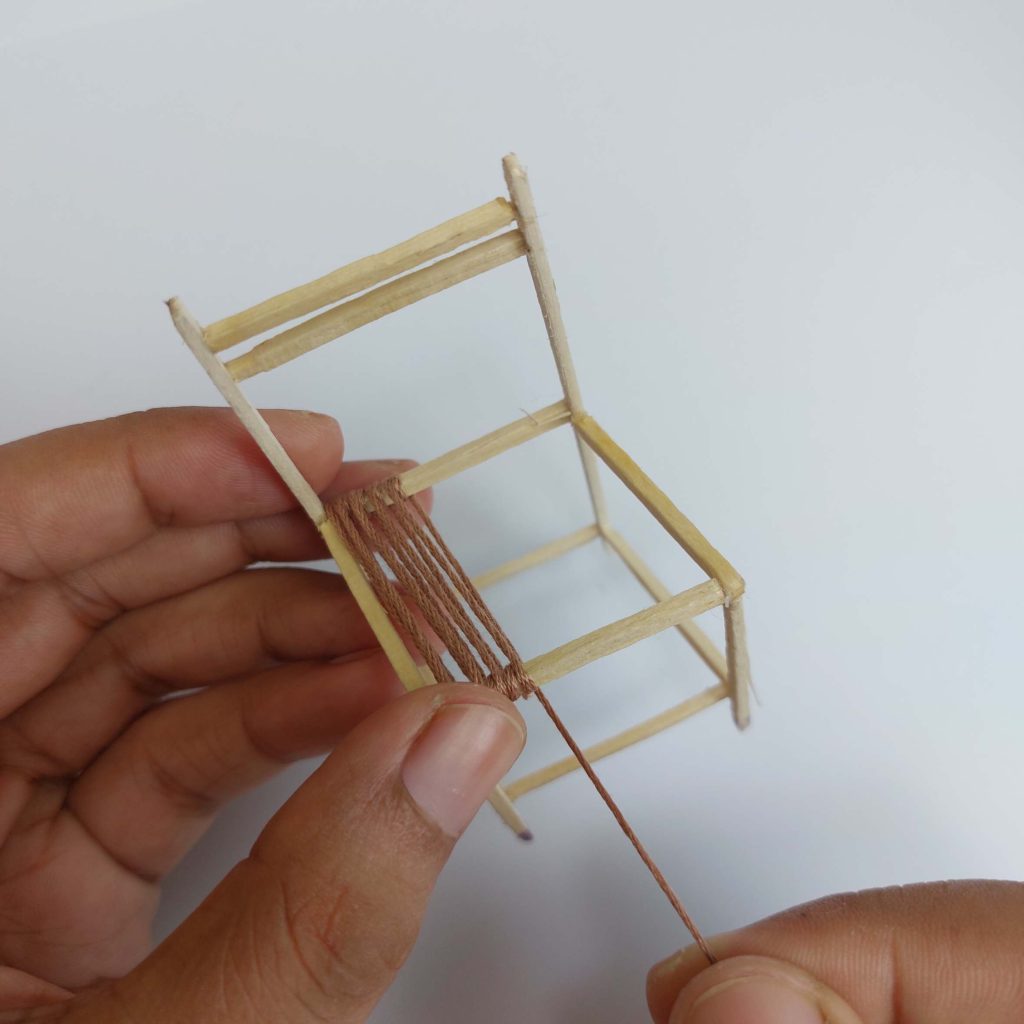
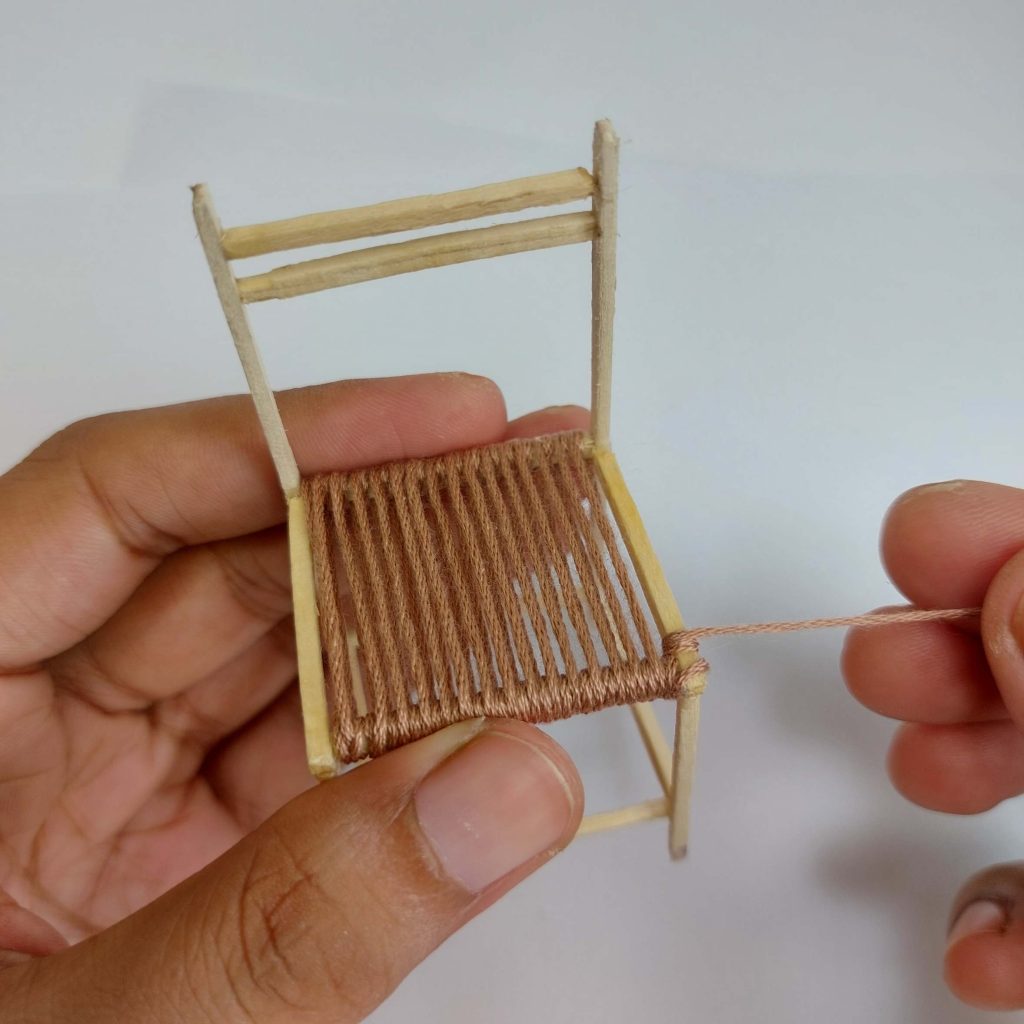
3. Continue wrapping
Repeat the same movement over and over.
Each loop should sit directly beside the previous one.
Keep the thread under even tension so it stays straight but doesn’t bend the wooden frame.
4. Fill the seat
Continue!
There are approximately 15-16 parallel strands covering roughly the seat opening.
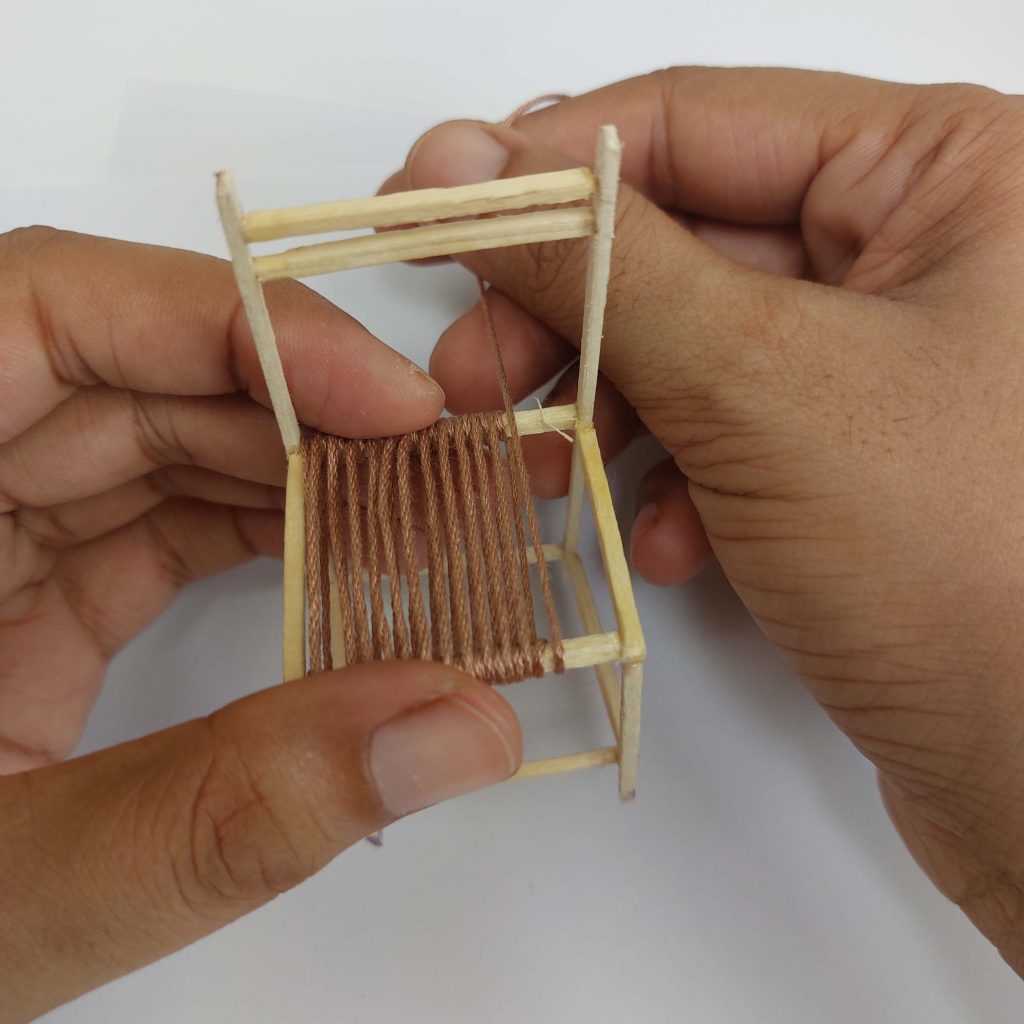
Keep the strands together
As you wrap, gently push the strands together with your fingernail so there are no large gaps.
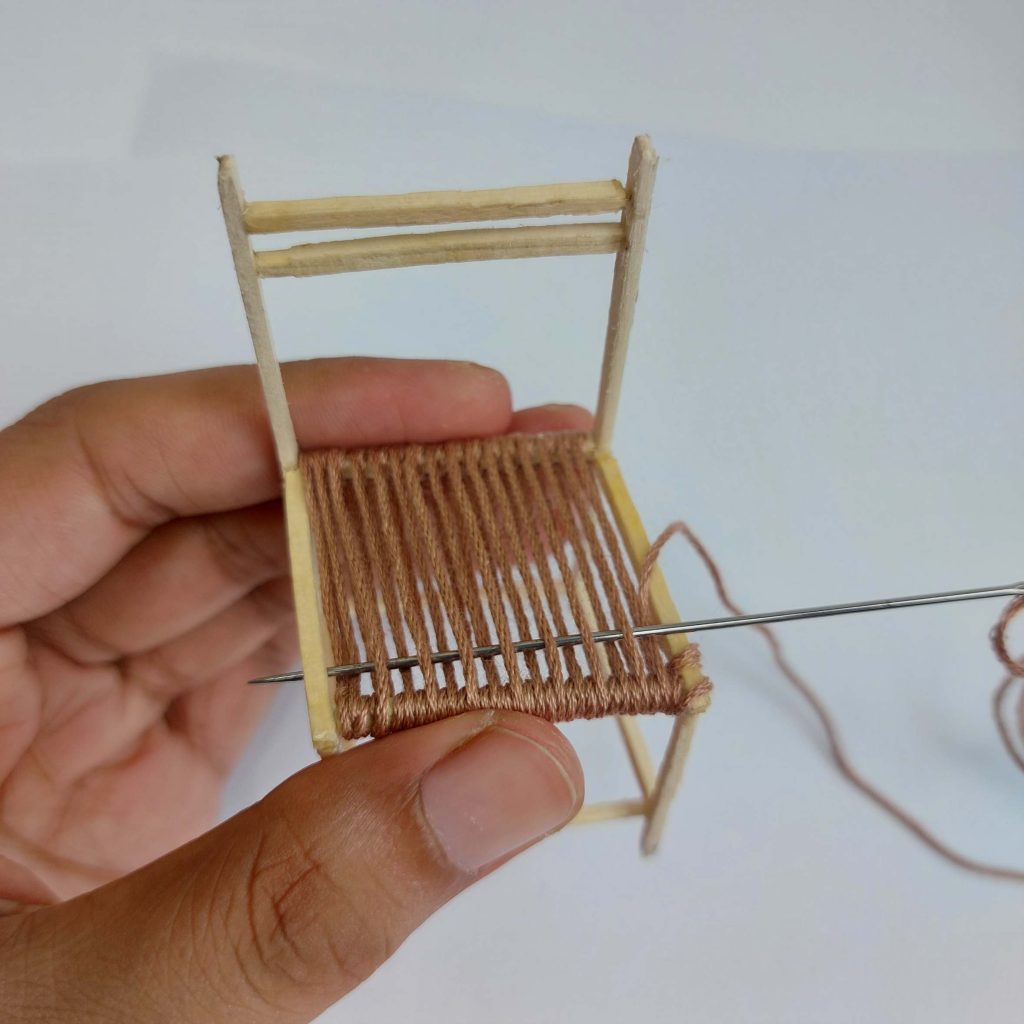
Finish wrapping the warp threads. Continue wrapping the thread around the seat frame until the entire seat is covered with evenly spaced vertical strands. Tie off or secure the thread on the right side of the frame.
5:Weave the Seat
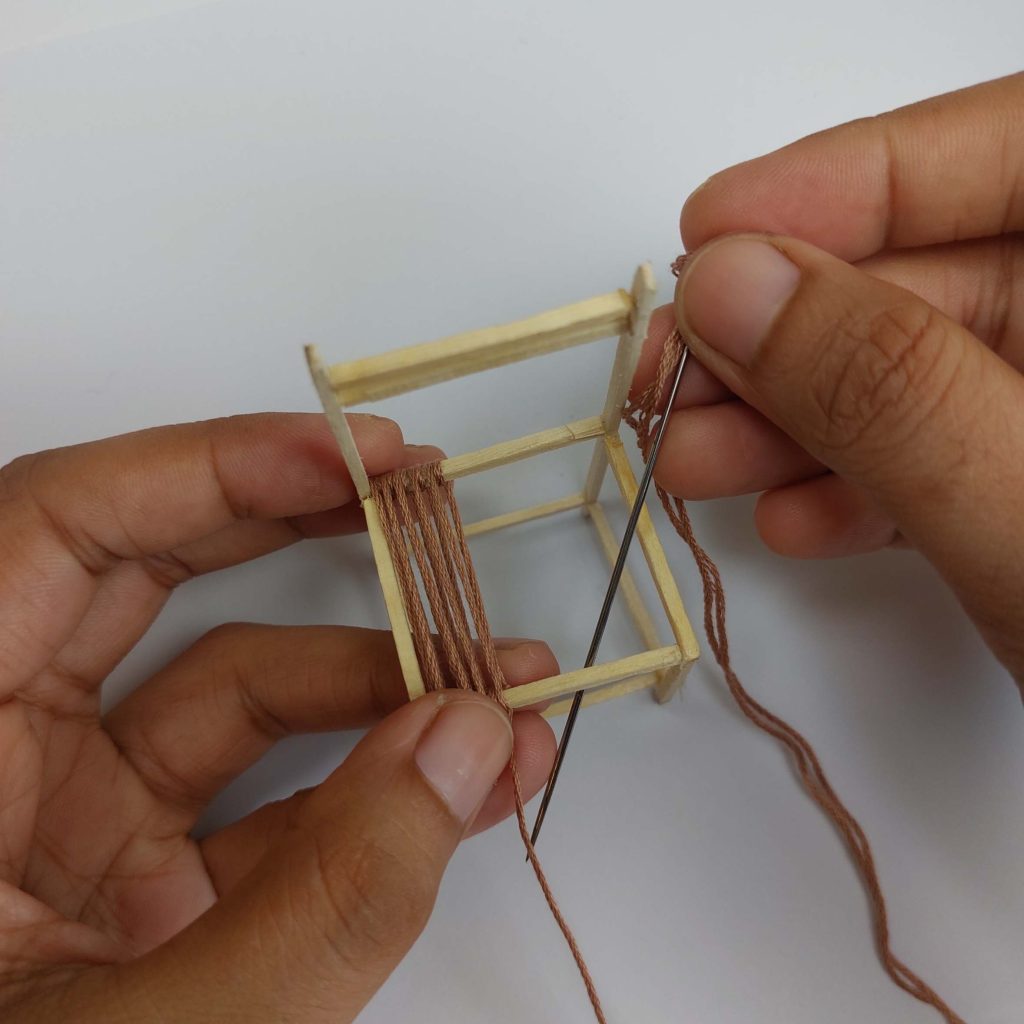
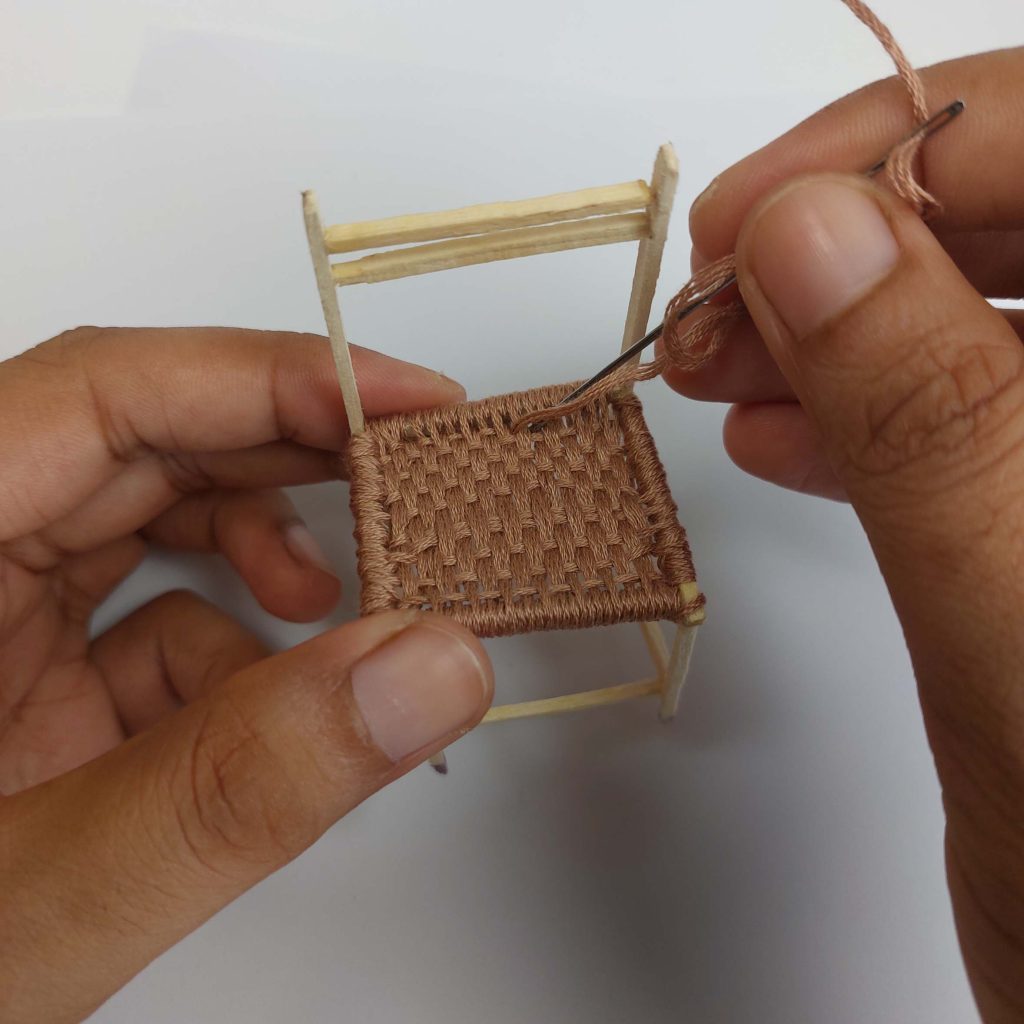
With all of the vertical threads (the warp) in place, you can begin weaving the seat.
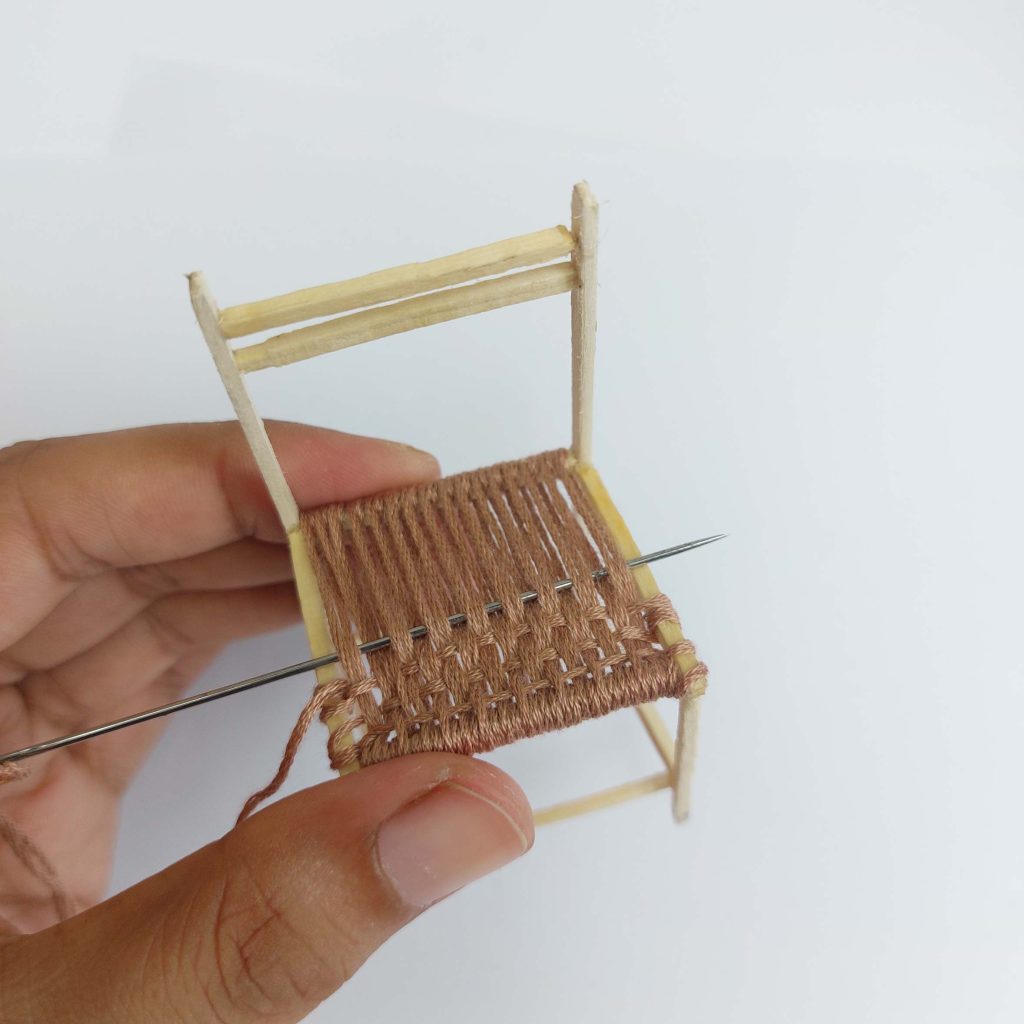
Thread the same cotton onto a large sewing needle. Starting at one side of the chair, pass the needle over one vertical strand, under the next, alternating all the way across the seat.
Pull the thread through and use the needle to gently push the woven row down against the wrapped front edge. On the next row, reverse the pattern by weaving under the first strand, over the next, continuing to alternate each row.
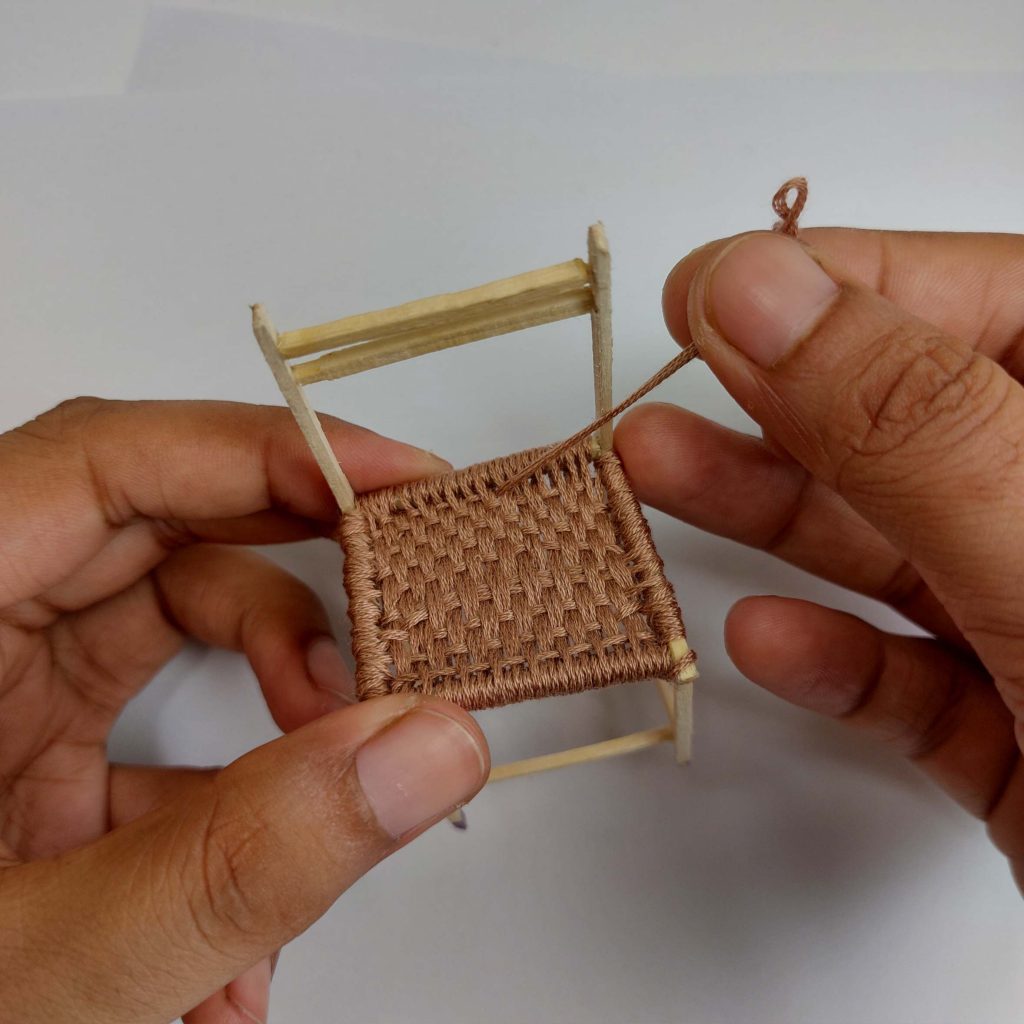
Continue weaving back and forth until the entire seat is filled with an even basket-weave pattern. Every few rows, use the needle to pack the weave tightly together so there are no large gaps.
When you reach the back of the seat, wrap the thread neatly around the rear crossbar several times to match the wrapped edge at the front. Tie a small knot underneath the seat and trim the excess thread.
The woven seat should now be firm, evenly tensioned, and completely cover the chair frame, creating a realistic miniature woven chair seat.
Conclusion
Congratulations! Your miniature woven chair is now complete. You can leave it with its natural wood finish for a rustic look, stain or paint the frame to match your dollhouse décor, or add a tiny cushion for extra comfort.
This simple project is a great introduction to miniature weaving techniques and can easily be adapted to create stools, benches, or chairs in different sizes and styles.